
Flashing is one of the smallest components on your roof, yet it is responsible for stopping water at every seam, corner, and penetration where the roof surface changes direction. When flashing fails, the damage rarely stays put — it travels along rafters, drips down interior walls, and shows up as a stain on a ceiling metres away from the actual leak. Recognizing the warning signs of roof flashing damage early is one of the most cost-effective things a GTA homeowner can do, because a flashing repair measured in a few hundred dollars can prevent a full roof deck replacement measured in thousands.
At Universal Roofs, our crews have inspected flashing on thousands of homes across the Toronto area since 2005, and the pattern is always the same: the homeowners who call us at the first sign of trouble spend far less than the ones who wait until water is visibly running down a wall. This guide walks through the seven most reliable warning signs of roof flashing damage, explains why each one happens, and gives you a clear framework for deciding whether you need a simple repair or a full replacement.
Toronto’s climate makes this especially important. Our winters bring repeated freeze-thaw cycles that expand and contract metal flashing dozens of times per season, while our humid summers accelerate rust and sealant breakdown. July is actually one of the best months to catch flashing problems, because you can inspect dry, ice-free roof surfaces and get repairs done well before the fall rains and winter freeze arrive.
What Roof Flashing Does and Why It Fails First
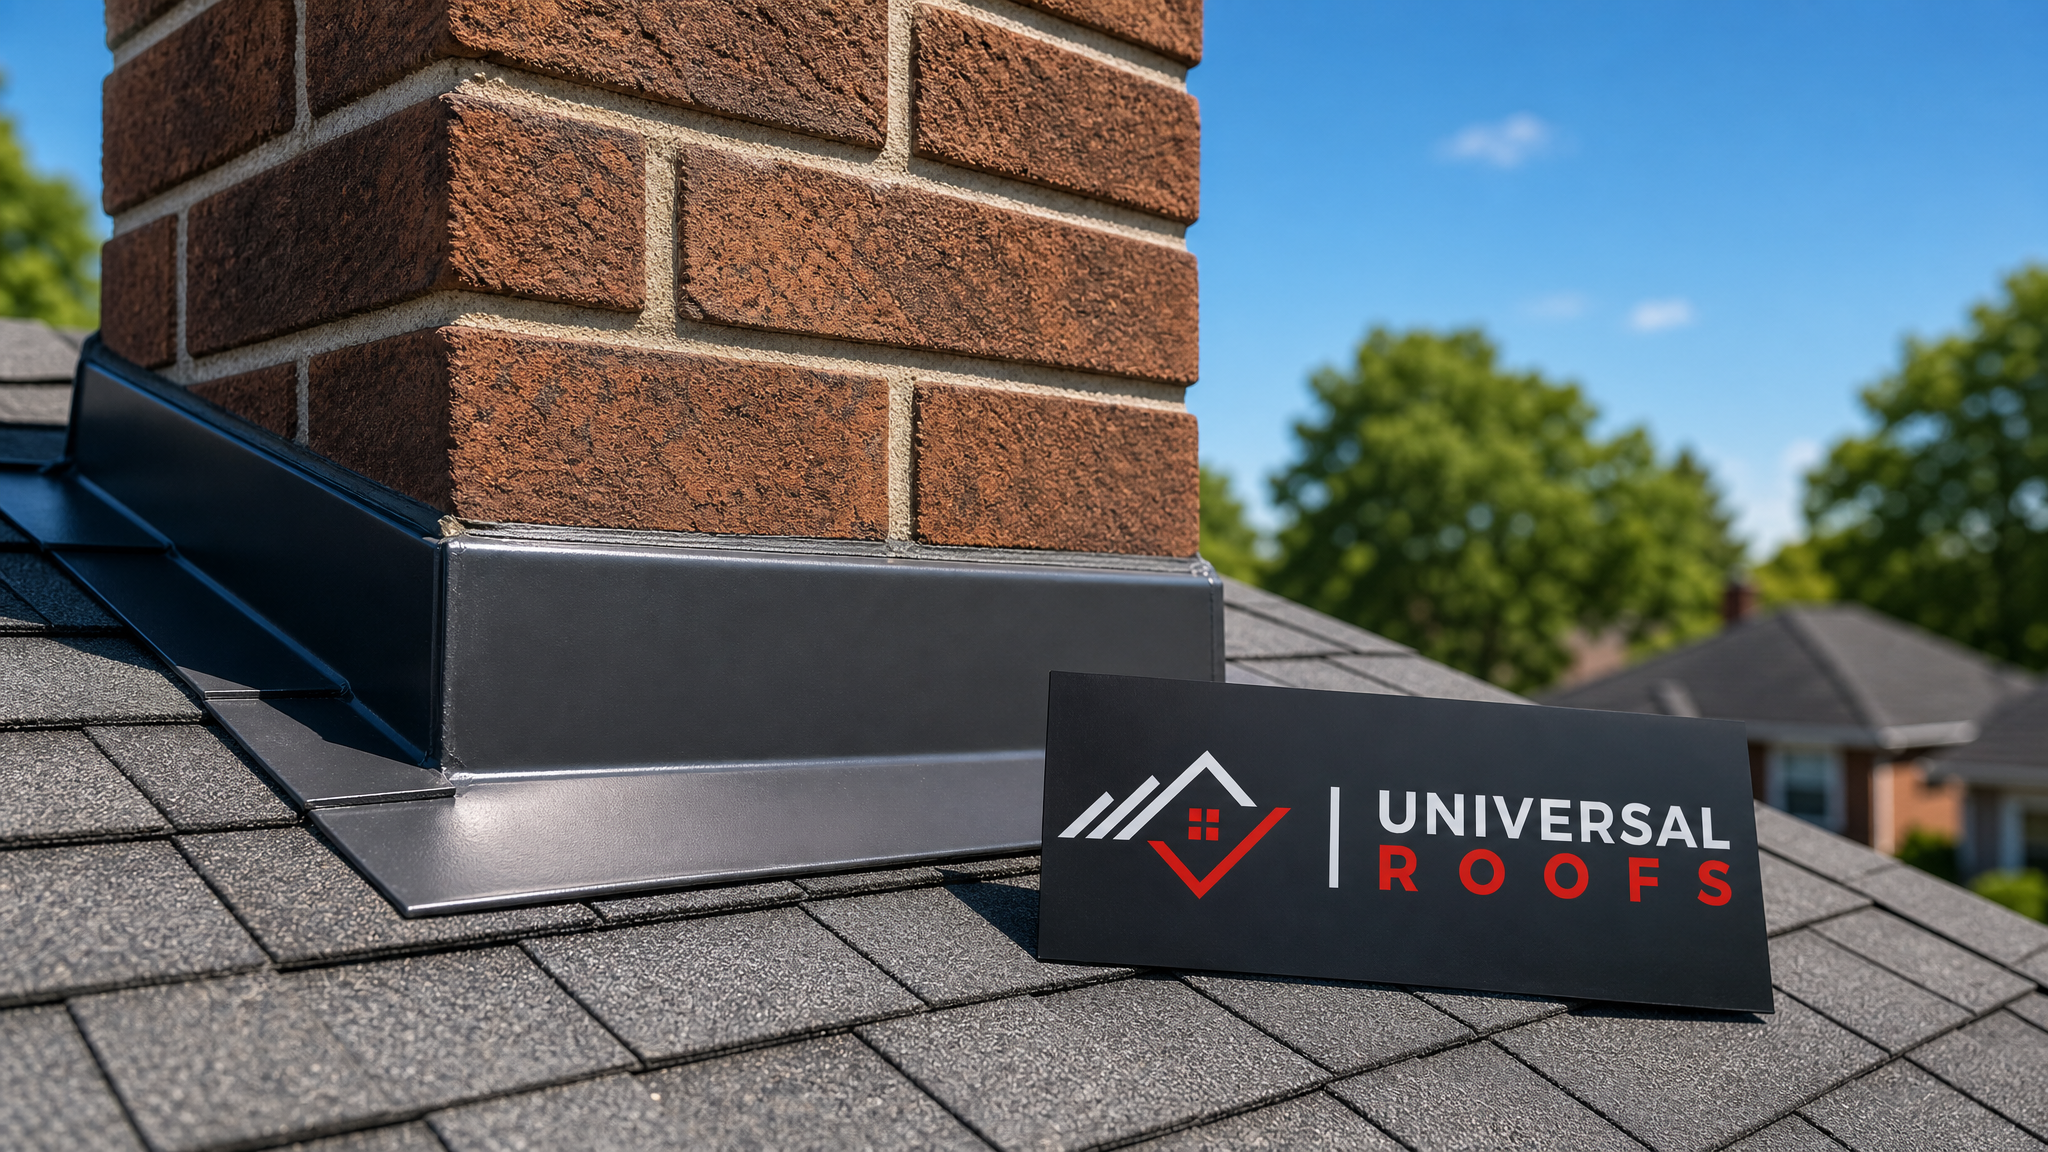
Flashing is thin sheet metal — usually aluminum, galvanized steel, or copper — installed at every point where your roof plane meets a vertical surface or another roof section. That includes chimneys, skylights, dormers, wall intersections, vents, and roof valleys. Shingles alone cannot seal these transitions, so flashing does the job of directing water away from the joint and back onto the shingle field where it can run off safely.
Because flashing sits at stress points, it is almost always the first component to fail on an otherwise healthy roof. The shingles around a chimney might have another decade of life left, while the flashing beneath them has already corroded or pulled away from years of thermal movement. This is why a roof repair focused specifically on flashing is often the right call rather than jumping straight to a full re-roof.
Homeowners frequently assume a roof leak means the shingles are worn out, but in our experience inspecting roofs across the Toronto area, flashing failure is the more common culprit, particularly on roofs under 15 years old. Understanding the specific warning signs helps you catch the problem while it is still a simple, inexpensive fix.
Sign 1: Rust Streaks or Corrosion on Metal Flashing
The most visible early warning sign is discolouration on the flashing itself. Galvanized steel flashing develops a chalky white or orange rust bloom as its protective zinc coating wears away, and you will often see rust-coloured streaks running down the shingles directly below the flashing. Copper flashing behaves differently — it develops a green-grey patina over time, which is normal, but active pitting, holes, or a rough, flaking texture indicate the metal itself is deteriorating rather than just weathering.
Rust streaking matters because once the protective coating is compromised, the metal underneath corrodes faster with every rain event. A flashing panel that looks merely cosmetic one season can develop pinhole leaks within a year or two, especially on south- and west-facing slopes that see the most UV exposure and temperature swings.
What to check: walk your property line and look up at valleys, chimneys, and any wall-to-roof junctions with binoculars. Streaking that runs several feet down the shingle surface is a strong indicator the flashing above it needs attention.
Sign 2: Cracked, Missing, or Deteriorated Sealant
Flashing is installed with a combination of mechanical fastening and sealant — typically a roofing-grade caulk or sealant bead along the top edge and at any seams. This sealant is a wear item, not a permanent fix, and in Toronto’s climate it typically needs attention every three to five years depending on sun exposure and the product originally used.
Cracked or shrunken sealant is one of the most common warning signs of roof flashing damage, and it is also one of the easiest to spot from the ground: look for a chalky, cracked line of caulk that has pulled away from the metal or the shingle surface, leaving a visible gap. Once that gap opens, wind-driven rain can be pushed sideways under the flashing during a storm, even without any change to the metal itself.
This is the single most common issue our technicians resolve during a standalone flashing service call, and it is also the cheapest to fix — provided it is caught before water has migrated into the roof deck.
Sign 3: Loose, Lifted, or Bent Flashing Sections
Flashing should sit flush against the roof deck and the adjoining vertical surface. Wind uplift, ice damming, tree branch strikes, and simple age can loosen the fasteners holding it in place, causing a section to lift, curl at the edges, or visibly separate from the wall or chimney.
You may notice this as a flapping sound during windy days, a section of metal that appears to stick out or catch light differently than the rest, or a gap you can see daylight through from inside an attic. Bent flashing — often from ice sliding off an upper roof section onto a lower one, a common issue in Toronto after a heavy snowfall — loses its ability to shed water correctly even if no holes are present.
Loose flashing is a mechanical problem more than a material one, and it is often resolvable with re-fastening and re-sealing rather than full replacement, which is why an inspection from a qualified crew matters before assuming the worst.
Sign 4: Water Stains on Interior Ceilings or Walls Near Roof Penetrations
By the time water reaches your ceiling, it has usually already been infiltrating for a period of time. Stains that appear near a chimney, skylight, or where an upper wall meets a lower roofline are a strong indicator of flashing failure at that specific location, since flashing failures tend to leak directly below the point of entry rather than migrating far.
Pay close attention to stains that appear or worsen specifically during or after rain, versus condensation stains that appear regardless of weather (which usually point to ventilation or an attic insulation issue instead). Ring-shaped stains that grow slightly larger after each storm are a classic sign of an active, ongoing flashing leak rather than a one-time event.
If you have a skylight on your roof, the flashing around its perimeter is one of the highest-risk zones on the entire structure, because it combines a large penetration, multiple seams, and constant thermal cycling as the glass heats and cools.
| Warning Sign | What You See | Likely Cause | Urgency Level |
|---|---|---|---|
| Rust streaks below flashing | Orange/rust-coloured stains on shingles | Corroded galvanized coating | Moderate — schedule within weeks |
| Cracked sealant line | Chalky, gapped caulk bead | UV and thermal cycle degradation | Moderate — cheap fix if caught early |
| Lifted or bent metal | Visible gap, flapping sound, daylight in attic | Wind uplift, ice impact, loose fasteners | High — active water entry risk |
| Interior ceiling stains | Ring-shaped stain near chimney/skylight | Active leak already past the deck | Urgent — call within days |
| Granules in gutters near flashing | Excess shingle grit collecting below flashing points | Water erosion wearing down adjacent shingles | Moderate |
| Vegetation or moss at seams | Green growth along flashing edges | Trapped moisture not draining properly | Moderate — worsens over one season |
| Daylight visible from attic | Pinpricks of light around penetrations | Full separation or corrosion hole | Urgent — same-week inspection |

Sign 5: Granule Buildup or Erosion Around Flashing Points
Asphalt shingles shed protective granules naturally over their lifespan, but an unusually heavy concentration of granules collecting in gutters or valleys directly below a flashing point is a sign that water is being channelled incorrectly and eroding the shingle surface faster than normal. This is a secondary sign — it will not always appear alone — but combined with any of the other six signs on this list, it strengthens the case for a professional inspection.
Granule loss concentrated near flashing usually means water is pooling or being redirected onto a section of the roof that was not designed to handle sustained flow, which is common when flashing has bent, lifted, or lost its proper pitch over time.
Sign 6: Moss, Algae, or Vegetation Growing Along Flashing Seams
Moss and algae need sustained moisture to establish themselves, so their presence along a flashing seam is a strong sign that water is not draining away as it should. In shaded, north-facing sections of Toronto roofs — common on homes with mature tree cover in neighbourhoods across the Peel Region and York Region — this trapped moisture accelerates both metal corrosion and shingle deterioration at the same time.
Removing the growth alone does not solve the underlying problem. The flashing usually needs to be lifted, cleaned, re-sealed, or replaced so that water sheds properly again, otherwise the vegetation returns within a season.
Sign 7: Visible Gaps, Separation, or Missing Flashing Sections
The most severe warning sign is simply flashing that is no longer there at all, or has separated so far from the roofline that you can see straight through to the roof deck or sheathing. This typically happens after severe wind events, storm damage, or as the final stage of long-term corrosion that has gone unaddressed through several earlier warning signs.
Missing flashing is not a candidate for a quick patch — it needs full section replacement, ideally matched to the surrounding material so the repair blends in and performs consistently. If this coincides with broader shingle wear, it may be a signal that the roof as a whole is approaching the point where a roof replacement makes more financial sense than a series of piecemeal repairs.
Flashing Repair vs. Replacement: How to Decide
Not every warning sign requires the same response. A single cracked sealant line on an otherwise sound flashing panel is a maintenance item. Corrosion holes, missing sections, or flashing tied to a roof that is already near the end of its service life call for a more significant decision. The table below outlines how our technicians typically categorize the response based on what we find during an inspection.
| Condition Found | Recommended Fix | Typical Timeline | Approximate Cost Range (CAD) |
|---|---|---|---|
| Cracked sealant, metal intact | Re-seal with roofing-grade sealant | Same-day | $150 – $400 |
| Loose fasteners, metal intact | Re-fasten and re-seal | Same-day | $200 – $500 |
| Surface rust, no perforation | Clean, treat, protective coating | 1 day | $300 – $600 |
| Corroded or perforated panel | Section replacement (matched material) | 1 – 2 days | $500 – $1,500 per section |
| Missing or fully separated flashing | Full replacement at that penetration | 1 – 2 days | $600 – $1,800 per location |
| Flashing failure plus aged shingles | Evaluate for full roof replacement | Multi-day project | Quoted after inspection |
These figures are general GTA ranges and vary based on the roof’s pitch, the number of storeys, material choice, and access. An in-person assessment is the only reliable way to know which category your roof falls into, which is why we always recommend a physical inspection over guessing from photos alone.
Where Flashing Fails Most Often on GTA Homes
Not all flashing locations carry equal risk. Based on the service calls we run across Toronto, Mississauga, Brampton, Vaughan, Markham, and Oakville, certain penetration points fail far more often than others because they combine multiple seams, complex geometry, or heavier water flow.
| Flashing Location | Relative Failure Frequency | Why It Fails | Typical First Sign |
|---|---|---|---|
| Chimney base and counter-flashing | Very High | Masonry and roof plane move at different rates | Interior stain near chimney |
| Roof valleys | High | Concentrated water flow from two slopes | Granule buildup, streaking |
| Skylight perimeter | High | Large penetration, constant thermal cycling | Stain around skylight frame |
| Wall-to-roof step flashing | Moderate | Sealant wear at siding transition | Cracked caulk line |
| Plumbing and vent stack boots | Moderate | Rubber boot degrades faster than metal | Small localized ceiling spot |
| Dormer flashing | Low to Moderate | Multiple angle changes in tight space | Moss or algae growth |
DIY Inspection Checklist for Homeowners
You do not need to climb onto your roof to catch most of these warning signs. A ground-level and attic-level check twice a year — ideally in spring and again in late summer, before autumn rains arrive — will catch the majority of developing problems.
- Walk the perimeter of your home with binoculars and scan every chimney, skylight, and wall-to-roof junction for streaking or visible gaps.
- Check gutters for an unusual concentration of granules directly below flashing points.
- From inside the attic, on a bright day, look for pinpoints of daylight around any roof penetration.
- After any major windstorm, do a visual check for lifted or bent sections before the next rain event.
- Note any new ceiling stains immediately, along with the date and whether it was during or after rain, so a technician can correlate it with roof conditions.
If you notice anything from this checklist, especially more than one item at once, it is worth booking a professional look before the issue compounds. Our FAQ page covers additional questions homeowners commonly ask before booking an inspection.
Why Toronto’s Climate Makes Flashing Especially Vulnerable
Flashing failures are not unique to the GTA, but our climate does accelerate several of the mechanisms behind them. Metal expands and contracts with every freeze-thaw cycle through the winter, gradually working fasteners loose and stressing sealant joints. Heavy, wet snow loads and ice damming put additional pressure on valley and eave flashing each winter, while summer UV exposure dries and cracks sealant faster than in more temperate climates.
Homes throughout Halton Region and Durham Region with mature tree cover see additional wear from falling branches and debris that can lift or dent flashing panels, while homes closer to Lake Ontario deal with more wind-driven rain events that test sealant integrity at every seam. This is part of why we recommend a mid-summer check: the roof is dry, ice-free, and any issues found now can be fully resolved well ahead of the next winter.
What Happens During a Professional Flashing Inspection
When our technicians assess flashing, we are not just looking at the metal itself — we examine the surrounding shingles, the roof deck condition where accessible, the attic for moisture intrusion, and the overall age and condition of the roofing system. This gives a complete picture rather than a single-point fix that might miss a related issue nearby.
We also check whether the flashing was installed correctly in the first place. A surprising number of leaks we diagnose trace back to flashing that was face-nailed through the metal instead of properly woven with the shingle courses, or sealant used as a substitute for correct mechanical installation rather than as a supplement to it. Fixing the underlying installation issue, not just patching the symptom, is what prevents the same leak from returning next season.
You can read about the experiences other GTA homeowners have had with our inspection and repair process on our reviews page, or learn more about our background and service area on our about page.
Preventing Future Flashing Damage
Once flashing has been repaired or replaced, a few habits extend its lifespan significantly. Keep gutters clear so water does not back up against eave flashing. Trim back branches that overhang the roofline to reduce debris impact and shade-related moss growth. Schedule a professional inspection every two to three years even without visible symptoms, since flashing at chimneys and skylights can begin deteriorating from the inside of a seam before any exterior sign appears.
If your roof has a skylight replacement or a section of flat roofing where flashing meets a different roof type, that transition point deserves particular attention, since combining two different roofing systems at one seam is inherently more failure-prone than flashing within a single continuous roof plane.
What are the earliest warning signs of roof flashing damage?
Can flashing damage cause a leak even if the shingles look fine?
How much does it cost to repair damaged roof flashing in Toronto?
Is flashing damage covered by home insurance?
How often should flashing be inspected?
Should I repair flashing myself or hire a professional?
Need Help With 7 Warning Signs of?
Flashing problems rarely get better on their own, and the warning signs above are your best early opportunity to fix a small issue before it becomes a costly one. Universal Roofs has been diagnosing and repairing flashing failures across the GTA since 2005, and our technicians can tell you within a single visit whether you are looking at a simple re-seal or a section that needs replacing.
Call us today at (416) 732-2421 or request a free inspection to get started.
Universal Roofs proudly serves Toronto, Mississauga, Brampton, Vaughan, Markham, Oakville and the GTA since 2005.