
A leaking chimney is rarely just a chimney problem. Water that gets past worn flashing runs straight down the framing cavity and, over enough winters, it can soften and rot the roof trusses that hold your entire roof structure together. If you have noticed a water stain creeping across the ceiling near your chimney, or a contractor has told you there is soft, spongy decking around the chimney chase, you are dealing with two connected repairs at once: fixing the flashing that let water in, and repairing or reinforcing the truss members that took the damage.
This guide walks through the three best solutions for chimney flashing roof truss repair, in order of how GTA roofing crews typically approach the problem: stop the leak first, assess and repair the structural damage second, and reinforce or replace compromised truss members third. We will cover materials, installation methods, realistic costs, and the warning signs that tell you which solution your home actually needs.
Toronto’s climate makes this a genuinely common issue. Freeze-thaw cycles between November and March expand and contract old flashing seams, ice damming pushes water backward under shingles near the chimney, and summer humidity swells wood framing that has already absorbed moisture. If your home is more than 15 years old and has never had the chimney flashing inspected, mid-summer — while the roof deck is dry and accessible — is the ideal time to have it checked before the next freeze-thaw season starts working against you.
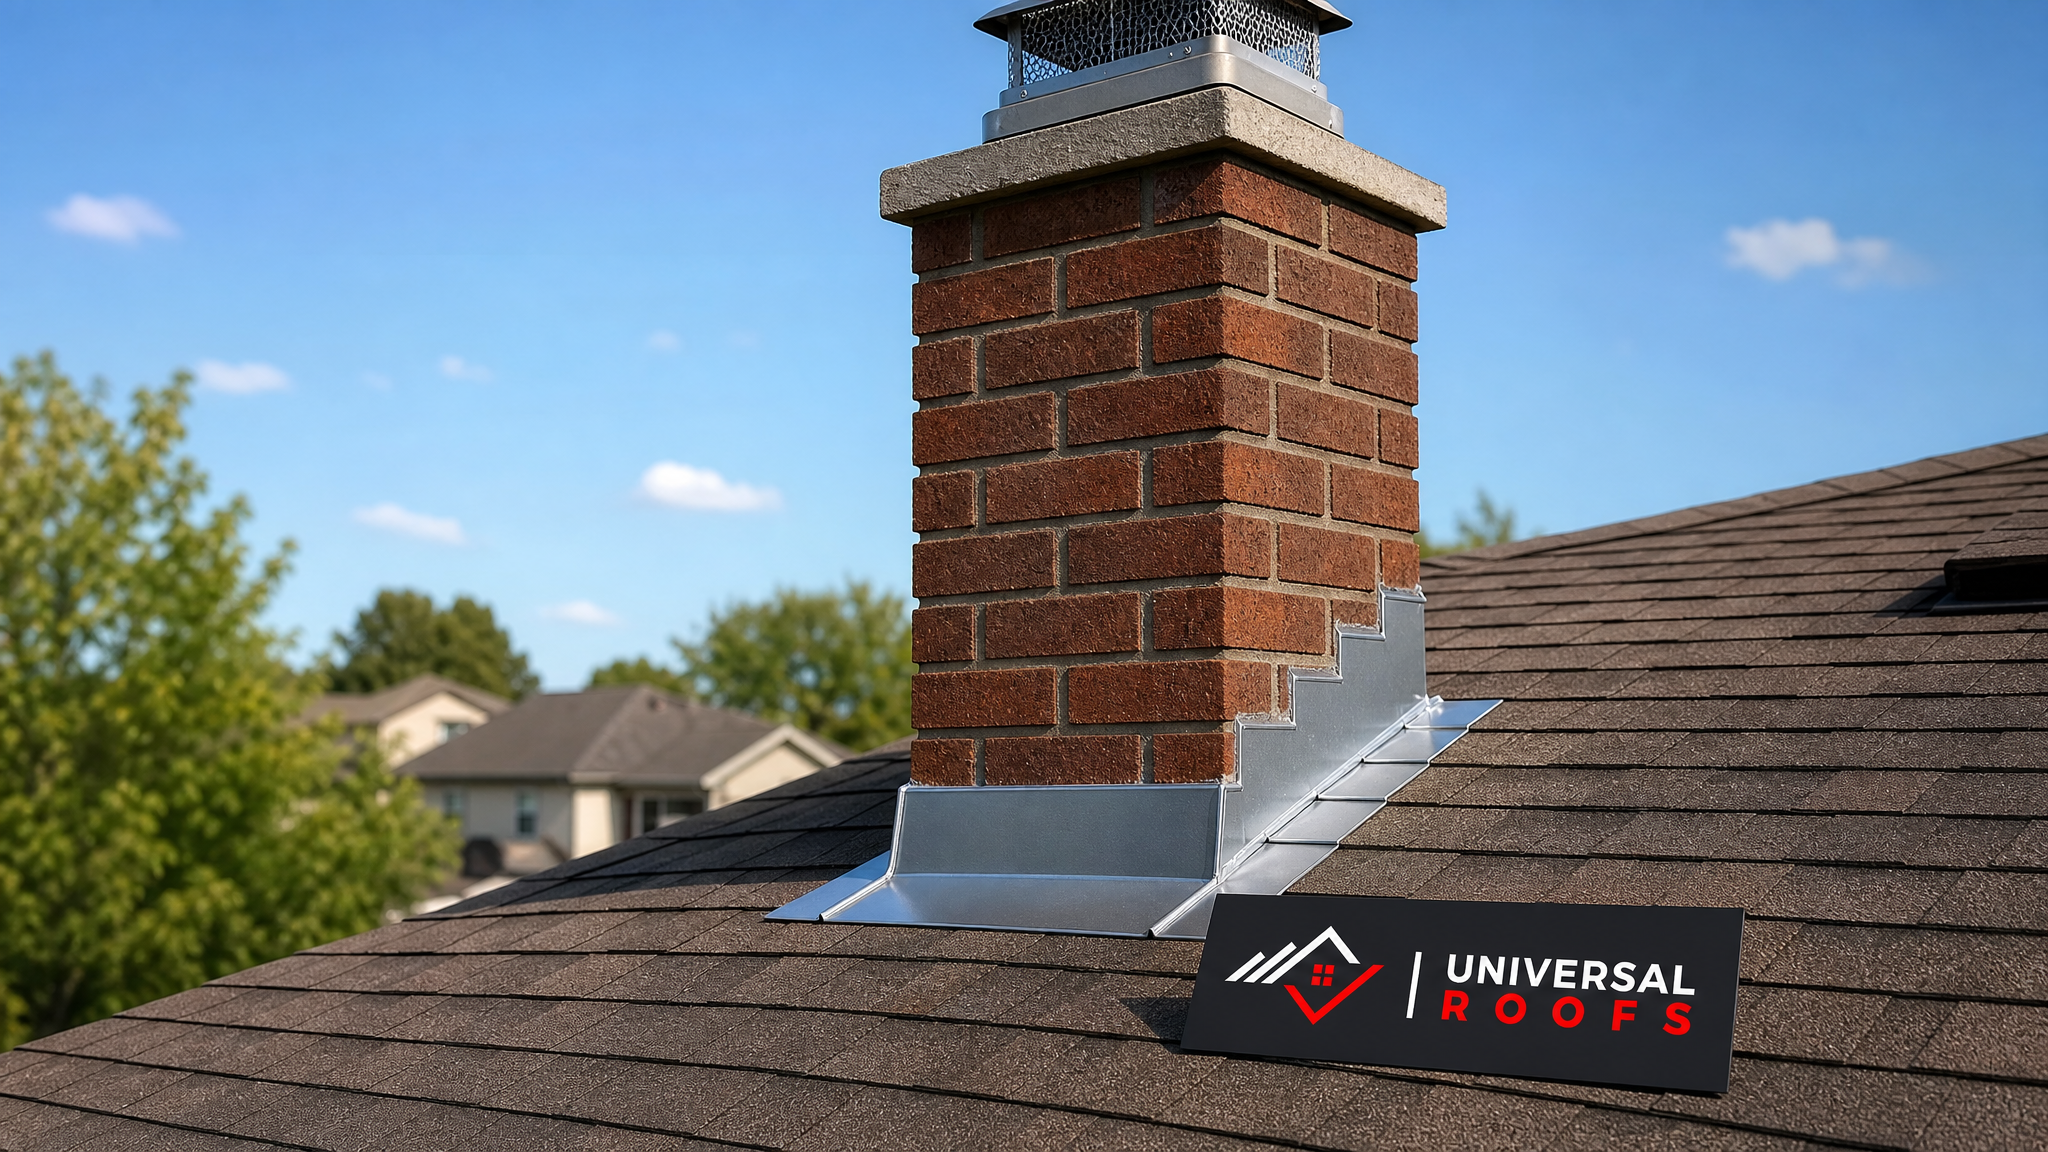
How Chimney Flashing Failure Leads to Truss Damage
Flashing is the metal barrier — usually galvanized steel, aluminum, or copper — installed where a chimney penetrates the roof plane. It is made up of several parts working together: base flashing that sits against the chimney and over the shingles, step flashing woven into each shingle course up the sides, and counter-flashing (or cap flashing) that is embedded into the mortar joints and folds down over the step flashing to shed water completely.
When any one of these fails — a cracked sealant bead, a lifted counter-flashing reglet, corroded step flashing, or a chimney cricket that was never installed on a wide chimney — water finds the path of least resistance. It runs down the back of the flashing, across the roof sheathing, and directly onto the top chord of the nearest roof truss. Plywood or OSB decking swells and delaminates first. If the leak goes unnoticed, the truss’s top chord, gusset plates, or connector joints begin to absorb moisture too, and untreated softwood framing loses a significant share of its structural strength once moisture content climbs much above 19%.
This is why a proper roof repair around a leaking chimney should never stop at re-caulking the flashing. A thorough assessment checks the attic side of the chimney chase for staining, soft decking, darkened truss members, and any sagging in the truss webbing before calling the job finished.
Solution 1: Full Flashing Replacement With Step and Counter-Flashing
The first and most important solution is also the one most homeowners underestimate: replacing the entire flashing assembly rather than patching it. A tube of roofing cement over a rusted seam might buy a season, but it is not a repair — it is a delay. Proper chimney flashing repair means removing the old base flashing, step flashing, and counter-flashing entirely and reinstalling new components correctly integrated with the surrounding shingles.
A correctly executed flashing replacement includes new step flashing pieces woven under each shingle course (never just laid on top and caulked), a solid base flashing pan behind the chimney, counter-flashing cut into a fresh mortar reglet at least 25 millimetres deep, and — on any chimney wider than about 600 millimetres — a cricket (saddle) built on the uphill side to divert water around the chimney instead of pooling against it. Sealants play a supporting role only; they should never be the primary water barrier.
| Flashing Material | Typical Lifespan | Relative Cost | Best Suited For |
|---|---|---|---|
| Galvanized steel | 20-25 years | $ | Standard residential chimneys, asphalt shingle roofs |
| Aluminum | 20-25 years | $ | Lightweight installs, avoid direct contact with masonry mortar |
| Copper | 50+ years | $$$ | Heritage homes, premium or architectural roofs |
| Lead-coated copper | 50+ years | $$$ | Complex chimney geometries needing hand-formed detail |
| Rubberized membrane (EPDM) underlayment | 25-30 years | $$ | Secondary waterproofing layer beneath metal flashing |
Most GTA homes are well served by galvanized steel or aluminum flashing paired with a self-adhered rubberized underlayment as a backup membrane. Copper is worth the premium on older homes in established neighbourhoods where the existing chimney detail is already copper, or where the roof itself is a higher-end material like slate or cedar shake. Whichever material is chosen, the workmanship of the installation matters more than the metal — a beautifully cut piece of copper installed without proper mortar reglet penetration will still leak.
Solution 2: Truss Sistering and Reinforcement for Water-Damaged Framing
Once the flashing leak is stopped, attention turns to the truss itself. Not every water-stained truss needs full replacement. In many cases, a technique called sistering — bolting or screwing a new length of lumber alongside the damaged chord or web member — restores full structural capacity without the cost and disruption of removing the original truss.
Sistering works well when the damage is limited to surface staining and moderate softening along a single chord, and when the truss’s connector plates and joints are still intact. The sistered member spans past the damaged section on both sides, is fastened with construction adhesive and staggered structural screws or through-bolts, and effectively shares the load with the original member going forward. This approach typically preserves the roof’s original engineering while adding a meaningful safety margin.
| Damage Severity | Recommended Repair | Typical Timeline | Structural Engineer Required? |
|---|---|---|---|
| Surface staining, no softness | Monitor + seal flashing only | Same day | No |
| Localized soft spot on one chord | Sister with matched-dimension lumber | 1-2 days | Recommended |
| Rot through chord cross-section | Sister or partial chord replacement | 2-3 days | Yes |
| Multiple trusses affected, gusset plate failure | Full truss replacement | 3-5 days | Yes |
| Visible sag in roofline near chimney | Temporary shoring + engineered repair | Immediate + 1 week | Yes |
Any repair beyond simple sistering of a lightly affected member should involve a structural engineer or professional assessment, since Ontario Building Code requirements around load paths and connections apply even to repair work, not just new construction. A qualified roof repair crew will know when a job has crossed that threshold and bring in an engineer rather than guessing.
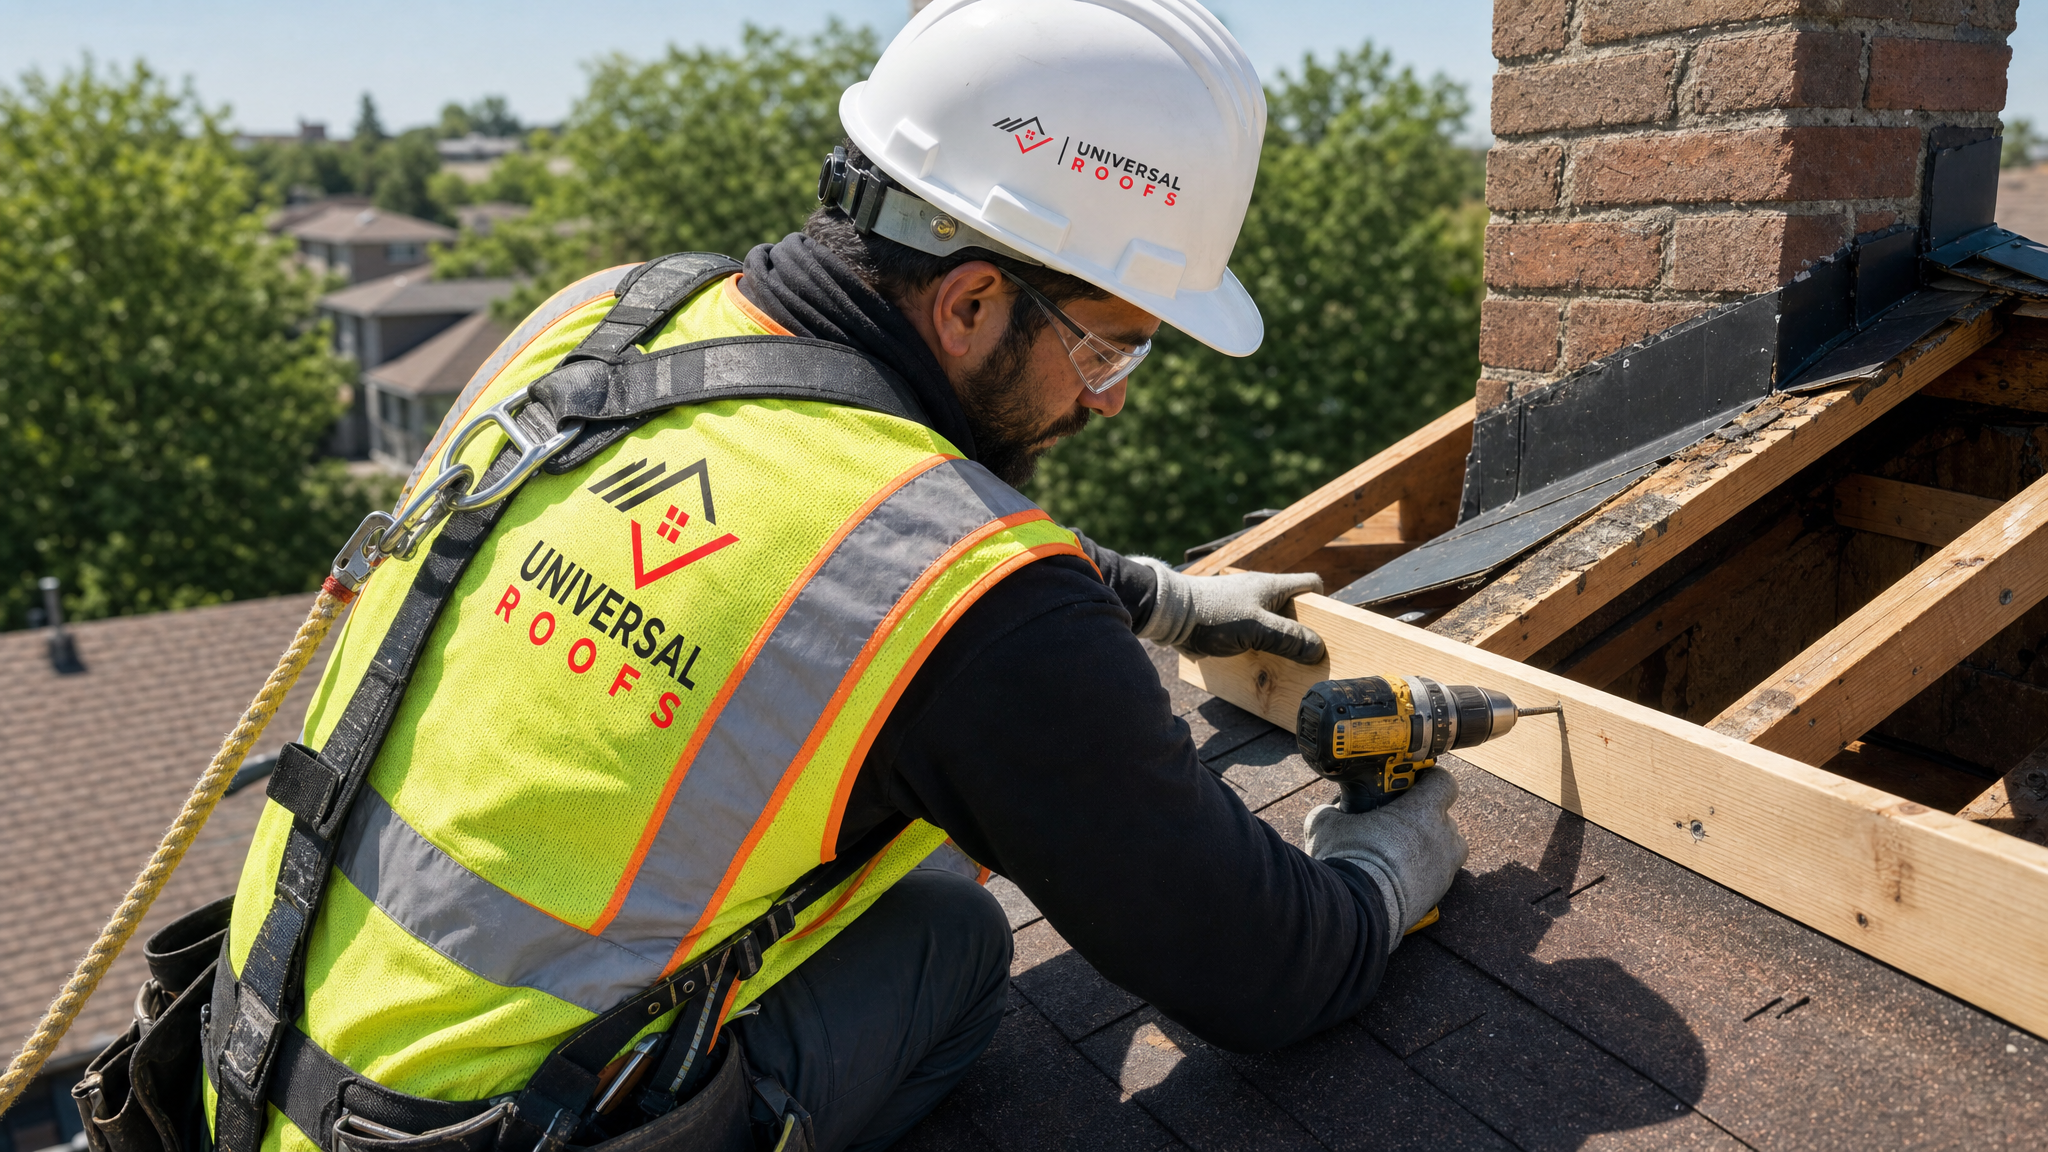
Solution 3: Full Truss Section Replacement for Severe Structural Damage
When rot has progressed through the full cross-section of a chord, when a gusset plate connection has pulled loose, or when more than one truss near the chimney shows compromised framing, sistering is no longer enough. The third solution is removing and replacing the affected truss section, or in more extensive cases, the entire truss.
This is the most invasive and most expensive of the three solutions, but it is also the only correct answer once structural integrity is genuinely in question. The process starts with temporary shoring to support the roof load while the damaged truss is cut out, followed by fabrication or sourcing of a matching replacement section, installation with engineered connector hardware, and finally re-decking and re-flashing the area to prevent a repeat failure. Because trusses are engineered as a system — each one shares load with its neighbours through the roof sheathing and bracing — replacement work should always follow the original truss manufacturer’s specifications or an engineer’s stamped drawing.
| Repair Approach | Relative Cost | Disruption Level | Long-Term Outcome |
|---|---|---|---|
| Flashing replacement only | $ | Low | Stops the leak; does not address existing truss damage |
| Flashing replacement + sistering | $$ | Moderate | Stops leak and restores structural capacity for moderate damage |
| Flashing replacement + full truss section replacement | $$$ | High | Full restoration for severe or multi-truss damage |
| Ignoring the leak (no repair) | $0 short-term | None short-term | Progressive rot, higher eventual cost, potential sagging or collapse risk |
Homeowners sometimes ask whether it is cheaper to simply live with a slow chimney leak. It never is. Every additional season of moisture exposure moves the repair from the top row of that table toward the bottom, and a $ repair deferred long enough becomes a $$$ repair with an engineer, shoring, and interior drywall work added to the invoice.
Attic Inspection: Catching Truss Damage Before It Spreads
The best time to catch chimney-related truss damage is before it requires sistering or replacement at all. A twice-yearly attic walk-through — once in late spring after winter thaw, once in early autumn before the first freeze — takes twenty minutes and can save thousands of dollars. Look for dark staining on the underside of the roof deck near the chimney chase, a musty smell, insulation that feels damp or compressed, and any visible daylight around the chimney penetration.
Proper attic ventilation also plays a supporting role here. An attic that traps humid air accelerates wood decay even in areas that only get occasional flashing seepage, because trapped moisture never gets the chance to dry out between rain events. Balanced intake and exhaust ventilation keeps the attic closer to outdoor temperature and humidity, which reduces condensation on framing members and slows deterioration even where a small flashing leak has gone unnoticed for a season.
If your chimney sits near a skylight or the roof has multiple penetrations, the same failure pattern applies to those openings too. A poorly flashed skylight can channel water onto nearby trusses in exactly the same way a chimney does, and older units are strong candidates for skylight replacement rather than repeated caulk-and-hope repairs.
What to Expect From a Professional Assessment
When you call in a roofing contractor for suspected chimney flashing and truss issues, a thorough assessment should include both an exterior roof inspection and an interior attic inspection, not just a look from the ground with binoculars. On the roof, the technician checks flashing seams, counter-flashing embedment, the condition of the mortar reglet, shingle integrity around the chimney, and whether a cricket exists on wider chimneys. In the attic, they check the underside of the decking, the truss chords and webs nearest the chimney, gusset plate condition, and insulation moisture content.
A written report should note the exact extent of any staining or softness, distinguish cosmetic staining from active structural concern, and recommend one of the three solutions above with a clear explanation of why. Be cautious of any quote that proposes a full truss replacement without first inspecting the attic side of the roof — that scope decision should never be made from the ground.
| Warning Sign | Where to Look | Likely Cause | Urgency |
|---|---|---|---|
| Ceiling stain near chimney | Interior, top floor | Active or recent flashing leak | High — inspect within days |
| Rust streaks on flashing | Exterior, chimney base | Corroded galvanized flashing | Moderate — schedule inspection |
| Soft or spongy decking | Attic, near chimney chase | Prolonged moisture exposure | High — assess truss condition |
| Visible roofline dip near chimney | Exterior, viewed from street | Truss chord or connection failure | Urgent — engineer assessment |
| Musty attic odour | Attic | Trapped moisture, possible early rot | Moderate — check ventilation and flashing |
Cost Factors and Budgeting for Combined Flashing and Truss Repairs
Because these repairs scale from a straightforward flashing swap to an engineered structural rebuild, cost ranges vary widely across the GTA depending on chimney size, roof pitch, accessibility, and the extent of truss involvement. Several factors influence the final number: the flashing material chosen, whether a cricket needs to be built where none existed, how many truss members require sistering or replacement, whether an engineer’s stamped drawing is required, and how much interior finishing (drywall, insulation replacement, paint) is needed once the structural work is complete.
Homeowners in older neighbourhoods across Toronto often carry original 1950s-1970s masonry chimneys where the flashing has never been properly replaced, only patched. Newer subdivisions across Peel Region, York Region, Halton Region, and Durham Region tend to have factory-built metal chimneys with simpler flashing details, but truss damage still shows up wherever a leak has been ignored for more than one season, regardless of chimney type.
If your roof covering is nearing the end of its service life anyway, it is often more cost-effective to combine the chimney flashing repair with a broader roof replacement, since the flashing and decking around the chimney will already be exposed. This avoids paying labour twice for the same section of roof within a few years of each other.
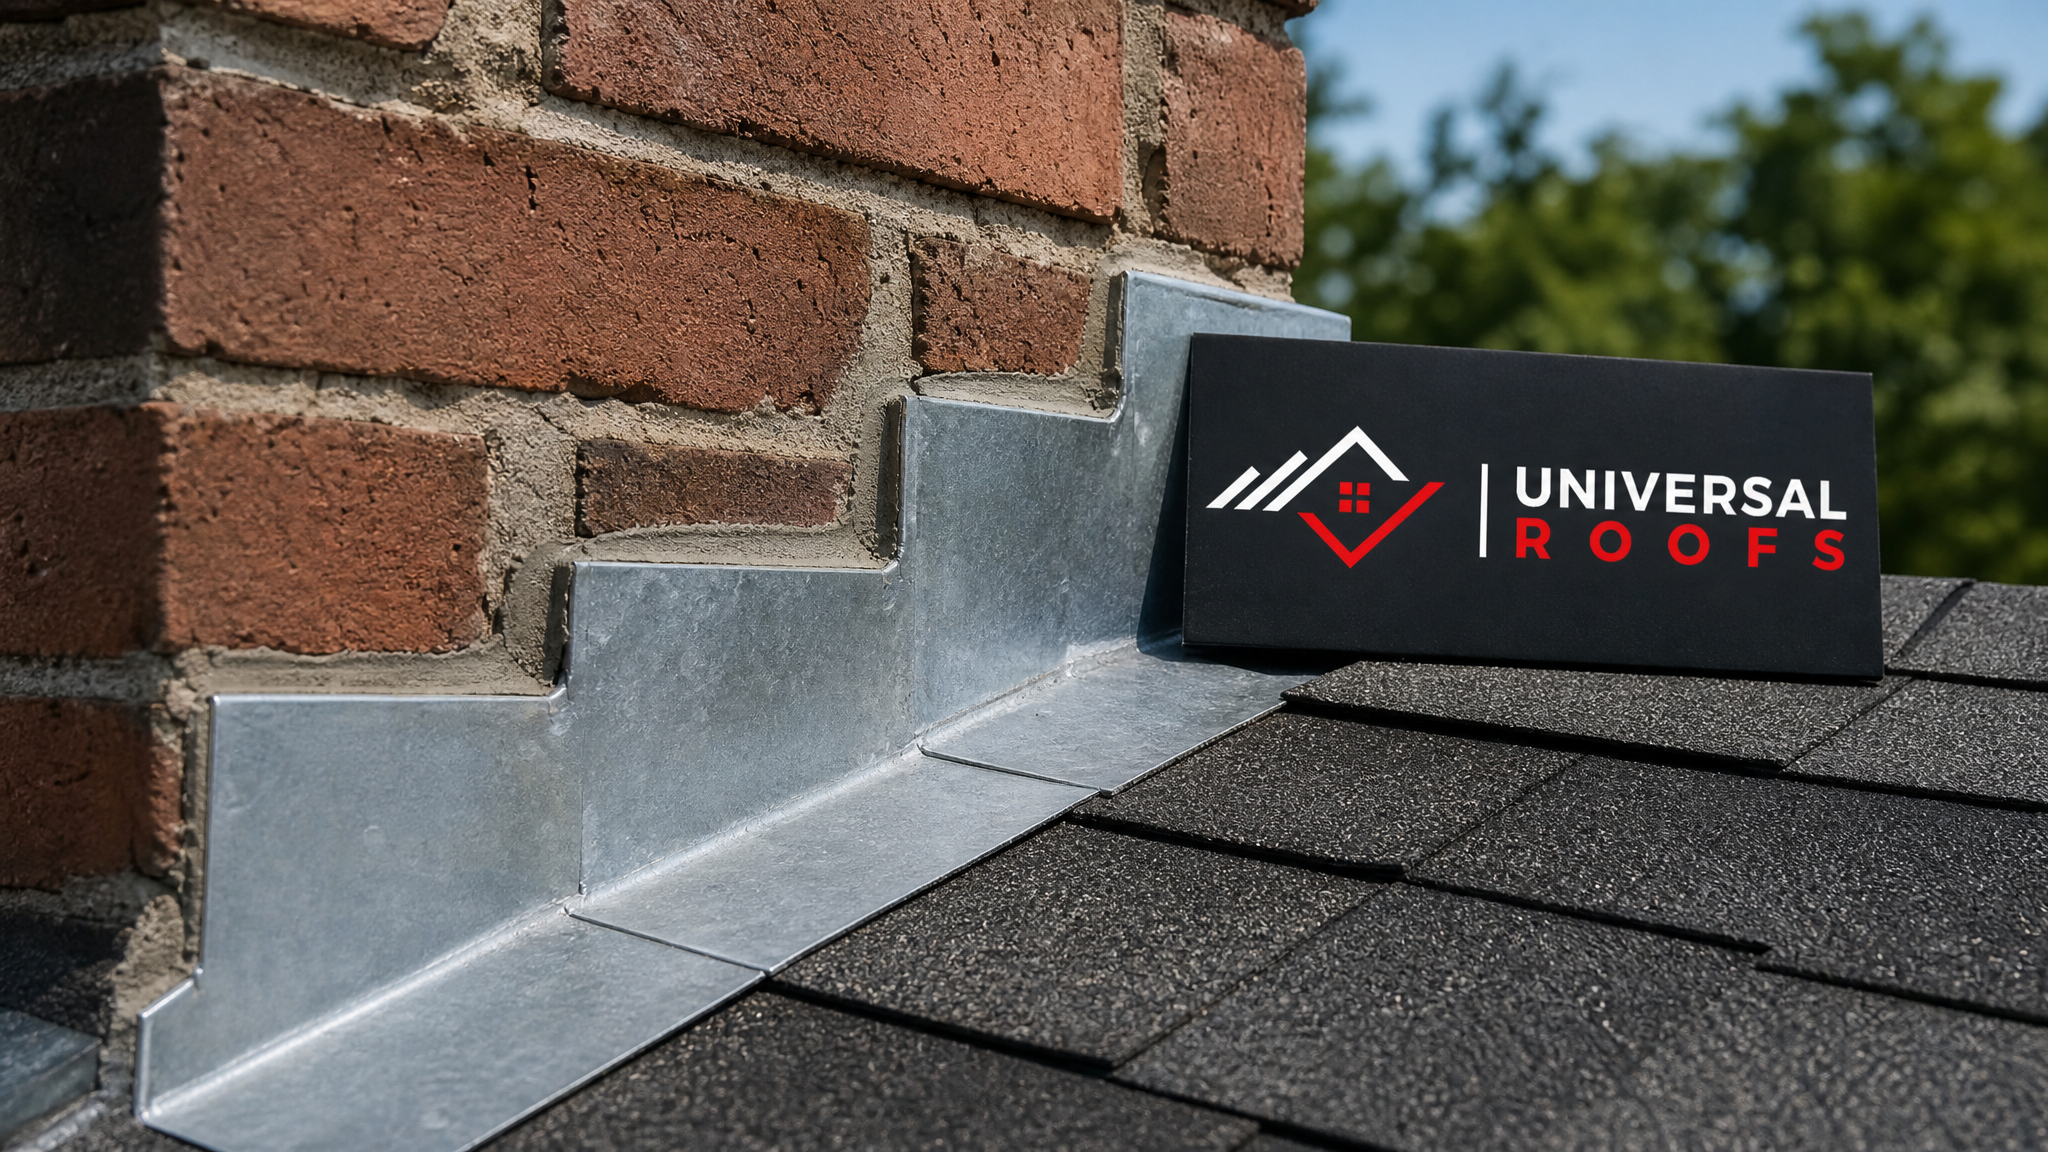
Maintenance That Prevents Repeat Chimney and Truss Problems
Once a proper repair is complete, a short annual maintenance routine keeps both the flashing and the framing behind it in good condition for decades. Inspect the flashing and mortar joints every spring, clear any debris that collects against the uphill side of the chimney, confirm the cricket (if installed) is shedding water correctly during the next heavy rain, and check the attic side once a year for any new staining.
Homeowners who have already been through a chimney leak once are understandably cautious about it happening again. Booking a brief annual check-up with a roofing contractor, rather than waiting for the next visible stain to appear, is the cheapest insurance available against a repeat of the same structural repair. It is also worth confirming that any workmanship warranty on the flashing repair itself remains active, since most reputable contractors back their flashing work for several years.
For anything beyond flashing — evaluating the whole roof system, checking for related issues around vents or skylights, or getting a second opinion on a quoted truss repair — reading through reviews from other GTA homeowners who have had similar work done can help set realistic expectations for both cost and process before you commit to a contractor.
What are the best solutions for chimney flashing roof truss repair?
How do I know if my chimney flashing leak has damaged the roof truss?
Can a damaged truss near a chimney be repaired without full replacement?
What flashing material lasts longest around a chimney in the GTA climate?
Is it safe to ignore a small chimney flashing leak for now?
Do I need a structural engineer for chimney-related truss repairs?
Need Help With 3 Best Solutions for?
Chimney flashing and truss issues rarely improve on their own, and the sooner they are properly diagnosed, the less invasive the repair tends to be. Universal Roofs has been assessing and repairing exactly this kind of combined flashing and structural damage across the GTA since 2005.
Call us today at (416) 732-2421 or request a free inspection to get started.
Universal Roofs proudly serves Toronto, Mississauga, Brampton, Vaughan, Markham, Oakville and the GTA since 2005.