
A chimney is one of the most overlooked parts of a roofing system, yet it is often the single biggest source of leaks, drafts, and heat loss in a Toronto home. When homeowners search for tips for improving chimney and roof performance, they are usually dealing with one of two problems: a chimney that is quietly letting water into the attic, or a fireplace and furnace that are not venting efficiently because the chimney and roof were never designed to work together. Both problems are fixable, and both are far cheaper to solve early than after a winter of freeze-thaw cycles has done its damage.
At Universal Roofs, we have been repairing and rebuilding chimney-to-roof junctions across the Greater Toronto Area since 2005. Chimneys sit at the single most complex intersection on any roof — a vertical masonry or metal structure punching through sloped shingles, requiring flashing, counter-flashing, proper crown sealing, and a cricket or saddle on wider chimneys to divert water. Get any one of those details wrong and you get staining on the ceiling below, mould in the attic, or worse, structural rot in the roof deck around the chimney base.
This guide walks through seven practical, homeowner-friendly tips for improving chimney and roof performance, backed by what our crews see on hundreds of GTA roofs every year. We will cover flashing, crown sealing, ventilation, insulation, cap and liner condition, and the seasonal maintenance rhythm that keeps a chimney and roof system performing well for decades rather than years.
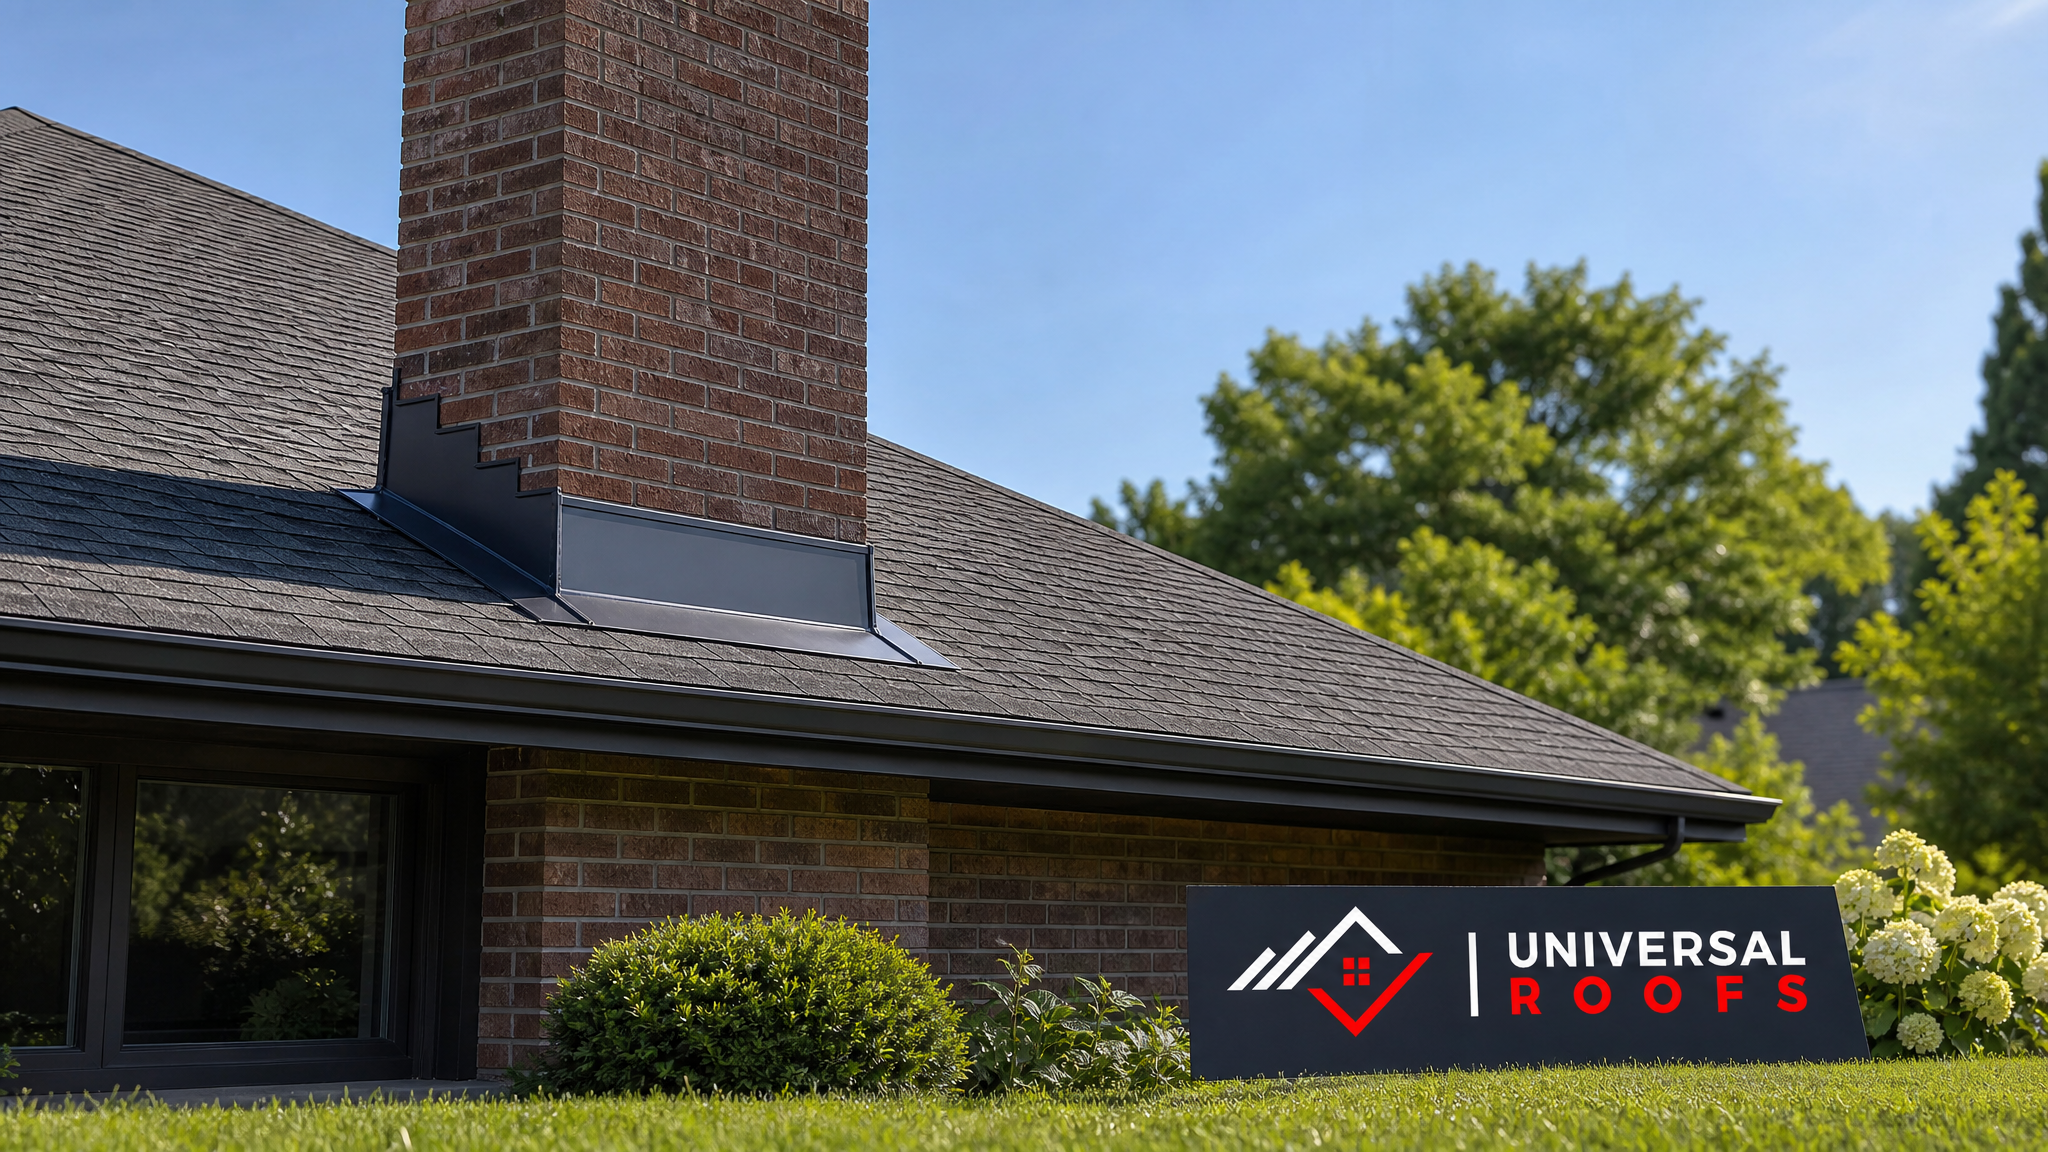
1. Start With the Flashing — The Number One Cause of Chimney Leaks
If you take away only one tip for improving chimney and roof performance, make it this one: inspect the flashing every year. Flashing is the sheet metal system that bridges the gap between the vertical chimney and the sloped roof deck. It is made up of step flashing (individual L-shaped pieces woven between shingle courses up each side of the chimney), counter-flashing (a second layer set into the mortar joints and bent down over the step flashing), and sometimes a base flashing or apron at the front of the chimney where water first hits.
Flashing fails for a few predictable reasons in our climate: nails backing out as the roof deck expands and contracts through freeze-thaw cycles, sealant drying out and cracking after five to eight years of UV exposure, and counter-flashing coming loose from mortar joints that were never properly cut in. Once any of these happen, water finds its way behind the metal and travels down the inside of the chimney chase or roof deck, often showing up as a stain on a ceiling many feet away from the actual entry point.
A proper flashing inspection includes checking for daylight gaps under the counter-flashing, rust streaks on the shingles below the chimney, and soft or discoloured mortar at the reglet line. If your roof is more than 10 years old and the flashing has never been replaced, it is worth having a professional assess it as part of a broader roof repair visit, since flashing failures rarely show up in isolation on an ageing roof.
| Flashing Type | Typical Material | Common Failure Point | Expected Lifespan |
|---|---|---|---|
| Step flashing | Galvanized steel or aluminum | Nail backing out, shingle lift | 20-25 years |
| Counter-flashing | Galvanized steel or copper | Mortar joint deterioration | 25-40 years |
| Base flashing/apron | Aluminum or galvanized steel | Sealant cracking, corner separation | 15-20 years |
| Cricket/saddle flashing | Galvanized steel or membrane | Debris damming, seam separation | 15-20 years |
| Sealant/caulking beads | Polyurethane or silicone sealant | UV cracking, shrinkage | 5-8 years |
2. Seal and Waterproof the Chimney Crown
The crown is the concrete or masonry cap that sits on top of the chimney stack, sloping outward so water sheds away from the flue opening. It takes more direct weather exposure than almost any other part of the house, sitting well above the roofline with no overhang to protect it. In Toronto, the freeze-thaw cycle is brutal on a cracked or porous crown: water gets into hairline cracks during a mild afternoon, then expands as it freezes overnight, widening the crack. Repeat that dozens of times each winter and a small crack becomes a chunk of missing concrete within a few seasons.
A damaged crown lets water directly into the flue liner and the masonry below, which is one of the fastest ways to shorten the life of an otherwise sound chimney. The fix is usually straightforward: a crack of a few millimetres can be sealed with a flexible waterproof crown coating, while larger deterioration may call for a crown rebuild in mortar or a poured concrete cap with a proper drip edge overhang.
Applying a breathable masonry water repellent to the entire chimney stack, not just the crown, is one of the more cost-effective tips for improving chimney and roof performance available to homeowners. It reduces water absorption into the brick or stone without trapping moisture inside, and it typically needs reapplication every five to 10 years depending on exposure.
3. Check the Chimney Cap and Spark Arrestor
A chimney cap sits over the flue opening itself and does three jobs: keeps rain and snow out of the flue, stops birds and squirrels from nesting inside, and (with a spark arrestor mesh) prevents embers from escaping onto the roof. An open or missing cap is a surprisingly common finding on older GTA homes, especially where a wood-burning fireplace has not been used in years and the cap has simply rusted away or was never installed.
Without a cap, rainwater runs straight down the flue liner every time it rains, which accelerates liner deterioration and can eventually crack clay tile liners from repeated saturation and freezing. It also means downdrafts pull cold air into the house and, in the worst cases, allow animals to build nests that block the flue and create a serious carbon monoxide risk when the fireplace or furnace is next used.
We recommend a stainless steel cap with a mesh spark arrestor sized correctly to the flue opening — undersized caps restrict draft and oversized ones can allow wind-driven rain in around the edges. If your chimney also vents a furnace or water heater rather than a wood fireplace, the venting requirements are different again, and it is worth having that assessed alongside your attic ventilation, since furnace flues and attic exhaust often interact more than homeowners expect.
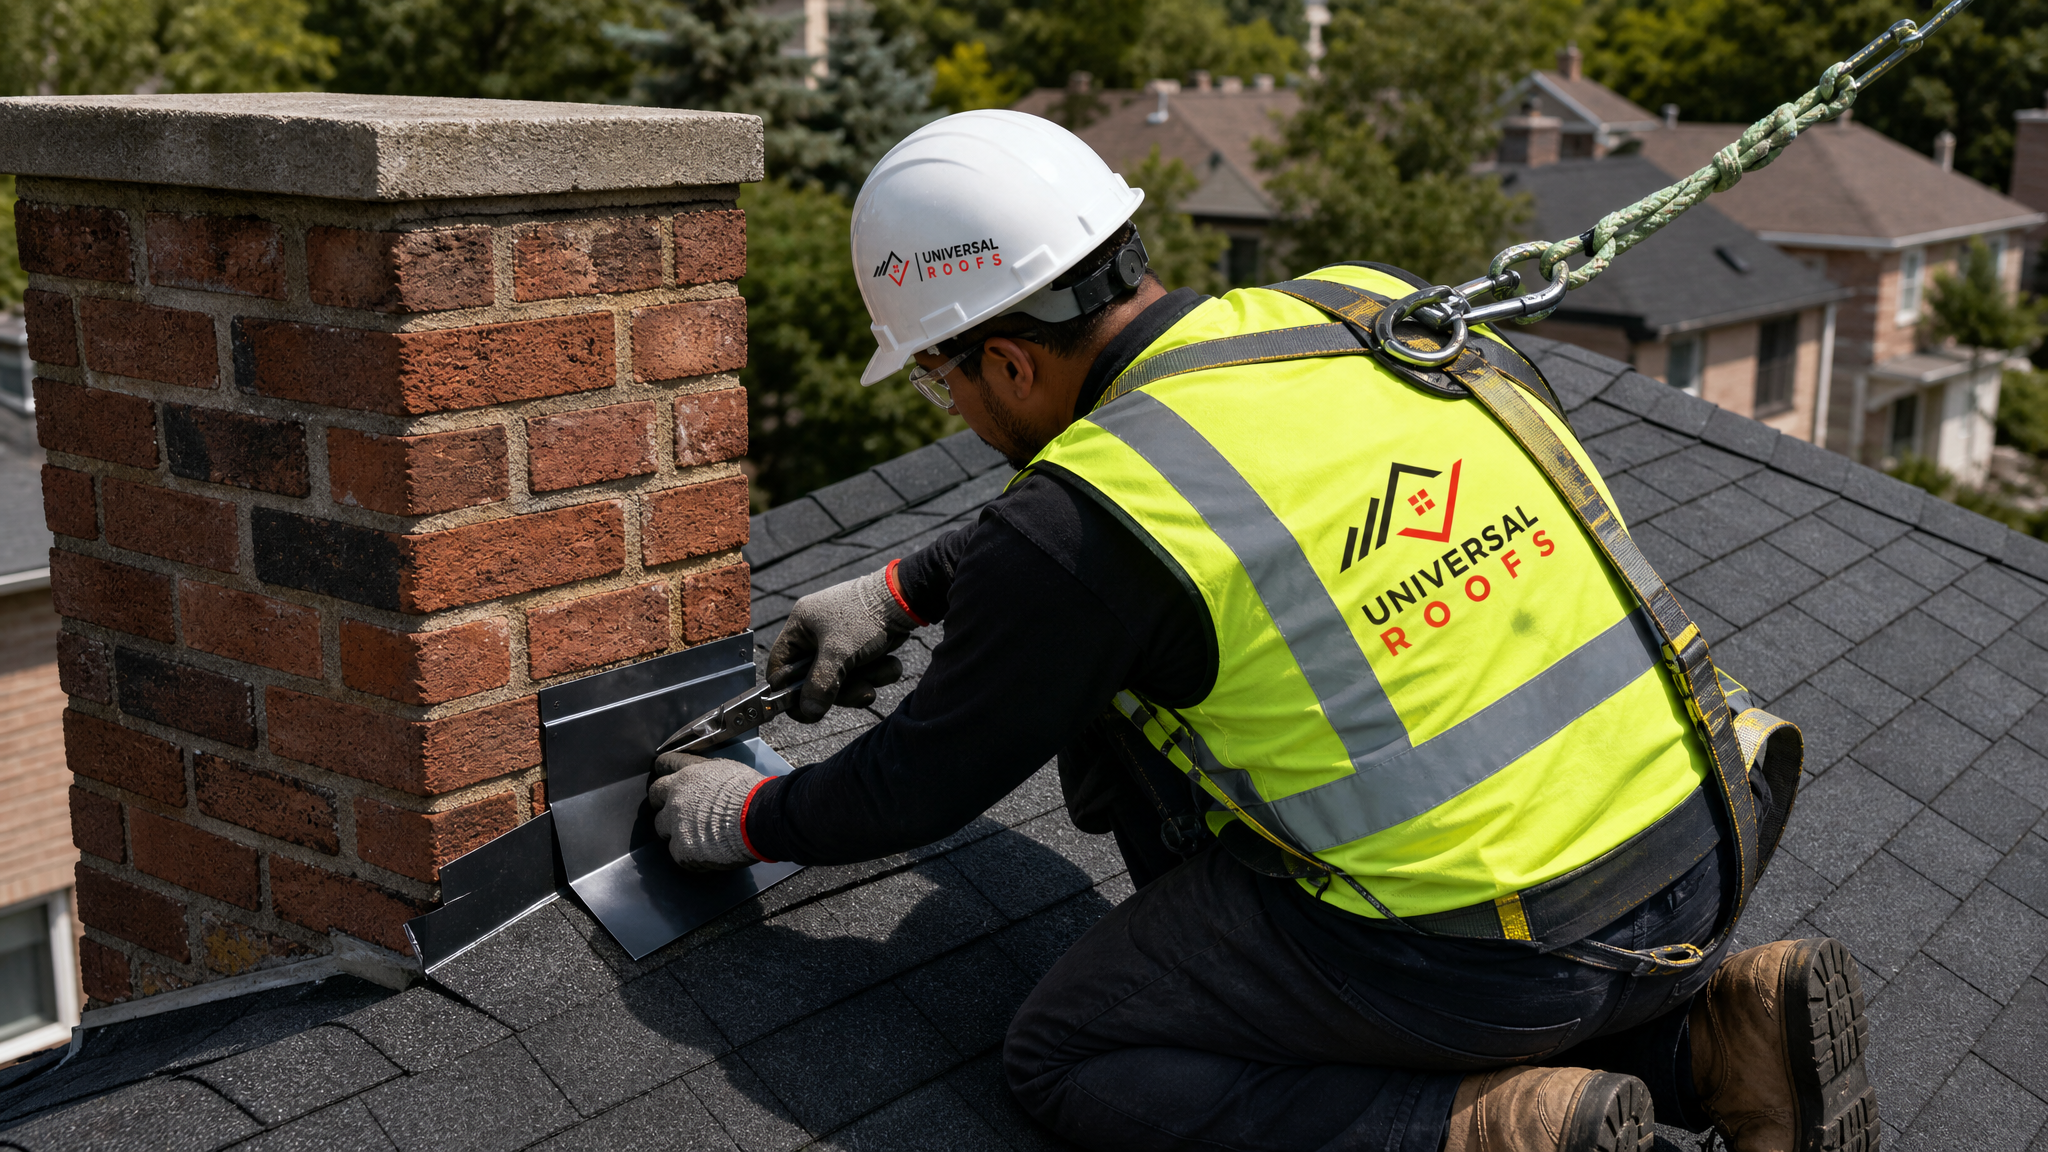
4. Improve Attic Ventilation Around the Chimney
Chimney and roof performance is not just about keeping water out — it is also about managing heat and moisture correctly, and that starts in the attic. A chimney that passes through a poorly ventilated attic creates a warm zone around the chase that can melt snow unevenly on the roof above it, contributing to ice dams that form right where meltwater refreezes at the colder eave below. This is one of the most common ice dam patterns we see on GTA homes every winter, and it traces directly back to attic heat and airflow, not the shingles themselves.
Balanced ventilation, meaning enough intake at the soffits and enough exhaust at the ridge or through roof vents, keeps the attic close to outdoor temperature so snow melts evenly across the whole roof rather than pooling and refreezing near the chimney. It also reduces the moisture load in the attic generally, which protects the roof deck, the insulation, and the framing around the chimney chase from condensation damage.
If your attic has insulation packed tightly against the chimney chase or blocking soffit vents, that is worth correcting at the same time, since chimneys require a code-mandated air gap from combustible materials regardless of ventilation concerns. A combined look at insulation levels and airflow paths is one of the best return-on-investment tips for improving chimney and roof performance we give clients, because it addresses ice damming, energy loss, and moisture in a single visit.
| Ventilation Issue | Effect on Chimney/Roof | Typical Fix | Priority Level |
|---|---|---|---|
| Blocked soffit vents | Uneven attic heat, ice damming at chimney | Clear insulation baffles, install vent chutes | High |
| Insufficient ridge/roof vents | Trapped heat and moisture | Add ridge vent or additional roof vents | High |
| Insulation touching chimney chase | Fire code violation, uneven heat | Install proper fire-rated clearance | Critical |
| Bathroom/dryer exhaust into attic | Excess moisture, mould risk | Reroute exhaust through dedicated roof vent | High |
| No vapour barrier at ceiling | Condensation on roof deck near chimney | Add or repair vapour barrier | Medium |
5. Have the Flue Liner Inspected, Not Just the Exterior
Many homeowners focus entirely on the visible, exterior parts of the chimney and roof system while ignoring the flue liner running down the inside. The liner, whether clay tile, metal, or a poured masonry liner, protects the surrounding brick and the house structure from heat and corrosive combustion byproducts. Cracked or deteriorated liner tiles are difficult to see from ground level and are usually only caught with a camera inspection from inside the flue.
A compromised liner allows heat and moisture to reach the surrounding masonry more directly, accelerating the freeze-thaw damage described earlier and creating a fire risk if the chimney is still used for a wood-burning fireplace. Combined with a flashing and crown inspection, a liner check rounds out a complete top-to-bottom chimney assessment and is something we recommend homeowners schedule at the same interval as a full roof inspection, roughly every one to two years, or immediately after any severe storm.
This is also the point where many chimney problems turn out to be roofing problems in disguise, or vice versa. A liner inspection sometimes reveals moisture entering from a compromised flashing detail rather than from the flue itself, which is why it pays to have a roofing contractor who understands both systems handle the assessment rather than treating the chimney as an isolated structure.
6. Address Roof-Wide Issues That Affect the Chimney
A chimney does not perform in isolation from the rest of the roof. Sagging shingles, a deteriorating underlayment, or a roof deck nearing the end of its service life all put additional stress on the flashing and crown details around the chimney, because those areas depend on a sound, stable roof surface to tie into. If the shingles around the chimney base are curling, cracking, or losing granules, water can bypass even well-installed flashing by finding a path through the failing field of the roof nearby.
This is particularly relevant for homes with older roof replacement needs, where patchwork repairs around the chimney have been layered on top of shingles that are otherwise past their functional lifespan. In these cases, isolated chimney flashing repairs are only a short-term fix. A full assessment of remaining shingle life, deck condition, and ventilation gives a much clearer picture of whether targeted chimney work will actually solve the problem or whether it is a symptom of a roof that needs broader attention.
Flat-roofed additions and rear extensions are another common trouble spot, since chimneys penetrating a flat roofing membrane need entirely different flashing details than a sloped shingle roof, typically a pitch pocket or a properly welded membrane boot rather than woven step flashing. If your home has a mixed roofline with both sloped and flat sections, make sure whoever inspects the chimney understands both systems.
| Symptom Around Chimney | Likely Underlying Cause | Recommended Action | Urgency |
|---|---|---|---|
| Ceiling stain near chimney chase | Flashing or crown failure | Flashing repair, crown sealing | High — act within weeks |
| Shingle granule loss around chimney | Ageing roof field, sun exposure | Full roof condition assessment | Medium — plan within a season |
| Ice buildup concentrated near chimney | Attic heat loss, poor ventilation | Ventilation and insulation upgrade | High — before next winter |
| Musty attic smell near chimney chase | Trapped moisture, possible mould | Moisture source inspection, remediation | High — act promptly |
| Loose or missing mortar at flashing line | Ageing masonry, freeze-thaw cracking | Repoint mortar, reset counter-flashing | Medium — before winter |
7. Build a Seasonal Chimney and Roof Maintenance Routine
The single biggest difference between homeowners who deal with recurring chimney leaks and those who never do is a maintenance routine. A summer inspection, like the one this article is timed around, is genuinely the best time to catch and repair chimney flashing, crown cracks, and sealant issues before autumn rain and winter freeze-thaw cycles have a chance to make small problems much larger and more expensive.
A simple seasonal rhythm works well for most GTA homes: a visual check from ground level each spring and autumn looking for obvious flashing gaps, rust streaks, or leaning caps; a closer professional inspection every one to two years covering flashing, crown, cap, and liner condition; and prompt attention any time there is a known severe wind or hailstorm in the area, since those events can loosen flashing or crack crowns without leaving obvious signs from the ground.
Keeping a simple record of when flashing was last replaced, when the crown was last sealed, and when the liner was last inspected also makes it much easier to plan ahead rather than reacting to an emergency leak in the middle of a January cold snap. Homeowners across our Toronto, Peel Region, York Region, Halton Region, and Durham Region service areas who follow this rhythm consistently report far fewer surprise leaks and get considerably more life out of their existing flashing and crown work.
| Season | Recommended Chimney/Roof Check | What to Look For | Time to Act |
|---|---|---|---|
| Spring | Visual ground-level inspection | Winter damage, loose flashing, cracked crown | Within 2-4 weeks of thaw |
| Summer | Full professional inspection | Flashing, crown, cap, liner condition | Ideal season — dry conditions |
| Autumn | Pre-winter sealing and repairs | Sealant condition, cap security, debris in cricket | Before first frost |
| Winter | Post-storm visual check only | Ice damming near chimney, snow load | After major storms |
Skylights are another common roof penetration that shares many of the same flashing principles as a chimney, so if your roof also includes older units it is worth a look at our skylights and skylight replacement guidance, since the same freeze-thaw and flashing-fatigue issues apply there too.
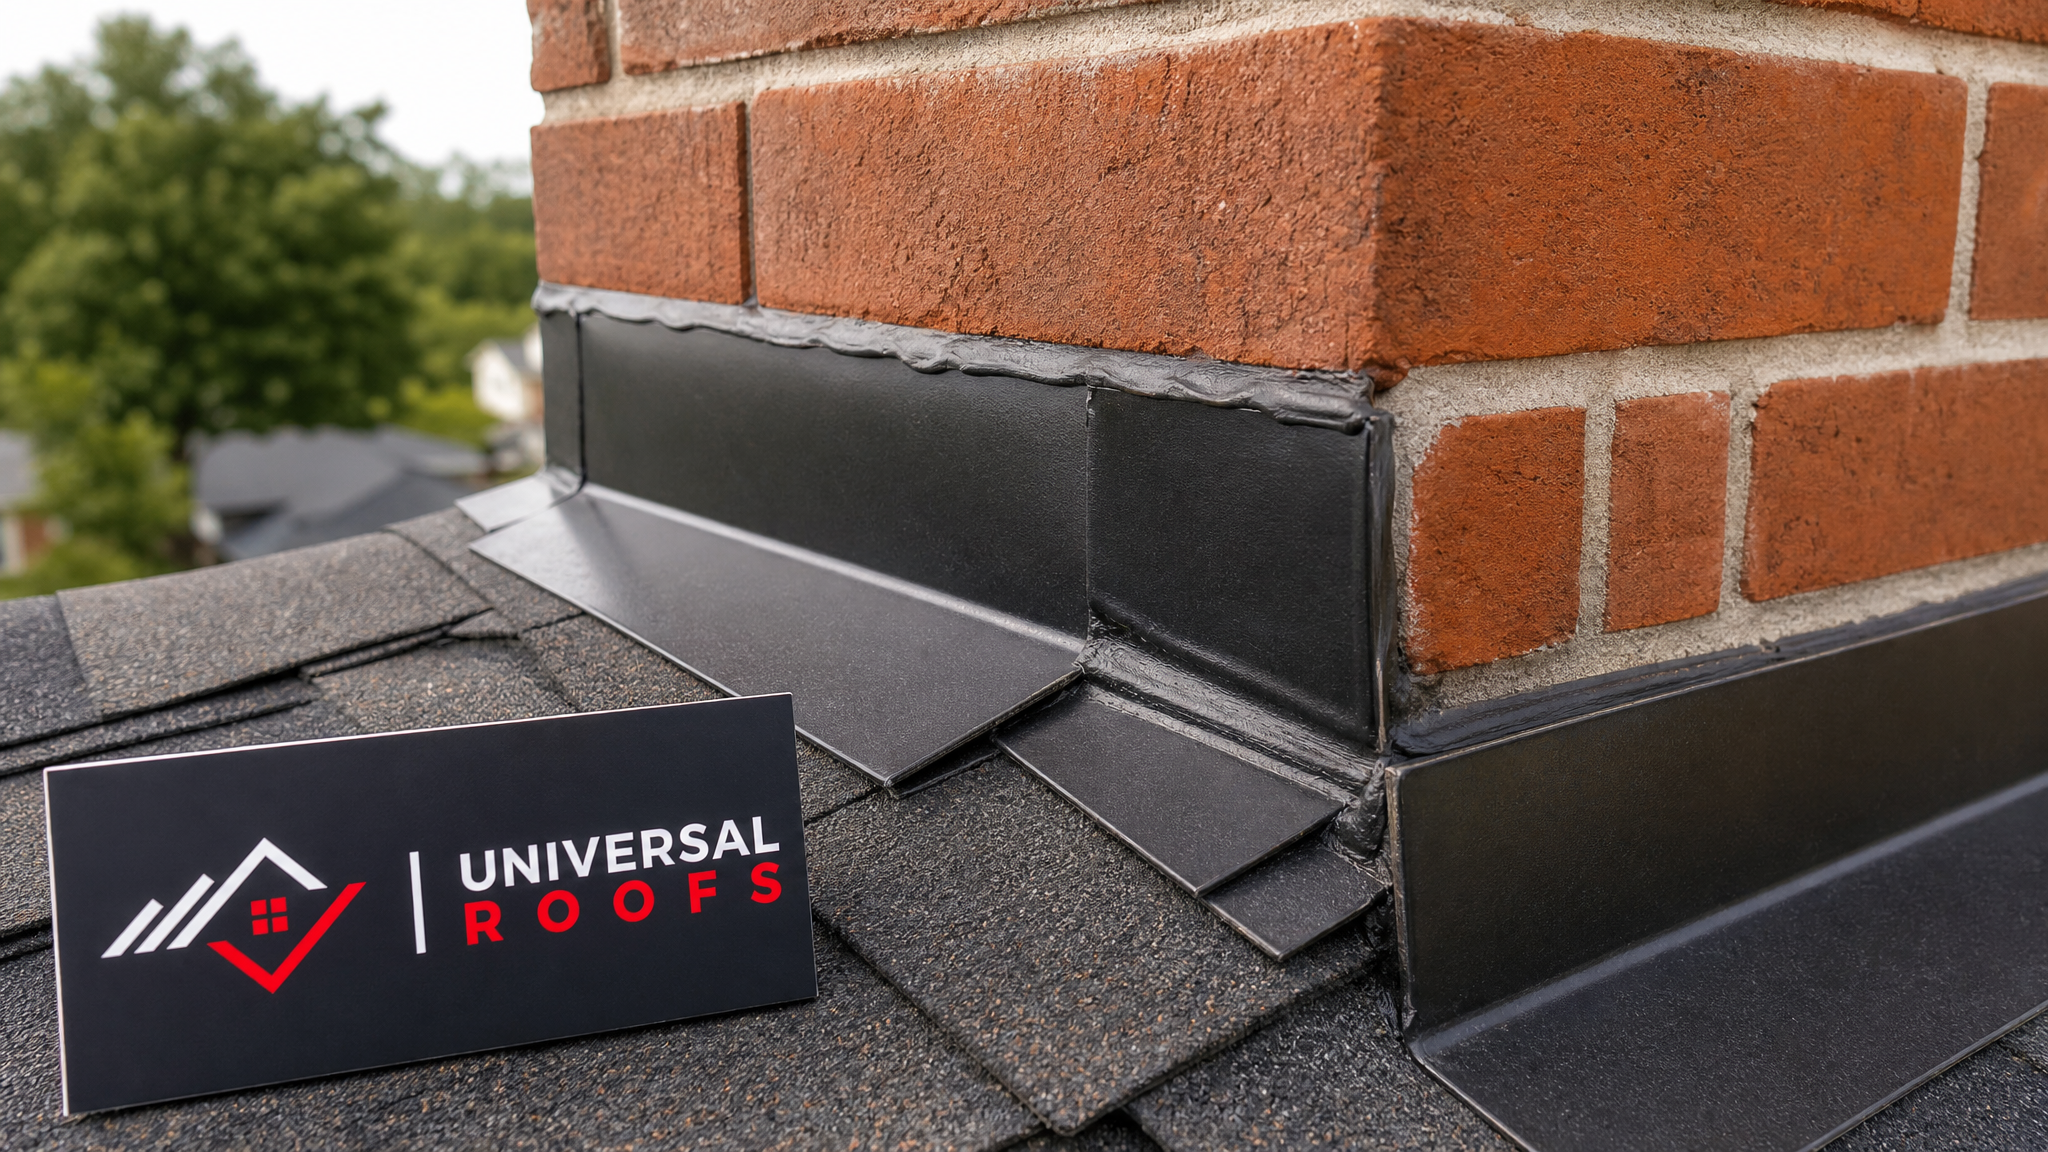
Putting These Tips Together for Long-Term Performance
None of these seven tips for improving chimney and roof performance work well in isolation. Flashing and crown sealing keep water out. Cap and liner condition protect the flue itself. Attic ventilation prevents the ice damming and moisture buildup that undermines everything else. And a seasonal routine ensures small problems get caught before they become expensive emergencies. Treating the chimney as one connected system with the roof around it, rather than a separate structure that just happens to poke through the shingles, is really the core idea behind every tip on this list.
Homeowners who have questions about how their specific chimney was originally built, or who are unsure whether a stain or draft issue traces back to flashing, ventilation, or the liner, are always welcome to browse our FAQ page or read what past clients have experienced on our reviews page before booking an assessment. You can also learn more about our team’s approach on our about page.
What are the most effective tips for improving chimney and roof performance?
How often should chimney flashing be inspected?
Why does my chimney leak only during heavy rain or after winter?
Can poor attic ventilation really affect chimney performance?
Do I need a chimney cap if I never use my fireplace?
Is it better to repair chimney flashing or replace the whole roof?
Need Help With 7 Tips for Improving?
Chimney and roof performance issues rarely resolve themselves, and small flashing gaps or crown cracks only get more expensive to fix the longer they are left through a Toronto winter. The team at Universal Roofs has the experience to assess your chimney, flashing, ventilation, and roof together as one system rather than treating each in isolation.
Call us today at (416) 732-2421 or request a free inspection to get started.
Universal Roofs proudly serves Toronto, Mississauga, Brampton, Vaughan, Markham, Oakville and the GTA since 2005.