
Bringing natural light into a dim hallway, a cramped bathroom, or a second-storey bedroom is one of the highest-value upgrades a Toronto homeowner can make, and it’s rarely as simple as cutting a hole in the roof and dropping in a window. Proper skylight installation Toronto homeowners can rely on for decades depends on roof pitch, framing, insulation, flashing detail, and a realistic understanding of our freeze-thaw winters and humid summers. Get any one of those wrong and you’re not looking at a design feature — you’re looking at a leak.
This guide walks through everything involved in planning and executing a skylight project in the GTA: the types of skylights suited to our climate, what proper flashing actually requires, realistic cost ranges, the installation process from framing to finishing, and the mistakes that turn a beautiful light source into a recurring repair bill. We wrote it for homeowners comparing quotes, deciding between a fixed and a venting unit, or trying to understand why one installer’s price is half of another’s.
If you already know you need a professional assessment, you can request a free inspection at any point — but if you want to understand the process first, read on.
Why Skylight Installation Toronto Homes Need Is Different From a DIY Job
Skylights look simple in a showroom photo — a clean glass unit sitting flush in a ceiling. What that photo doesn’t show is the layer of engineering underneath: a structural opening cut into your roof deck, a curb or deck-mounted frame anchored to the rafters, a step-and-counter flashing system integrated with the surrounding shingles or membrane, and an insulated light shaft connecting the roof opening to the ceiling below. Every one of those layers has to perform correctly through a Toronto winter that swings from -20°C cold snaps to sudden January thaws, and through humid July afternoons where condensation inside a poorly insulated shaft can drip just as badly as an exterior leak.
Toronto’s climate specifically punishes shortcuts. Ice damming is the number one cause of skylight leaks we see on service calls, and it has almost nothing to do with the skylight unit itself — it’s caused by heat escaping from the house, melting snow on the roof, which then refreezes at the eaves and backs up under the flashing. A skylight installed without proper ice-and-water shield underlayment extending well beyond the curb, or without adequate attic ventilation feeding cold air across the roof deck, is a guaranteed future leak regardless of how good the window itself is. That’s why an experienced Universal Roofs crew treats the flashing and roof-deck integration as the most important part of the job, not an afterthought to hanging the glass.
Types of Skylights and Which Suit Toronto Roofs
Not every skylight style works on every roof, and the right choice depends on your roof pitch, the room below, and how much ventilation you actually want. The three broad categories are fixed, venting, and tubular skylights, each with distinct trade-offs for GTA homes.
Fixed skylights are sealed units that don’t open. They’re the simplest to install, the least prone to leaks because there are no moving seals to fail, and ideal for high, hard-to-reach roof areas like over a stairwell or vaulted great room. Venting skylights — manual crank, or increasingly solar or electric powered — open to let hot, humid air escape, which matters a great deal in kitchens and bathrooms where moisture buildup is a real concern in our humid Toronto summers. Tubular or “sun tunnel” skylights use a reflective tube to channel daylight from the roof into a small interior space like a closet or powder room where a full skylight shaft isn’t practical.
| Skylight Type | Best For | Ventilation | Typical Toronto Price Range (installed) |
|---|---|---|---|
| Fixed skylight | Living rooms, stairwells, vaulted ceilings | None | $1,200 – $2,200 |
| Manual venting skylight | Bedrooms, home offices | Crank-operated | $1,800 – $3,200 |
| Solar/electric venting skylight | Kitchens, bathrooms, humid rooms | Remote or rain-sensor automatic | $2,400 – $4,500 |
| Tubular/sun tunnel skylight | Closets, hallways, powder rooms | None (some models have a small vent) | $900 – $1,800 |
Roof pitch also matters more than most homeowners expect. Steep-slope asphalt shingle roofs — the majority of GTA homes — use curb-mounted or deck-mounted skylights integrated with step flashing much like a chimney. Low-slope or flat sections, common on additions, garages, and some bungalow rooflines, need purpose-built flat-roof skylight units with raised curbs designed to shed standing water, which is a very different product from a standard pitched-roof skylight. If your home has a mix of pitched and flat roof areas, it’s worth having both assessed — our flat roofing team and skylight crew often coordinate on exactly this kind of mixed-roof project.
The Skylight Installation Process, Step by Step
Understanding the actual sequence of a professional install helps you evaluate whether a contractor is cutting corners. A properly executed job follows roughly these stages:
1. Interior and structural assessment. Before any cutting happens, the installer confirms rafter spacing, checks for wiring, ductwork, or plumbing in the ceiling cavity, and identifies whether a header will need to be added to redirect structural load around the opening.
2. Marking and cutting the opening. The unit’s rough opening dimensions are marked from inside the attic or from the roof, and the roof deck is cut. On a well-run job, this step happens on a dry day with the opening covered immediately if weather threatens — leaving an open roof deck overnight is a rookie mistake that leads to interior water damage before the skylight is even installed.
3. Framing the curb. Dimensional lumber is used to frame a curb (for curb-mounted units) that the skylight will sit on, or the manufacturer’s deck-mount flange is fastened directly if using a deck-mounted unit. This framing has to be square, level, and solidly fastened to the rafters — any racking here will stress the glass unit over time.
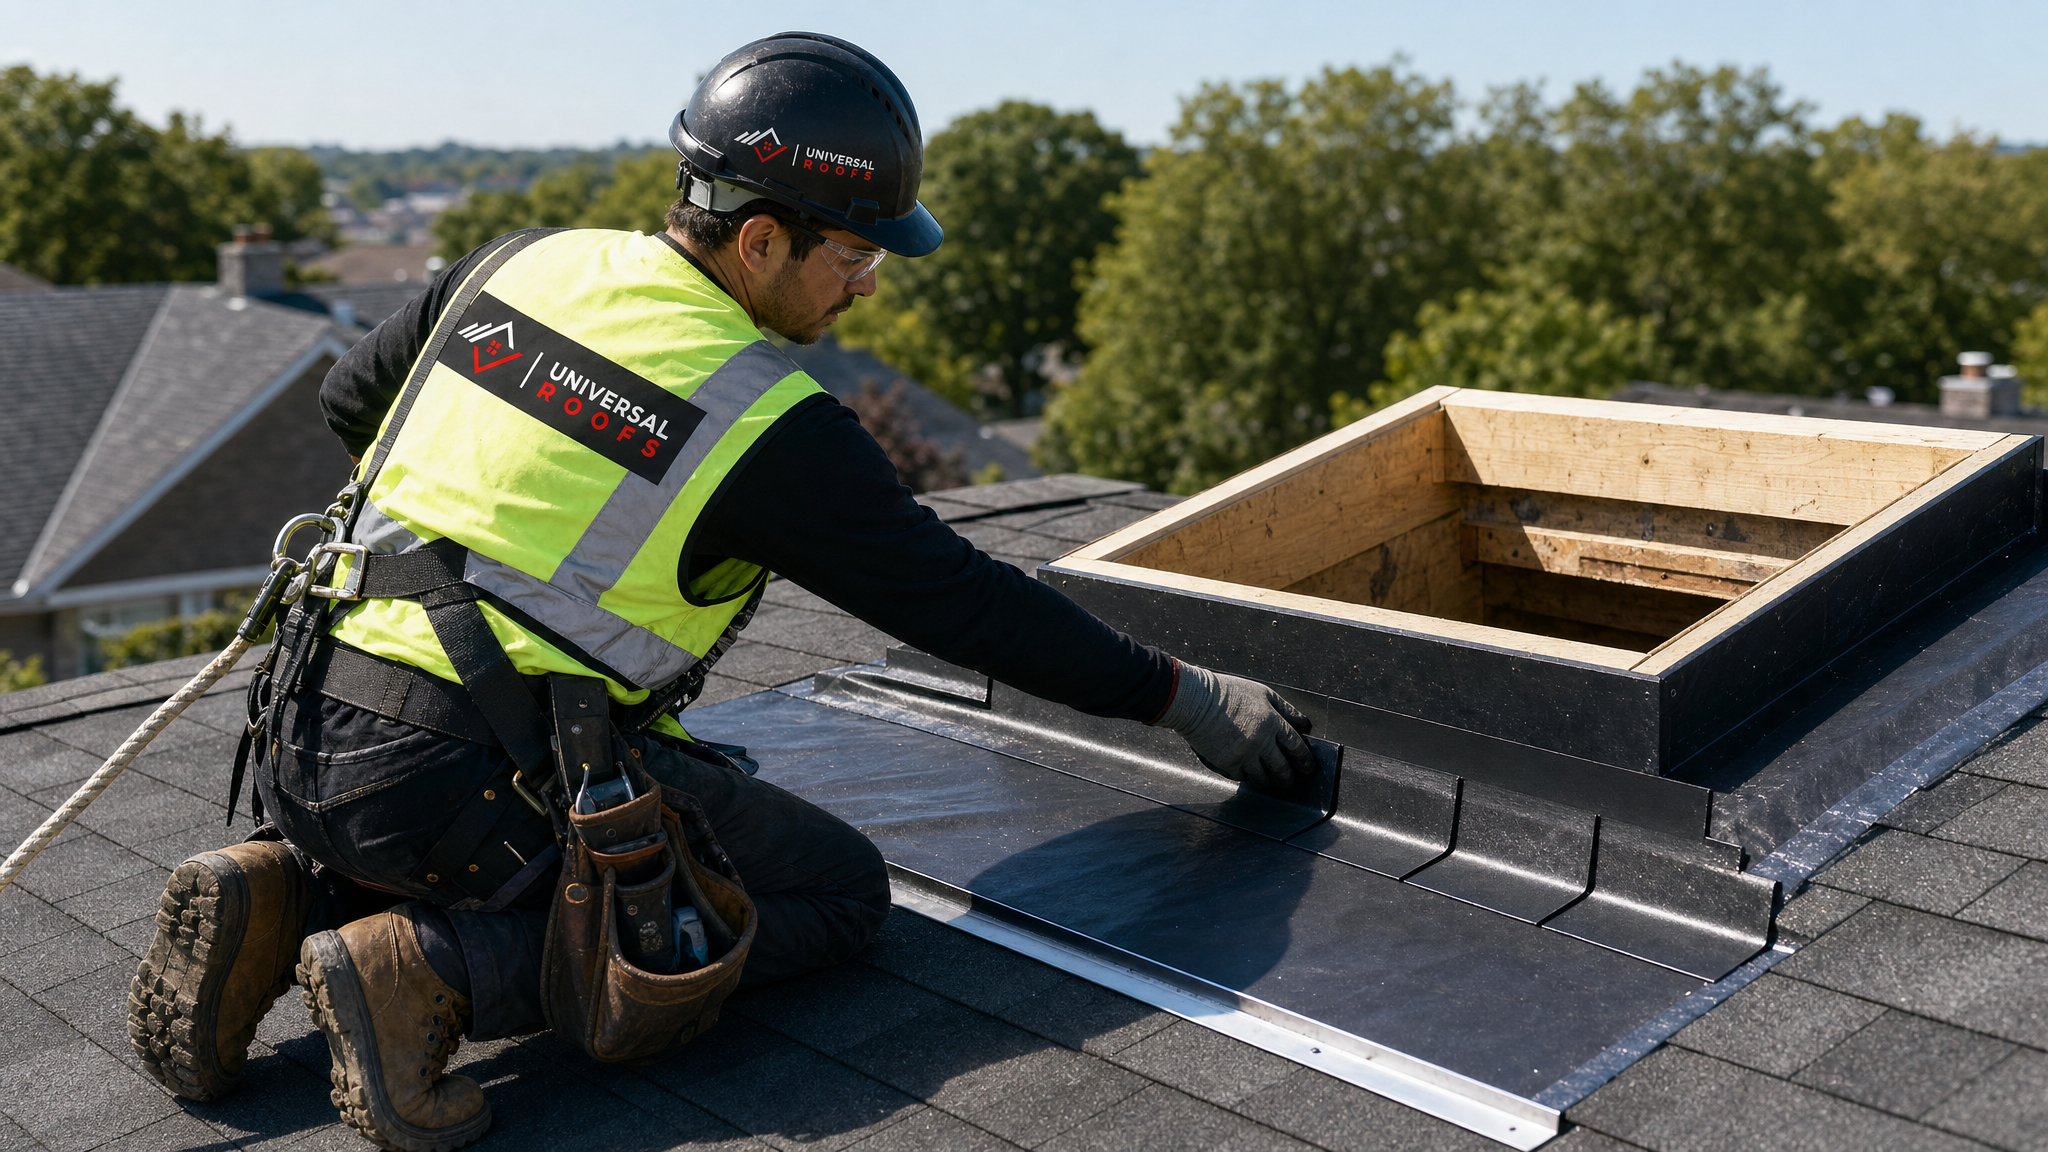
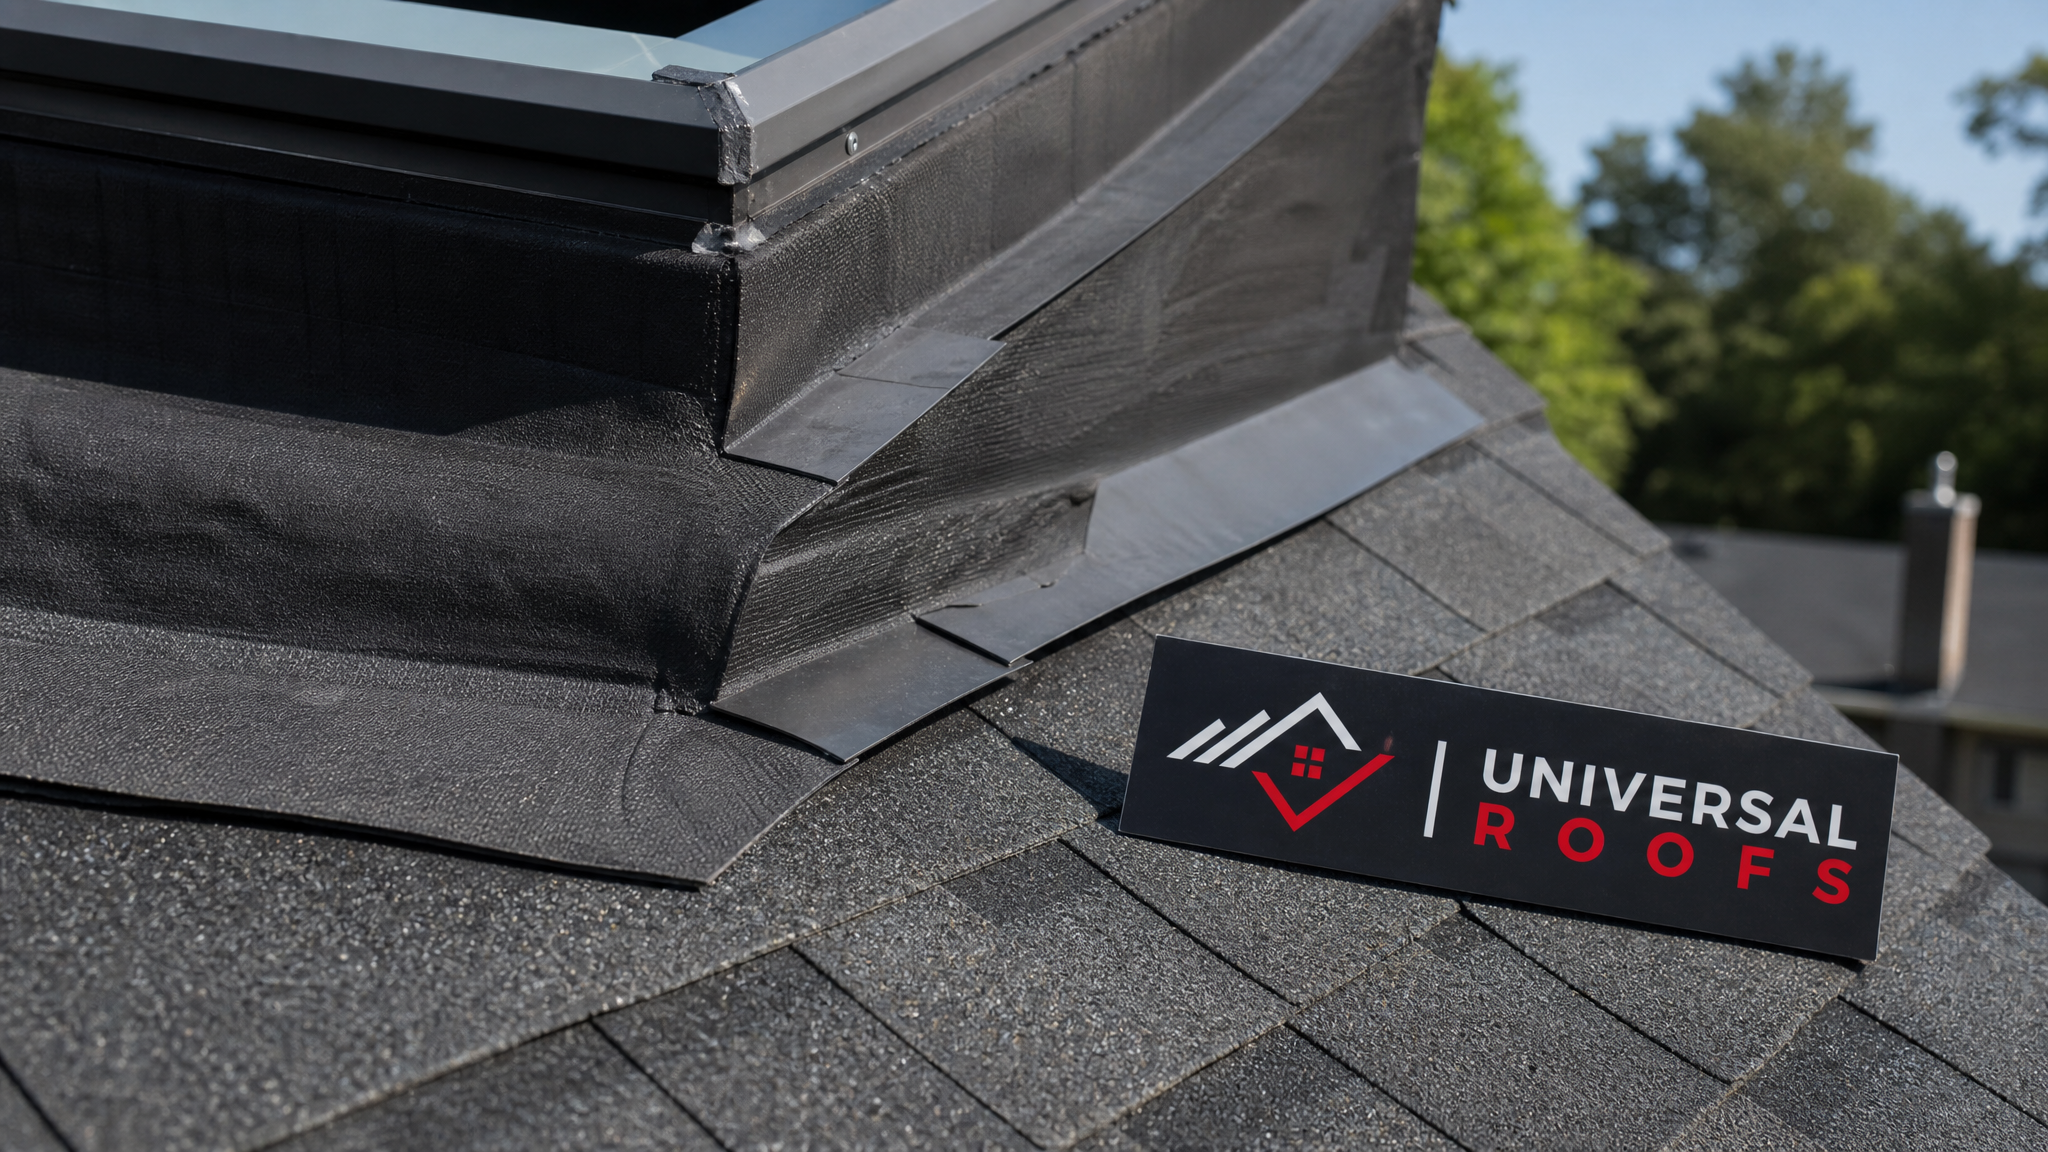
4. Ice-and-water shield and flashing. Self-adhering ice-and-water membrane wraps the curb and extends well beyond the opening in all directions. Step flashing is then woven in with the surrounding shingles on the sides, and continuous head/sill flashing seals the top and bottom — the exact same principle used on a chimney or wall-roof intersection, just scaled to the skylight curb.
5. Setting the skylight unit and sealing. The skylight is set onto the curb, fastened per manufacturer specification, and sealed with compatible sealant at any point flashing alone can’t cover.
6. Building the interior light shaft. Insulated framing runs from the roof opening down to the ceiling drywall opening, angled (splayed) to spread light if the ceiling opening is wider than the roof opening. This shaft must be insulated and air-sealed on the attic side — an underinsulated shaft is the single biggest cause of condensation dripping from a skylight in cold weather.
7. Interior trim and drywall finish. The shaft is drywalled, taped, and trim is installed at the ceiling opening to match the room’s existing mouldings.
What Skylight Installation Costs in the GTA
Pricing varies with skylight type, roof height, roof pitch, and whether an existing opening is being reused or a brand-new opening is being cut. As a rough baseline for Toronto and the surrounding regions, expect the following all-in installed costs, which include the unit, flashing kit, framing, and finished interior shaft.
| Project Scope | Estimated Cost Range | Typical Timeline |
|---|---|---|
| Single fixed skylight, existing opening reused | $900 – $1,800 | 1 day |
| Single new skylight opening, standard pitched roof | $1,800 – $3,500 | 1–2 days |
| Venting skylight (manual), new opening | $2,200 – $4,000 | 1–2 days |
| Solar/electric venting skylight, new opening | $2,800 – $5,000 | 2 days |
| Flat-roof skylight, new opening | $2,500 – $4,800 | 1–2 days |
| Multiple skylights (2–3 units, single project) | $4,500 – $12,000 | 2–4 days |
A few factors push costs to the higher end of these ranges: steep roof pitches that require extra fall-protection setup, second- or third-storey roof access, cathedral ceilings that need a longer insulated shaft, and older homes where the roof deck needs repair before a new opening can be cut. If you’re comparing a very low quote against these ranges, ask specifically what underlayment and flashing system is included — that’s usually where corners get cut.
Flashing, Ice Damming, and the Leaks We See Most Often
The vast majority of skylight service calls we get in the GTA aren’t about the glass unit failing — they’re flashing and insulation problems that show up years after a poor installation. Recognizing the symptoms early can save you from ceiling damage.
| Symptom | Likely Cause | Typical Fix |
|---|---|---|
| Water stains appearing only after heavy rain | Failed or improperly woven step flashing | Re-flash the curb with proper step-and-counter system |
| Dripping or staining after winter thaw specifically | Ice damming backing water under the flashing | Extend ice-and-water shield, improve attic ventilation |
| Condensation/fogging on interior glass in cold weather | Underinsulated light shaft or failed seal on unit | Insulate and air-seal shaft; reseal or replace unit |
| Persistent moisture with no visible roof damage | Poor attic ventilation raising interior humidity against cold glass | Assess attic ventilation and insulation |
| Cracked or yellowing dome (older acrylic units) | UV degradation of an aging plastic dome skylight | Skylight replacement with modern glass unit |
If your existing skylight is showing any of these symptoms, it’s worth having it assessed before the problem migrates into the drywall and framing around it. Small flashing repairs caught early are inexpensive; a chronic leak left for a season or two can mean replacing rotted roof decking and rebuilding a water-damaged shaft, which multiplies the cost considerably.
Choosing the Right Location and Orientation
Placement affects both the amount of light you get and your home’s heat gain and loss, which matters for comfort and energy bills alike. A few practical guidelines we walk clients through:
North-facing roof slopes deliver soft, consistent daylight without much direct sun or heat gain — good for home offices, studios, or rooms prone to summer overheating. South-facing slopes bring the most light and the most solar heat gain, which is excellent in a Toronto winter but can make a room uncomfortably warm on a July afternoon unless the unit has a low-E, heat-reducing glass coating. East-facing placements favour morning light in kitchens and breakfast nooks, while west-facing units catch strong late-afternoon sun that can create glare in living spaces.
Room function matters as much as orientation. Bathrooms and kitchens benefit most from venting units that clear humidity — a plain fixed skylight over a shower only adds condensation risk without an exhaust path. Hallways, closets, and small powder rooms, where a full shaft isn’t practical, are ideal candidates for a tubular skylight instead of a full-size unit.
Materials and Glazing Options
Modern skylight glazing has moved well past the yellowing acrylic domes common on older GTA homes. Most quality units today use tempered, laminated glass with low-E coatings that reduce UV transmission and summer heat gain while still admitting visible light — a meaningful upgrade for comfort and for protecting flooring and furniture from sun fading. Impact-resistant laminated glass is worth the modest upcharge given Toronto’s occasional severe hailstorms, and argon-filled double or triple-glazed units perform noticeably better through our cold winters than older single-pane designs.
Frame material matters too. Aluminum-clad wood frames offer good insulation with low exterior maintenance, while all-composite frames resist condensation particularly well in humid rooms. Whatever glazing and frame combination you choose, make sure it’s rated for the specific roof pitch and climate zone — a unit rated for a mild coastal climate isn’t necessarily built for a Toronto winter freeze-thaw cycle.
Choosing an Installer: Questions Worth Asking
Because so much of a skylight’s long-term performance comes down to flashing detail rather than the unit itself, the installer matters more than the brand of glass you choose. Before booking any quote, it’s reasonable to ask a contractor:
- What flashing kit and underlayment system will be used, and is it manufacturer-specified for this exact skylight model?
- How far will ice-and-water shield extend beyond the curb?
- Will the interior light shaft be insulated and air-sealed on the attic side, not just drywalled?
- What warranty covers the installation labour separately from the manufacturer’s product warranty?
- Are they licenced, insured, and able to provide references or show recent local work?
A contractor who can answer these confidently and specifically — rather than with a generic “we’ll seal it up good” — is worth the premium over the lowest bid. You can see how our own crews handle these details, and read what past GTA homeowners experienced, on our reviews page.
Skylights and Your Roof’s Overall Condition
A skylight is only as good as the roof it’s set into. If your shingles are already near the end of their service life, installing a brand-new skylight into an aging roof surface is a false economy — you’ll likely be paying to re-flash it again in a few years when the roof itself needs replacing. It’s worth having your full roof assessed alongside any skylight quote; our roof replacement and roof repair teams routinely coordinate with skylight installs so flashing, shingles, and underlayment are all installed as one integrated system rather than patched separately. This is especially relevant if you’re planning the work for later this year, since installing a skylight as part of a broader roof project — rather than as a standalone add-on — usually costs less overall and avoids disturbing new shingles twice.
We serve homeowners with this kind of coordinated planning across Toronto, Peel Region, York Region, Halton Region, and Durham Region, so wherever in the GTA your home sits, we can assess the roof and skylight together in a single visit.
Maintaining a Skylight After Installation
Once installed correctly, a skylight needs relatively little upkeep, but a short annual routine extends its life considerably. Clear leaves and debris from around the curb each fall before winter, since trapped debris holds moisture against the flashing. Check interior trim each spring for any staining that might indicate a slow leak developed over winter. If you have a venting skylight, operate the mechanism occasionally even in seasons you’re not actively using it, so seals and hardware don’t seize. And if your home has a history of ice damming, make sure attic insulation and ventilation are addressed — a skylight can only perform as well as the roof system it’s embedded in.
For homeowners with more specific questions about scheduling, warranty coverage, or service areas, our FAQ page covers many of the most common questions, and our about page has more on our history serving the GTA since 2005.
How much does skylight installation in Toronto typically cost?
How long does a skylight installation take?
What is the best type of skylight for a Toronto climate?
Why do skylights leak after a few years even if they didn’t leak at first?
Can a skylight be installed on a flat roof?
Should I replace my roof before or at the same time as installing a skylight?
Need Help With Skylight Installation Toronto?
Whether you’re adding natural light to a dark hallway or replacing an aging, leak-prone unit, getting the flashing, insulation, and framing right the first time is what separates a skylight that lasts decades from one that becomes a recurring repair. Universal Roofs has handled skylight installations across the GTA’s mix of pitched and flat roofs since 2005, and we’re happy to walk you through the options for your specific home.
Call us today at (416) 732-2421 or request a free inspection to get started.
Universal Roofs proudly serves Toronto, Mississauga, Brampton, Vaughan, Markham, Oakville and the GTA since 2005.