
If you have ever spotted a damp stain spreading across a ceiling near your chimney or noticed water dripping into your attic after a summer thunderstorm, the culprit is very often roof flashing, not the shingles themselves. Flashing is the thin metal that seals the joints where your roof meets a chimney, wall, valley, vent pipe, or skylight, and it takes more punishment than almost any other part of the roof. In the Greater Toronto Area, our freeze-thaw winters, humid summer storms, and constant temperature swings work flashing loose year after year, so learning the simple steps to repair roof flashing is one of the most useful pieces of homeowner knowledge you can have.
This guide walks through exactly how professional roofers diagnose and fix failing flashing, in four clear stages: inspecting and identifying the failure point, removing the damaged flashing and prepping the area, installing and sealing new flashing correctly, and testing the repair before you close the job out. We will also cover the tools and materials involved, how much a repair typically costs in Toronto, and — just as importantly — when a small flashing fix is actually a warning sign that you need a full roof repair or even replacement.
Universal Roofs has been repairing and replacing roofs across the GTA since 2005, and flashing failures are one of the most common calls our crews respond to, especially after the freeze-thaw cycles of a Toronto winter loosen fasteners and crack old sealant. Whether you plan to tackle a minor flashing touch-up yourself or want to know what a contractor should be doing on your roof, this article covers it in full.
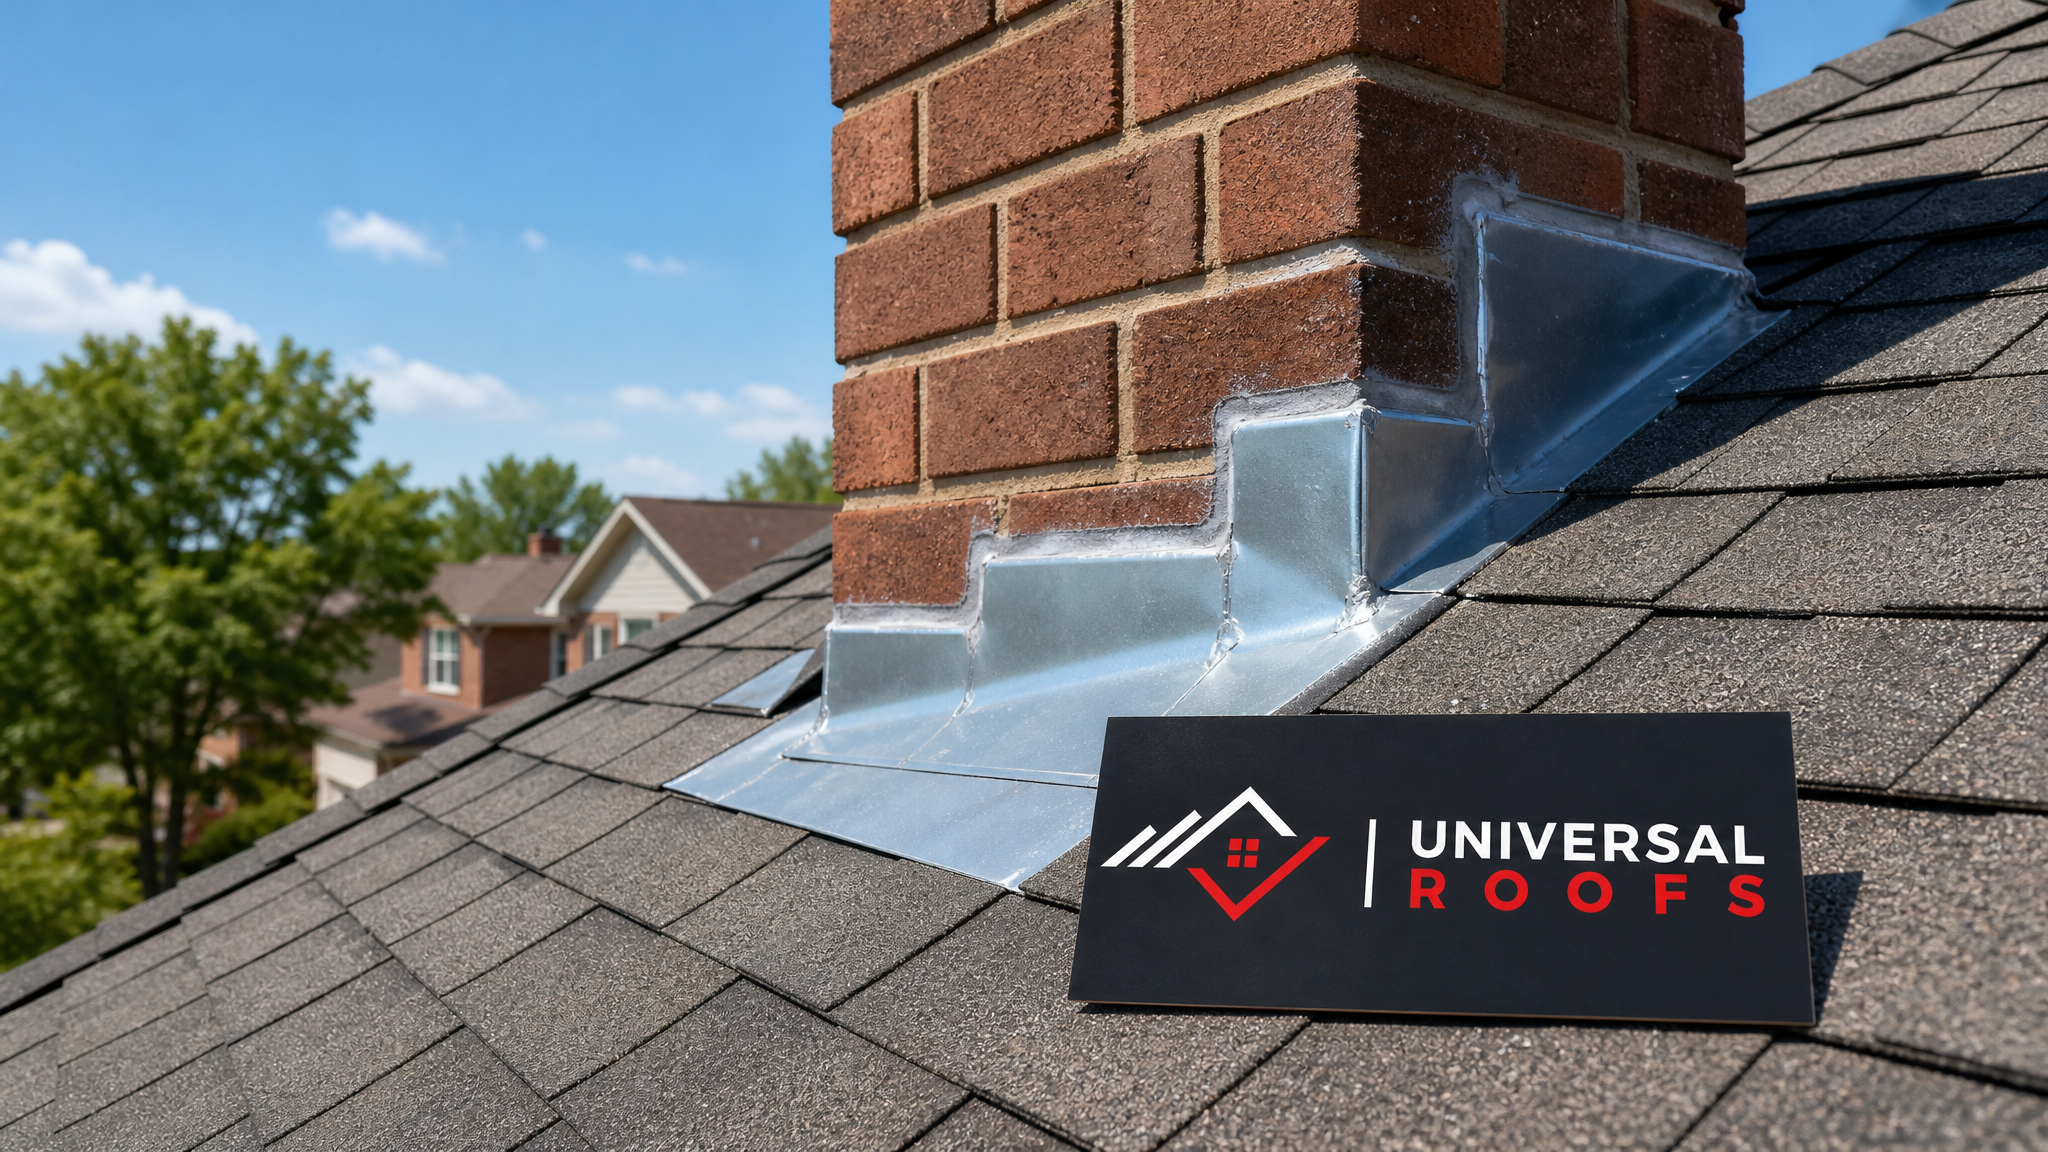
What Roof Flashing Does and Why It Fails
Flashing is thin sheet metal, usually galvanized steel, aluminum, or copper, installed at every point where your roof plane is interrupted: chimneys, sidewalls, valleys, skylights, vent stacks, and dormers. Shingles alone cannot seal these transitions because water naturally wants to run into the seam where two surfaces meet. Flashing redirects that water back onto the shingle field and off the roof, rather than letting it seep into the wood deck below.
There are several types you will encounter during any roof flashing repair:
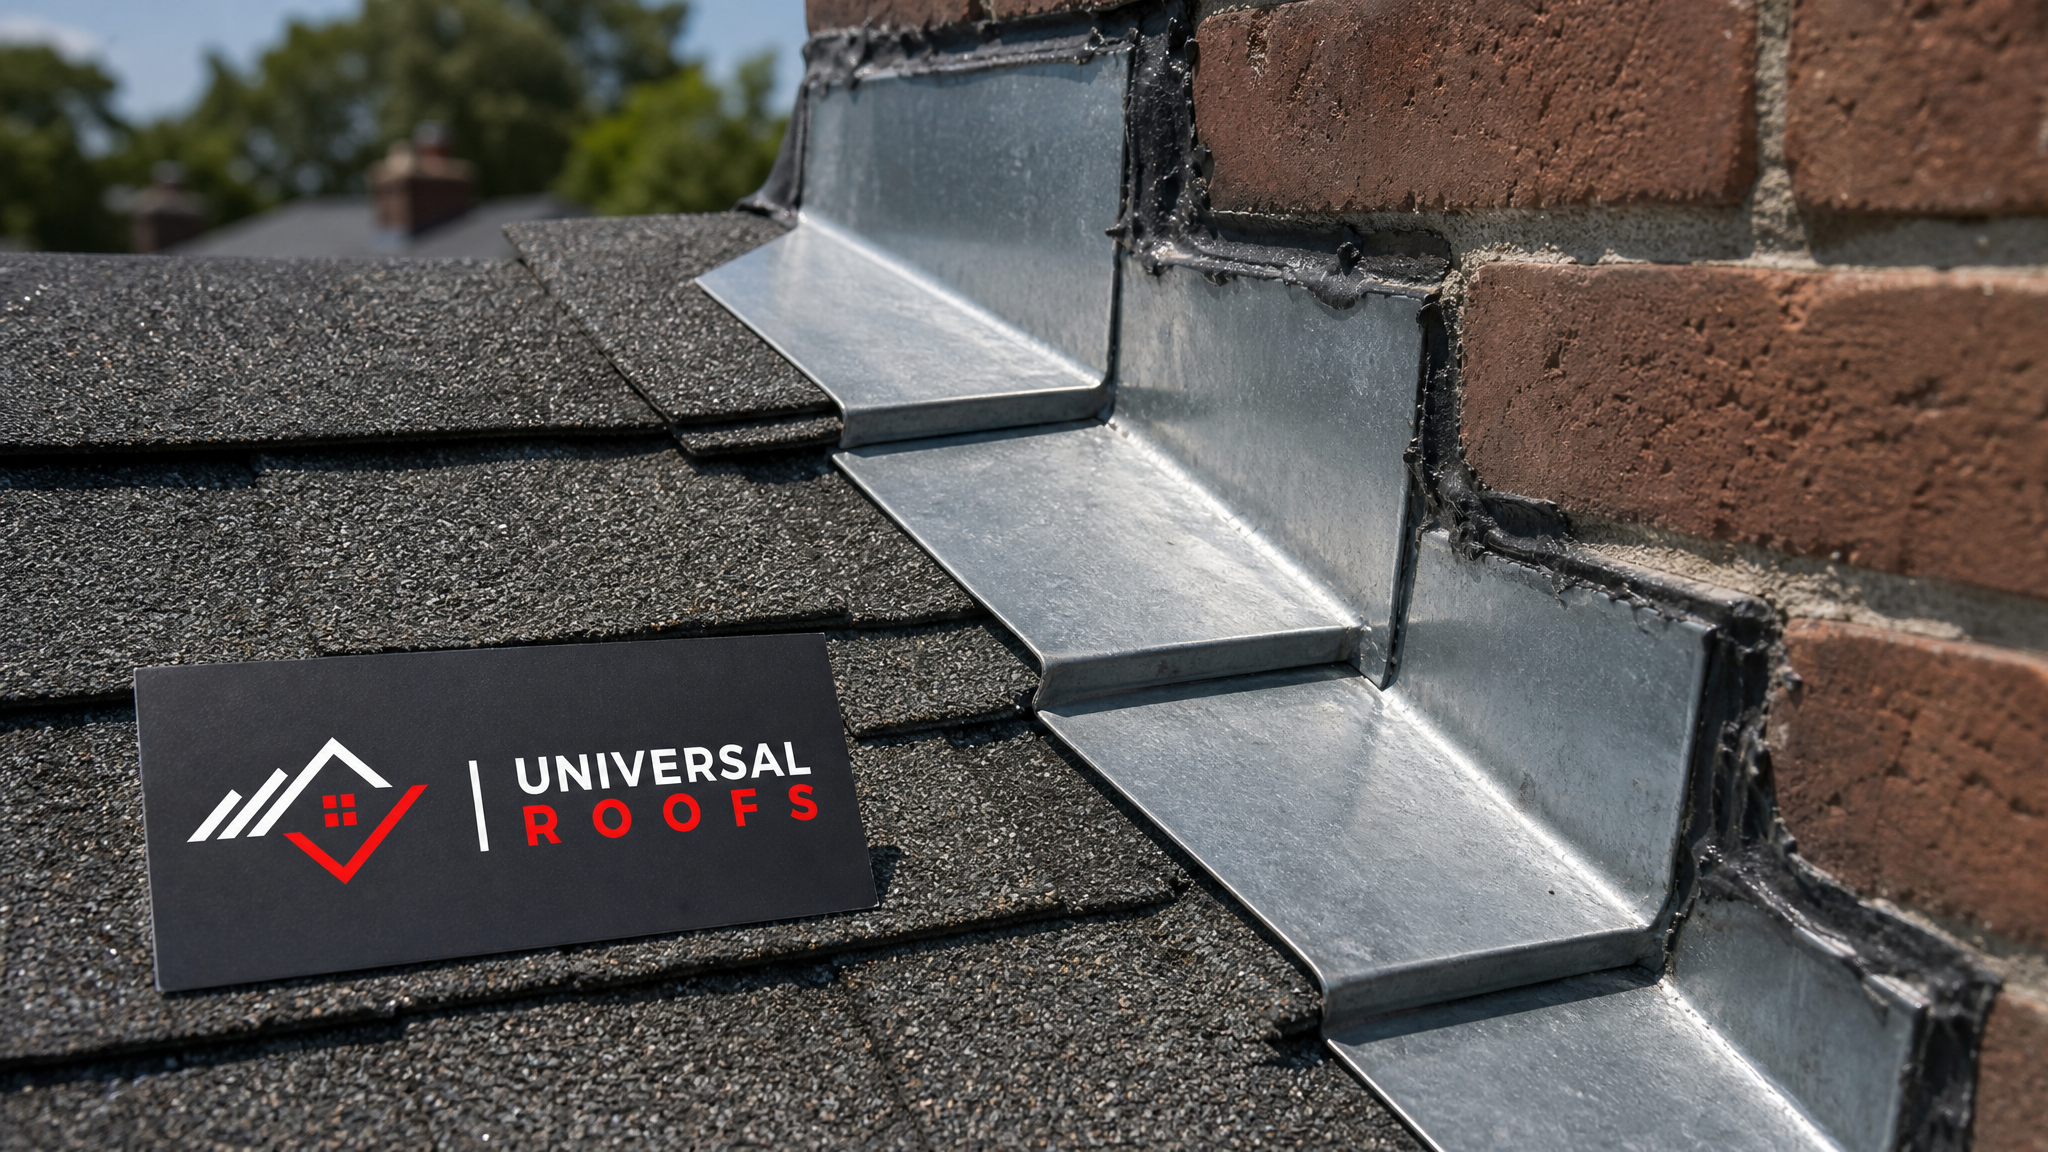
- Step flashing — small L-shaped pieces woven between shingle courses along a sidewall or chimney, each piece overlapping the one below it.
- Counter-flashing — a second layer, usually embedded into a chimney’s mortar joint, that overlaps the step flashing to create a two-part water barrier.
- Valley flashing — a continuous metal channel running down the “V” where two roof slopes meet, carrying a large volume of water during heavy rain.
- Vent pipe (or stack) flashing — a metal base with a rubber or lead collar that seals around plumbing and exhaust vents penetrating the roof.
- Skylight flashing — a kit-based flashing system, often supplied with the skylight itself, that wraps the unit’s frame; see our skylights page if this is the source of your leak.
Flashing fails for a handful of predictable reasons in our climate. Nail heads back out as the roof deck expands and contracts through freeze-thaw cycles. Sealant and roofing cement dry out, shrink, and crack under UV exposure. Wind can lift shingles and bend flashing edges. Ice damming in January and February forces meltwater backward under the flashing lip. And on older homes, flashing was sometimes installed with too little overlap or the wrong material to begin with, which surfaces as a slow leak years later.
Step 1: Inspect the Roof and Identify the Exact Failure Point
Before you repair anything, you need to know precisely where water is entering, and that is rarely exactly where the stain appears on your ceiling. Water often travels along a rafter or the underside of the deck before dripping down, so the leak can originate a metre or more away from the visible damage.
Start indoors, in the attic if you have one. On a dry day, use a flashlight to look for:
- Dark streaking, staining, or mould on the underside of the roof deck
- Damp or discoloured insulation, particularly near a chimney chase or dormer wall
- Daylight visible through gaps around flashing, vent pipes, or the chimney chase
- Rust trails or white mineral deposits (efflorescence) on masonry near the chimney
Once you have a rough location, move outside. Safe roof access matters here: a stable extension ladder, rubber-soled shoes, and, if the pitch is anything beyond a gentle slope, binoculars from the ground rather than walking the roof yourself. Look for these visible signs of flashing failure:
- Lifted, curled, or separated flashing edges
- Visible gaps between the flashing and the chimney, wall, or shingle
- Cracked, chalky, or missing sealant/roofing cement along flashing seams
- Rust spots or corrosion holes in the metal itself
- Missing or backed-out fasteners
- Granule loss or shingle damage immediately around a flashing joint
Pay special attention to valleys, since they handle the highest volume of water on the entire roof and are notorious for eroding flashing metal over 15 to 20 years. If you find the flashing itself is largely intact but the surrounding shingles are brittle, cracked, or missing granules across large areas, that is often a sign the roof is nearing the end of its service life rather than a simple flashing fix; our roof replacement team can advise on that distinction during an inspection.
| Warning Sign | Likely Cause | Urgency | Typical Fix |
|---|---|---|---|
| Ceiling stain near chimney | Failed step or counter-flashing | High — schedule within days | Re-seat flashing, reseal joint |
| Water at base of skylight | Cracked or displaced flashing kit | High | Replace flashing kit |
| Damp spot in valley area | Corroded or undersized valley flashing | High — heavy water volume | Replace valley metal |
| Rust streaks below vent pipe | Cracked rubber vent boot | Medium | Replace pipe collar/boot |
| Visible daylight in attic | Gap or missing flashing section | High | Install new flashing section |
| Minor sealant cracking, no leak yet | UV degradation, normal ageing | Low — plan maintenance | Reseal with fresh sealant |
Step 2: Remove the Damaged Flashing and Prepare the Area
Once you know exactly where the failure is, the next stage is removing the compromised material so you are sealing against clean, sound surfaces rather than layering new sealant over old cracked sealant, which never lasts.
For a sidewall or chimney step flashing repair, this typically means:
- Carefully lifting the shingle course above the damaged flashing piece using a flat pry bar, taking care not to crack the shingle in cool weather when asphalt is more brittle
- Removing the roofing nails holding the old flashing piece in place
- Sliding out the damaged step flashing section
- Scraping away all old, cracked roofing cement or sealant from the chimney brick, wall sheathing, and adjacent shingles with a putty knife or wire brush
- Inspecting the exposed roof deck and underlayment for rot, soft spots, or existing water damage — this is often where a “simple” flashing repair reveals it needs to be a slightly bigger job
For counter-flashing set into mortar joints, a mason’s grinder is used to cut out the old caulk or lead wedge from the reglet (the groove cut into the brick), so the new counter-flashing lip can be re-embedded cleanly. This step matters because counter-flashing that is simply caulked to the face of the brick, rather than inserted into the mortar joint, will fail again within a season or two — a shortcut some lower-cost repairs unfortunately take.
If the leak is at a valley, the surrounding shingles on both slopes need to be pulled back far enough to expose the full width of the old valley metal, which is then unfastened and lifted out in one piece where possible. Vent pipe flashing is simpler: the surrounding shingles are lifted, the old flange is unscrewed or pried free, and the area around the pipe penetration is cleaned and dried before the new boot goes on.
Throughout this stage, keep the roof deck dry. If rain is forecast, cover the open area with a tarp rather than leaving bare decking exposed overnight — a half-finished flashing repair left open to a summer downpour can do more damage than the original leak.
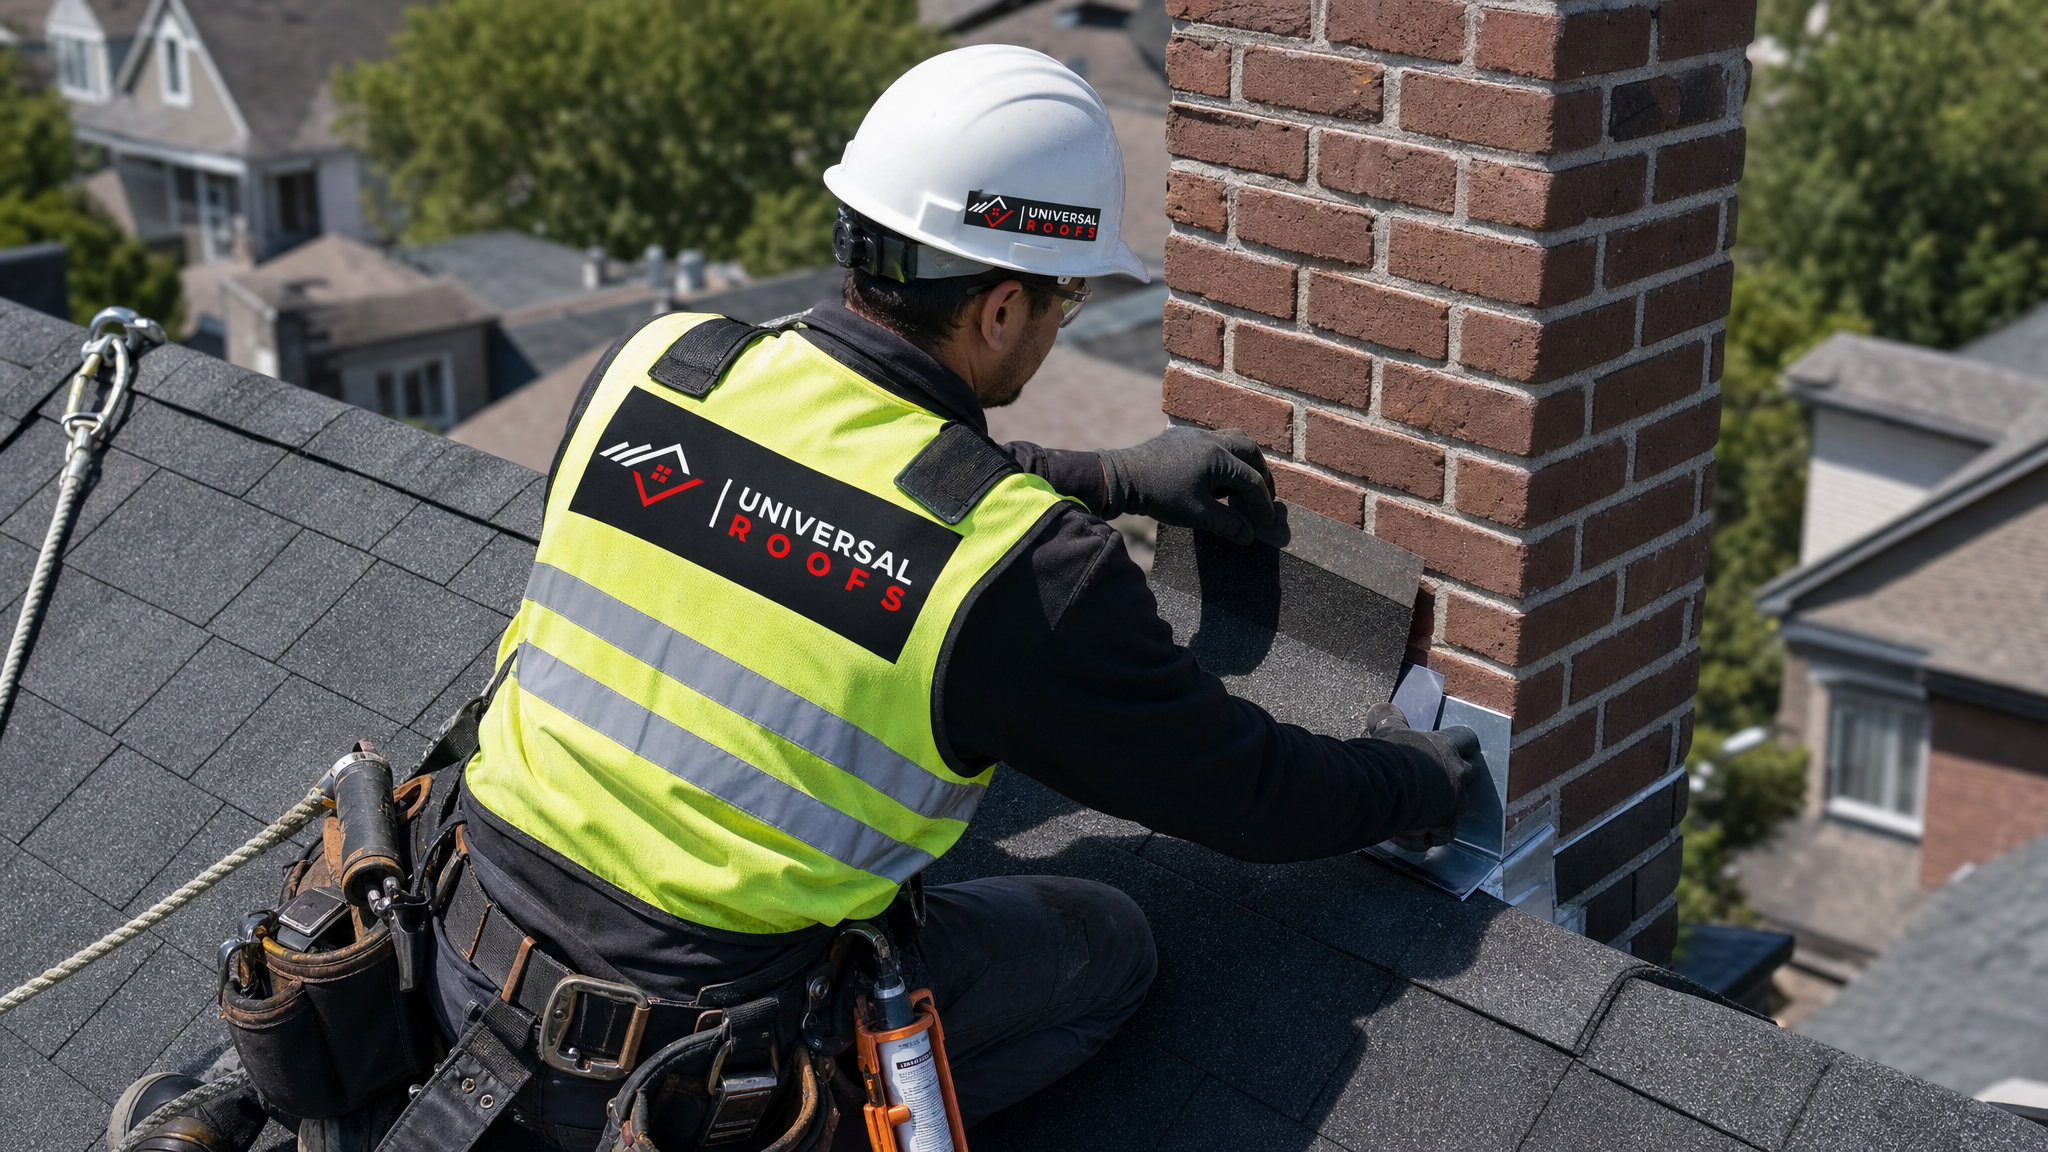
Step 3: Install and Seal the New Flashing Correctly
This is the step where quality separates a repair that lasts 15+ years from one that leaks again next spring. Material choice, overlap, and sealant technique all matter.
Choosing the right material. Galvanized steel is the most common and cost-effective choice for step and valley flashing on GTA homes. Aluminum is lighter and resists rust but should never contact masonry directly, since lime in mortar corrodes aluminum over time. Copper costs significantly more but can outlast the roof itself and develops a protective patina. For vent pipes, a flashing base with a durable rubber or thermoplastic collar handles the roof’s constant minor movement better than rigid lead alone.
Installing step flashing. Each new step flashing piece should overlap the one below it by at least 5 to 7.5 centimetres, and each piece should extend at least 10 centimetres up the vertical wall or chimney and 10 centimetres out across the shingle. One flashing piece is installed per shingle course, woven in as the courses go down, never as one long continuous strip — a continuous strip cannot flex with the roof and is a common mistake in poor-quality repairs.
Fastening. Nails go through the top corner of each flashing piece only, high enough that the nail head is covered by the shingle course above it, and never through the exposed face where a nail hole becomes its own leak point.
Counter-flashing. The top lip is set into the cleaned mortar reglet and secured with roofing-grade caulk or a lead wedge, then the joint is sealed with a high-quality masonry-compatible sealant, not standard silicone, which does not bond well to brick long-term.
Sealant application. Use a polyurethane or butyl-rubber roofing sealant rather than generic caulk. Apply it as a continuous, unbroken bead along every seam and fastener head, tooling it smooth so water sheets off rather than pooling. Let it cure per the manufacturer’s timeline before exposing it to heavy rain if at all possible.
Valley and vent boot installation follows the same logic: new valley metal is fastened along its edges only (never through the centre channel where water flows), with shingles from each slope overlapping onto it by at least 15 centimetres; new vent boots are slid down over the pipe, fastened at the flange corners, and sealed at the pipe collar.
| Flashing Type | Material Options | Typical Lifespan | Approx. Repair Cost (Toronto) |
|---|---|---|---|
| Step flashing (chimney/sidewall) | Galvanized steel, aluminum, copper | 20-30 years | $350 – $750 |
| Counter-flashing | Galvanized steel, copper | 25-30 years | $400 – $900 |
| Valley flashing | Galvanized steel, aluminum | 15-25 years | $500 – $1,200 |
| Vent pipe boot/flashing | Rubber/thermoplastic collar with metal base | 10-15 years | $150 – $350 per vent |
| Skylight flashing kit | Manufacturer-specific metal + membrane | 15-20 years | $400 – $1,000 |
Step 4: Test the Repair and Confirm the Leak Is Fully Resolved
A flashing repair is not finished the moment the sealant is tooled smooth. Testing confirms the fix actually holds before you close up the ceiling or write off the job as done.
The most reliable test is a controlled hose test, done on a dry day with a helper:
- Have someone inside the attic with a flashlight watching the repaired area
- Starting at the bottom of the repair, run a garden hose steadily over the flashing for two to three minutes, letting water build up and flow as it would in real rain
- Gradually work the hose upward to simulate wind-driven rain hitting the joint from different angles
- Watch for any dripping, darkening, or moisture on the underside of the deck
- Repeat around any adjacent penetrations to rule out a second, unrelated leak source
If your home does not have attic access at that point, a simpler check is to inspect the repaired area again after the next real rainfall, both from the exterior for sealant integrity and from the interior ceiling for any fresh staining. Mark the date and take photos so you have a before-and-after record.
It is also worth checking that the repair did not disturb anything nearby: shingles that were lifted during the process should lie flat and be re-nailed if needed, and any granules dislodged during the work should be swept off the roof so they do not clog gutters.
For homeowners who are not comfortable getting on a roof, or whose inspection turns up a leak in a hard-to-reach valley or a second-storey chimney, this is exactly the point where calling in a licensed crew makes sense. Our technicians carry the same hose-testing standard on every flashing job across Toronto, Mississauga, Brampton, Vaughan, Markham, and Oakville.
DIY Flashing Repair vs. Calling a Professional
A small, ground-level, single-storey flashing touch-up, such as resealing a vent boot on a garage roof, is within reach for a handy homeowner with the right safety equipment. But several situations call for a professional roofer rather than a weekend project:
- Any repair above the first storey, or on a roof pitch steeper than roughly 6:12
- Chimney counter-flashing work, which requires cutting into mortar joints correctly
- Valley flashing, where mistakes can redirect water into the wall assembly instead of off the roof
- Any leak that has already caused visible interior damage, since the deck and insulation may need repair alongside the flashing
- Roofs still under a manufacturer’s shingle warranty, which can be voided by improperly performed DIY work
- Situations where the flashing failure is one symptom among several signs of an ageing roof system
| Factor | DIY Repair | Professional Repair |
|---|---|---|
| Cost | $40 – $150 in materials | $150 – $1,200 depending on scope |
| Time | 2-5 hours, plus learning curve | Typically completed same day |
| Safety equipment needed | Ladder, harness (often skipped) | Full fall-protection system, insured crew |
| Warranty on the work | None | Workmanship warranty included |
| Risk of a hidden second leak | Higher — limited attic/deck inspection | Lower — full roof assessed |
| Insurance/liability if it fails | Homeowner assumes full risk | Contractor liability coverage applies |
Preventing Flashing Failures Before They Start
The four repair steps above will fix an existing problem, but a bit of regular maintenance dramatically reduces how often you need them. We recommend GTA homeowners build these habits into their yearly routine:
- Inspect twice a year — once in spring after the freeze-thaw season and once in fall before winter, looking specifically at chimneys, valleys, and vent penetrations
- Clear debris from valleys and around flashing — leaves and granules trap moisture against the metal and accelerate corrosion
- Check sealant condition annually — cracked, chalky, or shrunken sealant should be refreshed before it fails outright
- Keep gutters clear — backed-up gutters force water to back up under the drip edge and lower flashing courses
- Address ice damming — proper attic insulation and ventilation (see our attic services) reduce the ice dams that force meltwater under flashing every winter
- Have flat roof transitions checked separately — flashing details on a flat roofing system differ from sloped-roof flashing and require their own inspection approach
Homes with older or lower-quality skylights are particularly prone to flashing issues at the frame edges; if yours is more than 15 years old and showing signs of leaking, a skylight replacement with a modern, better-integrated flashing kit is often more cost-effective long-term than repeated patch repairs.
| Season | Maintenance Task | Why It Matters | Time Needed |
|---|---|---|---|
| Spring | Post-winter inspection of all flashing points | Freeze-thaw loosens fasteners and cracks sealant | 30-45 minutes |
| Summer | Reseal any cracked joints found in spring | UV and heat accelerate sealant breakdown | 1-2 hours |
| Fall | Clear valleys and gutters of leaves/debris | Prevents water pooling against flashing edges | 1-2 hours |
| Winter | Monitor for ice dams near chimneys and valleys | Ice dams force water backward under flashing | Ongoing visual check |
Signs Your Flashing Repair Is Actually a Bigger Roofing Problem
Sometimes what looks like an isolated flashing leak is actually a signal that the broader roof system needs attention. Before you commit to a spot repair, it is worth ruling out these related issues:
- Widespread shingle deterioration — if the shingles around the flashing are curling, cracking, or losing granules across large sections of the roof, patching the flashing alone will not stop new leaks from developing elsewhere
- Deck rot — soft, spongy roof decking discovered during a flashing repair indicates prolonged moisture exposure and needs to be replaced, not just covered over
- Multiple simultaneous leak points — several unrelated flashing failures at once often means the roof is at the end of its lifespan rather than suffering isolated damage
- Chimney masonry deterioration — crumbling mortar or spalling brick prevents counter-flashing from sealing properly no matter how well the metal work is done
- Recurring leaks after repair — if the same spot leaks again within a year of a proper repair, there is often an underlying structural or ventilation issue driving the failure
Homeowners in Toronto, the Peel Region, York Region, Halton Region, and Durham Region can request a full roof assessment from our team, which includes a flashing-specific check alongside the general shingle, deck, and ventilation review. You can read what past clients have said about that process on our reviews page, and browse common questions on our FAQ page.
Tools and Materials Checklist for a Flashing Repair
If you are planning to attempt a straightforward flashing repair yourself, here is what a properly equipped job requires:
- Sturdy extension ladder rated for the height, secured at the top and bottom
- Roof harness and anchor point for anything beyond a gentle single-storey slope
- Flat pry bar for lifting shingles without cracking them
- Wire brush and putty knife for surface prep
- Tin snips for cutting new flashing metal to size
- Roofing nails (galvanized, 1.25-inch minimum) and a hammer or roofing nailer
- Polyurethane or butyl-rubber roofing sealant and a caulking gun
- Replacement flashing pieces matched to the existing material to avoid galvanic corrosion between dissimilar metals
- Garden hose for the post-repair test
- Tarp, in case weather turns before the repair is finished
Mixing metals is a detail that trips up a lot of DIY repairs: pairing aluminum flashing with steel fasteners, or aluminum against copper, sets up galvanic corrosion that eats through the metal from the inside within a few years. Always match new flashing material to what is already on the roof, or replace an entire run in one consistent material.
What are the simple steps to repair roof flashing around a chimney?
How much does it cost to repair roof flashing in Toronto?
Can I follow these simple steps to repair roof flashing myself?
How long does roof flashing repair take?
What causes roof flashing to fail in the first place?
How do I know if my flashing needs repair or the whole roof needs replacing?
Need Help With 4 Simple Steps to?
Flashing repairs look simple on paper, but getting the overlap, material match, and sealant technique right is what separates a fix that lasts two decades from one that leaks again next spring. If you have spotted a stain near your chimney, a damp patch in the attic, or cracked sealant along a valley, Universal Roofs can pinpoint the exact failure point and repair it properly the first time.
Call us today at (416) 732-2421 or request a free inspection to get started.
Universal Roofs proudly serves Toronto, Mississauga, Brampton, Vaughan, Markham, Oakville and the GTA since 2005.