
A leaking or drafty skylight is one of those problems that homeowners tend to ignore until a stain appears on the ceiling below it. By then, water has usually already made its way into the drywall, the insulation, or the framing around the opening. Skylight repair done early, before a small seal failure turns into a structural issue, is almost always faster and far less expensive than waiting for a full replacement to become the only option.
At Universal Roofs, we’ve been repairing and replacing skylights across the Greater Toronto Area since 2005, and the patterns are remarkably consistent. Freeze-thaw cycles, ice damming, aging flashing, and UV-degraded seals are behind the vast majority of the calls we get. This guide walks through how skylight repair actually works, what it costs, how to tell whether a repair or a replacement makes more sense, and what you should expect from a qualified contractor.
Whether you’re dealing with an active leak right now or you’re just noticing early warning signs like condensation buildup or a musty smell near the skylight shaft, this article will help you understand what’s going on above your ceiling and what to do about it.
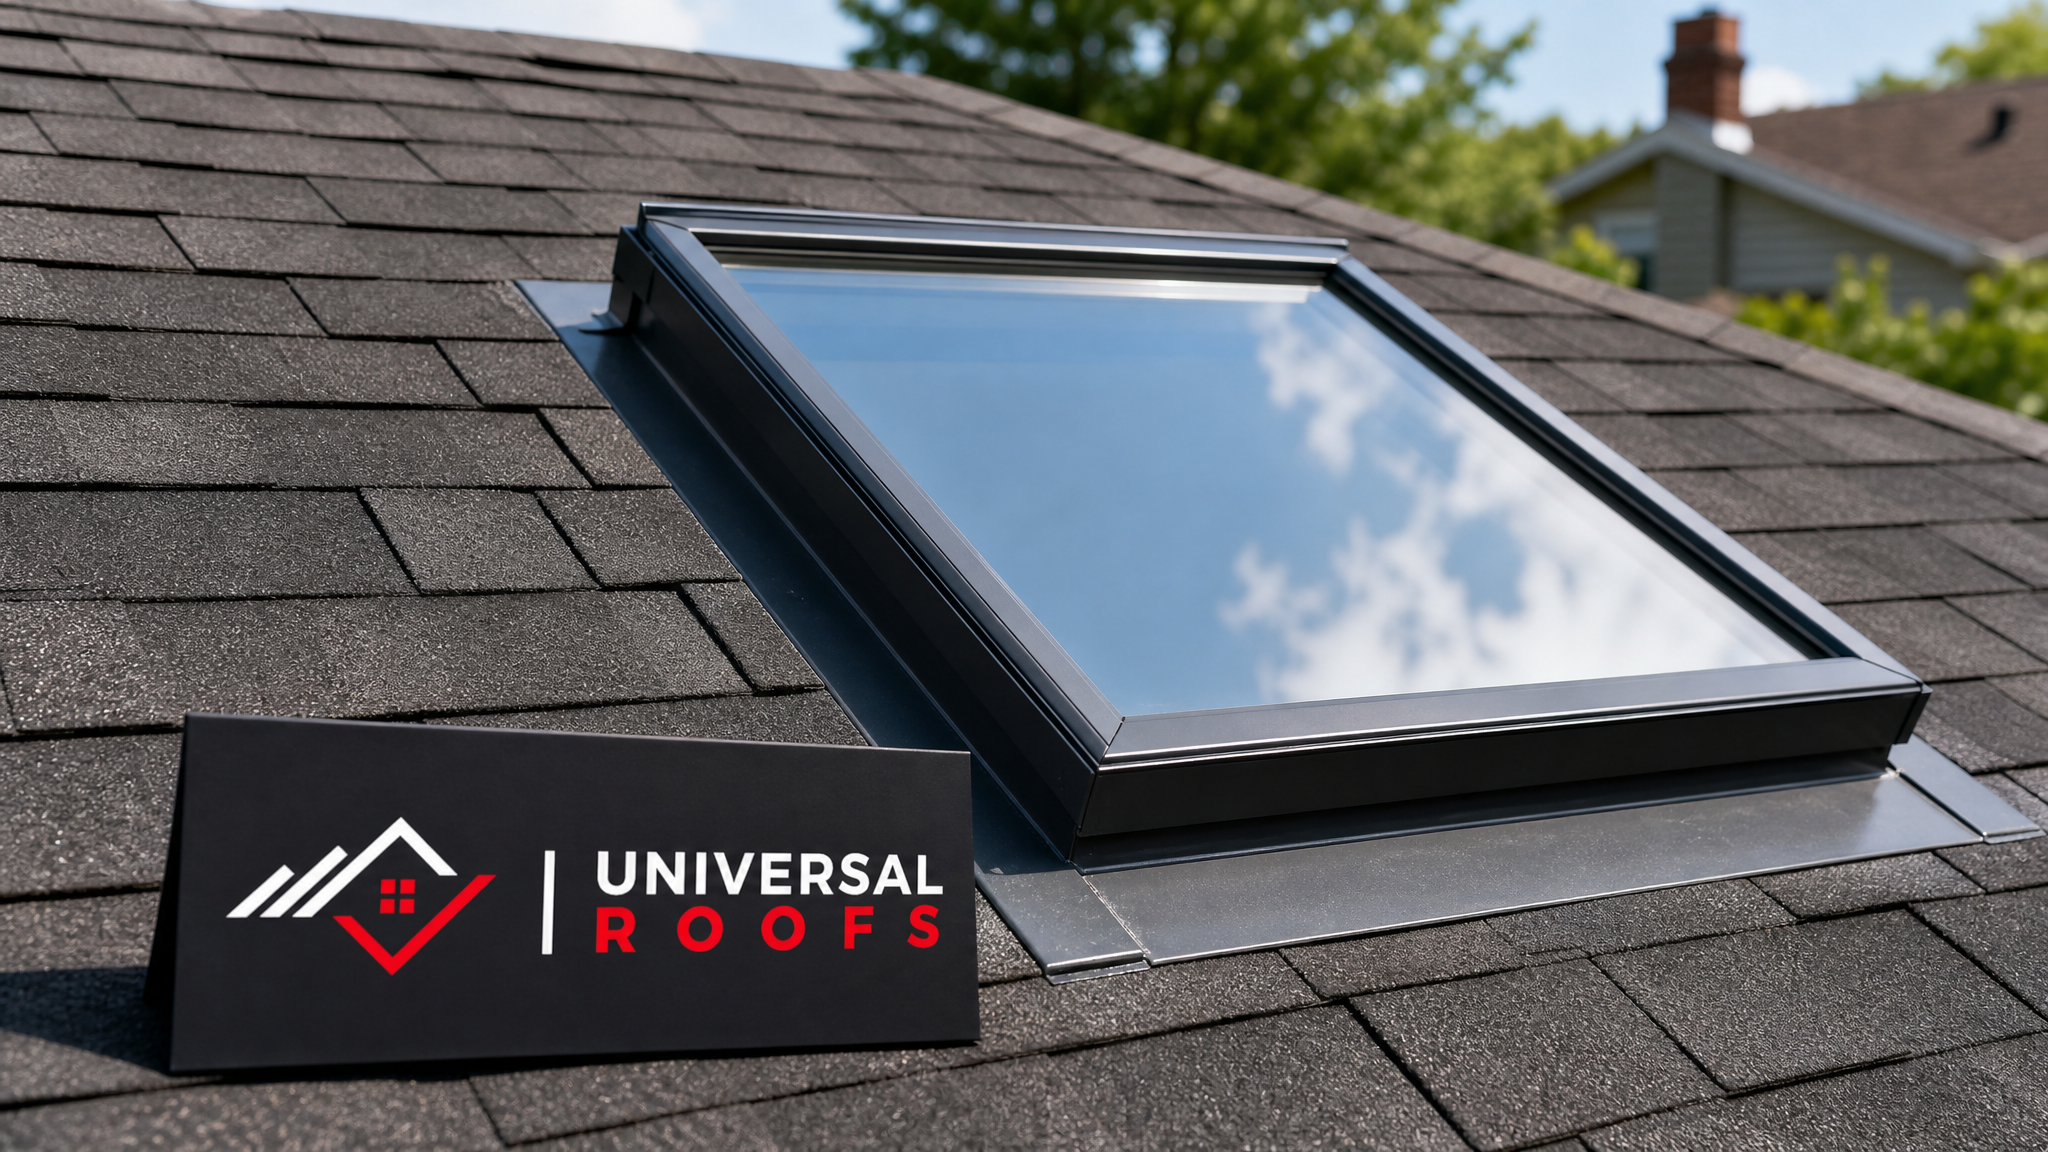
Common Signs You Need Skylight Repair
Most skylight problems don’t announce themselves with a dramatic leak on day one. They start small and get progressively worse, particularly through a Toronto winter when snow load, ice damming, and repeated freeze-thaw cycles stress the seals and flashing around the unit. Recognizing the early signs can save you thousands of dollars in drywall, insulation, and framing repairs down the road.
Here are the most common indicators that your skylight needs attention:
- Water stains or discolouration on the ceiling or drywall surrounding the skylight shaft
- Condensation between the glass panes, which usually signals a failed seal on double or triple-glazed units
- Visible cracks or fogging in the glazing itself
- Drafts or whistling sounds around the frame during windy conditions
- Peeling paint or bubbling drywall near the skylight opening
- Mould or a musty odour in the room below the skylight
- Visible gaps, rust, or lifted edges in the flashing where the skylight meets the roof
- Difficulty opening or closing a vented skylight, which can indicate a warped frame
If you notice any of these signs, it’s worth having a professional take a look before the next major rainfall or snowmelt. Our skylight services team can typically diagnose the issue in a single visit and recommend the most cost-effective path forward.
What Causes Skylight Leaks in the GTA
Toronto’s climate is particularly hard on skylights because of how dramatically conditions swing throughout the year. Understanding the root cause of a leak is the first step in any proper skylight repair, because patching the symptom without addressing the cause almost always leads to a repeat call within a year or two.
Flashing Failure
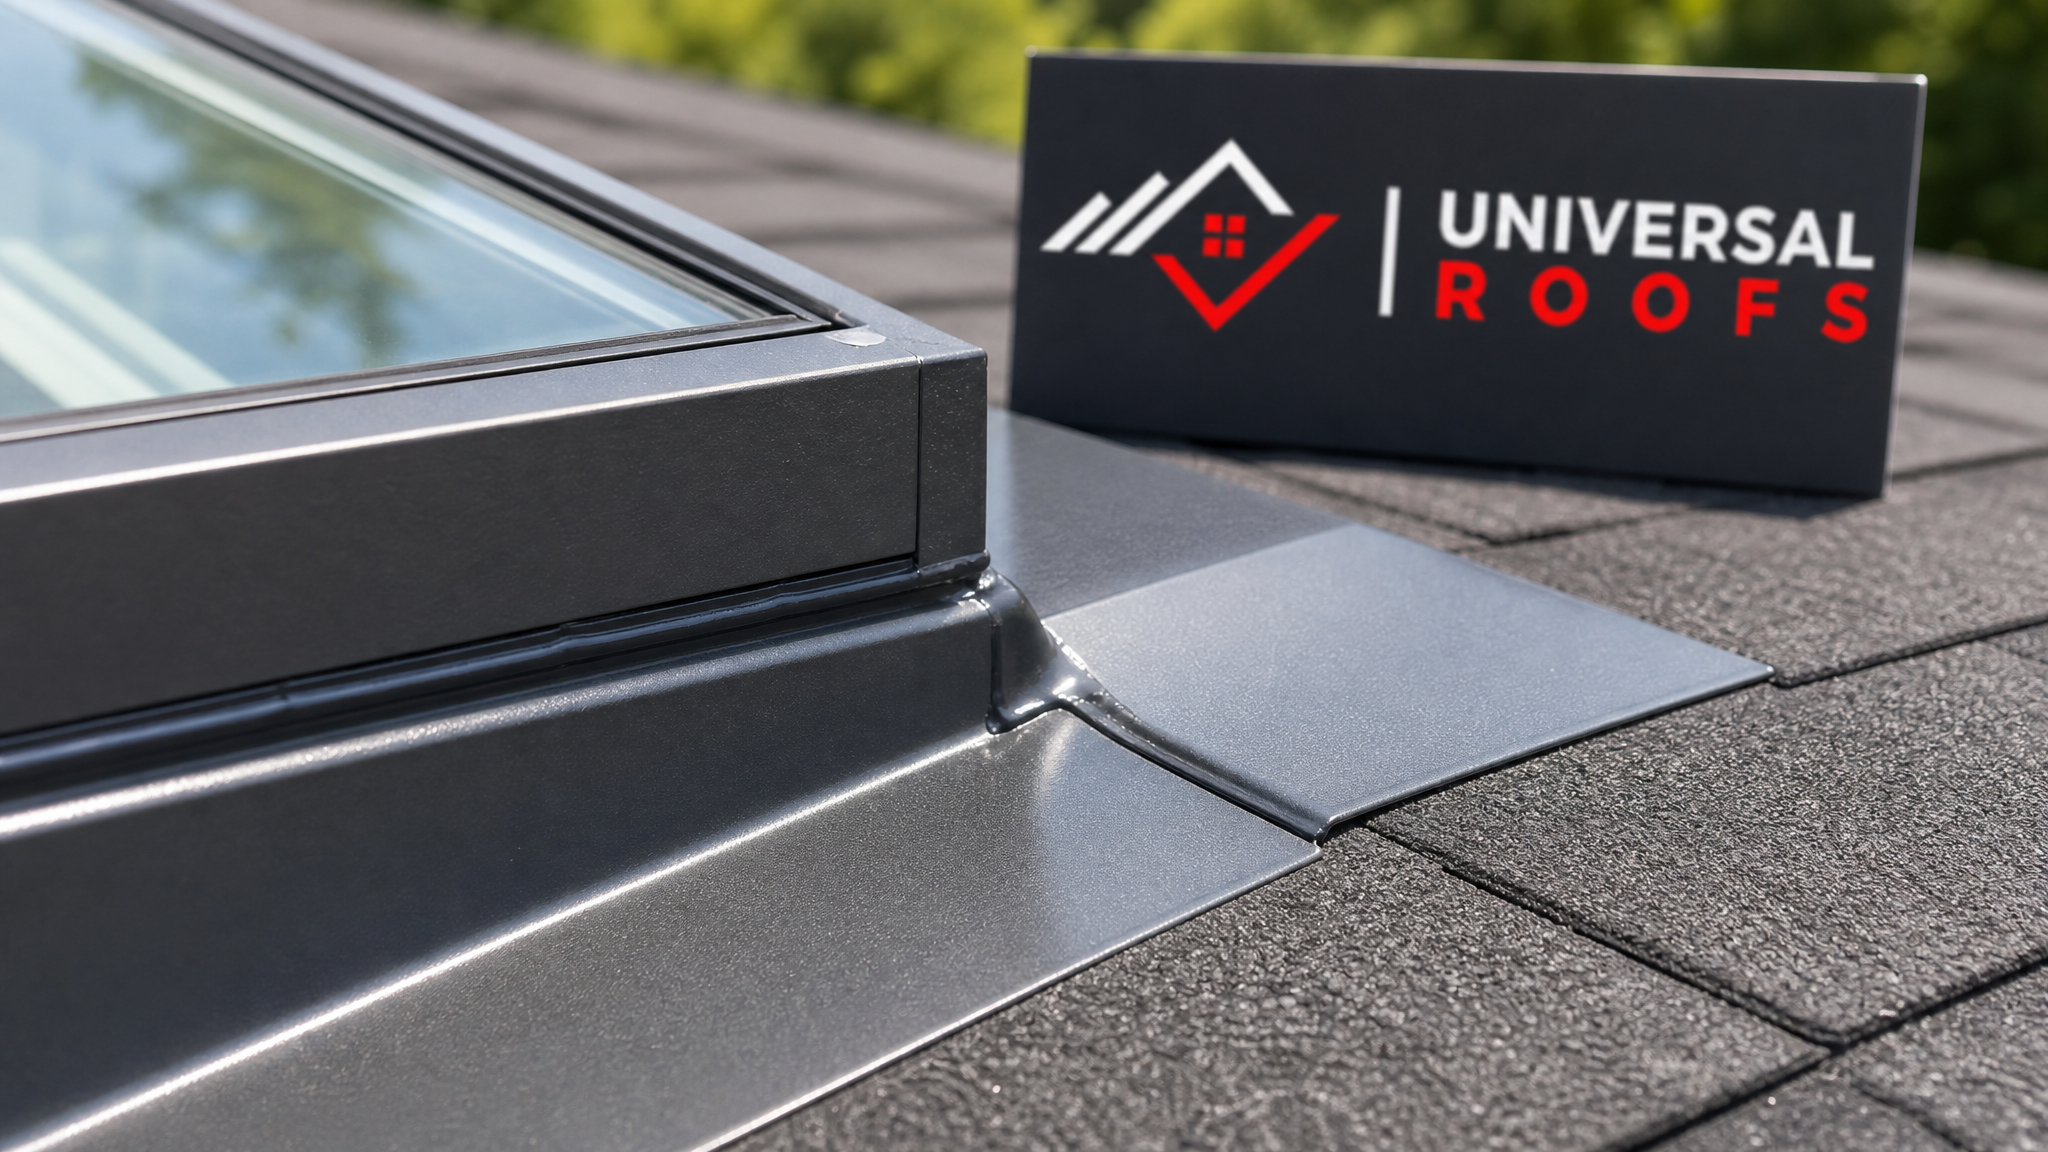
Flashing is the metal barrier installed around the perimeter of a skylight to direct water away from the opening and onto the surrounding shingles or roofing membrane. It’s the single most common point of failure we encounter. Over time, flashing can rust, crack, or pull away from the roof deck due to thermal expansion and contraction, especially on older aluminum or galvanized steel installations. Once flashing lifts even a few millimetres, wind-driven rain and melting snow will find their way underneath.
Seal and Sealant Degradation
The sealant used around the glazing and frame breaks down under constant UV exposure and temperature swings. In the GTA, we regularly see sealant that’s failed after 8 to 12 years, well before the skylight unit itself is due for replacement. When sealant cracks or shrinks, moisture seeps in along the glass-to-frame junction, often showing up as condensation before it becomes a visible drip.
Ice Damming
Ice dams form when heat escaping from the attic melts snow on the upper roof, which then refreezes at the colder eaves and around roof penetrations like skylights. The resulting ice ridge traps meltwater, forcing it to back up under shingles and flashing. Skylights installed without adequate curb height or proper ice-and-water shield underlayment are especially vulnerable. Improving attic insulation and ventilation (see our attic services page) often reduces ice damming significantly.
Improper Original Installation
We frequently find skylights that were installed correctly for the glazing itself but incorrectly for the roofing system around them, missing step flashing, insufficient underlayment overlap, or curb heights that don’t meet the minimum clearance for the local snow load. These installation shortcuts often don’t cause problems for a few years, then fail all at once during a particularly wet spring or heavy snow season.
Age and Material Fatigue
Even a well-installed skylight has a service life. Acrylic domes yellow and become brittle. Glass units lose their seal integrity. Frame gaskets harden and crack. Most quality skylights are rated for 15 to 20 years before major components need attention, and that timeline shortens in harsher climates.
Skylight Repair Methods Compared
Not every skylight problem calls for the same fix. The right method depends on where the failure is occurring, how old the unit is, and whether the issue is isolated or symptomatic of a larger problem. The table below compares the most common repair methods we use.
| Repair Method | Best For | Typical Lifespan After Repair | Relative Cost |
|---|---|---|---|
| Sealant and caulking renewal | Minor seal degradation, early-stage drafts | 5-8 years | Low |
| Flashing replacement | Rusted, cracked, or lifted flashing | 15-20 years | Moderate |
| Glazing/pane replacement | Fogged, cracked, or failed insulated glass units | 15-20 years | Moderate to high |
| Gasket and weatherstripping renewal | Drafts on vented or opening skylights | 8-10 years | Low to moderate |
| Curb and framing repair | Rot or structural damage around the opening | 20+ years | High |
| Full skylight replacement | Multiple failure points or units over 18-20 years old | 20-25 years | Highest |
A qualified inspection is the only reliable way to know which of these applies to your situation. In many cases, what looks like a glass problem is actually a flashing problem, and vice versa, which is why an experienced eye matters more than a generic checklist.
Step-by-Step: How Professional Skylight Repair Works
When our crews respond to a skylight repair call, the process generally follows the same structured approach regardless of the specific issue. Here’s what homeowners can expect.
1. Interior and Exterior Inspection
We start inside, examining the ceiling, drywall, and shaft for staining patterns that hint at where water is entering. Water often travels along framing members before it drips, so the stain location doesn’t always sit directly under the leak source. From there, we move to the roof to inspect the flashing, sealant lines, curb, and glazing from the exterior.
2. Moisture and Structural Assessment
If there’s any sign of prolonged leaking, we check the surrounding roof deck and framing for soft spots, rot, or mould growth. This step is critical: sealing over a rotten curb only masks the problem temporarily.
3. Isolating the Failure Point
Using a combination of visual inspection and, when needed, controlled water testing, we pinpoint exactly where water is entering. This prevents the common mistake of resealing the wrong spot while the actual leak continues unaddressed.
4. Removing Failed Materials
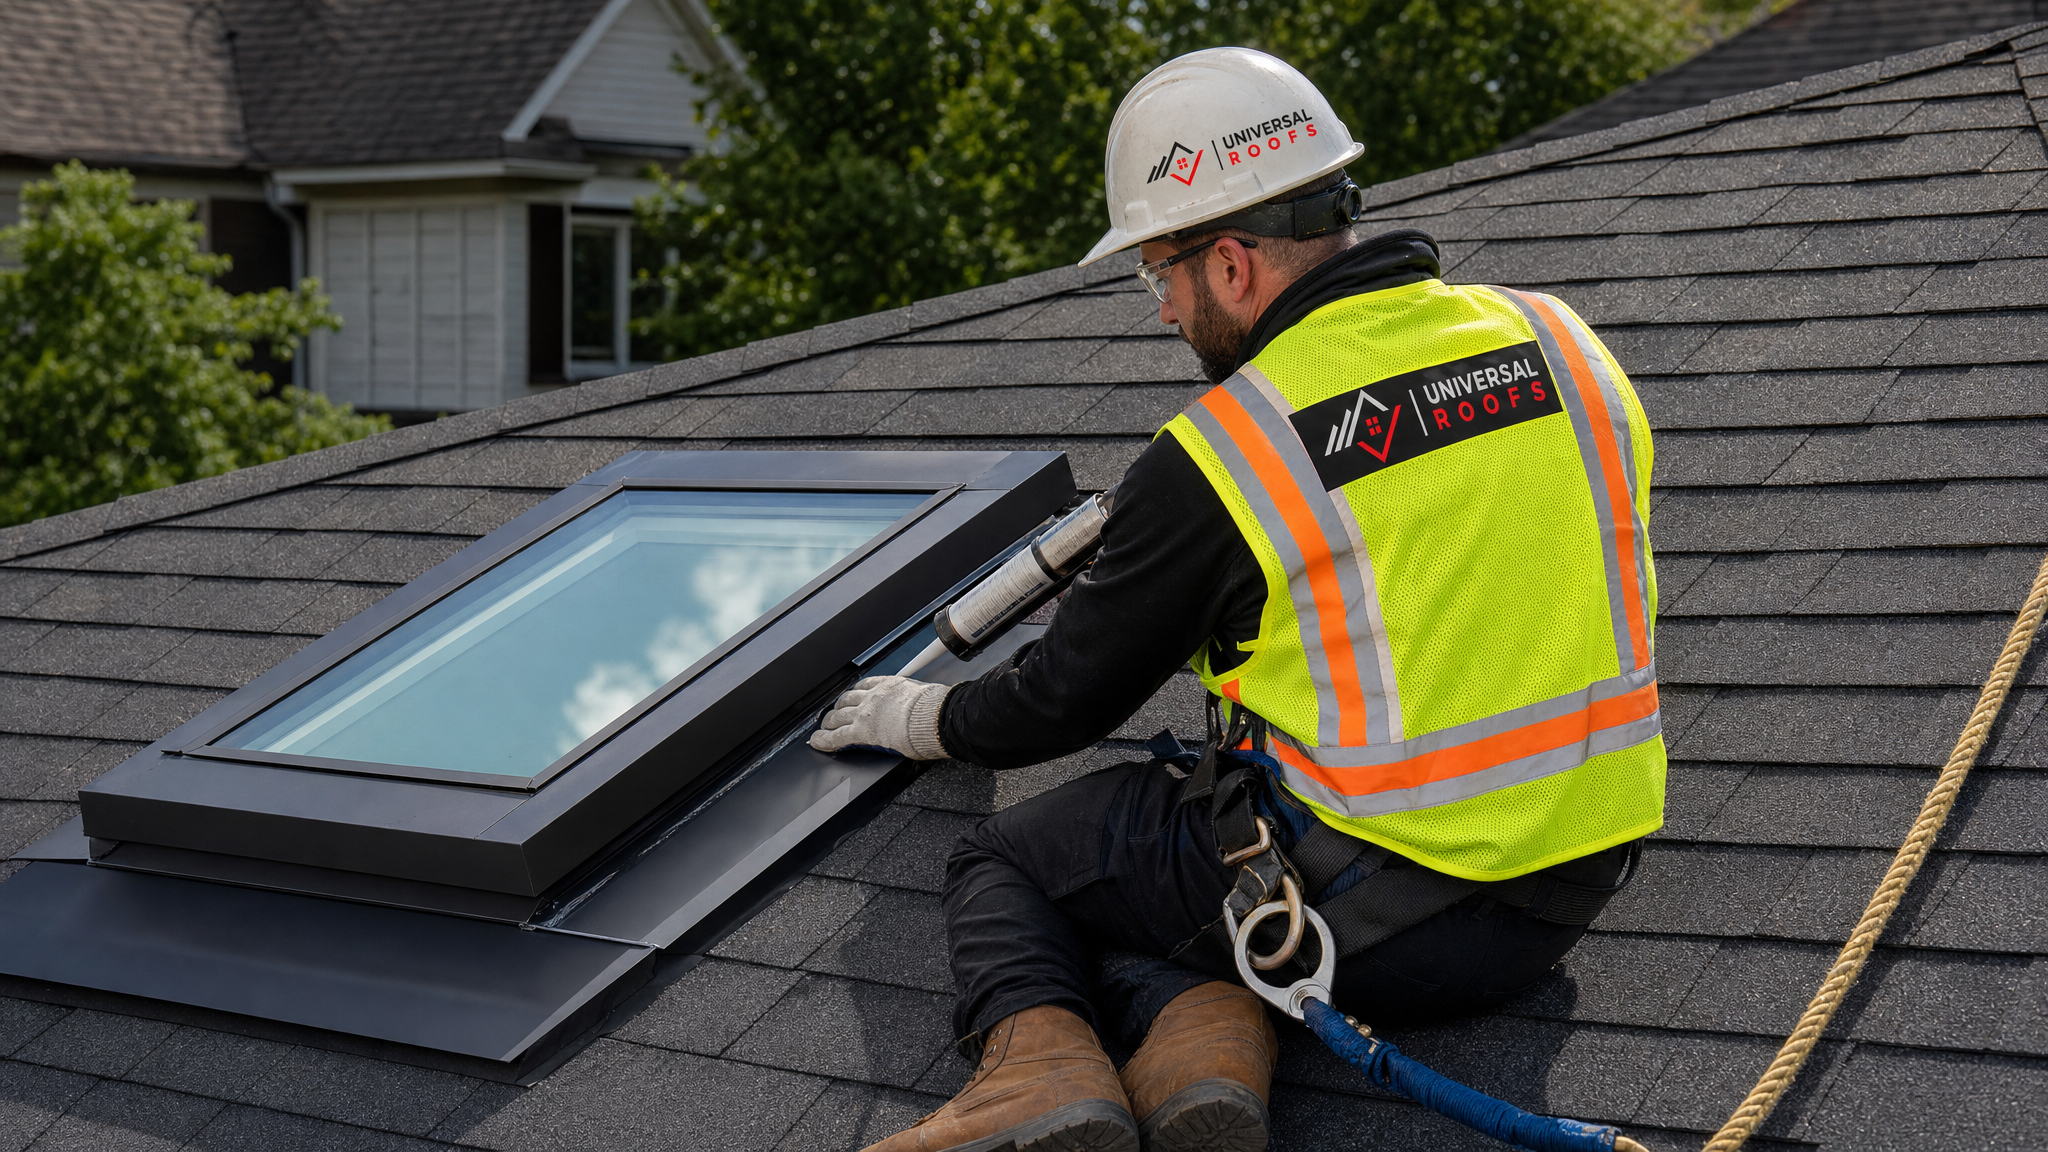
Old, cracked sealant is fully cut out and removed rather than layered over. Damaged flashing sections are removed down to the roof deck. Cutting corners here is the number one reason DIY skylight repairs fail within a season.
5. Installing New Components
Depending on the diagnosis, this stage might involve new step and counter-flashing, fresh high-grade sealant rated for Canadian temperature extremes, a replacement glazing unit, or new weatherstripping and gaskets on a vented model. We match materials to the existing roofing system so the repair blends in and performs consistently with the rest of the roof.
6. Final Weatherproofing and Testing
Once new materials are installed, we run a water test to confirm the repair is holding before we consider the job complete. We also check that any vented or motorized skylight opens, closes, and seals properly.
7. Interior Cleanup and Documentation
Photos are taken of the completed repair for our records and for the homeowner, and any interior drywall or paint damage is flagged for follow-up if it falls outside the scope of the roofing repair itself.
Skylight Repair vs. Replacement: How to Decide
One of the most common questions homeowners ask is whether a leaking skylight should be repaired or replaced outright. The honest answer depends on the age of the unit, the extent of the damage, and how many separate issues are present at once. The table below outlines the general decision framework we use during inspections.
| Situation | Recommended Approach | Reasoning |
|---|---|---|
| Skylight under 10 years old, isolated flashing issue | Repair | Glazing and frame are still within service life; flashing is a straightforward fix |
| Fogged or failed glazing on an otherwise sound frame | Repair (pane replacement) | Only the insulated glass unit needs replacing, not the entire skylight |
| Unit is 15+ years old with multiple failure points | Replace | Repairing one issue often reveals another shortly after on aging units |
| Rotted curb or structural framing damage | Replace (with curb rebuild) | Structural repair is required regardless, so upgrading the unit at the same time is efficient |
| Recurring leaks after two or more prior repairs | Replace | Repeated failures usually indicate the unit or original installation has reached end of life |
| Homeowner wants energy efficiency improvements | Replace | Modern low-E, argon-filled units perform significantly better than older single or double-pane models |
If you’re leaning toward replacement, our skylight replacement page covers the process, materials, and what modern units offer in terms of energy performance and durability. In many cases we can complete a straightforward swap in a single day, minimizing disruption to the room below.
Understanding Skylight Repair Costs
Cost is naturally one of the first questions homeowners have, and it varies quite a bit depending on the scope of work. The estimates below reflect typical ranges we see across the GTA for common repair scenarios; every quote should still be based on an in-person inspection since access, roof pitch, and skylight size all affect final pricing.
| Repair Type | Typical Cost Range (CAD) | Time to Complete |
|---|---|---|
| Resealing/caulking renewal | $250 – $600 | 1-2 hours |
| Flashing repair (single skylight) | $450 – $1,200 | Half day |
| Weatherstripping/gasket replacement | $200 – $500 | 1-2 hours |
| Glazing/insulated glass unit replacement | $600 – $1,800 | Half day |
| Curb rebuild with new flashing | $1,200 – $2,800 | 1 full day |
| Full skylight replacement | $1,500 – $4,500+ | 1 day |
Emergency callouts for active leaks during a storm may carry a premium, but addressing the issue quickly almost always costs less than letting water damage spread to drywall, insulation, and framing. If a leak is currently active, our roof repair team can often provide a temporary weatherproof cover the same day while a permanent fix is scheduled.
Skylight Repair by Season: What Changes Throughout the Year
The GTA’s four-season climate means the ideal timing and urgency of skylight repair shifts throughout the year. Understanding these seasonal patterns helps homeowners plan proactively rather than reactively.
Summer (Current Season)
Summer, like right now, is genuinely the best time to schedule non-emergency skylight repair. Warm, dry conditions allow sealants and adhesives to cure properly, roof access is safer, and there’s no risk of the repair area being compromised by sudden rain or snow mid-job. If you noticed leaks last winter or during spring melt, this is the ideal window to get ahead of it before the next cold season.
Fall
Fall is the last practical window before winter to catch issues. We recommend a pre-winter inspection in September or October, particularly for homes with a history of ice damming, so any flashing or sealant issues can be resolved before temperatures drop below the working range for most sealant products.
Winter
Winter is when most leaks actually become visible, as ice damming and snow load expose weaknesses that were dormant during warmer months. Repairs are still possible in winter, but options are more limited since many sealants and adhesives require minimum application temperatures. Temporary measures may be used to stop active leaks until a permanent repair can be completed.
Spring
Spring meltwater is the classic stress test for any skylight. This is peak season for leak calls as accumulated ice and snow melt and test every seal and flashing joint on the roof. It’s also a good time for repairs once temperatures stabilize above freezing.
Choosing a Qualified Skylight Repair Contractor
Skylight repair sits at the intersection of roofing and glazing work, which means it requires a contractor who understands both trades. A generalist handyman might be able to reseal a joint, but diagnosing flashing integration with the surrounding roofing system, or knowing when a curb needs rebuilding, takes specialized experience.
Here’s what to look for:
- Roofing-specific experience, not just general glazing or window contractors
- Manufacturer familiarity with common skylight brands used in the GTA
- Proper fall protection and safety practices for working at height
- Written estimates that clearly separate labour, materials, and any drywall or interior repair
- Warranty coverage on both materials and workmanship
- Local reviews and references you can actually verify
You can read verified feedback from homeowners we’ve worked with across the region on our reviews page, and if you have questions about our process before booking, our FAQ page covers many of the most common ones. You can also learn more about our history and licensing on our about page.
Preventing Future Skylight Leaks
Once a skylight has been properly repaired, a bit of routine maintenance goes a long way toward avoiding a repeat visit. We recommend homeowners do the following:
| Maintenance Task | Recommended Frequency | Why It Matters |
|---|---|---|
| Visual inspection from inside (ceiling/shaft) | Twice yearly (spring and fall) | Catches early staining before it spreads |
| Exterior flashing and sealant check | Annually, ideally in fall | Identifies wear before winter stress-tests it |
| Clear debris from surrounding roof area | After major storms or leaf drop | Prevents water pooling against the curb |
| Attic ventilation and insulation check | Every 2-3 years | Reduces ice damming risk around the skylight |
| Professional full inspection | Every 3-5 years | Catches issues not visible from ground level |
Homes with poor attic ventilation are especially prone to repeat skylight issues, since trapped heat accelerates ice damming even when the skylight itself is in good condition. If it’s been a while since your attic insulation was assessed, our attic services team can evaluate whether ventilation improvements would reduce the strain on your skylights long term. Homes with flat or low-slope roofs, common on additions and some bungalows, also benefit from a review of the broader flat roofing system, since skylight curbs on flat roofs face different drainage challenges than those on sloped roofs.
Serving Skylight Repair Needs Across the GTA
Skylight installations vary by neighbourhood and housing stock across the region, and our crews have worked on everything from older character homes to newer builds throughout Toronto, Peel Region, York Region, Halton Region, and Durham Region. Local knowledge matters here: older homes in established Toronto neighbourhoods often have skylights installed decades ago with materials and techniques that have since been improved, while newer subdivisions in Peel and York tend to have more consistent, code-compliant original installations but can still develop sealant issues as they age.
Wherever you’re located in the GTA, our team can typically schedule an inspection within a few days, sooner if there’s an active leak.
How much does skylight repair cost in Toronto?
Can a leaking skylight be repaired instead of replaced?
Why does my skylight leak only in the winter?
Is condensation between skylight panes a sign I need skylight repair?
How long does a skylight repair take to complete?
What is the best time of year for skylight repair?
Need Help With Skylight Repair?
Whether you’ve spotted a small water stain or you’re dealing with an active leak, addressing skylight issues early is always the more affordable path. The team at Universal Roofs has the roofing and glazing expertise to diagnose the real cause of the problem and fix it properly the first time.
Call us today at (416) 732-2421 or request a free inspection to get started.
Universal Roofs proudly serves Toronto, Mississauga, Brampton, Vaughan, Markham, Oakville and the GTA since 2005.