
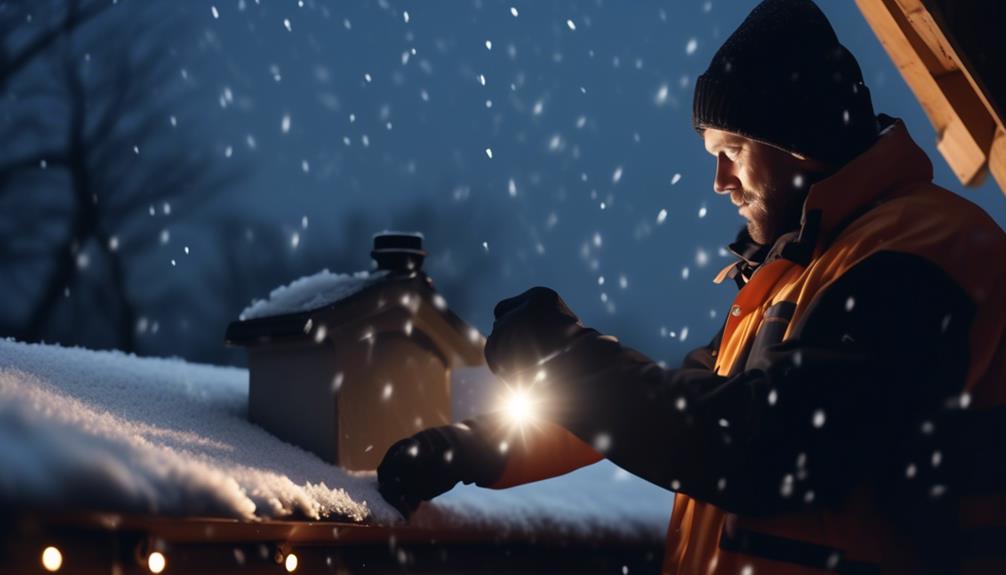
Did you know that according to a study conducted by the Insurance Institute for Business & Home Safety, snow and ice dams cause an estimated $1.2 billion in damages to homes each winter in the United States?
With winter approaching, it's crucial to take proactive measures to prevent roof leaks during snow removal. But how can you protect your roof and avoid potential costly repairs?
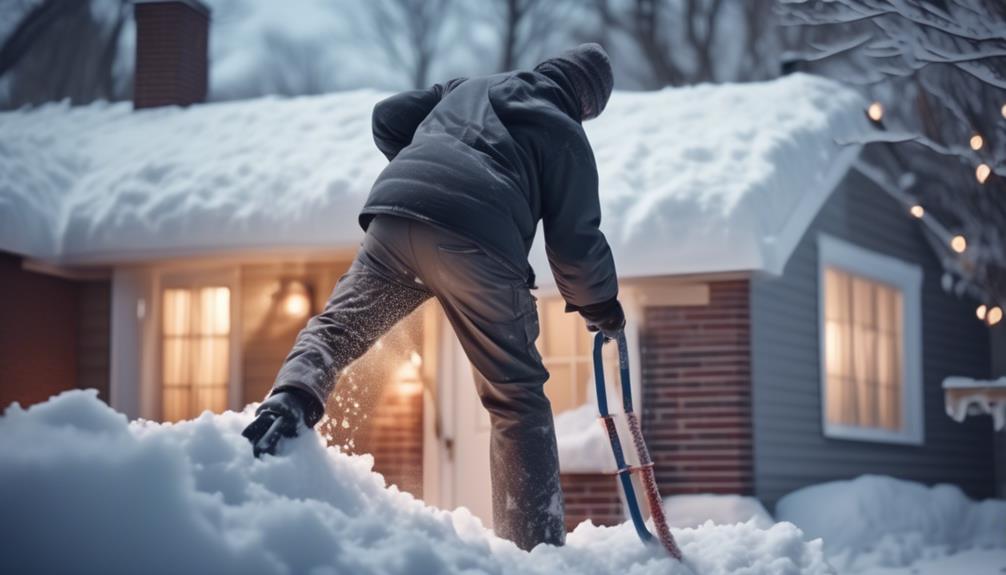
In this discussion, we will explore effective strategies and best practices for safely removing snow from your roof while minimizing the risk of leaks. By following these tips, you can ensure the integrity of your roof and keep your home safe and dry during the winter months.
Assessing the Roof
When assessing the roof, it's essential to thoroughly inspect all areas for potential vulnerabilities that may lead to leaks during snow removal. Assessing roof damage requires a systematic approach to identify weak spots and ensure the integrity of the structure.
Firstly, it's crucial to examine the overall condition of the roof. Look for signs of wear and tear, such as cracked or missing shingles, damaged flashing, and deteriorated sealant. These can be indicators of potential weak points that may allow water to penetrate the roof during snow removal.
Next, pay close attention to areas where different roof components meet, such as valleys, ridges, and joints. These areas are prone to leaks as they're more susceptible to water pooling and ice dam formation. Check for any gaps or loose materials that could compromise the roof's ability to withstand heavy snow loads.
Additionally, inspect the condition of the gutters and downspouts. Clogged or damaged gutters can lead to water overflow, causing water to seep into the roof. Ensure that they're clear of debris and securely attached to the roof.
Furthermore, evaluate the structural integrity of the roof. Look for any signs of sagging or unevenness, as these can indicate underlying structural damage. A weakened structure may not be able to support the weight of accumulated snow, increasing the risk of leaks.
Lastly, consider consulting a professional roofing contractor to conduct a thorough assessment. Their expertise and experience can help identify potential vulnerabilities that may go unnoticed to an untrained eye.
Clearing Snow From Gutters

When it comes to clearing snow from gutters, there are a few key points to keep in mind.
First, gutter snow accumulation can lead to water backup and potential roof leaks, so it's important to address this issue promptly.
Second, proper gutter cleaning is crucial to ensure that water can flow freely and prevent any potential damage.
Lastly, there are various snow removal techniques that can be used to clear snow from gutters effectively and safely.
Gutter Snow Accumulation
To effectively clear snow from gutters and prevent gutter snow accumulation, we recommend utilizing a sturdy ladder and a snow rake specifically designed for gutters. Gutter snow accumulation can lead to several issues, including clogged gutters, ice dams, and potential water damage to the roof and the interior of your home. Regular gutter maintenance is crucial to prevent these problems. Here is a table summarizing the potential consequences of gutter snow accumulation:
| Consequence | Description |
|---|---|
| Clogged Gutters | Snow buildup in gutters can block the flow of water, causing it to overflow and potentially damage the siding and foundation of your home. |
| Ice Dams | When snow melts and refreezes on the roof edge, it forms ice dams, which can prevent proper drainage and result in water seeping into the roof structure. |
| Water Damage | If water infiltrates through the roof due to clogged gutters or ice dams, it can cause interior damage, including ceiling stains, mold growth, and structural deterioration. |
Proper Gutter Cleaning
To properly maintain your gutters and prevent potential issues like clogged gutters, ice dams, and water damage, it's essential to know the proper techniques for clearing snow from your gutters. Neglecting gutter maintenance during winter can lead to serious problems that can be costly and time-consuming to fix.
Here are three important steps to follow when clearing snow from your gutters:
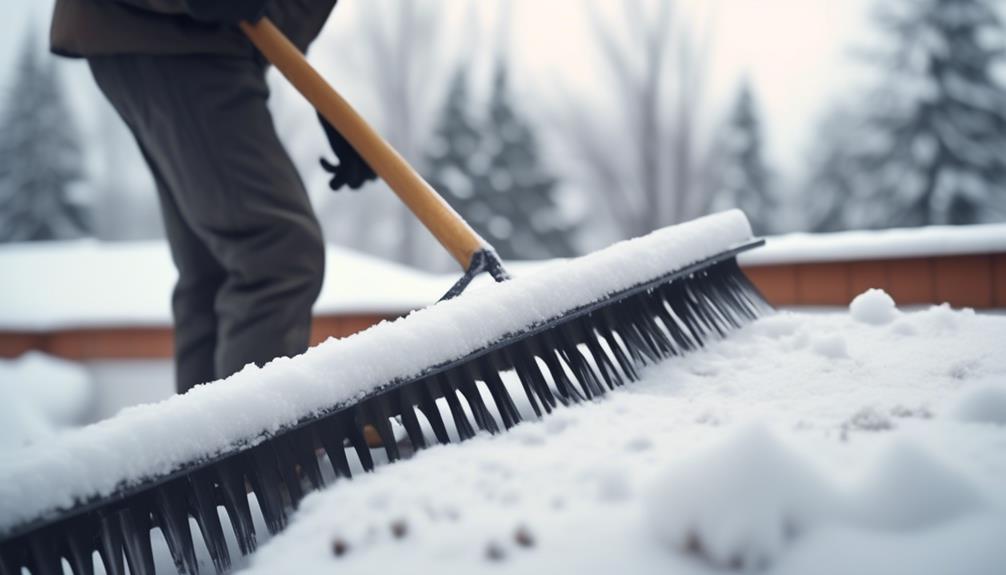
- Remove the majority of the snow using a snow rake or a long-handled broom. Start from the edge of the roof and work your way up, gently pushing the snow off the gutters. Be careful not to damage the gutters or the roof while doing this.
- Once most of the snow is removed, use a garden hose to flush out any remaining debris or ice that may be blocking the gutters. Start from the downspout and work your way towards the other end, ensuring that water is flowing freely.
- Consider installing gutter guards to prevent debris from accumulating in the gutters in the first place. These guards can help reduce the frequency of gutter cleaning and minimize the chances of ice dams forming.
Snow Removal Techniques
Clearing snow from gutters requires careful attention to prevent damage and ensure their proper functioning.
When it comes to removing snow from gutters, it's important to use the right snow removal equipment and follow proper safety measures.
One effective method is to use a roof rake with a long handle to safely clear snow from the gutters. This tool allows you to stand on the ground while reaching the gutters, reducing the risk of falls or injuries.
Another option is to use a gutter cleaning attachment for your snow blower. This attachment helps to remove snow and ice from the gutters without causing any damage.
Always remember to prioritize safety by wearing appropriate footwear, using a sturdy ladder, and avoiding overreaching, especially when working with snow removal equipment.
Removing Snow From Roofs With Flat Surfaces
When it comes to removing snow from roofs with flat surfaces, there are several important points to consider.
First and foremost, safety precautions should be a top priority to prevent accidents and injuries.
Secondly, using the right tools for snow removal is crucial to avoid causing damage to the roof.
Lastly, employing proper techniques such as shoveling in a downward motion and avoiding excessive force can help prevent leaks and structural issues.
Safety Precautions for Flat Roofs
Using appropriate safety precautions is essential when removing snow from roofs with flat surfaces. Flat roofs can be more susceptible to damage from snow accumulation, so it's crucial to take the necessary steps to prevent roof damage.
Here are three safety precautions to consider:
- Clear the area: Before beginning the snow removal process, ensure that the area around the roof is clear of any obstacles or hazards. This includes removing any loose debris, such as branches or tools, that could pose a safety risk.
- Use the right tools: Choose the appropriate tools for snow removal on a flat roof. This may include a snow rake or shovel specifically designed for flat surfaces. Avoid using sharp or metal tools that could damage the roof's surface.
- Work in teams: Never attempt to remove snow from a flat roof alone. Working in teams provides an extra layer of safety and allows for better coordination. It's important to communicate and establish a safe work zone to avoid accidents.
Best Tools for Snow Removal
To effectively remove snow from roofs with flat surfaces, it's important to use the right tools specifically designed for this task. When it comes to snow removal, the best snow shovels are those with wide blades and ergonomic handles, allowing for efficient and comfortable use. Look for shovels made of durable materials such as aluminum or polyethylene, as they're lightweight yet sturdy.
Additionally, consider investing in snow blower options for larger flat roofs. Snow blowers come in various sizes and power options, including electric and gas-powered models. They can quickly and effectively clear snow from larger areas, saving you time and effort.
Remember to always follow the manufacturer's instructions and use caution when operating these tools to prevent damage to your roof.
Proper Snow Removal Techniques
For proper snow removal techniques on roofs with flat surfaces, it's crucial to employ effective methods that minimize the risk of roof leaks. Here are three important steps to ensure snow removal safety and prevent roof damage:
- Clear the perimeter: Begin by removing the snow from the edges of the roof. Use a snow rake or push broom to gently push the snow off the roof, taking care not to damage the surface. This will prevent ice dams from forming and reduce the risk of water seeping into the roof.
- Use a plastic shovel: When removing snow from flat roofs, it's recommended to use a plastic shovel instead of metal tools. Plastic shovels are less likely to damage the roof surface and are safer to use.
- Shovel in layers: Instead of trying to remove all the snow at once, shovel in layers. Start by removing the top layer of snow and then work your way down. This will prevent excessive weight on the roof and reduce the risk of structural damage.
Safely Removing Snow From Pitched Roofs
When safely removing snow from pitched roofs, it is important to follow proper techniques and precautions to prevent damage and potential roof leaks. Snow accumulation on a pitched roof can lead to excessive weight, which can cause structural damage and compromise the integrity of the roof. To safely remove snow, it is crucial to consider factors such as the type of roof, the amount of snow, and the tools or equipment used.
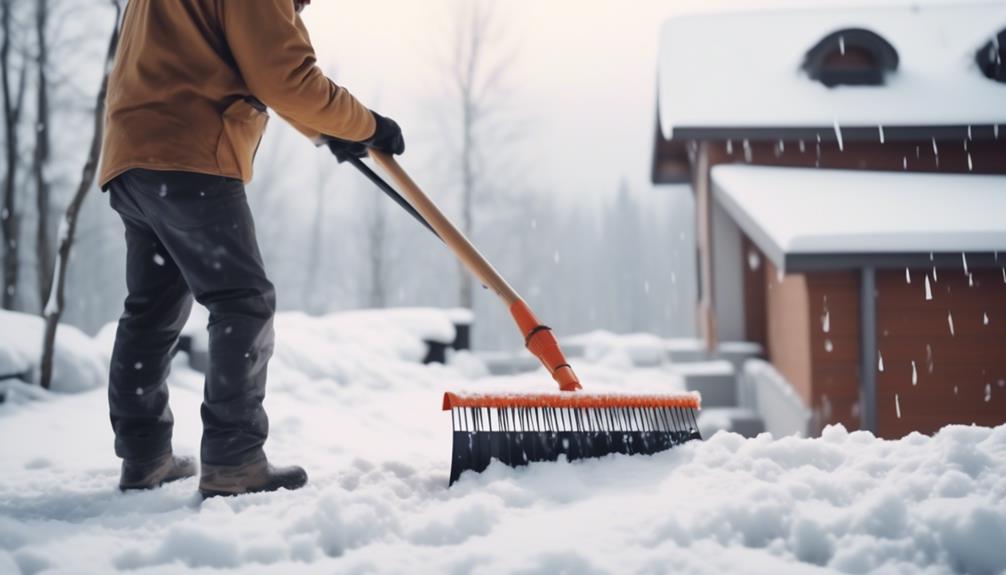
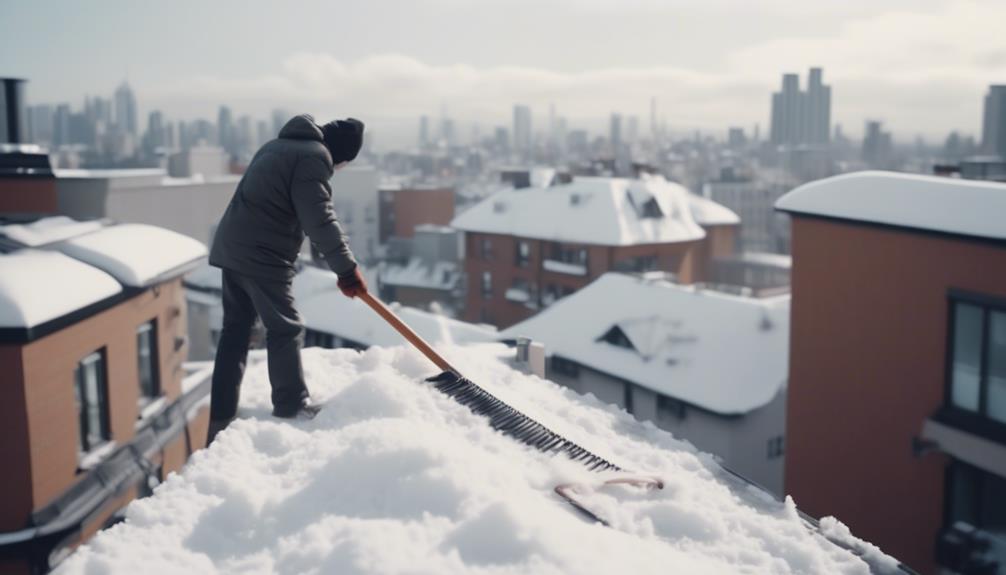
One effective technique for safely removing snow from a pitched roof is using a snow rake. This specialized tool allows you to remove snow from the ground without the need for climbing onto the roof. When using a snow rake, it is important to start from the edge of the roof and work your way up, gently pulling the snow down. This prevents the risk of dislodging shingles or damaging the roof surface.
Another method is using a roof-friendly snow blower. These snow blowers are designed to be lightweight and have adjustable outlets to avoid causing damage to the roof. When using a snow blower, it is essential to be cautious of the direction of the snow discharge to prevent it from piling up on the roof or blocking vents.
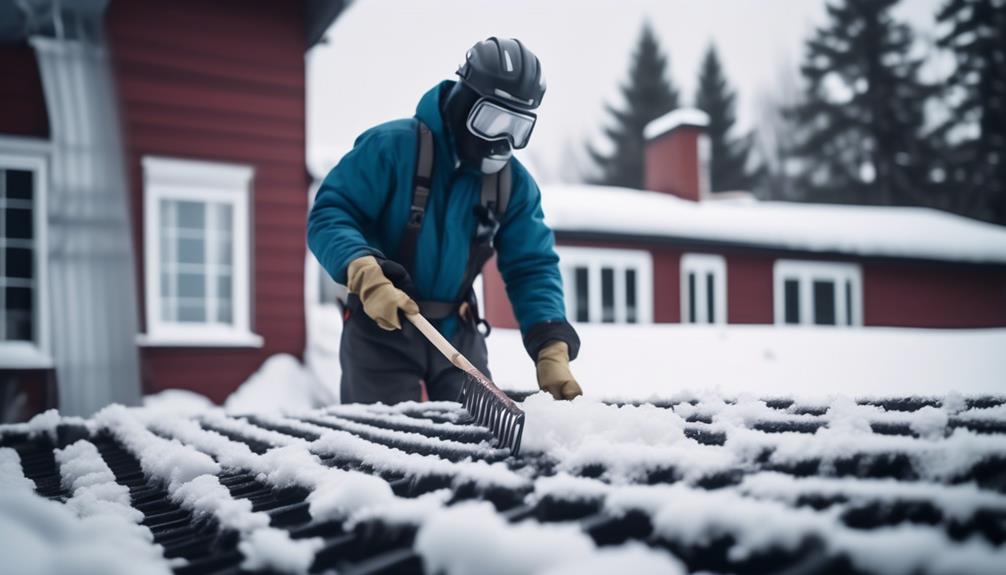
To ensure your safety and prevent accidents, it is advisable to wear appropriate protective gear, such as non-slip boots and a helmet. Additionally, it is crucial to avoid using sharp tools or excessive force when removing snow, as this can damage the roof and increase the risk of leaks.
Remember, proper technique and caution are key when safely removing snow from pitched roofs. By following these guidelines, you can prevent roof damage and potential leaks, ensuring the longevity and durability of your roof.
| Technique | Description |
|---|---|
| Snow Rake | Specialized tool to remove snow from the ground without climbing onto the roof. Start from the edge and work your way up, gently pulling the snow down. |
| Roof-Friendly Snow Blower | Lightweight snow blower with adjustable outlets to avoid roof damage. Be cautious of the direction of snow discharge. |
| Protective Gear | Wear non-slip boots and a helmet for safety. Avoid using sharp tools or excessive force. |
Using Roof Rakes for Snow Removal
After addressing the importance of safely removing snow from pitched roofs, the next step is to discuss the effective use of roof rakes for snow removal. Roof rakes are specifically designed tools that can help homeowners remove snow from their roofs without causing damage. Here are three key points to consider:
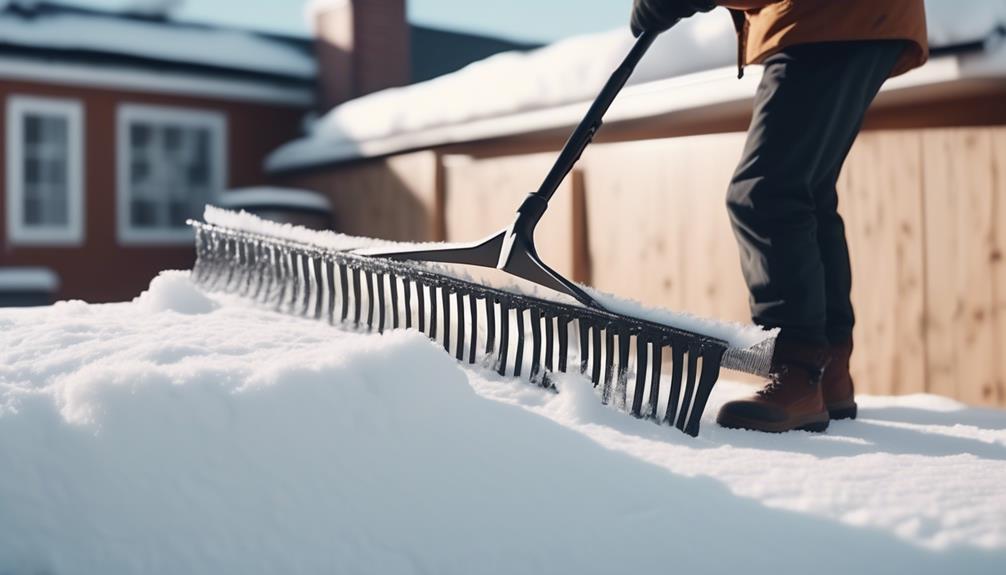
- Choose the right roof rake: When selecting a roof rake, it's important to consider its length, weight, and the material of the rake head. Opt for a rake with an adjustable telescoping handle, as this will allow you to reach high areas without straining yourself. Additionally, choose a lightweight rake to avoid unnecessary fatigue. The rake head should be made of a non-abrasive material such as plastic or rubber to prevent roof damage.
- Use proper technique: Before using a roof rake, ensure that you're standing on a stable and secure surface. Start by standing at the edge of the roof and reach the rake as far up as you can comfortably manage. Pull the rake down in a gentle motion, allowing the snow to slide off the roof. Avoid applying excessive force or using a scraping motion, as this can damage the roof's shingles or other roofing materials.
- Consider roof rake alternatives: While roof rakes are commonly used for snow removal, there are alternative methods that can also be effective. For instance, snow melting systems can be installed on the roof to prevent snow accumulation. These systems use heating elements or heated cables to melt the snow as it falls, reducing the need for manual snow removal.
Preventing Ice Dams During Snow Removal
When it comes to preventing ice dams during snow removal, there are a few key points to keep in mind.
First, ensuring proper insulation in your attic can help prevent heat loss and reduce the risk of ice dams forming.
Second, proper attic ventilation is essential to maintain a consistent temperature and prevent the buildup of moisture.
Insulation for Ice Dams
To prevent ice dams during snow removal, it's crucial to properly insulate the roof. Insulation plays a vital role in maintaining a consistent temperature on the roof's surface, preventing the formation of ice dams.
Here are three key factors to consider when it comes to insulation installation for preventing ice dams:
- Adequate insulation: Ensure that your roof has sufficient insulation to minimize heat loss from the interior. This helps maintain a uniform roof temperature and prevents snow from melting unevenly, reducing the risk of ice dams.
- Proper sealing: Seal any gaps or cracks in the roof's structure to prevent warm air from escaping. This includes sealing around vents, chimneys, and attic hatches.
- Ventilation: Proper attic ventilation is essential to regulate the temperature and moisture levels. It helps prevent the buildup of condensation and melting snow, reducing the likelihood of ice dam formation.
Proper Attic Ventilation
Proper attic ventilation is crucial in preventing ice dams during snow removal. Adequate airflow in the attic helps regulate temperature and prevent the formation of ice dams on the roof. Ice dams occur when warm air from the attic melts the snow on the roof, which then refreezes at the eaves, causing water buildup and potential leaks.
Attic ventilation offers several benefits in preventing ice dams. Firstly, it helps maintain a consistent temperature in the attic, preventing excessive heat buildup and reducing the risk of melting snow. Secondly, it promotes the movement of air, which helps to dry out any moisture in the attic and prevent condensation. Lastly, proper attic ventilation helps extend the lifespan of the roof by reducing the potential for damage caused by ice dams.
The importance of proper ventilation can't be overstated. Without it, the risk of ice dams and subsequent roof leaks significantly increases. Homeowners should ensure that their attics are adequately ventilated to prevent ice dams and protect their roofs from costly damage.
Snow Removal Techniques
Using proper snow removal techniques is essential in preventing ice dams and potential roof leaks. Snow removal equipment and safety precautions play a crucial role in maintaining the integrity of your roof during the winter season.
Here are three important techniques to consider:
- Use a snow rake: A snow rake is a long-handled tool specifically designed for removing snow from your roof safely. It allows you to reach and remove snow without causing damage to your roof or gutters.
- Avoid using sharp tools: Using sharp tools, such as shovels or ice picks, can cause significant damage to your roof. These tools can puncture the roofing material or tear the shingles, leading to potential leaks. Instead, opt for a plastic shovel or a snow pusher with a wide blade.
- Prioritize safety: When removing snow, always prioritize safety. Wear appropriate gear, such as non-slip boots and gloves, to ensure stability and protect yourself from the cold. Work with a partner and be mindful of your surroundings to prevent accidents.
Clearing Snow From Roof Valleys
When clearing snow from roof valleys, it is crucial to follow proper techniques to prevent potential roof leaks. Roof valleys are the areas where two roof slopes intersect, creating a channel for water and snow to flow down from the roof. If snow is not cleared from these valleys correctly, it can lead to snow buildup and ice dams, which can cause water to seep into the roof and result in leaks. To avoid such issues, here are some important steps to take when clearing snow from roof valleys:
- Start by using a roof rake or a telescoping snow broom to gently remove the snow from the roof surface. Be careful not to damage the shingles or the roof structure while doing this.
- Clear any snow buildup from the gutters and downspouts to ensure proper drainage. This will prevent water from backing up and causing leaks.
- Use a roof snow removal tool, such as a roof shovel, to carefully clear the snow from the valleys. Start from the bottom of the valley and work your way up, taking small sections at a time.
- Avoid using sharp tools or excessive force when clearing the snow. This can damage the shingles or the underlying roof structure.
To illustrate the importance of proper snow removal from roof valleys, here is a table highlighting the potential consequences of neglecting this task:
| Consequences of Neglecting Roof Valley Snow Removal |
|---|
| – Snow buildup in the valleys leads to ice dams |
| – Ice dams cause water to seep into the roof |
| – Water leaks result in damage to the interior |
| – Ceiling and wall damage requiring repairs |
| – Increased risk of mold growth and structural issues |
Removing Snow Around Roof Vents
As we continue our discussion on snow removal techniques for preventing roof leaks, let's now turn our attention to the important task of removing snow around roof vents. Roof vents play a crucial role in maintaining proper ventilation in your home, and it's essential to ensure that they remain unobstructed during the winter months.
Snow accumulation around roof vents can lead to a variety of issues, including reduced airflow, moisture buildup, and potential leaks. To prevent these problems, follow these three key steps for clearing obstructions and maintaining your roof vents:
- Inspect the vents: Before removing snow around roof vents, it's important to inspect them for any signs of damage or wear. Look for cracks, loose flashing, or any other issues that may compromise their functionality. If you notice any problems, it's best to address them promptly to prevent further damage.
- Use a soft push broom: When clearing snow around roof vents, it's crucial to avoid using shovels or sharp objects that could damage the vents or their seals. Instead, opt for a soft push broom with bristles that won't scratch or dent the vents. Gently brush away the snow, starting from the top and working your way down.
- Clear the area around the vents: In addition to removing snow directly on the vents, it's important to clear the surrounding area as well. This will help prevent snow from melting and refreezing, which can lead to ice dams and further obstruction. Make sure to clear a sufficient distance around the vents to allow for proper airflow.
Inspecting and Repairing Roof Flashing
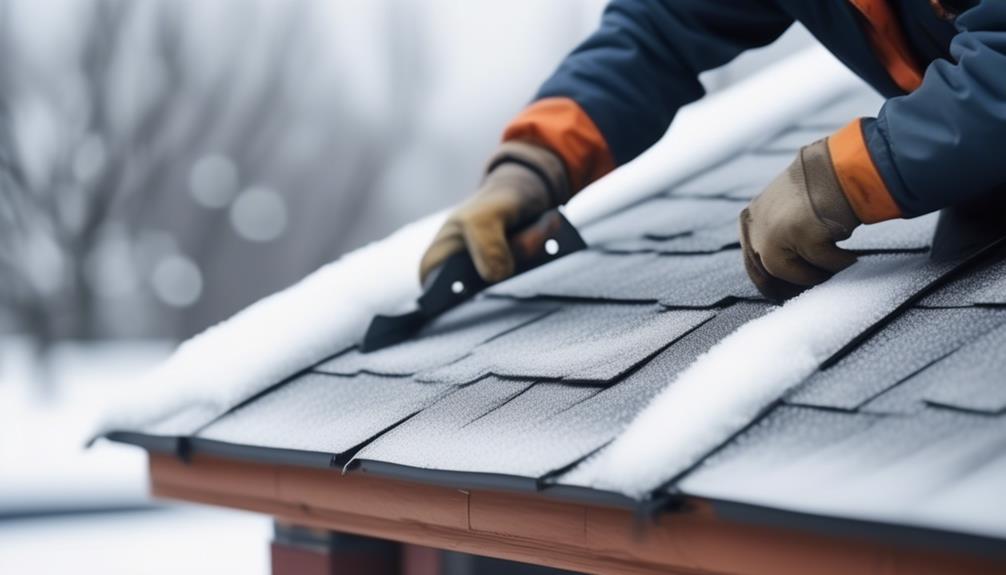
To ensure the integrity of your roofing system, it is crucial to regularly inspect and promptly repair any issues with the roof flashing. Roof flashing serves as a protective barrier against water infiltration, preventing leaks and damage to your home. Over time, the flashing can deteriorate or become damaged due to weather conditions, age, or improper installation. Therefore, conducting regular roof flashing inspections and addressing any necessary repairs is essential in maintaining a watertight roof.
During a roof flashing inspection, it is important to thoroughly examine all areas where the flashing is installed, including around chimneys, vents, skylights, and any other roof penetrations. Look for signs of wear and tear, such as cracks, rust, or gaps between the flashing and the roof surface. Additionally, check for any loose or missing flashing pieces that may have been dislodged by strong winds or other external forces. It is also crucial to inspect the flashing seals to ensure they are intact and properly sealed.
In the table below, we outline the key areas to inspect and potential issues to look out for during a roof flashing inspection:
| Roof Flashing Area | Potential Issues |
|---|---|
| Chimneys | Cracked mortar joints, deteriorated flashing |
| Vents | Loose or missing flashing, damaged seals |
| Skylights | Improperly sealed flashing, cracks in the flashing |
| Roof Penetrations | Rust, gaps between flashing and roof surface |
If any issues are identified during the inspection, prompt roof flashing repair is necessary to prevent further damage. Depending on the extent of the problem, repairs may involve replacing damaged flashing, applying new sealant, or reattaching loose flashing. It is important to hire a professional roofing contractor with expertise in flashing repair to ensure the work is done correctly and effectively.
Regular roof flashing inspections and timely repairs are essential in protecting your roofing system from leaks and water damage. By addressing any issues promptly, you can maintain a watertight roof and prolong the lifespan of your entire roofing system.
Hiring Professional Roof Snow Removal Services
For expert and efficient roof snow removal, it's advisable to hire professional services. Professional snow removal companies have the knowledge, experience, and equipment necessary to safely and effectively remove snow from your roof. Here are three reasons why hiring professional roof snow removal services is the best choice:
- Expertise: Professional snow removal companies have trained professionals who understand the intricacies of snow removal. They're well-versed in various snow removal techniques and can assess the condition of your roof to determine the most suitable method. These experts know how to remove snow without causing damage to your roof or compromising its structural integrity.
- Safety: Snow removal can be a dangerous task, especially when it involves climbing on roofs. Professional snow removal services have the necessary safety equipment and protocols to ensure the safety of their workers and your property. They're trained to handle slippery conditions and can prevent accidents or injuries during the snow removal process.
- Cost-effective: While hiring professional snow removal services may involve a cost, it can save you money in the long run. Removing snow yourself or hiring unqualified individuals can lead to costly damages to your roof. Professional snow removal companies have insurance coverage to protect against any potential damages, giving you peace of mind knowing that you won't be held responsible for any accidents or mishaps.
When considering the snow removal cost, it's important to weigh the potential risks and expenses associated with DIY snow removal against the expertise and safety provided by professional services. Hiring professionals ensures that the job is done efficiently and effectively, minimizing the risk of roof leaks and costly repairs.
Frequently Asked Questions
How Often Should I Assess My Roof for Potential Leaks During Snow Removal?
Assessing the condition of our roof regularly is crucial to prevent potential leaks during snow removal. Regular maintenance ensures that any weak spots or damage are identified and addressed promptly. By conducting regular assessments, we can proactively address any issues before they become major problems.
It's recommended to assess our roof at least twice a year, preferably before and after the winter season. This proactive approach helps us maintain a leak-free roof and prolong its lifespan.
Are There Any Specific Tools or Equipment That I Should Use to Clear Snow From My Gutters?
When it comes to clearing snow from our gutters, we should definitely have the right tools and equipment on hand.
It's important to use a sturdy ladder and a gutter scoop to safely remove the snow.
Additionally, a roof rake with a telescoping handle can be helpful in clearing snow from the roof and preventing ice dams.
What Are Some Techniques for Safely Removing Snow From Pitched Roofs?
Snow removal techniques for pitched roofs involve using a roof rake with an extension pole to remove snow from a safe distance. We recommend starting from the edge and working your way up to prevent damage to the roof.
Safety precautions include wearing appropriate footwear for traction, using a safety harness, and having a spotter to ensure your safety.
It's important to avoid using sharp tools or excessive force that could damage the roof and potentially cause leaks.
Can Roof Rakes Be Used on All Types of Roofs?
Roof rakes, although useful for removing snow from pitched roofs, have limitations and may not be suitable for all types of roofs. It's important to consider the structural integrity of the roof and the potential for damage before using a roof rake.
In cases where roof rakes aren't recommended, alternative snow removal methods like using a snow blower or hiring a professional snow removal service should be considered to prevent roof leaks and further damage.
Are There Any Preventive Measures I Can Take to Avoid Ice Dams During Snow Removal?
To prevent ice dams and avoid roof damage during snow removal, we recommend several preventive measures.
First, ensure proper insulation and ventilation in your attic to keep the roof temperature consistent.
Second, install heat cables along the eaves to melt ice and prevent dams from forming.
Third, use a roof rake to remove snow from the edges of the roof, being careful not to damage the shingles.
Regular maintenance and proactive measures will help protect your roof during snow removal.
