
If you have ever stood in your attic and noticed a faint ring of discolouration around the access hatch, or felt a draft near a roof vent on a windy summer evening, there is a good chance the culprit is missing or failing flashing. Homeowners often ask us the purpose of roof flashing for attic access because it is one of those details that is completely invisible when installed correctly and painfully obvious the moment it fails. Flashing is the thin metal barrier that seals the joints, seams, and penetrations where your roofing material meets another surface, and around attic access points that means hatches, scuttle openings, roof-mounted vents, and any structure that pokes through the roof deck to give you a way into the attic.
In the Greater Toronto Area, roofs go through brutal freeze-thaw cycles every winter and heavy summer downpours in between. Any gap around an attic access penetration becomes an entry point for water, and once water gets past the shingles it does not stop at the first piece of drywall. It travels along rafters, soaks insulation, and shows up as a stain on a ceiling metres away from the actual leak. Understanding what roof flashing does around attic access points, why it fails, and how it should be installed will help you catch small problems before they become expensive ones.
This guide walks through the function of attic access flashing, the materials and techniques used, warning signs of failure, and what proper installation and repair should look like on a GTA home. Whether you are dealing with a roof hatch, a gable vent, or a scuttle hole cut into a ceiling below the roof deck, the same flashing principles apply.
What Is the Purpose of Roof Flashing for Attic Access?
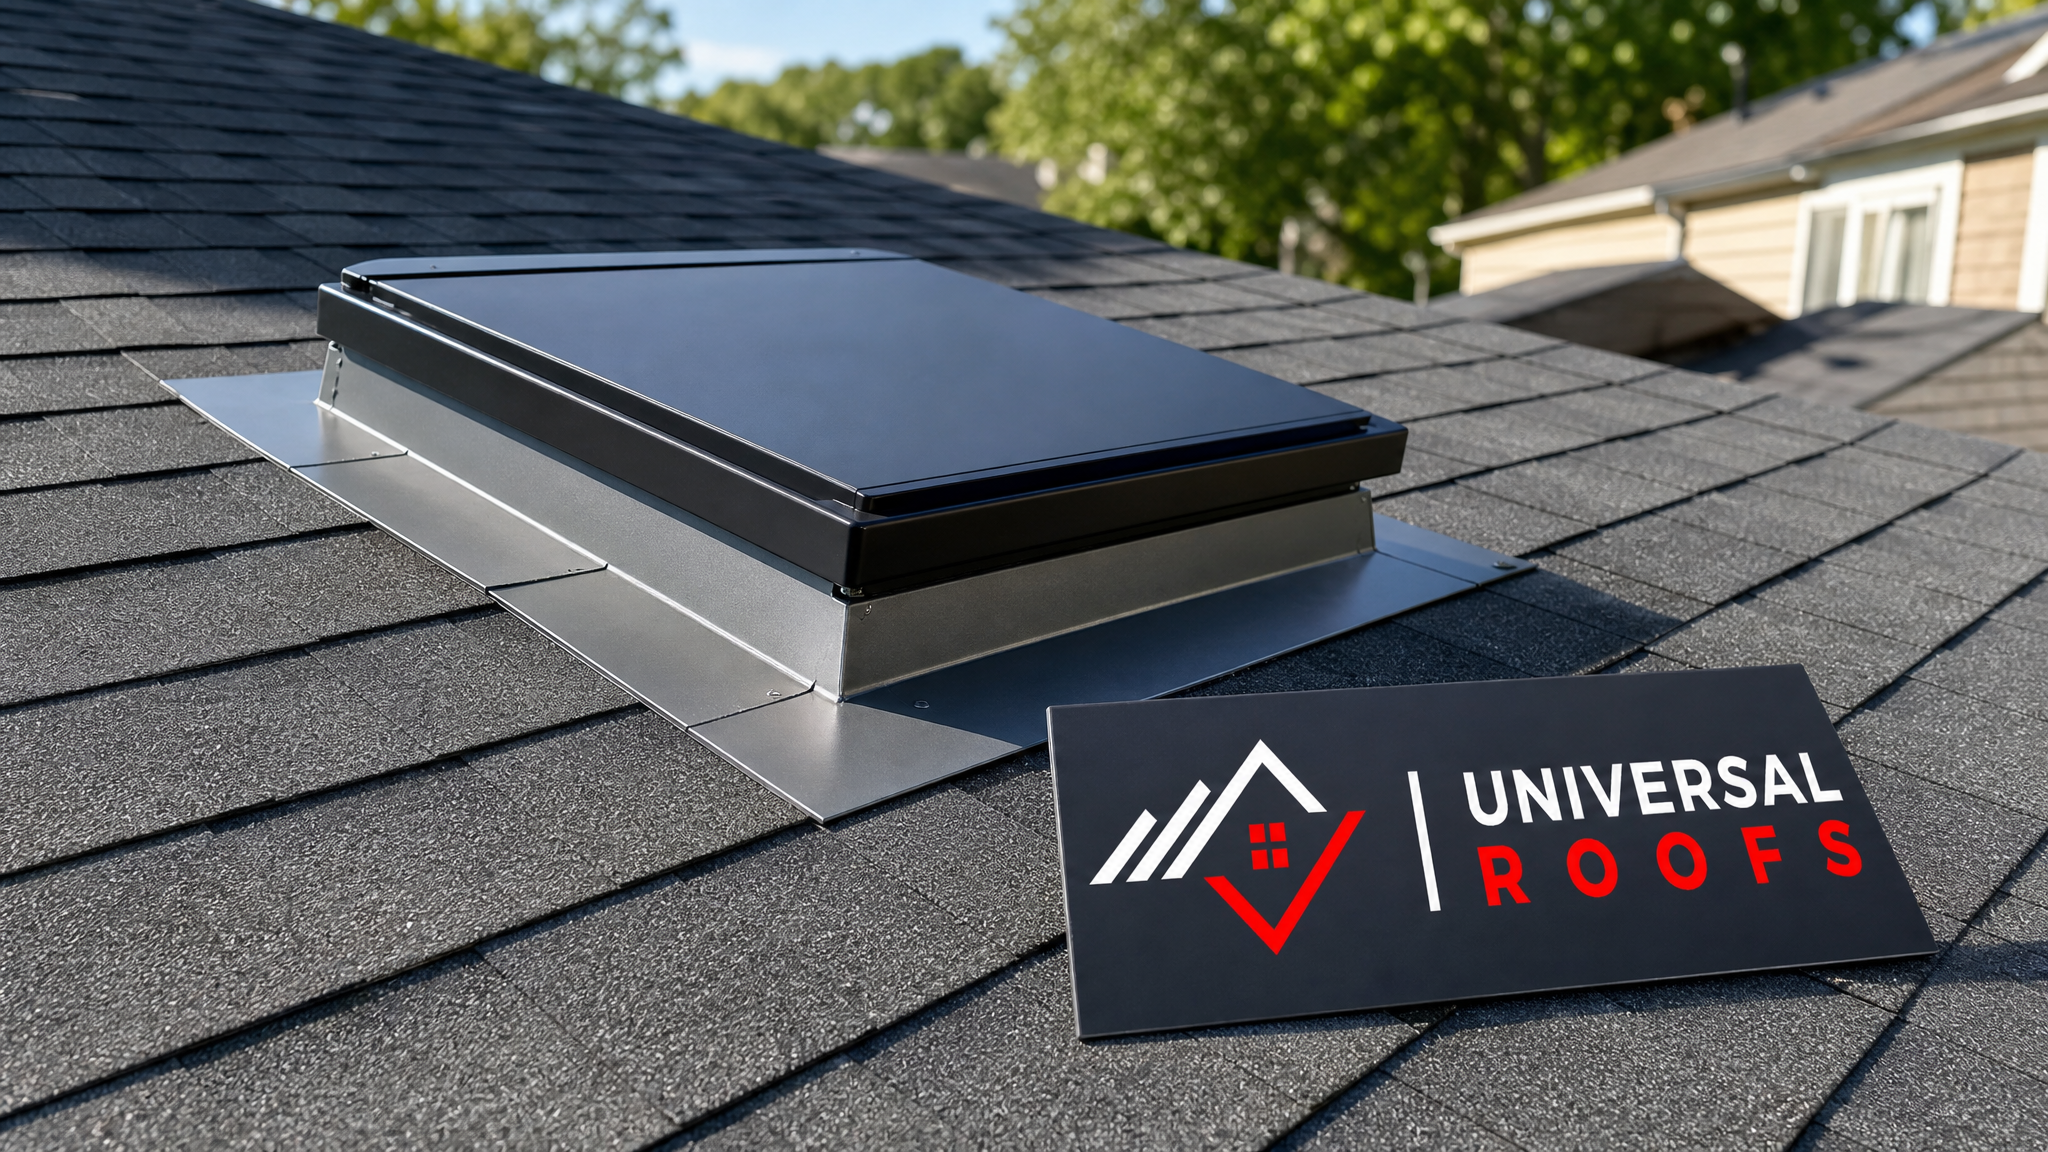
The purpose of roof flashing for attic access is straightforward: it creates a continuous, water-shedding barrier at the exact point where the roof surface is interrupted by an opening. Any time you cut a hole in a roof deck, whether for a hatch, a vent stack, a skylight, or a mechanical curb, you create a seam that shingles alone cannot seal. Flashing bridges that seam using formed metal (usually aluminum, galvanized steel, or copper) that is layered with the shingles in a specific order so that water always flows over the top of the metal and never underneath it.
For attic access points specifically, flashing serves three functions. First, it prevents bulk water intrusion from rain and melting snow. Second, it manages thermal movement, since metal and wood expand and contract at different rates and the flashing needs enough give to avoid tearing or pulling loose. Third, it helps control air leakage, which matters a great deal in an attic because uncontrolled air movement around a hatch or vent can pull heated, moist household air into the attic space, causing condensation on the underside of the roof deck.
Many homeowners assume caulking or roofing cement alone will keep an attic access point watertight. Sealant is a useful supplement, but it degrades under UV exposure and temperature swings far faster than properly lapped metal flashing. A good roof repair always addresses the metal flashing detail first and treats sealant as a secondary line of defence, not the primary one.
Common Attic Access Points That Require Flashing
Not every attic entry point looks the same, and the flashing approach differs depending on the structure.
Roof hatches (scuttle hatches): These are box-like structures built up from the roof deck with a hinged lid, usually used for rooftop equipment access on flat or low-slope commercial-style roofs, though some GTA homes with flat roof sections have them too. They require flashing on all four sides of the curb, with step flashing on the sloped sides if applicable and continuous counter-flashing tucked into the curb material.
Ceiling scuttle openings below roof vents or skylights: On many homes, the “attic access” people mean is actually a ceiling hatch inside a closet or hallway. While the ceiling hatch itself does not need roof flashing, the roof penetration it services (a nearby gable vent, ridge vent, or skylight shaft) absolutely does, and problems there often get blamed on the attic hatch because that is where the stain shows up.
Roof-mounted attic access doors on additions: Some renovated homes have a small door built into a knee wall or dormer that leads to attic storage. The flashing here works like a mini-wall flashing detail, tying step flashing into the siding or wall cladding above the door opening.
Power and gable vents near access points: Vents are frequently installed close to hatches during renovations, and flashing must be independent for each penetration. Overlapping or “daisy-chaining” flashing between two penetrations is a common shortcut that leads to leaks.
Materials Used in Attic Access Flashing
The material chosen affects both the lifespan and the cost of the flashing detail. Below is a comparison of the most common options used on GTA roofs.
| Material | Typical Lifespan | Relative Cost | Best Use Case |
|---|---|---|---|
| Aluminum | 20-30 years | Low-Moderate | Standard hatches, vents, general residential use |
| Galvanized steel | 20-25 years | Moderate | Areas needing extra rigidity or fire code compliance |
| Copper | 50+ years | High | Heritage homes, premium installations, high-end skylight shafts |
| Lead-coated copper | 40-50 years | High | Complex curb shapes needing hand-forming |
| PVC-coated metal | 15-20 years | Low | Budget installs, temporary or short-term fixes |
Aluminum is by far the most common choice for attic access hatches and vent flashing in the GTA because it resists corrosion, is easy to form on site, and holds up well through our freeze-thaw winters without becoming brittle. Copper is reserved for premium projects or heritage homes where longevity and appearance both matter, and it pairs well with a skylight installation where the flashing is highly visible from the ground.
How Attic Access Flashing Is Installed Correctly
Correct installation follows a strict sequencing rule: every layer of flashing and shingle must overlap the layer below it, so water is always directed downward and outward, never trapped or funnelled inward. For a typical roof hatch or curb-mounted access point, the sequence looks like this:
- The roof deck is cut to size and the curb or hatch frame is built and secured to the structural framing, not just the sheathing.
- An ice-and-water membrane is applied around the base of the curb, extending well beyond the finished flashing dimensions, which is especially important in Toronto given how often freeze-thaw cycles push meltwater backward under shingles.
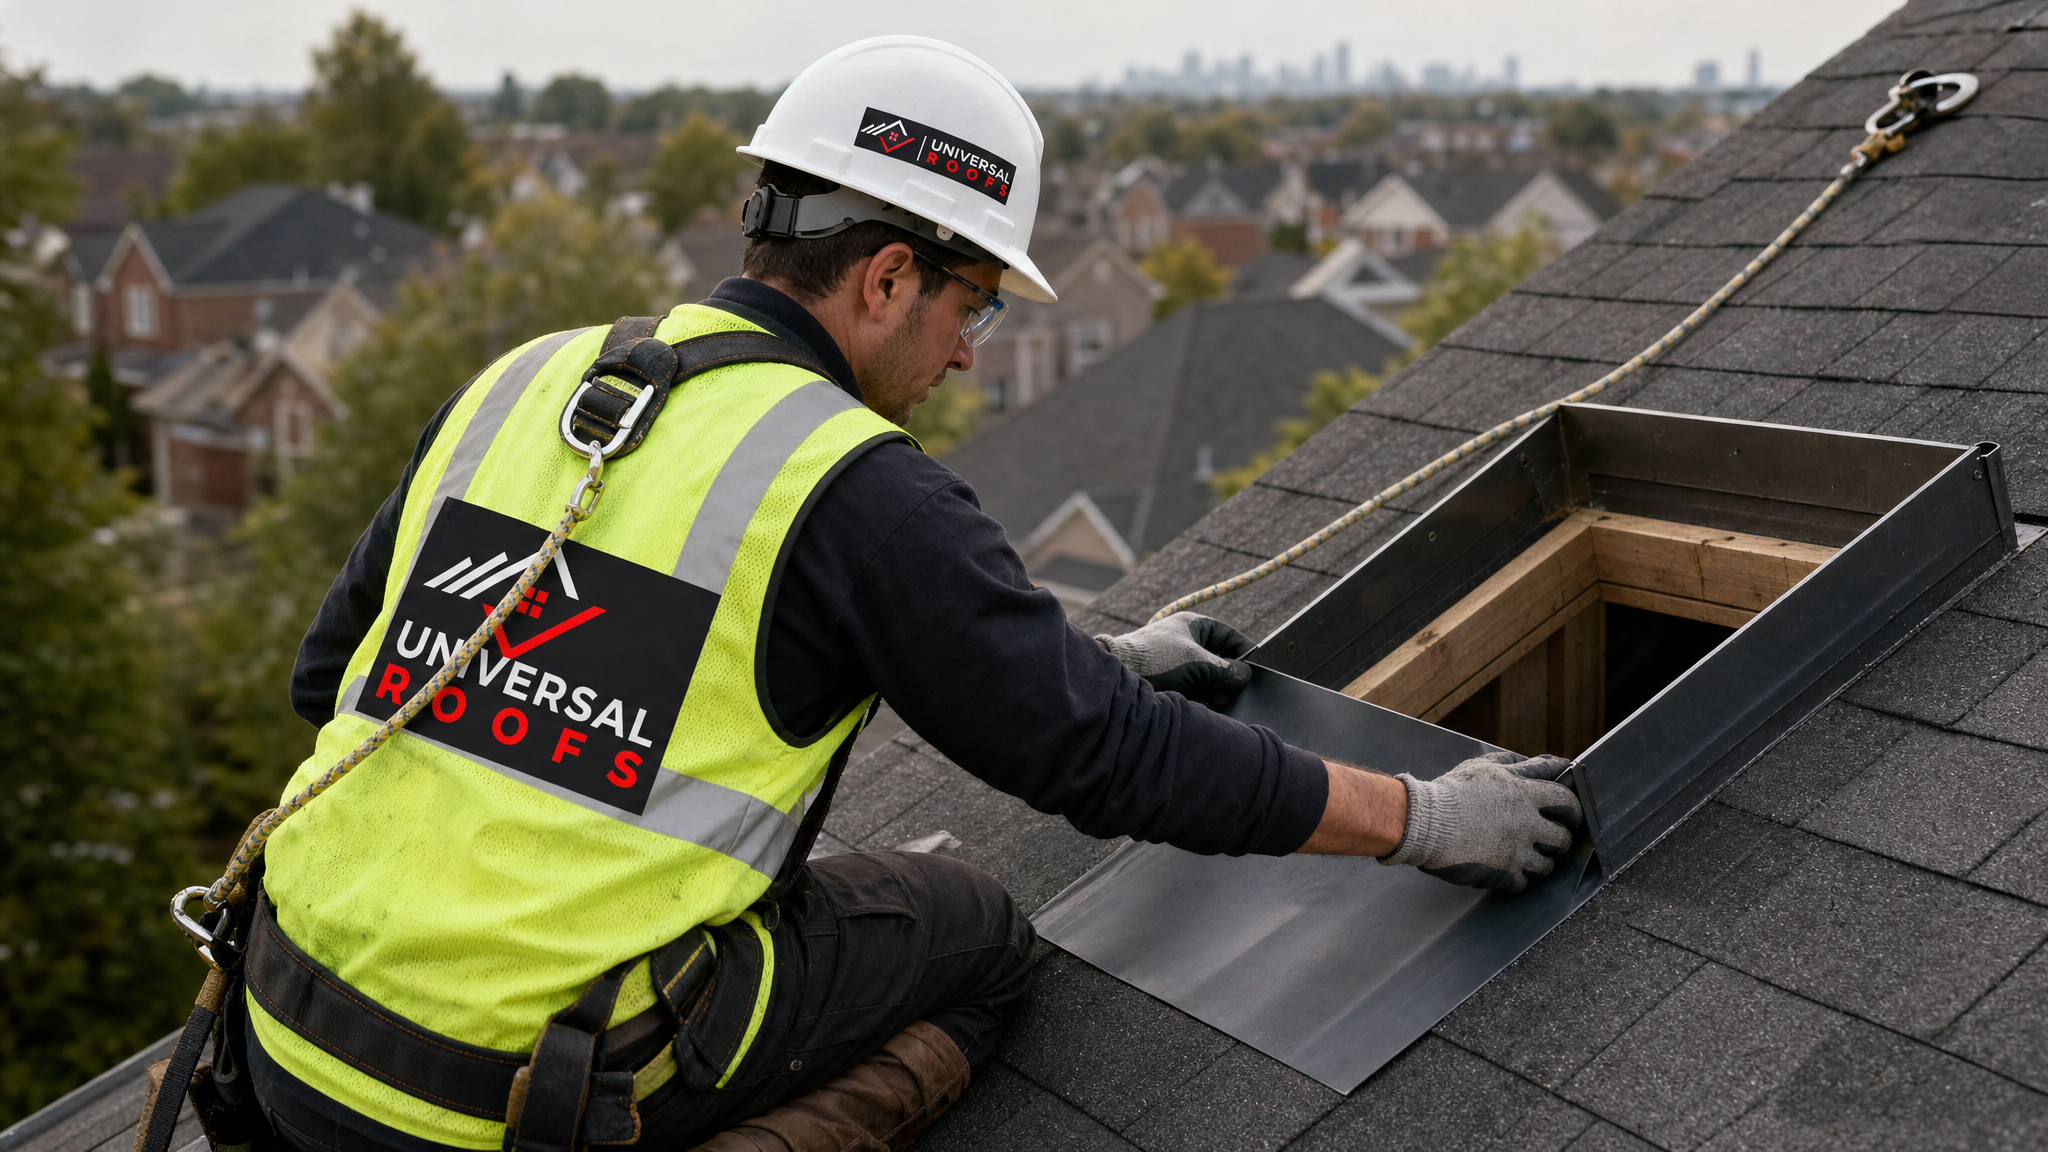
- Base flashing (apron flashing) is installed on the downslope side first, then step flashing is woven in with each course of shingles up both sides of the curb.
- Head flashing (or back flashing) is installed on the upslope side, tucked under the shingle course above it so water sheds over the metal.
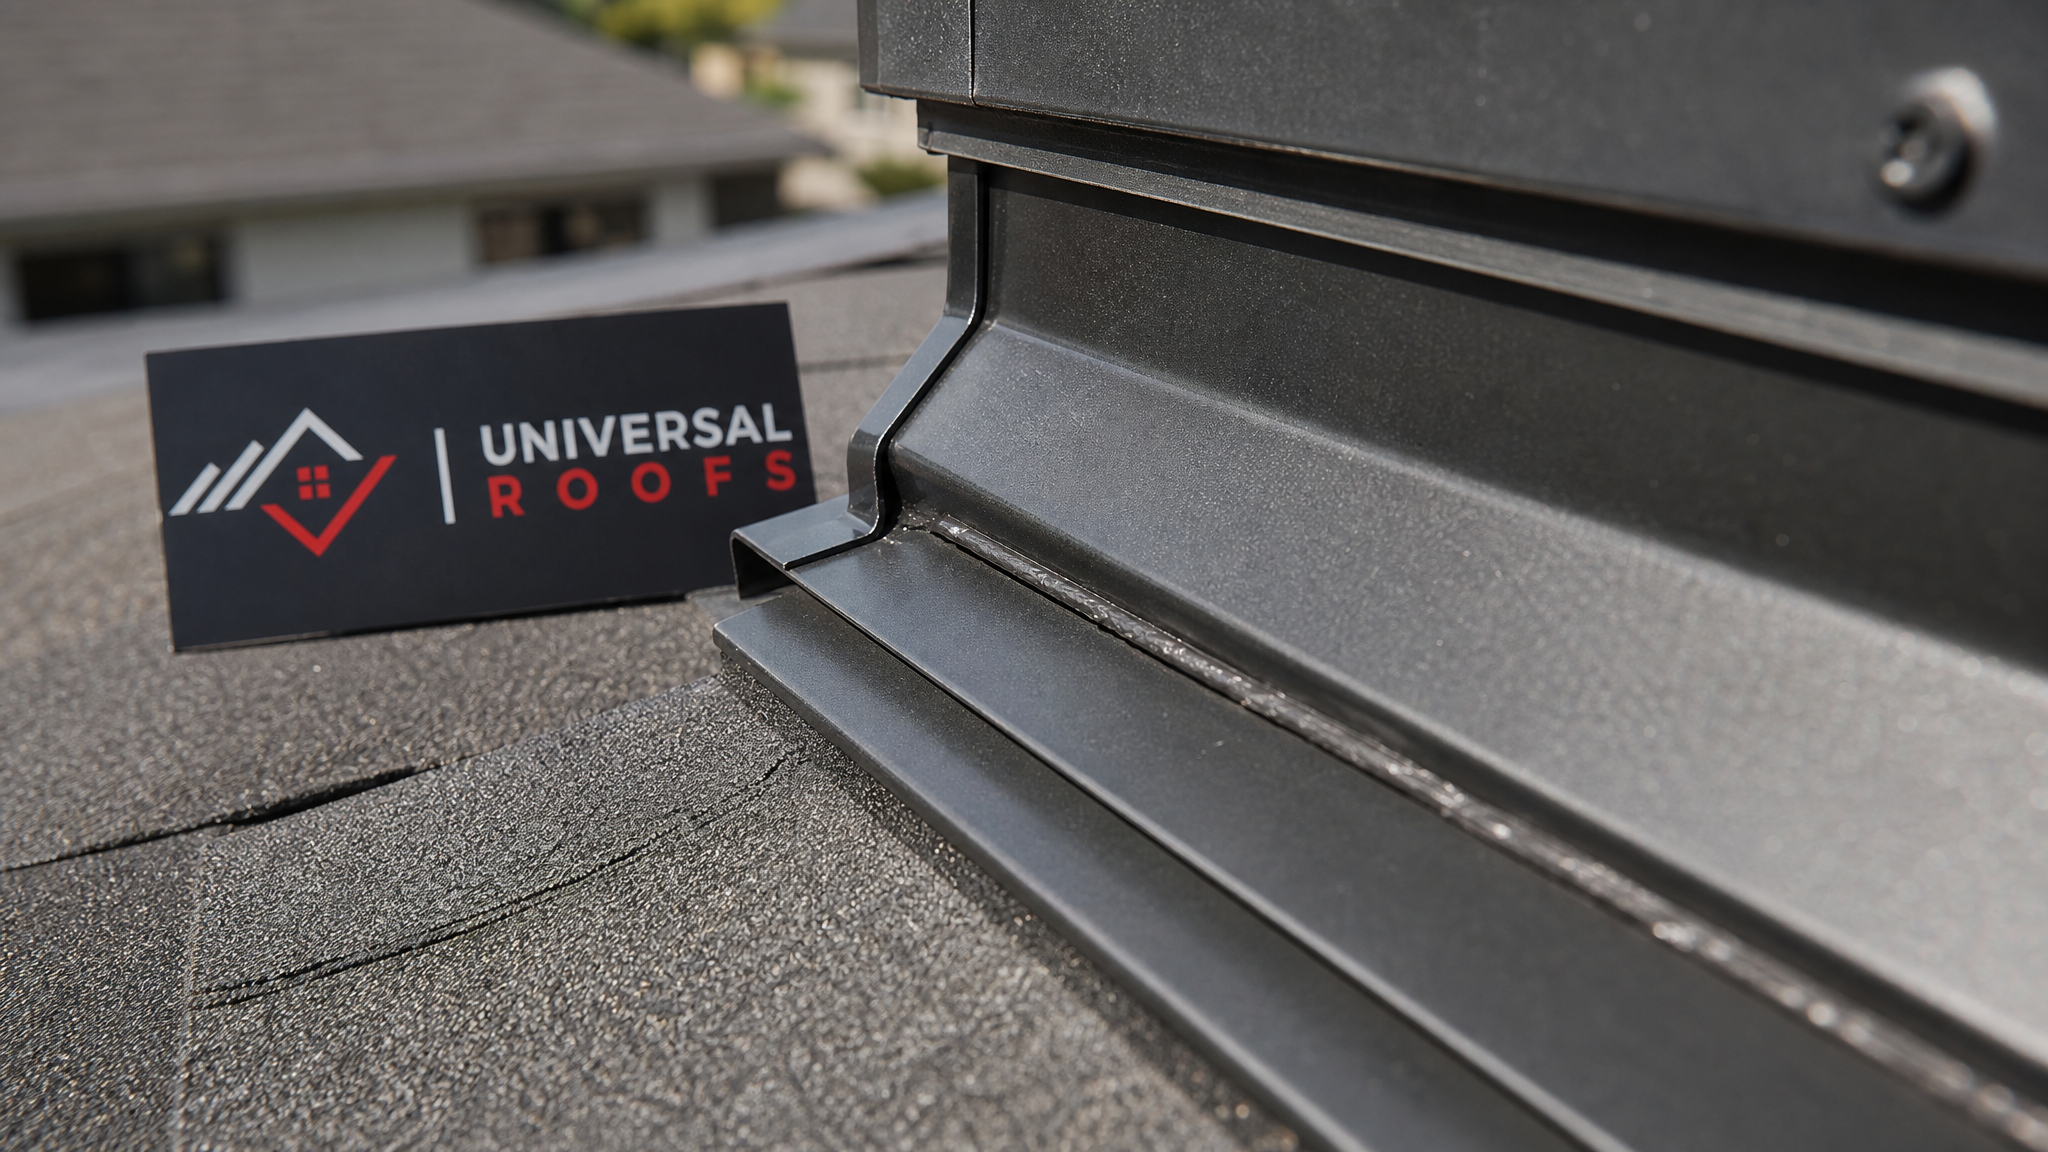
- Counter-flashing is installed on the curb itself, overlapping the step and head flashing to form a two-part, telescoping seal that accommodates movement.
- All exposed fastener heads and the final seam are sealed with a compatible, UV-stable sealant as a secondary barrier.
The single most common mistake we see on GTA roofs is flashing that was face-nailed directly through the metal into the shingles below, then buried under a bead of roofing cement instead of being properly lapped. This might stop a leak for a season or two, but the sealant cracks well before the rest of the roof is due for replacement, and the leak returns, often in a different spot than before.
Warning Signs Your Attic Access Flashing Has Failed
Because attic access flashing sits in a part of the roof most homeowners rarely inspect closely, failures often go unnoticed until interior damage appears. Watch for these indicators.
| Warning Sign | Likely Cause | Urgency |
|---|---|---|
| Brown ring or halo on ceiling near hatch | Slow water intrusion through failed flashing seam | High – inspect within days |
| Damp or matted insulation around the hatch opening | Water bypassing flashing and dripping directly into attic | High – inspect within days |
| Rust streaks on metal flashing visible from ground | Corrosion breaking down galvanized coating | Moderate – schedule inspection this season |
| Daylight visible around hatch frame from inside attic | Gapped or missing counter-flashing | High – address before next rain |
| Musty odour in upstairs closets or hallways | Chronic moisture intrusion promoting mould growth | High – inspect immediately |
| Curling or lifted shingles adjacent to the hatch curb | Improper shingle-to-flashing overlap allowing wind-driven rain in | Moderate – schedule inspection this season |
If you notice any of these signs, it is worth getting a professional set of eyes on the roof rather than assuming a small caulk touch-up will resolve it. Flashing problems are frequently more extensive underneath the surface than they appear from a quick glance, since water tends to travel sideways along the deck before it finds a path through the ceiling.
Attic Access Flashing and Attic Ventilation Working Together
Flashing does more than block rain. It also plays a role in how air moves through your attic space. A poorly flashed hatch or vent can allow warm, moist indoor air to leak upward into the attic during the winter heating season, where it condenses on the cold underside of the roof deck. Over a Toronto winter, that condensation can be just as damaging as a direct roof leak, leading to mould, wood rot, and reduced insulation effectiveness.
Good flashing details are typically paired with an air-sealing gasket or weatherstripping at the hatch itself, so that the metal flashing manages exterior water while a separate seal manages interior air leakage. These are two distinct problems that sometimes get confused, but a properly designed attic access point addresses both.
Cost Considerations for Repairing or Replacing Attic Access Flashing
Costs vary depending on whether the issue is a simple flashing repair, a full hatch curb rebuild, or flashing tied into a larger roofing project. Below is a general cost range for the GTA market as of 2026.
| Scope of Work | Typical Cost Range (CAD) | Timeframe |
|---|---|---|
| Re-sealing existing flashing (minor) | $150 – $350 | Same day |
| Replacing step and head flashing around a hatch | $400 – $900 | 1 day |
| Full curb rebuild with new flashing and membrane | $800 – $1,800 | 1-2 days |
| Flashing replaced as part of broader roof repair | $500 – $1,500 added to repair scope | 1-3 days |
| Copper flashing upgrade (premium material) | $1,200 – $2,500 | 1-2 days |
These figures assume straightforward access and typical residential roof pitches. Steeper roofs, multi-storey homes, or attic access points integrated with skylight shafts can push costs higher, particularly if a skylight replacement is happening at the same time and the flashing needs to be re-engineered for a new unit’s dimensions.
Why Professional Installation Matters
Flashing looks simple from a distance, which is exactly why so many DIY attempts and low-bid contractors get it wrong. The metal has to be cut and bent to match the exact slope and curb dimensions on site, the layering sequence has to be followed precisely, and fasteners have to be placed where they will not create a direct path for water. A flashing detail that looks fine on installation day can fail within a single winter if the overlaps are wrong or if sealant was used to compensate for a poor mechanical fit.
We have inspected many GTA attics where a previous “repair” consisted of smearing roofing cement over a rusted flashing seam rather than replacing the metal. That approach buys a homeowner a few months at best. A correctly executed flashing repair, by contrast, should last as long as the surrounding roofing material, often 20 years or more for aluminum in our climate.
Homeowners across Toronto, the Peel Region, York Region, Halton Region, and Durham Region deal with the same freeze-thaw stress on flashing details every winter, which is why we recommend a flashing check as part of any annual roof inspection, particularly for homes with older hatches or vents that have never been upgraded since the original roof was installed.
Maintaining Attic Access Flashing Long-Term
Once flashing is installed correctly, maintenance is minimal but not nonexistent. A few habits will extend its service life considerably.
- Do an annual visual check from the attic side after major storms, looking for water stains, damp insulation, or daylight gaps around the hatch or vent penetrations.
- Keep gutters and downspouts clear so water does not back up near roof edges and find its way under adjacent flashing.
- Avoid walking directly on or leaning heavy objects against hatch curbs, since bent flashing no longer overlaps correctly even if it looks intact.
- Have flashing re-inspected any time you have other roof work done nearby, since ladders, foot traffic, or material staging can disturb flashing that was previously sound.
- Book a professional inspection every 3-5 years even without visible problems, since sealant degradation and minor movement can create small gaps well before a leak becomes obvious indoors.
Reading a few reviews from other GTA homeowners who have had flashing repairs or attic access upgrades done can also help set expectations for what a proper job looks like versus a rushed patch. Check our reviews page or browse our FAQ for more on how we scope these jobs.
Flat Roofs and Attic Access Flashing
Attic access points on flat or low-slope roofs deserve a special note, since the flashing principles shift slightly. Without the slope to help shed water, flashing on a flat roof relies more heavily on membrane compatibility, curb height, and drainage planning around the penetration. A hatch curb on a flat roof needs to sit high enough above the finished membrane surface (typically a minimum of 200mm) to avoid being submerged during heavy rain or slow-draining conditions, which are common on Toronto flat roofs during summer thunderstorms.
If your home or building has a flat roofing section with an attic or mechanical access hatch, the flashing detail should be reviewed by someone experienced specifically with flat roof systems, since torch-applied or self-adhered membrane flashing behaves differently than the shingle-and-metal approach used on sloped roofs.
What is the purpose of roof flashing for attic access points specifically?
How do I know if my attic access flashing needs to be replaced?
What material is best for flashing around an attic hatch in Toronto’s climate?
Can I just caulk around my attic hatch instead of replacing the flashing?
Does attic access flashing affect ventilation or condensation problems?
How much does it cost to repair attic access flashing in the GTA?
Need Help With What Is the Purpose?
Flashing failures around attic access points are rarely visible until water has already found its way inside, which is why getting the detail right the first time matters so much. The team at Universal Roofs has been diagnosing and repairing flashing issues on GTA homes since 2005, and we can tell you quickly whether your hatch, vent, or curb flashing needs a simple repair or a full rebuild.
Call us today at (416) 732-2421 or request a free inspection to get started.
Universal Roofs proudly serves Toronto, Mississauga, Brampton, Vaughan, Markham, Oakville and the GTA since 2005.