
If you are planning a solar panel installation in Toronto, Mississauga, or anywhere across the GTA, the flashing tucked under your roofing material matters just as much as the panels themselves. Homeowners spend weeks comparing solar quotes, panel wattages, and inverter brands, yet the single detail that determines whether that investment stays leak-free for the next 20 to 25 years is a thin strip of metal most installers barely mention. That is roof flashing, and when it is installed incorrectly around solar mounts, it becomes the number one cause of roof leaks on solar-equipped homes.
Roof flashing is important for solar panels because every mounting point, rail attachment, and penetration through your shingles or membrane creates a potential entry point for water. Without proper flashing engineered specifically for solar racking systems, water finds its way under the roofing material, into the attic, and eventually into your ceilings and walls. In a climate like ours, with freeze-thaw cycles, spring rain, and heavy winter snow loads, a poorly flashed penetration does not just leak occasionally — it fails predictably and often catastrophically within a few seasons.
This guide breaks down exactly why flashing matters for solar installations, the different flashing methods used with various roofing types, what proper installation looks like, common mistakes that lead to leaks, and how to evaluate whether your existing solar array is flashed correctly. Whether you are planning a new installation this summer or troubleshooting a leak under panels installed by someone else, this article gives you the technical grounding to ask the right questions and avoid an expensive mistake.
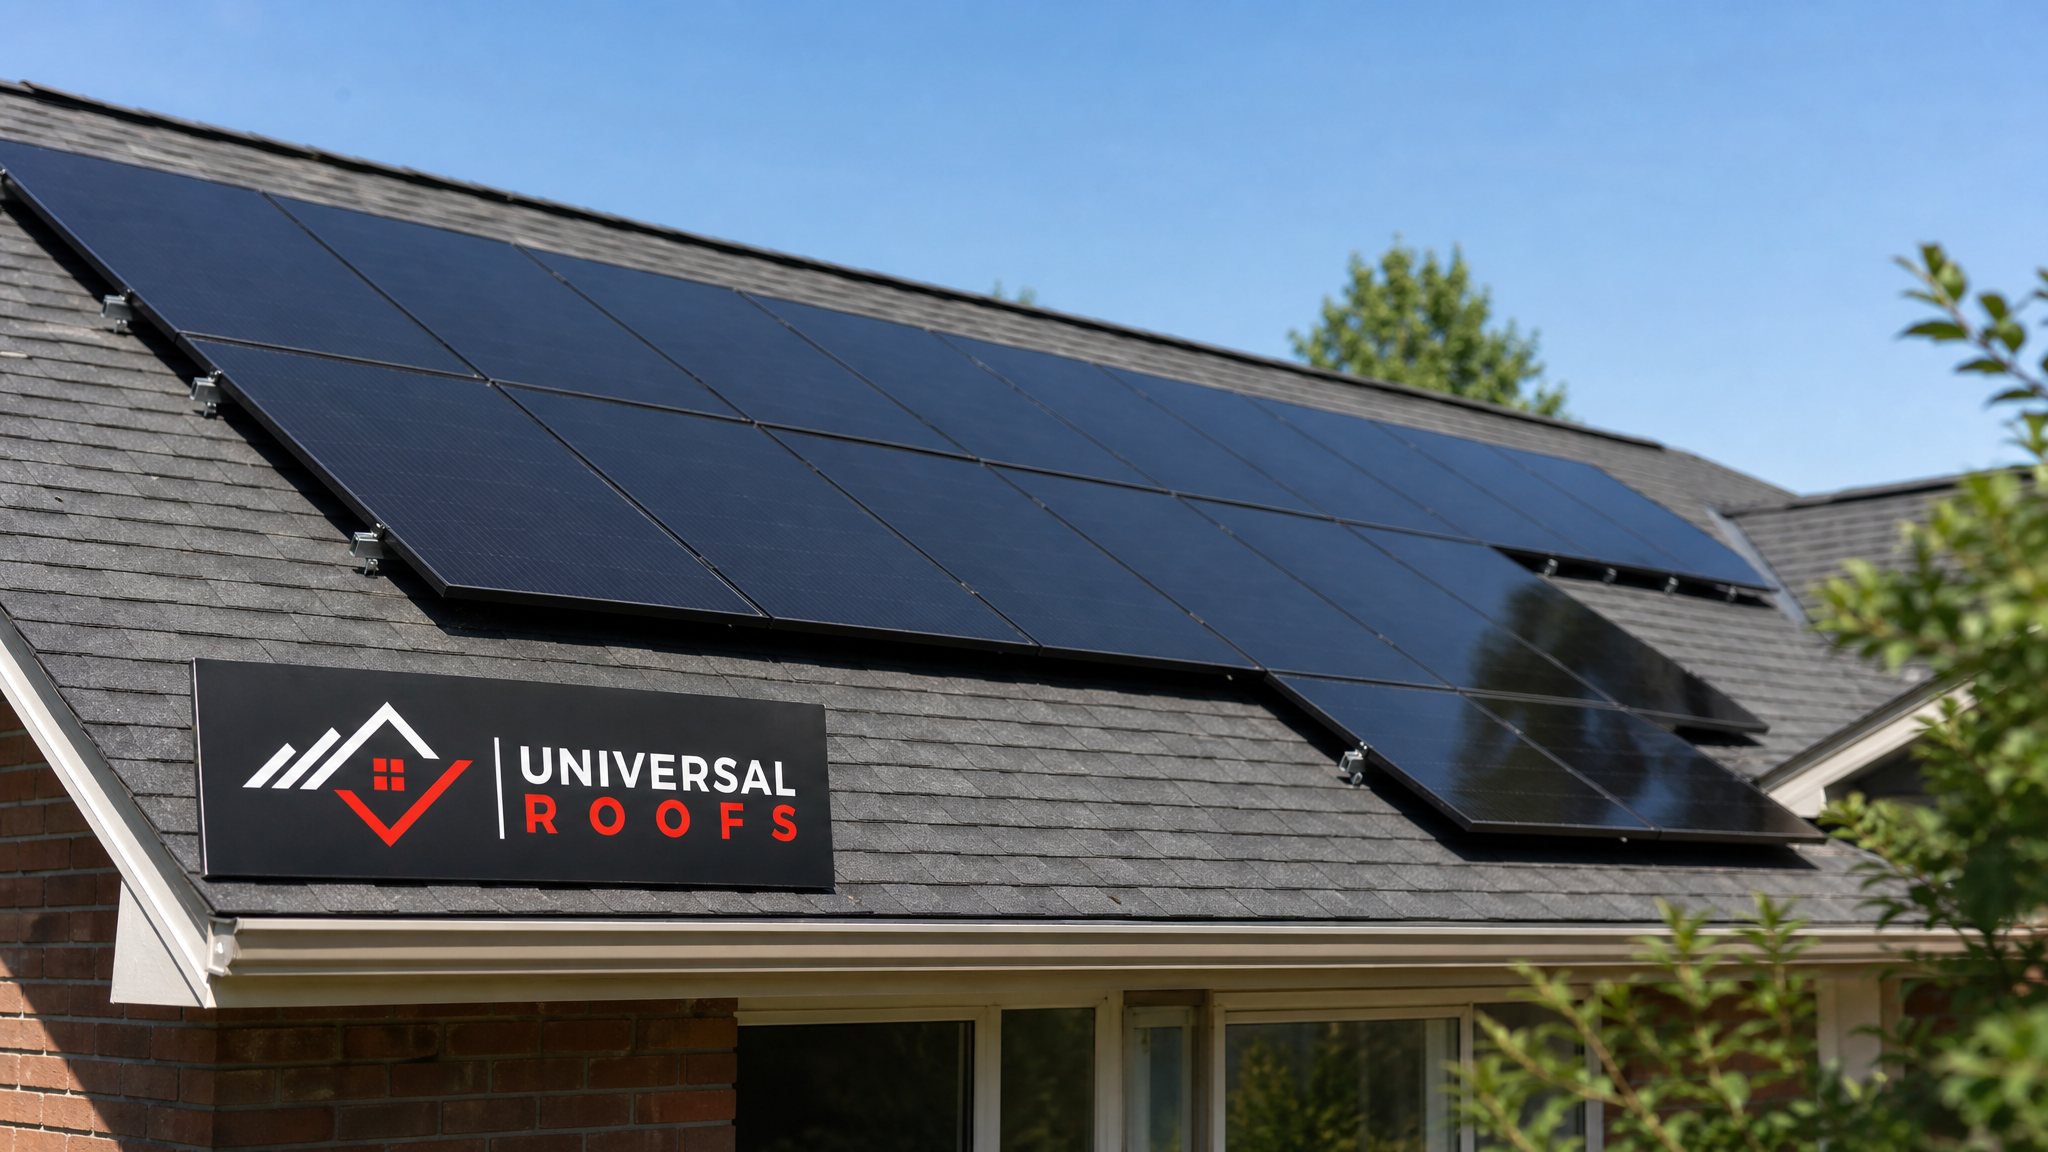
What Roof Flashing Actually Does Around Solar Mounts
Flashing is a weatherproofing layer, usually formed aluminum, galvanized steel, or specialized rubber and metal composites, installed at any point where your roofing surface is interrupted. On a standard roof, flashing appears around chimneys, skylights, vent pipes, and valleys. Solar installations add an entirely new category of penetration: the mounting feet or lag bolts that anchor the racking system to your rafters or trusses.
Each solar panel array typically requires anywhere from 4 to 12 individual attachment points per panel row, depending on the racking manufacturer and your local wind and snow load requirements. Every single one of those attachment points punches through your shingles, tile, or membrane and into the roof deck below. Without dedicated flashing at each of those points, you effectively have a dozen or more small holes in your roof, each one a direct path for rain, meltwater, and wind-driven moisture to reach the wood deck underneath.
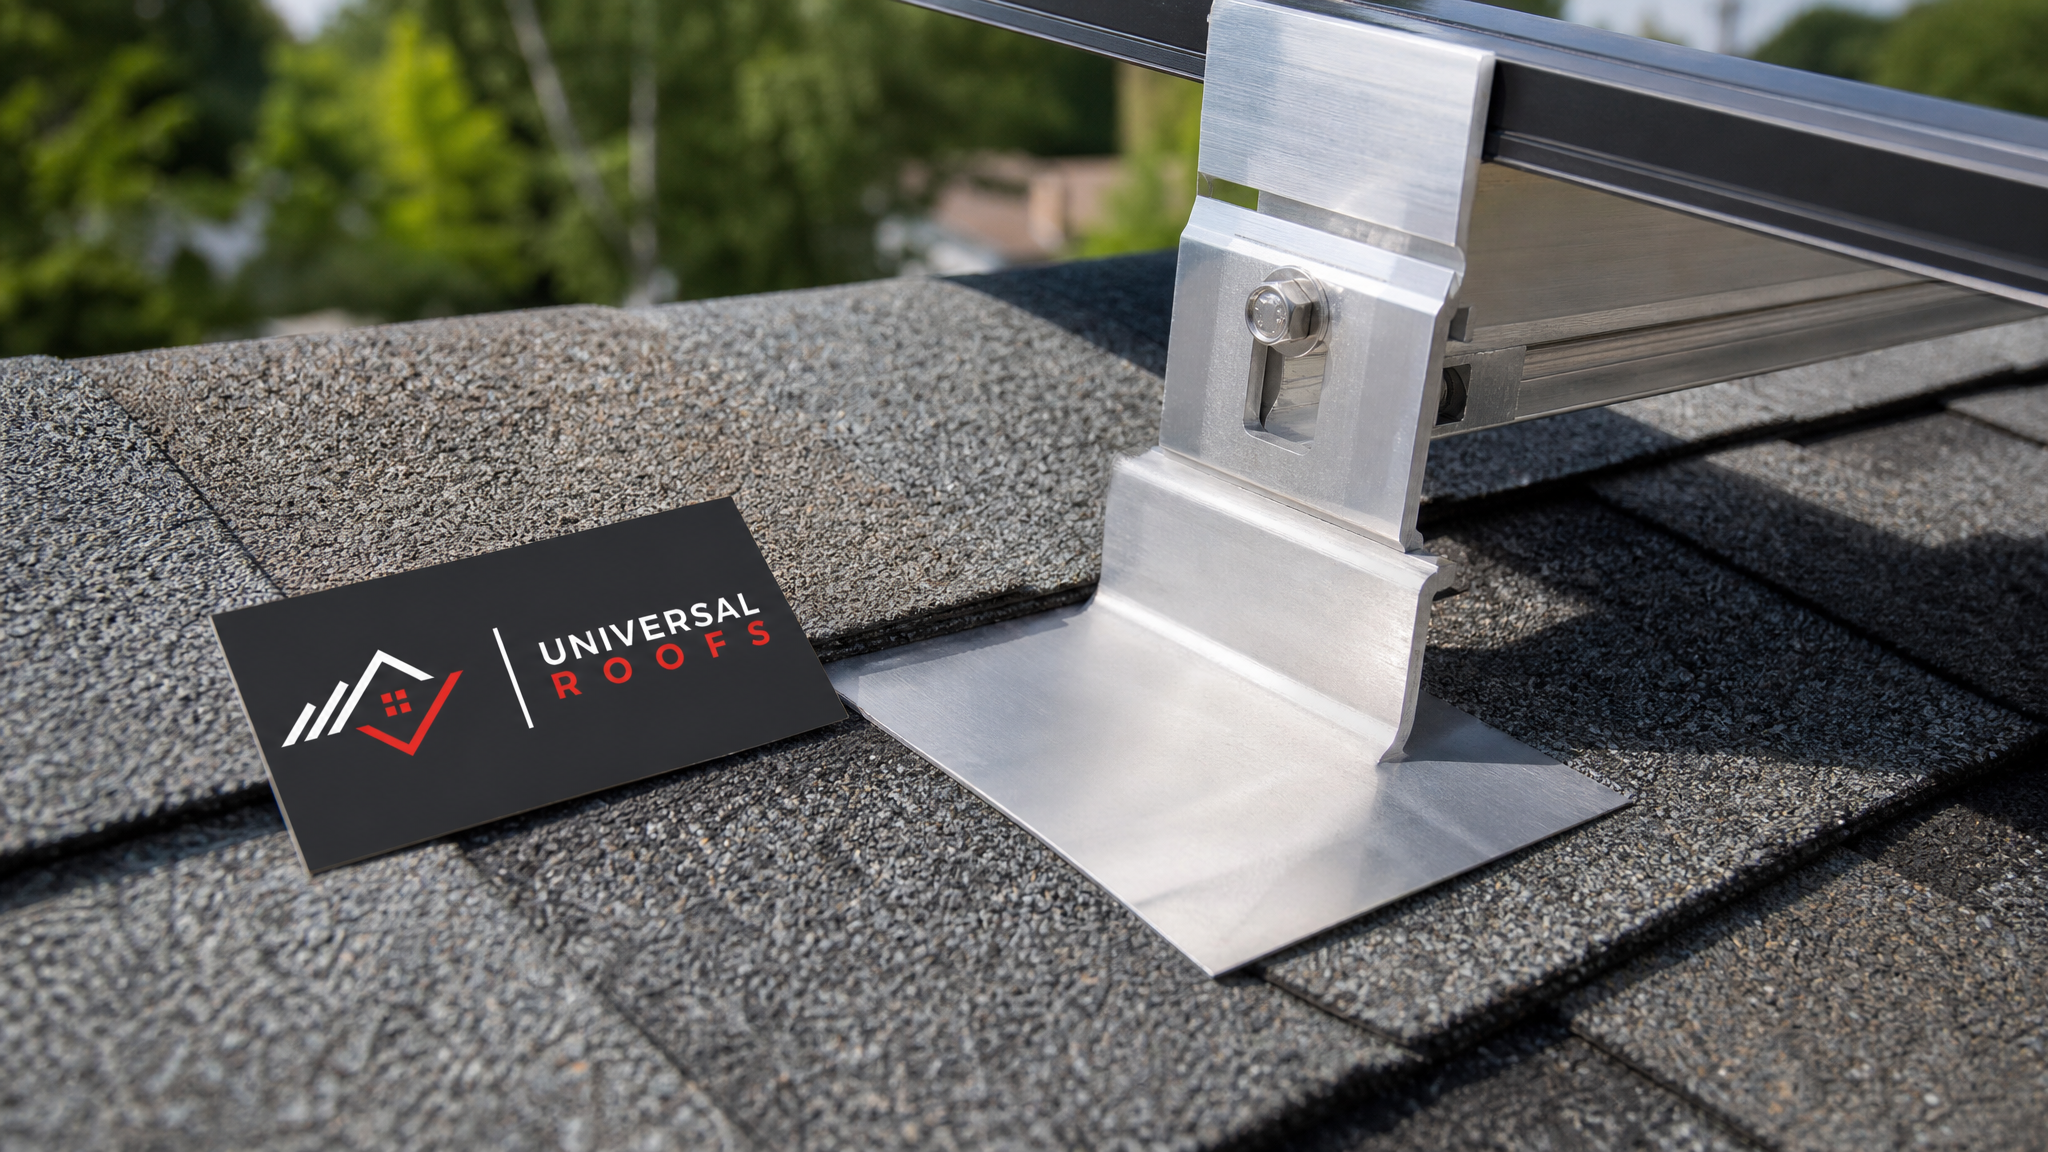
Solar-specific flashing, often called a flashed mounting foot or a flashing kit, is designed to seat over or under the surrounding shingles in a shingle-lapped configuration, exactly the way traditional roof flashing integrates with the roofing material around a vent stack. When installed correctly, water sheds over the top of the flashing and never contacts the fastener or the penetration itself. This is the entire reason flashing exists: it is far more reliable than sealant alone, which degrades under UV exposure and temperature swings far faster than metal flashing does.
Why Sealant-Only Mounting Is Not a Substitute
Some lower-cost solar installers skip flashing kits entirely and rely on a bead of roofing sealant or butyl tape around the base of each mounting foot. This approach might pass a visual inspection on day one, but it fails the fundamental test of long-term roofing performance in our climate. Sealant is a maintenance item, not a permanent waterproofing solution. It contracts and expands with temperature, dries out under UV exposure, and eventually cracks, especially through a Toronto winter where surface temperatures on a south-facing roof can swing more than 40 degrees Celsius between a sunny January afternoon and an overnight low.
Once that sealant bead cracks, even hairline, capillary action can pull water directly into the fastener hole and down into the roof deck. Because solar panels typically sit low and close to the roofing surface, these leaks are notoriously difficult to spot early. Water can travel along a rafter for metres before it shows up as a stain on a ceiling, meaning the damage is frequently well underway by the time a homeowner notices anything wrong. This is the core reason licensed roofers insist on true flashing at every penetration rather than relying on caulking, no matter how good the sealant brand claims to be.
Flashing Methods By Roofing Material
The correct flashing approach depends heavily on what is already on your roof. Asphalt shingles, standing seam metal, tile, and flat or low-slope membrane roofs each require a different flashing detail, and using the wrong one is one of the fastest ways to create a leak that is difficult to diagnose later.
| Roofing Material | Recommended Flashing Type | Installation Method | Typical Lifespan |
|---|---|---|---|
| Asphalt shingles | Shingle-lapped aluminum flashing foot | Woven under upper course, over lower course | 20-25 years |
| Standing seam metal | Clamp-mounted, non-penetrating bracket | Clamps to seam, no roof penetration required | 30-40 years |
| Clay or concrete tile | Tile hook with formed lead or aluminum flashing | Custom-cut tile with flashing set beneath adjacent tiles | 25-30 years |
| Flat/low-slope membrane | Fully adhered or welded membrane boot | Heat-welded or adhered pitch pocket over mount | 15-20 years |
| Wood shake | Formed step flashing with reglet | Interwoven between shake courses | 20-25 years |
Homes with a flat or low-slope roof deserve special attention here. Flat roofs do not shed water the way a sloped asphalt roof does, so any penetration needs a fully sealed, often heat-welded membrane boot rather than a shingle-lapped flashing foot. This is one of the most common mistakes we see when a solar installer who normally works on pitched residential roofs is hired to mount panels on a flat commercial or garage roof — they bring pitched-roof flashing hardware to a system that needs a completely different waterproofing detail.
How Proper Solar Flashing Installation Works Step By Step
A correctly flashed solar mounting point follows a specific sequence, and skipping or reordering any step compromises the entire assembly. Here is what a proper installation looks like on a typical asphalt shingle roof, which covers the large majority of GTA homes.
| Step | Task | Why It Matters | Common Error |
|---|---|---|---|
| 1 | Locate rafter with stud finder or attic inspection | Mount must anchor to structural framing, not just decking | Fastening only into plywood deck |
| 2 | Remove or lift shingle course at mount location | Allows flashing to be woven into existing shingle layers | Drilling straight through shingles without lifting them |
| 3 | Pre-drill pilot hole and apply sealant to lag bolt threads | Prevents water wicking down the fastener thread | Skipping pilot hole, causing shingle cracking |
| 4 | Install flashing foot over penetration, under upper shingle course | Creates a shingle-lapped, gravity-fed water path | Installing flashing on top of all shingle courses |
| 5 | Torque mounting foot to manufacturer spec | Ensures structural rating and proper seal compression | Over- or under-torquing, cracking the base or leaving gaps |
| 6 | Re-seat and re-nail surrounding shingles | Restores the original weatherproofing layer around the flash | Leaving shingles loose or unfastened around the mount |
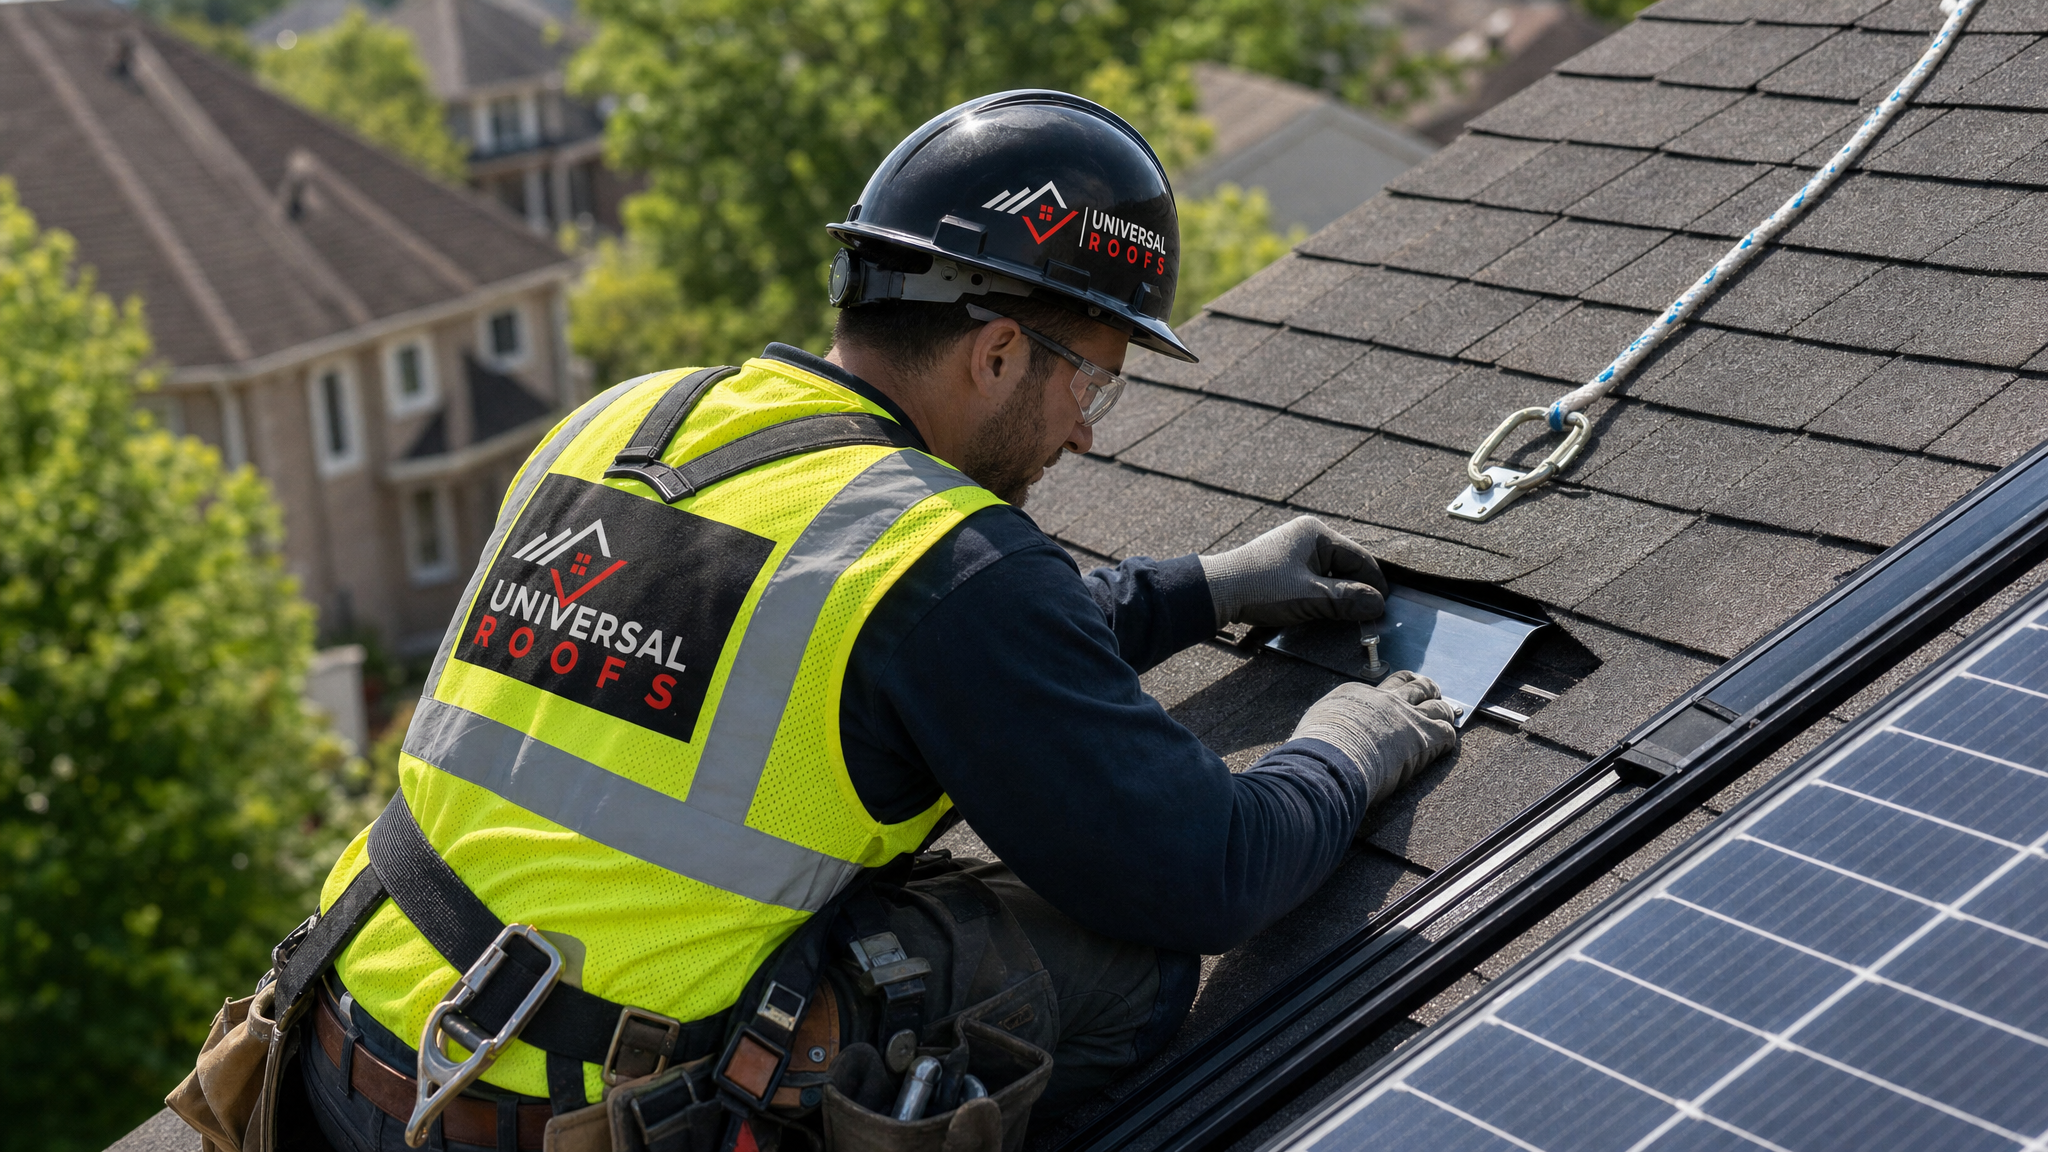
Notice that step two, lifting the shingle course rather than drilling straight through it, is the detail most frequently skipped by installers under time pressure. It takes an extra few minutes per mounting point, but on an average residential array with 20 to 30 attachment points, that adds up to meaningful labour time. Cutting this corner is exactly how a solar installation that looks finished on install day turns into a roof replacement two years later.
Warning Signs Your Existing Solar Array Is Leaking Through Flashing
If your panels were installed by a solar-only company without roofing licensing or oversight, it is worth inspecting for early signs of flashing failure, particularly if the system has been in place for more than three or four years. Water intrusion around solar mounts rarely announces itself immediately.
- Brown or yellow staining on attic rafters directly beneath mounting rail lines
- Damp insulation or a musty smell concentrated near solar array locations rather than spread evenly through the attic
- Visible rust streaks bleeding from under a mounting foot onto the shingle below it
- Granule loss or shingle cracking in a ring pattern immediately surrounding a mount
- Ceiling stains that appear only after heavy rain or rapid snowmelt, then fade as the area dries
Any of these signs warrants a proper inspection. Because solar arrays sit directly over the suspect area, a visual check from the ground or even from a ladder at the eaves is not sufficient — a technician typically needs to access the attic and, in some cases, carefully lift panels to inspect the flashing beneath. If you notice active dripping or a spreading ceiling stain, treat it as urgent; ongoing moisture intrusion accelerates deck rot and can compromise the structural integrity of the roof much faster than most homeowners expect. Our roof repair team frequently gets called out specifically for solar-related leaks that were missed during the original installation.
Cost Comparison: Flashing Kits vs. Sealant-Only Mounts vs. Repair After a Leak
Some homeowners get quoted a lower price for solar installation because the contractor plans to use sealant-only mounts instead of proper flashing kits. It is worth understanding the true cost difference, including what happens when that shortcut fails.
| Approach | Upfront Cost (per mount) | Expected Lifespan | Downstream Risk |
|---|---|---|---|
| Proper flashing kit, professionally installed | $35 – $65 | Matches roof lifespan (20-25+ years) | Minimal; occasional recheck during roof maintenance |
| Sealant/butyl tape only, no flashing | $8 – $15 | 2-5 years before first failure | High; deck rot, attic mould, insulation replacement |
| Non-penetrating clamp mount (metal roofs only) | $45 – $80 | Matches roof lifespan | Low, but only applicable to standing seam metal |
| Emergency repair after leak discovery | $400 – $2,500+ per affected area | N/A — reactive repair | Often requires partial panel removal and deck replacement |
The math is straightforward: the incremental cost of proper flashing across an entire residential array, even at 25 to 30 mounting points, typically adds a few hundred dollars to the total project cost. Compare that to the cost of even a single localized repair once a leak has damaged the roof deck, insulation, and possibly drywall, and proper flashing is one of the least expensive forms of insurance available on the entire solar installation.
Attic Ventilation and Flashing Work Together
Flashing quality is only half of the moisture equation. Solar panels reduce airflow and shade a portion of the roof deck, which can change how your attic ventilates and how quickly any moisture that does get through dries out. A well-ventilated attic space allows minor condensation or trace moisture to evaporate before it causes damage, while a poorly ventilated attic traps humidity against the underside of the deck, accelerating rot even from small amounts of water intrusion.
This is particularly relevant in the GTA, where winter attics see significant temperature differentials between the heated living space below and the cold roof deck above. If your attic already has marginal ventilation, adding a solar array over a meaningful portion of the roof can tip a borderline situation into a real moisture problem, independent of whether the flashing itself is perfect. Anyone planning a solar installation should have their attic ventilation assessed at the same time the roof and mounting plan are evaluated, rather than treating them as unrelated systems.
Flashing Considerations Near Skylights and Other Roof Penetrations
Many GTA homes already have one or more roof penetrations before solar even enters the picture, most commonly skylights. When a solar array is planned on a roof section that also includes skylights, the flashing plan needs to account for how water sheds across the entire section, not just at each individual solar mount. Racking rails and mounting feet positioned too close to an existing skylight flashing can redirect water flow in ways the original skylight flashing was never designed to handle, effectively damming water against the upslope edge of the skylight curb.
If your roof has ageing or already-compromised skylight flashing, it is worth addressing that separately, and in some cases prioritizing a skylight replacement before or during the solar installation, rather than building a new penetration layout around a flashing detail that is already failing. A qualified roofer should map out every existing penetration on the relevant roof section before finalizing where solar mounts will go, precisely to avoid this kind of interaction.
Who Should Install Solar Flashing: Roofer vs. Solar Installer
One of the most consequential decisions in a solar project is who actually performs the roof-side work. Many solar companies subcontract the mounting and flashing to their own installation crews, who may have strong electrical and racking expertise but limited roofing-specific training. A licensed roofer, by contrast, understands shingle-lapping, deck condition assessment, and long-term weatherproofing in a way that is directly transferable to solar mounting, even without deep solar electrical knowledge.
The strongest outcomes come from a coordinated approach: the solar company handles panel selection, wiring, and inverter setup, while a licensed roofing contractor handles the mounting, flashing, and any necessary roof repair or roof replacement work before panels go up. If your roof is more than 12 to 15 years old, it is almost always worth evaluating whether a full or partial roof replacement makes sense before installing a 25-year solar array on top of an ageing roof surface, since removing panels later to redo the roofing underneath adds significant cost and labour.
Questions to Ask Your Solar Installer Before Signing a Contract
Before committing to a solar installation, homeowners across Toronto, Mississauga, Brampton, and the wider GTA should get clear, specific answers on how the mounting and flashing will be handled. Vague answers here are one of the clearest warning signs of a corner-cutting installer.
| Question | What a Good Answer Sounds Like |
|---|---|
| What flashing product will be used at each mount? | A named, manufacturer-specific flashing kit rated for your roofing material |
| Will shingles be lifted and woven, or drilled through directly? | Shingles will be lifted; flashing will be shingle-lapped, never surface-mounted over intact shingles |
| Who is responsible for roof leaks after installation? | A written workmanship warranty separate from the panel manufacturer’s warranty |
| Is a licensed roofer involved in the mounting work? | Yes, either directly employed or as a named subcontractor |
| What happens if the roof deck is found to be soft or rotted during install? | Work stops, homeowner is notified, and repair is quoted before proceeding |
A reputable installer should answer every one of these questions without hesitation. If a company cannot clearly describe their flashing method or gets defensive when asked about workmanship warranties, that is a strong signal to get a second opinion from a licensed roofing contractor before signing anything. You can read what past customers say about our own workmanship on our reviews page.
Regional Considerations Across the GTA
Flashing requirements do not change dramatically by municipality, but local snow load, wind exposure, and inspection practices can vary enough to matter. Homes in Toronto with older housing stock often have layered or multiple shingle courses from previous re-roofs, which changes how flashing needs to be woven in. Properties across Peel Region and York Region frequently have newer roofs with more predictable deck conditions, while homes in Halton Region and Durham Region often see a wider mix of roofing ages and styles, from older wood shake to modern architectural shingles, each requiring its own flashing detail as outlined earlier in this guide.
Regardless of municipality, most local building departments require a permit for solar installations that includes a structural review, but flashing detail is rarely inspected as closely as the electrical and structural components. This means the responsibility for verifying proper flashing largely falls on the homeowner asking the right questions, or on hiring a contractor who treats flashing as a first-class part of the installation rather than an afterthought. You can learn more about our approach on our about page.
Maintaining Flashing Integrity After Installation
Once your solar array is installed with proper flashing, a small amount of ongoing attention keeps it performing for the long run. An annual visual check, ideally in spring after the winter freeze-thaw cycle, helps catch early warning signs before they become active leaks.
- Check for any visible gaps between flashing and surrounding shingles after winter movement
- Look for granule accumulation in gutters near solar mount locations, which can indicate shingle wear around a fastener
- Confirm mounting hardware has not loosened, which can compromise the flashing seal even if the flashing itself is intact
- Have your attic inspected every few years for any signs of moisture near solar-covered roof sections
Most homeowners are comfortable doing a visual check from the ground or an attic inspection themselves, but any hands-on work at the mounting points should be left to a professional, since disturbing a properly seated flashing detail can introduce the exact failure it was designed to prevent. If you notice anything concerning, read more in our roofing FAQ or reach out for a professional assessment.
Why is roof flashing important for solar panels specifically?
Can solar panels be mounted without flashing?
How do I know if my existing solar panels are properly flashed?
Does flat roof flashing work the same way as flashing on sloped shingle roofs for solar panels?
Should a solar company or a roofing contractor handle the flashing work?
What does it cost to add proper flashing to a solar installation?
Need Help With Why Is Roof Flashing?
Proper flashing is the difference between a solar installation that protects your roof for decades and one that quietly causes damage you will not notice until it is expensive to fix. Universal Roofs has handled roofing and flashing details across the GTA since 2005, and we work alongside solar installers, or independently, to make sure every mounting point is flashed correctly for your specific roofing material.
Call us today at (416) 732-2421 or request a free inspection to get started.
Universal Roofs proudly serves Toronto, Mississauga, Brampton, Vaughan, Markham, Oakville and the GTA since 2005.