
If you burn wood in a fireplace or wood stove anywhere in the Toronto area, creosote is not an abstract fire-code term — it is a sticky, flammable residue building up inside your flue liner every single time you light a fire. Removing creosote buildup from chimneys is one of the most important pieces of home maintenance a wood-burning household can do, and it is also one of the most misunderstood. Homeowners often assume a quick brush pass once a year is enough, or that creosote is only a problem for “heavy” wood burners. Neither is true.
This guide walks through exactly what creosote is, why it forms, how to recognize the different stages of buildup, the tools and techniques professionals use to remove it safely, and when a chimney sweep should be handed off to a licensed technician instead of tackled from a ladder on a Saturday afternoon. We will also cover how creosote buildup interacts with your roof, flashing, and attic ventilation — because a chimney is never really an isolated system. It is bolted into your roof deck, and neglecting one usually shows up as damage to the other.
As a roofing contractor working across the Greater Toronto Area since 2005, Universal Roofs gets called out constantly for chimney flashing leaks, spalling masonry, and cricket repairs that trace back to years of moisture trapped by a chimney nobody serviced. Creosote removal is technically a chimney sweep’s job, but the surrounding structure — the flashing, the crown, the cap, the brick or metal chase — is roofing territory. Understanding both halves of the problem will save you money and prevent a small maintenance item from becoming a costly roof repair.
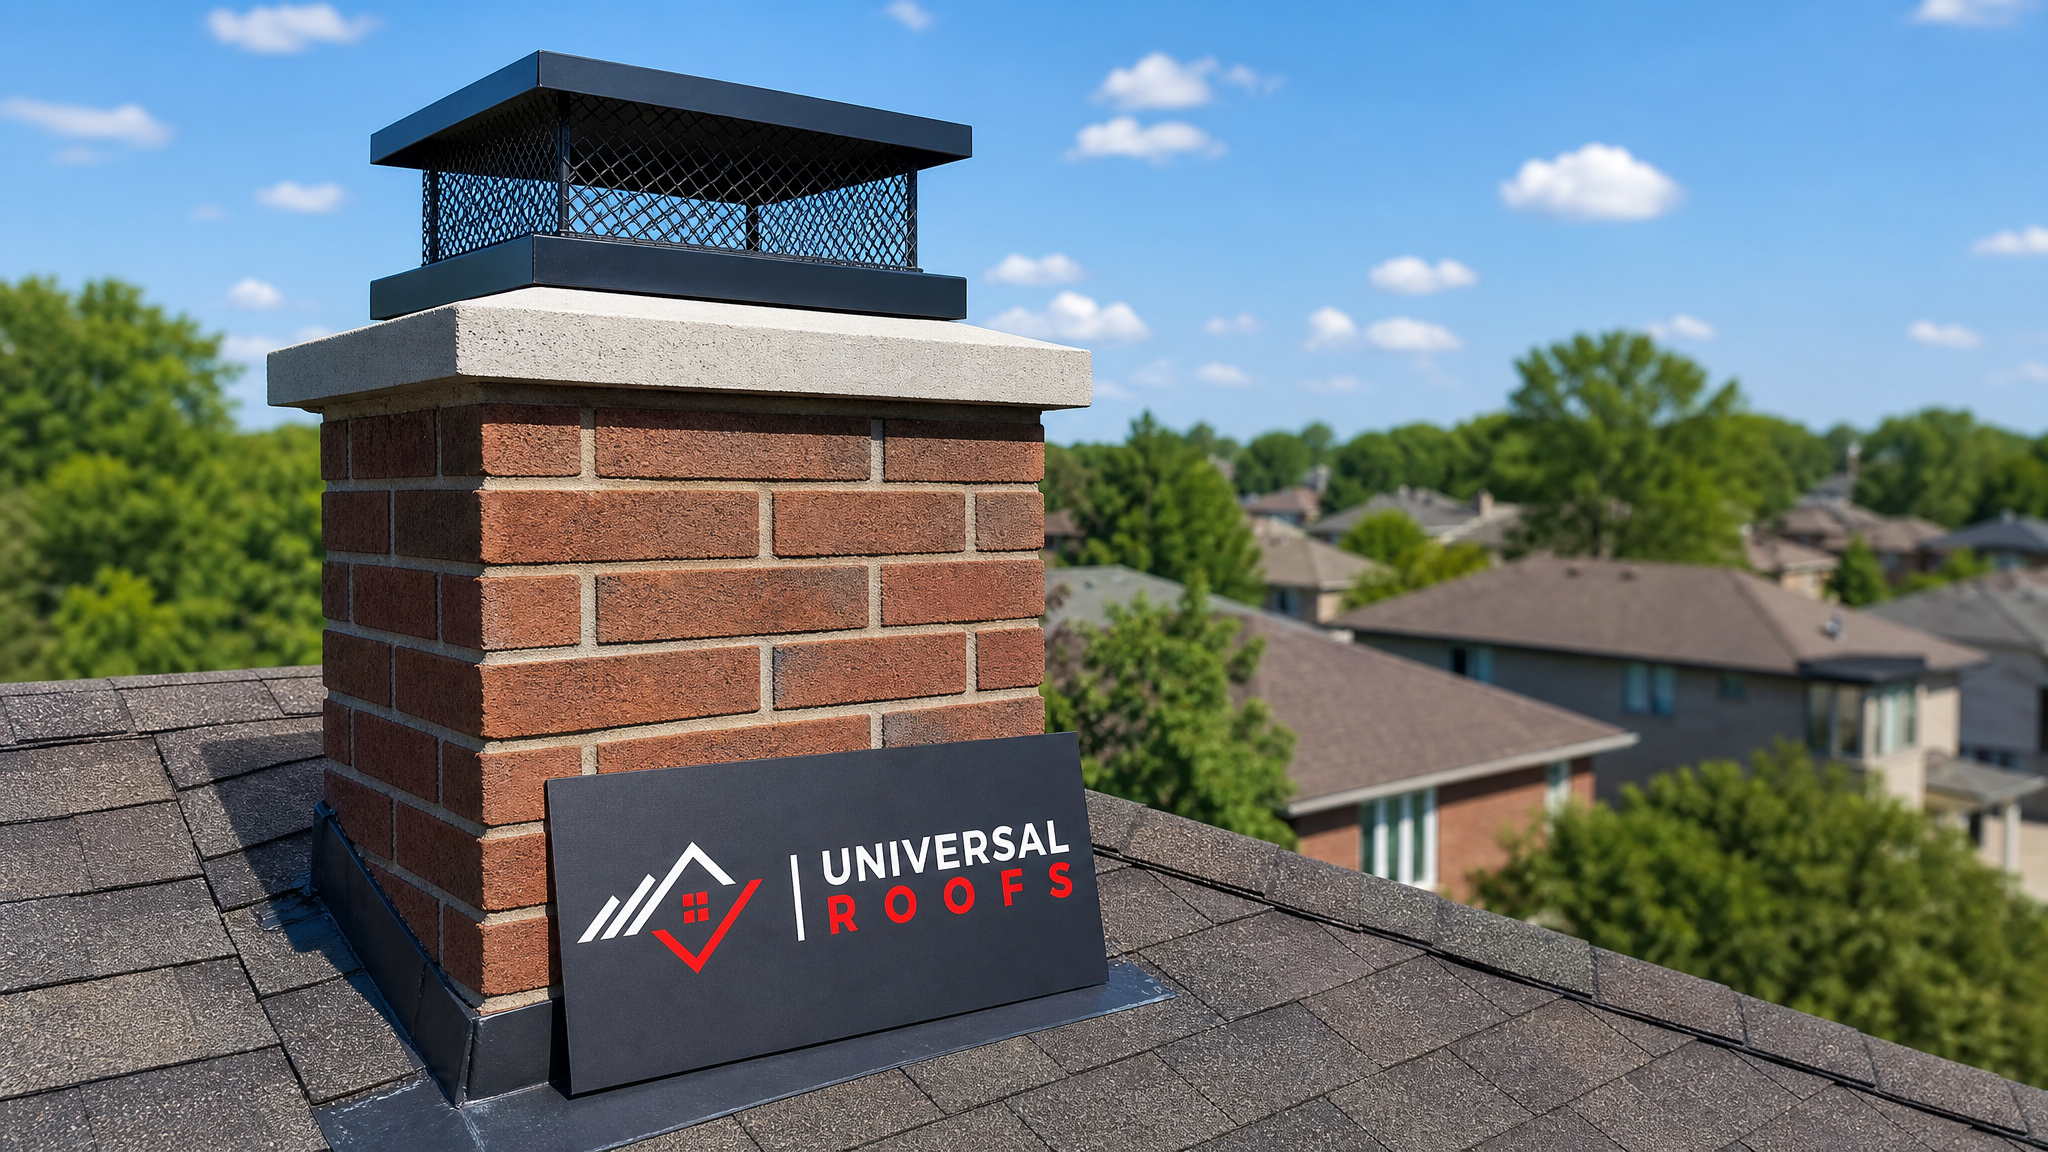
What Creosote Is and Why It Builds Up Inside Your Flue
Creosote is a byproduct of incomplete combustion. When wood burns, it releases gases, moisture vapour, unburned wood particles, and tar fog. As these travel up a relatively cool chimney flue, they condense on the interior surface the same way steam condenses on a cold window. That condensation is creosote — a mix of hydrocarbons, carbon particles, and organic compounds that is highly combustible.
Several factors accelerate creosote formation, and almost all of them are within a homeowner’s control:
- Burning unseasoned or wet wood. Green firewood contains excess moisture that lowers combustion temperature and increases smoke and condensation.
- Restricted airflow. A damper that is not opened fully, or a flue that is undersized for the appliance, slows exhaust and cools the smoke before it exits.
- Low, smouldering fires. Overnight “banked” fires that smoulder rather than burn hot produce far more creosote per hour than a properly fed, hot-burning fire.
- Cold flue temperatures. An exterior masonry chimney on the north side of a home — common in older Toronto and Etobicoke housing stock — cools faster than an interior flue, encouraging condensation.
- Long, complex flue runs. More surface area and more directional offsets give creosote more places to condense and cling.
Creosote is generally categorized into three stages, and knowing which one you are dealing with changes the entire removal approach.
| Creosote Stage | Appearance | Texture | Removal Difficulty |
|---|---|---|---|
| Stage 1 | Dull, flaky, soot-like coating | Powdery, brushes off easily | Low — standard chimney brush |
| Stage 2 | Dark brown to black, textured | Crunchy, tar-like flakes bonded to liner | Moderate — stiff brush plus mechanical rotary tools |
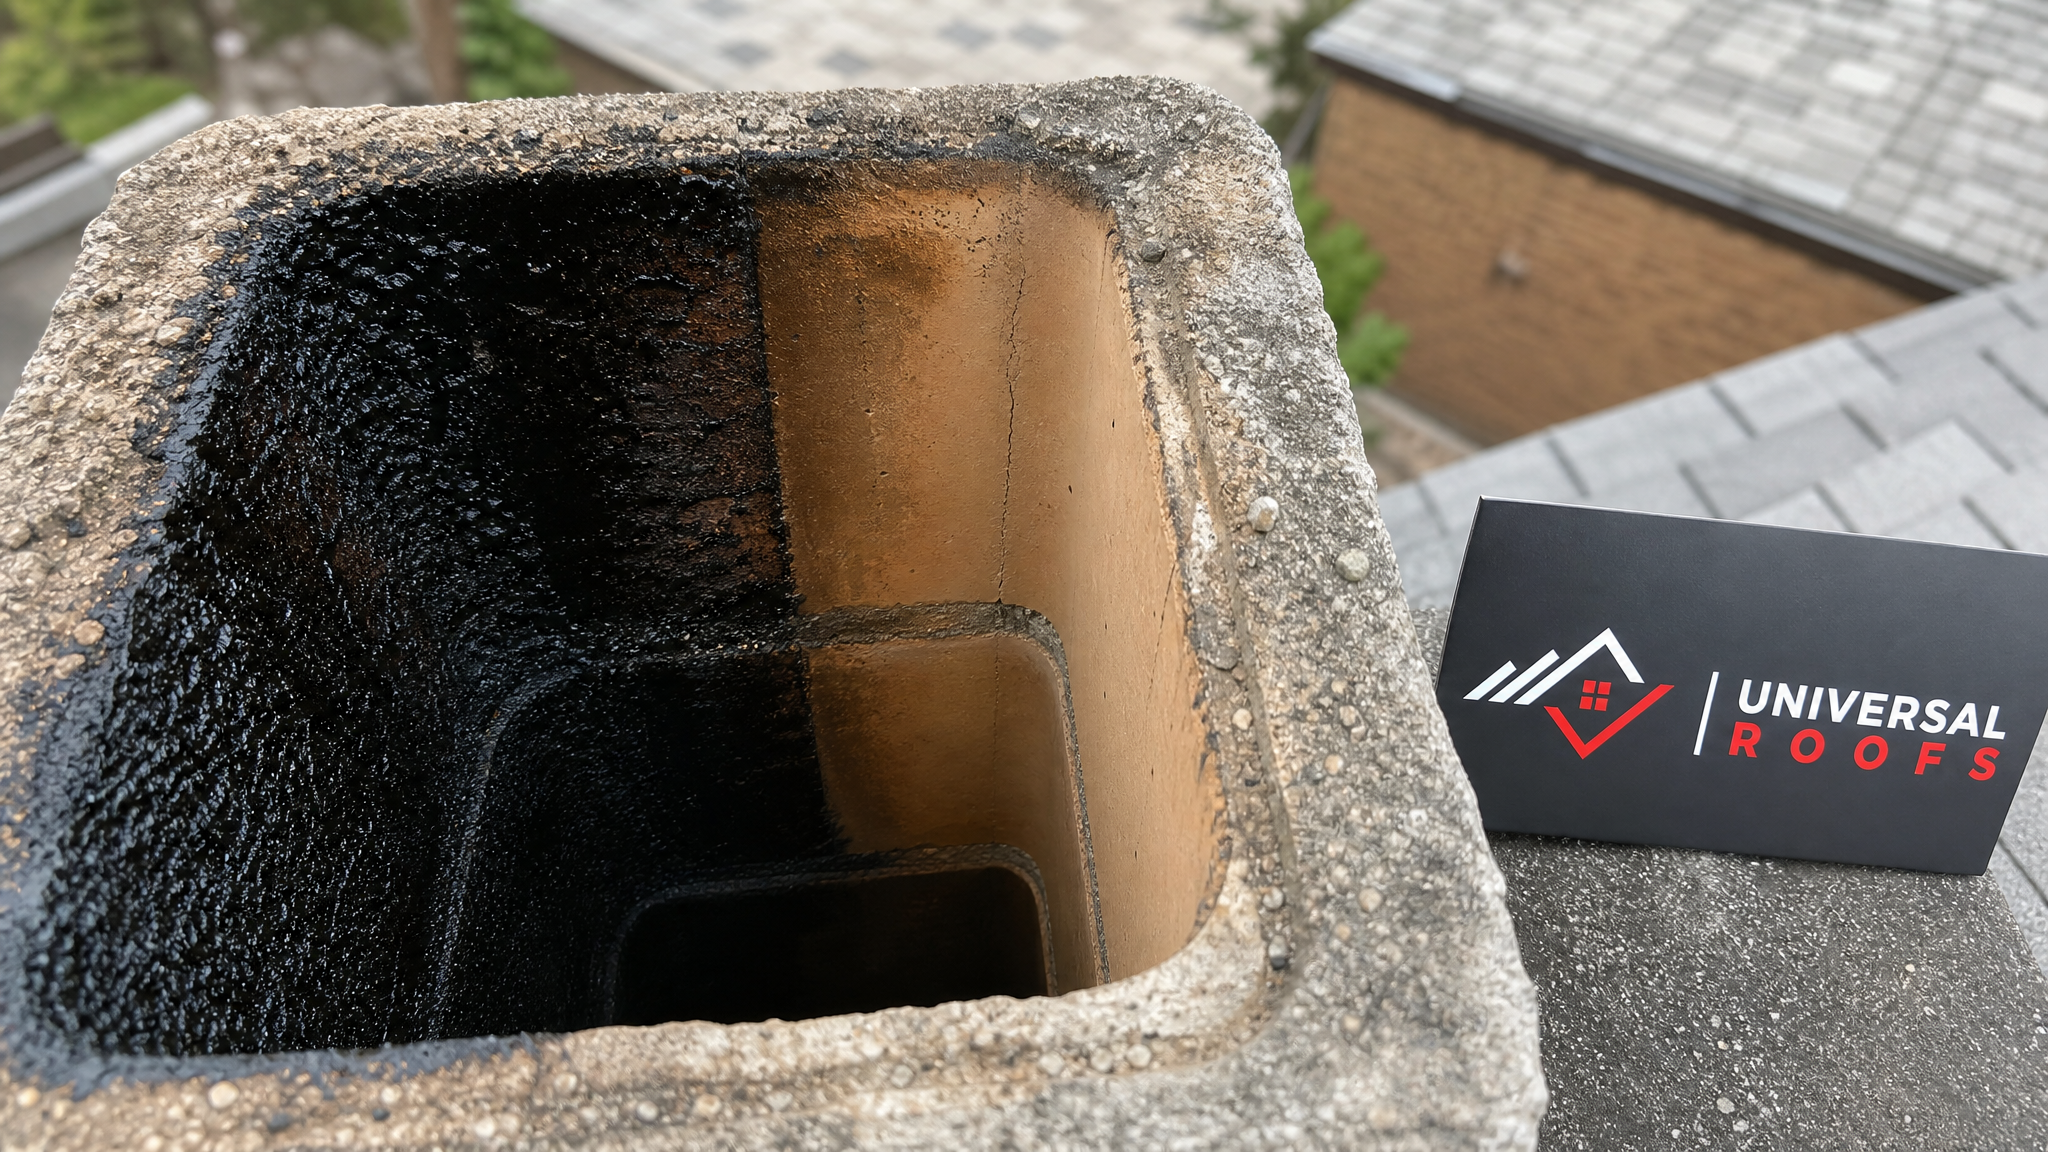
| Stage 3 (Glaze) | Shiny, black, glass-like coating | Hard, glossy, resists brushing entirely | Severe — requires chemical treatment and/or professional rotary chain whips |
| Stage 3+ (Advanced Glaze) | Thick, dripping, tar-like formations (“puffy” creosote) | Extremely hard, may partially block flue | Critical — licensed chimney sweep required, possible liner replacement |
Warning Signs You Have a Creosote Problem
Creosote buildup rarely announces itself loudly until it becomes dangerous. Watch for these indicators between heating seasons or at the start of summer, when many Toronto homeowners plan maintenance projects while the fireplace sits idle:
- A strong, sooty, or acrid smell coming from the fireplace, especially in humid summer weather
- Visible black flakes or tar-like drips inside the firebox or on the damper
- Reduced draft — smoke lingering in the room instead of drawing up the flue
- A darkened, oily sheen on the flue walls visible with a flashlight from the firebox
- A previous chimney fire, even a small one that seemed to extinguish itself
- More than one full heating season since the last professional sweep
The Chimney Safety Institute of America and most Canadian fire prevention offices recommend an inspection every year and a sweep whenever creosote has accumulated to roughly 3 millimetres (about one-eighth of an inch) or more. In practice, most GTA households that burn wood two or three times a week through the winter should plan on an annual sweep, ideally scheduled in late summer or early fall before the first cold snap.
Tools and Materials for DIY Creosote Removal
Light Stage 1 and moderate Stage 2 creosote can often be handled by a confident, safety-conscious homeowner with the right equipment. Stage 3 glaze should not be attempted without professional-grade tools, and in many cases should be left to a WETT-certified (Wood Energy Technology Transfer) chimney sweep entirely.
| Tool / Material | Purpose | Typical Cost (CAD) | Skill Level |
|---|---|---|---|
| Chimney brush (rod-and-brush kit) | Manual scrubbing of Stage 1-2 creosote | $60 – $150 | Beginner |
| Extension rods (fibreglass or steel) | Reach full flue length from roof or firebox | $40 – $90 | Beginner |
| Rotary chimney cleaning drill kit | Powers through Stage 2-3 hardened deposits | $150 – $350 | Intermediate |
| Creosote remover spray/log (chemical) | Softens glaze for easier brushing between sweeps | $15 – $30 | Beginner |
| HEPA-rated shop vacuum | Contains soot and ash dust during and after cleaning | $120 – $250 | Beginner |
| Fall-protection harness and rope | Required for any roof-access cleaning above one storey | $100 – $250 | Professional recommended |
Step-by-Step: How to Remove Creosote Buildup from Chimneys
The process below reflects the general professional sequence for a masonry or metal flue with light-to-moderate buildup. If at any point you find Stage 3 glaze, thick puffy deposits, or signs of liner damage, stop and call a certified sweep.
- Confirm the fire is completely out. Wait at least 24 hours after the last fire so ash and embers are fully cold before any cleaning begins.
- Seal the room. Cover the firebox opening with plastic sheeting or a purpose-made chimney cleaning drop cloth, leaving only a small working gap, to keep soot out of the living space.
- Protect yourself. Wear an N95 or better respirator, safety glasses, and disposable gloves. Creosote dust is a known respiratory irritant and contains carcinogenic compounds.
- Inspect first. Use a flashlight and, ideally, a chimney inspection camera to identify the creosote stage and check for cracks, missing mortar, or liner separation before you start scrubbing.
- Choose your access point. Professionals typically sweep from the roof down, working the brush from the top of the flue toward the firebox, though bottom-up cleaning is possible on shorter, straight flues.
- Brush in overlapping strokes. Work the chimney brush up and down in twelve-inch sections, rotating slightly with each pass so the bristles contact the full interior circumference.
- Treat stubborn glaze chemically if needed. A creosote-softening spray or log applied a few days before mechanical cleaning can loosen Stage 3 glaze enough for a rotary brush to finish the job — but chemical treatment alone never fully removes hardened glaze.
- Vacuum thoroughly. Once brushing is done, use a HEPA shop vacuum on the firebox, smoke shelf, and damper area to remove loosened debris before it settles again.
- Inspect the cap and crown. While you are on the roof, check the chimney cap for damage and the crown for cracking, since both affect how quickly creosote reforms.
- Document and schedule the next sweep. Note the date and creosote stage found so you can track how quickly buildup accumulates in your specific system and adjust your maintenance interval.
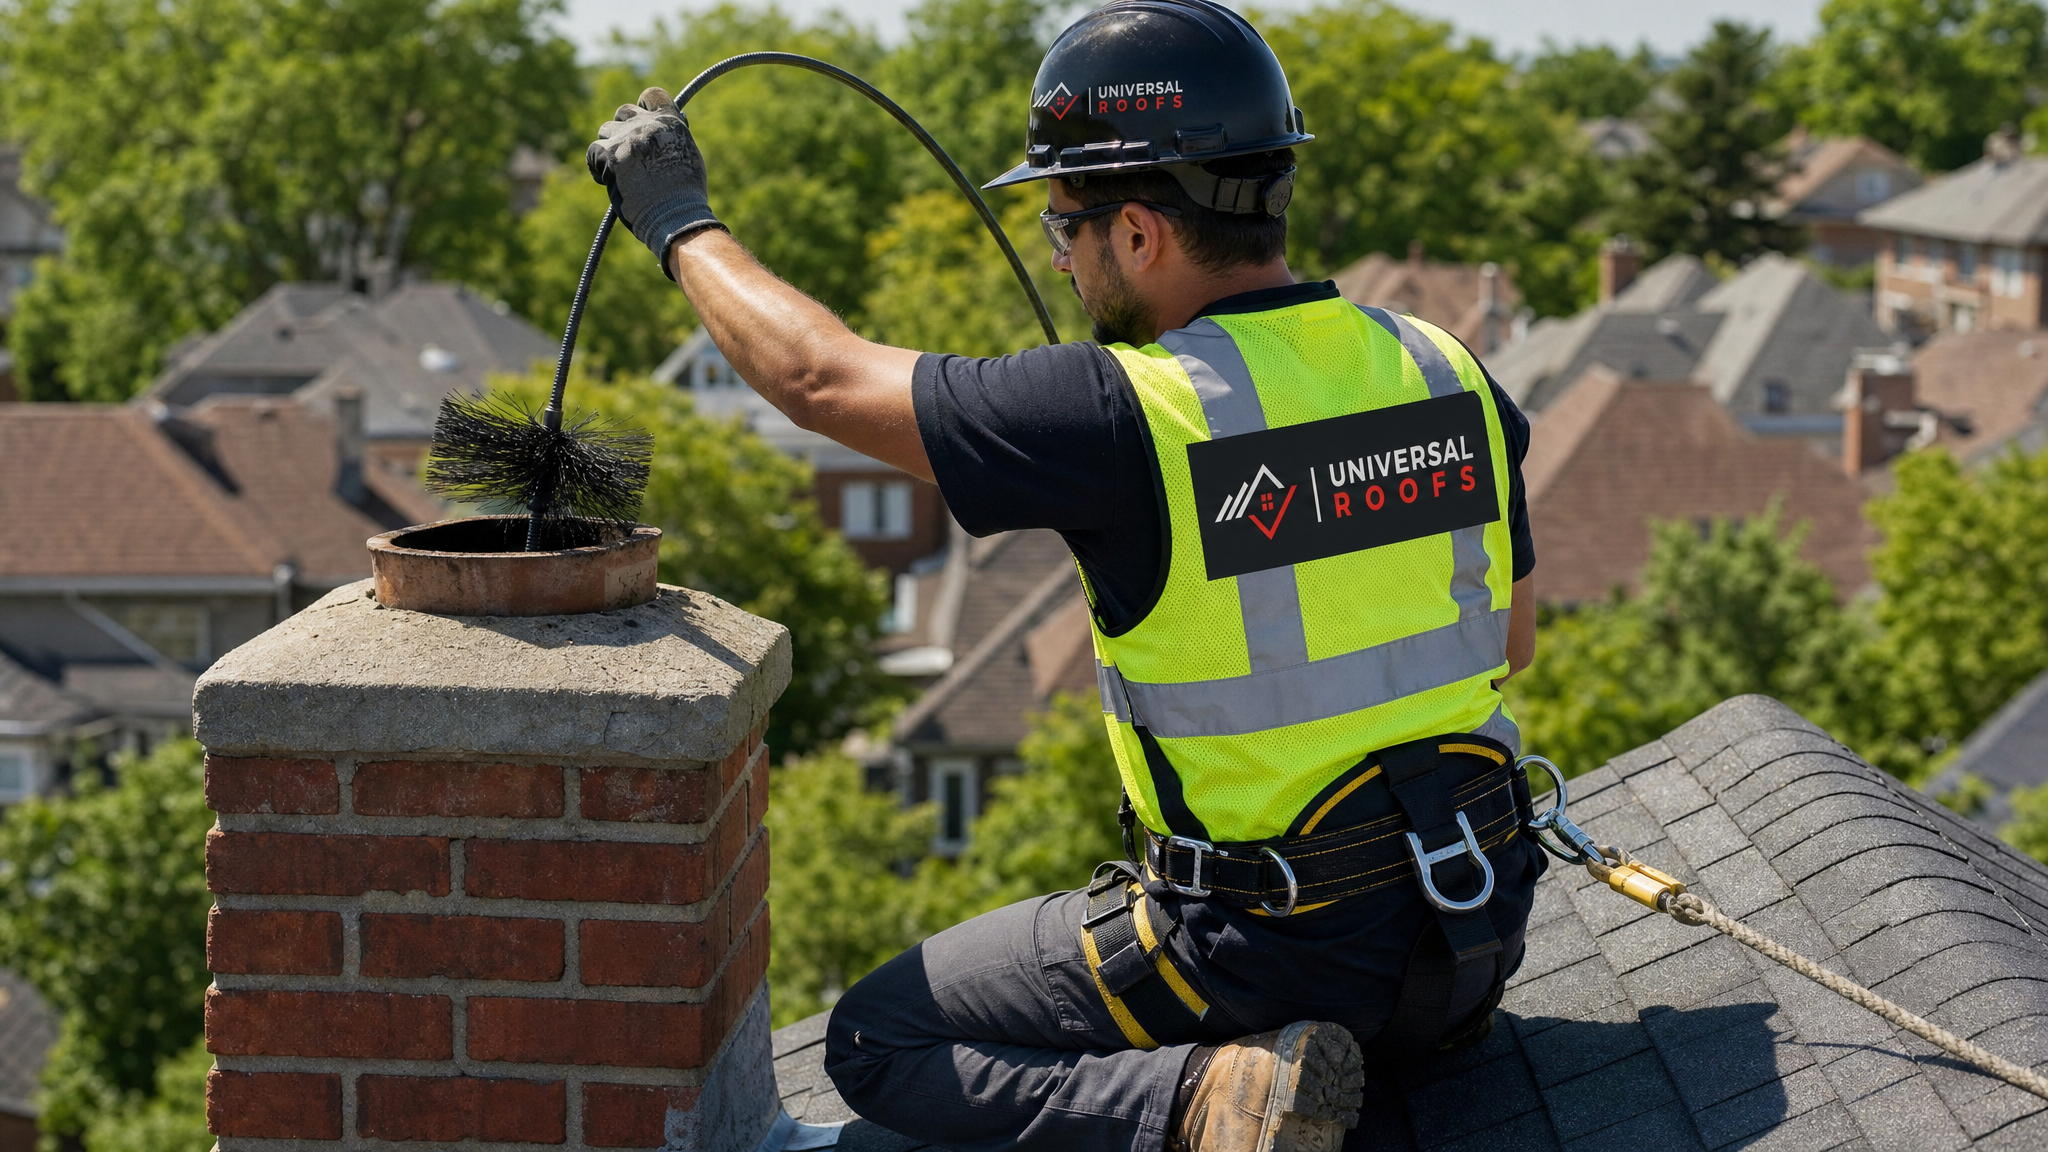
Why Roof Access Is the Riskiest Part of the Job
Most creosote removal guides focus entirely on what happens inside the flue and gloss over the fact that reaching the top of the chimney means working at height, often on a steep or wet roof slope. This is where most DIY chimney cleaning injuries happen — not from the soot, but from the fall.
Toronto’s climate compounds the risk. Morning dew, sudden summer showers, and moss growth on north-facing slopes all make asphalt shingles and clay tile slippery even when the forecast looks clear. A proper setup includes roof anchors rated for fall arrest, a full-body harness, and a rope and grab device — not a rope tied to a vent pipe or a ladder leaned against a gutter. If your home’s roof pitch exceeds about 6-in-12, or the chimney sits more than one storey up, this is a job better handed to professionals with the training and equipment to do it safely.
It is also worth remembering that the chimney chase, flashing, and cricket (the small peaked structure that diverts water around a wide chimney) are integrated with your roofing system. Repeated foot traffic and tool contact during amateur cleaning attempts are a common cause of cracked flashing seals, which is why so many “chimney leaks” turn out to be flashing failures discovered only after a roof repair technician gets on site.
How Creosote and Chimney Neglect Affect Your Roof
A chimney that is not properly swept does more than risk a chimney fire. Over time, moisture-laden creosote and flue gas exposure degrade the masonry and metal components that penetrate your roof deck:
- Spalling brick and mortar from repeated freeze-thaw cycles when moisture becomes trapped behind a creosote-glazed liner
- Corroded chimney caps and spark arrestors that no longer keep water and animals out
- Deteriorated flashing where the chimney meets the roofline, often accelerated by heat cycling from inefficient, smouldering fires
- Rusting or cracked crowns that let water seep down between the flue liner and the masonry, feeding further creosote adhesion
If you notice staining on your attic ceiling near the chimney chase, or daylight around the flashing when you inspect the attic from below, it is time for a combined chimney-and-roof inspection rather than treating the two as separate problems. Many older GTA homes we service through our Toronto service area and across Peel Region have chimneys original to the house, and decades of accumulated creosote combined with worn flashing is a very common combination.
DIY vs. Professional Chimney Sweeping: A Cost and Safety Comparison
| Factor | DIY Cleaning | Professional WETT-Certified Sweep |
|---|---|---|
| Upfront cost | $100 – $400 in tools (one-time) | $150 – $350 per visit |
| Stage 1-2 creosote | Manageable with brush kit | Faster, more thorough, includes inspection |
| Stage 3 glaze | Not recommended, high failure rate | Rotary chains and chemical treatment as needed |
| Structural inspection | Visual only, easy to miss cracks | Camera inspection, liner and crown assessment |
| Insurance/liability | Homeowner assumes all risk | Licensed and insured technician |
| Roof access safety | Depends on homeowner equipment and experience | Fall-protection trained, proper anchoring |
For most households, an annual professional sweep combined with homeowner-level monitoring between visits — checking for odour, visible flaking, and draft issues — strikes the right balance of cost and safety. If your chimney has not been swept in more than two years, assume Stage 2 or Stage 3 creosote and start with a professional inspection rather than a DIY attempt.
Preventing Creosote Buildup Before It Starts
Removal is only half the equation. The best long-term strategy reduces how quickly creosote reforms in the first place:
- Burn only well-seasoned hardwood that has dried for at least six to twelve months, with moisture content under 20 percent
- Build smaller, hotter fires rather than large smouldering ones, and never damper down a fire to “bank” it overnight
- Open the damper fully before lighting and keep it open until the fire is completely out
- Install a chimney cap to reduce moisture intrusion, which both slows creosote formation and protects the flue from precipitation
- Schedule your sweep in late summer, before wood-burning season begins, so any repairs can be completed while contractors have full availability
- Consider a stainless steel liner upgrade if your existing clay tile liner shows persistent cracking or heavy staining, since a properly sized, insulated liner burns more efficiently and cools less quickly
Homeowners who also use their fireplace as a supplementary heat source alongside a furnace should pay particular attention to attic ventilation. Poor ventilation traps heat and moisture near the roof deck, which combined with an inefficient, creosote-prone chimney setup, accelerates deterioration of both the chimney chase and the surrounding shingles or membrane.
When a Chimney Problem Becomes a Roofing Problem
There comes a point where creosote removal alone will not solve what is going on with your chimney. If a sweep reveals cracked flue tiles, a deteriorated crown, or flashing that has pulled away from the roof deck, you are no longer dealing with a maintenance task — you are dealing with a repair. This is where a roofing contractor’s scope overlaps with a chimney sweep’s, and why it pays to have both perspectives before winter.
Universal Roofs frequently gets called in after a chimney sweep flags flashing or masonry concerns during an annual inspection. We assess the roof-side components — step flashing, counter-flashing, the cricket, and the surrounding shingles or membrane — and coordinate repairs so the whole assembly is watertight before the next heating season. On homes with flat roof sections near the chimney base, that assessment often folds into a broader look at the flat roofing system, since ponding water near a chimney chase is a common source of slow leaks that get blamed on the chimney itself.
We also see chimney-adjacent skylights on many GTA homes, particularly additions and renovated attics. If your chimney sits near a skylight, a joint inspection makes sense, since flashing failures in one area often show up as staining near the other. Homes due for a skylight replacement anyway should have that work scheduled alongside any chimney flashing repairs to minimize the number of times a crew needs roof access.
Seasonal Timing for GTA Homeowners
Summer is genuinely the best time to deal with creosote and chimney maintenance in the Toronto area, for a few practical reasons. Fireplaces sit unused, so there is no risk of disturbing an active heating appliance. Roofing crews have more scheduling flexibility before the fall repair rush begins. And any masonry repointing or crown sealant work cures properly in warm, dry conditions rather than the marginal temperatures of late October or November.
If you are reading this in July and your chimney has not been swept since last winter, now is the ideal window to book an inspection, address any creosote buildup, and pair it with a roof-side check of the flashing and cap before the fall selling season for contractors picks up. Waiting until September or October often means competing for appointment slots with everyone else who waited too.
Frequently Asked Questions
What is the fastest way of removing creosote buildup from chimneys at home?
How often should creosote be removed from a chimney?
Can I remove hardened creosote glaze myself?
Does creosote buildup damage my roof, not just the chimney?
Is it safe to clean a chimney from the roof myself?
What is the best time of year for removing creosote buildup from chimneys in Toronto?
Need Help With Removing Creosote Buildup from?
While chimney sweeping itself falls to a certified WETT technician, the roofing, flashing, and cap components tied to your chimney are exactly where Universal Roofs can help. If a sweep has flagged flashing wear, a cracked crown, or moisture damage around your chimney chase, our team can assess and repair the roof-side issues before they turn into a bigger problem.
Call us today at (416) 732-2421 or request a free inspection to get started.
Universal Roofs proudly serves Toronto, Mississauga, Brampton, Vaughan, Markham, Oakville and the GTA since 2005.