
A chimney is one of the hardest-working parts of a Toronto-area home, and also one of the most neglected. It sits exposed above the roofline, takes the brunt of wind-driven rain, and absorbs the freeze-thaw punishment that defines a GTA winter. Over years, the mortar joints holding those bricks together slowly break down, and once that process starts, it rarely stops on its own. Homeowners searching for the best solutions for deteriorating mortar in chimneys are usually standing in their driveway looking up at crumbling joints, loose bricks, or a dusting of sandy debris on the roof shingles below the flue.
The good news is that deteriorating mortar is one of the most fixable problems a chimney can have, provided it’s caught before it becomes a structural issue. The bad news is that there isn’t a single fix that works for every chimney. The right solution depends on how far the deterioration has progressed, how old the chimney is, and whether the underlying structure is still sound. This guide walks through the three best solutions for deteriorating mortar in chimneys, in order of how much damage each one addresses, along with the costs, timelines, and warning signs that tell you which one your chimney actually needs.
We’ll also cover why Toronto’s climate accelerates mortar breakdown faster than in many other regions, how to tell the difference between cosmetic wear and a genuine safety hazard, and what a professional inspection should include before any work begins. If you’d rather skip straight to getting eyes on the problem, request a free inspection and a licensed technician will assess your chimney from the roof deck down.
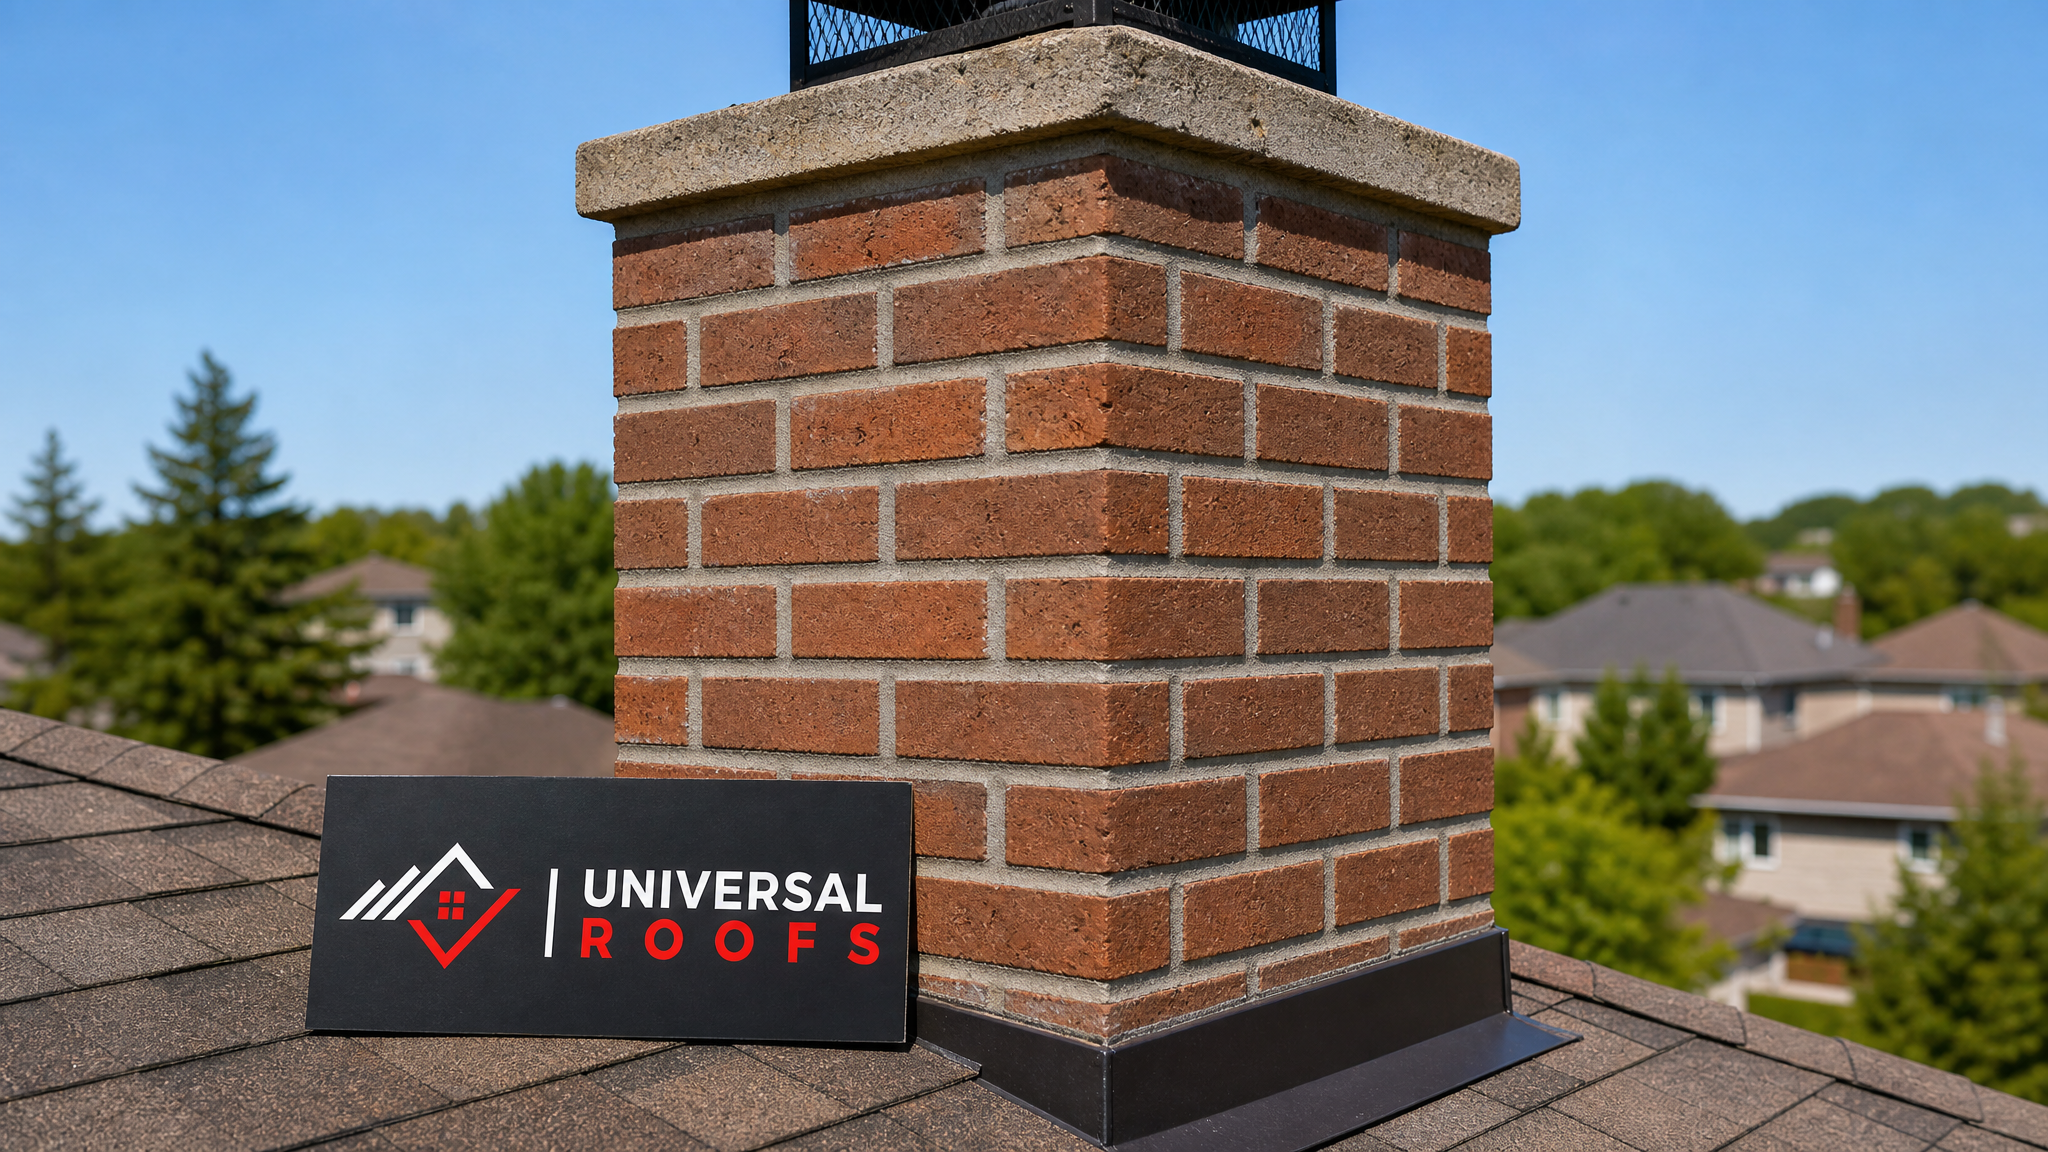
Why Chimney Mortar Deteriorates in the First Place
Mortar is not brick. It’s a mixture of sand, lime or cement, and water, and it’s intentionally designed to be slightly softer and more porous than the brick units it holds together. This is a feature, not a flaw — mortar is meant to be the sacrificial component, absorbing movement, moisture, and thermal stress so that the bricks themselves stay intact. The tradeoff is that mortar has a finite lifespan, typically 20 to 30 years depending on the original mix and local exposure, and it needs periodic maintenance to keep doing its job.
In the Greater Toronto Area, that lifespan often runs shorter than the textbook average. The region sees dozens of freeze-thaw cycles every winter, where daytime melt seeps into hairline cracks and then refreezes overnight, expanding by roughly nine percent and forcing the crack wider each time. Add in acidic rain, road salt spray carried on the wind near major arterials, and the simple fact that chimneys are rarely inspected unless something visibly falls off, and it’s easy to see why mortar joints on 25-plus year old chimneys are often the first thing to fail on an otherwise sound roof.
Deteriorating mortar shows up in a fairly predictable sequence. First, the surface starts to look chalky or sandy, and light scraping with a screwdriver removes crumbs rather than solid material. Next, hairline cracks appear along the joint lines, usually horizontal first, then vertical. As the process continues, joints recess visibly behind the face of the brick, sometimes by a centimetre or more, and small chunks begin to fall away entirely. In advanced cases, bricks themselves start to shift or lean because there’s no longer anything holding them in a stable line.
Left unaddressed, deteriorating mortar isn’t just a cosmetic issue. Water intrusion through open joints saturates the interior brick and the chimney’s structural core, which can lead to spalling brick faces, damaged flue liners, and — in the worst cases — a chimney that’s no longer structurally safe to use. This is why catching the problem early, and choosing the right one of the three solutions below, matters far more than most homeowners assume.
Solution 1: Tuckpointing and Spot Repairs for Early-Stage Deterioration
The first and least invasive of the three solutions for deteriorating mortar in chimneys is tuckpointing, sometimes called spot repointing. This approach targets individual joints or small sections of the chimney where mortar has begun to crack or crumble, without disturbing the surrounding, still-sound mortar.
The process involves grinding out the failing mortar to a consistent depth, usually 20 to 25 millimetres, cleaning the joint of dust and debris, and packing in fresh mortar matched to the original colour and composition. Done correctly, tuckpointing is nearly invisible once cured and can add another 15 to 20 years of service life to the repaired sections.
Tuckpointing is the right call when deterioration is limited to isolated joints, typically on the weather-facing side of the chimney (in the GTA, this is most often the north and west faces, which take the worst of winter wind and driving rain). It’s also appropriate as a preventive measure on chimneys where an inspection has caught early-stage crumbling before it spreads.
The limitation is scope. Tuckpointing is a targeted fix, not a rebuild, and it won’t help a chimney where more than roughly 25 to 30 percent of the joints are compromised, or where the brick units themselves are cracked, spalling, or structurally unsound. Applying spot repairs to a chimney that actually needs a full repoint is a common shortcut that ends up costing more in the long run, since the untreated sections continue to deteriorate and the homeowner ends up paying for two separate jobs instead of one.
| Deterioration Sign | Tuckpointing Suitable? | Typical Location on Chimney | Estimated Lifespan Added |
|---|---|---|---|
| Chalky, sandy mortar surface | Yes | North/west exposed face | 15-20 years |
| Hairline horizontal cracks | Yes | Isolated joints | 15-18 years |
| Joint recessed 1cm+ behind brick face | Sometimes (assess spread) | Multiple faces | 10-15 years |
| Mortar loss across 25%+ of joints | No – needs full repoint | Widespread | N/A |
| Bricks shifting or leaning | No – needs rebuild assessment | Structural | N/A |
For homes where the chimney shares a roofline with other ageing components, it’s worth having a broader look taken at the same time. Our roof repair team routinely flags chimney mortar issues during flashing and shingle inspections, since the two problems often develop side by side.
Solution 2: Full Repointing for Moderate to Widespread Deterioration
When mortar loss extends across most or all faces of the chimney, or when more than a quarter of the joints show visible crumbling, full repointing is the appropriate solution. This is a more extensive version of tuckpointing that addresses the entire chimney stack rather than isolated sections.
Full repointing follows the same basic technique as tuckpointing — grinding out old mortar and packing new mortar into the joints — but it’s applied systematically across every course of brick, from the roofline to the chimney cap. Contractors typically work in sections to maintain structural stability throughout the process, never removing so much mortar at once that the stack loses its integrity mid-repair.
A properly executed full repoint also addresses a few things tuckpointing alone doesn’t: it’s an opportunity to inspect and replace the chimney flashing where it meets the roof deck, check the condition of the crown (the concrete cap at the very top), and identify any spalling brick that needs to be swapped out during the same visit. This is one of the reasons full repointing is often bundled with a broader roof assessment rather than treated as a standalone job — the scaffolding and access needed for the chimney work make it efficient to address flashing and shingle issues nearby at the same time.
Timeline-wise, a full repoint on a typical GTA residential chimney takes one to three days depending on chimney height, brick condition, and weather. Mortar needs to cure properly, which means repointing is best scheduled in mild, dry conditions — spring through early autumn in this region, since mortar cures poorly in temperatures below about 5°C. Summer, including right now in July, is one of the more reliable windows for this work, provided there isn’t a heavy rain system moving through.
| Repointing Scope | Typical Duration | Best Season (GTA) | Additional Work Often Included |
|---|---|---|---|
| Single-face repoint | 1 day | Late spring – early fall | Crown inspection |
| Full four-face repoint | 2-3 days | Late spring – early fall | Flashing check, crown seal |
| Repoint with flashing replacement | 3-4 days | Late spring – early fall | New step/counter flashing |
| Repoint with spalled brick swap | 3-5 days | Late spring – early fall | Brick matching and replacement |
Homeowners sometimes ask whether repointing can be done in winter if the chimney is actively leaking. It’s technically possible with specialized cold-weather mortar additives, but it’s not ideal, and most reputable contractors will recommend a temporary weatherproofing measure to get through the season followed by a proper repoint once temperatures stabilize. If your chimney shares a roof with a flat section, our flat roofing specialists can also assess how the two systems interact at the transition point, which is a common spot for water to travel between the chimney and the roof membrane.
Solution 3: Chimney Rebuild for Advanced Structural Deterioration
The third and most involved of the three solutions for deteriorating mortar in chimneys is a partial or full rebuild. This becomes necessary when mortar deterioration has progressed to the point where the brick units themselves are compromised, when the chimney has visible lean or bulging, or when a structural assessment finds that repointing would not restore adequate stability.
A rebuild involves dismantling the affected portion of the chimney, brick by brick, and reconstructing it with new or salvaged brick and fresh mortar, tied back into the sound structure below. Depending on the extent of the damage, this can mean rebuilding just the stack above the roofline (the most common scenario, since this section takes the most weather exposure) or, in severe cases, addressing the chimney down to the foundation.
Signs that point toward a rebuild rather than repointing include: visible separation between the chimney and the house at the roofline, a stack that leans noticeably out of plumb, bricks that are cracked, crumbling, or missing corners in addition to failed mortar, and any history of the chimney shedding debris large enough to damage roofing below it. A licensed inspector will also check whether the chimney was ever properly tied to the structure with wall anchors, since older GTA homes — particularly those built before the 1970s — sometimes have chimneys that were only ever loosely integrated with the framing.
Cost and timeline for a rebuild vary more than the other two solutions, since the scope depends entirely on how much of the structure needs to come down and go back up. A rebuild above the roofline on a standard single-flue residential chimney typically runs three to seven days including cure time; a full rebuild from the foundation is a larger undertaking that may take one to two weeks and often requires coordination with interior work if the flue liner also needs replacement.
| Rebuild Scope | When Required | Typical Timeline | Coordination Needed |
|---|---|---|---|
| Above-roofline rebuild | Lean, cracked brick, widespread mortar failure at stack | 3-5 days | Roof flashing, crown |
| Full stack + crown replacement | Advanced deterioration plus damaged cap | 4-7 days | Flashing, waterproofing |
| Foundation-to-cap rebuild | Structural separation from house, foundation movement | 7-14 days | Structural engineer, interior liner |
| Rebuild with flue relining | Damaged liner discovered during teardown | 7-10 days | WETT inspection, liner installer |
A rebuild is understandably the option homeowners hope to avoid, but attempting to repoint a chimney that’s actually failed structurally is not a shortcut worth taking. Mortar can’t compensate for cracked or shifting brick, and a cosmetic fix on a structurally unsound stack creates a false sense of security while the underlying problem continues. If you’re unsure which category your chimney falls into, that’s exactly what a proper inspection is for — our team can assess the chimney alongside the rest of the roof system, including the attic and flashing details, to give you an honest read on scope before any work begins.
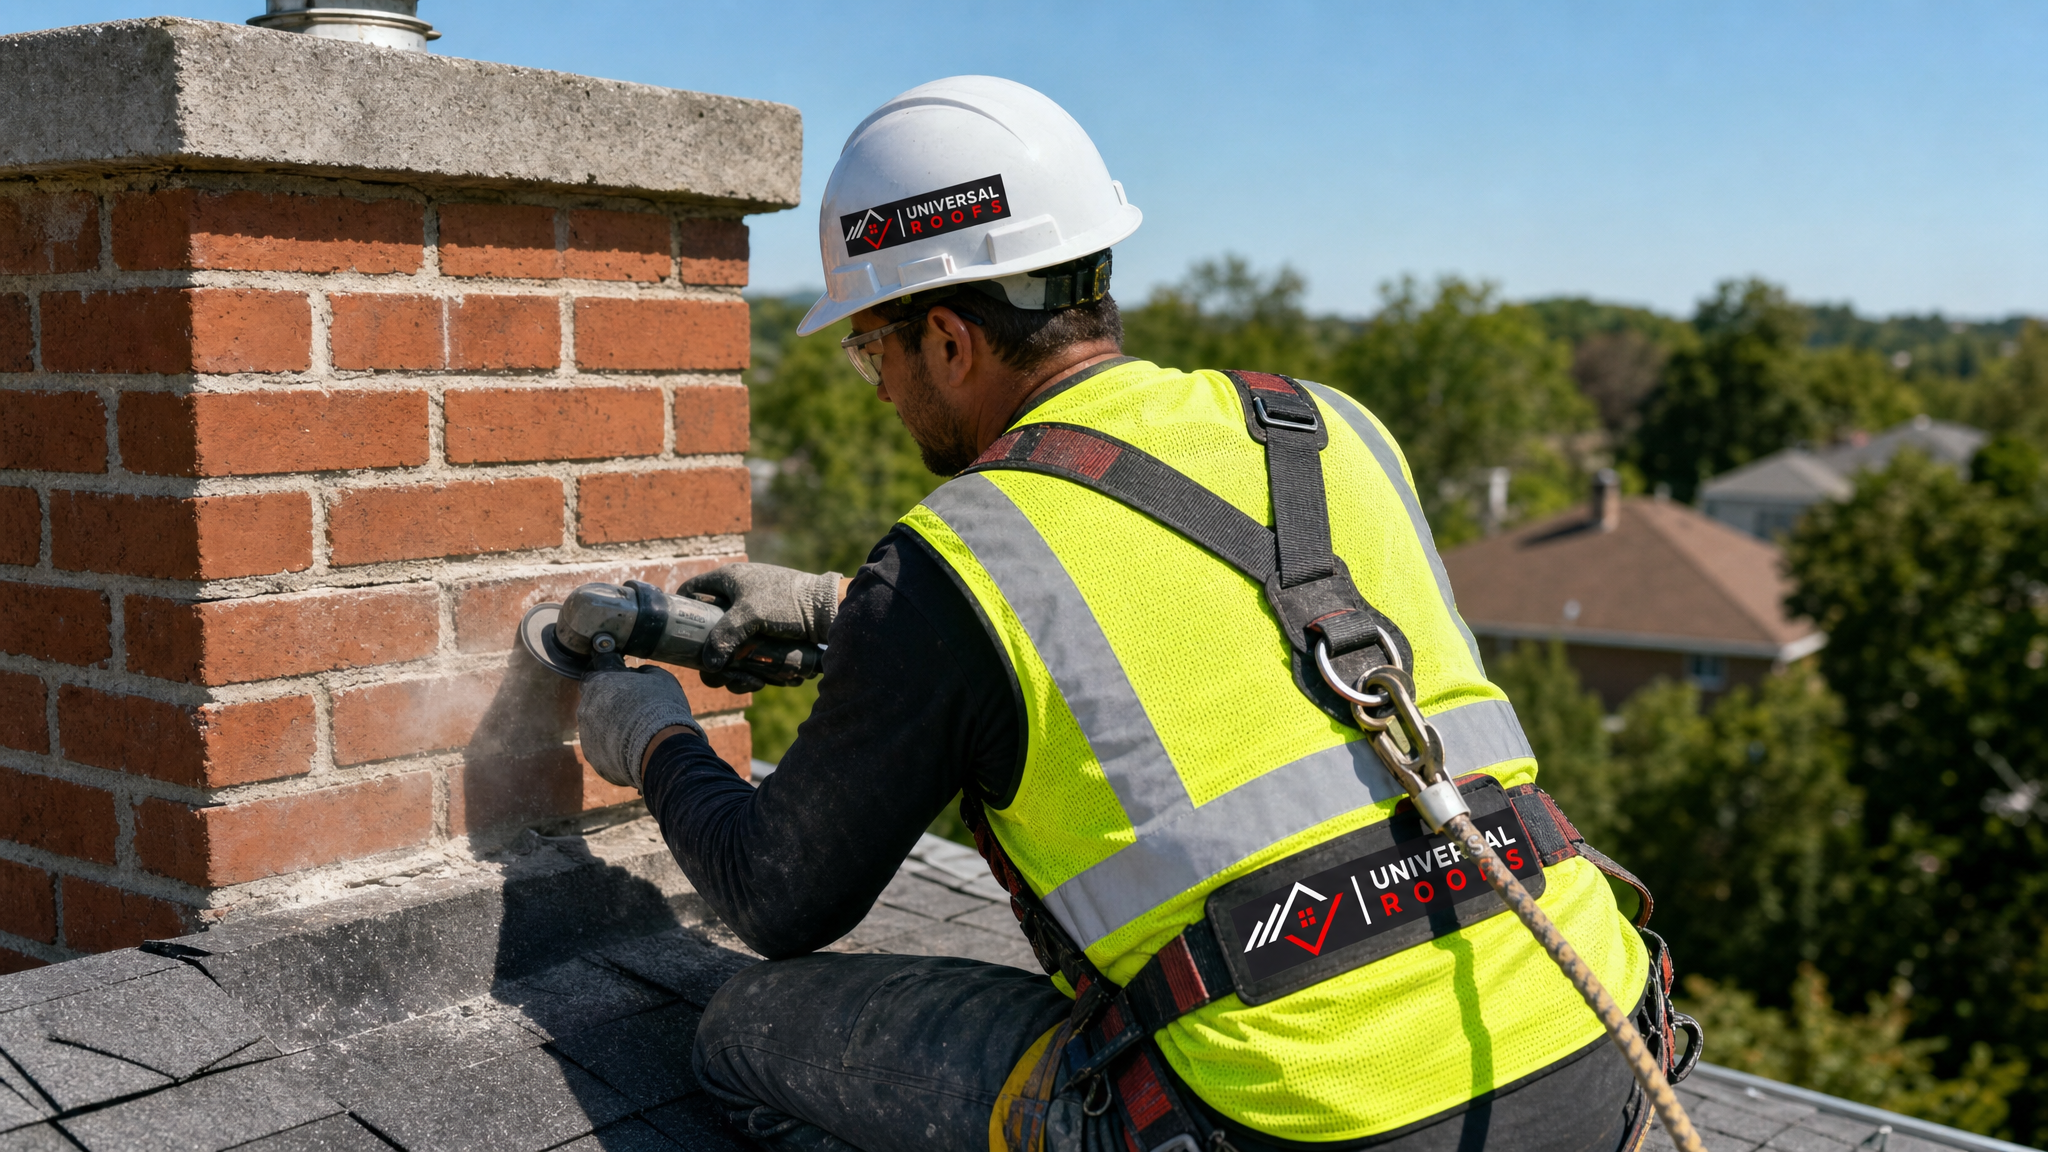
How to Tell Which Solution Your Chimney Needs
Most homeowners aren’t in a position to climb onto their own roof and assess mortar depth safely, and we don’t recommend trying. But there are a few things you can check from the ground or from an attic access point that help narrow down which of the three solutions is likely in play.
From the ground, use binoculars to look for colour inconsistency along the joints (lighter, chalky patches indicate active deterioration), visible gaps or dark shadow lines where mortar has receded, and any bricks that appear out of alignment with their neighbours. From inside the attic, check for water staining or daylight visible around the chimney chase, both of which point to compromised flashing or mortar that’s letting moisture through. After a storm, walk the yard and roof perimeter (from ground level) looking for sand-like granules or small mortar fragments, which typically wash down with rain when joints are actively crumbling.
None of these checks replace a professional assessment, but they help you have an informed conversation when a technician does come out. A proper inspection should include a close visual assessment of every face of the chimney, a check of the mortar joint depth and consistency, an evaluation of the crown and cap condition, a look at the flashing where the chimney meets the roof deck, and — for chimneys serving a working fireplace or furnace — a check of the flue liner’s condition as well.
Cost Considerations Across the Three Solutions
Cost is naturally one of the first questions homeowners ask, and it’s also one of the hardest to answer without seeing the chimney directly, since so much depends on height, accessibility, brick type, and how much of the structure is affected. That said, general ranges help set expectations.
| Solution | Typical Cost Driver | Relative Cost Range | Best Suited For |
|---|---|---|---|
| Tuckpointing / spot repair | Number of joints, access difficulty | Lowest | Early, isolated deterioration |
| Full repointing | Total chimney height and face count | Moderate | Widespread joint failure, sound brick |
| Partial rebuild (above roofline) | Brick replacement volume, scaffolding | Higher | Damaged brick, leaning stack |
| Full rebuild (foundation to cap) | Full demolition and reconstruction | Highest | Structural failure, foundation movement |
The pattern here is consistent with most home maintenance: addressing mortar deterioration early, while tuckpointing is still viable, is almost always the more economical path over the life of the chimney. Deferring the work rarely makes the problem stay the same size — freeze-thaw cycles and continued water intrusion mean a chimney that needed spot repairs this year can need a full repoint in two or three years, and a full rebuild not long after that if it’s left unaddressed entirely.
Preventing Future Mortar Deterioration After Repair
Whichever of the three solutions ends up being right for your chimney, there are steps that meaningfully extend the life of the repair afterward. A breathable masonry water repellent applied after the mortar has fully cured helps shed rain without trapping moisture inside the brick, which is an important distinction — a fully sealed, non-breathable coating can actually accelerate freeze-thaw damage by preventing trapped moisture from evaporating outward.
A properly maintained metal chimney cap and crown wash also go a long way toward keeping water off the mortar joints in the first place, since the majority of water damage to a chimney stack enters from the top down rather than through the vertical brick faces. Annual visual inspections, ideally in spring after the freeze-thaw season has ended and again in fall before winter sets in, catch new deterioration while it’s still in the tuckpointing stage rather than letting it progress unnoticed.
It’s also worth having the chimney assessed any time other roof work is being done nearby, whether that’s a full roof replacement or work on a nearby skylight or skylight replacement. Since scaffolding and roof access are already in place for that work, it’s an efficient time to have the chimney’s mortar condition checked as well, even if it wasn’t the original reason for the visit.
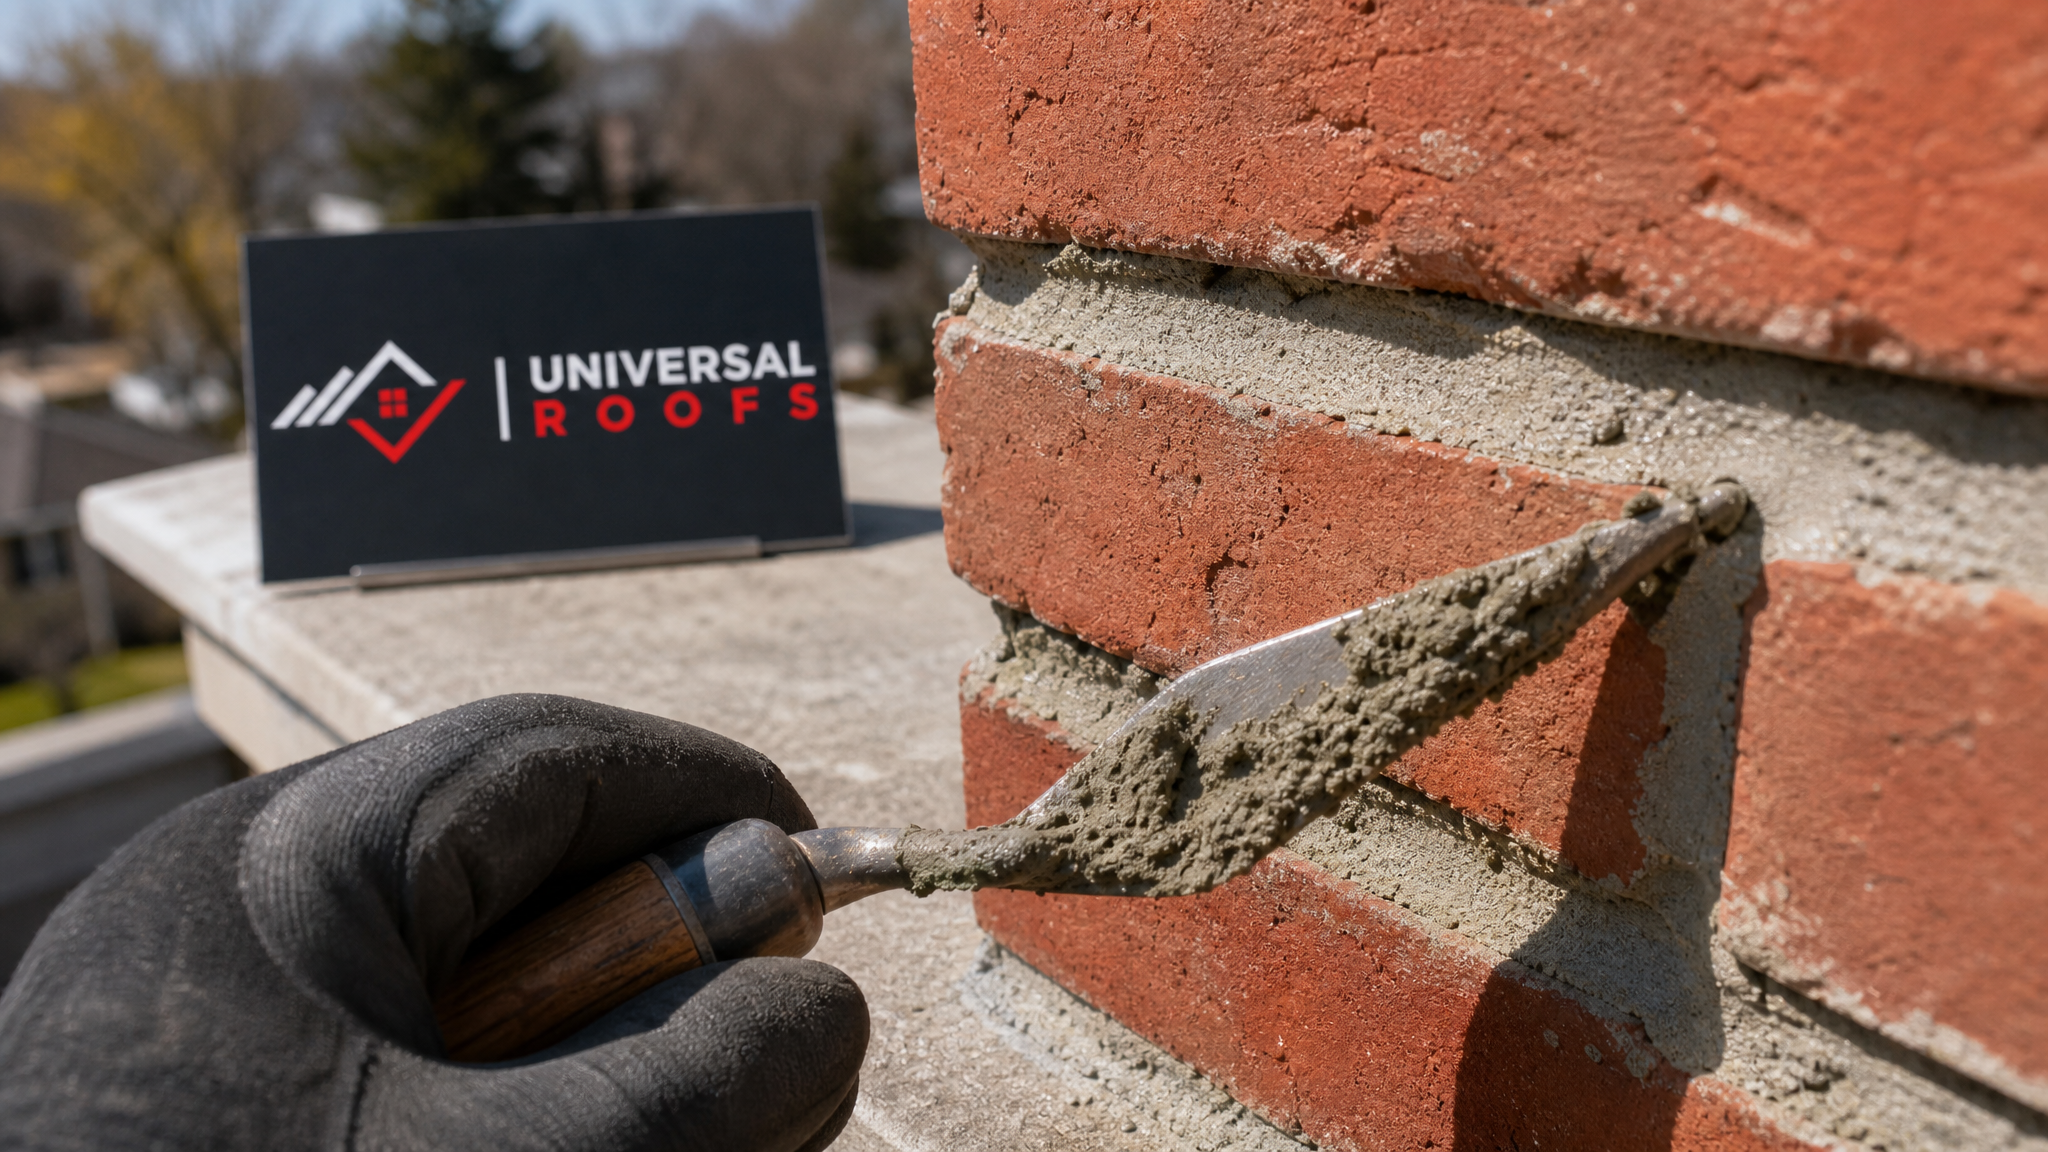
Why Local Climate and Building Age Matter
Not every chimney deteriorates at the same rate, and understanding why helps explain why some GTA homes need attention at 15 years while others go 30 without issue. Chimneys facing prevailing winter winds, typically the north and west exposures in this region, take more driving rain and see more freeze-thaw cycling than sheltered faces. Homes closer to major roads also see more airborne salt and grime carried by wind, which can subtly degrade mortar chemistry over time.
Building age matters too. Homes built before the 1980s often used lime-based mortar, which is softer and more porous than modern Portland cement mixes. This isn’t necessarily a defect — lime mortar is actually the historically correct and often preferable choice for older masonry, since it flexes with the building rather than cracking the brick — but it does mean these chimneys typically need repointing on a shorter cycle, and any repairs should use a matching lime-based mix rather than a harder modern mortar that can actually damage older brick by being too rigid.
Regardless of chimney age or exposure, the practical takeaway is the same: mortar deterioration is progressive, predictable, and fixable, provided it’s addressed with the solution that actually matches the extent of the damage. Homeowners across the Toronto, Peel Region, York Region, Halton Region, and Durham Region areas all deal with the same freeze-thaw pattern, which is why we assess mortar condition as a standard part of every chimney and roof inspection we perform in these areas.
What to Expect From a Professional Chimney Mortar Assessment
If you’ve noticed any of the warning signs described above, the next step is a hands-on inspection rather than guessing from the driveway. A thorough assessment typically starts with a visual survey of all four chimney faces from a ladder or lift, checking joint depth with a probe tool rather than relying on appearance alone, since mortar can look intact on the surface while being hollow just beneath it.
The inspector should also check the crown for cracks (a failed crown is one of the fastest ways water gets into a chimney stack from above), confirm the flashing is properly integrated with the roofing material around the chimney base, and, where relevant, look at the flue liner condition if the chimney serves an active fireplace or heating appliance. You should come away from the visit with a clear answer on which of the three solutions applies, a written scope of work, and a realistic cost range, not just a verbal estimate.
Homeowners who want a second opinion or a broader read on their roof’s overall condition alongside the chimney assessment can check verified feedback from other GTA homeowners on our reviews page, or browse common questions on our FAQ page before booking a visit. You can also learn more about our background and licencing on our about page.
What are the best solutions for deteriorating mortar in chimneys?
How do I know if my chimney needs repointing or a full rebuild?
Why does chimney mortar deteriorate faster in Toronto and the GTA?
Is summer a good time to repoint a chimney in the GTA?
How long does full chimney repointing take?
Can I seal deteriorating chimney mortar myself instead of repointing?
Need Help With 3 Best Solutions for?
Deteriorating chimney mortar rarely improves on its own, and the right fix depends on catching the problem at the right stage. The team at Universal Roofs has been assessing and repairing chimneys across the GTA since 2005, and we’ll always tell you honestly whether your chimney needs simple tuckpointing, a full repoint, or a rebuild — never the most expensive option by default.
Call us today at (416) 732-2421 or request a free inspection to get started.
Universal Roofs proudly serves Toronto, Mississauga, Brampton, Vaughan, Markham, Oakville and the GTA since 2005.