
A leaking wood shake roof is one of the more frustrating problems a GTA homeowner can face. Wood shakes have a wonderful, rustic charm and can last for decades when properly maintained, but they are also a natural, hand-split product, which means they age, cup, split, and eventually let water through in ways that asphalt shingles simply don’t. If you’ve noticed a damp patch on your ceiling, a musty smell in the attic, or water stains creeping down an interior wall, the good news is that most wood shake leaks can be traced and repaired using a straightforward, repeatable process.
In this guide, we’ll walk through the 3 simple steps to fix wood shake roof leaks: locating the true source of the leak, removing and replacing the damaged shakes and underlayment, and sealing and testing the repair so it holds up through Toronto’s freeze-thaw winters and humid summers. We’ll also cover when a patch repair makes sense versus when it’s time to consider a larger roof repair or full replacement, what tools and materials you’ll need, and the most common mistakes that turn a simple fix into a recurring headache.
Wood shake roofs are common on older character homes throughout the Toronto area, particularly in neighbourhoods like the Kingsway, Rosedale, Forest Hill, and parts of Oakville and Burlington where heritage architecture is prized. These roofs were often installed decades ago, and while cedar shakes can have a lifespan of 25 to 40 years with regular maintenance, individual shakes fail well before the whole roof needs replacing. Understanding how to isolate and fix that failure is the key to extending the life of your roof and avoiding costly interior damage.
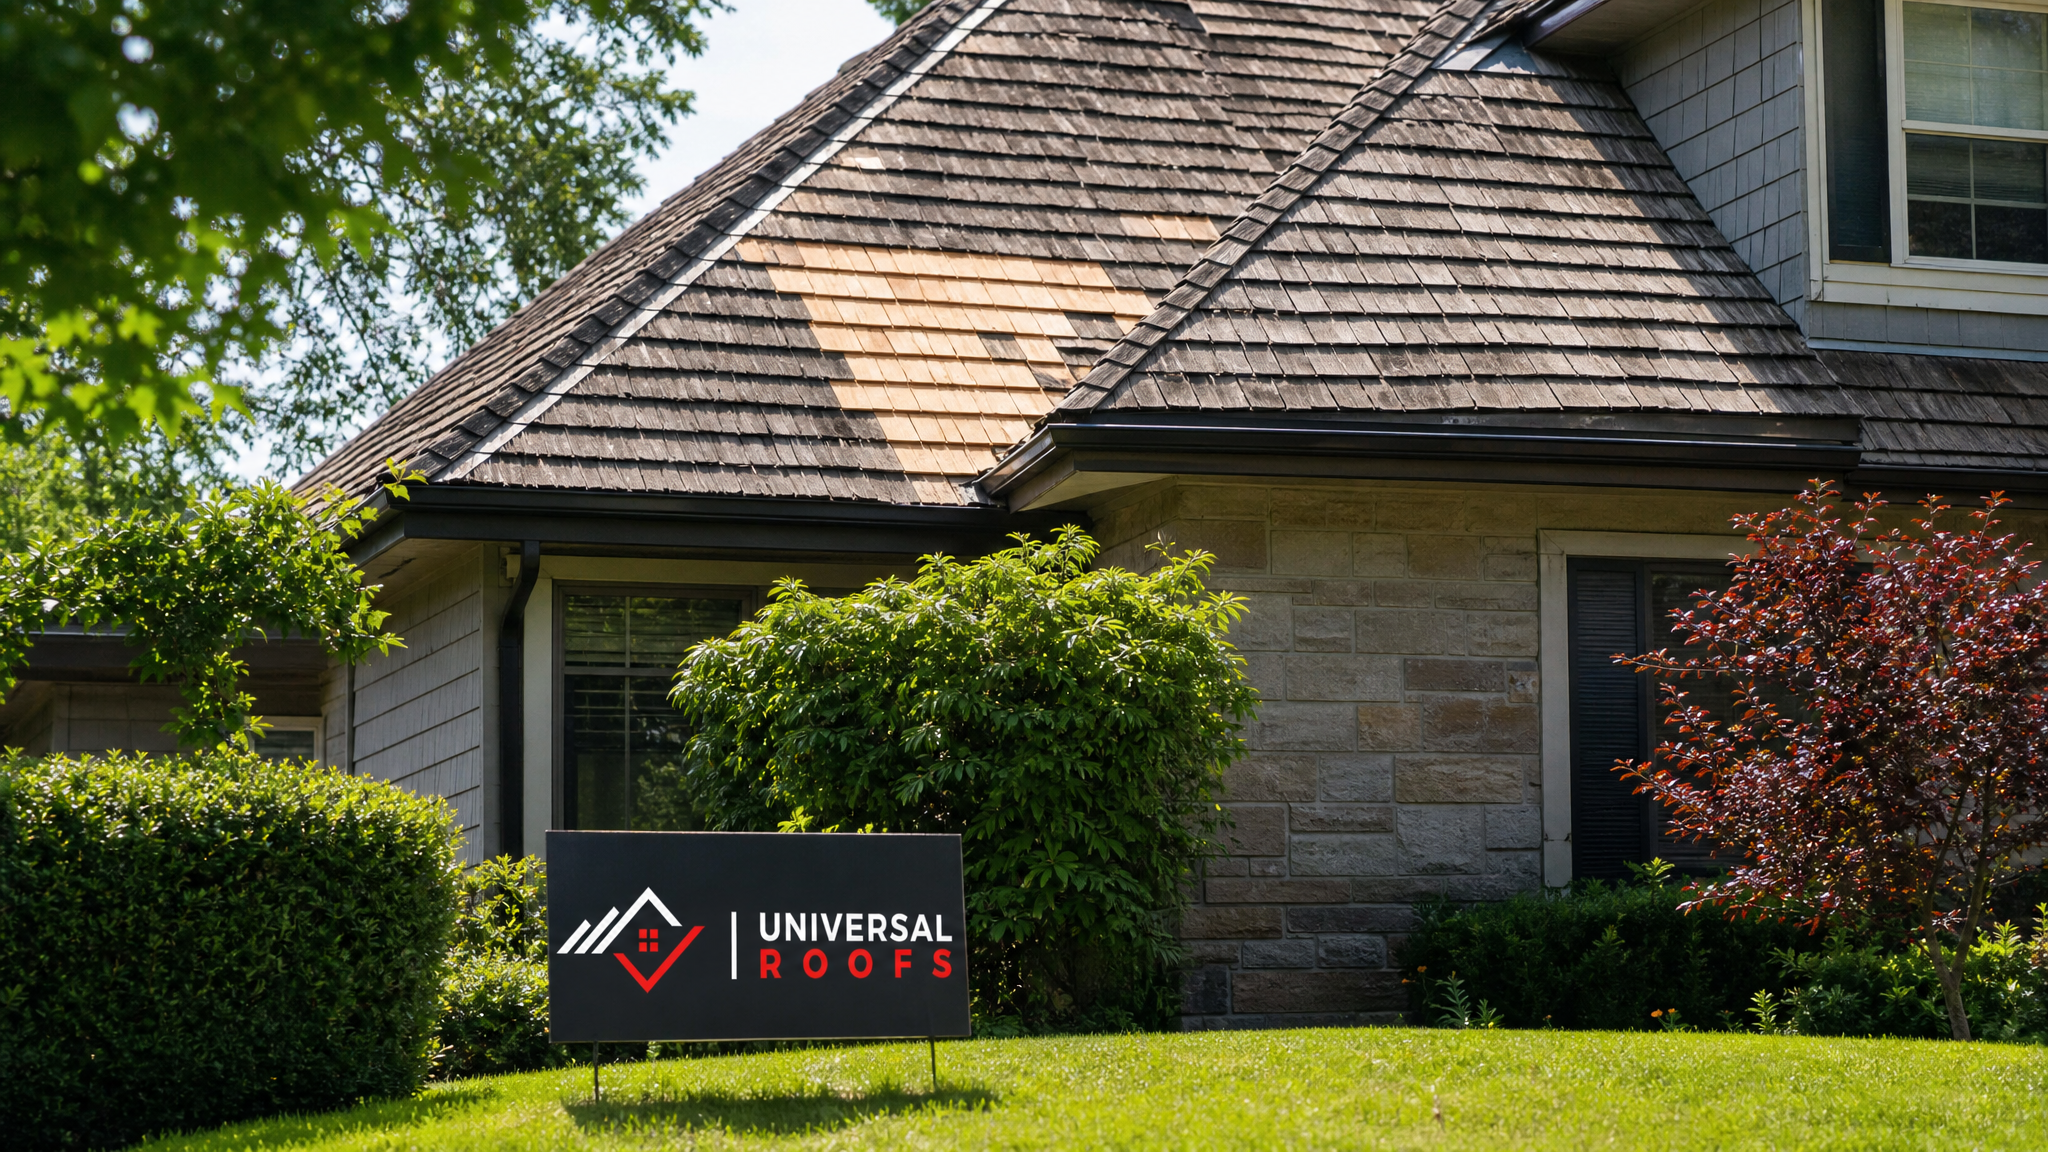
Why Wood Shake Roofs Develop Leaks
Before jumping into the repair steps, it helps to understand why cedar and wood shake roofs leak in the first place. Unlike a continuous membrane, a shake roof is really thousands of small overlapping wood pieces, each one a potential entry point if it fails. In our experience inspecting shake roofs across the GTA, leaks almost always come from one of the following causes:
- Curling or cupping shakes — as cedar dries out and weathers, individual shakes curl at the edges, lifting the butt end and creating a gap for wind-driven rain to enter.
- Splitting — shakes split along the grain from repeated freeze-thaw cycles, especially after a Toronto winter with several deep freezes followed by a thaw.
- Moss and algae buildup — organic growth holds moisture against the wood, accelerating rot and creating channels for water to travel sideways under the shakes.
- Failed flashing — the metal flashing around chimneys, skylights, and valleys is a far more common leak source than the shakes themselves. If you have a skylight cut into a shake roof, check our skylights and skylight replacement pages for related guidance.
- Nail failure — as shakes weather and shrink slightly, the original nails can back out or the wood around them can split, loosening the shake’s hold.
- Deteriorated underlayment — the felt or synthetic underlayment beneath the shakes has a shorter lifespan than the wood itself in many older installations, and once it fails, even minor shake gaps become active leak points.
Knowing which of these is causing your leak determines how you approach the repair, which is exactly what step one is designed to uncover.
Step 1: Locate the True Source of the Leak
The single biggest mistake homeowners make is patching the spot where water appears on the ceiling rather than where it actually enters the roof. Water can travel several metres down a rafter or along the underlayment before dripping through drywall, so the visible stain is frequently not directly below the actual leak. Chasing the wrong spot wastes time, materials, and can leave the real problem to keep causing damage.
Start in the Attic
On a dry day, go into the attic with a flashlight and look for:
- Dark water staining or streaking on the underside of the roof sheathing
- Damp or discoloured insulation
- Daylight visible through the roof deck (a very reliable indicator of a gap)
- Rust trails on nails, which indicate long-term moisture exposure
Trace any staining upward and toward the peak of the roof — water almost always travels downhill along the underlayment or a rafter before it drips, so the true entry point is usually higher up and/or to one side of where the stain appears inside the house.
Inspect the Roof Surface
Once you have a general zone identified from the attic, get up safely (or have a professional do this — more on safety below) and examine that section of roof closely. Look for:
- Curled, cracked, or missing shakes
- Shakes with visible splits running with the grain
- Gaps where a shake has slipped out of alignment
- Moss or lichen growth holding moisture against the surface
- Any flashing nearby — around chimneys, plumbing vents, skylights, or roof valleys — showing rust, lifted edges, or failed sealant
It’s worth noting that flashing failures account for a large share of what looks like a “wood shake leak” but is actually a metal or sealant problem adjacent to the shakes. If you find the leak is coming from a valley, chimney saddle, or skylight curb rather than the shakes themselves, that repair is different in character and may call for a broader roof repair assessment rather than a simple shake swap.
Do a Controlled Water Test if Needed
If the source still isn’t obvious, a controlled water test can help. With a helper inside the attic watching for the first sign of moisture, run a garden hose over a small, isolated section of roof for several minutes at a time, starting low and working upslope. Stop the moment your helper reports water — that section is your leak zone. This method takes patience but is far more accurate than guessing.
| Leak Symptom | Likely Cause | Where to Look | Urgency |
|---|---|---|---|
| Ceiling stain during heavy rain only | Wind-driven rain under curled shakes | Upslope, windward-facing roof section | Moderate — repair before next storm season |
| Stain appears after snow melt | Ice damming or failed underlayment | Eaves and lower roof edges | High — can cause structural rot if ignored |
| Consistent drip regardless of weather | Failed flashing or plumbing vent boot | Chimney, vent pipes, skylight curbs | High — active, ongoing water intrusion |
| Musty smell with no visible stain | Hidden moisture in insulation or sheathing | Attic insulation near roof valleys | High — investigate immediately |
| Light visible through roof deck | Missing or badly split shake | Directly at the gap location | Moderate to High depending on size |
Step 2: Remove and Replace the Damaged Shakes
Once you’ve pinpointed the leak, the second step is the physical repair: removing the compromised shakes and any deteriorated underlayment beneath them, then installing new material correctly. This is the step where technique matters most, because wood shake roofing is installed in an overlapping, woven pattern — pull the wrong piece or nail it back incorrectly, and you can create a new leak while fixing the old one.
Tools and Materials You’ll Need
- A flat pry bar or shake ripper (a specialized tool designed to cut nails without disturbing surrounding shakes)
- A hammer and roofing nails (hot-dipped galvanized or stainless steel — never plain steel, which rusts and stains the cedar)
- Replacement cedar shakes matched to the existing exposure and thickness
- Underlayment patch material (synthetic or 30 lb felt, matching what’s already installed where possible)
- Roofing sealant rated for wood applications
- A utility knife for trimming shakes to width
- Fall protection: harness, rope, and roof anchors — non-negotiable on any pitched roof
The Removal Process
Slide the shake ripper under the damaged shake and hook it around the concealed nails (shake nails are typically covered by the course above). Pull firmly to shear the nail shank, then slide the damaged piece free. Take care not to lift or crack adjacent shakes, since cedar becomes brittle with age and can split if forced.
Once the shake is out, inspect the underlayment and sheathing beneath it. If the felt or synthetic membrane is torn, brittle, or water-stained, cut out the damaged section and slide in a patch, working it under the course above so water sheds over the top of the patch, never behind it. If the wood sheathing itself is soft or rotted, that’s a sign the leak has been active for some time and the repair may need to extend to replacing a section of decking — at that point it’s worth having a professional confirm the extent of damage before closing the roof back up.
Installing the New Shake
Cut the replacement shake to fit, leaving the same gap (typically 6–10 mm) between adjacent shakes that the rest of the roof uses for expansion. Slide it into position under the course above, aligning it with the same exposure as its neighbours. Face-nail it high enough that the nail heads will be covered by the next course up, using two nails per shake spaced roughly 2–3 cm in from each edge. Never nail through the exposed face where the fastener will be visible and exposed to weather — this is one of the most common amateur mistakes and creates a new leak point almost immediately.
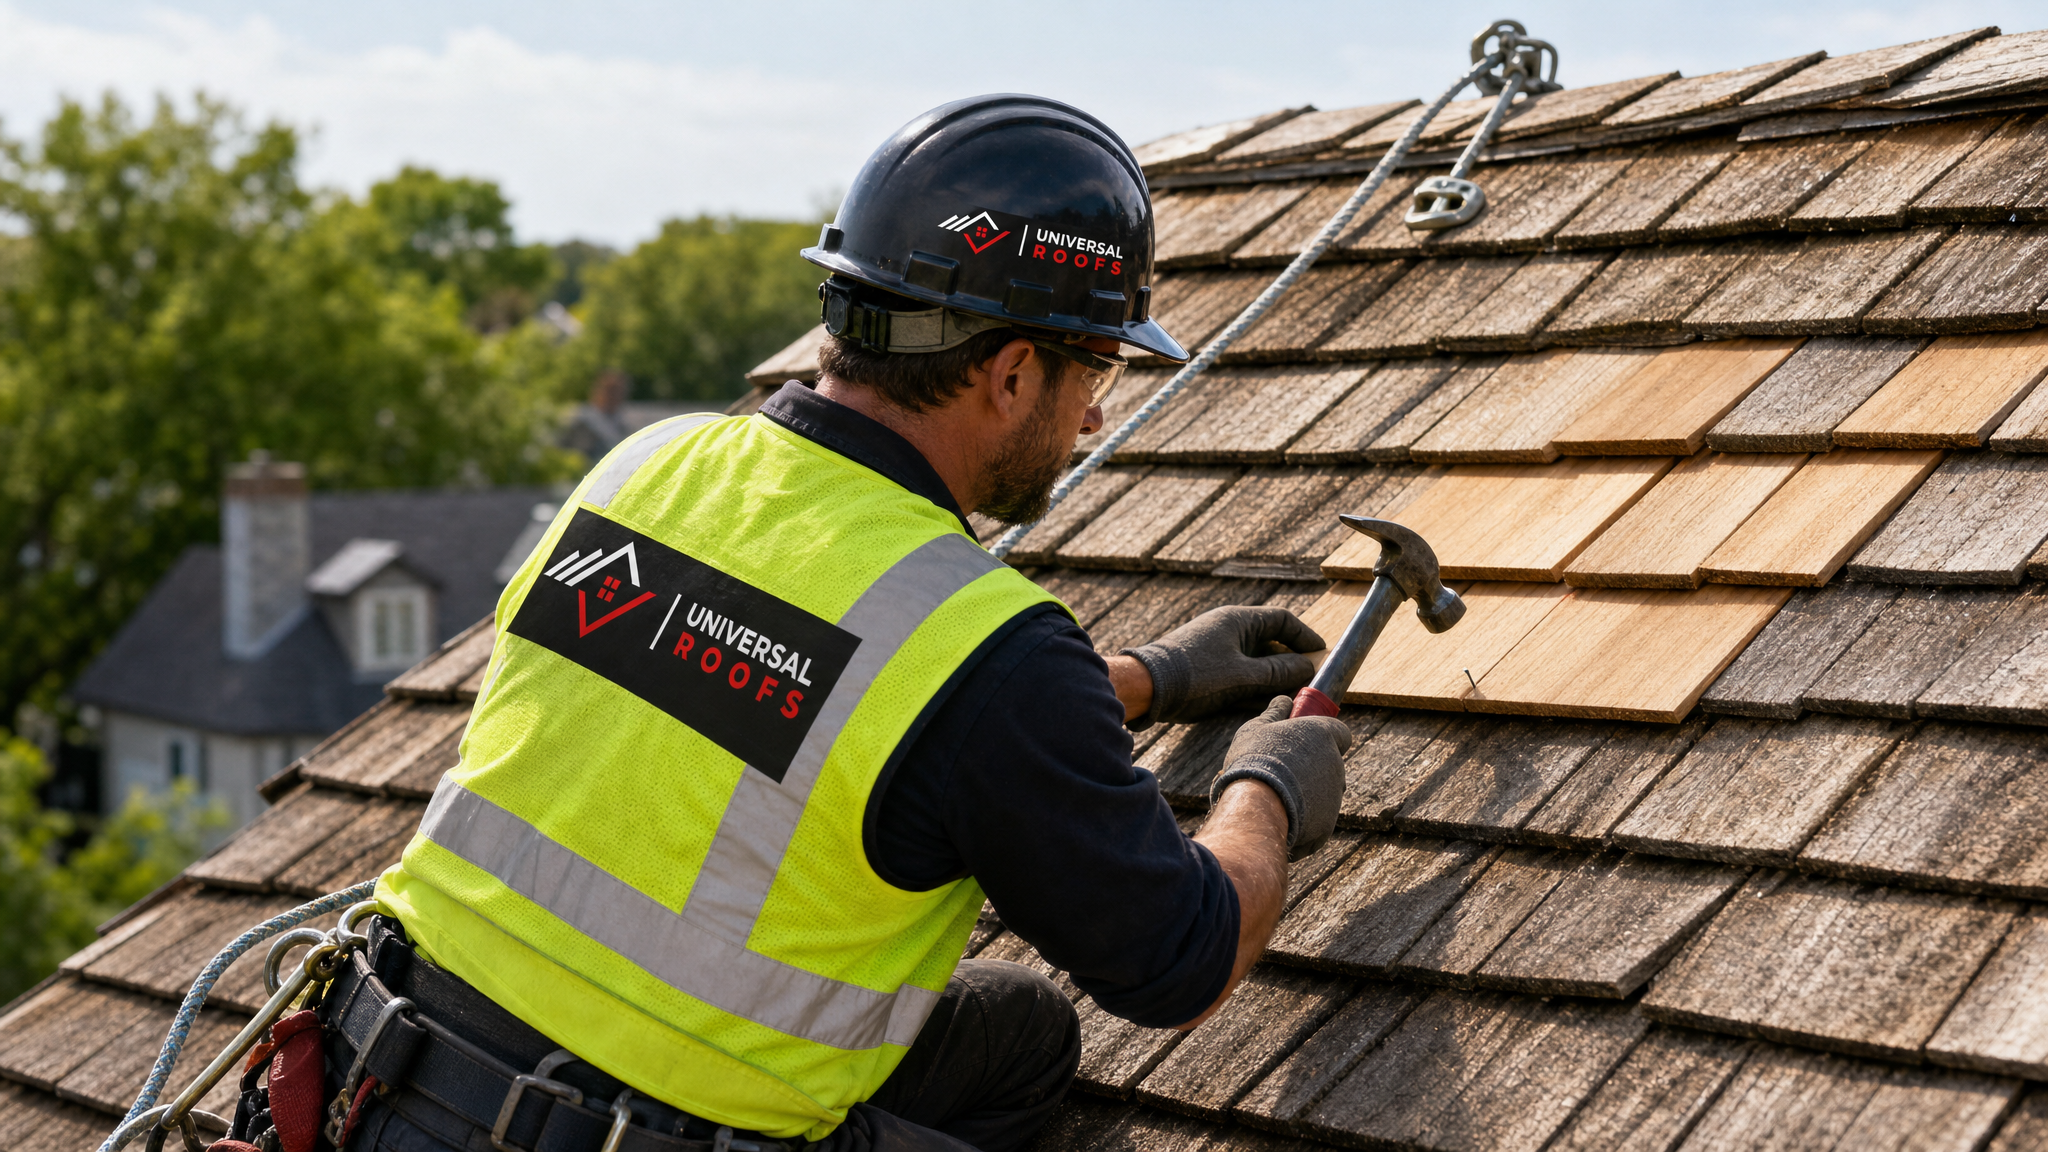
Step 3: Seal, Blend, and Test the Repair
The final step is often skipped by DIYers eager to finish the job, but it’s what determines whether your repair lasts one season or fifteen. Sealing and testing confirms the new material is properly integrated with the old, and that water will shed correctly across the repaired section rather than finding a new path in.
Seal the Edges
Apply a bead of wood-compatible roofing sealant along any exposed edge where the new shake meets flashing, a valley, or a penetration such as a vent pipe. Avoid over-sealing the horizontal joints between shakes — wood shake roofs are designed to shed water by overlap and gravity, not by being caulked airtight, and excessive sealant can trap moisture against the wood and accelerate rot.
Blend the Repair
New cedar shakes are noticeably lighter in colour than weathered ones. While this doesn’t affect performance, many homeowners prefer to lightly weather the new shakes with an approved cedar toner so the repair blends in rather than standing out as a obvious patch. This is a cosmetic step, not a functional one, so prioritize it only after confirming the repair is watertight.
Test Before You Consider It Done
Once the repair is complete and sealant has cured (check the product label — most need 24 hours of dry weather), repeat the water test from Step 1 on the repaired section. Have someone in the attic confirm no moisture appears after five to ten minutes of controlled water flow. Recheck the same spot after the next significant rainfall as a final confirmation, and glance at the attic again after the first freeze-thaw cycle of the following winter, since that’s when marginal repairs are most likely to reveal themselves.
| Repair Method | Best For | Typical Lifespan | Approximate Cost (CAD) |
|---|---|---|---|
| Single shake replacement | Isolated splits or missing shakes | 15–20 years (matches roof age) | $150–$400 per repair visit |
| Section re-shake (several courses) | Clusters of curled or rotted shakes | 15–25 years | $800–$2,500 depending on area |
| Flashing replacement only | Leaks traced to chimneys, valleys, vents | 20–30 years (metal flashing) | $300–$1,200 per penetration |
| Underlayment patch | Torn or failed felt beneath shakes | 10–20 years | $200–$600 per section |
| Full roof replacement | Widespread rot, age over 30 years | 25–40 years (new cedar) | $18,000–$40,000+ for average home |
When a Simple Patch Isn’t Enough
These three steps handle the majority of isolated wood shake leaks effectively, but there are situations where a patch repair is only a temporary fix. If you’re finding multiple leak zones across different parts of the roof, if more than 20–25% of the shakes show curling or splitting, or if you discover soft, spongy sheathing in more than one area of the attic, the roof is likely past the point where spot repairs make economic sense. Constantly re-patching an aging shake roof can end up costing more over a few years than a planned roof replacement completed once, properly, with new underlayment throughout.
It’s also worth having a professional assess the attic ventilation while you’re addressing leaks. Poor ventilation traps heat and moisture against the underside of the roof deck, which accelerates shake curling and rot from below — a factor many homeowners never consider because the visible damage is all on the exterior. Our attic services page covers how proper intake and exhaust ventilation extends the life of any roofing material, shakes included.
Safety Considerations for DIY Wood Shake Repairs
Wood shake roofs are more slippery than asphalt shingles, especially when damp, mossy, or covered in morning dew — a real factor during humid Toronto summers. Cedar shakes can also be more brittle underfoot than they appear, particularly on older roofs, and stepping in the wrong spot can crack a perfectly good shake or, worse, cause a fall.
If you choose to attempt a repair yourself:
- Only work on a dry roof, in daylight, with no wind
- Use a properly rated harness anchored to a permanent roof anchor point, not a chimney or vent pipe
- Wear soft-soled shoes for grip, and distribute your weight across rafters rather than standing in one spot
- Keep a spotter on the ground at all times
- Never work on a roof with a pitch steeper than you’re experienced climbing
Given the fall risk and the skill required to correctly weave a new shake into an existing overlap pattern, many homeowners choose to have a qualified roofer handle even “simple” shake repairs. It’s a job where a rushed or incorrect repair often costs more to undo and redo properly than it would have to hire it out from the start.
Preventing Future Wood Shake Leaks
Once your leak is fixed, a bit of regular maintenance goes a long way toward preventing the next one:
- Annual inspection — walk the perimeter with binoculars each spring and fall to spot curling, splitting, or moss before it becomes a leak
- Keep the roof clear — remove overhanging branches and clear debris from valleys, which trap moisture against the shakes
- Moss and algae treatment — a zinc or copper strip near the ridge slows regrowth and is far less invasive than pressure washing, which can damage cedar
- Ventilation checks — confirm attic vents are clear of insulation and functioning, especially before winter
- Flashing inspection — since flashing fails more often than the wood itself, have it checked whenever you’re up there for another reason
Toronto’s climate is genuinely tough on wood shake roofing. The combination of humid summers that encourage moss and algae growth, followed by winters with repeated freeze-thaw cycling, puts more stress on cedar than milder, drier climates. That’s exactly why proactive inspection matters more here than in many other regions, and why a five-minute check after a storm can save a much larger repair bill later.
Comparing DIY vs. Professional Repair
Homeowners often ask whether a wood shake leak is a reasonable weekend DIY project or something better left to a professional roofer. The honest answer depends on the scope of the damage, your comfort working at height, and how quickly you need the repair completed before the next rain.
| Factor | DIY Repair | Professional Repair |
|---|---|---|
| Cost | Lower material cost, but risk of redo if done incorrectly | Higher upfront cost, backed by workmanship warranty |
| Time to complete | Half a day to a full weekend for a single leak | Usually completed same-day or next-day visit |
| Skill required | Moderate to high — matching existing weave pattern is tricky | Handled routinely; correct technique guaranteed |
| Safety risk | Significant without proper fall protection equipment | Managed with commercial-grade harnesses and training |
| Diagnosing hidden issues | Limited to what’s visually apparent | Trained eye catches flashing, ventilation, and rot issues |
If your leak is a single, clearly identified shake with no signs of broader deterioration, a careful DIY repair following the three steps above is entirely achievable for a confident homeowner. But if you’re dealing with multiple leak points, uncertainty about the true source, or any hesitation about working safely at height, it’s worth getting a professional opinion before you start pulling shakes. A quick free inspection can confirm the scope of the problem before you invest time or materials in a repair that might not address the root cause.
Frequently Asked Questions
What are the simple steps to fix wood shake roof leaks?
Can I fix a wood shake roof leak myself?
How do I know if my leak is from the shakes or the flashing?
How long does a wood shake roof repair last?
When should I replace the whole roof instead of patching it?
Does Toronto’s climate make wood shake leaks worse?
Need Help With 3 Simple Steps to?
Diagnosing and repairing a wood shake roof leak correctly takes an experienced eye, and getting it wrong can mean paying for the same repair twice. Universal Roofs has been fixing cedar and wood shake roofs across the GTA since 2005, and we know exactly where these roofs tend to fail and how to repair them so they stay watertight for years.
Call us today at (416) 732-2421 or request a free inspection to get started.
Universal Roofs proudly serves Toronto, Mississauga, Brampton, Vaughan, Markham, Oakville and the GTA since 2005.