
Wood shake roofs bring a warm, textured charm you simply do not get from asphalt shingles, but they demand a different repair playbook. Cedar shakes move with the weather, absorb and release moisture through every freeze-thaw cycle, and age unevenly depending on sun exposure and slope. When a homeowner in Toronto or the surrounding GTA calls about a leak, split shake, or patch of moss-covered roofing, the fix almost always falls into one of three proven repair methods.
Choosing the wrong method wastes money and can shorten the life of the whole roof. Choosing the right one for the specific type and extent of damage can add another decade or more of service from a wood shake system that was installed properly in the first place. This guide walks through the three best methods for wood shake roof repair, how professional roofers diagnose which one applies, what each approach costs and how long it lasts, and the maintenance habits that keep a cedar roof performing well through Ontario’s humid summers and icy winters.
We have based this guide on decades of hands-on roof repair experience across the Greater Toronto Area, where wood shake roofs face a uniquely tough combination of hot, humid summers, freeze-thaw winters, and lake-effect moisture.
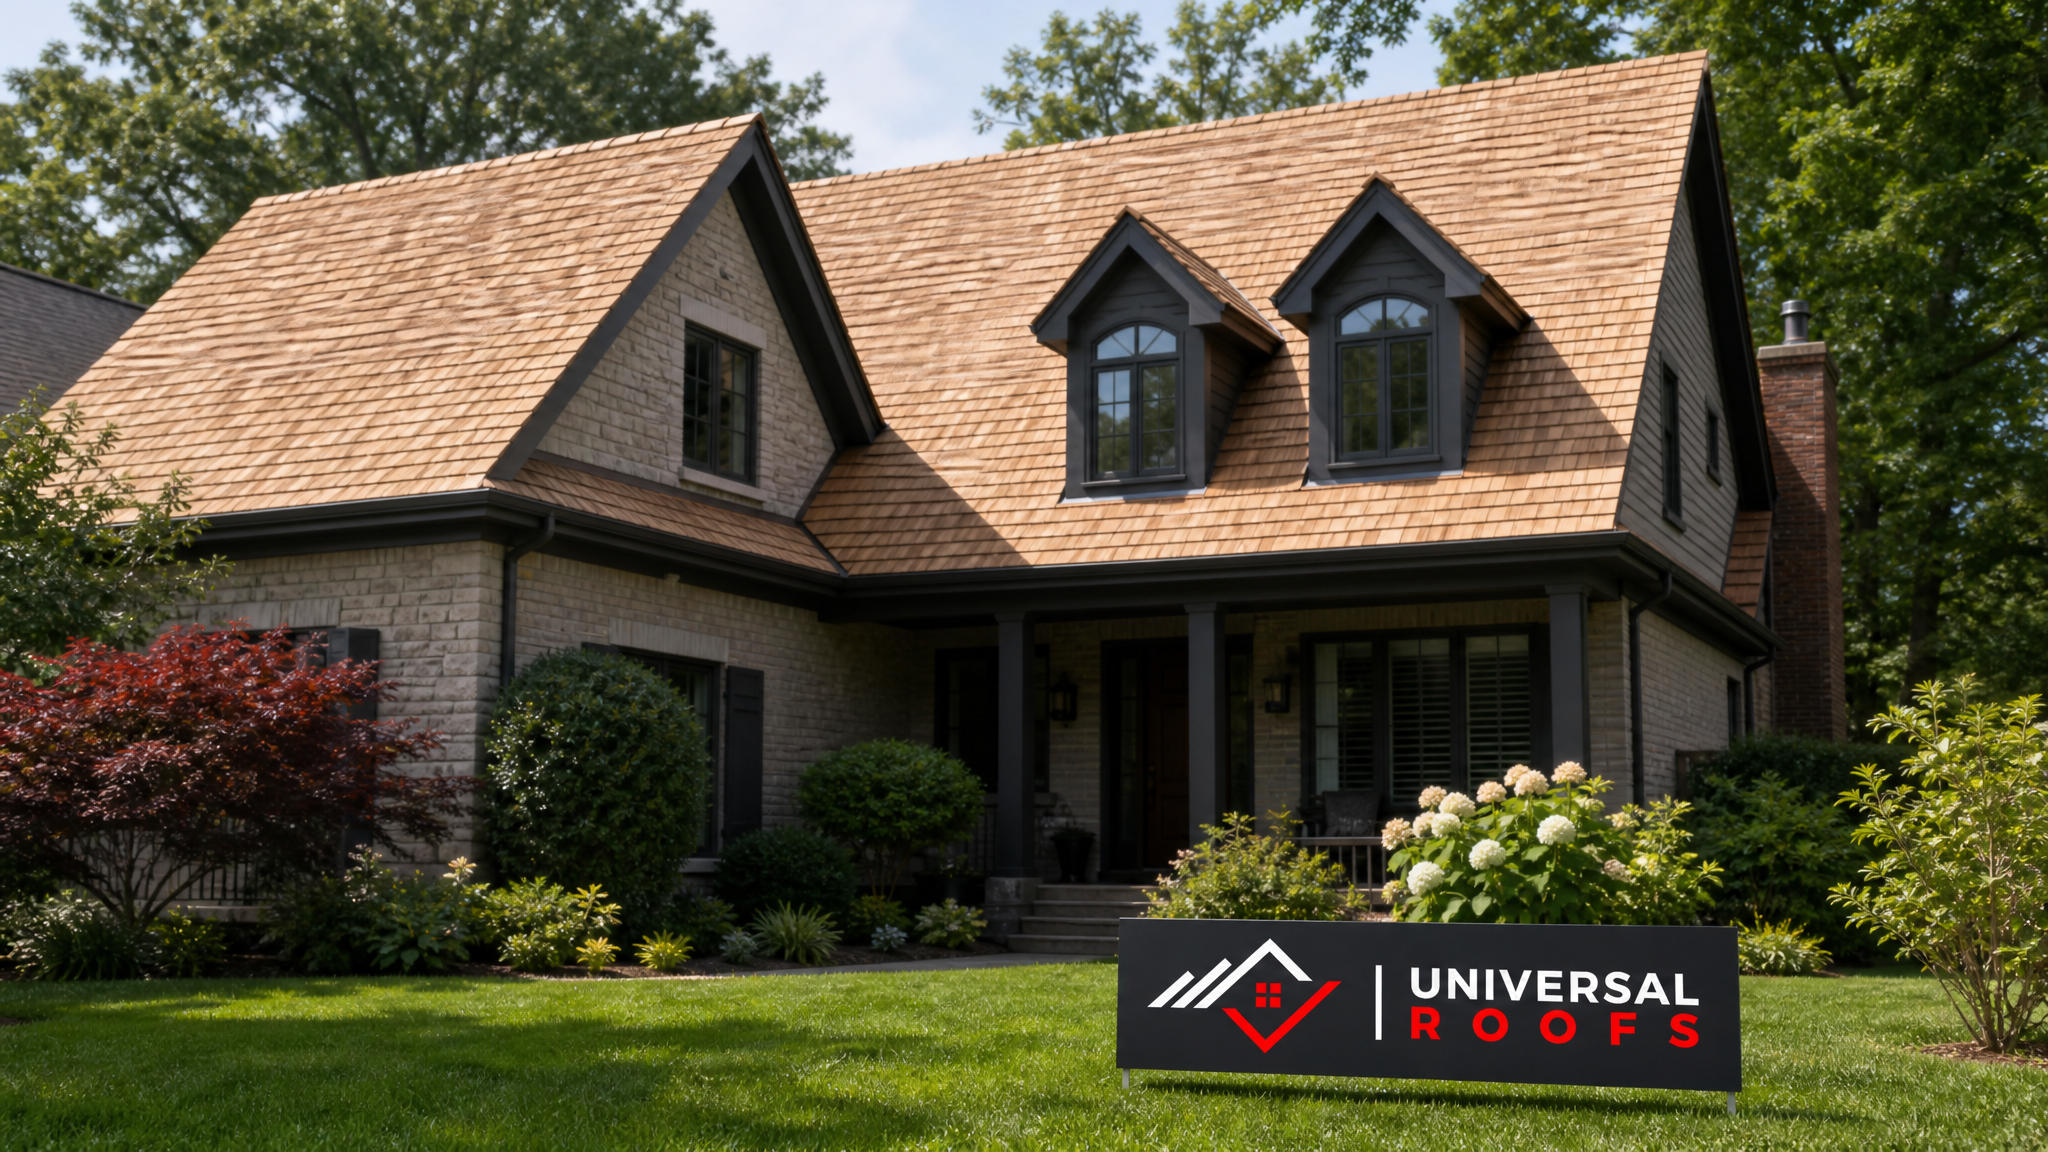
Understanding How Wood Shake Roofs Fail
Before comparing methods for wood shake roof repair, it helps to understand why cedar shakes fail in the first place. Unlike asphalt shingles, which degrade mainly through granule loss and UV breakdown, wood shakes are a natural, hygroscopic material. They swell when wet and shrink as they dry, and that constant movement is what eventually causes splitting, curling, and cupping.
In the GTA climate, four mechanisms account for the vast majority of wood shake damage we see:
- Freeze-thaw cracking — water absorbed into the wood grain freezes in winter, expands, and splits the shake along its natural fibres.
- UV and moisture cycling — south and west-facing slopes bake in summer sun, then absorb humidity overnight, accelerating cupping and curling.
- Moss, algae, and fungal growth — shaded, north-facing slopes and areas under overhanging trees retain moisture longer, feeding organic growth that holds water against the wood and speeds rot.
- Mechanical damage — falling branches, ice damming at the eaves, and foot traffic from other trades can crack or dislodge individual shakes.
A thorough inspection identifies which of these mechanisms is at play, because that diagnosis determines which of the three best methods for wood shake roof repair will actually solve the problem rather than just mask it temporarily.
Method 1: Individual Shake Replacement (Spot Repair)
Individual shake replacement is the most common and most cost-effective of the three methods for wood shake roof repair, and it is almost always the first option a qualified roofer will recommend when damage is limited to a small number of shakes scattered across an otherwise sound roof.
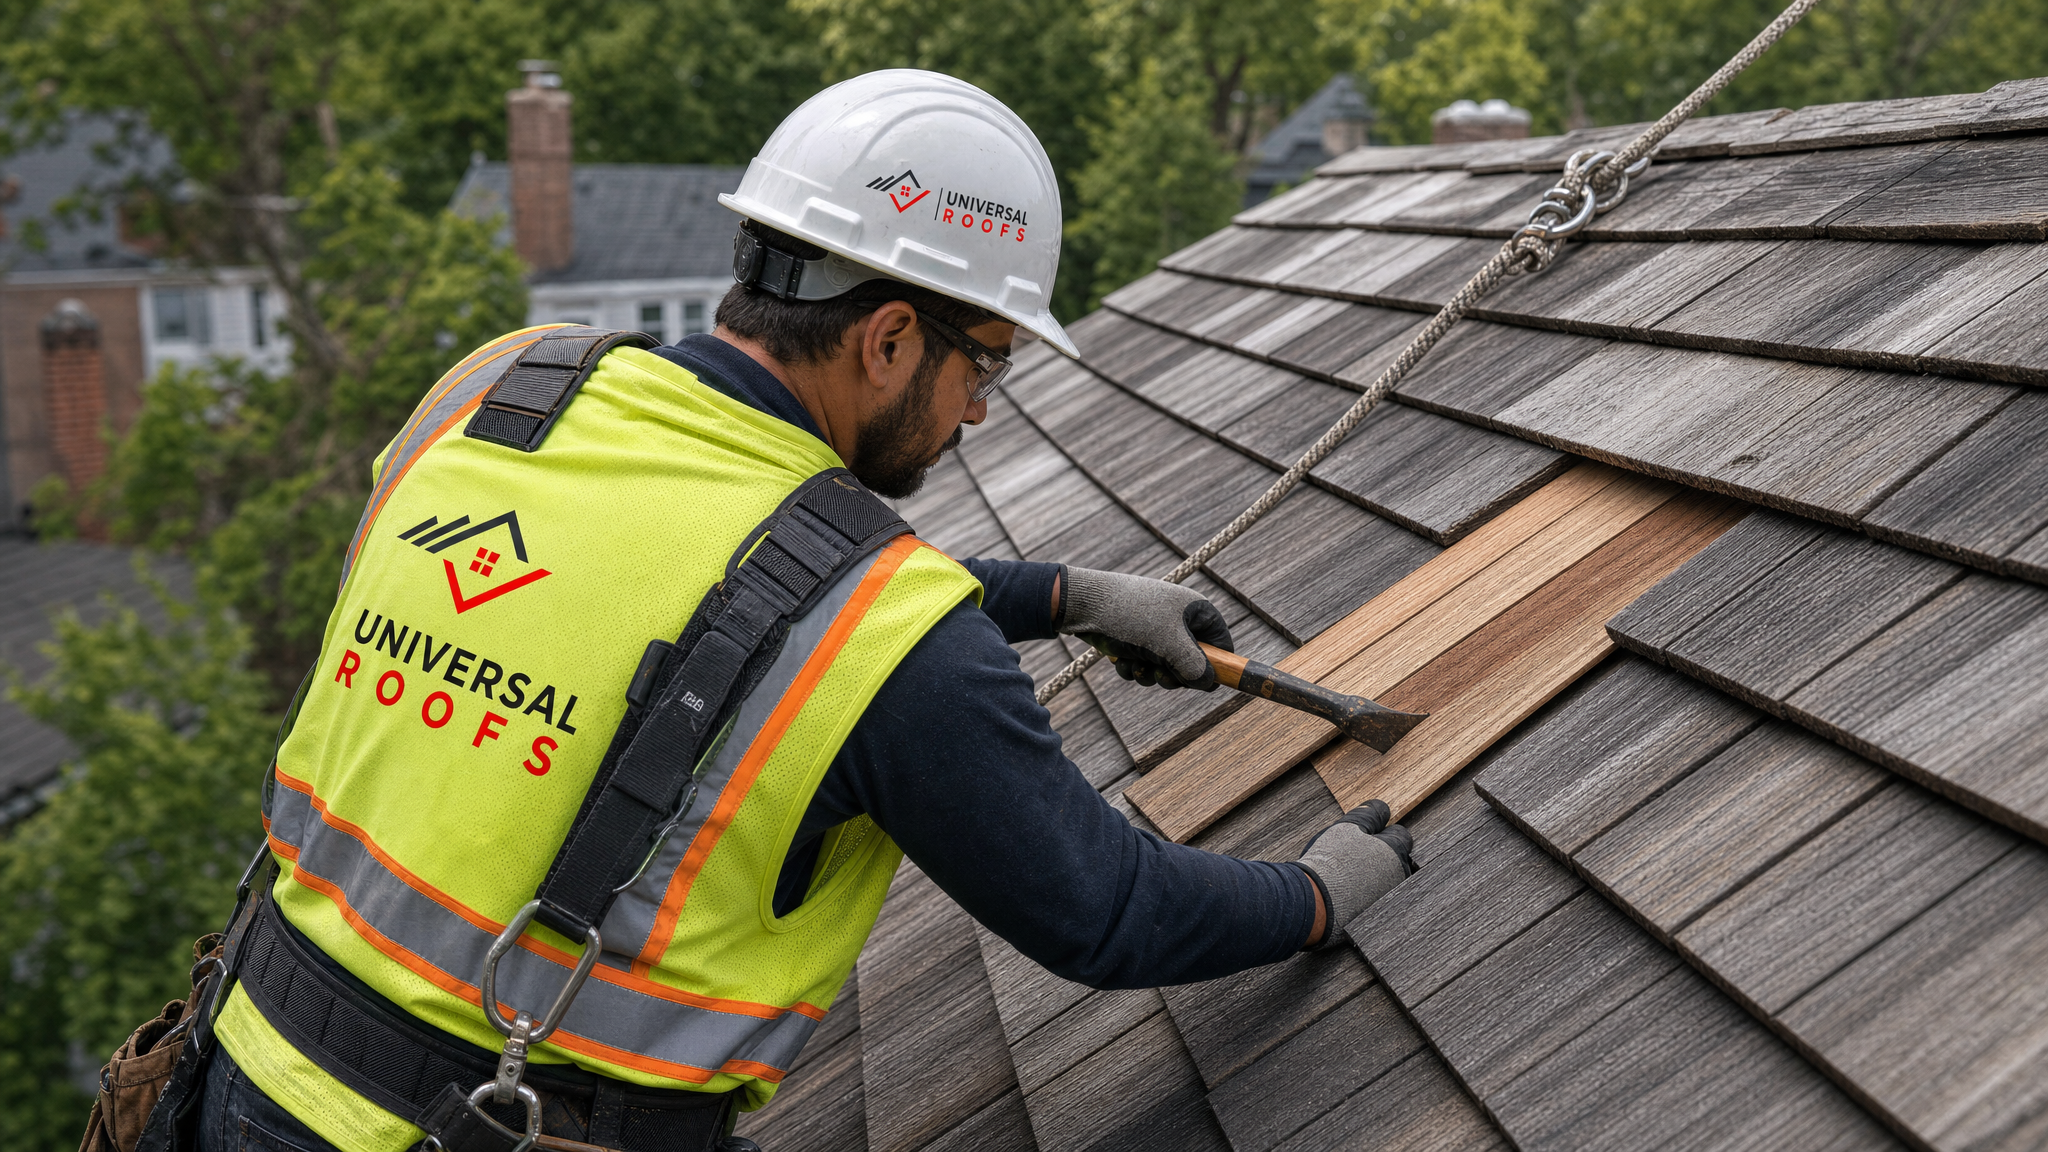
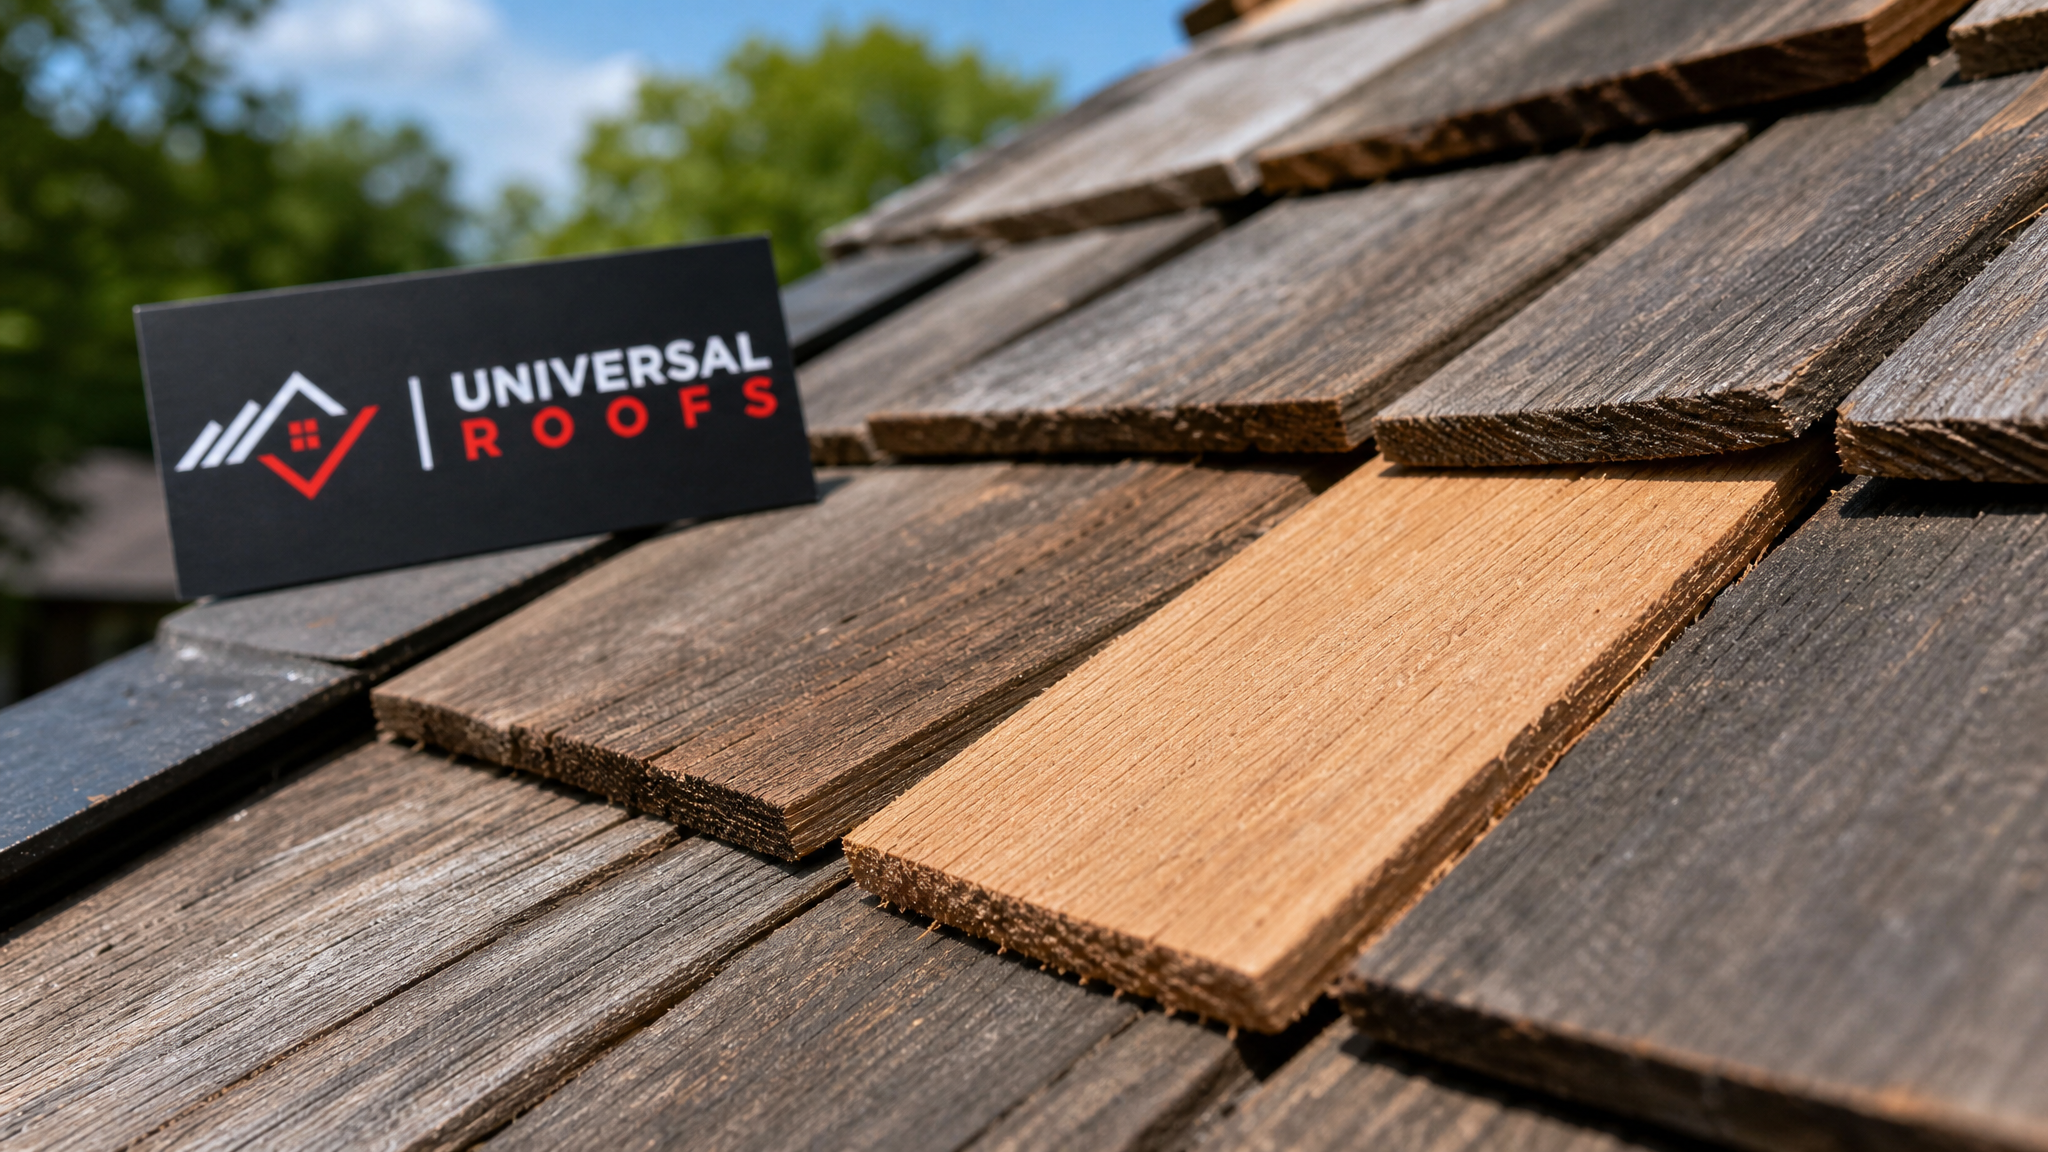
The process involves splitting out the damaged shake using a shake ripper or froe, sliding the replacement piece into position under the course above, and securing it with two rust-resistant stainless steel or hot-dipped galvanized nails driven at the correct reveal so the nail heads stay concealed under the next course. The new shake is then trimmed flush and, where necessary, treated with a matching wood preservative so it blends visually with the surrounding roof over the following season.
This method works best when:
- Fewer than 10-15% of shakes on a given slope show splitting, curling, or rot.
- The underlying roof deck and felt underlayment are still sound and dry.
- Damage is scattered rather than concentrated in one continuous section.
- The roof is less than 20 years old and otherwise structurally healthy.
The limitation of spot repair is that it only addresses the shakes you can see failing today. It does nothing for shakes that are structurally sound now but approaching the end of their service life, which is why a good roofer will always assess the wider roof condition, not just the visible complaint, before recommending this approach.
Method 2: Sectional Re-Shaking (Slope Replacement)
When damage is concentrated on one slope — commonly the south or west-facing exposure that takes the brunt of summer sun and afternoon storms — sectional re-shaking is usually the better of the three methods for wood shake roof repair. Rather than patching individual pieces scattered across a roof that is otherwise fine, this method strips an entire slope down to the deck and re-installs new shakes, underlayment, and flashing as a unit.
Sectional re-shaking makes sense when 25-50% of the shakes on a specific slope are compromised, when there is evidence of underlayment failure (visible daylight through the deck, water staining in the attic below that specific slope, or soft spots underfoot), or when ice damming has repeatedly damaged the same eave line. Working slope by slope also lets a roofing crew correct ventilation issues at that section — adding or clearing intake and exhaust venting along the way — which is often the underlying reason one slope deteriorates faster than the rest of the roof.
A properly executed sectional re-shake includes:
- Complete tear-off of the affected slope down to the sheathing.
- Inspection and repair of the roof deck, replacing any rotted plywood or board sheathing.
- Installation of new synthetic or felt underlayment rated for wood shake systems.
- Correct spacing between new shakes to allow for natural swelling.
- Re-flashing of any valleys, chimneys, or skylights along that slope — a step our skylight and skylight replacement teams coordinate directly with roofing crews when a slope repair intersects existing glazing.
Sectional re-shaking costs considerably more than spot repair but far less than a full roof replacement, and it resets the clock on the most heavily weathered part of the roof while leaving sound slopes untouched.
Method 3: Full Wood Shake Roof Replacement
The third of the three best methods for wood shake roof repair is not technically a repair at all — it is full replacement — but it belongs on this list because there is a clear threshold past which patch repairs and sectional work stop making financial sense. Once a wood shake roof passes roughly 30 years of age, or once damage affects more than half the total roof area across multiple slopes, continuing to spend on incremental repairs usually costs more over a five-year window than simply replacing the roof once.
Signs that point toward full replacement rather than continued repair include widespread curling and cupping across every slope, rot that has spread into the deck in multiple locations, moss and fungal growth that returns within a year of cleaning, and a pattern of repeat leaks in different spots each season. At that stage, a homeowner has two paths: install a new wood shake roof to preserve the original aesthetic, or transition to a different roofing system such as architectural asphalt shingles or a durable flat roofing membrane for any low-slope sections, while keeping shakes on the visible street-facing slopes.
Full replacement is also the right time to address anything that has been contributing to premature wear, including inadequate attic ventilation, insufficient insulation that lets heat escape and melt snow unevenly in winter, and outdated flashing details around chimneys and vents. A full roof replacement is the only one of the three methods that lets a contractor correct these systemic issues rather than working around them.
Comparing the Three Methods
The table below summarizes how the three best methods for wood shake roof repair compare across the factors that matter most to GTA homeowners: cost, lifespan added, and the situations each one suits.
| Repair Method | Typical Cost Range (CAD) | Lifespan Added | Best For |
|---|---|---|---|
| Individual Shake Replacement | $400 – $1,200 | 3 – 7 years | Scattered damage under 15% of one slope |
| Sectional Re-Shaking | $3,500 – $9,000 per slope | 15 – 20 years on that slope | 25-50% damage concentrated on one exposure |
| Full Roof Replacement | $18,000 – $45,000+ | 30 – 40 years | Widespread damage across multiple slopes, roof over 30 years old |
| Cleaning & Preservative Treatment | $600 – $1,800 | 2 – 4 years (maintenance only) | Preventive care on otherwise sound shakes |
Cost ranges vary with roof pitch, accessibility, the grade of cedar shake used (premium versus standard grade), and how much of the deck and underlayment need replacing alongside the visible shakes. A steep, multi-valley roof in an older Toronto neighbourhood will typically sit at the higher end of each range compared with a simple gable roof in a newer subdivision.
Diagnosing Which Method Your Roof Needs
A reliable diagnosis starts with a slope-by-slope inspection rather than a quick glance from the ground. Our crews walk the roof when it is safe to do so and check each slope against a consistent set of criteria before recommending one of the three methods for wood shake roof repair.
| Inspection Finding | Likely Cause | Recommended Method | Urgency |
|---|---|---|---|
| A handful of split or missing shakes near a valley | Localized mechanical damage or normal wear | Individual shake replacement | Moderate – schedule within a season |
| Curling and graying concentrated on the west slope | UV and heat cycling | Sectional re-shaking | Moderate – address before winter |
| Soft or spongy decking felt underfoot | Underlayment or deck failure | Sectional re-shaking or full replacement | High – schedule promptly |
| Daylight visible through the roof deck in the attic | Advanced rot or missing shakes | Full roof replacement | Urgent |
| Moss and algae covering most north-facing shakes | Chronic moisture retention | Cleaning and treatment, or sectional re-shake if wood is soft | Moderate |
| Repeat leaks in different rooms each season | Widespread deck and underlayment failure | Full roof replacement | Urgent |
Preventive Maintenance Between Repairs
Whichever of the three best methods for wood shake roof repair applies to your home today, the interval before the next repair depends heavily on maintenance in between. Wood shake roofs are more maintenance-intensive than asphalt, but the payoff is a roof that can last two to three times longer when cared for properly.
Key maintenance steps we recommend to every wood shake roof owner in the GTA:
- Annual debris removal — clear leaves, needles, and branches from valleys and between shakes every autumn, since trapped debris holds moisture against the wood.
- Moss and algae treatment — apply a roof-safe biocide or zinc/copper strips at the ridge to reduce organic growth, especially on shaded north-facing slopes.
- Preservative reapplication — re-oil or treat shakes every 3-5 years to slow UV degradation and moisture absorption, following the manufacturer’s recommended product for cedar.
- Ventilation checks — confirm soffit and ridge vents remain unobstructed, since poor attic airflow accelerates shake deterioration from beneath.
- Ice dam prevention — ensure adequate attic insulation and ventilation before winter to prevent the freeze-thaw cycling at the eaves that causes so much shake splitting.
| Maintenance Task | Recommended Frequency | Season | DIY or Professional |
|---|---|---|---|
| Debris and gutter clearing | Annually | Fall | DIY or professional |
| Moss/algae inspection and treatment | Every 1-2 years | Spring or summer | Professional recommended |
| Preservative or oil treatment | Every 3-5 years | Summer | Professional |
| Full slope-by-slope inspection | Annually | Spring or fall | Professional |
| Attic ventilation check | Annually | Fall (before winter) | Professional |
Why Toronto’s Climate Makes Method Selection Especially Important
Homeowners across Toronto, Mississauga, Brampton, Vaughan, Markham, and Oakville deal with a specific combination of conditions that make wood shake roof repair more nuanced than in drier climates. Humid summers keep moisture in the wood longer after rainfall, while winter freeze-thaw cycles put repeated stress on any shake that has already begun to crack. Lake-effect weather patterns near the waterfront add extra humidity, and heavy tree cover in many established neighbourhoods increases the moss and algae pressure on north-facing slopes.
This is why the diagnosis step matters so much before choosing between the three best methods for wood shake roof repair. A roofer working in our Toronto, Peel Region, York Region, Halton Region, or Durham Region service area needs to account for local microclimates, tree cover, and roof orientation, not just apply a generic repair checklist.
Summer, like now, is actually an ideal window for wood shake repair work. Shakes are typically at their driest, allowing for the most accurate assessment of which pieces are structurally sound versus which have already begun to crack or cup, and preservative treatments cure best in warm, dry conditions rather than during damp spring or freezing winter months.
Cost Factors That Influence Your Repair Estimate
Every estimate for wood shake roof repair reflects several variables beyond the base method chosen. Roof pitch affects labour time and safety requirements significantly — a steep roof requires more fall-protection setup and slows the pace of work. Accessibility, including whether equipment can be staged close to the house or must be carried a distance, also affects labour cost.
The grade of cedar shake matters too. Premium, edge-grain shakes cost more upfront but resist splitting and cupping far better than lower-grade, flat-grain shakes, often justifying the price difference over a 15-20 year horizon. Finally, the condition of the deck and underlayment beneath the visible shakes can turn what looked like a simple spot repair into a more involved sectional job once the old shakes are removed and the true extent of moisture damage becomes visible.
Because of this variability, a written, itemized estimate following an in-person inspection is always more reliable than a phone quote. Ask any contractor to explain which of the three methods they are recommending and why, so you can compare quotes on an apples-to-apples basis.
Choosing a Qualified Contractor for Wood Shake Repair
Wood shake roofing is a specialized skill that not every general roofing contractor practices regularly. When vetting a contractor for any of the three best methods for wood shake roof repair, look for specific experience with cedar shake systems, not just general asphalt shingle work, since the tools, fastening patterns, and material handling differ substantially.
Ask prospective contractors how they diagnose the extent of damage before quoting, whether they inspect the attic from the inside as well as the roof from the outside, and what warranty they offer on both materials and workmanship. A contractor confident in their diagnosis should be able to walk you through exactly why they are recommending spot repair, sectional re-shaking, or full replacement for your specific roof, referencing the condition of the deck, the age of the shakes, and the pattern of damage they observed. You can review examples of completed work and read what past clients have said on our reviews page, and browse common questions on our FAQ page or learn more about our background on the about page.
What are the three best methods for wood shake roof repair?
How do I know if my wood shake roof needs a full replacement instead of a repair?
How much does wood shake roof repair typically cost in the GTA?
Can individual shakes be replaced without disturbing the rest of the roof?
Why does my wood shake roof deteriorate faster on one side of the house?
How often should a wood shake roof be inspected and maintained?
Need Help With 3 Best Methods for?
If your cedar shake roof shows splitting, curling, moss growth, or an active leak, the team at Universal Roofs can inspect your roof, diagnose which of these three methods applies, and give you a clear, itemized estimate before any work begins.
Call us today at (416) 732-2421 or request a free inspection to get started.
Universal Roofs proudly serves Toronto, Mississauga, Brampton, Vaughan, Markham, Oakville and the GTA since 2005.