
A hard summer squall rolls through the GTA, the wind howls for twenty minutes, and by the time it passes you have shingles scattered across the lawn and a soffit panel hanging loose. If that sounds familiar, you are not alone. Southern Ontario sits in a corridor that regularly sees straight-line wind gusts of 70 to 100 km/h during summer thunderstorms, and every one of those events puts real stress on the roof over your head. Knowing the best roof wind damage repair tips can be the difference between a quick, affordable fix and a slow leak that quietly rots your decking for months before anyone notices.
This guide walks through how wind actually damages a roof, how to inspect it safely from the ground, what a professional repair looks like, how much you should expect to pay, and how to prevent the same damage from happening again next storm season. We wrote it from two decades of hands-on roof repair experience across Toronto, Mississauga, Brampton, Vaughan, Markham, Oakville and the surrounding GTA, so the advice reflects what we actually see on ladders and in attics, not generic checklist content.
Whether you are dealing with a handful of lifted shingles after last night’s storm or a more serious structural concern, the roof wind damage repair process follows a predictable sequence: assess, document, stabilize, repair, and prevent. We will cover each stage in detail below.
How Wind Actually Damages a Roof
Understanding the mechanics of roof wind damage repair starts with understanding how wind interacts with your roofline in the first place. Wind does not simply push down on a roof. As air moves across the surface, it creates a pressure differential: positive pressure pushes against the windward slope, while negative pressure (suction) lifts at the ridges, edges, and corners. That uplift force is what tears shingles free, not a direct downward blow.
The most vulnerable areas on almost every home are the same:
- Roof edges and rakes, where wind first catches under a lifted tab
- Ridge caps, which sit exposed at the highest point of uplift
- Valleys, where wind can funnel and accelerate
- Flashing around chimneys, vents, and skylights, where nailing patterns are already interrupted
- Older or under-sealed shingles whose adhesive strip has weakened from UV exposure and heat cycling
Once a single shingle tab lifts, it acts like a lever. The next gust catches the exposed edge and peels it further, and a domino effect can strip an entire row in one storm. This is why what looks like minor cosmetic damage after a windstorm often needs prompt attention rather than a “wait and see” approach.
Signs of Wind Damage You Can Spot From the Ground
Before climbing a ladder (which we generally do not recommend for homeowners after a storm, given wet or unstable footing), do a careful visual sweep from ground level, ideally with binoculars.
| Visual Sign | What It Usually Means | Urgency |
|---|---|---|
| Shingles in the yard or gutters | Full tabs torn free, decking may be exposed | High — inspect same day |
| Curled or lifted shingle edges | Sealant strip failed, uplift has begun | Medium — book inspection within a week |
| Exposed black felt or decking patches | Shingles missing entirely, active leak risk | Urgent — tarp and call same day |
| Bent or missing ridge cap pieces | Ridge line vulnerable to water intrusion | High — inspect within 48 hours |
| Granules pooling in downspouts | Shingle surface abrasion from wind-blown debris | Low to medium — note for next inspection |
| Dented or bent flashing at chimney/vents | Metal flashing seal compromised | Medium — schedule assessment soon |
| Sagging or bulging roofline | Possible structural or decking damage | Urgent — call immediately |
Inside the house, check ceilings in the top-floor rooms and the attic for water stains, damp insulation, or daylight coming through the roof deck. A flashlight sweep of the attic after a windstorm takes ten minutes and can catch a problem long before it becomes a stained ceiling.
Immediate Steps After Discovering Wind Damage
The actions you take in the first 24 to 48 hours after a storm often determine whether the repair stays small or grows into a full section replacement.
- Document everything. Photograph the damage from the ground, from inside the attic, and around the property (fence damage, downed branches) to support an insurance claim if one is warranted.
- Check for safety hazards first. Downed power lines, unstable trees leaning on the roofline, or large hanging debris should be reported to the city or utility before anyone approaches the house.
- Tarp exposed areas if it is safe to do so. A properly weighted tarp over exposed decking prevents interior water damage while you wait for a contractor. If the roof is steep, wet, or you are not experienced working at height, leave this to a professional — most reputable roof repair companies offer emergency tarping.
- Avoid walking the roof yourself. Loosened shingles and wet decking are a fall hazard, and additional foot traffic can worsen granule loss and crack already-stressed shingles.
- Call your insurer and a roofing contractor in parallel. Getting an independent, non-biased inspection report from a roofer strengthens your claim and ensures repairs are scoped correctly rather than lowballed.
Professional Roof Wind Damage Repair Methods
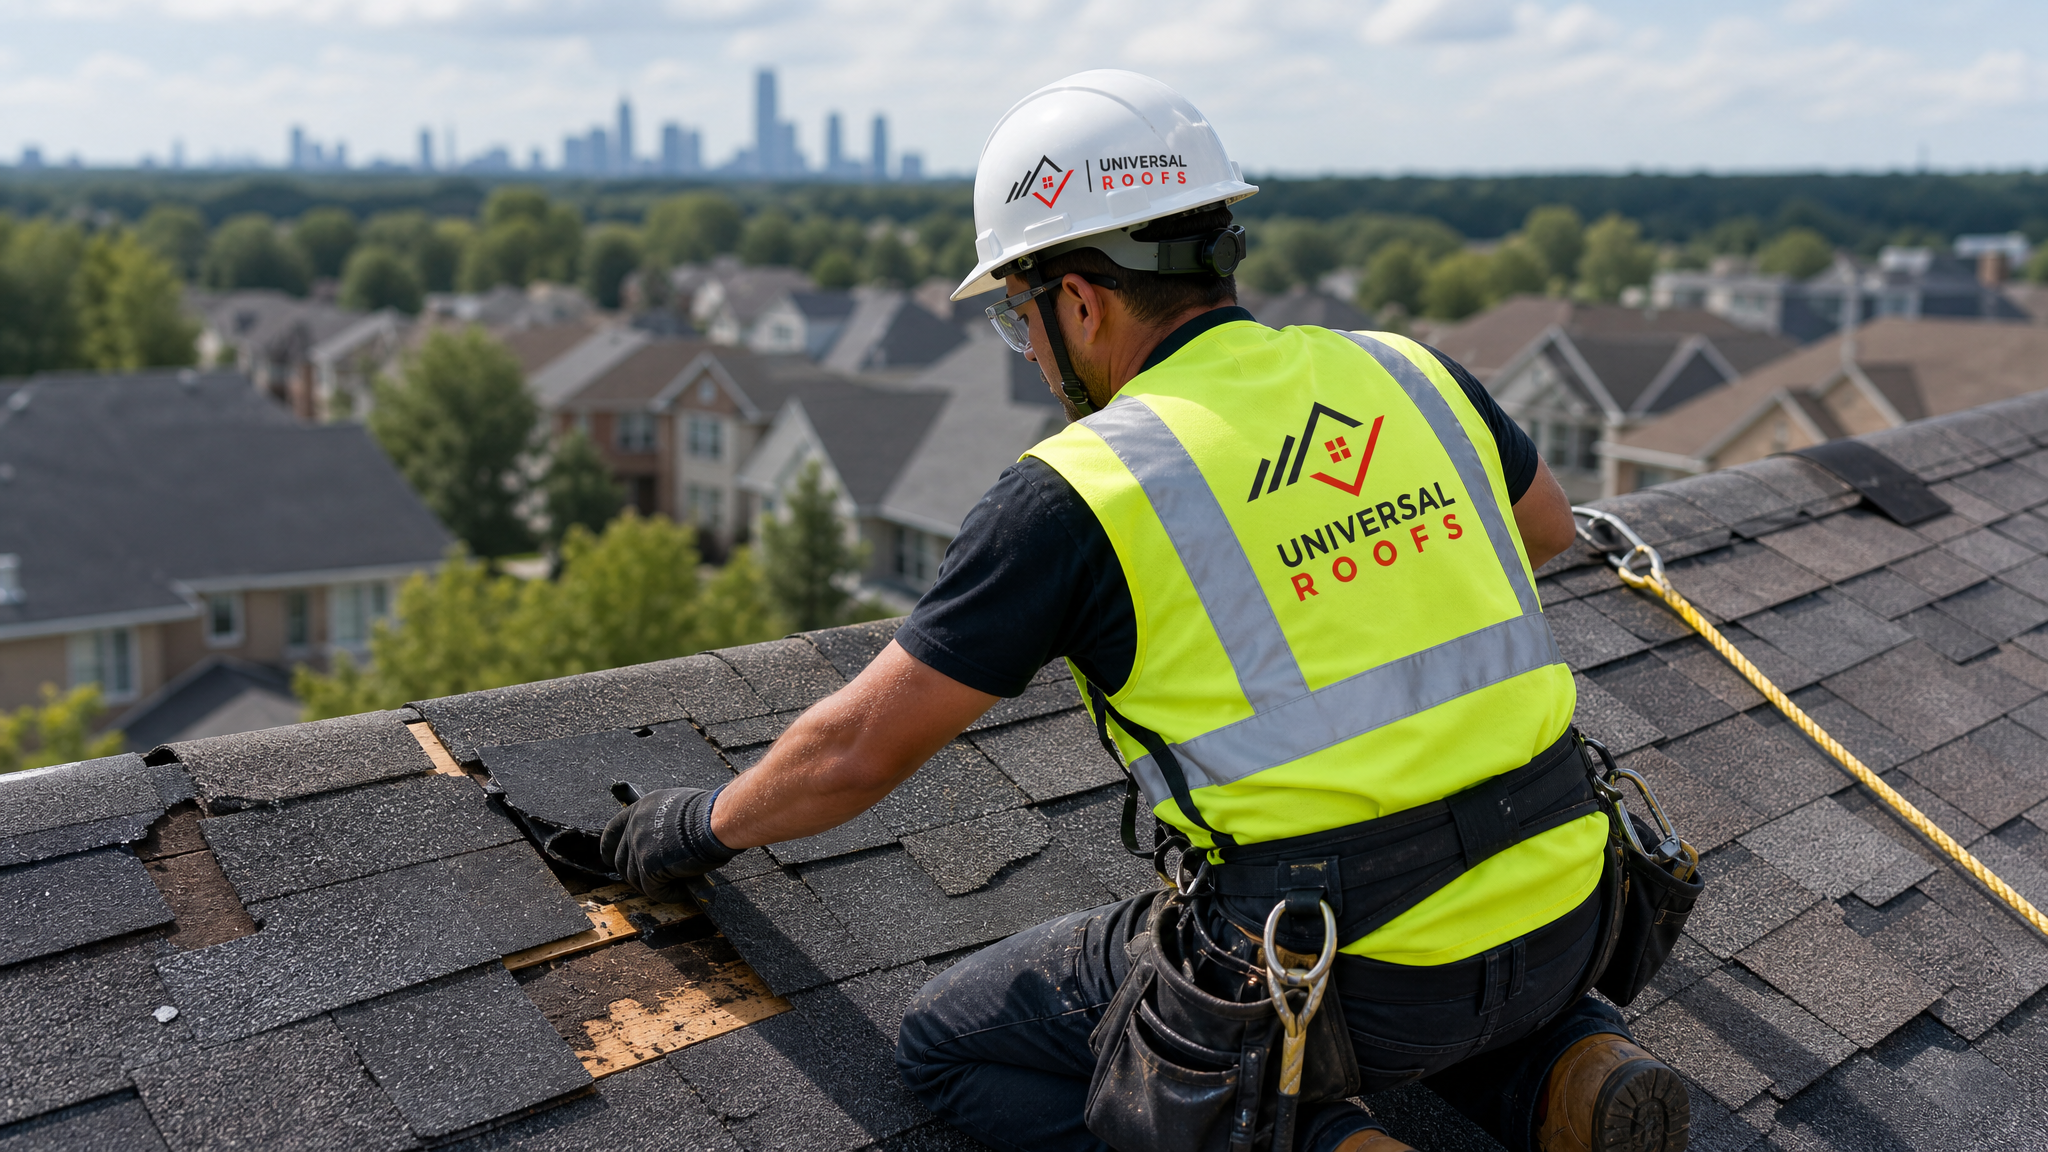
Once a contractor is on site, the actual repair approach depends on the extent and location of the damage. Here is what a proper job typically involves, step by step.
1. Full Roof Assessment
A thorough inspection covers not just the visibly missing shingles but the surrounding courses, ridge caps, valleys, flashing, and attic ventilation. Wind damage is rarely isolated to a single spot; adjacent shingles are often partially lifted even if they have not torn free yet.
2. Decking Inspection
Where shingles are missing, the plywood or OSB decking underneath gets checked for water staining, soft spots, or delamination. Any compromised decking must be replaced before new shingles go down — skipping this step is one of the most common corner-cutting mistakes in storm repairs.
3. Underlayment and Ice-and-Water Membrane Repair
Toronto’s freeze-thaw winters make a proper underlayment and ice-and-water shield critical at eaves, valleys, and around penetrations. Damaged sections are cut back to sound material and replaced, not simply patched over.
4. Shingle Replacement and Matching
Individual shingles or full courses are replaced using matching product where possible. Because shingle colours can fade unevenly over a few years, an experienced roofer will blend repairs strategically (working from a rear slope or less visible area) so the patch is not a glaring mismatch.
5. Flashing and Ridge Cap Reinstallation
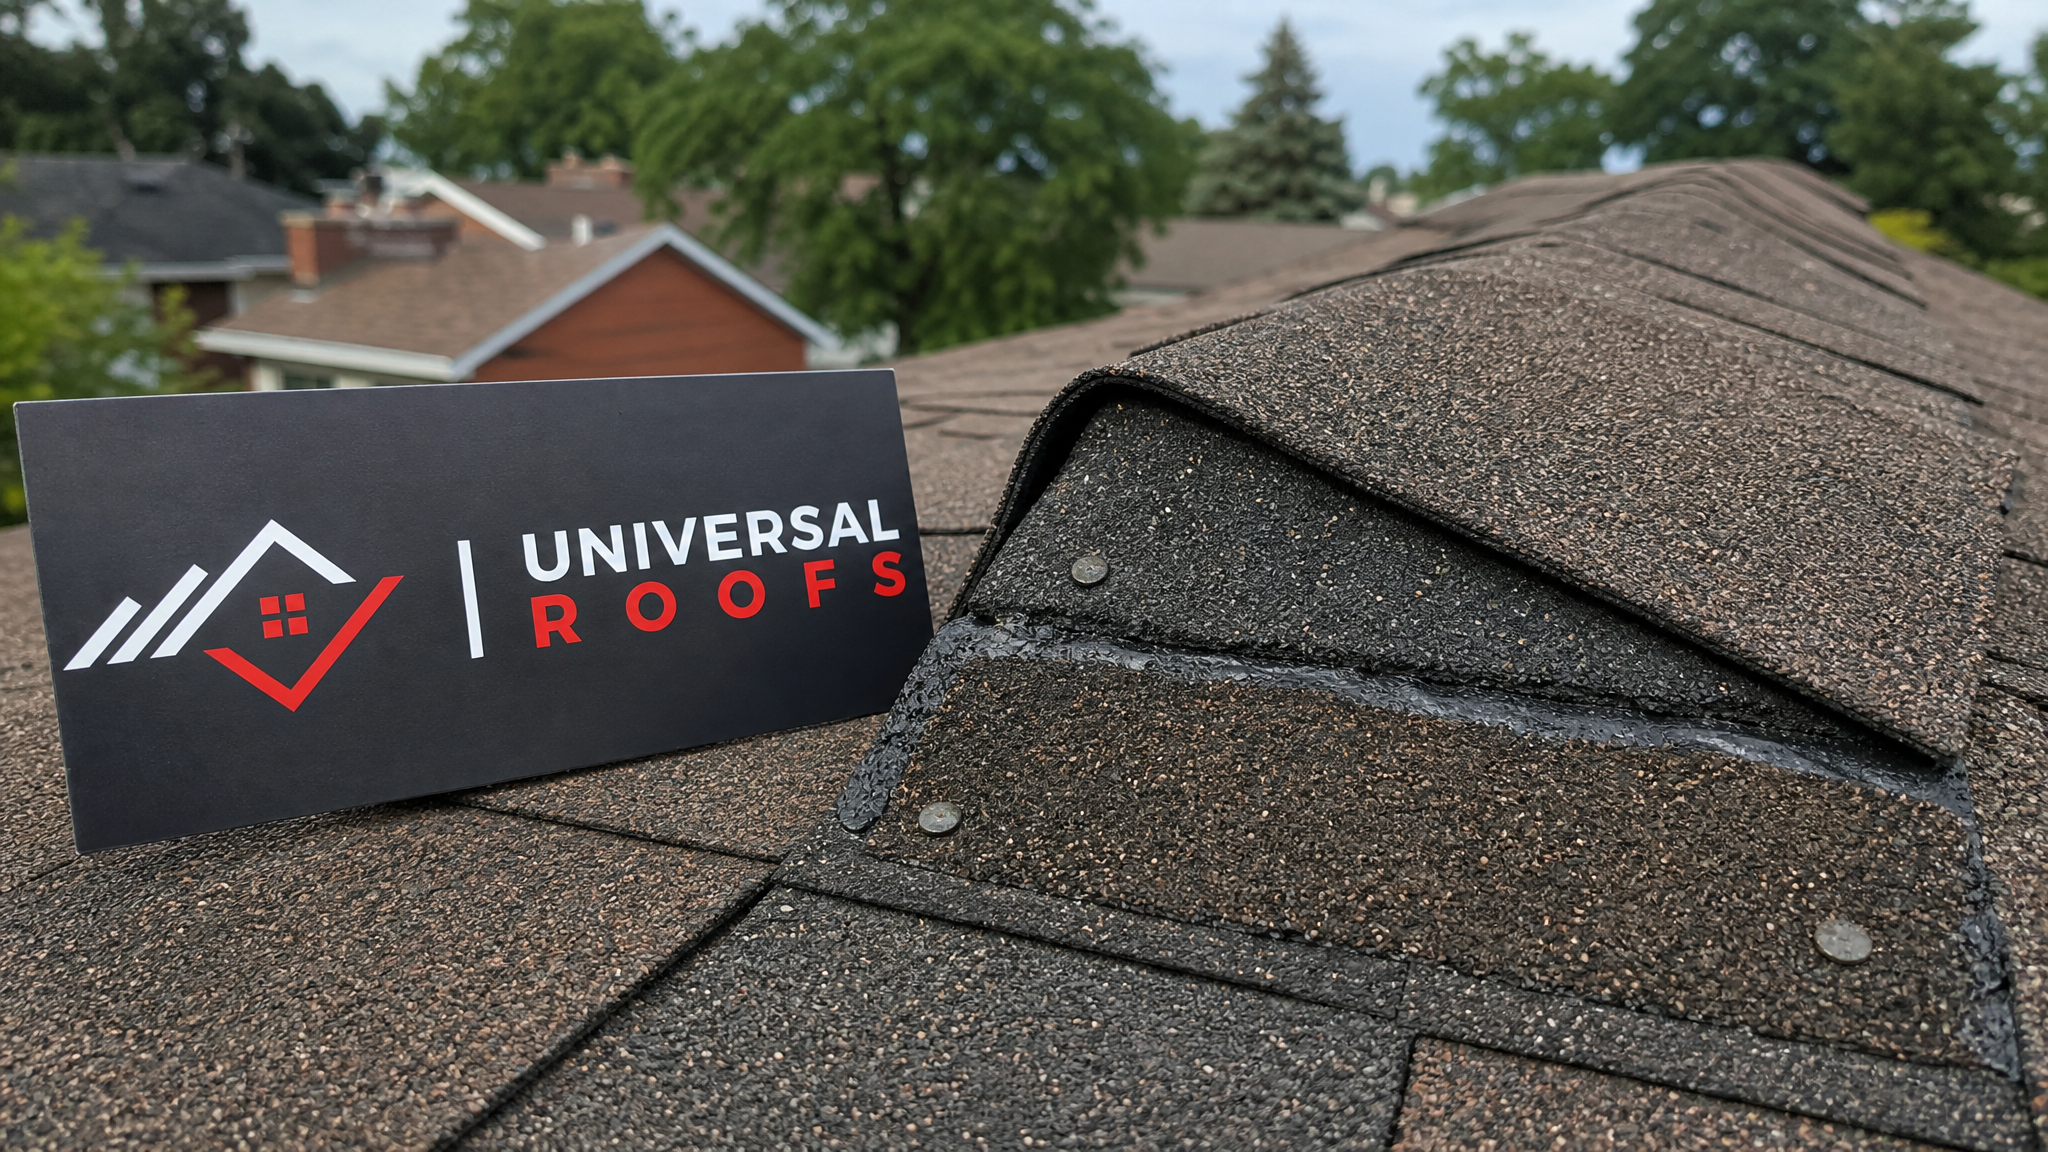
Bent or lifted flashing around chimneys, vents, and skylights is re-secured or replaced entirely, with fresh sealant. Ridge caps, being the most exposed component, are renailed with corrosion-resistant fasteners in the correct nailing pattern for wind zones.
6. Final Water Test and Cleanup
A responsible contractor finishes with a hose test on repaired sections and a full site cleanup, including a magnetic nail sweep of the lawn and driveway.
DIY vs. Professional Repair: What You Can (and Cannot) Safely Do
Homeowners often ask what they can handle themselves versus what genuinely needs a licenced professional. Here is an honest breakdown.
| Task | DIY Appropriate? | Why |
|---|---|---|
| Visual inspection from the ground | Yes | No height risk, useful for initial triage |
| Attic check for leaks/daylight | Yes | Safe, indoor, catches early warning signs |
| Clearing gutters of granules/debris | With caution | Ladder safety applies; fine on a stable, dry day |
| Re-securing a single lifted shingle tab | Not recommended | Improper sealant or nailing often causes repeat failure |
| Tarping exposed decking | Not recommended | Requires safe roof access and proper anchoring technique |
| Replacing shingles/flashing/decking | No | Requires matching materials, correct fastening patterns, and warranty coverage |
| Insurance-related structural assessment | No | Insurers require a qualified, documented professional report |
The short version: ground-level and attic-level checks are reasonable for any homeowner, but anything involving roof access or material replacement should go to a licensed contractor. A rushed DIY patch with the wrong sealant or nail spacing frequently fails in the very next windstorm, turning one repair into two.
What Roof Wind Damage Repair Typically Costs
Costs vary with the extent of damage, roof pitch, material, and accessibility, but the ranges below reflect what is typical across the GTA for asphalt shingle roofs, which make up the large majority of residential homes we service.
| Repair Scope | Typical Cost Range (CAD) | Typical Timeline |
|---|---|---|
| Spot repair (1-5 shingles) | $300 – $650 | Same day to 1 day |
| Ridge cap repair/replacement | $400 – $900 | 1 day |
| Flashing repair (chimney/vent/skylight) | $350 – $1,000 | 1 day |
| Section replacement (one slope) | $1,200 – $3,500 | 1 – 2 days |
| Decking replacement + reshingling | $2,000 – $5,500 | 2 – 3 days |
| Emergency tarping (temporary) | $250 – $600 | Same day |
| Full roof replacement (if damage is extensive) | $8,000 – $18,000+ | 3 – 5 days |
Most homeowner insurance policies in Ontario cover sudden wind damage, though deductibles typically range from $500 to $2,500. A detailed contractor estimate with photos is usually required to support the claim, and some insurers will send their own adjuster to verify scope before approving payment.
Flat Roofs and Skylights After Wind Events
Not every GTA home has a sloped shingle roof, and wind damage looks different on flat roofing systems. Membrane roofs can experience seam lifting, blistering, or fastener pull-through at the perimeter, where wind uplift is strongest. A flapping or visibly billowing membrane after a storm is a clear sign the perimeter attachment has failed and needs prompt professional attention — walking on a compromised membrane can worsen tears.
Skylights are another common wind-damage weak point, since the flashing around them interrupts the roof plane and creates an edge for wind to catch. If you notice water staining around a skylight after a windy storm, it is worth having both the flashing and the unit itself checked; in some cases the seal has simply failed, while in others skylight replacement is the more cost-effective long-term fix rather than repeated resealing.
Choosing the Right Contractor for Wind Damage Repairs
Storm season brings out door-knocking crews offering fast, cheap repairs, and unfortunately a share of them do rushed or substandard work. A few questions help separate a reliable roofer from a risky one:
- Do they carry liability insurance and WSIB coverage for their crew?
- Will they provide a written estimate that itemizes materials and labour, not just a lump sum?
- Do they offer a workmanship warranty in addition to the manufacturer’s material warranty?
- Can they show recent local references or verified customer reviews?
- Are they familiar with local permit requirements for larger repairs?
- Do they use matching, code-compliant materials rather than whatever is on the truck?
It is also worth asking directly how a contractor handles insurance documentation, since a well-organized repair report with dated photos can meaningfully speed up claim approval.
Preventing Future Wind Damage
Repair is only half the equation. A few preventive measures meaningfully reduce the odds of repeat wind damage on the next storm:
| Preventive Measure | Why It Helps | Recommended Frequency |
|---|---|---|
| Annual professional roof inspection | Catches lifted seals and loose fasteners before a storm exploits them | Once per year, ideally spring |
| Re-sealing shingle tabs showing early lift | Restores adhesive bond before wind can catch the edge | As identified during inspection |
| Upgrading to high-wind-rated shingles on replacement | Rated for 190+ km/h gusts vs. standard 100-120 km/h | At time of full roof replacement |
| Trimming overhanging branches | Reduces impact debris during high-wind events | Annually or after major growth |
| Checking attic ventilation balance | Reduces pressure differentials that contribute to uplift | During annual inspection |
If your roof is approaching the end of its service life and has taken repeated wind hits, patch repairs eventually become a false economy. At that point, a full replacement with modern, higher wind-rated shingles and correct fastening patterns is usually the more cost-effective long-term choice.
Why Local Experience Matters for Wind Damage Repair
Roofing in the GTA has to account for a specific climate profile: hot, humid summers with sudden thunderstorm cells, cold winters with freeze-thaw cycling, and everything in between during spring and fall. A repair crew that works across Toronto, the Peel Region, York Region, Halton Region, and the Durham Region sees enough storm damage every season to know exactly which failure points to check first, rather than treating every roof as a generic template.
Universal Roofs has been repairing storm and wind-damaged roofs across the GTA since 2005, and the pattern rarely changes: the roofs that come through a windstorm cleanly are the ones that had proper nailing patterns, sound decking, and a recent inspection behind them. The roofs that suffer the most damage are usually the ones that were already overdue for attention before the wind ever arrived.
If you are unsure whether your roof needs repair versus replacement, our FAQ page covers many of the most common homeowner questions, and our about page has more on our history serving the region.
How do I know if my roof needs wind damage repair after a storm?
Is roof wind damage repair usually covered by home insurance?
Can I repair a few wind-lifted shingles myself?
How much does roof wind damage repair cost in the GTA?
How long does professional roof wind damage repair take?
How can I prevent wind damage from happening again?
Need Help With What Are the Best?
Storm damage rarely waits for a convenient time, and a small repair delayed by even a few weeks can turn into a much larger job once water finds its way under the decking. If your roof took a hit in the last windstorm, the team at Universal Roofs can assess the damage properly and get it fixed before the next one rolls through.
Call us today at (416) 732-2421 or request a free inspection to get started.
Universal Roofs proudly serves Toronto, Mississauga, Brampton, Vaughan, Markham, Oakville and the GTA since 2005.