
When a summer storm rolls through the GTA and rips shingles off your roof, the first question every homeowner asks is the same: how much is this going to cost to fix? Learning how to estimate roof wind damage repair costs accurately can save you thousands of dollars, prevent you from accepting a lowball insurance settlement, and help you avoid overpaying a contractor who senses you don’t know what a fair quote looks like.
Wind damage is deceptively hard to estimate from the ground. A missing shingle here or there might look minor, but the underlying decking, flashing, and underlayment could be compromised in ways that only become obvious once water starts leaking into your attic. Toronto’s summer storm season brings straight-line winds and downbursts that regularly exceed 90 km/h, and these events are one of the most common triggers for insurance claims we see across the GTA.
This guide walks you through the exact process professional estimators use: how to inspect for damage safely, how contractors calculate material and labour costs, what insurance adjusters look for, and how to compare quotes so you don’t get shortchanged. Whether you’re planning a full assessment yourself or preparing to meet with a roofing contractor or your insurance adjuster, this article gives you the framework to estimate the true scope and cost of your repair.
Start With a Safe, Systematic Roof Inspection
Before you can estimate roof wind damage repair costs, you need an accurate picture of what’s actually damaged. Resist the urge to climb onto the roof yourself, particularly after a storm when surfaces are wet, granules are loose, and structural integrity may be compromised. Instead, do a methodical ground-level and interior inspection first.
From the ground, walk the full perimeter of your home with binoculars and look for shingles that are missing, curled, cracked, or creased. Wind damage often shows up as a “bald” patch where shingles have blown off entirely, or as lifted tabs where the sealant strip has failed but the shingle is still attached. Check your gutters and the ground around your foundation for granules, shingle fragments, or pieces of flashing — these are strong indicators of active damage even if the roof looks intact from a distance.
Next, move inside. Check your attic for daylight coming through the roof deck, damp insulation, water stains on the underside of the sheathing, or a musty smell. Ceiling stains in upstairs rooms, especially near exterior walls or around chimneys and skylights, are a telltale sign that wind has compromised your roof’s protective layer and water is finding its way in. If you have a skylight, inspect the frame and flashing carefully, since high winds frequently loosen or crack skylight seals before they affect the surrounding shingles.
Document everything with dated photos and video. This record is invaluable whether you’re getting repair quotes or filing an insurance claim, and it establishes a clear before-and-after picture that protects you if there’s any dispute later about the extent of pre-existing wear versus storm damage.
Understand the Categories of Wind Damage
Not all wind damage is created equal, and the category of damage drives most of the cost variance in any estimate. Roofing contractors typically classify wind damage into a few distinct tiers, each with a different scope of repair and price range.
Cosmetic granule loss is the mildest form — wind abrasion strips protective granules from shingles without dislodging them structurally. This rarely requires repair on its own but signals the shingles are aging and more vulnerable to future storms. Lifted or creased shingles are next: the sealant bond has broken, and the shingle can be re-sealed or must be replaced if the fibreglass mat is creased or torn. Missing shingles expose the underlayment and decking directly to the elements and require immediate patch repair to prevent water intrusion. The most severe category is structural wind damage, where sustained winds or a downburst have lifted sections of decking, damaged trusses, or torn off larger roof assemblies like ridge caps, ventilation stacks, or flashing around chimneys and skylights.
Getting the category right matters enormously for your estimate. A homeowner who assumes they need a full roof replacement after losing a dozen shingles may be significantly overpaying, while someone who tries to patch structural damage with a simple shingle swap is setting themselves up for a repeat failure in the next storm.
| Damage Category | Typical Signs | Repair Approach | Estimated Cost Range (CAD) |
|---|---|---|---|
| Granule loss / abrasion | Bald patches, granules in gutters | Monitor, no immediate repair usually needed | $0 – $300 (inspection only) |
| Lifted/sealed-back shingles | Tabs raised but intact | Reseal with roofing cement or adhesive | $150 – $600 |
| Missing/creased shingles (localized) | Bare patches, 1-15 shingles affected | Spot patch repair with matching shingles | $400 – $1,500 |
| Flashing/skylight/vent damage | Leaks near chimney, skylight, or stacks | Flashing replacement and resealing | $500 – $2,000 |
| Widespread shingle loss | 25%+ of roof surface affected | Full slope or full roof re-shingling | $4,000 – $12,000+ |
| Structural/decking damage | Sagging, exposed sheathing, truss damage | Decking repair or replacement plus re-roofing | $6,000 – $20,000+ |
How Contractors Calculate a Wind Damage Repair Estimate
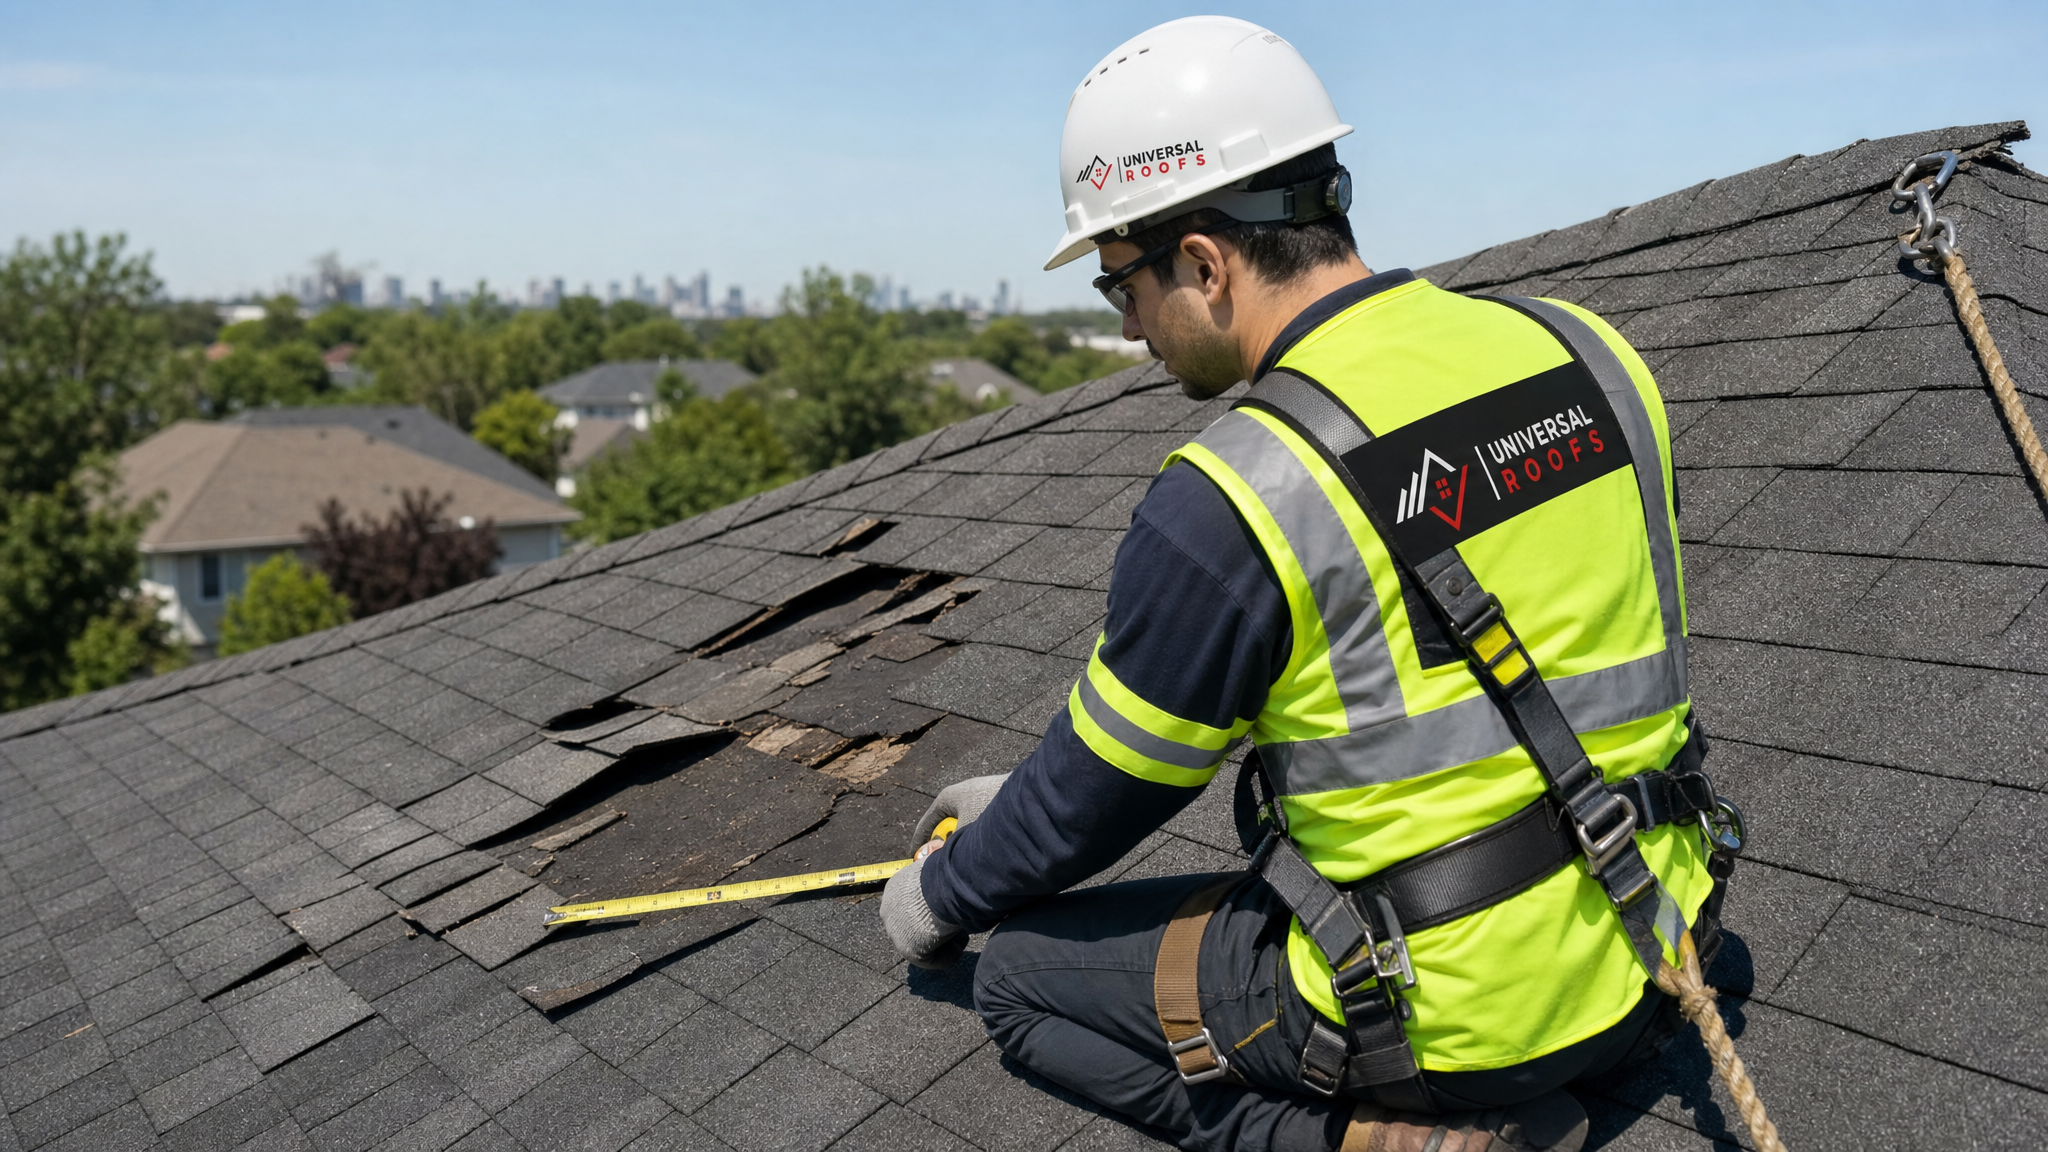
When a professional estimator arrives at your home, they follow a fairly consistent process to arrive at a number, and understanding it helps you evaluate whether a quote is fair. The first step is measuring the affected roof area in squares (one roofing square equals 100 square feet). This measurement, combined with roof pitch and accessibility, determines both material quantities and labour time.
From there, the estimator factors in material costs for shingles, underlayment, flashing, and fasteners that match your existing roof as closely as possible. Colour-matching aging shingles is often impossible exactly, which is worth discussing up front so you aren’t surprised by a visible patch. Labour costs are calculated based on the complexity of the repair, roof height and pitch (steep or multi-storey roofs command a premium due to safety equipment and time), and whether tear-off of the old material is required before new shingles go down.
A thorough estimate should also include a line item for decking inspection and potential replacement, disposal fees for old material, and a contingency allowance for damage discovered once the old shingles are removed — a plywood deck that looked fine from the attic can still have hidden rot or soft spots directly beneath the storm-damaged area.
Materials and Labour: What Actually Drives the Price
Homeowners are often surprised that two contractors can quote wildly different prices for what looks like the same repair. The variance usually comes down to a handful of specific factors that any accurate estimate needs to account for.
Shingle type matters enormously — standard three-tab asphalt shingles are the least expensive to replace, while architectural or laminate shingles, which most GTA homes built or re-roofed in the last 15 years now use, cost more per square but hold up better in wind events. If your roof uses a premium shingle line, expect your per-square material cost to run 20-40% higher than standard asphalt. Roof pitch and height directly affect labour: a steep or third-storey roof requires additional fall protection, longer setup time, and often a smaller daily production rate, which contractors build into their per-square labour rate.
Access and staging also matter more than most homeowners expect. A roof surrounded by mature trees, fencing, or tight side-yard access limits how quickly material can be moved up and debris moved down, which increases labour hours. Finally, the condition of the decking underneath is the single biggest wildcard in any estimate — you cannot know for certain whether plywood needs replacing until the old shingles are off, which is why reputable contractors always include a conditional decking-replacement clause rather than guaranteeing a fixed final price before tear-off.
| Cost Factor | Low Impact Scenario | High Impact Scenario | Typical Price Swing |
|---|---|---|---|
| Shingle type | Standard 3-tab asphalt | Premium architectural/laminate | +20% to 40% |
| Roof pitch | Low slope, walkable | Steep slope (8:12 or greater) | +15% to 30% |
| Roof height | Single storey | Three storey or higher | +10% to 25% |
| Site access | Open driveway access | Fenced yard, mature trees | +5% to 15% |
| Decking condition | Dry, sound plywood | Rot or soft spots found | +$3–$8 per sq ft replaced |
Working With Insurance: What Adjusters Look For
Most wind damage claims in Ontario are covered under standard homeowner’s insurance policies, since wind is typically classified as a covered peril rather than gradual wear and tear. That said, insurance adjusters are trained to distinguish genuine storm damage from pre-existing deterioration, and how you present your estimate matters.
An insurance adjuster will typically want documented wind speeds for the date of the storm (available from Environment Canada records), clear photo evidence of the damage, and a professional contractor estimate that itemizes the scope of repair rather than a vague lump sum. It helps enormously to have a roofing contractor complete a written inspection report before the adjuster visits, since a same-day, side-by-side comparison between your contractor’s assessment and the adjuster’s own findings tends to produce a faster, fairer settlement.
Be cautious of storm-chasing contractors who show up door-to-door after a major weather event promising to “handle everything with your insurance company.” Legitimate roofing companies can help you understand your policy and provide documentation, but they should never pressure you to sign an assignment of benefits or inflate a claim. If your policy includes a depreciation holdback, ask your contractor to explain how the final invoice will affect your recoverable depreciation payment from the insurer, since this affects your true out-of-pocket cost even after a claim is approved.
Get Multiple Quotes — and Know What to Compare
Once you understand the categories of damage and the cost drivers, the next step is collecting two or three written estimates from licensed roofing contractors. Never accept a verbal quote or a number scribbled on a business card — a legitimate estimate should be itemized by material, labour, and scope, and should specify whether it includes decking inspection, disposal, and a workmanship warranty.
When you compare quotes side by side, don’t simply pick the lowest number. Look at whether each contractor is proposing the same scope of repair, using comparable materials, and offering similar warranty terms. A quote that is 30% cheaper than the others is worth questioning — it may exclude decking replacement, use lower-grade shingles, or skip proper flashing details that will lead to a repeat leak within a year or two. Ask each contractor directly whether their price includes a full tear-off in the damaged area or simply an overlay patch, since patching over compromised material is a common shortcut that shows up as a callback within a single winter freeze-thaw cycle.
It’s also worth asking whether the estimate includes an inspection of adjacent systems that wind commonly affects, such as attic ventilation, soffits, and any nearby skylights. A skylight or older skylight unit near a section of wind-damaged roofing is worth having checked in the same visit, since flashing failures around skylight curbs often accompany shingle damage from the same storm.
| What to Compare | Red Flag | Sign of a Solid Estimate | Why It Matters |
|---|---|---|---|
| Scope of repair | Vague “fix roof damage” line item | Itemized shingles, flashing, decking, disposal | Prevents scope disputes mid-project |
| Material specification | No brand or shingle class listed | Specific shingle line and colour match noted | Ensures durability and appearance match |
| Tear-off vs. overlay | Unclear if old shingles are removed | Explicit tear-off in affected area | Overlay patches often fail within 1-2 years |
| Warranty terms | No workmanship warranty mentioned | Written labour and material warranty | Protects you if the repair fails prematurely |
| Timeline | No start or completion date given | Clear scheduling window, weather contingency noted | Sets expectations for exposure risk |
Timeline: How Long Wind Damage Repair Actually Takes
Estimating cost is only half the picture — understanding the timeline helps you plan around the disruption and avoid extended exposure to further weather. A localized shingle patch repair on a single-storey Toronto home typically takes half a day to a full day once material is on site. Flashing repairs around a chimney or skylight usually add two to four hours depending on accessibility. Full slope or whole-roof re-shingling projects generally run one to three days depending on square footage and crew size, while jobs that uncover structural decking damage can extend to four or five days once replacement plywood and additional framing repairs are factored in.
Weather is the biggest variable affecting timeline in the GTA. Summer storm season means crews sometimes have to pause mid-project if a new system rolls through, and any exposed decking should always be tarped overnight as a standard precaution. If your estimate doesn’t mention weather contingency planning or temporary protection measures, ask about it directly — a professional crew should never leave your roof exposed overnight during an active repair.
When a Repair Isn’t Enough: Recognizing Replacement Territory
Sometimes what starts as a wind damage estimate reveals that repair isn’t the most cost-effective path. If your roof is already near the end of its expected lifespan (typically 18-25 years for asphalt shingles depending on quality and installation), and the storm has affected more than 25-30% of the total roof surface, a full roof replacement often makes more financial sense than a patchwork repair. Repeated patching on an aging roof tends to create a mismatched surface, multiple potential leak points at patch seams, and diminishing returns as you approach the roof’s natural end of life anyway.
The same logic applies to flat roof sections, which are common on additions, garages, and older GTA homes. Wind can lift membrane edges and flashing on flat roofing systems in ways that are harder to spot-patch reliably than sloped shingle roofs, since the entire membrane’s water-shedding performance depends on a continuous, unbroken seal. If your estimator identifies lifted seams on a flat roof section, get a clear opinion on whether a partial membrane repair will hold or whether resealing the full section is the more durable and ultimately cheaper option over a five-year horizon.
It’s also worth having your attic ventilation assessed at the same time as any wind damage estimate. Poor attic ventilation accelerates shingle aging from the underside and can make a roof more vulnerable to wind uplift at the edges and ridge line, so addressing ventilation issues alongside storm repairs is a smart way to extend the life of your new work.
Regional Considerations Across the GTA
Wind exposure and typical repair costs vary somewhat across the Greater Toronto Area based on local terrain and housing stock. Homes in more open, exposed areas of Durham Region and parts of York Region tend to see higher wind loading during summer storm systems than more sheltered urban blocks in central Toronto. Newer subdivisions across Peel Region and Halton Region generally have more consistent shingle types and easier access for repair crews, which can modestly lower labour estimates compared to older, established neighbourhoods with mature tree cover and more complex roof geometries.
Regardless of which municipality you’re in, local building code requirements for underlayment, ice and water shield at eaves, and fastening patterns are broadly consistent across the GTA, so a contractor experienced across these regions should be able to give you a comparable, code-compliant estimate no matter which side of the city your home sits on.
Putting Together Your Own Ballpark Estimate
If you want a rough number before you even call a contractor, start by estimating your roof’s total square footage from your home’s footprint and pitch, then identify what percentage appears affected based on your ground and attic inspection. Multiply the affected squares by an average all-in cost of $350 to $550 per square for standard asphalt shingle repair work in the GTA, which includes materials, labour, and disposal for a typical single-storey or two-storey home with moderate accessibility.
Add a contingency of 15-20% for potential decking issues that won’t be visible until tear-off begins, and factor in an additional $300 to $800 if flashing around a chimney, vent stack, or skylight is involved. This ballpark won’t replace a professional in-person estimate, but it gives you a realistic range to sanity-check any quote you receive and helps you budget appropriately whether you’re paying out of pocket or working through an insurance claim with a deductible.
How do I estimate roof wind damage repair costs without climbing on the roof?
What’s a reasonable price range to estimate roof wind damage repair in Toronto?
Will my insurance cover wind damage roof repair in Ontario?
How can I tell if my roof needs a repair or a full replacement after wind damage?
Why do wind damage repair quotes vary so much between contractors?
How long does it take to repair wind damage on a typical GTA roof?
Need Help With How to Estimate Roof?
Getting an accurate, itemized estimate is the single best way to protect yourself after wind damage, and the team at Universal Roofs has been helping GTA homeowners assess and repair storm damage since 2005.
Call us today at (416) 732-2421 or request a free inspection to get started.
Universal Roofs proudly serves Toronto, Mississauga, Brampton, Vaughan, Markham, Oakville and the GTA since 2005.