
A hard windstorm off Lake Ontario can strip shingles, lift flashing, and crack ridge caps in a matter of minutes, and most GTA homeowners do not notice the damage until a stain shows up on the ceiling weeks later. Fixing roof wind damage a step by step is exactly the approach you need, because wind damage rarely announces itself the way a fallen tree branch does. It hides in lifted shingle tabs, torn sealant strips, and displaced flashing that look almost normal from the ground.
At Universal Roofs, we have been repairing wind-damaged roofs across the Toronto area since 2005, and the pattern is always the same: a storm rolls through, the wind gusts past 70 or 80 km/h, and within a day or two we start fielding calls about missing shingles, water stains, and mystery leaks. This guide walks through the entire process of assessing, documenting, and repairing wind damage on a residential roof, from the first ground-level inspection to the final shingle nail, so you know exactly what a proper repair should look like whether you are hiring a contractor or simply trying to understand what happened to your roof.
We will also cover when a patch repair is enough and when the damage points to a larger problem such as an aging roof replacement being overdue, because wind rarely creates damage in isolation — it usually just exposes weaknesses that were already there.
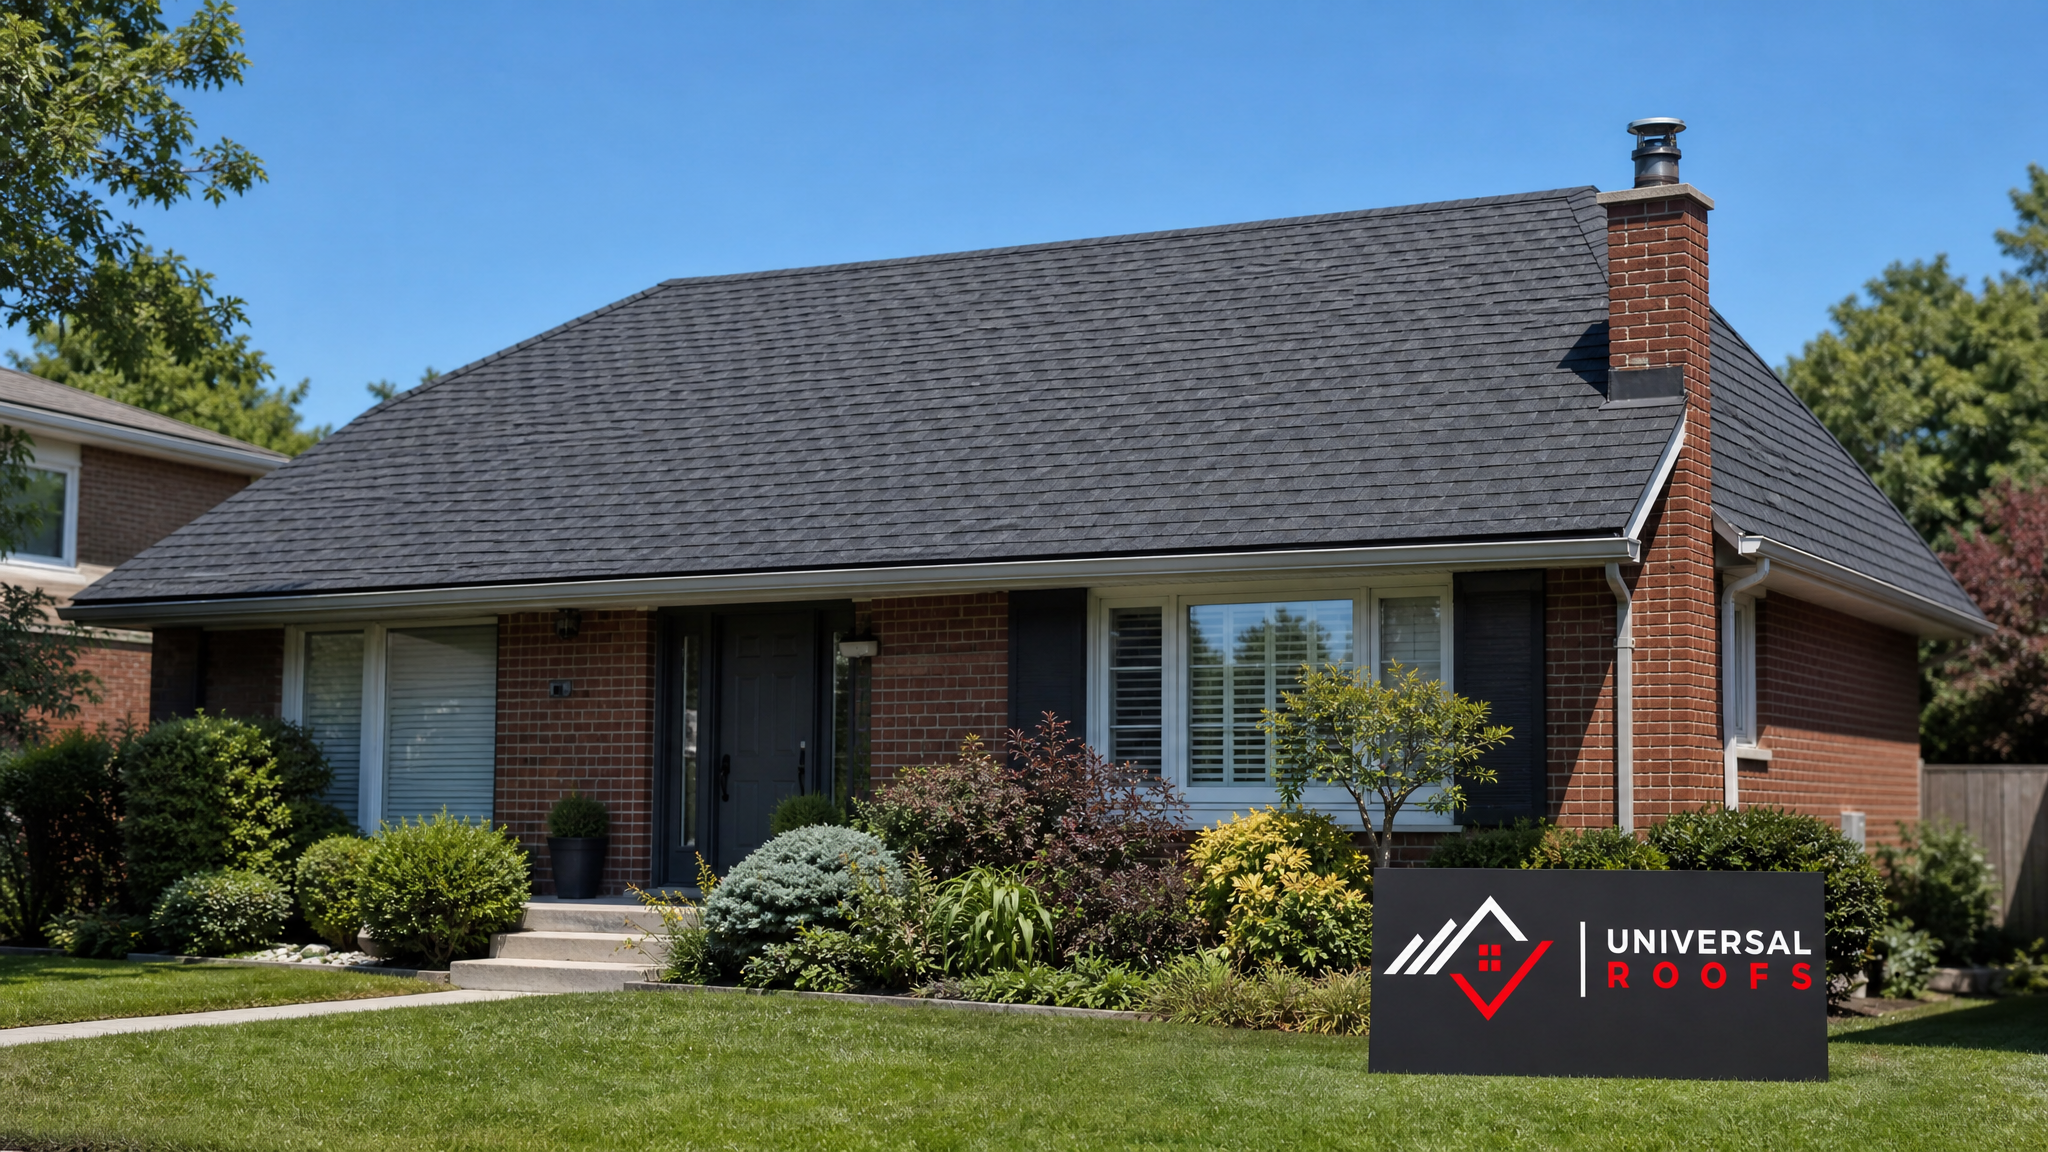
How Wind Actually Damages a Roof
Understanding the mechanics of wind damage makes it much easier to know where to look and what a proper repair needs to address. Wind does not simply push down on a roof; it creates uplift. As air moves across the roof plane, it accelerates over the ridge and edges, creating a pressure difference that literally tries to pull shingles upward and away from the deck. This is the same aerodynamic principle that lifts an airplane wing, just applied in reverse to a stationary surface.
The weakest points on any roof are the edges, the ridge, and any place where the shingle seal has already been compromised by age, heat cycling, or a previous repair. Asphalt shingles rely on a factory-applied adhesive strip that bonds to the shingle below it once it is warmed by the sun. In new or well-maintained roofs, that seal resists wind uplift extremely well. But once shingles pass the 12 to 15 year mark, or if they were installed with poor nailing patterns, the seal weakens and wind gusts of even 60 to 70 km/h can start to pry tabs loose.
Once one shingle lifts, it exposes the nails and the shingle beneath it to direct wind pressure, and the damage cascades outward. This is why a windstorm often leaves a very specific pattern: a cluster of missing or torn shingles near the ridge, along a rake edge, or around a roof-to-wall transition, rather than random damage scattered evenly across the whole roof.
Step 1: Do a Safe Ground-Level and Visual Assessment First
Before anyone climbs a ladder, walk the perimeter of the house and look for the obvious clues. Wind damage announces itself in several ways that are visible from the ground with a good pair of binoculars or a zoom lens on a phone camera:
- Shingle pieces or granules in the gutters, downspouts, and on the lawn or driveway
- Shingles that appear lifted, curled, or missing entirely, especially near the ridge and edges
- Exposed dark felt paper or bare wood decking showing through gaps in the shingle field
- Bent, lifted, or missing flashing around chimneys, vents, and skylights
- Debris such as branches or neighbouring fence panels that may have struck the roof directly
Inside the house, check the attic with a flashlight for any daylight coming through the roof deck, damp insulation, or fresh water stains on the rafters. Check ceilings on the top floor for new discolouration, especially around chimneys and skylights, since a skylight curb is a common place for wind-driven rain to find its way in once flashing has shifted. This initial assessment tells you whether you are dealing with a minor cosmetic issue or an active leak that needs immediate attention, which changes how urgently you need to move to the next step.
Step 2: Document Everything Before You Touch Anything
This step matters more than most homeowners realize, particularly if you plan to file an insurance claim. Most home insurance policies in Ontario cover wind damage, but the claim depends heavily on clear documentation of the damage and, ideally, a record of a specific wind event (a storm date, recorded gust speeds, or an Environment Canada severe weather alert) tying the damage to that date.
| Documentation Item | Why It Matters | Best Practice |
|---|---|---|
| Wide photos of each roof slope | Shows overall pattern and extent of damage | Take from ground level at multiple angles, in daylight |
| Close-up photos of damaged areas | Proves specific shingle, flashing, or vent damage | Use zoom, not a ladder, unless a professional is present |
| Interior photos of leaks or stains | Connects exterior damage to interior consequences | Photograph ceiling stains, attic decking, and insulation |
| Storm date and wind speed record | Insurers require the damage tie to a specific weather event | Check Environment Canada historical data for the date |
| Written contractor assessment | Provides a professional opinion for the claims adjuster | Request a dated, written report, not just a verbal estimate |
Once you have photos and notes, call your insurance provider to open a claim if the damage looks significant. Many policies have a claim window, so do not wait weeks to report it even if you plan to have repairs done later. A clear paper trail from day one avoids disputes about whether damage was pre-existing or storm-caused.
Step 3: Have a Professional Roof Inspection Completed
Even when damage looks minor from the ground, wind almost always causes more disruption than is visible without walking the roof surface directly. A professional roof repair inspection checks for things a homeowner typically cannot assess safely or accurately, including:
- Shingles that have lost their seal but have not visibly lifted yet, which will fail in the next windstorm
- Nail pops and improperly fastened shingles from the original installation that the wind exposed
- Flashing around chimneys, skylights, and roof-to-wall junctions that has shifted but not fully detached
- Ridge cap shingles that have cracked but are still nailed in place
- Soft spots in the decking from long-term moisture intrusion that predates the storm
This is also the point where a contractor should tell you honestly whether you are looking at a targeted repair or whether the roof’s overall condition means a full roof replacement makes more financial sense. If the roof is already near the end of its service life, patching wind damage on shingles that are failing everywhere else is a short-term fix that will need to be revisited within a year or two.
Step 4: Tarping and Emergency Protection (If There Is an Active Leak)
If the inspection reveals exposed decking or an active leak, the priority shifts to stopping water intrusion immediately, before scheduling the permanent repair. This is standard practice and most reputable roofing companies, including Universal Roofs, treat it as an emergency call rather than something that waits for a normal appointment slot.
A proper emergency tarp job involves securing heavy-gauge polyethylene sheeting well beyond the damaged area (not just directly over it), anchoring it with wood strapping nailed into the decking rather than relying on adhesive tape, and ensuring water is directed away from the damaged section rather than pooling against the tarp edges. A poorly installed tarp can actually make things worse by channelling water into a new entry point, so this step should be done by someone experienced with roof systems, not improvised with a blue poly tarp and a few bricks.
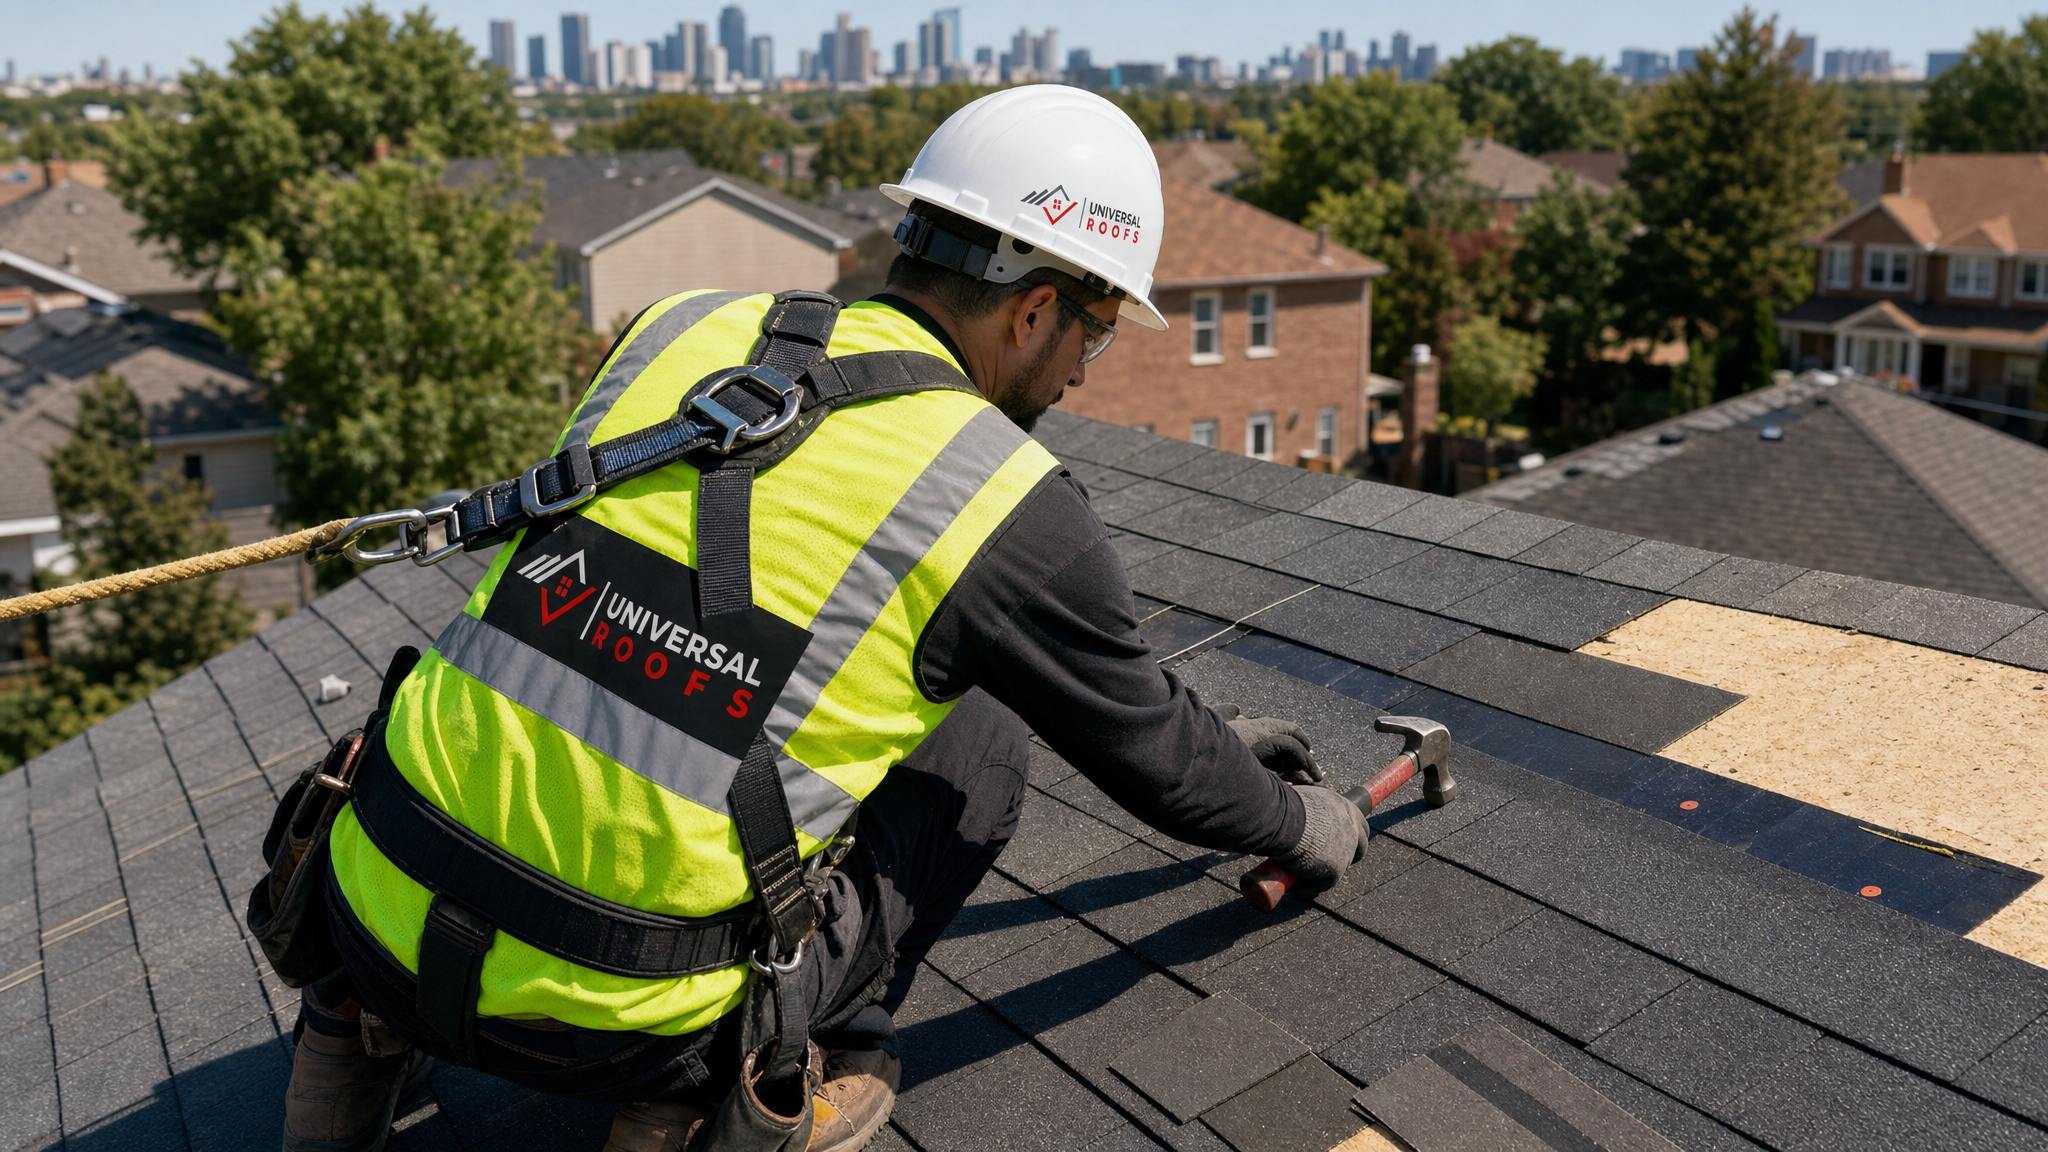
Step 5: The Repair Itself, Shingle by Shingle
Once the roof is safe to work on and the extent of damage is confirmed, the actual repair follows a fairly consistent sequence regardless of the specific shingle brand or roof age.
| Repair Stage | What Happens | Typical Time Required |
|---|---|---|
| Remove damaged shingles | Pry up surrounding tabs, pull nails, remove torn or missing shingles cleanly | 15-30 minutes per damaged section |
| Inspect and repair decking | Check plywood or OSB underneath for soft spots or rot, replace as needed | 30-60 minutes if replacement needed |
| Replace underlayment | Install fresh felt or synthetic underlayment in the repaired area | 15-20 minutes per section |
| Install matching shingles | Weave in new shingles matching existing colour and style, nail per code | 20-40 minutes per section |
| Reseal and flash | Hand-seal shingle tabs, replace or resecure flashing, apply roofing cement where needed | 15-30 minutes |
| Final inspection and cleanup | Check nail patterns, seal lines, and clear debris from gutters and yard | 20-30 minutes |
The most important technical detail in this whole process is nailing pattern and placement. Ontario building code and shingle manufacturer specifications both call for four to six nails per shingle depending on wind exposure, driven into the nailing strip (not above or below it), flush with the shingle surface without cutting into the granules. This single detail is the difference between a repair that survives the next windstorm and one that fails again within a season. We see a surprising number of older roofs where the original installer under-nailed the shingles, which is often the real reason wind damage occurred in the first place.
Matching Materials: Why Exact Shingle Matches Are Not Always Possible
One frustration homeowners run into during a wind damage repair is that the new shingles do not perfectly match the weathered colour of the existing roof. Asphalt shingles fade gradually from UV exposure over years, so a shingle installed today, even from the same manufacturer and colour line, will look slightly newer and more saturated than shingles that have been on the roof for eight or ten years.
A skilled crew minimizes this by pulling replacement shingles from multiple bundles and blending them across the repaired area rather than installing them in one visually obvious patch, and by sourcing the closest possible colour match rather than whatever is on the truck. On steep or highly visible slopes, some homeowners choose to have an entire slope reshingled rather than patch a small section, purely for appearance. This is a judgment call best made after seeing the repaired area in daylight, not decided in advance.
When Wind Damage Points to a Bigger Problem
Not every wind-damaged roof needs a full replacement, but there are specific signs that suggest the storm exposed an underlying issue rather than causing an isolated event:
- Shingles are brittle and crack when lifted, rather than bending cleanly
- Granule loss is widespread across the whole roof, not just the damaged area
- Multiple layers of shingles are present from previous re-roofs stacked on top of each other
- The roof is already past 18-20 years old for standard asphalt shingles
- Decking shows soft spots or rot in more than one location
In these cases, we walk homeowners through a straightforward cost comparison so the decision is based on real numbers rather than guesswork.
| Factor | Targeted Wind Damage Repair | Full Roof Replacement |
|---|---|---|
| Typical cost range (average GTA home) | $400 – $1,800 depending on extent | $8,000 – $18,000+ depending on size and materials |
| Expected lifespan added | Matches remaining life of existing roof | 25-30+ years with standard architectural shingles |
| Best suited for | Roofs under 15 years old with isolated damage | Roofs 18+ years old or with widespread wear |
| Insurance involvement | Often covered fully or partially as storm damage | Partial coverage possible if storm accelerated failure |
| Risk of recurring issues | Low if underlying roof is sound | Very low, since entire system is renewed |
If your roof is a flat or low-slope system rather than a standard pitched asphalt roof, wind damage tends to show up differently — as lifted membrane seams, damaged ballast, or torn flashing at parapet walls — and the repair approach is quite different from shingle work. Our flat roofing team handles these systems separately since the materials and fastening methods do not overlap much with sloped shingle roofs.
Protecting the Roof and Attic After the Repair
A wind damage repair is a good opportunity to check that the rest of the roof system is working the way it should, since a compromised roof surface often puts additional strain on the components underneath it. Take a look in the attic while the repair is underway and confirm insulation has not become wet or compressed, since damp insulation loses most of its R-value and can promote mould growth. If the attic has been exposed to moisture for any length of time, it is worth having it properly assessed through our attic services, since ventilation and insulation problems often get blamed on the roof when they are really a separate issue compounding it.
It is also worth confirming that ridge and soffit ventilation were not disrupted during the repair, since blocked ventilation paths trap heat and moisture, accelerating shingle aging and increasing the odds of future wind damage in the same spot. A five-minute check during the final walkthrough saves a callback months later.
Seasonal Timing: Why Summer Is a Good Window for Repairs
Late spring and summer wind events are common in the GTA, often arriving with severe thunderstorms and microbursts rather than the sustained winter gales that hit later in the year. The good news is that summer is also the best time of year to have shingle repairs done. Asphalt shingles need warmth to properly seal and become pliable enough to work with without cracking, so a repair completed in July has a much better chance of sealing correctly before the next wind event than one rushed through in near-freezing temperatures.
If your roof sustained wind damage this summer, getting it addressed now, rather than waiting, means the repair has the best possible conditions to bond properly ahead of fall storm season and the freeze-thaw cycles that follow in winter. Freeze-thaw cycling is particularly hard on any roof that already has a compromised seal, since water that gets under a loose shingle can freeze, expand, and force the gap wider with each cycle.
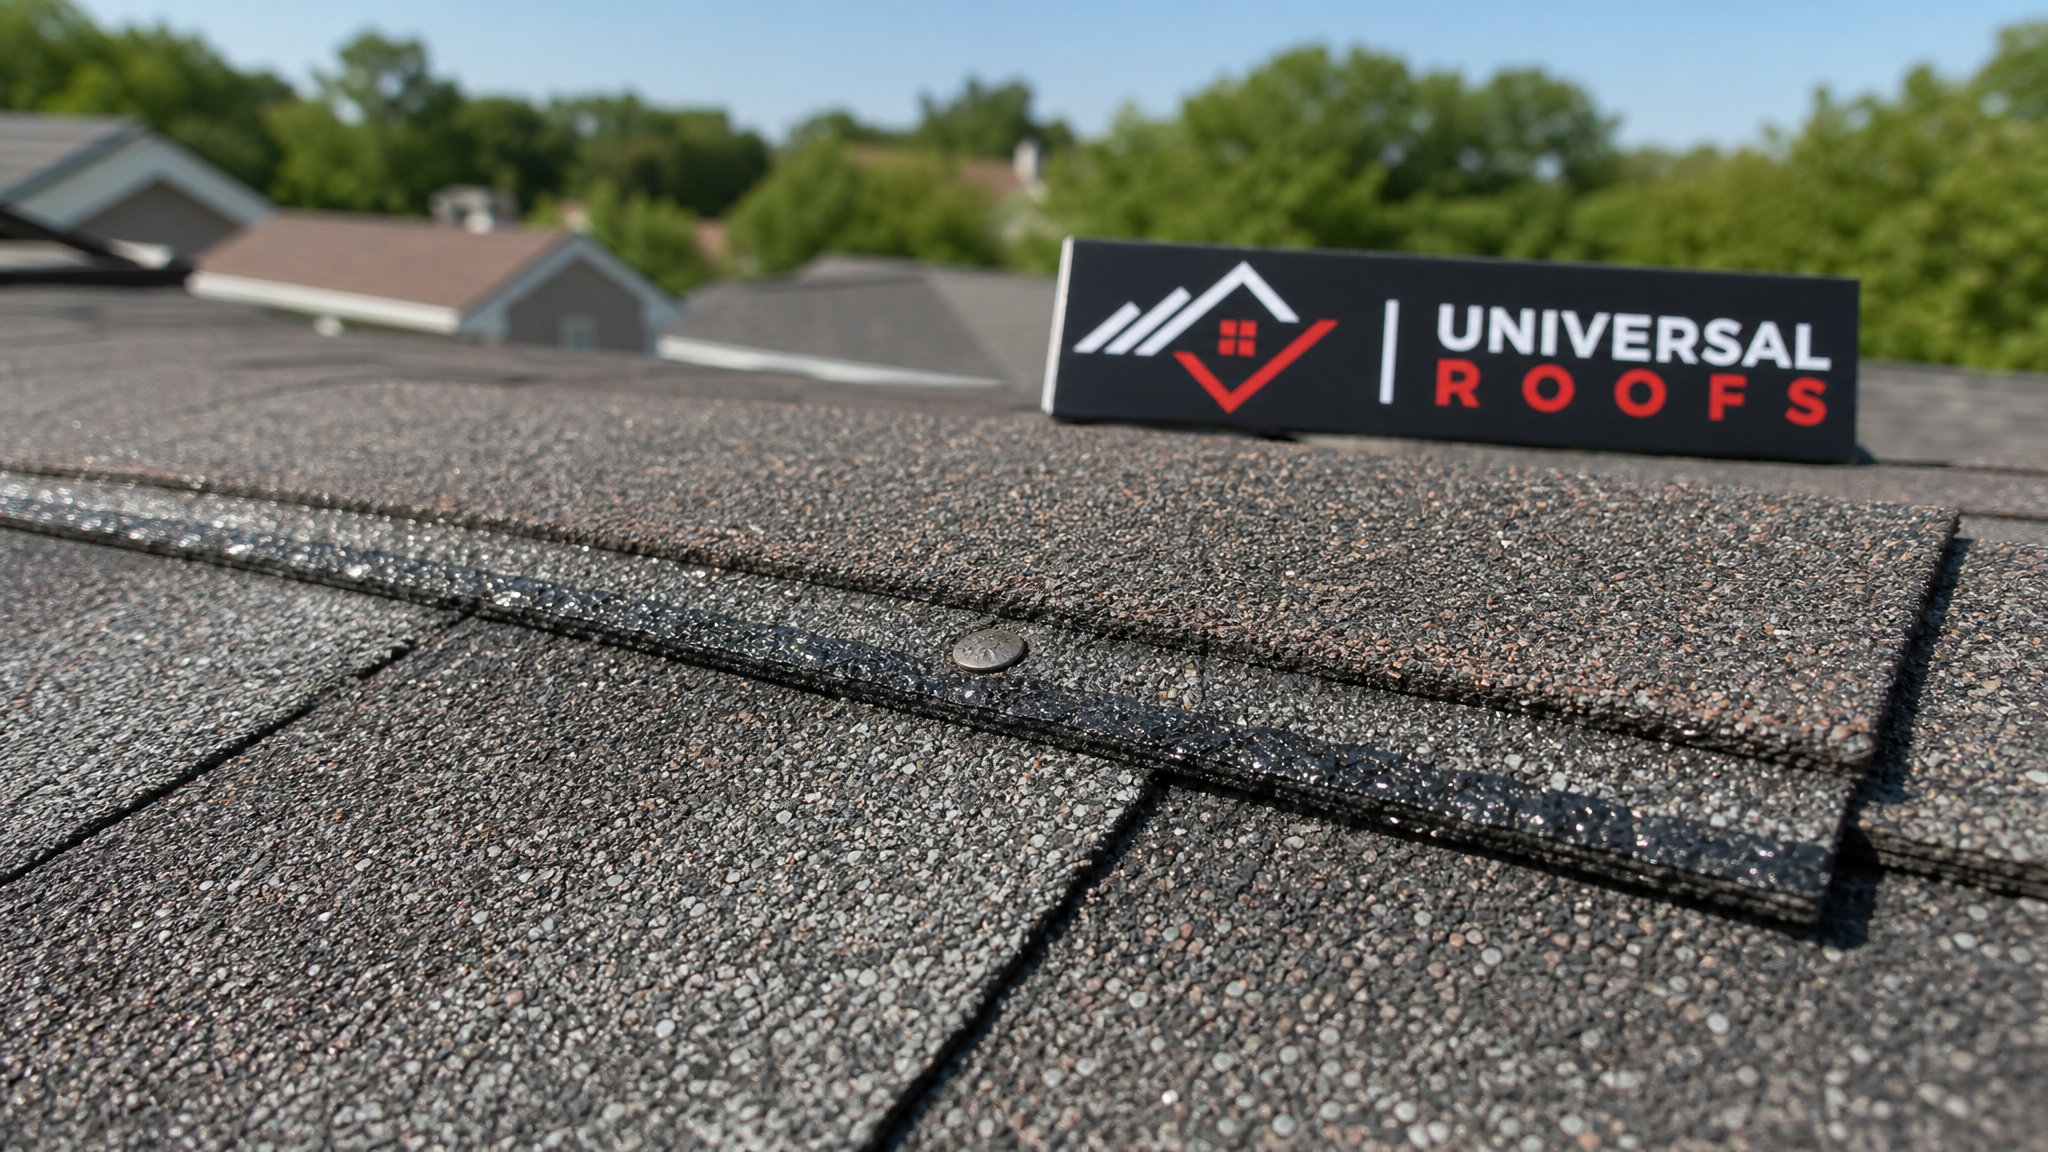
Working With a Contractor: What a Proper Estimate Should Include
Whether you hire us or another company, a proper wind damage estimate should be specific, not vague. It should identify exactly which shingles, flashing, or decking sections need replacement, specify the shingle brand and colour being matched, note whether underlayment will be replaced in the repaired area, and include a clear statement about warranty coverage on the labour and materials.
Homeowners across Toronto, the Peel Region, York Region, Halton Region, and Durham Region deal with slightly different wind exposure depending on how close they are to Lake Ontario and how open their surrounding terrain is, but the repair standards and code requirements are consistent across the GTA. Before committing to a repair, it is worth reading through verified reviews from homeowners who have had similar work done, and checking our FAQ page for answers to common questions about scheduling, insurance claims, and warranty terms. You can also learn more about our licensed crews and history on our about page.
Preventing Future Wind Damage
Once the repair is complete, a few maintenance habits meaningfully reduce the odds of repeat damage in the next storm. Have the roof inspected annually, ideally in spring before storm season ramps up, so loose shingles or weakened seals are caught before wind finds them. Trim back tree branches that overhang the roofline, since branch strikes during high wind are one of the most common secondary causes of shingle damage. Keep gutters clear so that wind-driven rain has somewhere to drain rather than backing up under the shingle edge, and address minor nail pops or lifted tabs as soon as they are noticed rather than waiting for the next storm to make the problem worse.
If your home has skylights, confirm the flashing and curb seals are inspected at the same time as the shingles, since these transitions are common failure points during high wind. Our skylight replacement team can assess whether an older skylight unit’s flashing needs updating as part of a broader wind-resistance check.
What is the process for fixing roof wind damage a step by step?
How do I know if my roof has wind damage after a storm?
Will home insurance cover wind damage roof repair in Ontario?
Can I repair wind-damaged shingles myself?
How much does it cost to fix wind damage on a roof?
Should I repair or replace my roof after wind damage?
Need Help With Fixing Roof Wind Damage?
If a recent windstorm has left your roof with missing shingles, lifted flashing, or a leak you cannot pinpoint, the team at Universal Roofs can walk you through the entire process, from documentation for your insurance claim through to a completed, properly sealed repair.
Call us today at (416) 732-2421 or request a free inspection to get started.
Universal Roofs proudly serves Toronto, Mississauga, Brampton, Vaughan, Markham, Oakville and the GTA since 2005.