
A summer squall rolling off Lake Ontario can turn a routine Tuesday into an emergency call for any property manager in the GTA. Commercial roofs take the brunt of these storms because of their sheer surface area, and when wind gets under a membrane edge or lifts a section of flashing, the damage can spread fast if it is not addressed correctly. These expert tips for commercial roof wind damage repair are built from two decades of responding to storm-damaged flat and low-slope roofs across Toronto, Mississauga, Brampton, Vaughan and the surrounding region.
Commercial roofing is not the same discipline as residential shingle repair. The membranes, fastening patterns, drainage systems and rooftop equipment involved mean that a wind event can cause several distinct failure modes at once — membrane uplift, seam separation, flashing displacement, and penetration damage around HVAC curbs or skylights. Understanding how to diagnose each of these correctly, and in what order to prioritize repairs, is what separates a lasting fix from a callback six months later.
At Universal Roofs, we have been repairing wind-damaged commercial roofs since 2005, and the patterns repeat every storm season: the roofs that fail worst are usually the ones with pre-existing maintenance gaps that wind simply exposed. This guide walks through how to inspect a roof after high winds, which repair methods apply to which type of damage, realistic cost and timeline expectations, and how to build a maintenance programme that keeps the next windstorm from becoming an emergency.
How Wind Actually Damages a Commercial Roof
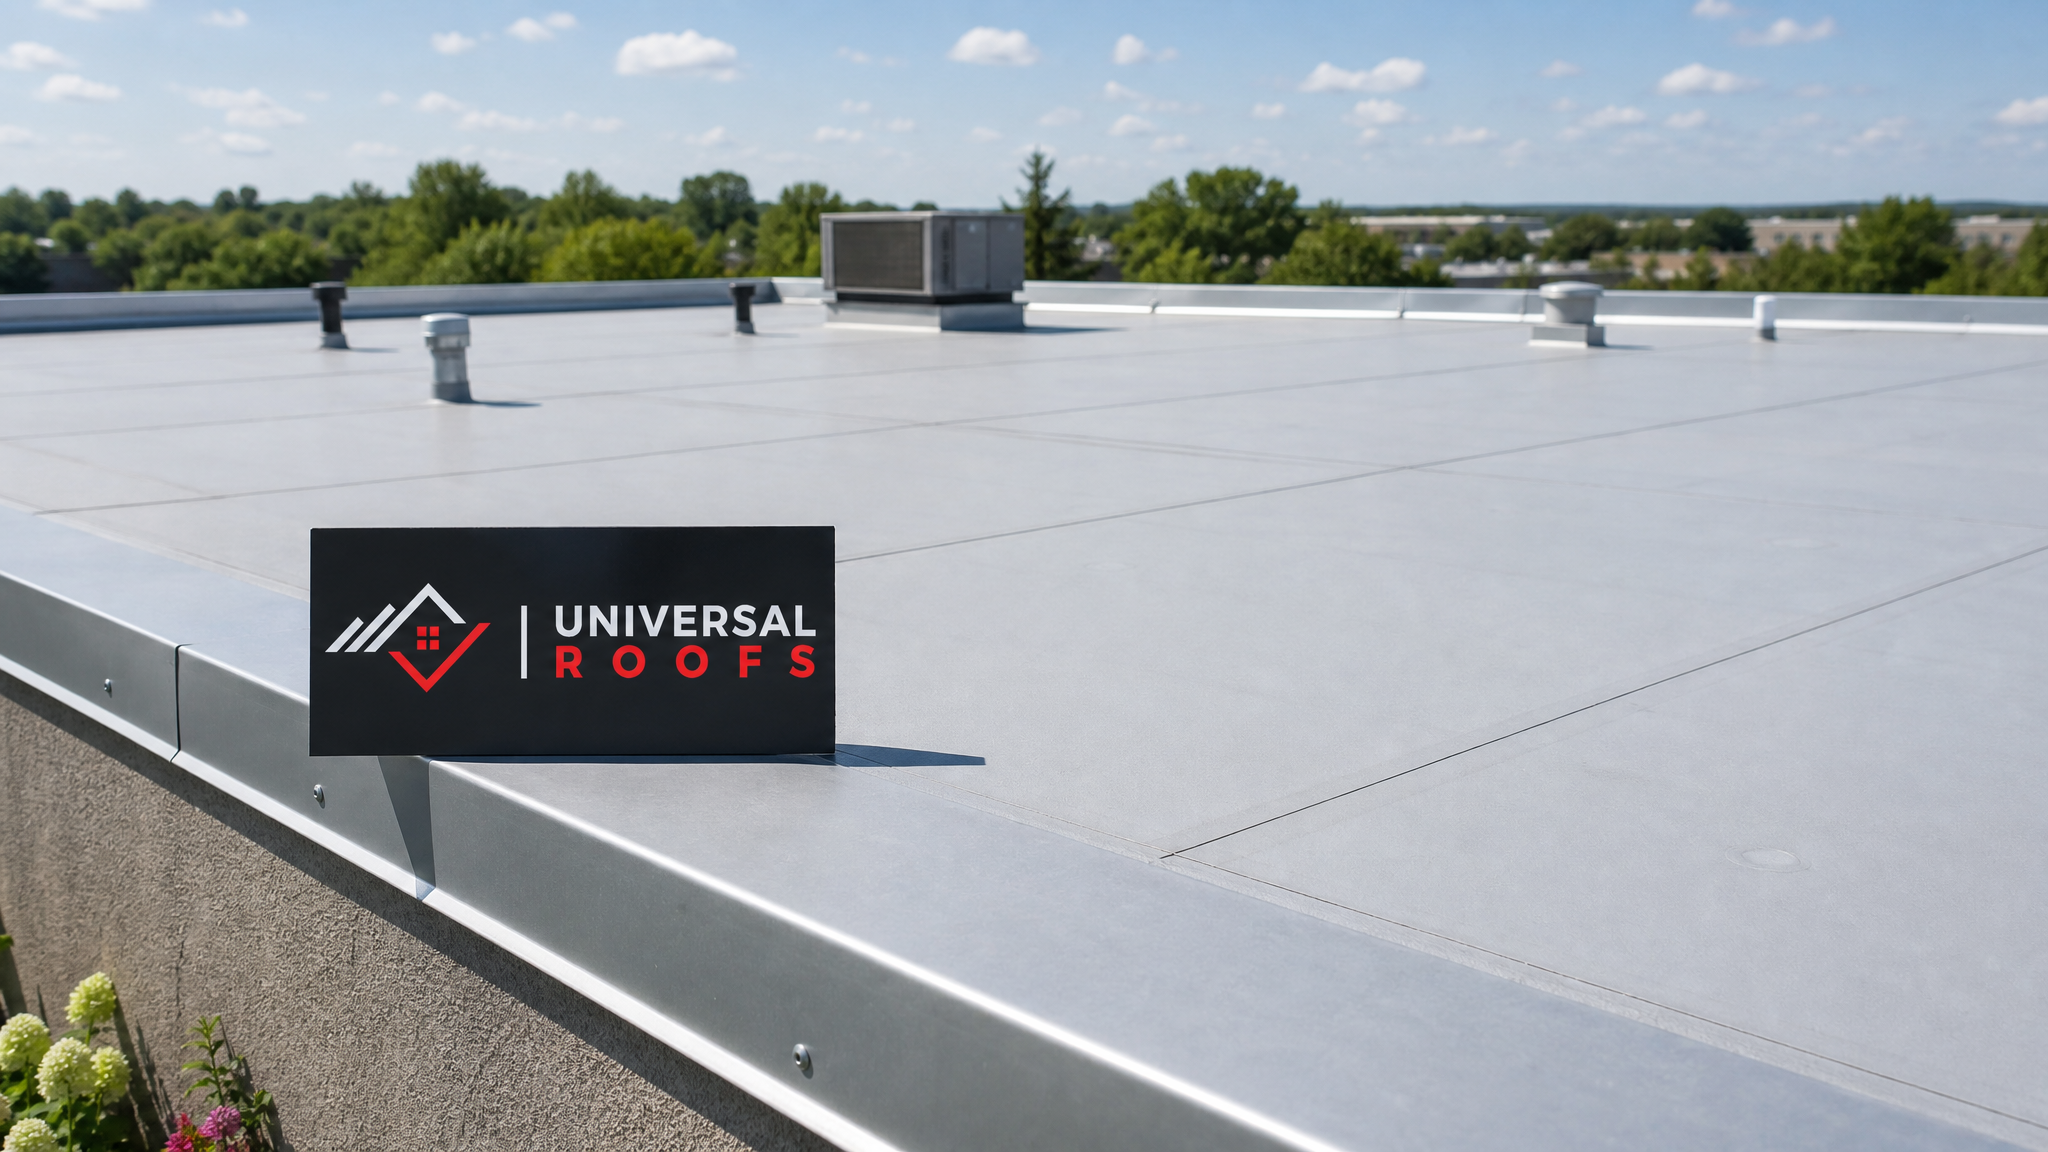
Homeowners tend to picture wind damage as missing shingles, but commercial low-slope roofs fail in a different sequence. Wind does not simply push down on a roof — it creates uplift pressure, essentially trying to peel the membrane away from the deck the same way it lifts an aircraft wing. This uplift is strongest at roof edges, corners and parapet transitions, which is exactly where we see the majority of storm calls originate.
Once wind gets a foothold under a membrane edge, a domino effect begins. Air pressure builds beneath the membrane, seams under tension begin to separate, and fasteners that were adequate under normal conditions start to work loose. If the roof has ponding water sitting in low spots, that additional weight combined with wind uplift accelerates seam failure even faster. This is why a roof that “looked fine” from the ground the morning after a storm can have significant hidden damage that only shows up during a proper rooftop inspection.
Toronto’s climate compounds the problem. Freeze-thaw cycling through late fall and early spring already stresses membrane seams and flashing sealant, so by the time summer wind and thunderstorm season arrives, many roofs are already carrying microscopic cracks and brittle adhesive that a strong gust can turn into a full seam failure. A professional roof repair assessment after any wind event above 70 km/h is the single most effective way to catch this before it becomes a leak.
The Post-Storm Inspection: What to Check First
The first 24 to 48 hours after a windstorm are critical. Water intrusion from a lifted seam or damaged flashing rarely shows up as an obvious ceiling stain right away — it often tracks along the deck or insulation layer before it appears inside the building. A systematic inspection catches problems while they are still surface-level repairs rather than structural ones.
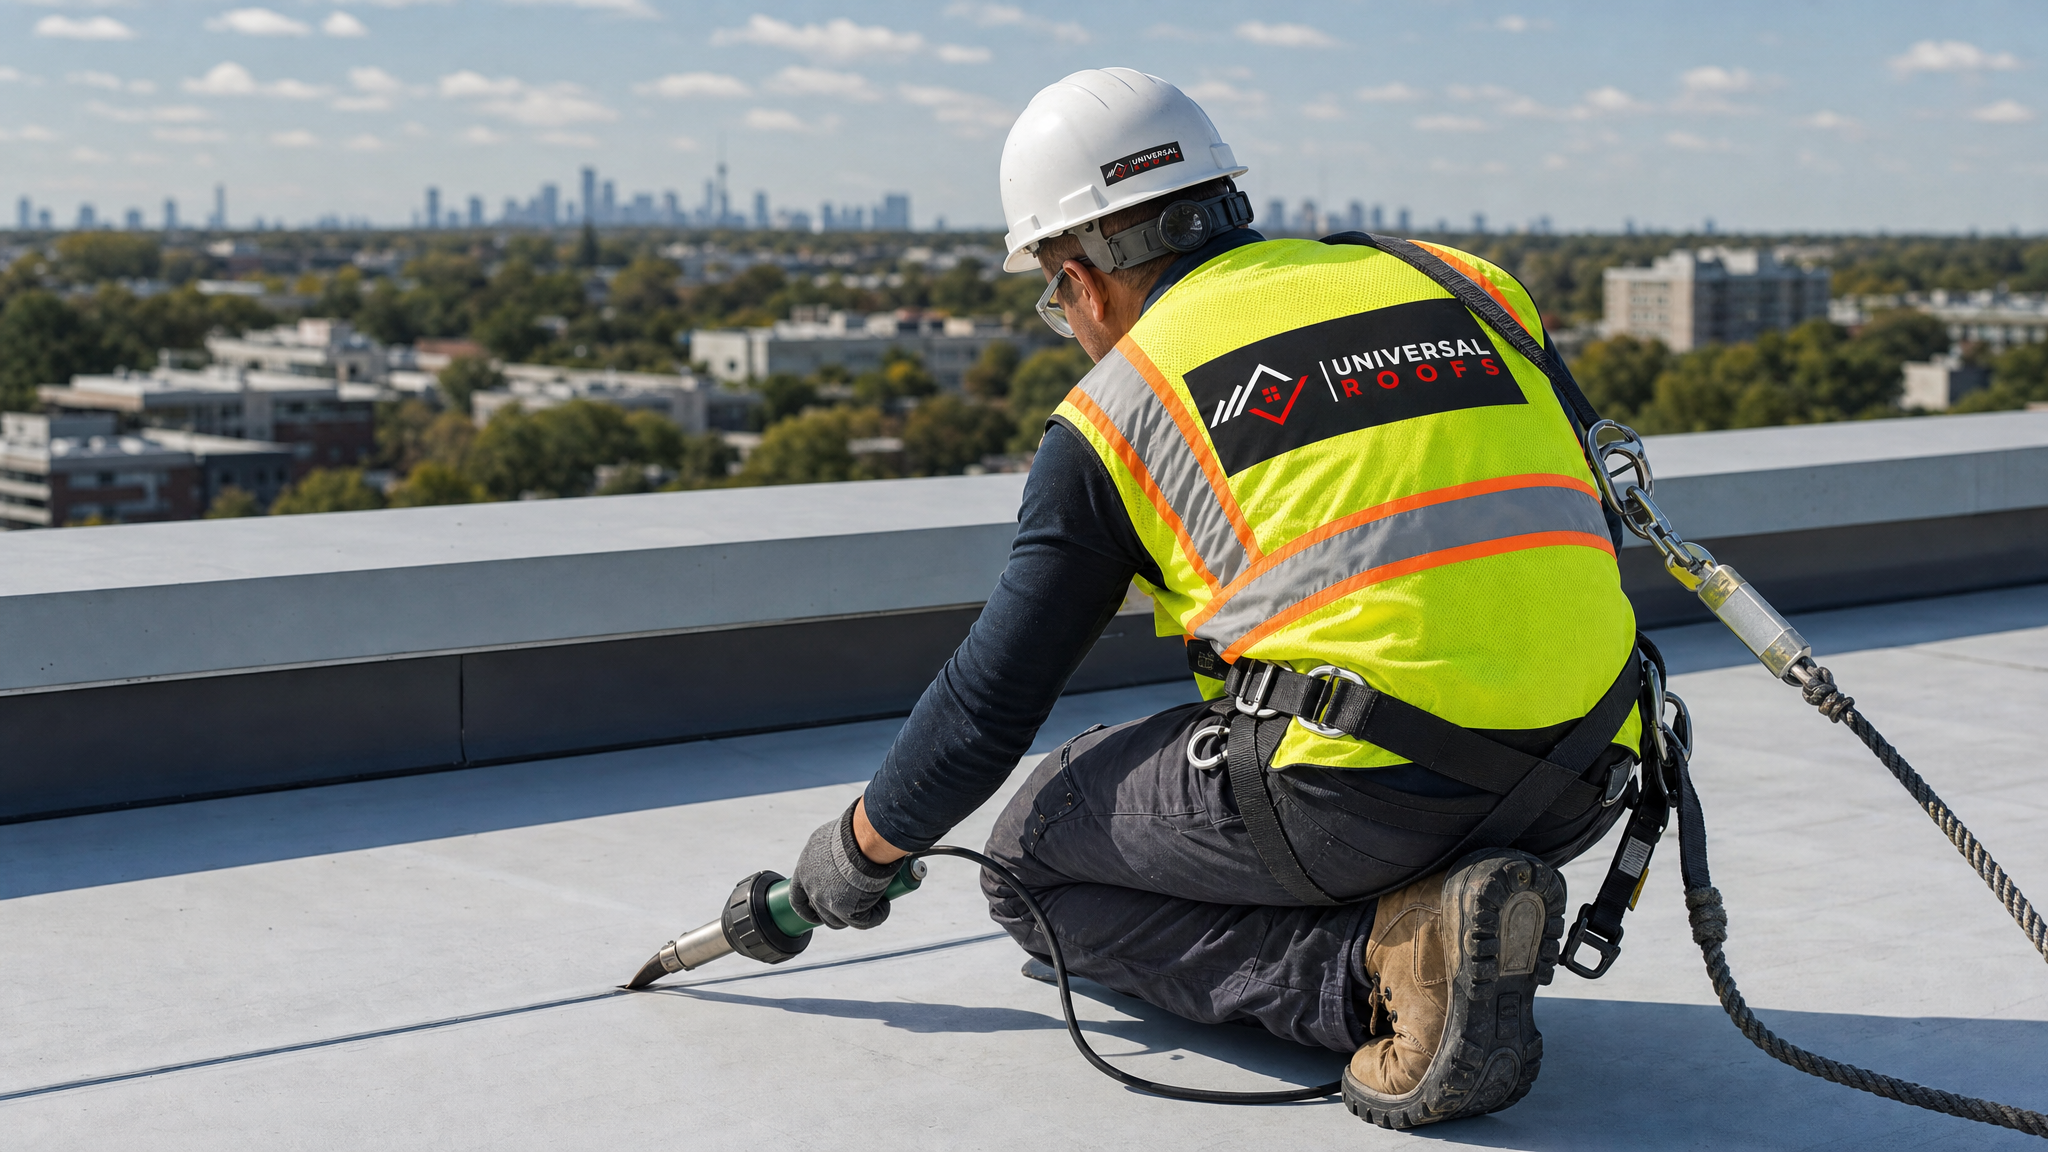
Start with a visual walk of the perimeter from ground level, looking for displaced coping caps, loose gutters, or membrane fragments on the ground or parking lot. Then, if it is safe to do so (winds under 30 km/h, dry surface, and proper fall protection in place), get onto the roof itself for a closer inspection. Never send untrained staff onto a commercial roof after a storm — this is exactly the kind of work that should go to a licensed contractor with harness and anchor systems in place.
| Inspection Area | What to Look For | Urgency Level | Typical Cause |
|---|---|---|---|
| Roof edges and parapets | Lifted membrane, exposed fasteners, torn edge metal | High — repair within 48 hours | Uplift pressure at perimeter |
| Field seams | Separated laps, bubbling, visible daylight through seams | High — active leak risk | Adhesive fatigue plus wind stress |
| Flashing around penetrations | Displaced or torn flashing at HVAC curbs, vents, skylights | High — direct water entry point | Vibration and uplift at curb edges |
| Drains and scuppers | Debris blockage, membrane pulled from drain bowl | Medium — causes ponding if ignored | Wind-blown debris accumulation |
| Rooftop equipment mounts | Loose anchors, shifted units, cracked pitch pockets | Medium to high | Wind load on exposed equipment |
| General membrane surface | Punctures, gouges from wind-blown debris | Medium — monitor for growth | Impact from loose debris |
Document everything with photos and timestamps. If the damage is significant, this documentation is essential for insurance claims, and it gives your roofing contractor a clear starting point for the repair scope rather than a second full inspection cycle.
Repair Methods by Damage Type
Not every wind-damaged roof needs the same fix, and one of the most common mistakes we see is a blanket approach — resealing everything with mastic and hoping it holds. Matching the repair method to the actual failure mode is what makes a repair last through the next storm rather than the next rainfall.
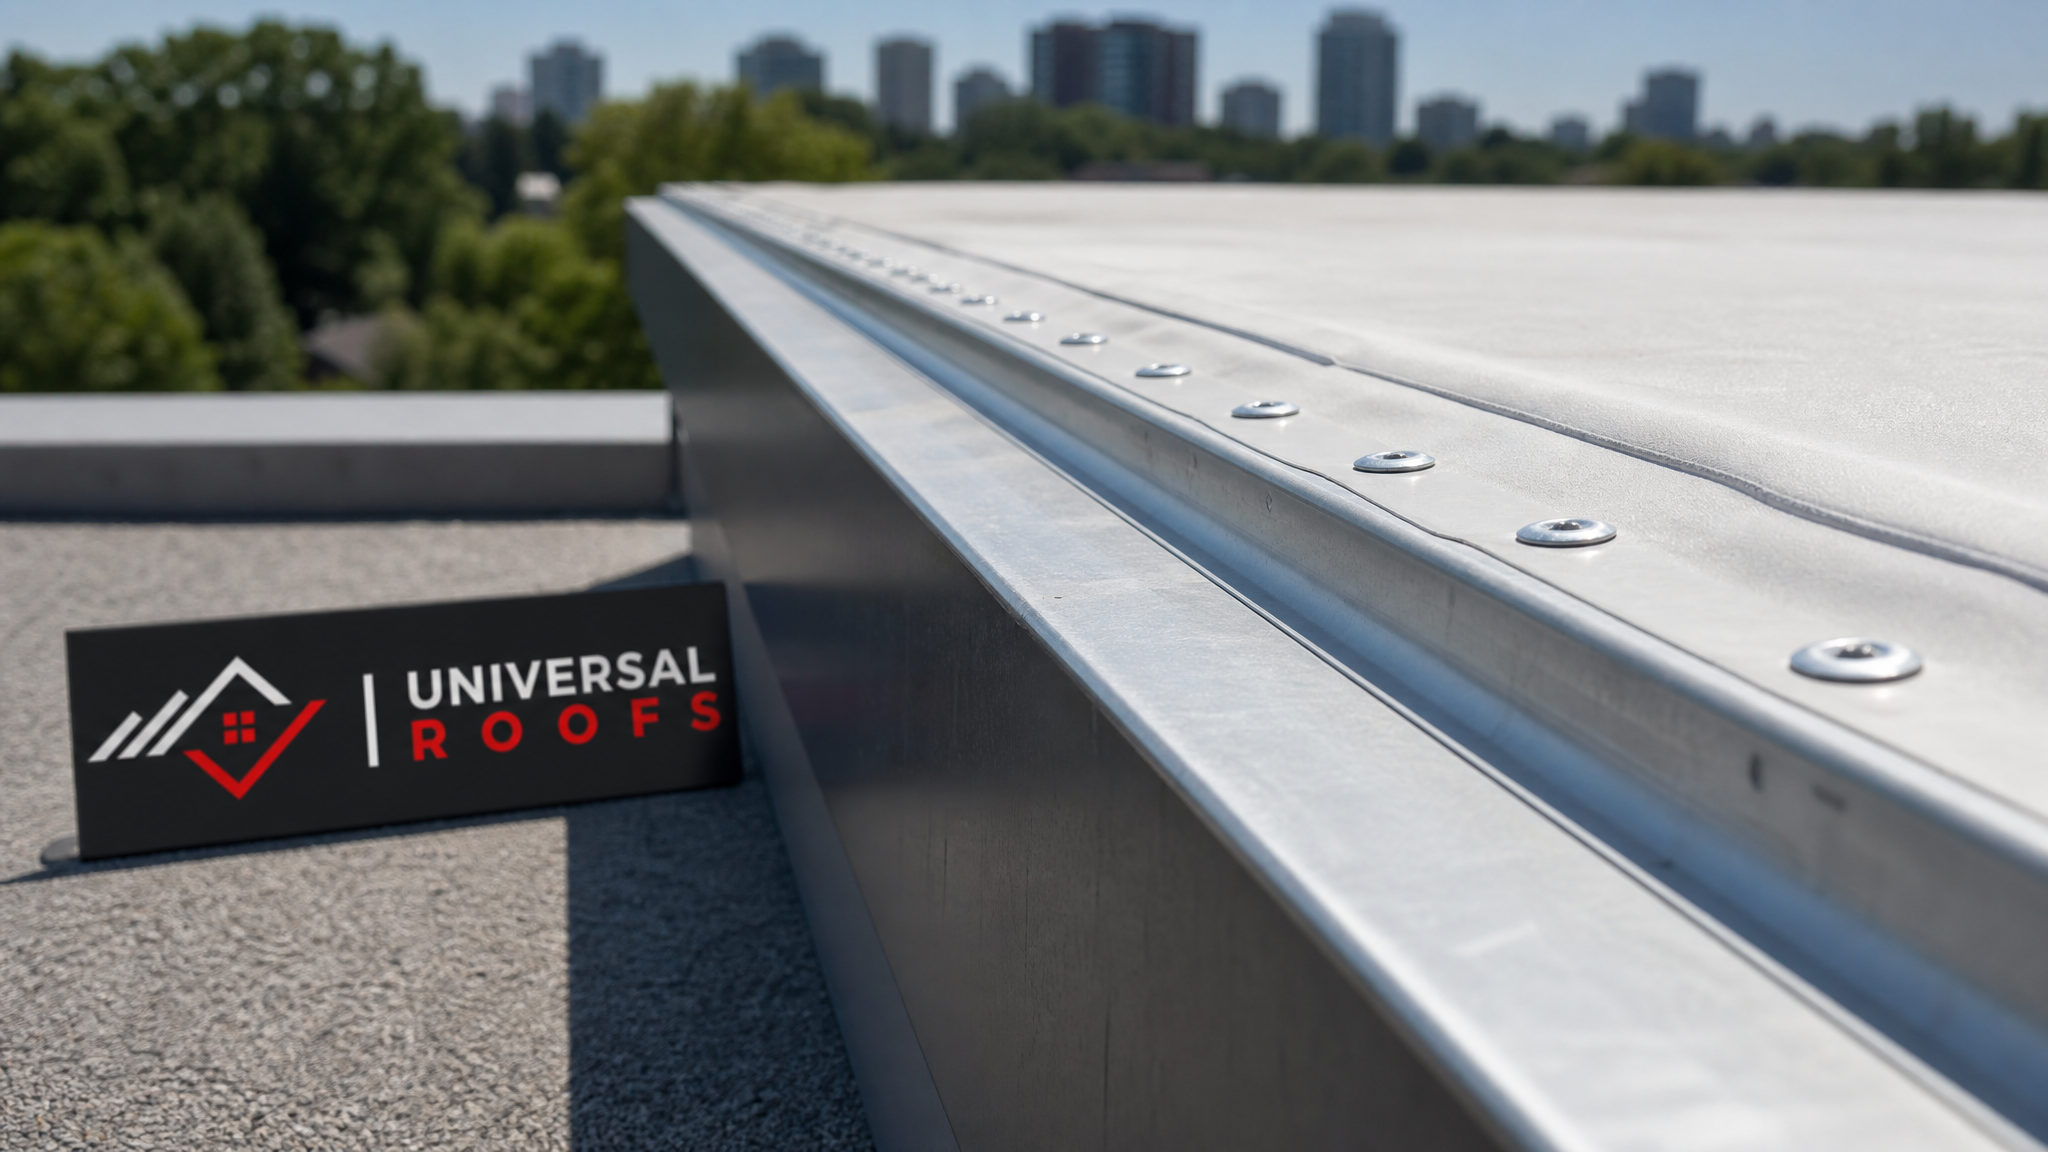
For lifted membrane at the edge, the standard approach is to fully detach the affected section back to sound, adhered membrane, clean the substrate, and reattach with new adhesive or mechanical fasteners depending on the original attachment method. Simply gluing the lifted flap back down without addressing why it lifted (usually inadequate fastening density at the perimeter) just delays the next failure.
Seam separations are repaired by cutting out the failed lap, priming both surfaces, and installing a new seam with appropriate width overlap — for TPO and PVC membranes this typically means hot-air welding rather than adhesive alone, since welded seams perform far better under repeated wind cycling. For modified bitumen or built-up roofs, torch-applied or cold-adhesive patching with proper granule embedment restores both function and appearance.
Flashing damage around penetrations is one of the more involved repairs because it often requires removing and reinstalling counter-flashing or pitch pockets rather than just resealing the surface. If the underlying deck or insulation has absorbed water, that material needs to be dried out or replaced before new flashing goes back on — sealing over wet insulation traps moisture and guarantees a repeat failure.
| Damage Type | Repair Method | Typical Timeline | Longevity of Repair |
|---|---|---|---|
| Lifted membrane at edge | Cut back, reattach with new fasteners/adhesive, reseal | 1-2 days per section | 10-15 years if properly fastened |
| Seam separation (TPO/PVC) | Hot-air weld repair with overlap patch | Same day per seam run | 15-20 years, matches membrane life |
| Seam separation (modified bitumen) | Torch-applied or cold-adhesive patch | 1 day | 8-12 years |
| Flashing displacement | Remove, replace insulation if wet, reinstall flashing | 1-3 days | 15-20 years |
| Membrane punctures | Clean patch with reinforced membrane overlay | Hours per puncture | Full remaining membrane life |
| Widespread perimeter failure | Full perimeter re-fastening and edge metal replacement | 3-7 days | 15-20 years |
When Repair Isn’t Enough: Recognizing the Need for Replacement
Not every storm-damaged roof should be repaired. If a roof is already near the end of its expected service life, or if the wind event exposed damage across a large percentage of the surface rather than isolated sections, patch repairs become a poor investment. A rule of thumb we use on inspections: if wind damage affects more than 25 to 30 percent of the roof area, or if the underlying insulation shows widespread moisture saturation, a full roof replacement is usually the more economical path over a five-year horizon.
This is a judgment call that benefits from an honest contractor rather than one incentivized to sell the biggest job. A good inspection report should show you exactly which sections are repairable, which are not, and what the cost difference looks like over time. For flat commercial roofs specifically, our flat roofing team can walk through membrane options — TPO, PVC, or modified bitumen — and explain which system holds up best against wind uplift for your specific building height and exposure.
Building height and location matter more than most property managers realize. A three-storey warehouse in an open industrial park in Brampton experiences dramatically higher wind loads at roof level than a similar building tucked between taller neighbours downtown. Wind speed increases with height and is amplified around building corners due to a phenomenon called corner vortex uplift — this is why perimeter and corner zones almost always require higher fastener density than the field of the roof under current wind uplift design standards.
Rooftop Equipment and Skylights: Often Overlooked in Wind Events
Property managers frequently focus wind damage inspections on the membrane itself and overlook rooftop equipment, which is often the actual point of failure. HVAC units, exhaust fans, and other mechanical equipment mounted on curbs create wind resistance points that can loosen anchor bolts, crack pitch pocket sealant, or shift the unit enough to open a gap in the flashing around its base.
Skylights deserve particular attention after high winds. A skylight curb flashing that has been compromised by wind uplift is a direct path for water into the building below, and skylight glazing itself can develop stress cracks from wind-driven debris impact even when the frame looks intact. If your building has rooftop skylights, it is worth having them inspected alongside the general membrane check — our skylights team frequently finds flashing separation around curbs that was missed in a general roof walk because it required getting close to the unit itself rather than viewing it from a distance.
Older skylight units, particularly those installed before improved thermal break and flashing designs became standard, are more vulnerable to wind-driven failure. If a storm has revealed that a skylight’s flashing or seal has failed repeatedly, it may be more cost-effective to consider skylight replacement rather than continuing to patch an ageing unit that will likely fail again in the next significant wind event.
Interior Signs of Wind Damage You Shouldn’t Ignore
Roof damage does not always announce itself with an obvious leak. Interior warning signs are frequently subtle at first and easy to dismiss, which is part of why so many wind-damaged roofs go unaddressed until a much more expensive repair is required. Property managers and facility staff should walk the top floor of the building after any significant wind event, not just the roof exterior.
Watch for faint discolouration or a slightly damp smell near ceiling tiles, especially close to exterior walls or below rooftop penetrations like HVAC curbs and skylights. Insulation above a dropped ceiling that has become compressed or discoloured is another early indicator, as is a sagging or bowed ceiling tile that was flat the week before. None of these signs necessarily mean a catastrophic leak, but all of them warrant a rooftop inspection sooner rather than later.
It is also worth checking the attic or roof plenum space directly, if your building has one, rather than relying solely on ceiling tile appearance. Moisture can travel along the underside of the deck for a surprising distance before it finds a path down through a ceiling tile seam, meaning the visible water stain is sometimes metres away from the actual point of entry. Our attic inspection service covers exactly this kind of moisture tracing for buildings with accessible roof cavities.
Cost Factors and Realistic Budgeting
Commercial roof wind damage repair costs vary considerably depending on membrane type, roof age, extent of damage, and access difficulty, but property managers benefit from understanding the general cost drivers before a quote arrives so unexpected numbers do not derail a budget approval process.
| Cost Factor | Low-End Scenario | High-End Scenario | Why It Varies |
|---|---|---|---|
| Membrane type | TPO patch repair | Modified bitumen full section replace | Material and labour method differ significantly |
| Damage extent | Isolated seam, under 10 sq metres | Full perimeter, hundreds of sq metres | Labour hours scale directly with area |
| Roof access | Ground-level ladder access | Crane or hoist required for equipment | Access equipment adds significant cost |
| Insulation condition | Dry, reusable | Saturated, requires full tear-out | Wet insulation must be replaced, not dried in place |
| Emergency vs scheduled | Scheduled repair within days | Same-day emergency tarping and stabilization | Emergency response commands premium rates |
The single biggest cost multiplier we see is delayed response. A seam repair caught within a day or two of the storm might cost a fraction of what the same roof section costs to fix after weeks of unaddressed water intrusion have saturated the insulation layer and started affecting the deck. This is the strongest argument for scheduling a post-storm inspection promptly rather than waiting to see if a leak develops on its own.
Insurance Claims and Documentation
Most commercial property insurance policies cover wind damage, but the claims process moves faster and more smoothly when documentation is thorough from the start. Photograph the damage before any repair work begins, including wide shots showing the affected area in context and close-up shots of specific failure points like torn seams or displaced flashing.
A written inspection report from a licensed roofing contractor carries significant weight with adjusters, particularly one that separates storm-caused damage from pre-existing wear. Insurers will sometimes push back on claims where a roof was already near end-of-life, arguing the damage reflects age rather than the storm event — a clear, dated inspection report helps establish what changed and when.
Keep records of the storm event itself too. Environment Canada wind speed data for the date and location, along with any local news coverage of the storm, helps corroborate that conditions were severe enough to cause the reported damage. This kind of documentation rarely takes more than an hour to assemble but can significantly speed up claim approval.
Building a Wind-Resilience Maintenance Programme
The most effective way to reduce wind damage repair costs over time is not better repairs — it is a maintenance programme that catches vulnerabilities before a storm exploits them. Twice-yearly inspections, ideally in spring after freeze-thaw season and again in early fall before storm season peaks, catch loose fasteners, degrading sealant, and minor seam separation while they are still inexpensive fixes.
Perimeter fastening density deserves special attention during these inspections. Many older commercial roofs were fastened to design standards that predate current wind uplift codes, meaning the edge and corner zones may be under-fastened relative to what would be specified today. Upgrading perimeter fastening during a routine maintenance visit is far cheaper than doing it as an emergency repair after a storm has already caused damage.
Drain and scupper maintenance also plays a bigger role in wind resilience than most property managers expect. A roof with clear, functioning drainage sheds wind-driven rain quickly, reducing the ponding weight that compounds uplift stress on membrane seams. Keeping drains clear of debris is one of the simplest and cheapest wind-damage prevention measures available.
Property managers overseeing buildings across the Toronto, Peel Region, York Region, Halton Region, or Durham Region service areas should factor local wind exposure into their maintenance schedule — open industrial parks and lakefront-adjacent properties generally see higher wind loads and benefit from more frequent inspection cycles than sheltered urban sites.
Choosing the Right Contractor for Storm Repairs
Wind damage response attracts opportunistic operators, particularly in the days immediately following a major storm. Property managers should be cautious of unsolicited door-to-door offers or extremely low quotes that arrive within hours of a storm — legitimate commercial roofing work requires a proper inspection before an accurate quote can be given.
Ask any contractor bidding on storm repair work for proof of licensing and insurance, and ask specifically about their experience with your membrane type. TPO, PVC, and modified bitumen each require different repair techniques and tools, and a contractor experienced primarily in shingle work is not the right choice for a commercial low-slope membrane repair. Checking a contractor’s reviews from other commercial clients, and asking pointed questions on their FAQ page or directly, is worth the extra half hour before signing a repair contract.
A contractor’s willingness to explain the “why” behind a repair recommendation, rather than simply quoting a number, is often the clearest signal of expertise. If a company cannot explain why a section needs full replacement versus a patch, or why the fastening pattern needs to change, that is worth treating as a red flag on a project this consequential to your building’s integrity.
Frequently Asked Questions
What are the most important expert tips for commercial roof wind damage repair after a storm?
How much does commercial roof wind damage repair typically cost?
How can I tell if my commercial roof has wind damage that needs repair?
Should I repair or replace my commercial roof after wind damage?
Does insurance cover commercial roof wind damage repair?
How often should a commercial roof be inspected to prevent wind damage?
Need Help With Expert Tips for Commercial?
Storm damage on a commercial roof rarely gets better on its own, and the sooner a proper inspection identifies the actual failure mode, the less it costs to fix correctly. Universal Roofs has been responding to wind-damaged commercial roofs across the GTA since 2005, matching the right repair method to each membrane type rather than applying a one-size-fits-all patch.
Call us today at (416) 732-2421 or request a free inspection to get started.
Universal Roofs proudly serves Toronto, Mississauga, Brampton, Vaughan, Markham, Oakville and the GTA since 2005.