
A hard windstorm rolling off Lake Ontario can strip shingles, crack flashing, and lift entire sections of a roof deck in minutes. If you have just watched shingles sail across your backyard or noticed daylight through your attic boards, you need a plan, not panic. These essential tips for repairing roof wind damage will walk you through exactly what to check, what to fix first, and when a patch job simply is not enough.
Toronto and the surrounding GTA see wind gusts well above 70 km/h several times a year, and freeze-thaw cycles from the previous winter often leave shingles brittle and more prone to tearing loose. Add in the occasional summer microburst or derecho-style storm system, and most homeowners in this region will deal with some form of wind damage at least once every few years. Knowing how to respond correctly protects not just your shingles, but the wood decking, insulation, and interior finishes underneath.
This guide covers the six most important steps for repairing roof wind damage safely and effectively, along with the materials, costs, and warning signs every homeowner should understand before calling in a professional.

Tip 1: Inspect Safely and Document Everything Before You Touch a Thing
The first of these essential tips for repairing roof wind damage is also the one most homeowners skip: a proper, safe inspection before any repair work begins. Climbing onto a wind-damaged roof yourself is one of the leading causes of secondary injuries after a storm, since loose shingles, exposed nails, and weakened decking can give way without warning. Instead, do a ground-level and window-level inspection first.
Walk the perimeter of your home and look for shingles in the yard, gutters, or flower beds. Use binoculars to scan the roof plane from the ground, checking especially the ridge line, the edges (rake and eave), and any valleys where two roof planes meet. These are the areas most vulnerable to wind uplift because they experience the highest negative pressure during a storm.
Inside, check the attic with a flashlight for any pinpricks of daylight, damp insulation, water stains on the rafters, or a musty smell, all of which indicate the roof membrane has been compromised even if you cannot see obvious damage from outside. Photograph everything you find, including wide shots of the whole roof plane and close-ups of any lifted, cracked, or missing shingles. This documentation is essential for insurance claims and gives a roofing contractor a head start when they arrive for a full roof repair assessment.
| Warning Sign | Where to Look | Likely Severity | Action Needed |
|---|---|---|---|
| Missing shingles | Ridge, rake edges, field of roof | Moderate to severe | Same-week repair recommended |
| Lifted or curling shingle tabs | Field of roof, especially south/west slopes | Moderate | Reseal or replace within 1-2 weeks |
| Cracked or bent flashing | Chimneys, valleys, vent pipes | Severe | Immediate repair to prevent leaks |
| Granules in gutters or downspouts | Gutters, ground below downspouts | Minor to moderate | Monitor; plan replacement if widespread |
| Daylight visible in attic | Attic sheathing, roof deck seams | Severe | Emergency tarp and same-day inspection |
| Sagging roof deck | Ridge line, mid-span of roof | Structural / severe | Immediate professional assessment |
Tip 2: Tarp Exposed Areas Immediately to Prevent Secondary Water Damage
Once you have identified where the wind damage occurred, the priority shifts to stopping water intrusion. A roof does not need to look catastrophic to leak; even a small patch of missing shingles or a lifted flashing seam can let a surprising amount of water into the attic during the next rainfall, and Toronto summers are notorious for sudden thunderstorms following windy afternoons.
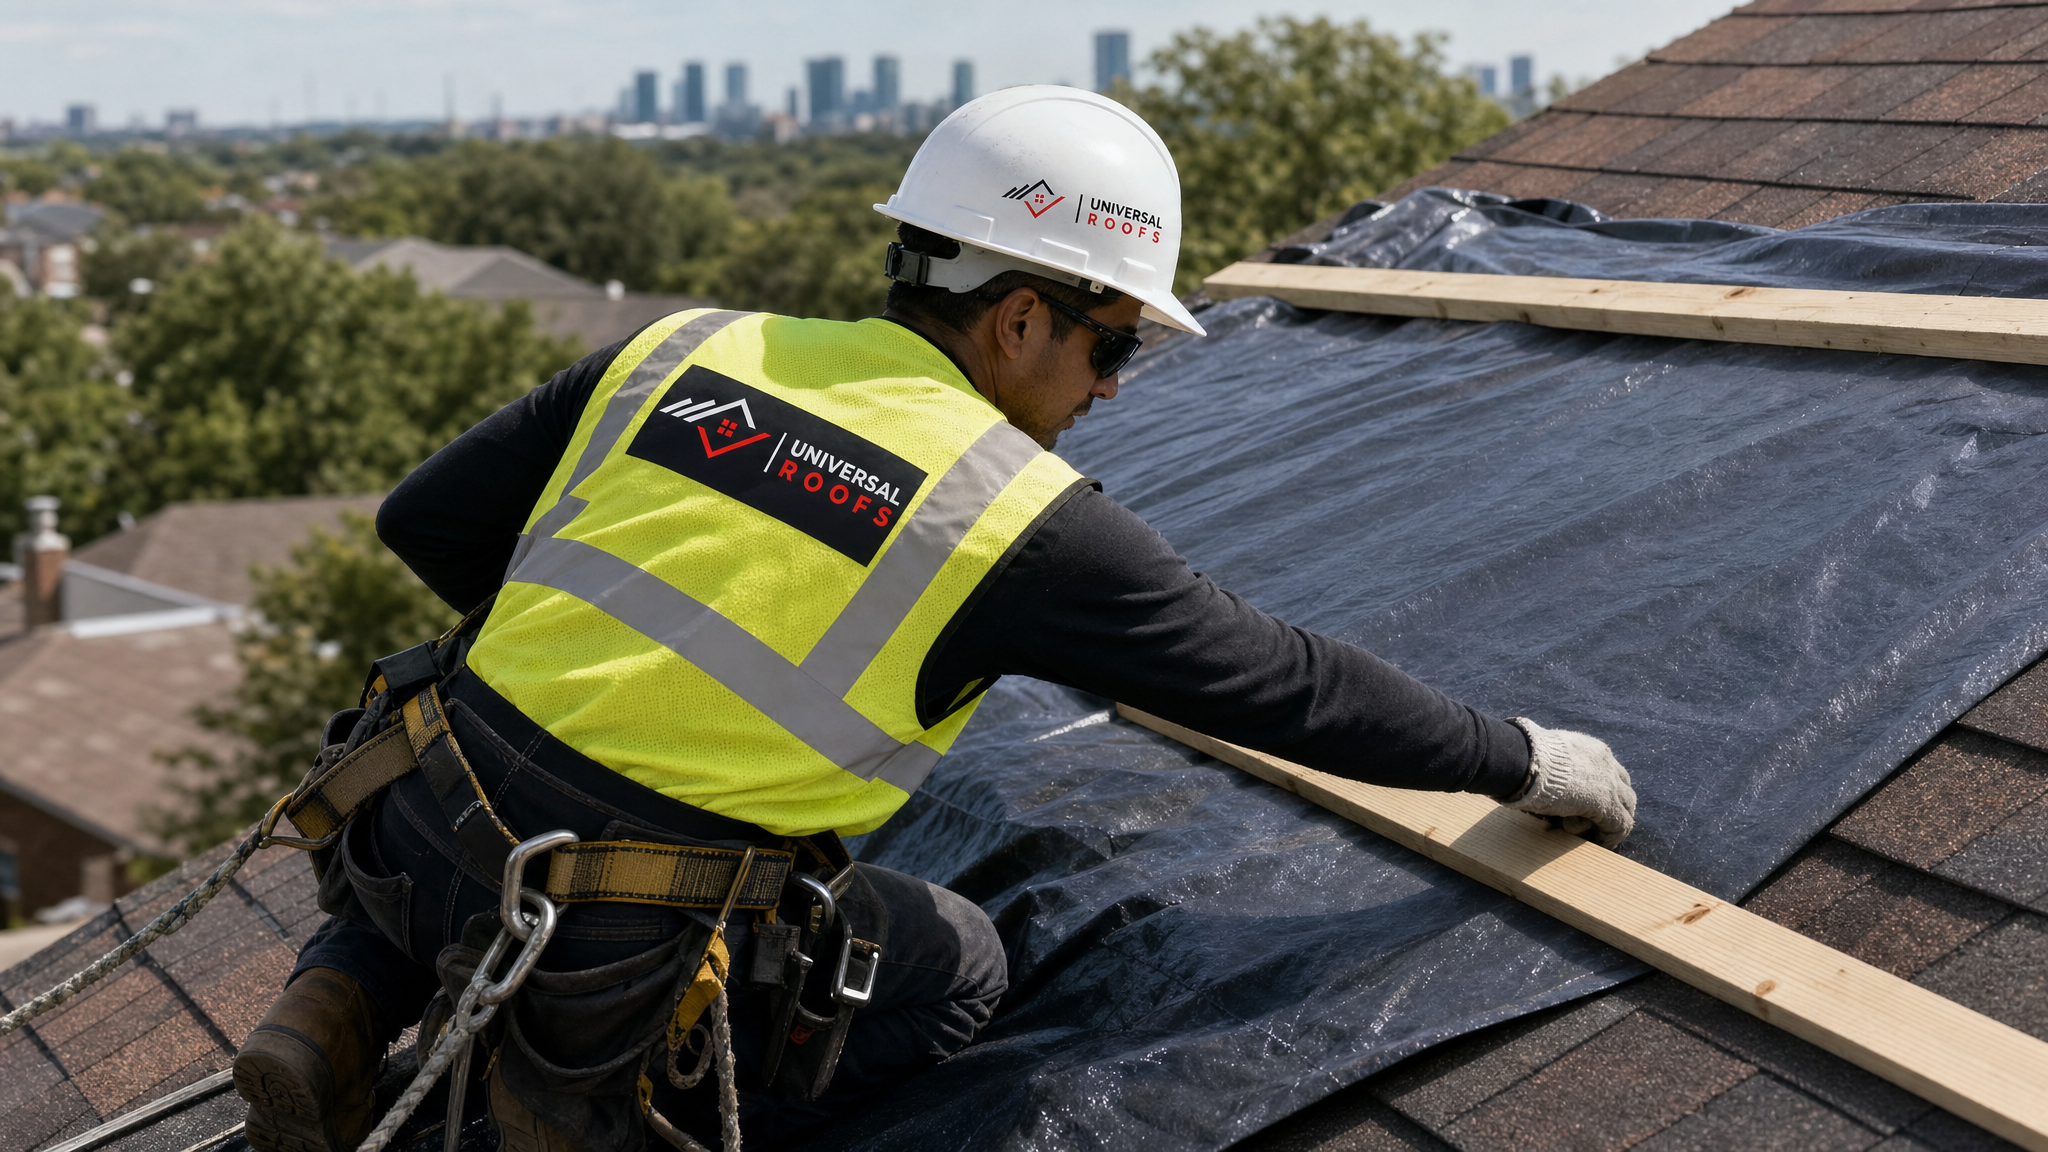
If you can safely access the area (ideally from a stable ladder rather than walking the roof deck itself), cover exposed sections with a heavy-duty tarp rated for exterior use. Secure it with roofing nails driven into the wood furring strips laid across the tarp edges, rather than directly through the tarp material, which tears easily under continued wind load. Never use duct tape as a long-term seal; it fails quickly in UV exposure and temperature swings.
If the damage is on a steep slope, at height, or near power lines, do not attempt this yourself. This is precisely the kind of situation where an emergency roof repair team should be called immediately, since they carry fall-protection equipment and can install a proper temporary membrane rather than a tarp that may blow off in the next gust.
Tip 3: Match Shingle Type, Colour, and Age Before Replacing Individual Sections
One of the most overlooked essential tips for repairing roof wind damage is that not every damaged shingle needs a full roof replacement, but the repair must be done with the correct materials or it will fail again in the next windstorm. Asphalt shingles are manufactured in batches, and colour can shift subtly between production runs, so matching an eight-year-old roof to new shingles from a big-box store is rarely a perfect blend.
A professional roofer will typically source shingles from the same manufacturer and colour line as your existing roof, and in many cases can salvage shingles from a less visible slope (such as a rear-facing plane) to patch a highly visible front slope, then use the newer shingles on the less visible area. This keeps the repair inconspicuous and preserves resale value.
Wind rating matters just as much as colour matching. Standard three-tab shingles are typically rated for winds up to 90-100 km/h, while architectural or laminate shingles with reinforced nailing zones can be rated for 190 km/h or higher when installed with the correct nailing pattern. If your roof has experienced repeat wind damage, upgrading to a higher wind-rated shingle during the repair is worth discussing with your contractor.
| Shingle Type | Typical Wind Rating | Average Lifespan | Best Use Case |
|---|---|---|---|
| Standard 3-tab asphalt | 90-100 km/h | 15-20 years | Budget-conscious repairs on older roofs |
| Architectural / laminate asphalt | 190-210 km/h | 25-30 years | Full replacements and high-wind zones |
| Impact-resistant asphalt | 190+ km/h | 30 years | Homes with frequent hail and wind events |
| Metal panel roofing | Up to 225 km/h | 40-60 years | Long-term wind resilience, steep slopes |
| Flat roof membrane (TPO/EPDM) | Varies by fastening pattern | 20-25 years | Additions, garages, low-slope sections |
If your home has a low-slope or flat section that took wind damage, the repair approach is different from sloped shingle work. Membrane roofing relies on mechanical fastening patterns and heat-welded or adhered seams, and a wind-lifted membrane edge needs to be resealed by someone experienced with that specific system. Our flat roofing team handles these repairs regularly across the GTA, since additions, garages, and porch roofs are commonly built with low-slope membranes even on homes with a primary shingled roof.
Tip 4: Check Flashing, Vents, and Skylights, Not Just the Shingle Field
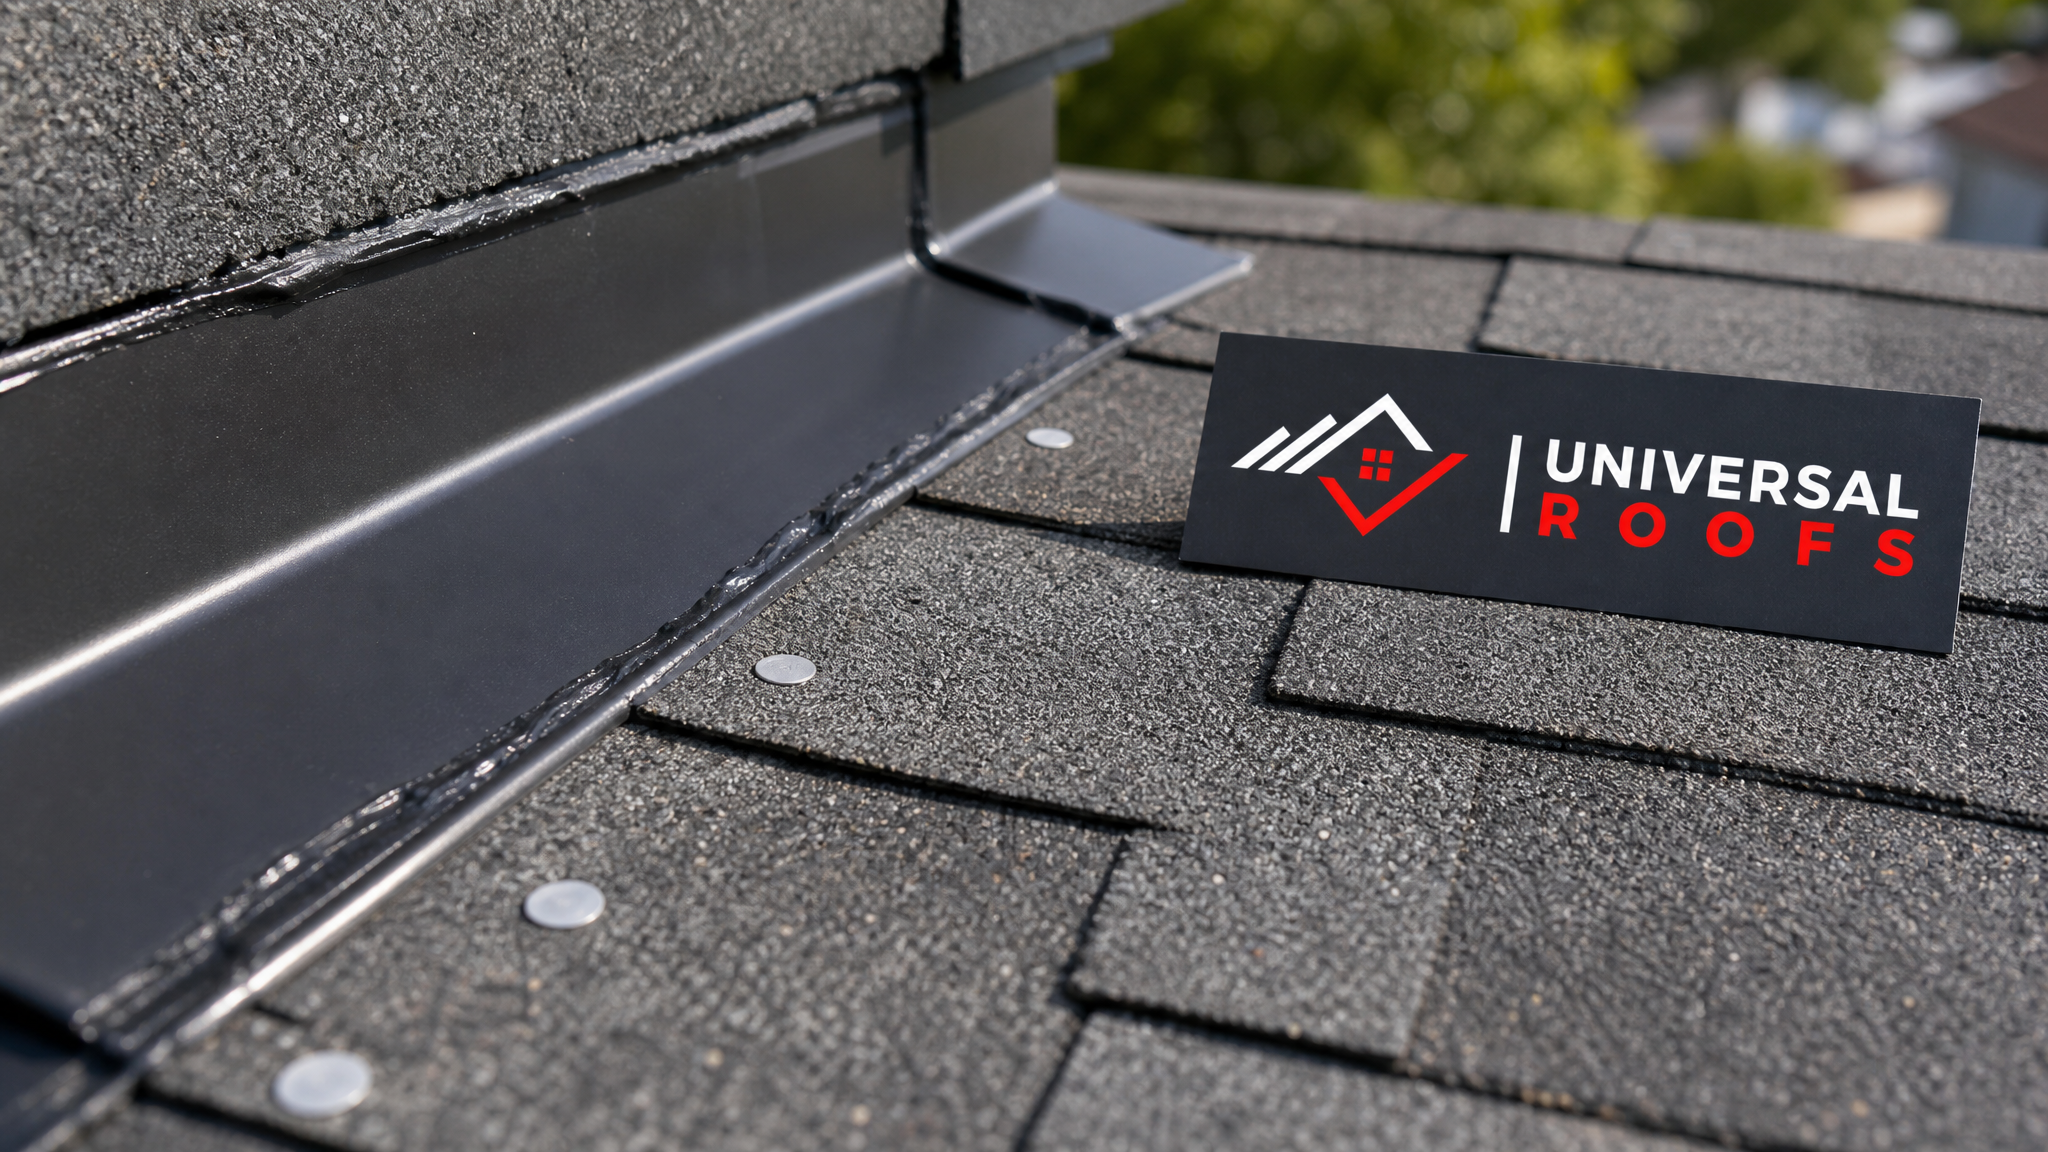
Wind damage rarely limits itself to shingles. Flashing around chimneys, plumbing vents, and skylights is sealed with caulking and fasteners that can loosen under repeated wind flex, even if the shingles nearby look intact. A gap of just a few millimetres at a flashing seam is enough to let wind-driven rain penetrate during the next storm.
Skylights deserve particular attention after a windstorm, since their frames experience concentrated stress at the corners and along the flashing kit that seals them to the roof deck. If you notice condensation, a whistling sound during wind, or a visible gap at the skylight curb, have it inspected promptly. In many cases the fix is a resealed flashing kit rather than a full unit replacement, but older skylights (typically 15-20+ years) that have already been through multiple wind events are often better served by a skylight replacement rather than repeated patch repairs, particularly if the seals have already failed once before.
If you are adding a skylight during this repair, or considering one for the first time, our skylights page outlines the models best suited to Toronto’s climate, including units built to handle freeze-thaw cycling around the flashing without cracking.
Roof vents, whether ridge vents, box vents, or powered attic fans, should also be checked for cracked housings or loosened base flashing. A damaged vent is a direct pathway for both wind-driven rain and pest entry, and because vents are tied into your attic’s ventilation system, damage here can also affect how well your attic manages heat and moisture for the rest of the year.
Tip 5: Understand When Repair Is Enough and When Replacement Makes More Sense
Not every wind event calls for a full roof replacement, but repeated wind damage on an aging roof is a signal worth taking seriously. If your roof is approaching or past the midpoint of its expected lifespan (roughly 12-15 years for standard asphalt shingles) and has already sustained two or more wind-related repairs, the cost of continuing to patch individual sections can approach the cost of a full roof replacement within just a few years.
The decision usually comes down to three factors: the age of the existing roof, the percentage of the roof surface affected, and the condition of the underlying decking. A contractor assessing wind damage should always check the plywood or OSB decking beneath damaged shingles, since wind uplift that tears fasteners loose can also crack or delaminate the deck itself, and a new shingle installed over compromised decking will not hold its warranty or its wind rating.
| Factor | Favours Repair | Favours Replacement |
|---|---|---|
| Roof age | Under 10 years | Over 15 years |
| Area affected | Under 20% of surface | Over 30% of surface |
| Decking condition | Solid, dry, no soft spots | Soft, delaminated, or stained |
| Prior wind damage history | First occurrence | Repeated damage over 2-3 years |
| Shingle granule loss | Localized to damaged area | Widespread across roof plane |
If you are unsure which category your roof falls into, a written assessment is the safest route. Our team walks homeowners through this exact comparison as part of every inspection, and we would rather recommend an honest repair than push an unnecessary replacement. You can see how past customers describe this process on our reviews page.
Tip 6: Work With Your Insurer Correctly and Keep a Paper Trail
Wind damage is one of the more straightforward categories of storm damage for home insurance claims in Ontario, provided it is documented properly and reported promptly. Most policies distinguish between sudden wind events and gradual wear, so a claim filed weeks or months after the fact, once granule loss has clearly progressed from ongoing weathering rather than a single storm, can be denied or reduced.
Report the damage to your insurer as soon as you have completed your initial ground-level inspection and photographs. Ask specifically whether your policy requires an adjuster visit before repairs begin, since starting work first in some cases can complicate the claim. A reputable roofing contractor can provide a detailed written estimate that itemizes materials, labour, and code-required upgrades (such as updated flashing or ice-and-water shield at eaves), which adjusters generally expect to see.
Keep every receipt, every photo, and every piece of correspondence in one folder, digital or physical. If a dispute arises over the scope of covered damage, this paper trail is what supports your position. Many homeowners find it useful to have their roofing contractor speak directly with the adjuster, since a contractor can point out wind-uplift patterns, cracked fasteners, and decking issues that are easy for a non-specialist to miss during a quick site visit.
Regional Wind Patterns Across the GTA and Why Location Matters
Wind exposure is not uniform across the Greater Toronto Area, and understanding your specific location’s risk profile helps set realistic expectations for maintenance and repair frequency. Homes closer to Lake Ontario, particularly in parts of Toronto, often experience stronger sustained lake-effect winds, while more inland communities in Peel Region and York Region tend to see shorter but sometimes more intense gust events tied to summer thunderstorm systems.
Homes in Halton Region and Durham Region face similar seasonal patterns, though local topography (open fields versus dense tree cover, for example) can meaningfully change how much wind load a specific roof plane actually experiences. A roof on an exposed corner lot with no windbreak will generally see more uplift stress than an identical roof tucked between mature trees, which is one reason two neighbouring homes can have very different repair histories even with roofs installed the same year.
If you are unsure how your neighbourhood’s wind exposure compares to others in the GTA, our regional service pages outline the kinds of roofing issues we see most often in each area, which can help set expectations for maintenance timing and material choices.
Preventing Future Wind Damage: Maintenance That Actually Works
The best time to address wind vulnerability is before the next storm, not after. A handful of maintenance habits meaningfully reduce the odds of repeat wind damage on an otherwise sound roof.
Have your roof inspected at least once a year, ideally in spring after the freeze-thaw season has ended, to catch loosened fasteners or lifted shingle tabs before a summer windstorm finds them first. Trim back tree branches that overhang the roofline, since branch strikes during high wind are a common secondary cause of shingle and flashing damage that gets misattributed to wind alone. Keep gutters clear so that wind-driven rain has a clear path off the roof rather than pooling at the eaves, where standing water adds weight and stress to already wind-loosened shingles.
If your roof is due for its next major service regardless of storm damage, consider whether upgrading to a higher wind-rated shingle or improving the nailing pattern on your next roof replacement makes sense for your specific exposure. Ask your contractor about six-nail versus four-nail shingle installation patterns, since the extra two nails per shingle meaningfully increase wind resistance for a marginal cost difference.
| Maintenance Task | Recommended Frequency | Wind-Damage Benefit |
|---|---|---|
| Full roof inspection | Annually (spring) | Catches loosened shingles/flashing before storm season |
| Gutter cleaning | Twice yearly | Prevents water backup adding stress to eave shingles |
| Tree trimming near roofline | As needed, at least yearly | Reduces branch-strike damage during high wind |
| Flashing and sealant check | Every 1-2 years | Prevents wind-driven rain intrusion at seams |
| Attic ventilation check | Annually | Reduces moisture stress that weakens decking over time |
For most homeowners, a short conversation with a roofing professional after any notable windstorm is the simplest way to stay ahead of small problems before they become expensive ones. If you have general questions about maintenance schedules or what a typical inspection covers, our FAQ page answers many of the questions we hear most often, and our about page has more on how our team approaches every job.
What are the most essential tips for repairing roof wind damage after a storm?
How do I know if my roof has wind damage that needs repair?
Should I repair or fully replace a roof after significant wind damage?
Will my home insurance cover roof wind damage repairs?
How long does a typical roof wind damage repair take?
Can I temporarily fix roof wind damage myself before a professional arrives?
Need Help With 6 Essential Tips for?
Wind damage rarely stays contained to a single shingle, and getting it addressed properly the first time protects your home from far costlier repairs down the road. Universal Roofs has been assessing and repairing wind-damaged roofs across the GTA since 2005, matching materials correctly and checking every flashing seam so the fix actually holds through the next storm.
Call us today at (416) 732-2421 or request a free inspection to get started.
Universal Roofs proudly serves Toronto, Mississauga, Brampton, Vaughan, Markham, Oakville and the GTA since 2005.