
Asphalt shingles are the most common roofing material in the Greater Toronto Area, but shingles alone are not what keeps a roof watertight. The real waterproofing happens in the layers underneath and around them: underlayment, ice and water membrane, flashing, sealants, and proper ventilation working together as a system. If any one of those layers is missing or installed incorrectly, water will eventually find its way in, no matter how new the shingles look on top.
At Universal Roofs, we have been inspecting, repairing, and replacing roofs across Toronto since 2005, and the majority of leak calls we respond to trace back to a waterproofing detail that was skipped, not the shingles themselves. This guide walks through the waterproofing methods that actually protect a shingle roof in our climate, what they cost, how long they last, and how to tell whether your current roof has them.
Toronto’s freeze-thaw winters, ice damming, and summer thunderstorm downpours put more stress on a roof’s waterproofing than milder climates ever will. Understanding these methods helps you ask the right questions whether you are planning a full roof replacement, patching a specific leak with roof repair services, or simply trying to understand what your contractor is proposing.
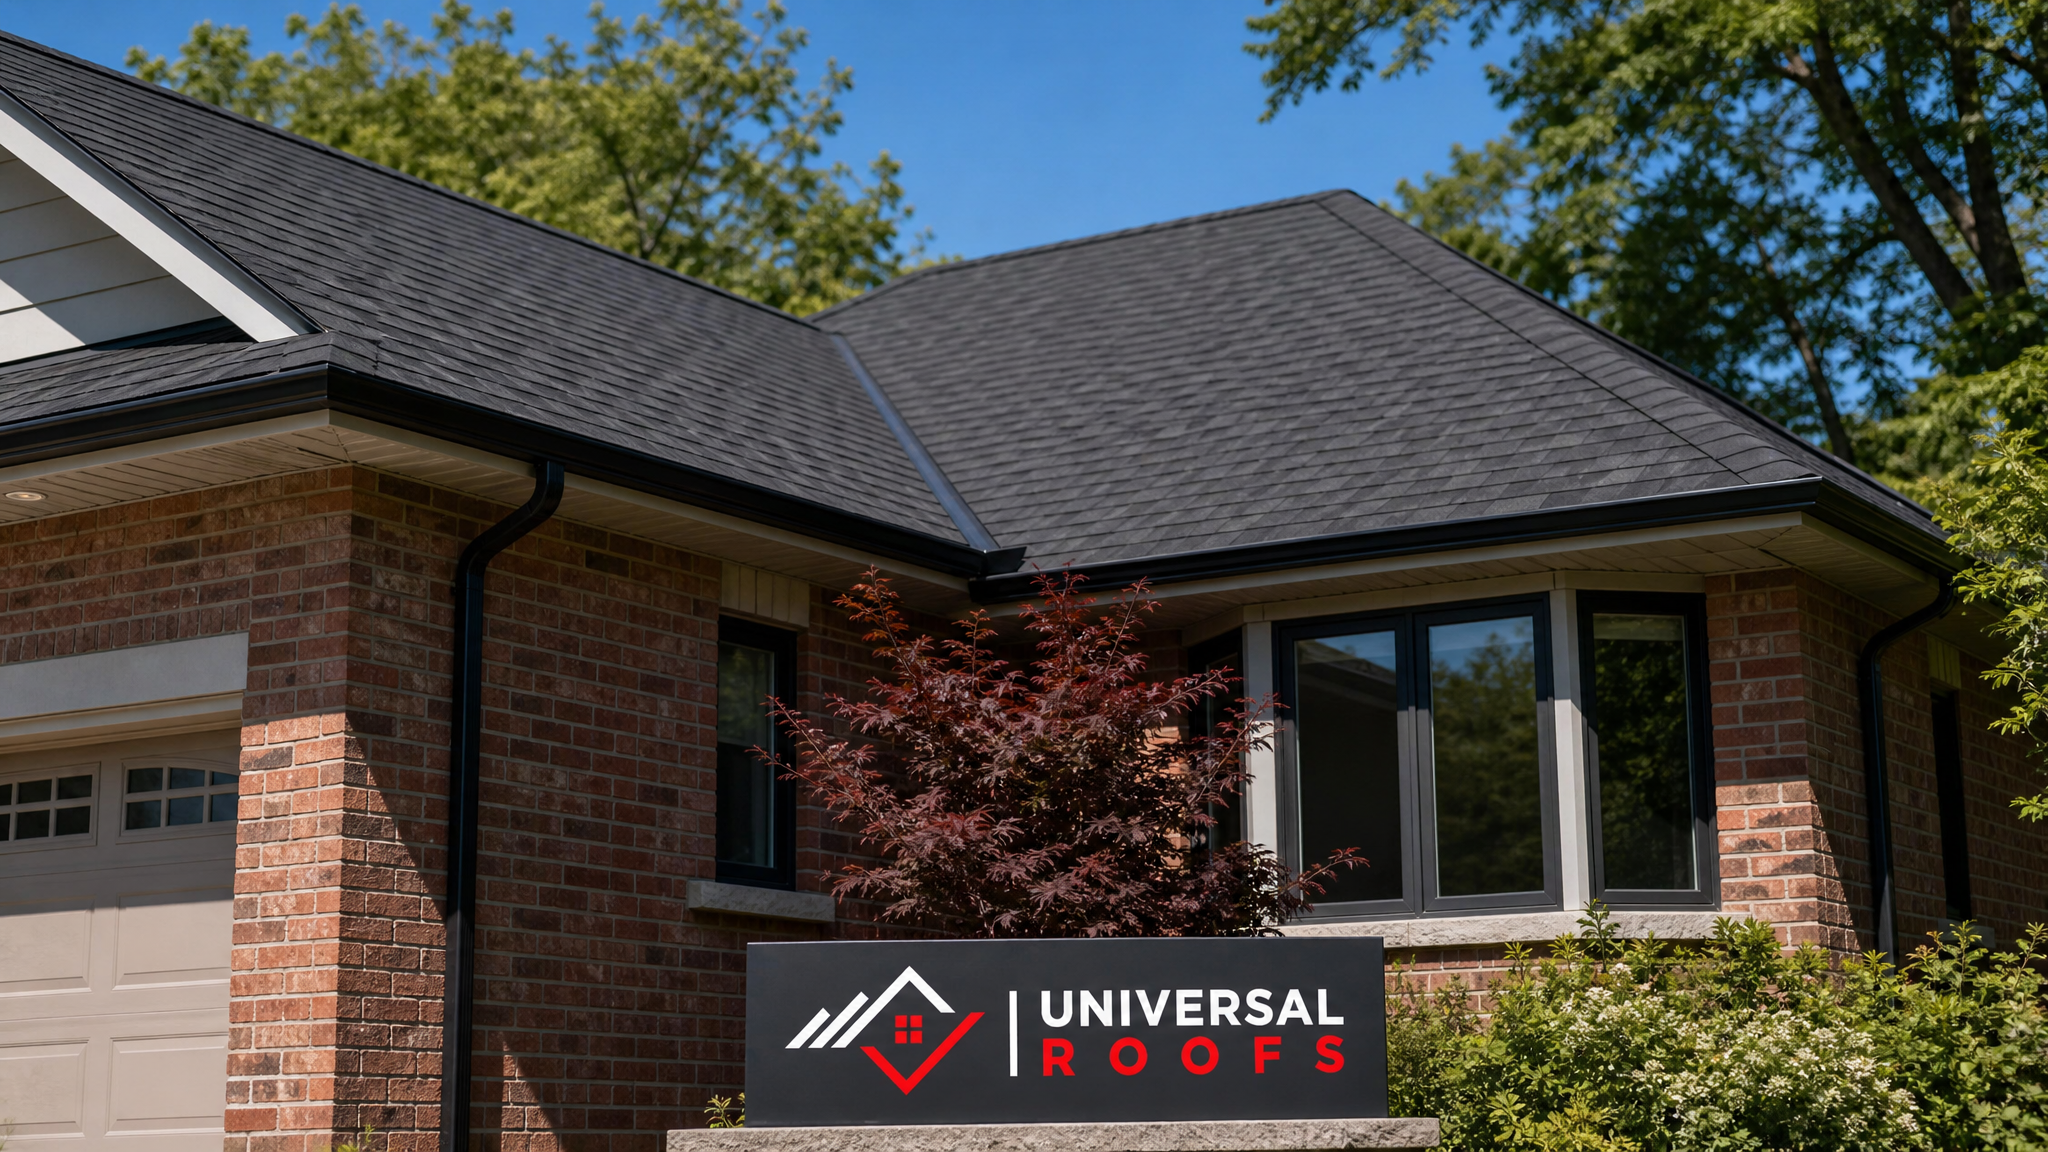
Why Shingles Alone Cannot Waterproof a Roof
Asphalt shingles are designed to shed water, not seal it out completely. Each shingle overlaps the one below it, directing rain down the slope and off the roof edge. That works well on an open field of roof, but shingles cannot bend around a chimney, seal a nail hole, or stop wind-driven rain from being pushed sideways under a tab during a storm. That is where the supporting waterproofing layers come in.
A shingle roof’s actual waterproofing comes from a combination of components working together: a synthetic or felt underlayment across the whole deck, a self-adhering ice and water membrane at vulnerable points, metal flashing at every transition, and sealant at penetrations like vent pipes and skylights. Homeowners often assume that because their shingles look intact, the roof is watertight. In reality, we frequently find shingles in excellent condition sitting over an underlayment that has failed, or flashing that has pulled away from a wall, letting water travel underneath the shingle field entirely undetected until a stain appears on the ceiling below.
Because Toronto sees roughly 25 to 30 freeze-thaw cycles per winter, any water that gets trapped under a shingle has repeated opportunities to freeze, expand, and widen a small entry point into a larger one. This is why the waterproofing methods below matter as much as, if not more than, the shingle brand you choose.
Underlayment: The First Line of Defence
Underlayment is installed directly on the roof deck before a single shingle goes down, and it is the backup barrier that catches any water that gets past the shingles. There are three main types used on GTA homes today, and the difference between them is significant.
Traditional felt paper (sometimes called tar paper) has been used for decades and offers basic water resistance, but it absorbs moisture, can wrinkle under humidity, and tends to degrade faster than newer materials. Synthetic underlayment, made from woven polypropylene or polyethylene, has largely replaced felt on quality installations because it is lighter, does not absorb water, resists tearing during installation, and holds up far longer if shingles are delayed or damaged. Rubberized self-adhering membrane is the strongest option and functions almost like a second waterproof skin across the whole deck, though its cost usually limits it to high-risk areas rather than full roof coverage.
| Underlayment Type | Water Resistance | Typical Lifespan | Best Use Case |
|---|---|---|---|
| Organic felt (15 lb or 30 lb) | Basic, absorbs some moisture | 10-15 years | Budget re-roofs, low-slope sections avoided |
| Synthetic underlayment | High, does not absorb water | 25-30 years | Standard on most GTA roof replacements |
| Rubberized self-adhering membrane | Very high, fully sealed | 30-40+ years | Eaves, valleys, low-slope transitions |
| Rosin paper (slip sheet only) | Minimal, not a true waterproofer | N/A | Never used alone; separator layer only |
For most homes we work on through our Toronto service area, we recommend synthetic underlayment across the full deck as the baseline, with self-adhering membrane reserved for the highest-risk zones described in the next section. Skimping on underlayment to save a few hundred dollars is one of the most common false economies in roofing, because it is invisible once the shingles go on, yet it is doing most of the actual waterproofing work.
Ice and Water Shield: Non-Negotiable for Toronto Roofs
Ice and water shield is a self-adhering rubberized asphalt membrane that seals directly to the roof deck, sealing around any nails driven through it. Unlike standard underlayment, it is designed specifically to stop the number one cause of winter shingle leaks in our climate: ice damming.
Ice damming happens when heat escaping from the attic melts snow on the upper roof, the meltwater runs down to the colder eave, and refreezes into a ridge of ice. That ridge then backs up water underneath the shingles above it, and without a membrane in place, that water finds gaps, nail holes, and seams to enter the attic space. The Ontario Building Code requires ice and water membrane to extend at least 900mm (roughly 36 inches) up the roof slope from the inside edge of the exterior wall on most residential roofs, but on homes with poor attic insulation or complex roof lines, a wider band is often the safer call.
Beyond the eaves, ice and water shield should also be installed in valleys, around chimneys and skylights, at roof-to-wall transitions, and in any low-slope area under 4:12 pitch. These are the areas where standard shingles and underlayment alone consistently underperform, and where the vast majority of the leaks we repair actually originate.
Flashing: The Most Overlooked Waterproofing Method
If underlayment and ice and water shield form the roof’s waterproof backing, flashing is what seals every place the roof plane is interrupted. Chimneys, skylights, sidewalls, valleys, vent pipes, and roof edges all require metal flashing custom-fitted and layered correctly with the shingles and underlayment around them.
Flashing failure is, by a wide margin, the most common cause of “mystery leaks” we get called out to investigate. A homeowner replaces their shingles, the leak continues, and it turns out the original step flashing along a sidewall was reused instead of replaced, or the counter-flashing around a chimney was never properly re-sealed. Flashing is inexpensive relative to the rest of a roofing job, yet skipping its replacement during a re-roof is one of the most common shortcuts we see from lower-cost contractors.
| Flashing Type | Location | Material Options | Typical Failure Sign |
|---|---|---|---|
| Step flashing | Roof-to-sidewall transitions | Aluminum, galvanized steel | Staining on interior wall below transition |
| Counter-flashing | Chimneys, embedded into masonry | Aluminum, copper | Gap or rust line at chimney base |
| Valley flashing | Where two roof slopes meet | Aluminum, galvanized steel, open or closed valley | Granule loss or pooling in valley |
| Drip edge flashing | Roof perimeter (eaves and rakes) | Aluminum | Fascia board rot, water behind gutters |
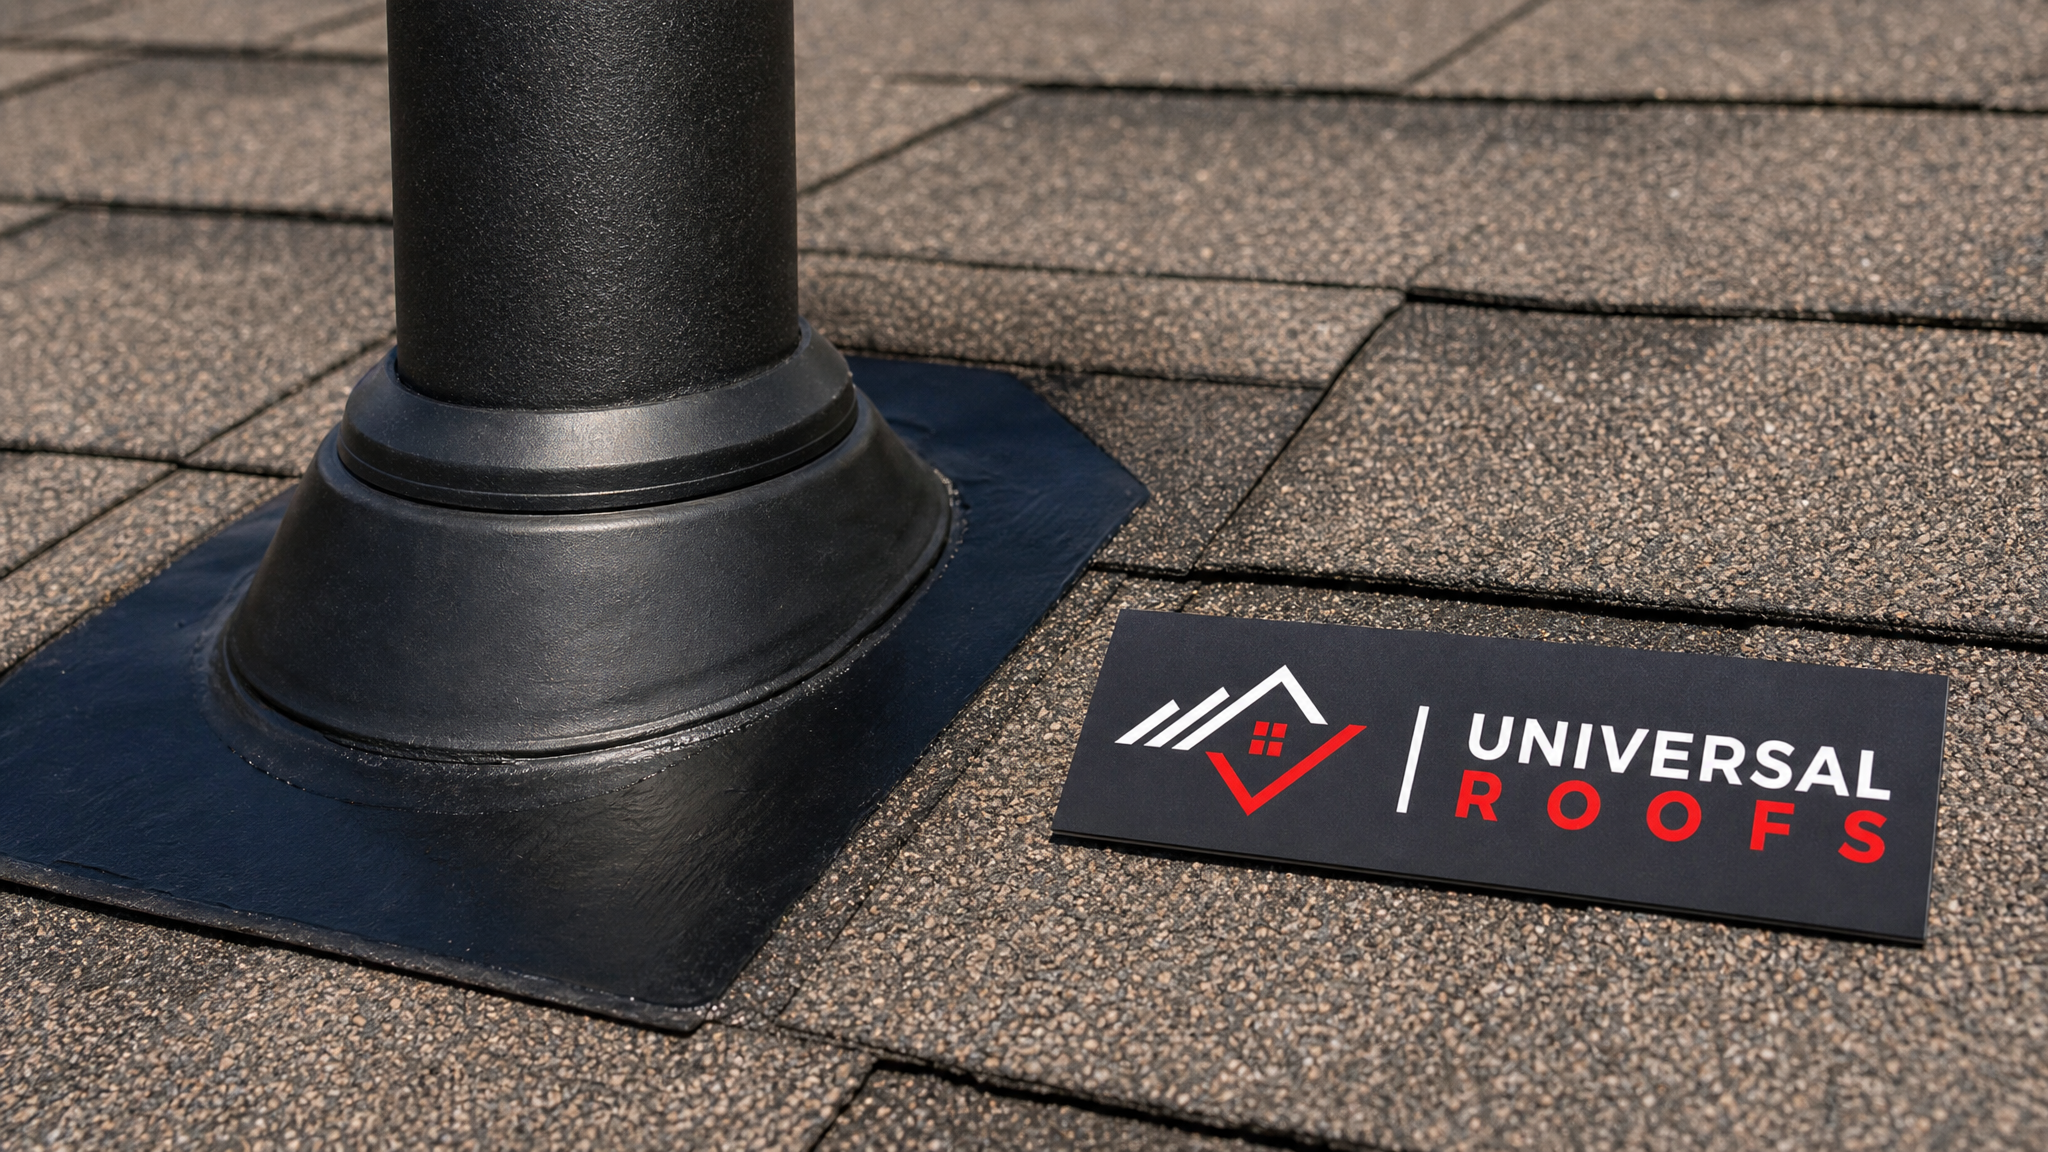
| Pipe boot flashing | Plumbing and exhaust vent penetrations | Rubber gasket with metal base, or all-metal | Cracked rubber collar, ceiling stain near vent |
Skylights deserve their own mention here, since they combine flashing, sealant, and shingle integration in a tight space that is especially prone to problems if installed incorrectly. If you are dealing with a leak around an existing unit or considering an upgrade, our skylights and skylight replacement pages cover the flashing details specific to that type of penetration in more depth.
Sealants and Cement: Where They Belong (and Where They Do Not)
Roofing sealant and plastic roof cement have a legitimate role in waterproofing, but they are frequently misused as a substitute for proper flashing rather than a supplement to it. Used correctly, sealant closes small gaps around fasteners, seals the edges of a pipe boot collar, and finishes the transition where flashing meets a shingle edge. Used incorrectly, a heavy bead of roof cement gets smeared over a poorly fitted flashing detail as a quick fix, which typically lasts one or two seasons before the sun and freeze-thaw cycles crack it and the leak returns.
A useful rule of thumb: if a repair relies primarily on sealant to keep water out, treat it as temporary. Long-term waterproofing on any part of a shingle roof should come from the physical layering of membrane, flashing, and shingle, with sealant playing a supporting, not primary, role.
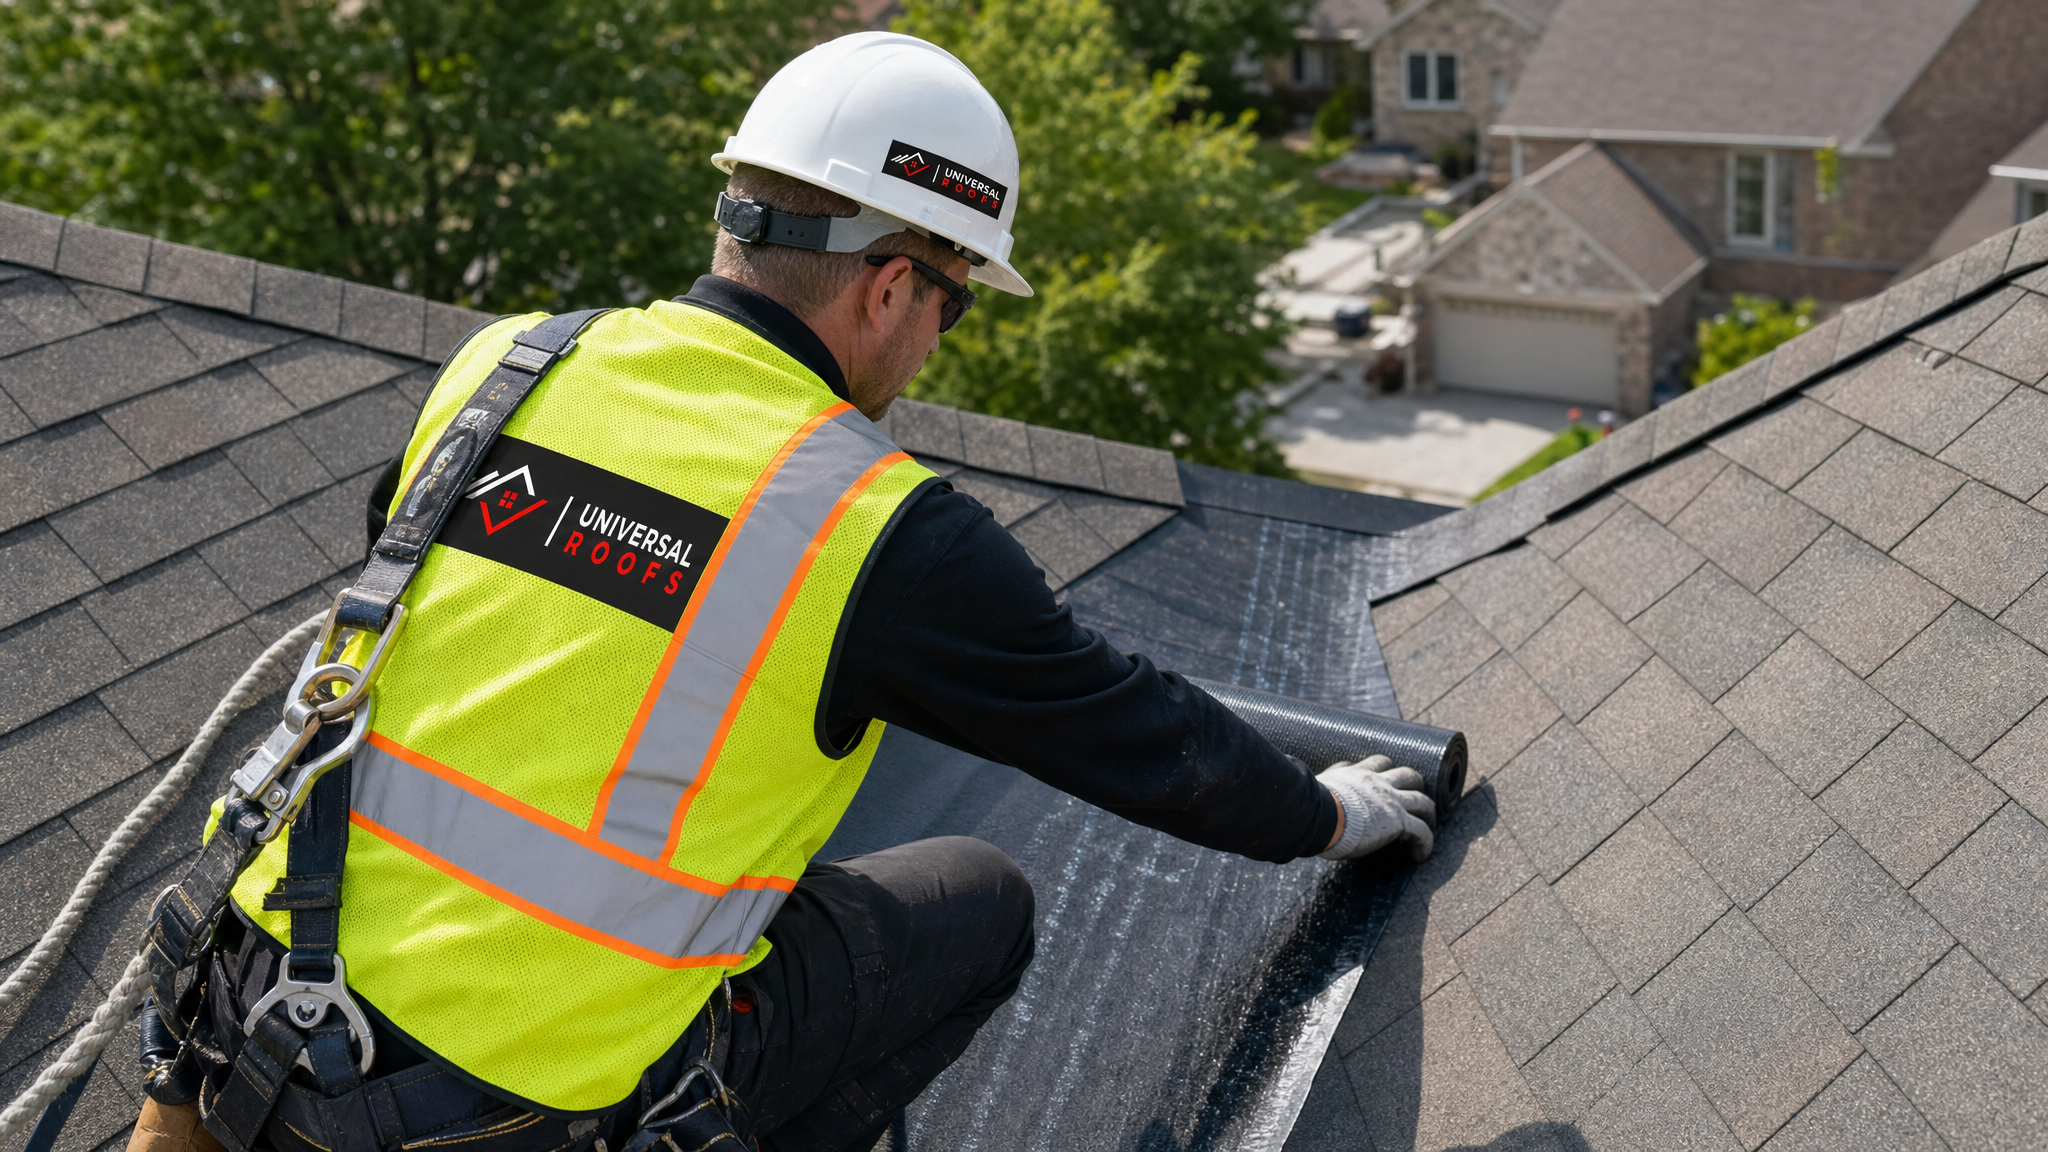
Proper Attic Ventilation: The Waterproofing Method Homeowners Forget
Ventilation does not seem like a waterproofing method at first glance, but it directly determines how much ice damming your roof experiences and how long your underlayment and shingles last. A poorly ventilated attic traps warm, moist air against the underside of the roof deck. In winter, that heat melts snow unevenly and drives ice damming. In summer, trapped heat and moisture accelerate the deterioration of underlayment and shingle adhesive from below.
Balanced ventilation pairs intake vents at the soffit with exhaust vents at or near the ridge, allowing continuous airflow that keeps the underside of the roof deck close to outdoor temperature. This reduces uneven melting on the roof surface and keeps moisture from condensing inside the attic space, which can otherwise saturate insulation and, over time, the roof deck itself.
If your home has visible icicles along the eaves every winter, uneven snow melt patterns on the roof, or a noticeably warm attic in summer, ventilation is worth investigating alongside any waterproofing work. Our attic service page covers ventilation assessment and upgrades in more detail, and it is a conversation we have with almost every homeowner considering a full re-roof.
Comparing Waterproofing Methods by Cost and Longevity
Homeowners planning a re-roof or a targeted repair often want a straightforward comparison of what each waterproofing method costs relative to how long it protects the roof. Pricing varies by roof size, accessibility, and current condition, but the table below reflects typical ranges we see across GTA projects.
| Waterproofing Method | Approximate Cost (installed) | Expected Lifespan | Priority Level |
|---|---|---|---|
| Synthetic underlayment (full deck) | $0.50-$1.00 per sq ft, included in most re-roofs | 25-30 years | Essential, baseline |
| Ice and water shield (eaves, valleys, penetrations) | $2.50-$4.50 per sq ft of covered area | 30-40+ years | Essential in Toronto climate |
| New metal flashing (per detail: chimney, wall, valley) | $150-$500 per flashing point | 25-40 years (metal dependent) | Essential at every transition |
| Roofing sealant / cement touch-up | $50-$200 per application | 1-3 years | Supplemental only |
| Balanced attic ventilation upgrade | $400-$1,800 depending on scope | Life of the roof | Highly recommended |
Viewed this way, the “cheap” version of a shingle roof usually comes from skipping or minimizing ice and water shield coverage and reusing old flashing rather than replacing it, both of which are the details most likely to cause a leak within the first five to ten years. Spending slightly more upfront on these waterproofing layers is consistently the better long-term investment compared to paying for repeated repairs.
Signs Your Current Waterproofing Has Failed
Waterproofing problems rarely announce themselves immediately. Water tends to travel along the underlayment or roof deck before it shows up as a visible stain, which means the entry point is often several feet away, or even on a different roof plane, from where you actually see the damage indoors. Knowing the early warning signs can save you from a much larger repair.
- Brown or yellow ceiling stains that appear or grow after a heavy rain, particularly near a chimney, skylight, or exterior wall line
- Large icicles or ice ridges forming along the eaves in winter, a strong sign of ice damming and inadequate membrane coverage
- Granules collecting in gutters or downspouts, which signals shingle wear that reduces their ability to shed water properly
- Visible daylight or dark streaking in the attic, especially around roof penetrations and along the ridge or valleys
- Soft or spongy spots on the roof surface when walked, indicating a saturated deck beneath the shingles
- Peeling paint or a musty smell near an exterior wall that meets the roofline
If you notice any of these signs, it is worth having a professional inspection before the next major storm rather than after. A trained eye can often trace a leak back to its actual source in an hour or two, whereas a homeowner chasing a stain can spend a season looking in the wrong place entirely.
Troubleshooting Common Waterproofing Failure Points
When we investigate a leak on an otherwise sound shingle roof, the cause almost always falls into one of a handful of recurring categories. The table below summarizes what we typically find and the fix involved.
| Symptom | Likely Cause | Typical Fix | Urgency |
|---|---|---|---|
| Leak near chimney after rain | Failed or missing counter-flashing | Re-flash chimney base and sides | High |
| Leak along interior wall in winter only | Ice damming, insufficient ice and water shield | Extend membrane coverage, improve ventilation | High |
| Leak at valley during heavy rain | Undersized or aged valley flashing | Replace valley flashing and membrane | Medium-High |
| Stain near bathroom or kitchen vent | Cracked pipe boot rubber collar | Replace pipe boot flashing | Medium |
| Damp attic smell, no visible stain yet | Poor ventilation, condensation buildup | Balance soffit and ridge ventilation | Medium |
Some of these fixes are straightforward spot repairs; others point to a broader waterproofing gap that will keep resurfacing elsewhere on the roof until it is addressed properly. If you are unsure which category your situation falls into, our team can assess it directly through roof repair services before recommending anything larger.
New Installation vs. Retrofit: What Can Be Fixed Without a Full Re-Roof
Not every waterproofing gap requires tearing off the whole roof. Flashing at a single chimney, valley, or sidewall can often be replaced on its own, and localized ice and water shield can sometimes be added at an eave section during a repair. However, full-deck underlayment and eave membrane cannot realistically be upgraded without removing the shingles above them, since that membrane sits directly against the deck.
This is the key distinction homeowners should understand when comparing quotes: a retrofit addresses a specific failure point, while a full re-roof through our roof replacement service resets every waterproofing layer at once. If your roof is younger than 10 years old and has a single, identifiable leak, a targeted repair is usually the right call. If your roof is approaching or past 15-18 years, has multiple leak points, or the underlayment is visibly deteriorated where accessible, a full replacement is typically more cost-effective than a series of repeated repairs.
Flat sections or low-slope additions on an otherwise pitched shingle roof need a different waterproofing approach entirely, since standard shingles are not rated for slopes under about 2:12. If your home has a flat roof section, our flat roofing page outlines the membrane systems built specifically for those areas.
Choosing a Contractor Who Gets Waterproofing Right
Because underlayment, ice and water shield, and flashing are largely invisible once a roof is finished, waterproofing quality is one of the easiest things for a contractor to shortcut without a homeowner ever noticing until years later. A few questions can help you evaluate a quote before work begins: does the estimate specify the brand and coverage width of ice and water shield being used? Is flashing being replaced or reused at chimneys, walls, and valleys? Is synthetic underlayment specified across the full deck, or only felt paper?
A contractor confident in their waterproofing approach will answer these specifics without hesitation. You can also look at how a company’s past work has held up over time; our reviews page reflects two decades of projects across the region, and our about page outlines our background and approach to roofing since 2005.
Waterproofing Across the GTA’s Different Climate Pressures
While the core waterproofing methods are consistent everywhere, the priority given to each can shift slightly by location within the GTA. Homes closer to Lake Ontario in Toronto often deal with more wind-driven rain, which makes flashing quality and shingle sealing especially important. Homes further north and west through Peel Region and York Region tend to see slightly colder average winter temperatures and more sustained snow cover, which raises the importance of full ice and water shield coverage and attic ventilation. In Halton Region and Durham Region, mixed housing stock ages means older homes may still have felt underlayment and reused flashing from decades-old installations that are due for an upgrade regardless of how the shingles themselves look.
Regardless of the specific municipality, the fundamentals do not change: a shingle roof is only as waterproof as its weakest supporting layer. If you have questions about how your specific roof type or age affects the right waterproofing approach, our FAQ page answers many of the questions we hear most often from GTA homeowners.
Maintaining Waterproofing Once It Is Installed
Even the best waterproofing methods benefit from routine maintenance. Clearing gutters and downspouts twice a year prevents water backing up under the eave edge. Trimming overhanging branches reduces debris buildup in valleys, where flashing and membrane already work hardest. A visual inspection after any major windstorm can catch a lifted shingle or damaged flashing before it becomes a full leak. And a professional inspection every three to five years, or immediately after a significant hailstorm, is worth the modest cost compared to discovering a slow leak only after it has damaged drywall, insulation, or framing.
Keeping a simple record of when your roof was last replaced, and which underlayment and membrane products were used, also helps considerably if you ever need warranty support or are evaluating a repair quote from a new contractor down the road.
What are the best waterproofing methods for shingles on a Toronto roof?
Do all shingle roofs need ice and water shield?
How long does proper shingle waterproofing last?
Can roof cement or sealant waterproof a shingle roof on its own?
Why does my new shingle roof still leak?
Does attic ventilation actually affect roof waterproofing?
Need Help With What Are the Best?
Getting the waterproofing right on a shingle roof is not about buying premium shingles; it is about the underlayment, membrane, and flashing details working correctly together, which is exactly the kind of assessment Universal Roofs has been trusted to handle across the GTA since 2005.
Call us today at (416) 732-2421 or request a free inspection to get started.
Universal Roofs proudly serves Toronto, Mississauga, Brampton, Vaughan, Markham, Oakville and the GTA since 2005.