
Tile roofing is one of the most beautiful and durable options a Toronto homeowner can choose, but tile itself is not what keeps water out of a house. The underlayment, flashing, valleys, and penetrations working beneath and around those tiles do the real waterproofing job. When that hidden system fails, water finds its way into the attic, the insulation, and eventually the ceiling drywall, often long before a single cracked tile is visible from the ground.
At Universal Roofs, we have been inspecting, repairing, and waterproofing tile roofs across the Greater Toronto Area since 2005. Our crews see the same handful of failure points on almost every tile roof that develops a leak: aging underlayment, clogged valleys, cracked mortar at hips and ridges, and flashing that was never properly integrated with the tile courses above it. The good news is that most of these problems are preventable, and the ones that already exist can usually be fixed without tearing off the entire roof.
This guide walks through seven practical, field-tested tips for waterproofing a tile roof in our climate, where freeze-thaw cycles, spring rain, and summer thunderstorms all put different kinds of stress on the roofing system. Whether you are maintaining a roof that is performing well or trying to solve a leak that has already appeared, these tips reflect the same standards our crews follow on every job.
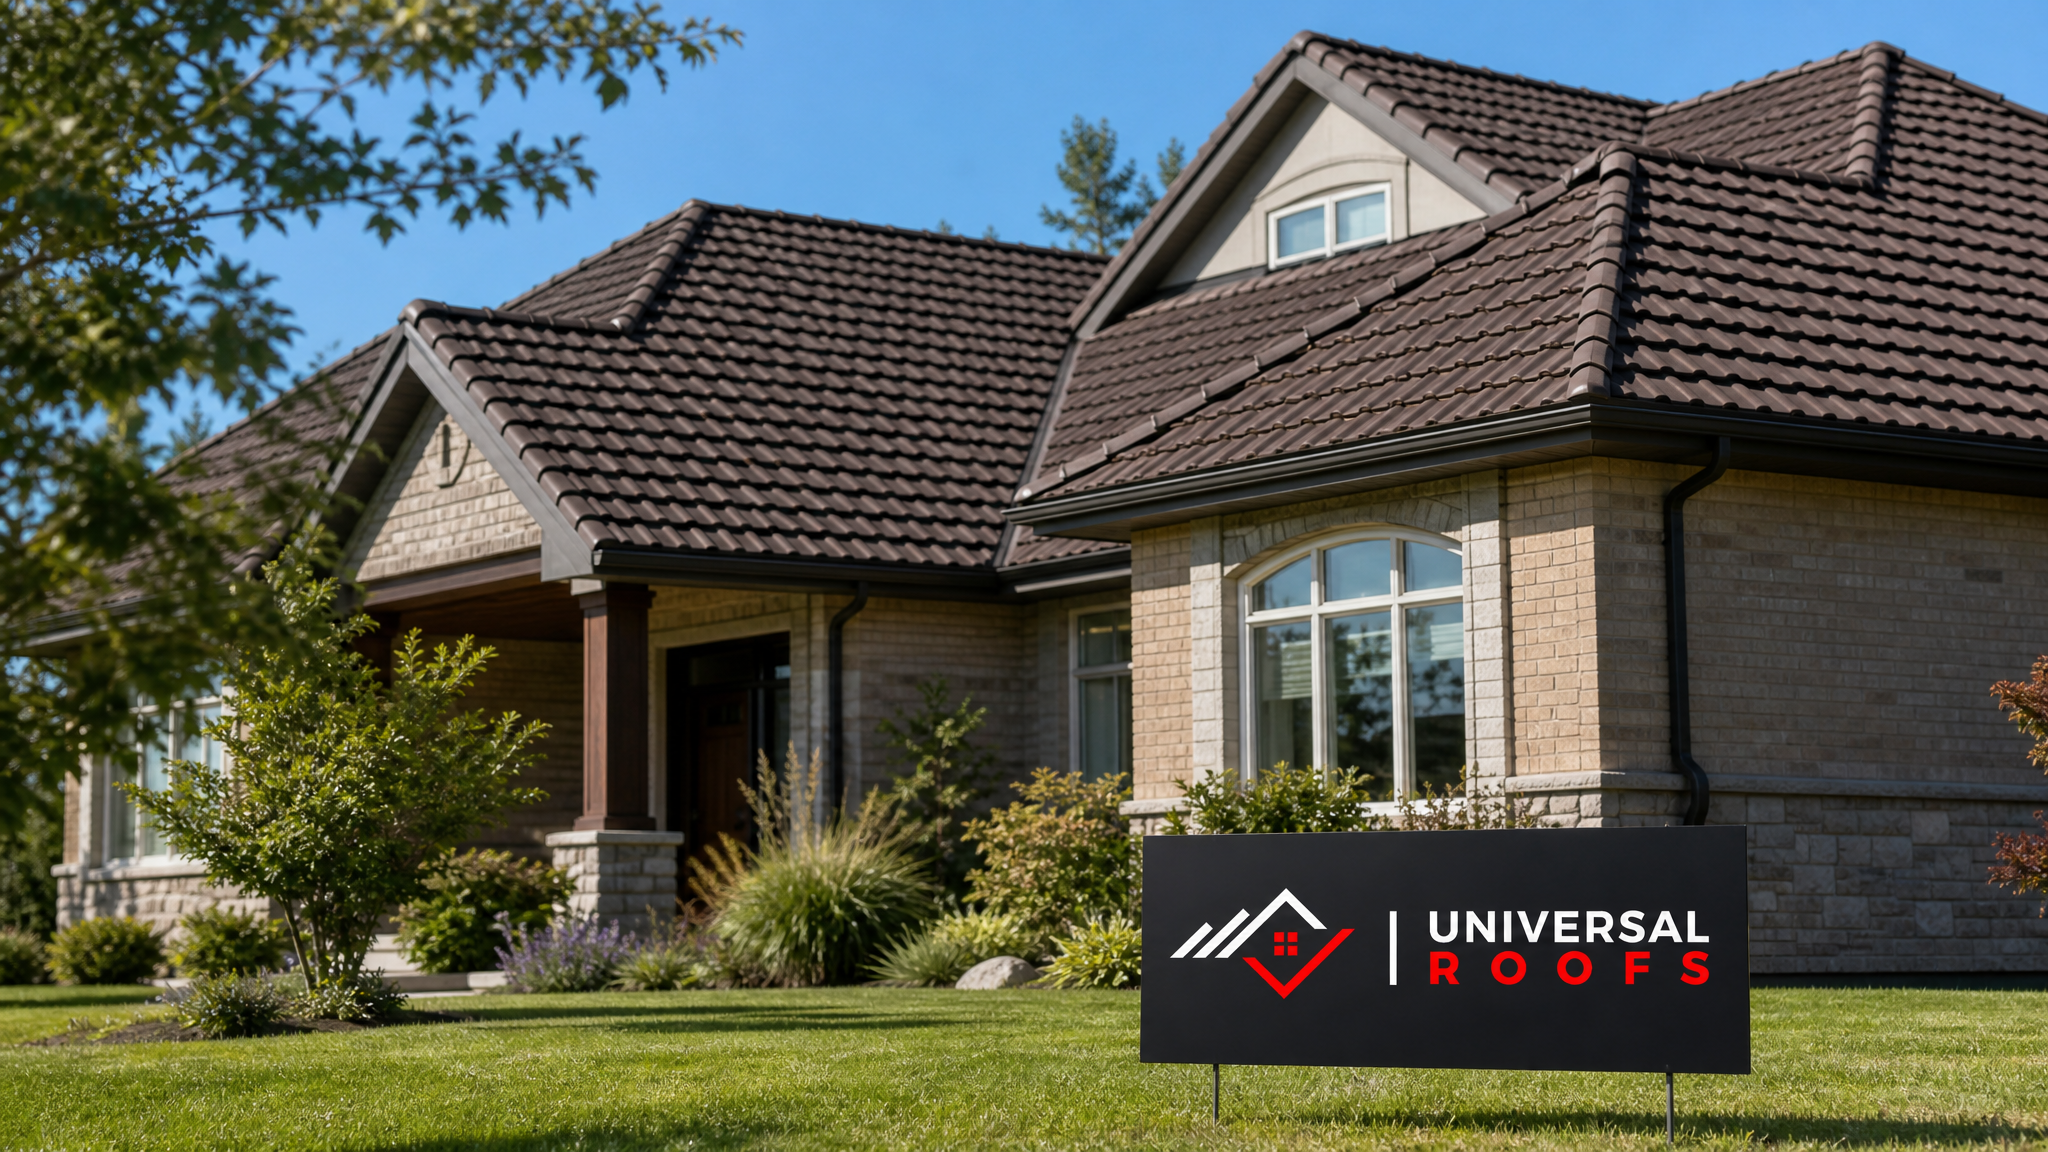
1. Understand That the Underlayment Does the Real Waterproofing Work
The single most important concept in tile roof waterproofing is that the tiles themselves are a rain screen, not a watertight membrane. Wind-driven rain, ice melt, and condensation regularly get underneath tiles, especially at low slopes, valleys, and around penetrations. What actually stops that moisture from reaching the roof deck is the underlayment installed beneath the tile battens.
In the GTA, we recommend a self-adhered, high-temperature SBS-modified bitumen underlayment rather than standard felt paper for any tile roof. Standard 30-pound felt degrades faster under Toronto’s UV exposure and temperature swings, and it tears more easily during tile removal for future repairs. A quality synthetic or modified underlayment typically carries a 20 to 30 year service life when properly installed, while builder-grade felt can start failing in as little as 10 to 12 years.
If your tile roof is older than 15 years and you have never had the underlayment inspected, that should be the starting point before you invest in any surface-level waterproofing products. A roof repair assessment that includes lifting a sample section of tile in a low-slope area will tell you far more about the roof’s real condition than a visual inspection from the ground ever will.
| Underlayment Type | Typical Lifespan | Heat Resistance | Best Use Case |
|---|---|---|---|
| Standard 30 lb felt | 10-12 years | Low | Budget re-roofs, low-slope areas only |
| Synthetic underlayment | 15-20 years | Moderate | General tile roof applications |
| Self-adhered SBS modified bitumen | 20-30 years | High | Valleys, eaves, high-heat tile roofs |
| Two-ply premium system | 25-35 years | Very high | Steep slopes, coastal or high-wind exposure |
2. Keep Valleys and Low Points Completely Clear
Valleys are where two roof planes meet and channel the largest volume of water on the entire roof. On a tile roof, valleys are also where debris, needles, and granular grit collect fastest because the water slows down as it changes direction. When a valley clogs, water backs up under the tile courses on either side and finds the smallest gap in the underlayment.
We recommend clearing valleys at least twice a year in Toronto: once in late spring after seed pods and blossoms have fallen, and once in late autumn after leaf drop. Because it is currently summer, this is a good time for a mid-season check, particularly after any heavy thunderstorm that may have washed debris down from higher sections of the roof.
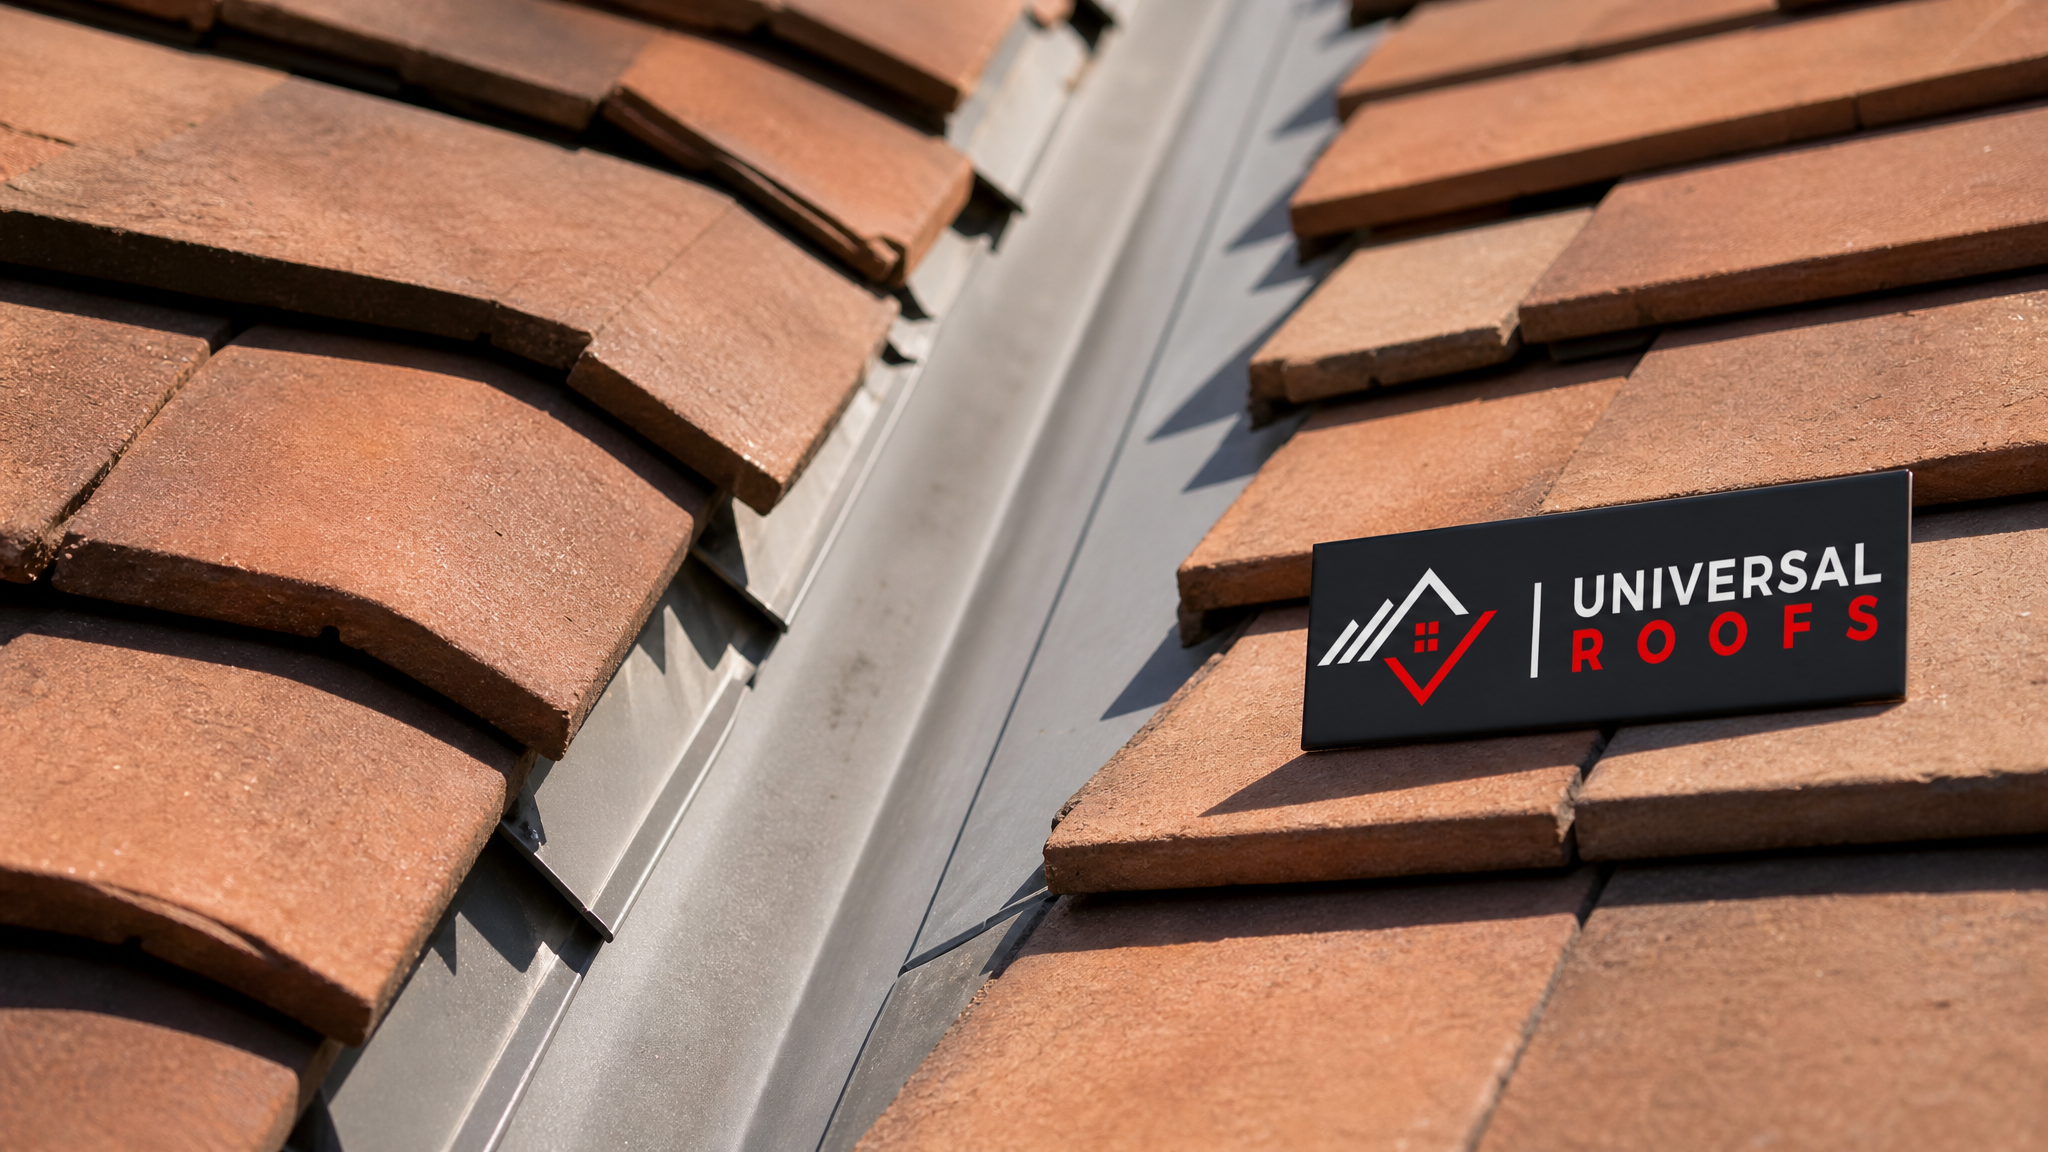
Metal valley flashing should be visible and unobstructed, not buried under a mat of debris and moss. If you see standing water, dark staining, or moss growth concentrated in a valley, that section is retaining moisture longer than it should and is a leading candidate for a future leak. Our clients who schedule twice-yearly valley clearing report dramatically fewer emergency leak calls than those who wait until a stain appears on the ceiling.
3. Re-Bed and Re-Point Ridge and Hip Tiles Before Mortar Fails Completely
Ridge and hip tiles are traditionally set in a mortar bed, and that mortar is a wear item, not a permanent installation. Toronto’s freeze-thaw cycles are particularly hard on mortar because water that gets into hairline cracks expands as it freezes, widening the crack a little more with every cycle. Over 10 to 15 years, this process causes ridge mortar to crumble, loosen, or fall away entirely, allowing wind-driven rain direct access to the ridge board and attic space below.
Re-bedding involves removing the loose ridge or hip tiles, cleaning off the old mortar, and resetting the tiles in fresh mortar or a modern flexible pointing compound. Re-pointing is a lighter-touch repair where only the exposed mortar joints are refreshed without fully removing the tiles. Many roofs need re-pointing every 8 to 10 years and full re-bedding every 15 to 20 years, depending on exposure and mortar quality.
Modern flexible ridge systems using mechanically fixed ridge tiles with a dry ridge kit are becoming increasingly popular because they eliminate mortar cracking altogether. If you are already planning a larger project, ask about upgrading to a dry-fix ridge system as part of your roof replacement or major repair.
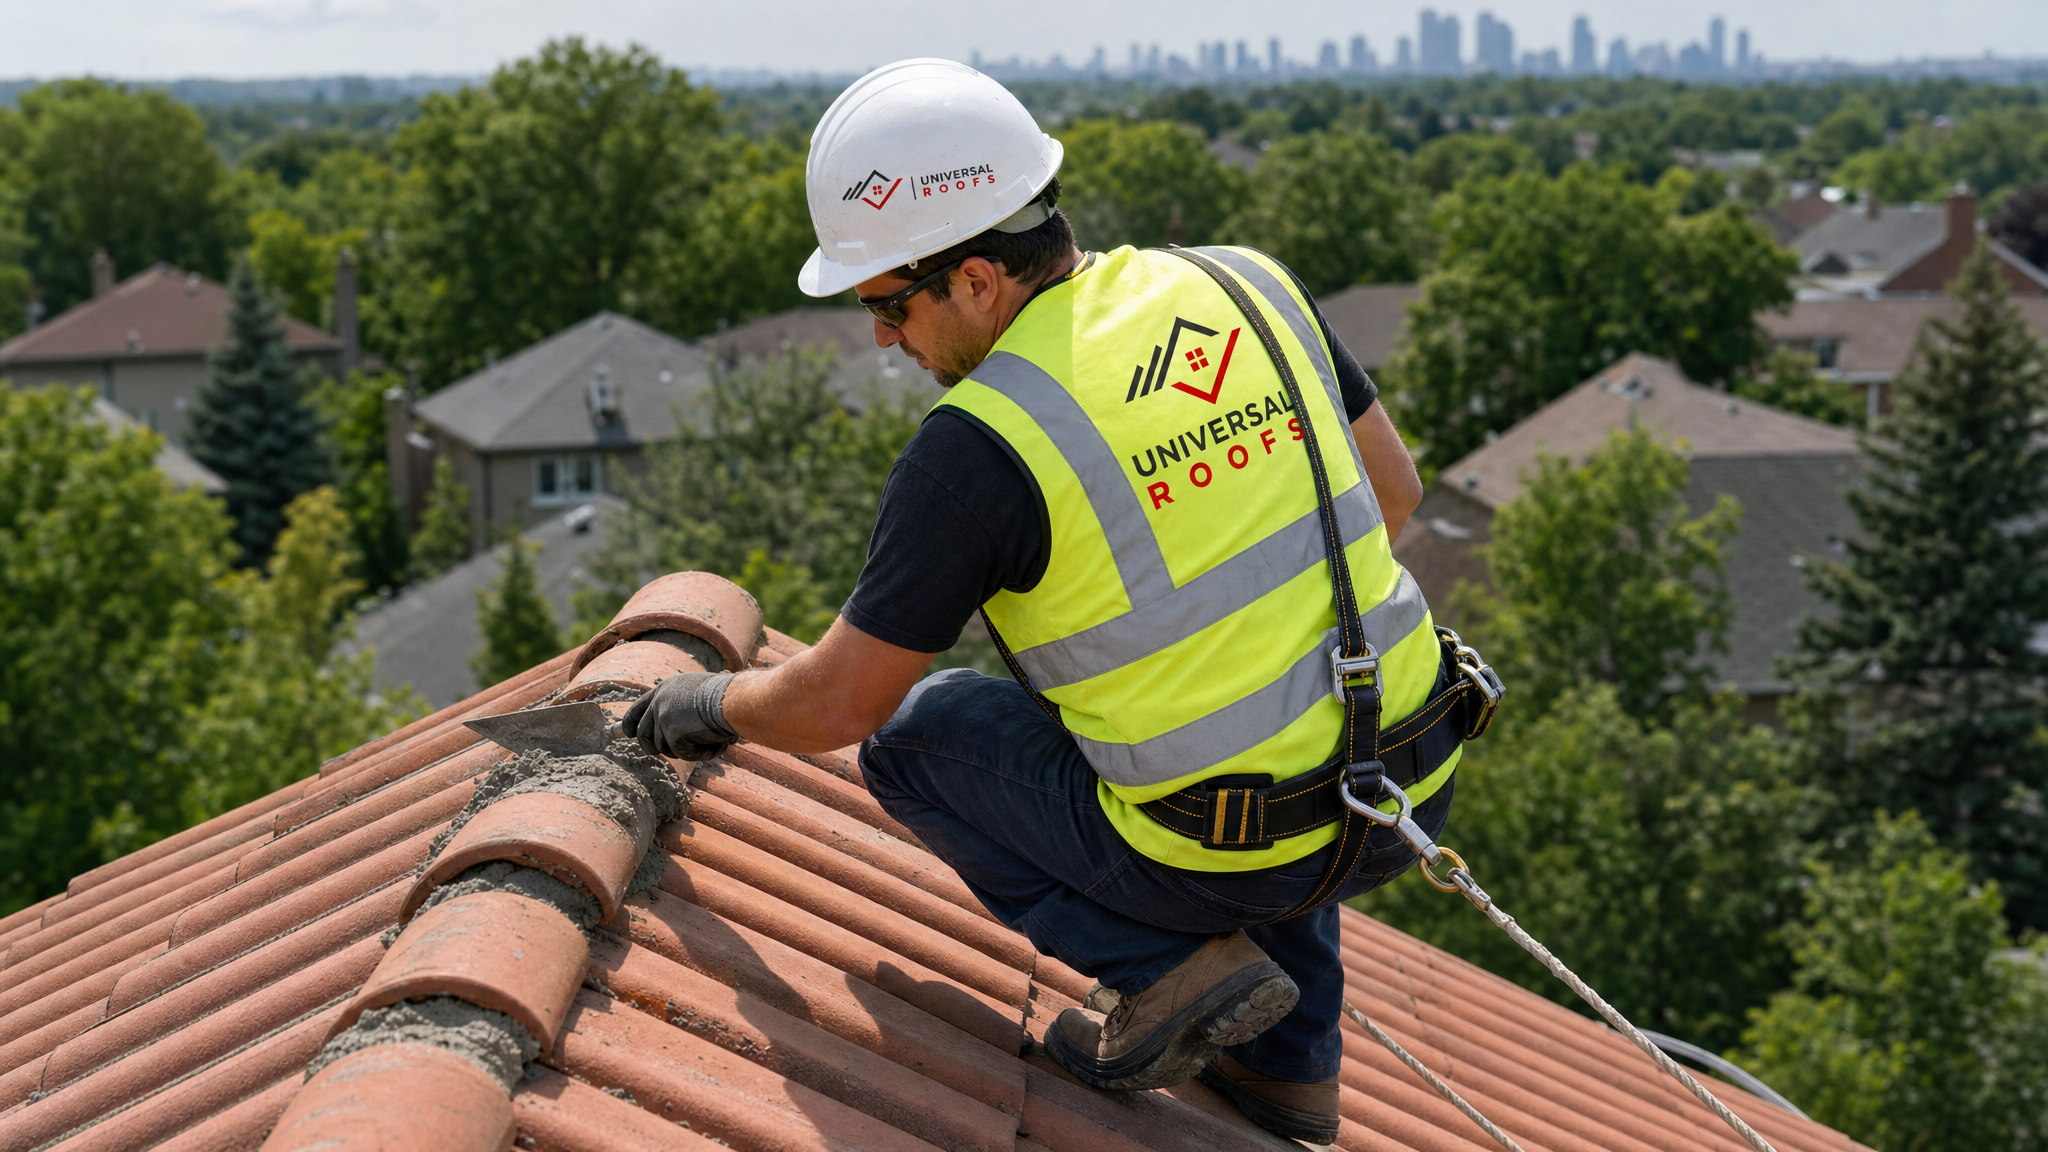
4. Inspect and Renew Flashing Around Every Penetration
Flashing failures cause more tile roof leaks than cracked tiles do. Chimneys, plumbing vent stacks, skylights, and any other roof penetration require step flashing, counter-flashing, or specialized boot flashing that is integrated with the surrounding tile courses and underlayment. Because tile roofs are thicker than asphalt shingle roofs, flashing details need to accommodate that extra profile, and generic flashing kits designed for shingles often do not seal properly against tile.
Look for these warning signs during your own inspection: rust staining below vent pipes, gaps where counter-flashing has pulled away from a chimney, or cracked rubber boots around plumbing vents. Rubber pipe boots typically fail after 10 to 15 years of UV exposure even though the metal components around them may still be sound.
If your tile roof has a skylight, flashing quality is even more critical because skylight wells are a common leak source independent of the tile system itself. Our skylights and skylight replacement teams frequently find that a “roof leak” reported by a homeowner is actually a failed skylight flashing detail rather than a problem with the tile field.
| Penetration Type | Common Failure Point | Recommended Inspection Frequency | Typical Repair Cost Range (CAD) |
|---|---|---|---|
| Chimney | Counter-flashing separation, cracked mortar joint | Annually | $400 – $1,200 |
| Plumbing vent stack | Cracked rubber boot | Every 2 years | $150 – $350 |
| Skylight well | Step flashing failure, seal degradation | Annually | $300 – $900 |
| Roof-to-wall junction | Missing or corroded step flashing | Every 2-3 years | $250 – $700 |
| Attic vent / exhaust fan | Loose or lifted flashing collar | Annually | $150 – $400 |
5. Replace Cracked, Slipped, or Broken Tiles Promptly
A single cracked tile rarely causes an immediate leak because the underlayment beneath it is the actual water barrier. But a cracked or slipped tile does expose that underlayment to direct UV and weather much sooner than it was designed for, effectively shortening its lifespan in that spot. Left unaddressed through a full Toronto winter, a small crack can widen from freeze-thaw cycling until the tile fails completely and the underlayment beneath is exposed with no protection at all.
Walking on tile roofs to inspect them is not recommended for homeowners, since improper foot placement is itself a common cause of cracked tiles. Instead, use binoculars from the ground or, better, book a professional inspection using roof-safe walk boards and distributed weight techniques that avoid damaging additional tiles during the inspection itself.
When tiles need replacing, matching the profile, colour, and thickness of the existing tile matters more on a tile roof than almost any other roofing material, both for appearance and for proper water shedding at the overlaps. Keeping a small stock of matching spare tiles from the original installation, if available, makes future repairs faster and less expensive.
6. Address Ventilation and Attic Moisture, Not Just Surface Water
Waterproofing a tile roof is not only about keeping rain out. Poor attic ventilation allows warm, moist air from inside the house to condense against the cool underside of the roof deck, particularly during Toronto’s cold months. That condensation can soak insulation and rot the deck from the inside, a problem that is frequently mistaken for a roof leak because the symptoms look identical: staining and dampness on the ceiling below.
A balanced ventilation system with adequate intake at the soffits and exhaust at the ridge keeps attic temperature and humidity closer to outdoor conditions, which reduces both condensation risk and ice damming at the eaves in winter. Since tile roofing systems are heavier and often installed on furring strips or battens that create additional air space, ventilation design needs to account for that structure specifically rather than following a generic shingle roof formula.
If you have noticed musty odours in the attic, visible mould on the underside of the decking, or unusually high summer attic temperatures, it is worth having your attic ventilation assessed alongside any tile roof waterproofing work. The two systems work together, and fixing one without the other often leaves the underlying moisture problem unresolved.
| Symptom | Likely Cause | Recommended Action | Urgency |
|---|---|---|---|
| Ceiling stain near a wall | Flashing failure at roof-to-wall junction | Inspect and reseal flashing | High |
| Ceiling stain in centre of room | Underlayment failure or condensation | Attic inspection + underlayment check | High |
| Musty attic odour, no visible stain | Poor ventilation, trapped humidity | Balance soffit/ridge ventilation | Medium |
| Moss or dark streaks in valley | Debris buildup, slow drainage | Clear valley, inspect underlayment | Medium |
| Loose tiles after windstorm | Failed fasteners or adhesive | Re-secure or replace tiles promptly | High |
7. Schedule Professional Inspections Before Small Issues Become Big Ones
Tile roofs are durable, often lasting 50 years or more, but that longevity depends on catching small maintenance issues before they compound. A professional inspection twice a year, ideally in spring and autumn, catches the early warning signs described above while they are still inexpensive to fix: a hairline mortar crack, a slightly lifted tile, a rubber boot starting to dry out.
Homeowners are often surprised to learn that most tile roof leaks trace back to a component that has nothing to do with the tile itself, which is why a proper inspection needs to check flashing, valleys, ventilation, and underlayment condition, not just the visible tile surface. Our technicians document every inspection with photos so you can see exactly what condition your roof is in and make informed decisions about timing and budget for any needed work.
If you are in Toronto, the Peel Region, York Region, Halton Region, or Durham Region, our crews are familiar with the tile roofing common to homes across the GTA and can tell you honestly whether you need a small repair, a partial re-bed, or nothing at all right now.
Common Waterproofing Mistakes We See on Tile Roofs
Beyond the seven tips above, a few recurring mistakes shorten the life of tile roof waterproofing systems across the GTA. The first is sealing tiles directly with a surface coating or caulk in an attempt to “waterproof” the roof from above. Tile is a fired ceramic or concrete product designed to breathe and shed water in a specific way; heavy surface sealants can trap moisture underneath the tile rather than keeping it out, sometimes accelerating deterioration rather than preventing it.
The second common mistake is pressure washing tile roofs to remove moss or staining. High-pressure water can drive directly under tile laps and force water into the underlayment seams, plus it can crack tiles that already have hairline damage. Soft washing with appropriate low-pressure techniques and approved cleaning solutions is the safer approach recommended by most tile manufacturers.
The third mistake is DIY tile replacement without matching the fastening and flashing method of the surrounding tiles. Tile roofs use specific nailing, clipping, or foam adhesive systems depending on the manufacturer and the roof’s wind exposure rating, and mixing methods inconsistently can create both aesthetic and functional problems.
Building a Realistic Maintenance Timeline
Homeowners often ask what a sensible year-by-year waterproofing maintenance plan actually looks like for a tile roof in our climate. The table below outlines a general timeline based on the patterns our crews see most often, though every roof’s exact schedule should be adjusted based on its specific age, exposure, and inspection findings.
| Roof Age | Recommended Focus | Typical Frequency |
|---|---|---|
| 0-10 years | Routine visual checks, valley clearing, gutter maintenance | Twice yearly |
| 10-20 years | Flashing inspection, rubber boot replacement, ridge re-pointing | Annually |
| 20-30 years | Underlayment assessment, hip/ridge re-bedding, tile replacement as needed | Annually, with a detailed inspection every 2-3 years |
| 30+ years | Full underlayment evaluation, consider partial or full re-roof | Annually, with professional consultation |
Following a schedule like this, rather than waiting for a visible leak, is the single biggest factor in whether a tile roof reaches or exceeds its expected 50-year service life. Reactive repairs after water damage has already reached the interior of the home cost significantly more than proactive maintenance, both in materials and in the drywall, insulation, and flooring repairs that often follow a missed roof leak.
What are the most important tips for waterproofing tile roofs in Toronto?
How often should a tile roof be inspected for waterproofing issues?
Can I apply a waterproof coating directly to tile roofing?
Why do tile roofs leak even when no tiles are broken?
How much does re-bedding ridge and hip tiles typically cost?
Is pressure washing safe for waterproofing maintenance on a tile roof?
Need Help With Top 7 Tips for?
Whether your tile roof needs a routine inspection, valley clearing, ridge re-pointing, or a full underlayment assessment, the team at Universal Roofs has the tile-specific experience to protect your home from water damage for decades to come.
Call us today at (416) 732-2421 or request a free inspection to get started.
Universal Roofs proudly serves Toronto, Mississauga, Brampton, Vaughan, Markham, Oakville and the GTA since 2005.