
A summer thunderstorm can strip decades off a tile roof in minutes. High winds lift and crack clay or concrete tiles, hail chips their surfaces, and wind-driven rain finds every gap left behind. If you are staring at a scatter of broken tile fragments on your lawn after a storm, you need a clear, methodical plan — not guesswork. This guide walks Toronto-area homeowners through repairing storm damaged tile roofs, from the first safety check to the final inspection, so you can make good decisions whether you tackle small fixes yourself or bring in a licenced professional.
Tile roofing is durable, but it is also rigid and somewhat brittle compared to asphalt shingles, which means storm damage tends to be more visible and more urgent to address. A cracked tile left unrepaired lets water track directly onto the underlayment, and in a GTA winter that moisture will freeze, expand, and turn a small problem into a rotted deck or a leaking ceiling. The good news is that repairing storm damaged tile roofs is a well-understood process with predictable steps, and most damage caught early can be repaired without a full roof replacement.
This article covers how to assess damage safely, what tools and materials are needed, the actual repair steps for cracked, slipped, and missing tiles, how much the work typically costs in the GTA, and how to prevent repeat damage before the next storm rolls through. Throughout, we will reference how Universal Roofs approaches these repairs on real Toronto homes, since the same fundamentals apply whether you are doing a patch job yourself or hiring it out.
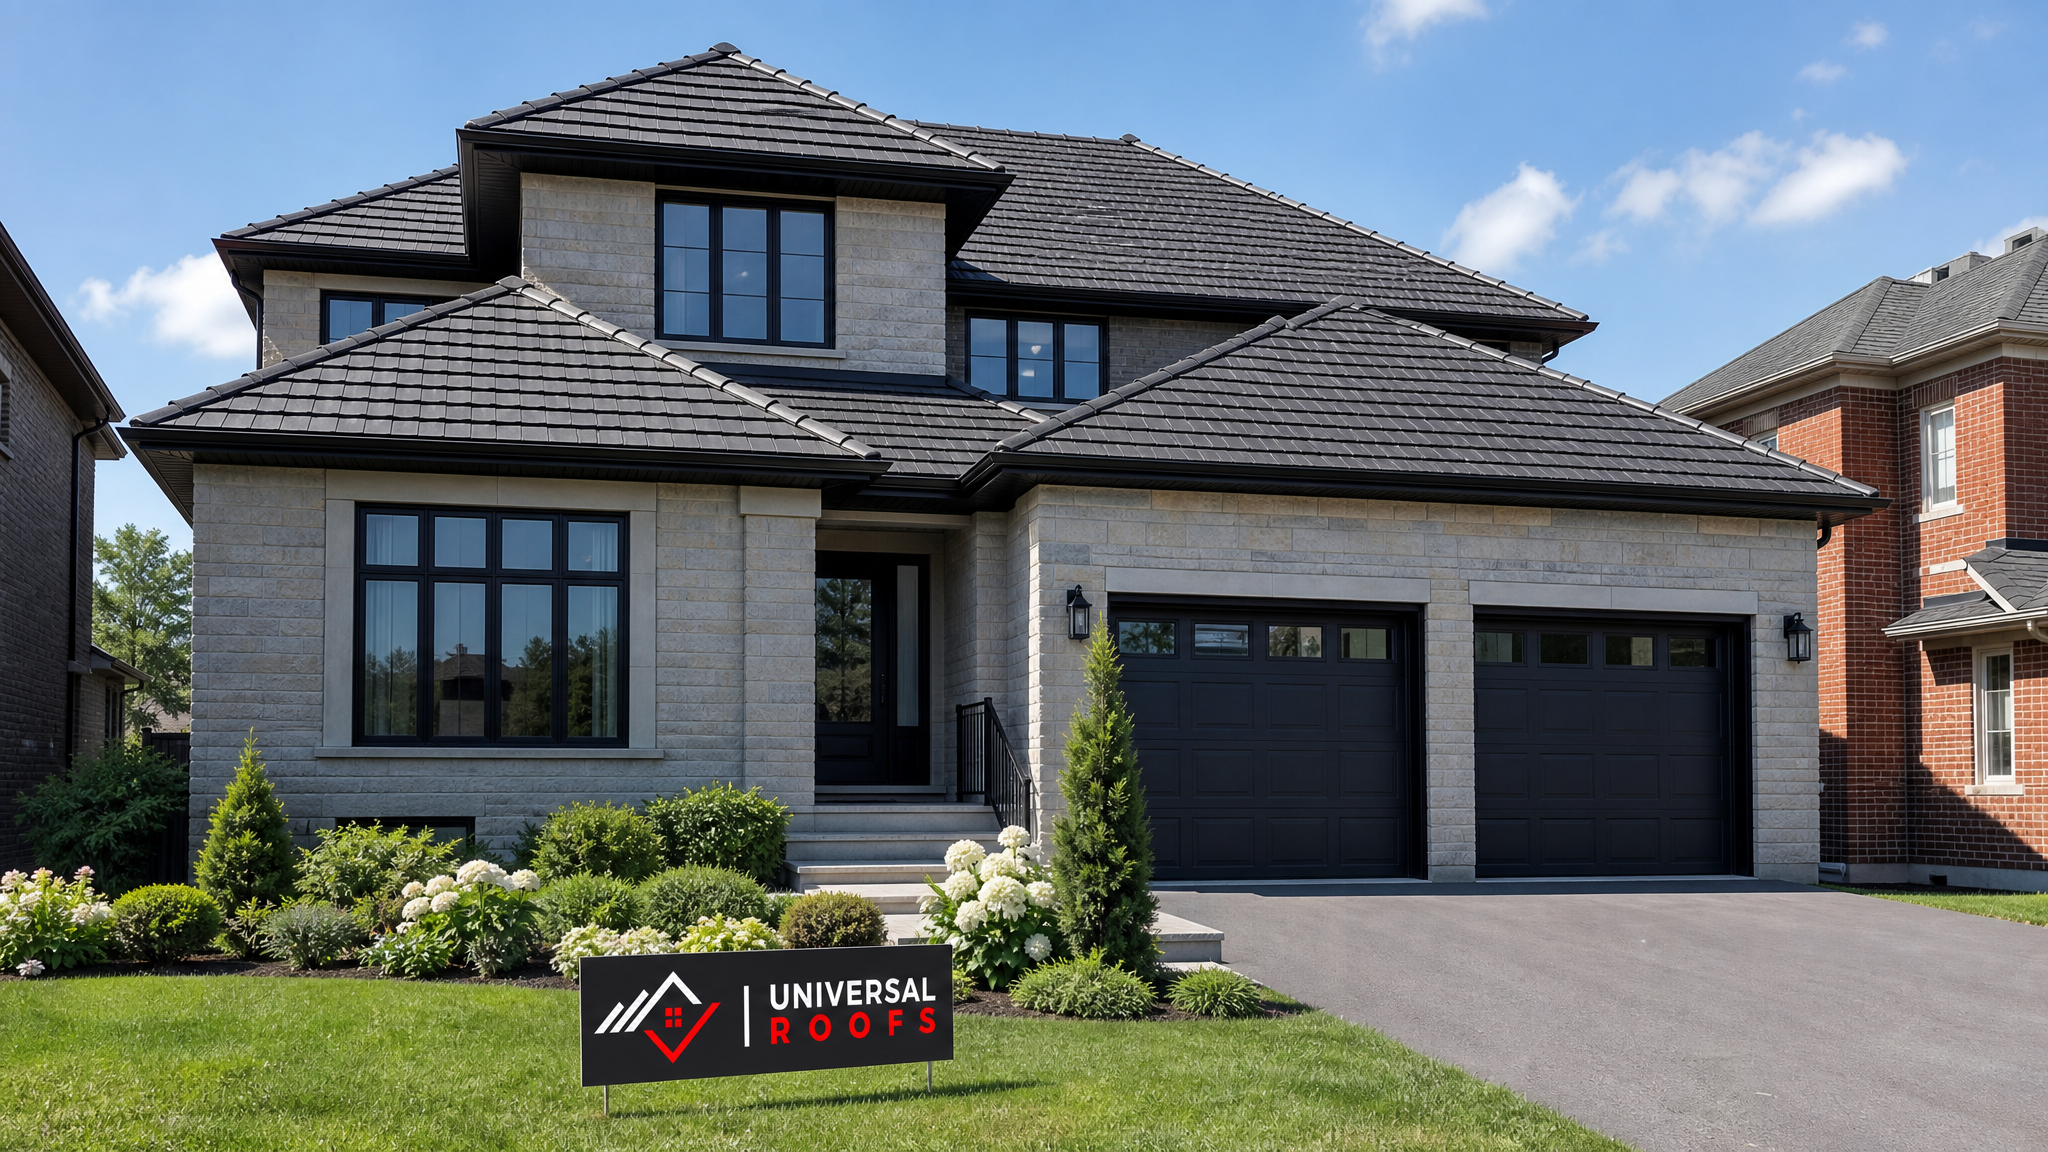
How to Assess Storm Damage on a Tile Roof Safely
Before any repair begins, the damage has to be properly assessed — and that assessment should start from the ground, not the roof. Tile roofs are more slippery and more fragile underfoot than asphalt shingle roofs, especially clay tile, which can crack simply from foot traffic in the wrong spot. Walking on a storm-damaged tile roof to “just take a quick look” is one of the most common ways homeowners turn a repair into a much bigger project.
Start with a ground-level walk around the entire perimeter of the house. Look for tile fragments in the gutters, on the lawn, in garden beds, and against the foundation. Count them and note roughly where on the roof they likely came from based on which side of the house they landed on. Wind-driven storms in the GTA typically come from the west or northwest, so damage is often concentrated on windward-facing slopes.
Next, use binoculars from ground level or from a safe upstairs window to scan the roof plane. You are looking for:
- Tiles that are visibly cracked, chipped, or have corners missing
- Tiles that have slipped out of alignment with the surrounding courses
- Gaps or dark voids where a tile is completely missing
- Displaced ridge caps or hip tiles along roof peaks
- Debris (branches, shingle granules from a neighbouring roof, hail) lodged between tiles
- Water stains on soffits, fascia, or the underside of eaves
If you have an attic, go up there next with a flashlight during daylight hours. Turn off the attic light and look for pinpricks of daylight coming through the roof deck — these indicate gaps large enough for water intrusion. Check the underside of the roof sheathing for new water staining, damp insulation, or a musty smell, all of which point to an active leak that needs urgent attention regardless of how the exterior looks.
If the visual inspection suggests moderate to extensive damage, or if you cannot get a clear view of the whole roof from the ground, this is the point to call in a professional. A roof repair specialist has the harnesses, roof anchors, and experience to walk a tile roof safely and will typically also check flashing, valleys, and vent boots that are impossible to properly evaluate from a ladder or binoculars.
Tools and Materials Needed for Tile Roof Repair
Whether you are doing minor repairs yourself or simply want to understand what a contractor should be bringing, here is what a proper tile repair job requires. Using the wrong fasteners or an incompatible tile profile is one of the most common causes of repeat failures on tile roofs.
| Item | Purpose | Notes for GTA Climate |
|---|---|---|
| Matching replacement tiles | Replace cracked or missing units | Match profile, colour, and material (clay vs. concrete) exactly |
| Roofing-grade tile adhesive/mortar | Bed and secure tiles at hips, ridges, and valleys | Use a freeze-thaw rated product; standard mortar fails in winter cycling |
| Stainless steel tile hooks/clips | Mechanically fasten field tiles | Stainless resists corrosion better than galvanized in humid GTA summers |
| Butyl or polymer flashing sealant | Seal around vents, chimneys, and valleys | Must remain flexible from -30°C to +35°C swings |
| Roofing felt or synthetic underlayment | Patch exposed underlayment beneath removed tiles | Self-adhered ice-and-water membrane recommended near eaves |
| Roof anchors and full-body harness | Fall protection while working on the slope | Non-negotiable — tile surfaces are slippery even when dry |
| Tile cutter or angle grinder with masonry blade | Trim tiles to fit around penetrations | Produces fine dust; wear a respirator |
| Soft-soled roofing shoes | Distribute weight and improve grip on tile | Avoid stepping on the tile’s midpoint; step near the nose or headlap |
Matching tiles can be the biggest challenge on older GTA homes, particularly those with clay tile installed decades ago where the original manufacturer may no longer produce that exact profile. Reputable roofing suppliers keep salvage stock from older tile runs specifically for this reason, and an experienced roof repair contractor will usually know which suppliers carry compatible replacements before ordering anything.
Step-by-Step Process for Repairing Cracked or Broken Tiles
This is the most common repair after a windstorm or hailstorm — a tile is cracked but still largely in place. Here is the process, step by step.
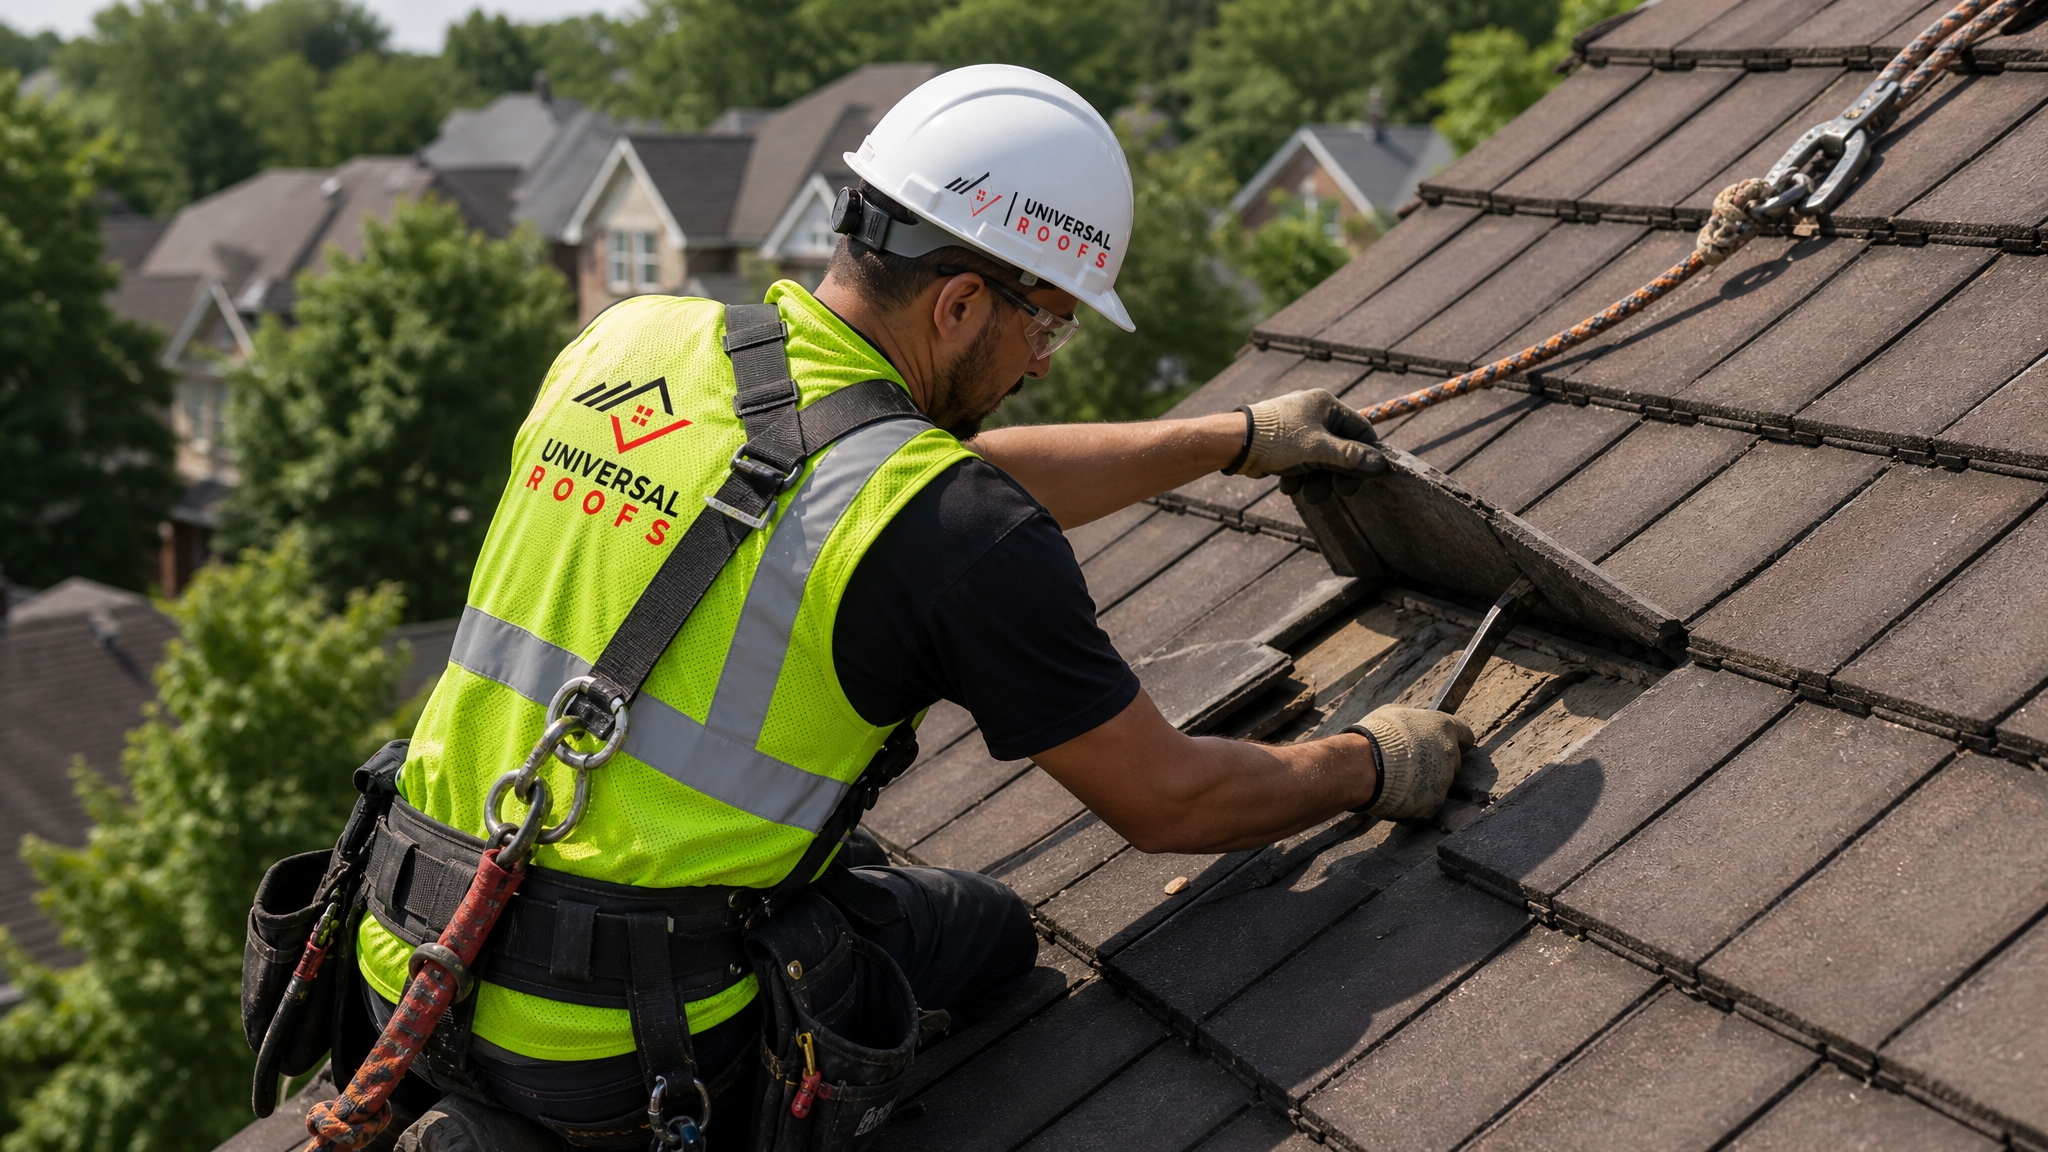
- Set up fall protection first. Anchor a roof harness and rope before stepping onto the slope, even for a single-tile repair.
- Locate the damaged tile and the tiles immediately above it. Tile roofs are installed in overlapping courses, so the tile above the damaged one is usually holding it in place via headlap and needs to be lifted, not removed.
- Gently raise the overlapping tile above. Use a flat pry bar or a purpose-made tile lifter to lift the tile above just enough to access the fasteners or clips on the damaged tile below. Never force it — cracking an adjacent tile turns one repair into two or three.
- Remove the fasteners or clips holding the cracked tile. Most GTA tile installations use nails, screws, or stainless clips depending on the age of the roof. Cut or unscrew as needed.
- Slide the cracked tile out. Angle it slightly to clear the tile below before pulling it free.
- Inspect the underlayment beneath. This is the moment to check for water staining, tears, or brittleness in the felt or synthetic membrane. If it’s compromised, patch it now before installing the new tile — this step gets skipped far too often and is the real reason many “repaired” tile roofs still leak.
- Slide the replacement tile into position. Match the exact profile and colour so the repair is not visible from the ground.
- Re-fasten using new stainless clips or nails. Do not reuse old, corroded fasteners.
- Lower the overlapping tile back into place and confirm it lies flat with no rocking or gaps.
- Seal any exposed nail heads or clip points with a compatible roofing sealant, and check that the tile sits flush with its neighbours.
Repairing Slipped, Missing, and Ridge Cap Tiles
Not every storm-damaged tile is cracked — many are simply displaced. High winds can shift a tile out of its interlocking groove without breaking it, leaving a gap that channels water directly onto the underlayment during the next rain.
Slipped Field Tiles
A slipped tile has usually lost its clip or nail, or the clip has corroded and let go. The fix is to lift the tile(s) above (as described earlier), slide the slipped tile back into its correct interlocking position, and re-fasten it with a new stainless clip. Always test that it seats flush and does not rock when pressed at the corners.
Missing Tiles
A missing tile is the most urgent type of damage because the underlayment beneath is fully exposed to sun, wind, and rain with nothing protecting it. If a tile has gone missing:
- Cover the exposed area with a temporary tarp or self-adhered membrane patch if the permanent repair cannot happen the same day
- Inspect the underlayment carefully — exposure to UV and moisture even for a short time can degrade felt underlayment faster than you’d expect
- Install the replacement tile using the same fastening method as the surrounding field tiles, matching profile and colour
Ridge and Hip Cap Tiles
Ridge and hip caps take the brunt of wind uplift because they sit at the highest, most exposed points of the roof. These are typically bedded in mortar or adhesive rather than mechanically fastened alone, so a displaced ridge cap often means the mortar bed has failed, not just the tile. Repair involves removing the loose cap, cleaning off old mortar, re-bedding the cap in fresh weather-resistant mortar or adhesive, and holding it in place until cured. Because ridge lines are the hardest part of the roof to access safely, this is one area where hiring a professional is almost always the safer call.
| Damage Type | Typical Cause | Repair Approach | Urgency |
|---|---|---|---|
| Cracked field tile | Hail impact, foot traffic, falling debris | Remove and replace matching tile | Moderate — repair within 1-2 weeks |
| Slipped field tile | Wind uplift, failed clip/fastener | Re-seat and re-fasten with new clip | Moderate — repair before next storm |
| Missing tile | High wind gust, severe hail | Tarp temporarily, then replace tile | High — same-day tarp recommended |
| Displaced ridge/hip cap | Wind uplift on exposed peak, mortar failure | Re-bed in fresh mortar or adhesive | High — often signals wider mortar failure |
| Chipped tile surface (no crack through) | Hail impact | Monitor; seal chip if it exposes the tile core | Low — cosmetic unless it worsens |
What Storm-Damaged Tile Repairs Typically Cost in the GTA
Costs vary depending on tile material, roof pitch, accessibility, and how many tiles need attention. These are general GTA-area ranges to help you budget and evaluate quotes — always get a written, itemized estimate before work begins.
| Repair Type | Typical Cost Range (CAD) | What Affects the Price |
|---|---|---|
| Single cracked tile replacement | $150 – $350 | Tile matching, roof pitch, access difficulty |
| Multiple scattered tile replacements (5-15 tiles) | $600 – $1,800 | Labour time, underlayment condition, tile availability |
| Ridge/hip cap re-bedding (per linear metre) | $40 – $90 per metre | Mortar vs. adhesive method, height of ridge |
| Emergency tarping and temporary repair | $250 – $600 | Roof size, urgency, time of day/night |
| Underlayment patch repair (per section) | $300 – $700 | Extent of water damage found beneath tiles |
| Full storm-damage assessment and report | $150 – $300 (often waived if repair proceeds) | Roof size, documentation needed for insurance |
If damage is extensive — widespread cracking across multiple slopes, structural sagging, or significant underlayment failure — a full roof replacement may end up more cost-effective than patching a roof that is already near the end of its service life. A qualified contractor should tell you honestly which category your roof falls into rather than defaulting to the more expensive option.
Insurance Claims and Documentation for Storm Damage
Most homeowner insurance policies in Ontario cover sudden storm damage — wind, hail, and falling debris — though coverage details and deductibles vary by policy. Proper documentation makes the difference between a smooth claim and a denied one.
- Photograph everything before touching anything. Ground-level shots of debris, close-ups of cracked or missing tiles, and interior water stains all matter.
- Note the date and time of the storm and cross-reference it with Environment Canada severe weather records for your area if needed.
- Get a written assessment from a roofing contractor that specifically states the damage is consistent with storm impact rather than gradual wear — insurers distinguish sharply between the two.
- Keep all receipts for temporary repairs like tarping, since emergency mitigation costs are often reimbursable.
- Do not authorize permanent repairs before the adjuster has reviewed the damage unless the temporary fix is only meant to prevent further water intrusion.
A reputable roofer will document damage thoroughly regardless of whether you plan to file a claim, because that same documentation protects you if similar damage reappears in the same spot months later.
Preventing Future Storm Damage to Tile Roofs
Once repairs are complete, a few preventive steps meaningfully reduce the odds of repeat damage during the next GTA storm season.
- Schedule an annual pre-storm-season inspection. Late spring, before the summer thunderstorm pattern picks up, is an ideal time to catch loose tiles or failing fasteners before wind finds them.
- Upgrade to stainless steel fasteners and clips during any repair — galvanized hardware corrodes faster in our humid summers and freeze-thaw winters, and corroded fasteners are a leading cause of tiles working loose in storms.
- Trim overhanging branches that could break and fall onto the roof during high winds.
- Keep gutters clear so wind-driven rain during a storm has somewhere to go rather than backing up under eave tiles.
- Check attic ventilation. A well-balanced attic ventilation system reduces moisture buildup that can weaken underlayment and sheathing over time, making tiles more prone to shifting.
- Address any flat sections or transitions promptly. Many tile roofs have flat roof sections over porches, dormers, or additions — these need their own periodic check, since flat roofing membranes fail differently than sloped tile and can leak into the same structure.
- Inspect skylights during the same visit. Flashing around skylights is a common site of storm-related leaks even when the surrounding tiles are undamaged, and older units may benefit from skylight replacement if seals have degraded.
DIY Repair vs. Hiring a Professional
Small, isolated repairs — a single cracked tile in an easily accessible spot, for example — are within reach of a confident, well-equipped homeowner who follows proper fall-protection practices. However, several factors should push you toward hiring a licenced roofer instead of climbing up yourself.
| Factor | DIY May Be Reasonable | Call a Professional |
|---|---|---|
| Roof pitch | Low slope, easy footing | Steep pitch, multiple storeys |
| Number of damaged tiles | 1-2 isolated tiles | 5+ tiles or spread across multiple slopes |
| Tile material | Concrete (more impact-resistant) | Clay (brittle, easily cracked by foot traffic) |
| Underlayment condition | Unknown, but visible from below is clean | Visible staining, tears, or suspected rot |
| Access to matching tiles | Common profile still manufactured | Discontinued or unusual profile needing salvage stock |
| Insurance claim involved | Cosmetic damage only, no claim planned | Claim being filed — documentation matters |
When damage extends to ridge lines, valleys, or areas requiring extended time at height, the cost of professional roof repair is almost always worth it compared to the risk of a fall or a poorly sealed repair that leaks again within a year. Homeowners across the Toronto, Peel Region, York Region, Halton Region, and Durham Region areas deal with similar storm patterns each season, and a contractor familiar with local tile stock and local building code requirements can move faster than someone sourcing materials for the first time.
Common Mistakes That Make Tile Roof Repairs Fail
Even well-intentioned repairs go wrong in predictable ways. Watch for these:
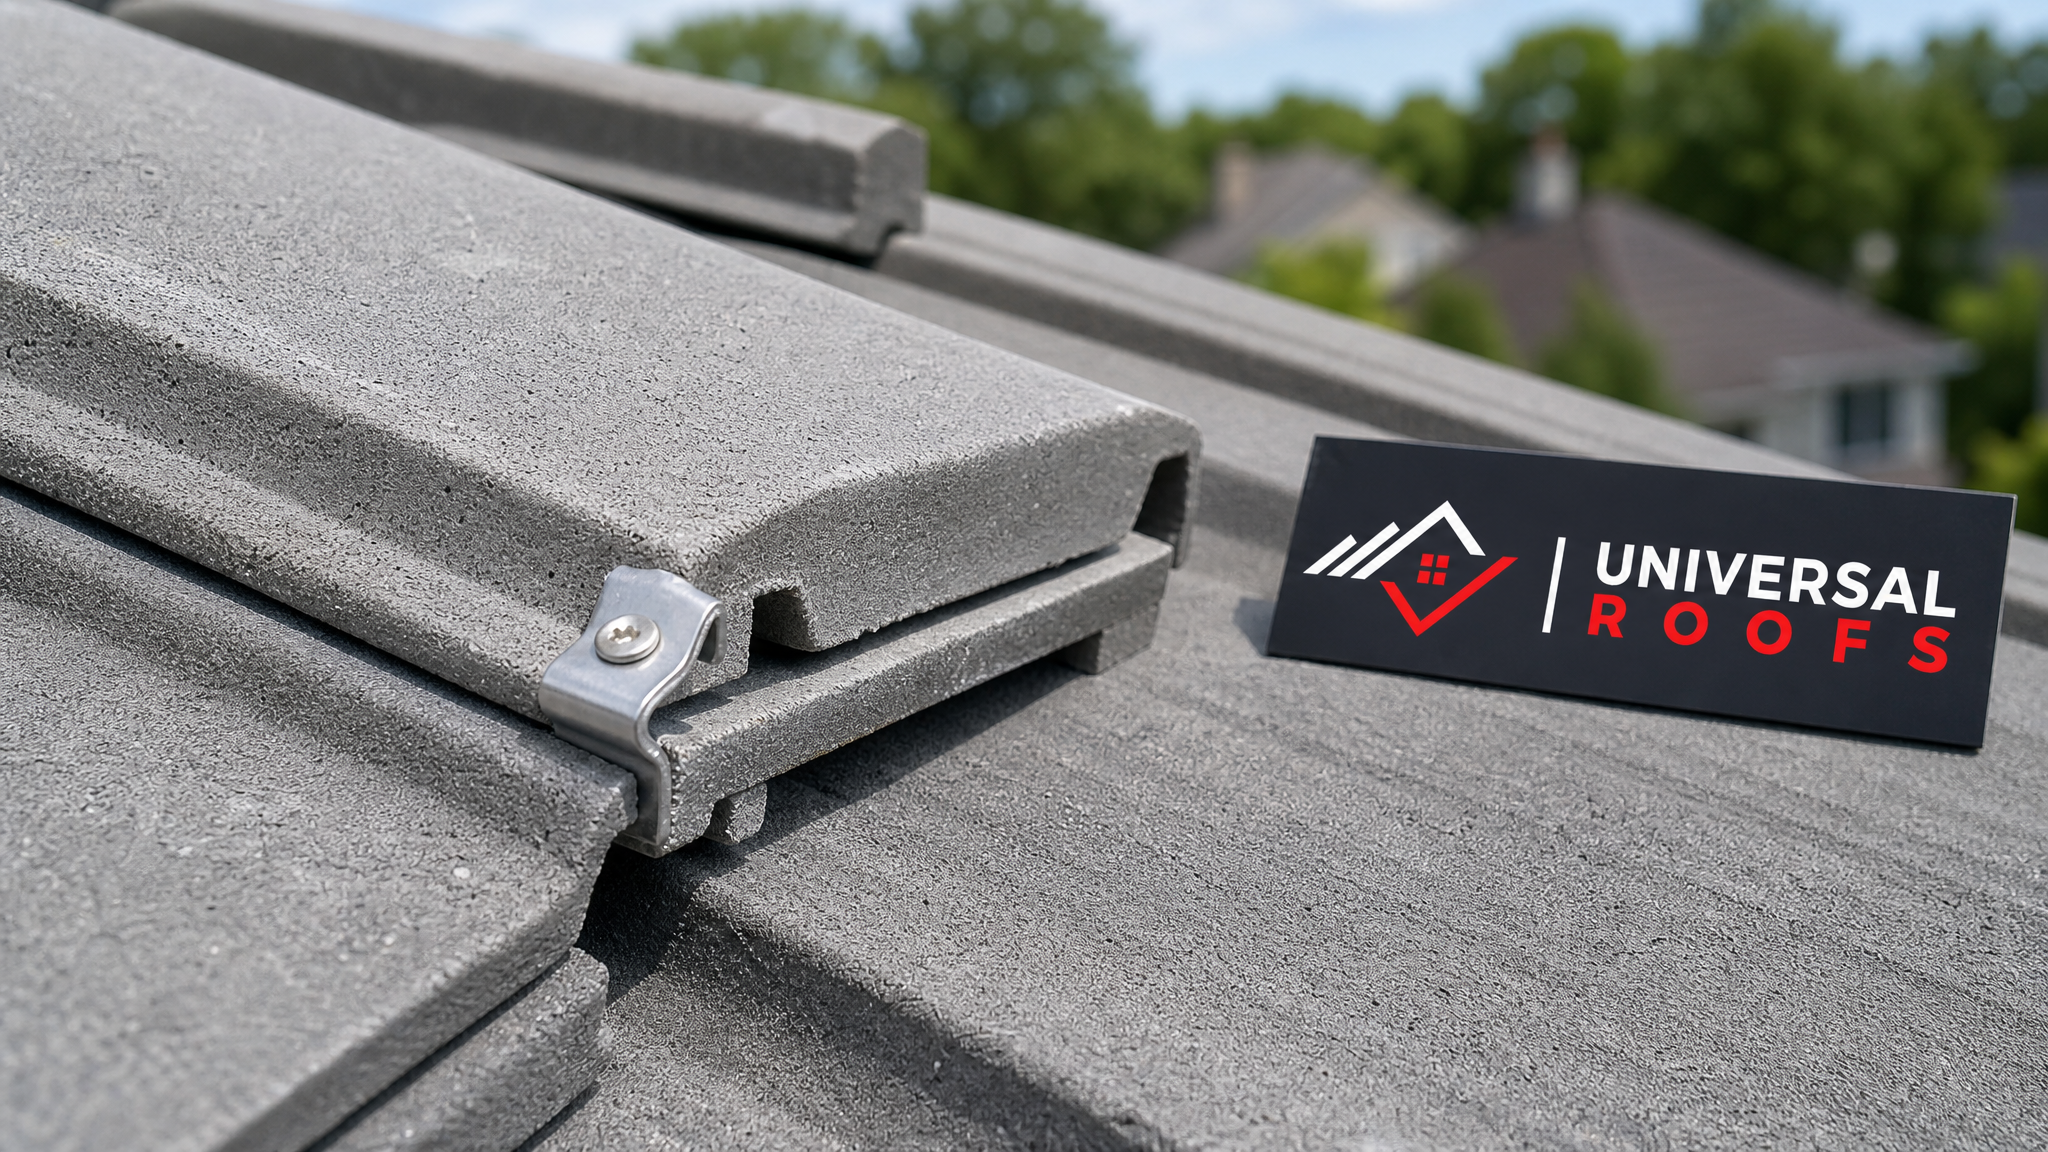
- Using mismatched tile profiles. Even tiles that look similar in colour can have a different interlocking profile, which prevents a proper watertight seal.
- Skipping the underlayment check. Replacing a tile over torn or saturated underlayment just delays the leak, it does not fix it.
- Reusing corroded fasteners. Old clips and nails that already failed once during a storm are likely to fail again.
- Walking directly on tile fields instead of stepping near headlaps or using roof jacks and padded boards, which cracks tiles that were not even part of the original damage.
- Ignoring flashing around penetrations. Vent boots, chimney flashing, and skylight flashing are common leak points that get overlooked when attention is focused only on the tiles themselves.
- Delaying repair after a storm. Every week a gap sits open is another chance for wind-driven rain to reach the underlayment and deck.
A thorough repair addresses the tile, the fasteners, and the underlayment together rather than treating the visible crack as the entire problem. This is also why customer reviews matter when choosing a contractor — check a company’s reviews for mentions of repairs holding up over multiple seasons, not just the initial job looking clean.
When Repair Isn’t Enough: Signs You Need a Full Roof Assessment
Sometimes what looks like isolated storm damage is really the first visible symptom of a roof nearing the end of its lifespan. Consider a broader assessment if you notice:
- Storm damage recurring in the same area after multiple repairs
- Widespread tile discolouration, moss growth, or surface erosion across the whole roof
- Sagging rooflines visible from the street
- Multiple generations of patch repairs with mismatched tile colours
- Underlayment that is brittle or crumbling wherever it’s exposed
- A roof age approaching or exceeding the manufacturer’s rated lifespan for your tile type
In these cases, a licenced roofer can walk you through the difference between continuing to patch and planning for a roof replacement, with a clear breakdown of costs either way. For general questions about the process, our FAQ page and about page outline how our team evaluates jobs of every size across the GTA.
How do you know if a tile roof has storm damage?
Can I walk on a tile roof to repair storm damage myself?
What is the average cost of repairing storm damaged tile roofs in the GTA?
Does home insurance cover storm damage to tile roofs?
How long does it take to repair a storm-damaged tile roof?
Should I replace individual tiles or the whole roof after storm damage?
Need Help With Step by Step Guide?
Storm damage on a tile roof rarely stays small if it’s left alone through another season of Toronto weather. Whether you need a single cracked tile replaced or a full assessment after a major windstorm, Universal Roofs brings the harnesses, matching tile stock, and local experience needed to get it right the first time.
Call us today at (416) 732-2421 or request a free inspection to get started.
Universal Roofs proudly serves Toronto, Mississauga, Brampton, Vaughan, Markham, Oakville and the GTA since 2005.