
Vents and chimneys are two of the most common places where a tile roof starts to leak, and for good reason. Every penetration through a roof plane — whether it is a plumbing stack, a bathroom exhaust vent, or a full masonry chimney — is a break in the continuous waterproofing layer that tiles alone cannot provide. The tiles themselves rarely fail. It is almost always the flashing, sealant, or mortar detailing around these penetrations that gives way first, and once it does, water can travel a surprising distance before it ever shows up as a stain on your ceiling.
If you are searching for solutions for leaks in tile roof vents and chimneys, you are likely already dealing with a damp patch, a musty smell in the attic, or a contractor’s estimate that seems too vague to trust. This guide walks through exactly why these leaks happen, how a professional diagnoses the true source, and what repair options actually solve the problem rather than masking it for a season. We will also cover realistic costs, timelines, and the maintenance habits that keep vent and chimney flashing performing for decades, with specific attention to how Toronto’s freeze-thaw winters and humid summers accelerate wear on these details.
As a roofing contractor that has worked on tile roofs across the Greater Toronto Area since 2005, we have seen nearly every version of this problem, from hairline mortar cracks on a chimney crown to completely rusted-through vent boots hidden beneath tiles that looked perfectly fine from the ground. This article is written from that field experience, not a generic checklist.
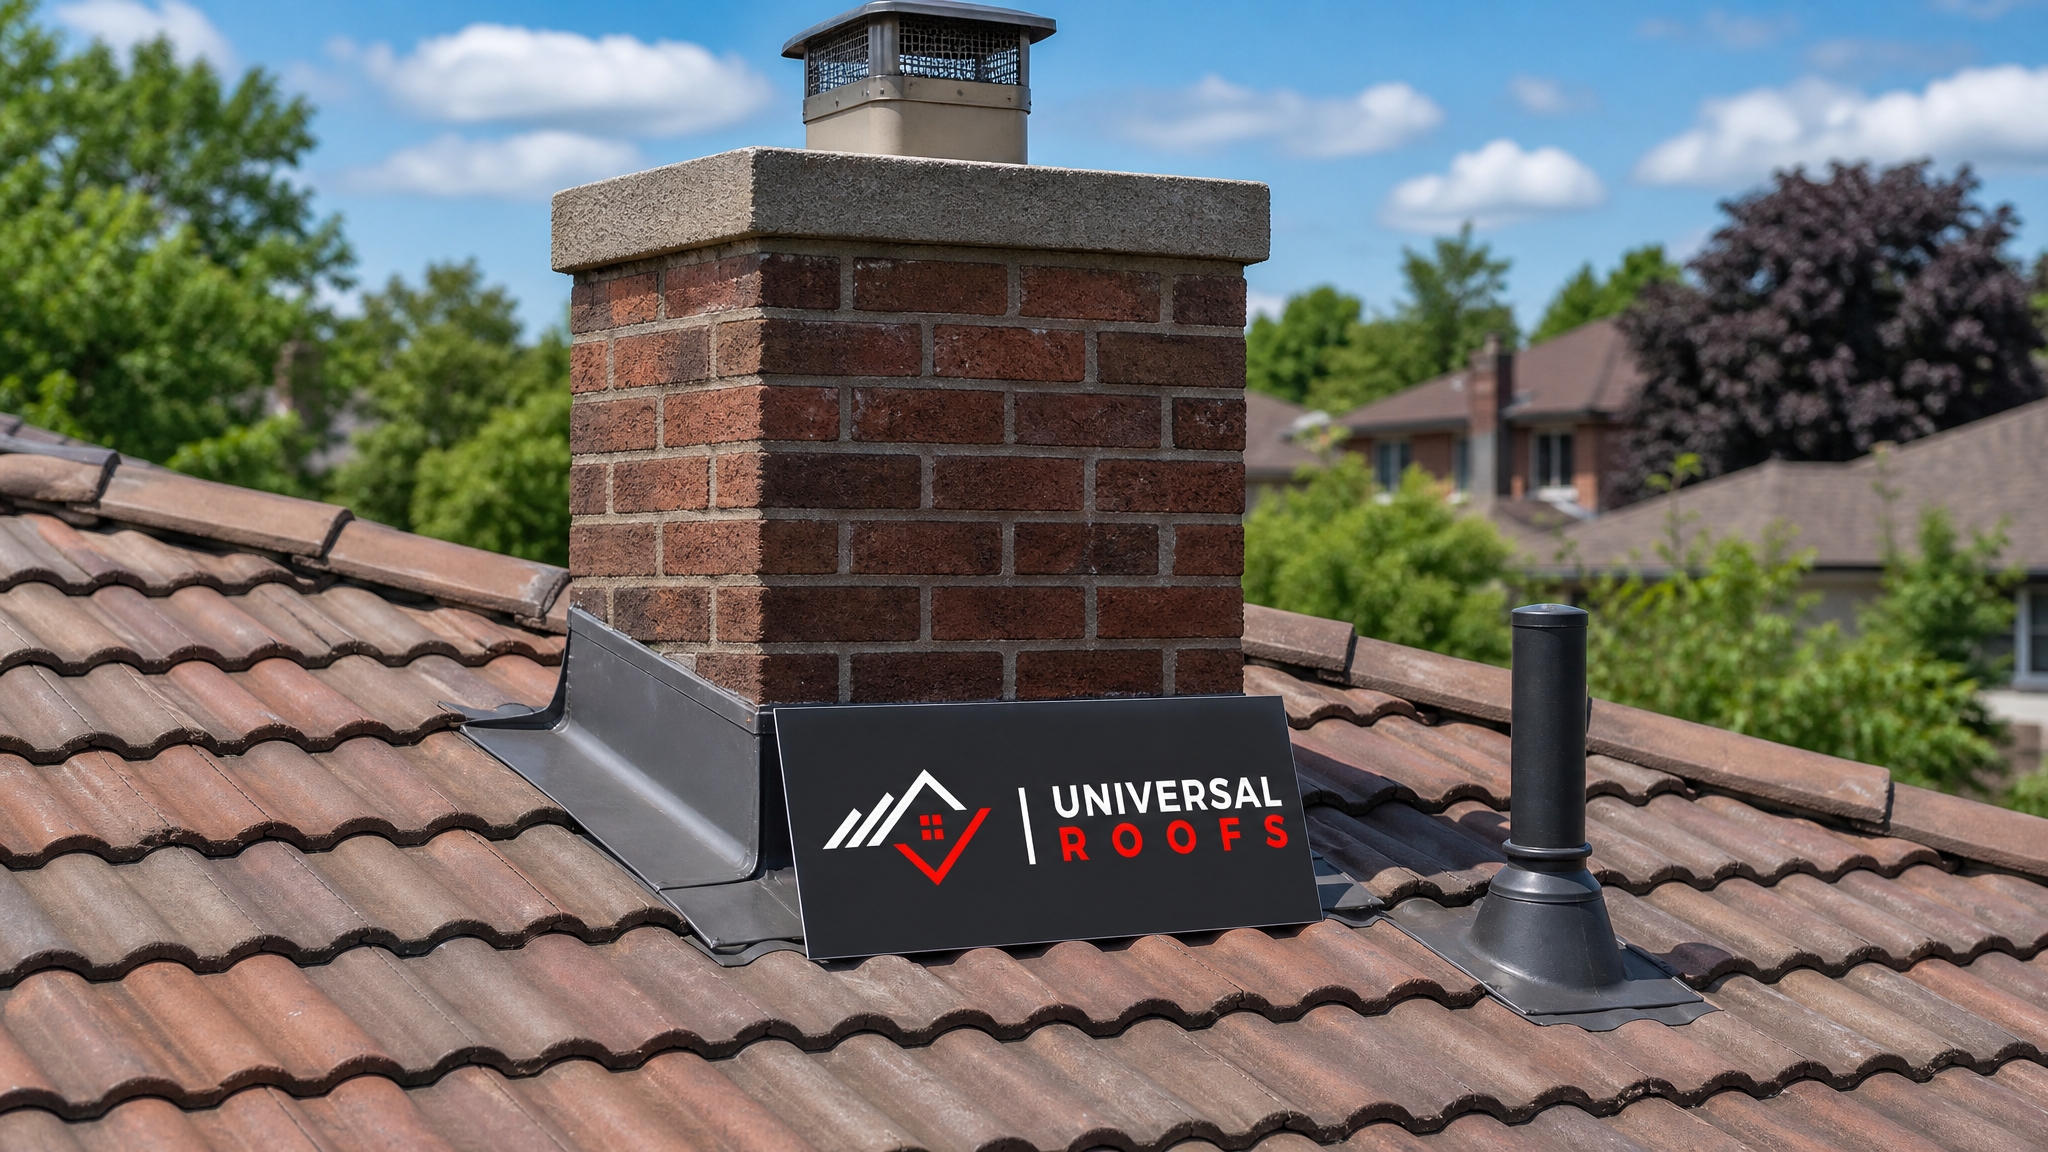
Why Tile Roof Vents and Chimneys Leak More Than Any Other Area
A tile roof is a shedding system. Individual tiles overlap in a way that channels water downhill, relying on gravity and a underlayment membrane beneath the tiles to handle anything that gets past the surface layer. That system works beautifully across a continuous field of tiles. The moment you introduce a vertical object — a plumbing vent stack, a bathroom fan exhaust, or a masonry chimney — you break that shedding pattern and need a separate waterproofing detail called flashing to redirect water around the obstruction.
Flashing at vents and chimneys typically fails before the field tiles do because it is made from different materials with different lifespans. Tiles themselves, whether clay or concrete, can last 50 years or more. But the flashing around a vent pipe is often galvanized steel, aluminum, or a rubber boot, and the mortar around a chimney is a cement-based product — both of which have a shorter service life than the tiles they sit beside. When flashing corrodes, boots crack from UV exposure, or mortar joints open up from thermal cycling, water finds a path underneath the tiles at exactly the point where it has nowhere else to go but down into the roof deck.
In our climate, this deterioration is accelerated by freeze-thaw cycling. Water that seeps into a hairline crack in chimney mortar during a autumn rain will expand when it freezes overnight, widening the crack. Repeat that dozens of times over a Toronto winter and a joint that was watertight in October can be actively leaking by March. Vent boot rubber becomes brittle faster in our climate too, since it is exposed to both intense UV in summer and sub-zero temperatures in winter, a combination that ages rubber compounds much faster than a moderate climate would.
The Most Common Failure Points Around Roof Vents
Plumbing and exhaust vents on a tile roof rely on a boot or flashing collar that fits around the pipe and integrates with the surrounding tiles and underlayment. There are several distinct ways this detail fails, and identifying which one applies to your roof determines the correct repair.
The most frequent issue is a cracked or perished rubber boot. Most vent boots use a neoprene or rubber collar that stretches over the pipe to create a seal. UV exposure dries out this rubber over roughly 8 to 12 years, causing it to crack, especially where it flexes around the pipe. Once cracked, wind-driven rain can enter directly at the pipe collar even though the surrounding metal flashing base is completely intact.
A second common problem is flashing that was never properly integrated with the surrounding underlayment during the original tile installation. If the flashing sits on top of the underlayment instead of being woven into it in the correct shingle-style layering, water that gets under the tiles above the vent can bypass the flashing entirely and continue down to the deck. This is an installation defect rather than a wear-and-tear issue, and it will not show up until it rains hard enough, or long enough, for water to find that gap.
Third, on older roofs you may find plain galvanized steel flashing that has simply rusted through. Once rust perforates the metal, no amount of sealant on the surface will stop water from working through the pinholes underneath.
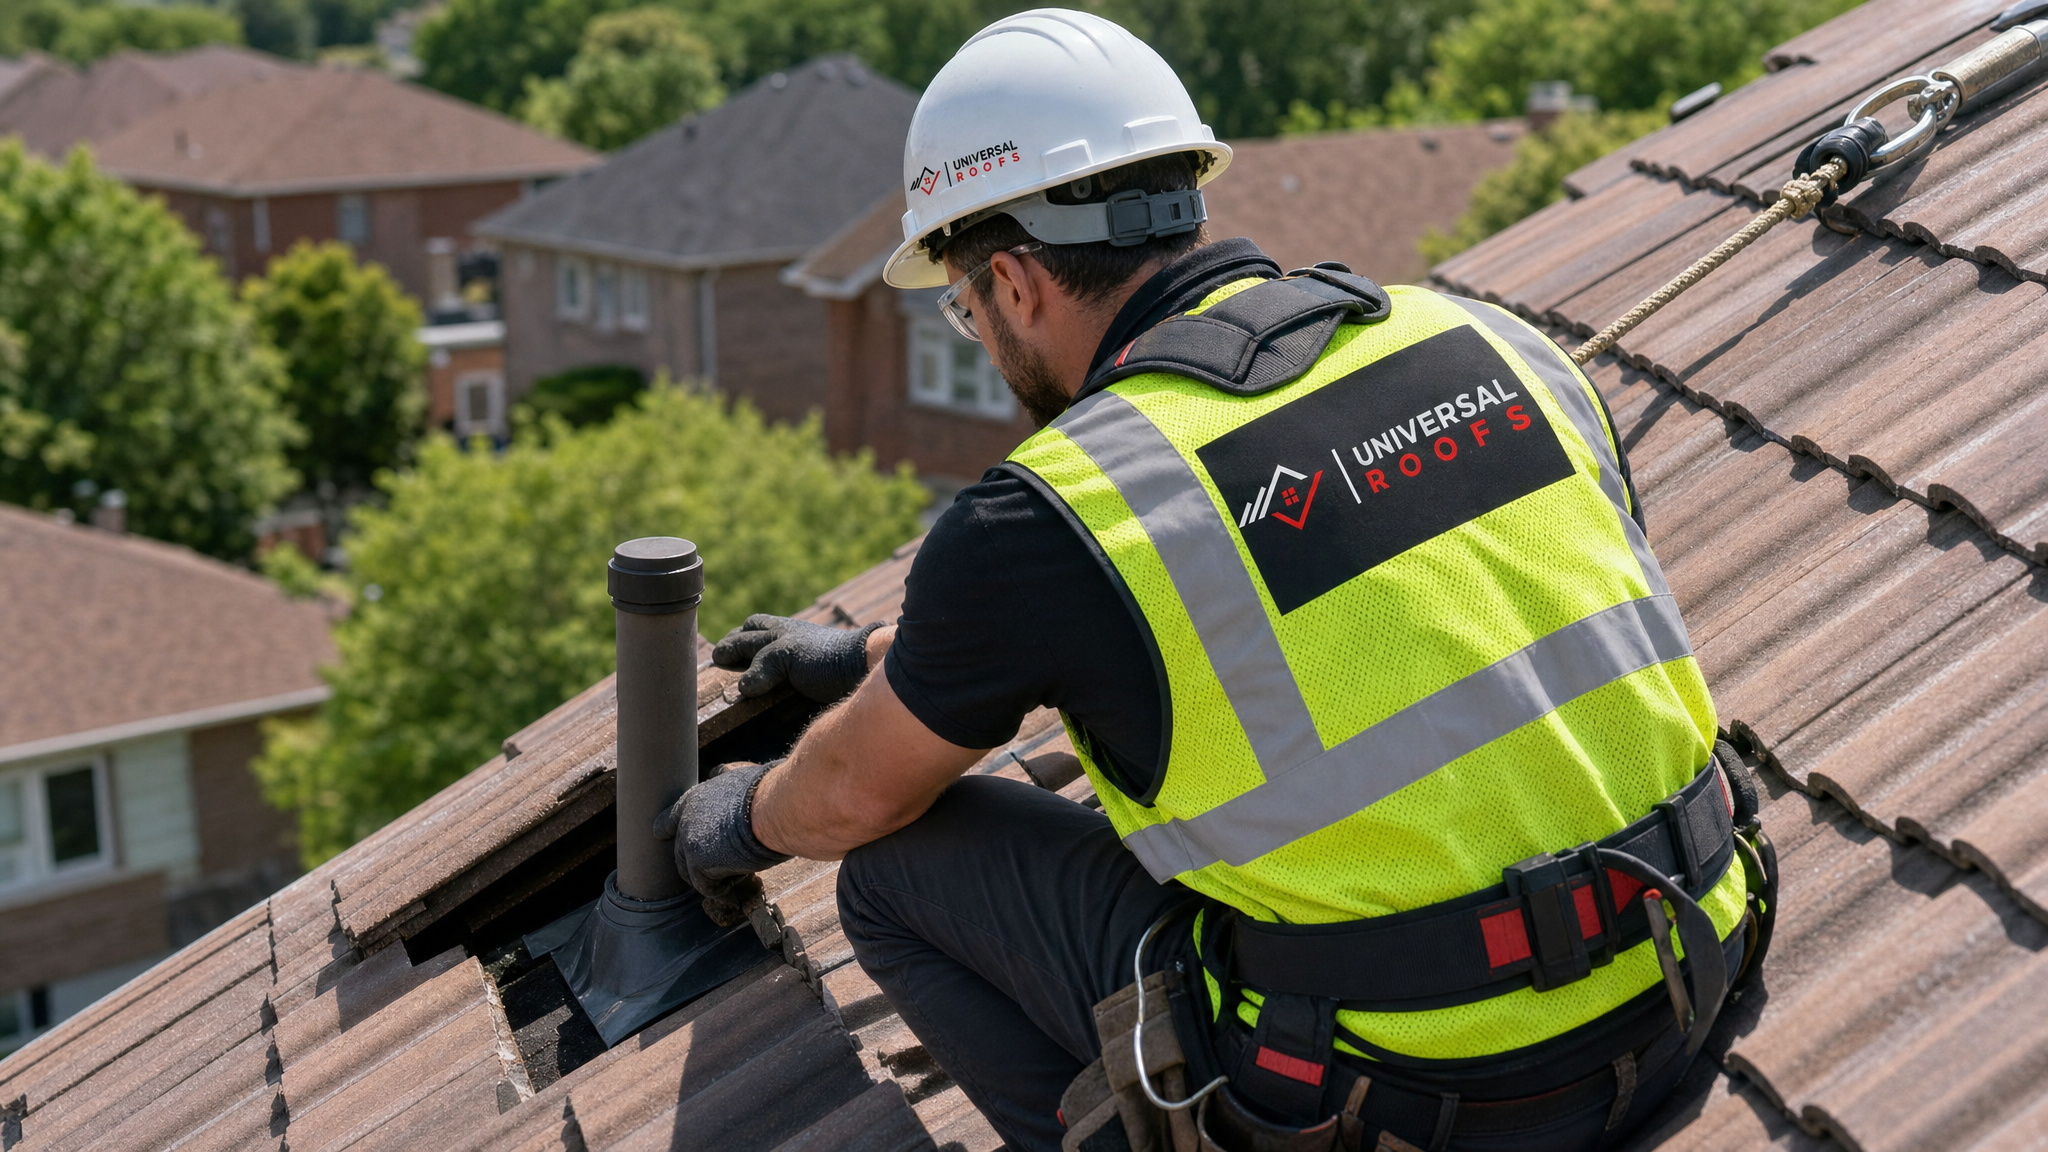
Diagnosing a Chimney Leak: Where the Water Actually Gets In
Chimney leaks are more complex than vent leaks because a masonry chimney has several distinct water-entry points, and homeowners often assume the source is whichever spot they can see staining nearest to, which is frequently wrong. Water travels along rafters and underlayment before it drips, so a stain on a ceiling six feet from the chimney may still be a chimney leak.
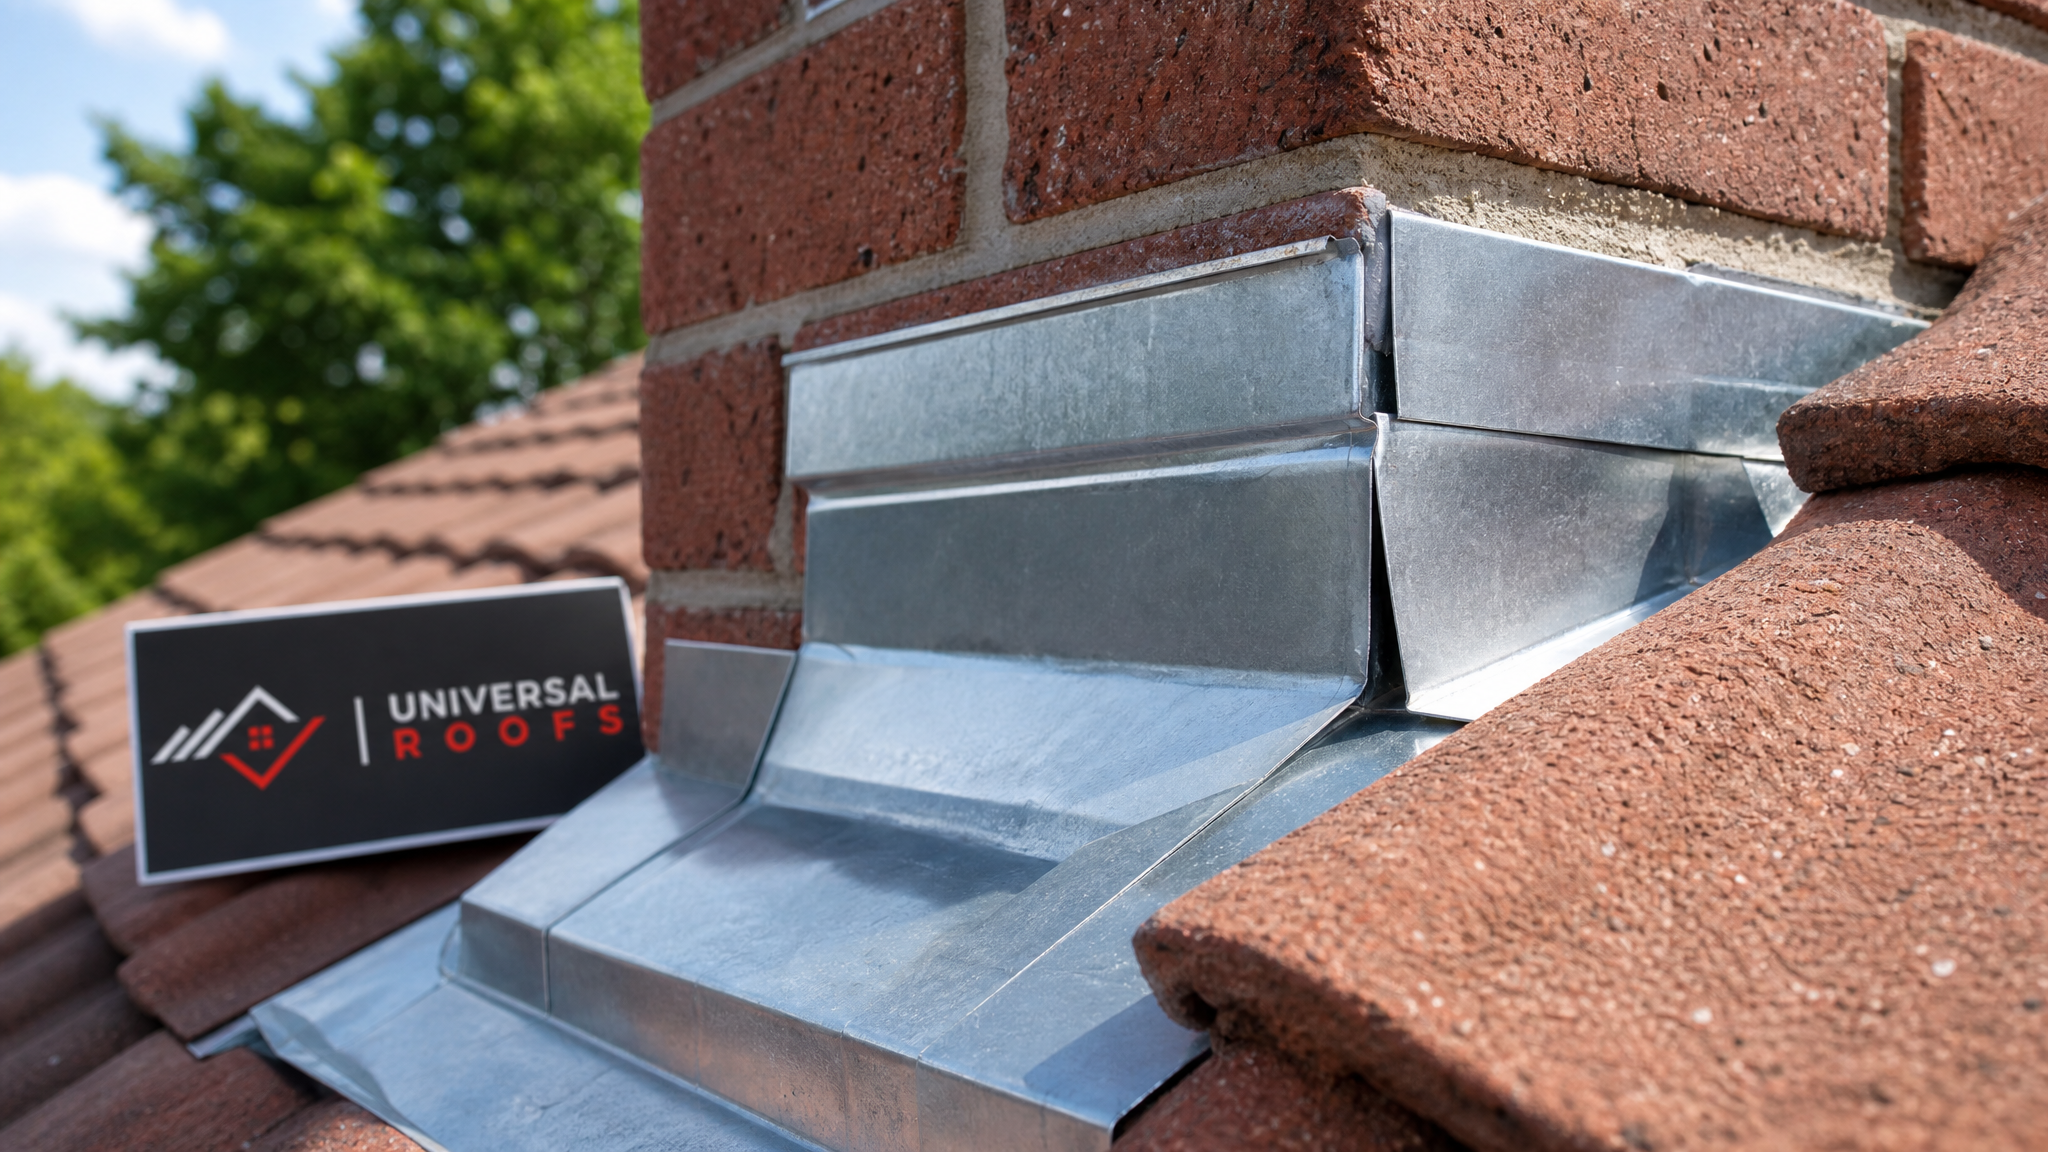
The step flashing along the sides of the chimney is usually the first thing to check. This is a series of individual L-shaped metal pieces, each one woven between courses of tile, that direct water away from the point where the roof plane meets the vertical chimney wall. If even one piece of step flashing has come loose, corroded, or was installed with too little overlap, water will funnel directly behind it.
The counter-flashing, which is embedded into a mortar joint in the chimney and folds down over the step flashing, is the second major point of failure. When the mortar joint holding the counter-flashing cracks or crumbles, the flashing pulls away from the masonry and creates a direct channel for water to run behind it. This is an extremely common issue on older chimneys where the mortar has simply reached the end of its service life.
The chimney crown, the concrete or mortar cap on top of the chimney stack, is the third area to inspect. Hairline cracks in the crown allow water to seep directly into the masonry structure itself, where it can travel downward inside the brick or block and eventually show up as moisture in the attic near the chimney chase, well below the roofline. This type of leak is often misdiagnosed as a roof leak when it is actually a chimney masonry problem that requires crown repair, not flashing work.
Finally, check the saddle or cricket, the small peaked structure built on the uphill side of a wide chimney to divert water around it rather than letting it pool. On older or poorly built roofs, this feature is sometimes missing entirely, or was undersized for the width of the chimney, leading to standing water and ice damming directly behind the chimney every winter.
| Leak Symptom | Likely Source | Typical Repair | Urgency |
|---|---|---|---|
| Damp ceiling directly below a bathroom vent pipe | Cracked rubber vent boot | Boot replacement, tile relay | Moderate — worsens with rain |
| Staining along one side of the chimney chase | Failed step flashing | Re-weave and replace step flashing | High — active water path |
| Water marks appearing several feet from the chimney | Cracked counter-flashing or mortar joint | Re-cut mortar joint, reinstall counter-flashing | High |
| Moisture inside the chimney chase, no visible roof stain | Cracked chimney crown | Crown repair or rebuild | Moderate to high |
| Standing water or ice buildup behind a wide chimney | Missing or undersized cricket/saddle | Build or enlarge cricket, integrate new flashing | High before winter |
| Leak only during wind-driven rain, not still rain | Gap in flashing-to-underlayment integration | Lift tiles, correct underlayment weave | Moderate |
Step-by-Step: How Professionals Repair Vent Flashing on Tile Roofs
A correct vent flashing repair is not simply squeezing a tube of roofing sealant around the visible pipe collar, although that is unfortunately a common shortcut. Sealant can buy a few months of time, but it degrades in our climate faster than proper flashing and it does nothing for the underlayment integration underneath. Here is what a thorough repair actually involves.
First, the tiles surrounding the vent are carefully lifted and set aside, usually the two courses above and one course to each side, to expose the full flashing assembly. This step matters because it lets the contractor see whether the failure is limited to the rubber boot or extends to the metal base flashing and underlayment as well.
Second, the existing boot and any deteriorated flashing is removed. If the metal base flashing is still sound, only the rubber collar needs replacing, which keeps costs down. If the base flashing itself has rusted or was poorly integrated originally, the entire assembly is replaced with new flashing correctly woven into the underlayment in a shingle-style overlap, so each layer sheds water onto the layer below it rather than trapping it.
Third, a new boot is fitted tightly around the vent pipe, sealed at the pipe collar with an appropriate high-temperature, UV-stable sealant, and the base flashing is fastened and integrated with the surrounding underlayment.
Fourth, the original tiles are reset in their original pattern, matched for colour and profile, with new tile clips or fasteners as needed. On roofs with brittle or discontinued tile profiles, a small number of replacement tiles from matching stock may be required if the originals crack during removal, which is fairly common on tile that is 15 or more years old.
Finally, the repair is tested with a controlled water flow from the ridge down, simulating heavy rain, and the attic is checked from below during and after the test to confirm no moisture is present. Skipping this verification step is one of the more common ways a “repair” turns out not to have actually fixed the leak.
Step-by-Step: How Professionals Repair Chimney Flashing Leaks
Chimney flashing repairs follow a similar logic but involve masonry work in addition to roofing work, which is why this job typically requires either a roofer experienced in masonry chimney details or coordination between a roofer and a mason.
The process begins with removing the tiles closest to the chimney on all sides to expose the full step flashing run. Each piece of step flashing is inspected individually — it is common to find that only a few pieces near the base or the uphill side have failed while the rest remain serviceable, though replacing the entire run at once is usually more cost-effective than repeated partial repairs over several years.
Next, the counter-flashing is removed from the mortar joint it is embedded in. The old mortar joint (called a reglet) is cut out and cleaned. New counter-flashing is then installed into a freshly cut reglet joint and sealed with a flexible, masonry-compatible sealant, then the joint is repointed with mortar matched to the existing chimney.
If the crown shows cracking, it is repaired or, in more severe cases, removed and rebuilt with a properly sloped concrete cap that sheds water away from the flue and overhangs the brick sufficiently to protect the masonry below. A missing or undersized cricket is built at this stage as well, using a wood-framed structure covered in the same underlayment and flashing materials used elsewhere on the roof.
Finally, tiles are reset around the repaired chimney base and the entire assembly is water-tested the same way a vent repair would be, with particular attention paid to the corners of the chimney, where step flashing, counter-flashing, and the cricket all meet and where leaks are most likely to reappear if any single element was rushed.
Repair Costs and Timelines in the Toronto Area
Costs for these repairs vary significantly depending on how much tile needs to be removed and reset, whether masonry work is involved, and how accessible the roof pitch and chimney location are. The following figures reflect typical ranges we see across Toronto, Peel Region, and surrounding GTA municipalities, and are meant as a planning guide rather than a quote.
| Repair Type | Typical Cost Range (CAD) | Typical Timeline | Notes |
|---|---|---|---|
| Vent boot replacement only (flashing base sound) | $275 – $550 | Half a day | Lowest-cost fix when base flashing is not corroded |
| Full vent flashing replacement with tile reset | $550 – $1,200 | Half to full day | Includes new base flashing and underlayment correction |
| Step flashing repair (partial run) | $800 – $1,800 | 1 day | Cost rises with chimney width and pitch |
| Full chimney flashing and counter-flashing rebuild | $1,800 – $4,500 | 1–3 days | Includes mortar reglet cut and repoint |
| Chimney crown repair or rebuild | $600 – $2,200 | 1 day | Depends on crown size and crack severity |
| New cricket/saddle construction | $900 – $2,500 | 1–2 days | Often bundled with flashing rebuild |
Many homeowners are surprised that a small visible crack can carry one of the higher price tags, but the cost reflects the labour of carefully removing and resetting tile, not the size of the crack itself. If you are unsure which category your situation falls into, our roof repair team can provide a clear, itemized estimate after inspection rather than a rough phone quote, since tile work genuinely does depend on what is found once the tiles are lifted.
When Repair Is Not Enough: Recognizing a Roof Nearing Replacement
Not every vent or chimney leak is an isolated repair. If your tile roof is approaching or past 40 to 50 years old, if the underlayment beneath the tiles has visibly deteriorated in multiple areas beyond just the chimney and vents, or if you are facing your third or fourth flashing repair in as many years, it may be more cost-effective to plan for a broader roof replacement rather than continuing to chase individual leaks.
A useful way to think about this: flashing and boot repairs solve a localized problem in an otherwise sound roof system. But if the underlayment itself — the waterproof membrane beneath every tile on the roof — has degraded from age or heat exposure, then water intrusion will keep appearing in new locations even after every existing leak is fixed, because the underlying membrane can no longer do its job. A qualified inspection can tell you which situation you are in before you spend money on a repair that only delays a larger investment.
It is also worth noting that attic ventilation plays a meaningful role in how long flashing and underlayment last. Poor attic ventilation traps heat and moisture against the underside of the roof deck, accelerating the breakdown of underlayment and encouraging condensation that can be mistaken for a leak. If you are dealing with recurring moisture issues near a chimney or vent stack, it is worth having attic ventilation assessed at the same time as the roof exterior.
Preventing Future Leaks: A Seasonal Maintenance Approach
Vent and chimney flashing failures are rarely sudden. They develop gradually and give warning signs long before water actually reaches your ceiling, which means a modest annual inspection routine catches most problems while they are still inexpensive to fix.
In spring, after winter’s freeze-thaw cycles have had their full effect, walk the perimeter of your home and look up at the chimney and any visible vent stacks with binoculars. Look for gaps between the chimney masonry and the metal counter-flashing, cracked or missing mortar in the crown, and any tiles around penetrations that look lifted or displaced.
In late summer, before autumn rains begin, this is the ideal window to have any identified issues repaired, since temperatures are warm enough for sealants and mortar to cure properly and there is no urgency pressure from an active leak. This is also when it makes sense to have a professional check the rubber boots on plumbing vents, since 8-to-12-year-old boots are the single most common preventable leak source we encounter.
Going into winter, ensure that ice and snow are not accumulating unusually around the chimney base or vent penetrations, since abnormal buildup often indicates a cricket, saddle, or flashing detail that is not shedding water and snow correctly, setting up conditions for ice damming and subsequent leaks in the spring thaw.
| Season | What to Check | Why It Matters | Recommended Action |
|---|---|---|---|
| Spring | Mortar cracks, lifted tiles, flashing gaps | Freeze-thaw damage is most visible after winter | Visual inspection, schedule repairs |
| Early summer | Vent boot condition, sealant flexibility | Heat and UV have begun degrading rubber | Boot replacement if cracked or hardened |
| Late summer | Any deferred flashing or crown repairs | Warm, dry weather is ideal for mortar and sealant curing | Complete repairs before autumn rain |
| Autumn | Debris buildup around chimney base and vents | Leaves and debris trap moisture against flashing | Clear debris, final pre-winter inspection |
| Winter | Ice buildup patterns near chimney and vents | Abnormal ice signals a drainage or flashing defect | Note locations for spring follow-up |
What to Ask a Contractor Before Hiring Them for This Repair
Tile roof flashing work is a specialized skill, and not every roofing contractor who advertises tile roof services has genuine experience with the tile-lifting and re-weaving techniques these repairs require. Before hiring anyone, ask whether they will remove and reset the surrounding tiles as part of the repair, since a contractor who only offers to apply sealant over existing flashing without lifting tiles is very likely offering a temporary patch rather than a real fix.
Ask whether replacement tiles are sourced to match your existing profile and colour, since mismatched replacement tiles are one of the most common cosmetic complaints homeowners have after a repair. Ask whether the contractor performs a water test after the repair is complete, and ask to see photos of similar chimney or vent flashing jobs they have completed, ideally on tile roofs specifically rather than asphalt shingle roofs, since the techniques and materials differ substantially between the two systems.
Finally, check reviews specifically mentioning tile roof work, since general roofing reviews do not always reflect a contractor’s specific competence with tile. You can review our own customer reviews and browse our frequently asked questions page for more detail on how we approach tile roof diagnostics and repair, or read more about our company and the areas we serve, including York Region, Halton Region, and Durham Region.
Related Roof Systems Worth Reviewing at the Same Time
If your home has a tile roof with a mix of flat sections, such as over a garage extension or a rear addition, it is worth having those areas checked during the same visit, since flat roofing sections use entirely different waterproofing systems and age on a different schedule than tile. Similarly, if your roof includes any skylights near the chimney or vent stacks in question, confirm their flashing at the same time, since skylight leaks are frequently mistaken for chimney or vent leaks when they are located close together. We handle both new skylight installation and skylight replacement, and a combined inspection often saves a second site visit and gives you a complete picture of your roof’s condition rather than a single-issue fix.
What are the most effective solutions for leaks in tile roof vents and chimneys?
Can I just caulk or seal a leaking vent or chimney flashing myself?
How much does it cost to fix a chimney flashing leak on a tile roof in Toronto?
How do I know if my leak is coming from the chimney or from somewhere else on the roof?
How often should vent boots and chimney flashing be inspected on a tile roof?
Does a leak around a vent or chimney mean I need a full roof replacement?
Need Help With Solutions for Leaks in?
Chasing a persistent leak around a vent or chimney is frustrating, and a rushed sealant patch rarely holds through a full Toronto winter. Universal Roofs has been diagnosing and repairing tile roof flashing failures across the GTA since 2005, and we take the time to lift tiles, inspect the actual flashing assembly, and water-test every repair before we call the job done.
Call us today at (416) 732-2421 or request a free inspection to get started.
Universal Roofs proudly serves Toronto, Mississauga, Brampton, Vaughan, Markham, Oakville and the GTA since 2005.