
A tile roof is one of the most striking features a Toronto-area home can have, but years of sun exposure, freeze-thaw cycles, airborne grit, and biological growth take a visible toll. Terracotta reds fade to chalky pink, slate greys turn dull and streaky, and concrete tiles develop a rough, powdery film that dulls their once-glossy finish. Reviving the luster of faded tile roofs is entirely possible without a full tear-off, but it requires understanding why tiles fade in the first place and choosing the right restoration method for your specific tile material.
This guide walks GTA homeowners through the science of tile fading, the cleaning and sealing techniques that actually restore shine, the tools and products that work best in our climate, and the point at which a roofing professional should take over. Whether your home has clay, concrete, or slate tile, the goal is the same: bring back the colour and protective sheen without damaging the tiles or shortening their lifespan.
At Universal Roofs, we have restored and repaired tile roofing across the Greater Toronto Area since 2005, and faded, chalky tile is one of the most common concerns homeowners bring to us. The good news is that most fading is cosmetic and reversible with the right process.
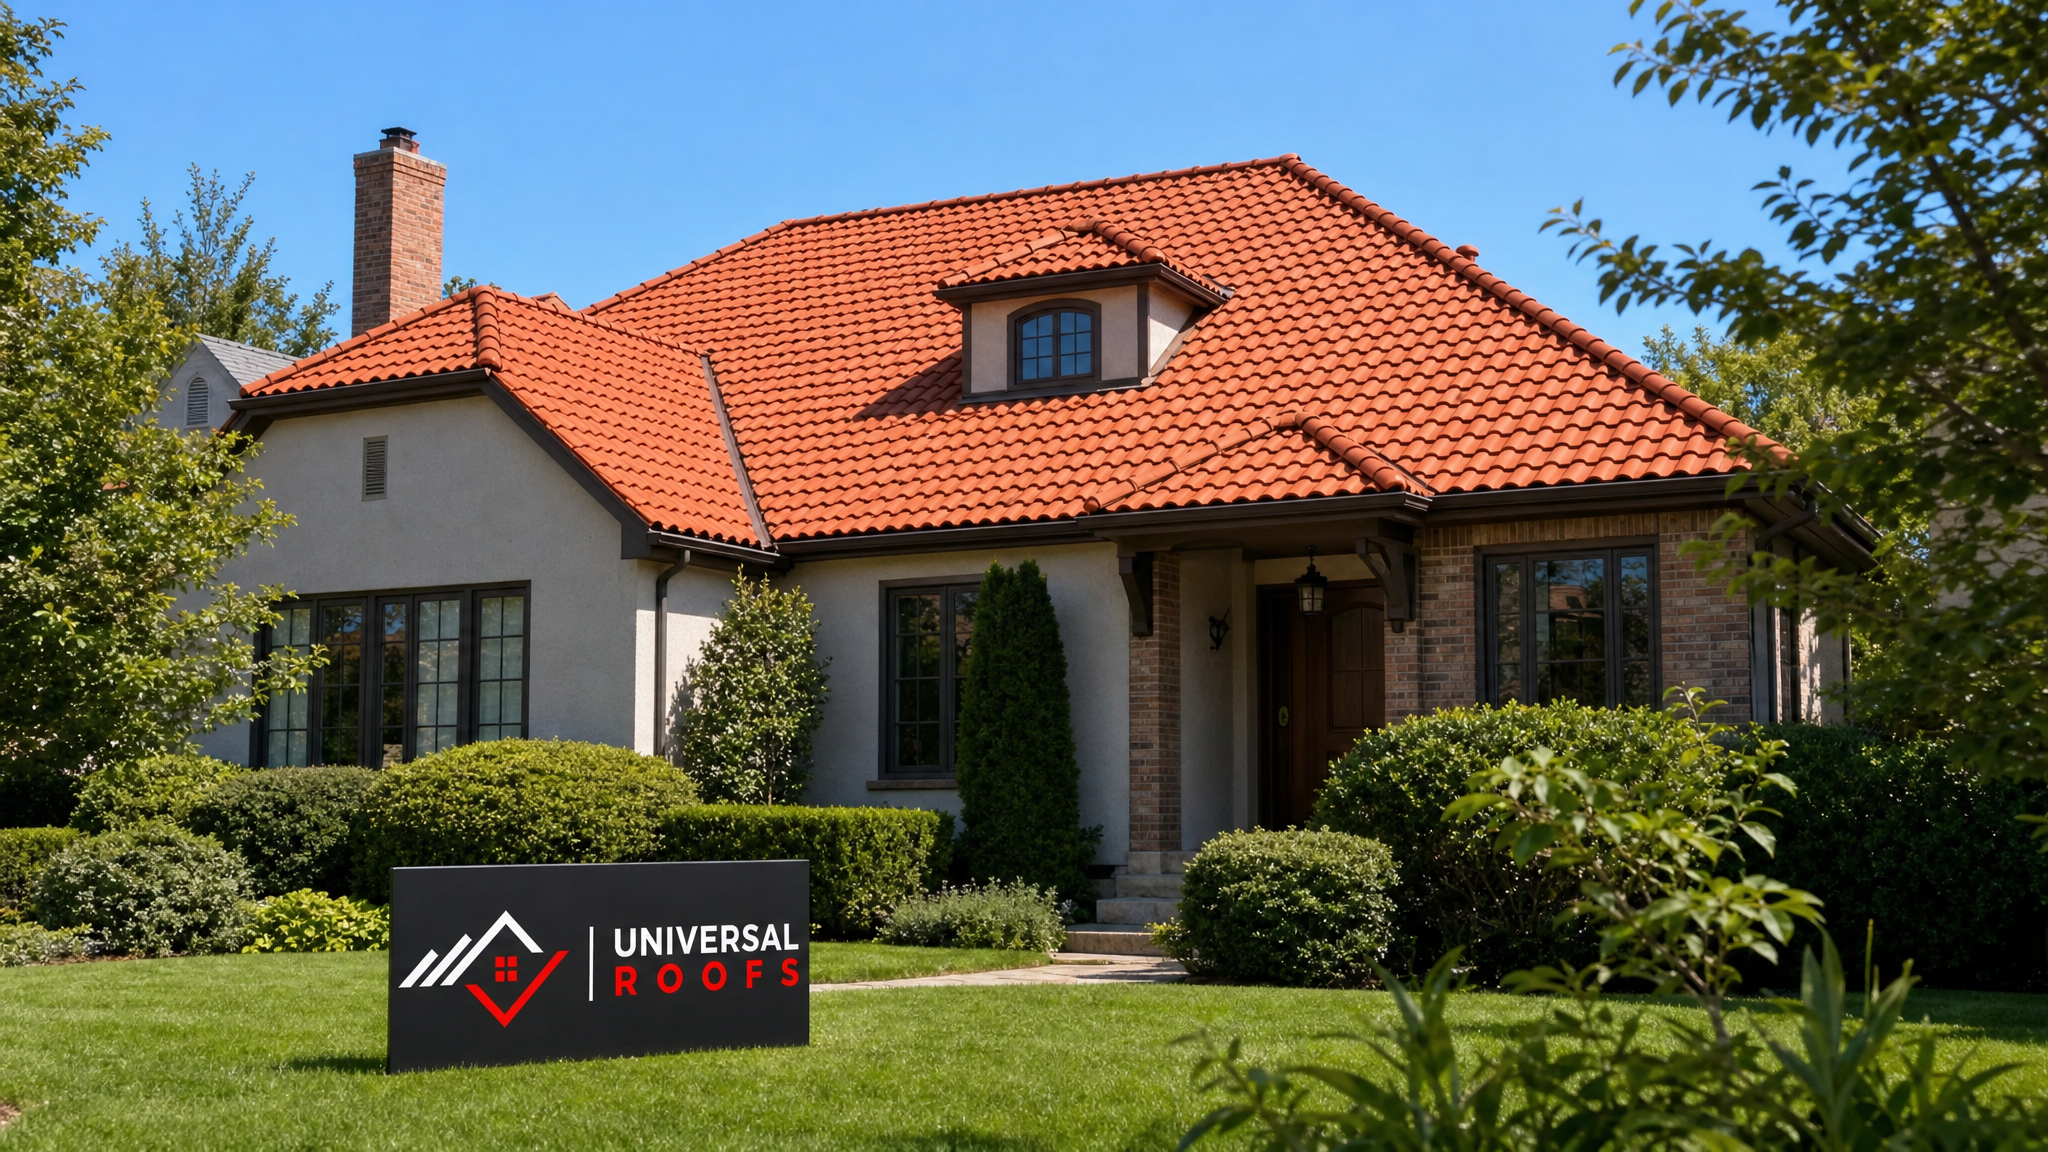
Why Tile Roofs Fade in the Greater Toronto Area
Tile roofing is prized for its durability, often lasting 50 years or more, but “durable” does not mean “maintenance-free.” Fading happens gradually through a combination of environmental factors that are especially pronounced in the GTA’s four-season climate.
Ultraviolet radiation is the primary culprit. UV rays break down the pigments and glazes used in clay and concrete tile, causing the surface colour to lighten and lose depth over time. Unlike asphalt shingles, which are engineered to be replaced every 20 to 25 years, tile roofs are meant to last generations, which means the surface finish has decades to weather and dull even while the structural tile underneath remains perfectly sound.
Toronto’s freeze-thaw cycle compounds the problem. Water seeps into microscopic pores in concrete and clay tile, freezes, expands, and creates hairline surface fractures. Over dozens of winters, this process roughens the tile surface, making it more prone to trapping dirt, pollen, and organic debris that further dulls the appearance.
Biological growth is the third major factor. Algae, lichen, and moss thrive in the shaded, moisture-retentive areas of a roof, particularly on north-facing slopes or under overhanging trees. These organisms don’t just sit on the surface; they can etch into porous concrete tile, leaving grey-green staining that looks like permanent discolouration but is actually a treatable biological film.
Finally, airborne pollutants and mineral deposits from hard water runoff (common where roofs sit beneath taller structures or trees) create a chalky, mineral-scale buildup. Combined with efflorescence, a white powdery mineral deposit that rises to the surface of concrete tile as moisture evaporates, this is often mistaken for permanent fading when it is actually removable residue.
Diagnosing the Type of Fading Before You Start
Not all dull tile roofs need the same fix, and using the wrong treatment can waste time or damage the tile. Before choosing a restoration method, walk your property line (never the roof itself, for safety reasons) with binoculars and identify what you’re actually looking at.
Uniform, even lightening across the whole roof, with no streaking or patchy colour, usually points to straightforward UV fading and general surface soiling. This responds well to cleaning and, if needed, a colour-restoring sealant.
Dark green, black, or grey streaking, particularly running downward from the ridge or concentrated on shaded slopes, indicates algae or moss growth. This needs a biocide treatment before any sealant is applied, or the growth will simply reappear under a fresh coating.
A chalky white haze or crusty residue, especially near valleys, chimneys, or areas where water pools briefly, is often mineral efflorescence or hard water scale. This requires a different cleaning approach than biological staining and should never be pressure washed aggressively, as it can drive the minerals deeper into porous tile.
Cracked, spalling, or flaking tile surfaces are not a fading issue at all. This is physical deterioration from freeze-thaw damage and cleaning alone will not fix it. If you see tiles that look chipped, crumbly, or are shedding granules, that’s a sign you need our roof repair team to assess the tiles individually rather than a general restoration.
Common Tile Roof Fading Indicators by Tile Type
| Tile Material | Typical Fading Appearance | Primary Cause | Best Restoration Approach |
|---|---|---|---|
| Clay (terracotta) | Colour lightens from deep red-orange to pale pink or beige | UV breakdown of natural clay pigment | Soft wash cleaning + penetrating clay sealant |
| Concrete tile | Chalky white film, dulled colour coat | Efflorescence, coating wear, UV exposure | Chemical clean + elastomeric colour-restoring coating |
| Slate | Dull grey surface, loss of natural sheen | Mineral oxidation, surface grime | Gentle rinse + specialty slate oil/sealant |
| Glazed clay/ceramic | Glaze appears cloudy or scratched | Micro-abrasion from grit and hail | Soft wash only; avoid abrasive cleaning |
| Spanish/barrel tile | Patchy fading in high sun-exposure zones | Uneven UV exposure across curved surfaces | Full soft wash + uniform sealant application |
Cleaning Methods: What Works and What Damages Tile
The single biggest mistake homeowners make when trying to revive faded tile is reaching for a pressure washer set too high. High-pressure washing (anything above roughly 1,200 to 1,500 PSI directed at tile) can crack glazes, strip protective coatings, force water under tiles into the underlayment, and dislodge tiles entirely. Once water gets past a cracked or lifted tile, it can sit against the wood decking and cause rot that has nothing to do with the original cosmetic issue.
The professional standard for tile roofs is soft washing: a low-pressure rinse (typically under 500 PSI) combined with a cleaning solution that does the actual work of breaking down algae, moss, and grime. This approach cleans just as effectively as high pressure without the risk of physical tile damage.
A typical soft wash solution for tile roofing uses a diluted mix of sodium hypochlorite (a controlled bleach solution) and a surfactant that helps the solution cling to angled tile surfaces long enough to work. The solution is applied, allowed to dwell for 10 to 20 minutes to kill algae and lichen at the root, then rinsed with low-pressure water. For extremely stained or long-neglected roofs, a second application is sometimes necessary.
For mineral scale and efflorescence, a mild acidic cleaner formulated specifically for masonry and tile is used instead of bleach, since bleach does not break down mineral deposits effectively. These products need to be neutralized after application to prevent long-term degradation of the tile surface.
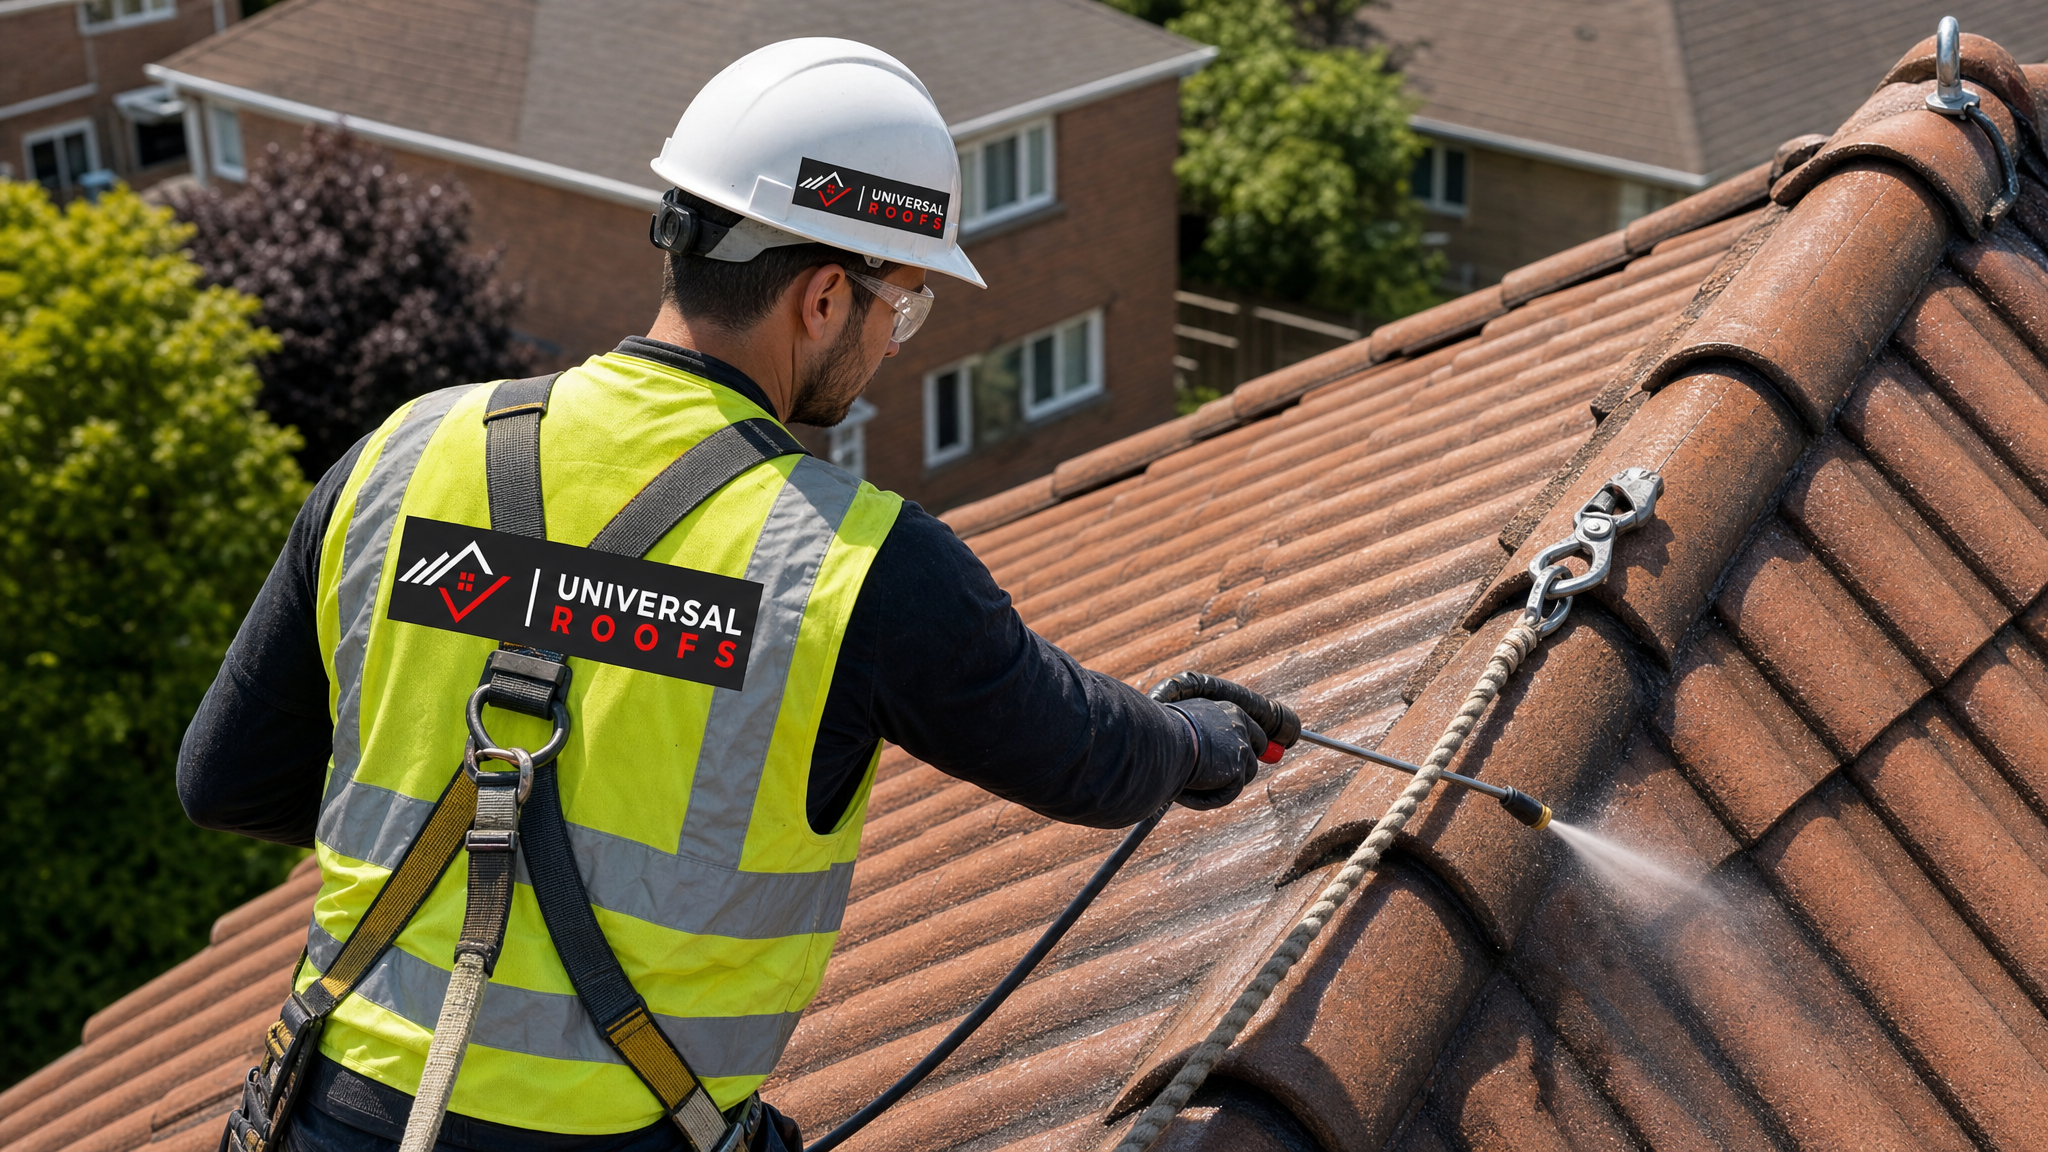
Step-by-Step Tile Roof Restoration Process
Whether you hire a professional or attempt select portions yourself from ground-based equipment, the restoration sequence generally follows the same order. Walking on tile roofing without proper training and load-distribution technique risks cracking tiles underfoot, so most homeowners are better served having this work done by a crew experienced with tile.
The process begins with a full roof inspection to identify cracked, slipped, or missing tiles, since these need to be repaired before cleaning and sealing so water doesn’t get trapped underneath a fresh coating. Any structural issues, including deteriorated flashing around chimneys or vents, should also be addressed at this stage.
Next comes debris removal: clearing leaves, moss clumps, and loose granular buildup from valleys and the base of each tile course by hand or with soft brushes, since this debris holds moisture against the tile and accelerates future staining.
The soft wash application follows, using the appropriate solution for the type of staining identified during diagnosis (biocide for algae and moss, mild acid for mineral scale). The solution dwells for the recommended time, then is rinsed thoroughly from the top of the roof downward.
Once the roof is fully dry, typically 24 to 48 hours depending on humidity, any cracked or damaged tiles identified in the inspection are repaired or replaced so the sealant goes over a sound, uniform surface.
The final step is sealant or coating application. For clay tile, a breathable penetrating sealer restores colour depth and adds UV resistance without trapping moisture inside the porous tile. For concrete tile, an elastomeric acrylic coating can restore uniform colour and add a protective, water-resistant layer, effectively giving the roof a like-new appearance. Slate typically receives a specialty oil or sealant designed to enhance its natural sheen rather than a heavy coating.
Restoration Process Timeline
| Stage | What Happens | Typical Duration |
|---|---|---|
| Inspection & assessment | Full roof walk-through, identify cracked/loose tiles, check flashing | 1-2 hours |
| Debris removal | Hand-clear moss, leaves, and granular buildup from valleys | 2-4 hours |
| Soft wash application & dwell | Apply cleaning solution, allow to break down algae/scale | 1-2 hours plus dwell time |
| Rinse & drying period | Low-pressure rinse, full dry-out before sealing | 24-48 hours |
| Tile repair (if needed) | Replace cracked or slipped tiles found during inspection | Half day to 1 day |
| Sealant/coating application | Apply penetrating sealer or elastomeric coating, cure time | 1 day application, 24-72 hours cure |
DIY Restoration vs. Hiring a Professional
Ground-level cleaning of gutters and visible debris is reasonable for most homeowners to handle themselves. But full tile roof restoration involves risks that go well beyond most DIY comfort zones, and this is one of those roofing projects where the cost of a mistake often exceeds the cost of hiring it out correctly the first time.
Walking on tile requires knowing exactly where the structural support points are on each tile profile. Step in the wrong spot and a tile that has survived twenty Toronto winters can crack instantly underfoot, often in a way that isn’t visible from the ground until the next rainstorm causes a leak. Professional crews use roof jacks, padded ladders, and distributed-weight techniques specifically to avoid this.
Mixing cleaning chemicals incorrectly, whether the concentration of bleach solution or an acidic cleaner meant for mineral deposits, can either fail to clean effectively or actively damage the tile glaze and surrounding materials like eavestroughs, siding, and landscaping below.
There’s also a safety dimension that shouldn’t be understated. Roof work at height, especially on a wet, freshly cleaned tile surface, is genuinely dangerous without fall protection equipment and training. Tile is also more slippery than asphalt shingle when wet, which increases the risk further.
For homeowners who want to tackle minor upkeep themselves, ground-level gutter clearing, trimming back overhanging branches that shade the roof and promote moss growth, and visual inspections with binoculars are all safe, worthwhile tasks. Anything involving climbing onto the tile itself, applying chemicals, or evaluating structural soundness should go to a licensed contractor.
Costs and What Affects Pricing
Tile roof restoration costs in the GTA vary based on roof size, pitch, tile type, degree of staining, and whether repairs are needed alongside the cosmetic work. Steeper roofs require more safety equipment and time, and heavily algae-stained roofs may need a second treatment cycle.
| Service | Typical Scope | Relative Cost Factor | Notes |
|---|---|---|---|
| Soft wash cleaning only | Full roof algae/dirt removal, no sealant | Lower | Best for lightly soiled roofs, good colour underneath grime |
| Cleaning + sealant/coating | Full clean plus colour-restoring or protective coating | Moderate to higher | Most comprehensive fix for genuine UV fading |
| Cleaning + tile repair + sealant | Includes replacing cracked/slipped tiles found during inspection | Highest | Necessary if inspection reveals damaged tiles |
| Spot repair without full restoration | Fixing isolated cracked tiles only | Lowest | Doesn’t address overall fading appearance |
Because pricing depends heavily on the specific condition of your roof, the most reliable way to get an accurate number is a physical inspection rather than a phone estimate. Our team can evaluate whether your roof needs cleaning alone, a full restoration with sealant, or whether some tiles have reached the point where individual roof repair makes more sense than restoration.
When Restoration Isn’t Enough: Signs You Need Repair or Replacement
Cleaning and sealing bring back the appearance of a tile roof, but they cannot fix structural problems. It’s important for homeowners to understand the line between cosmetic fading and functional deterioration, because applying a sealant over compromised tile just delays a more expensive fix.
If more than 10 to 15 percent of the tiles on a given slope show cracking, spalling, or granule loss down to the substrate, restoration coatings won’t hold properly and individual tile replacement is the better investment. Similarly, if the underlayment beneath the tiles (the waterproof membrane that does the real work of keeping your home dry) is original to a roof more than 25 to 30 years old, cosmetic restoration on the tile surface won’t address the fact that the membrane underneath may be failing independently.
Persistent interior signs, such as water stains on ceilings, musty odours in the attic, or visible daylight through the roof deck when checked from inside the attic space, indicate active leaks that need immediate attention rather than a cosmetic fix. Our attic inspection service can help identify whether moisture is getting past the tile and underlayment before it causes structural damage.
Flashing around chimneys, skylights, and roof valleys is also a common failure point that gets overlooked during a tile-focused restoration. If you have a skylight integrated into a tile roof, it’s worth having its flashing checked at the same time; our skylights and skylight replacement teams frequently find that a tile roof restoration is the perfect opportunity to address aging skylight seals before they cause a leak.
Cosmetic Fading vs. Structural Damage: Quick Reference
| Symptom | Cosmetic (Restoration Fixes It) | Structural (Needs Repair/Replacement) |
|---|---|---|
| Uniform colour lightening | Yes | No |
| Green/black streaking | Yes, with biocide treatment | No, unless growth has caused tile spalling |
| Chalky white residue | Yes, with acid-safe cleaning | No |
| Cracked or chipped tiles | No | Yes, individual tile replacement needed |
| Interior water stains | No | Yes, underlayment or flashing failure likely |
| Tiles that shift underfoot | No | Yes, requires professional assessment |
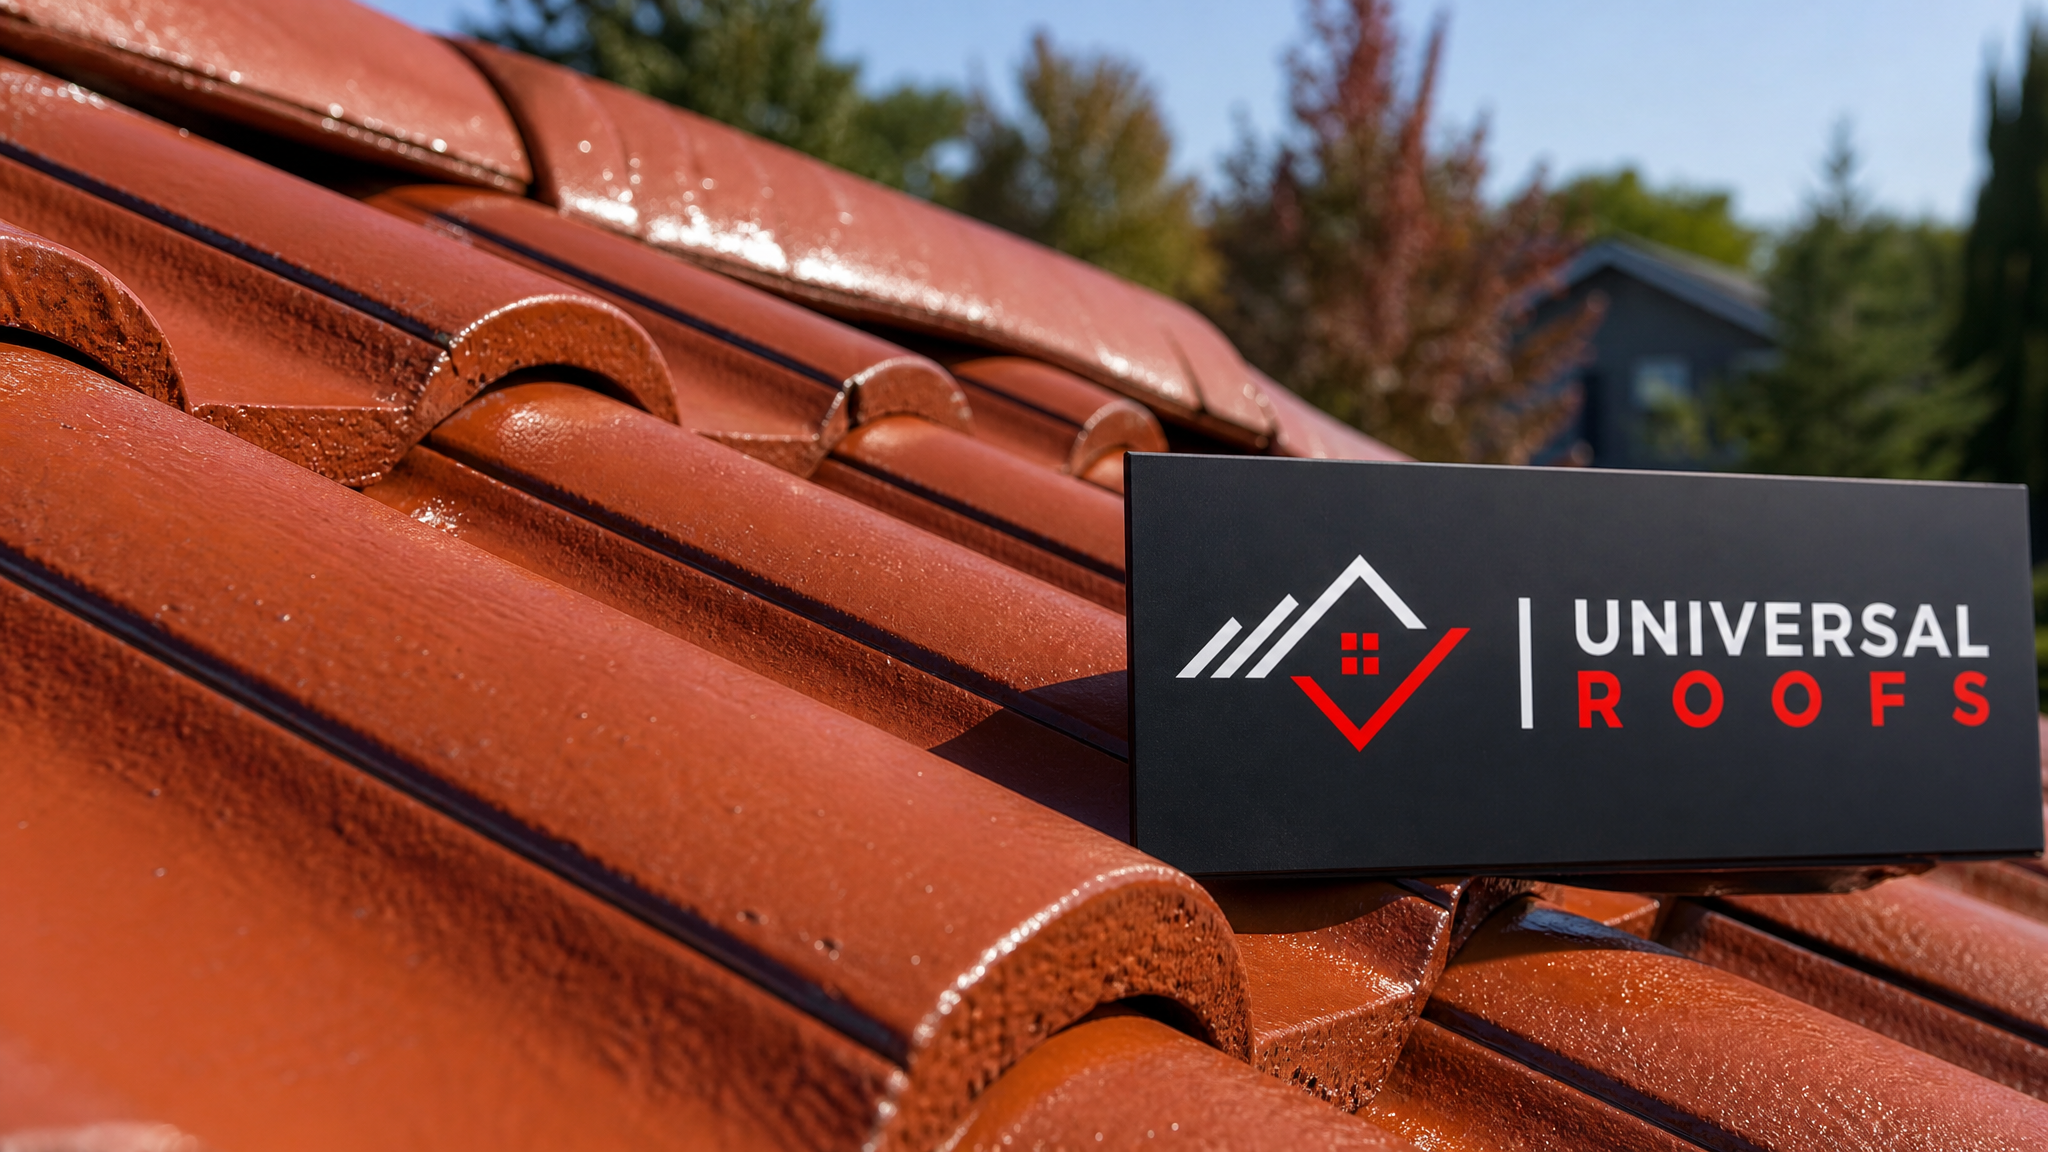
Maintaining Your Tile Roof’s Shine Long-Term
Once a tile roof has been cleaned and sealed, a few ongoing habits significantly extend how long that fresh appearance lasts, especially through Toronto’s demanding weather cycle.
Keep overhanging branches trimmed back at least a metre and a half from the roofline. Shade promotes moss and algae growth, and falling leaves and debris trap moisture against tile in valleys and low spots. Homes near ravines or heavily treed lots in neighbourhoods across the Toronto, Peel Region, and York Region areas tend to see faster regrowth of algae and need more frequent gutter and valley clearing.
Clean gutters and valleys at least twice a year, in spring and fall, so water drains freely instead of backing up against tile edges. Standing water is one of the fastest ways to reintroduce staining even on a freshly sealed roof.
Schedule a professional inspection every two to three years, even if the roof looks fine from the ground. Small cracks and lifted tiles are far cheaper to fix individually than to discover after they’ve allowed water into the underlayment. This is especially true for homes in Halton Region and Durham Region, where lake-effect humidity and wind exposure can accelerate wear on exposed slopes.
Avoid walking on tile roofing yourself for routine tasks like hanging holiday lights or clearing leaves. Even a single cracked tile from foot traffic creates a leak point that can go unnoticed for months. If you need something checked or cleared at roof height, it’s worth the cost of a professional visit rather than risking tile damage.
Finally, reapply protective sealant on the manufacturer’s or installer’s recommended schedule, typically every 5 to 10 years depending on the product and your roof’s sun exposure. A well-maintained sealant layer is what keeps UV rays from re-fading the tile in the years between full restorations.
Frequently Asked Questions
What is the best method for reviving the luster of faded tile roofs?
Can faded clay tile roofs actually be restored, or do they need replacement?
How often should a tile roof be cleaned and resealed to maintain its colour?
Is pressure washing safe for reviving the luster of faded tile roofs?
Why does my concrete tile roof have a chalky white residue instead of algae staining?
Should I attempt to clean and reseal my tile roof myself?
Need Help With Reviving the Luster of?
A faded tile roof doesn’t have to mean an expensive full replacement. In most cases, the right combination of soft washing, targeted repairs, and professional-grade sealant can restore the colour and protective sheen your roof had when it was first installed. Universal Roofs has the tile-specific experience to tell the difference between cosmetic fading and structural wear, so you only pay for the work your roof actually needs.
Call us today at (416) 732-2421 or request a free inspection to get started.
Universal Roofs proudly serves Toronto, Mississauga, Brampton, Vaughan, Markham, Oakville and the GTA since 2005.