
Tile roofs are prized across the Greater Toronto Area for their durability and curb appeal, but the flashing around them is almost always the first thing to fail. If you have noticed a stain spreading across a ceiling after a summer thunderstorm, or a musty smell in the attic that only shows up after heavy rain, the culprit is very often the metal flashing tucked beneath and around your tiles rather than the tiles themselves.
Flashing is the thin metal barrier installed at every roof transition — chimneys, valleys, walls, skylights, vents and dormers — where two roof planes or roof materials meet. On a tile roof, flashing failure is especially common because the tiles are heavy, rigid, and installed with headlap and battens that can shift slightly over time, gradually exposing fasteners or opening tiny gaps at the flashing edges. Add in Toronto’s freeze-thaw winters, summer downpours, and the thermal expansion that comes with our humid July heat, and it is easy to see why flashing is usually the weak link.
This guide walks through exactly how to diagnose a tile roof flashing leak, the tools and materials professionals use to fix it properly, realistic cost expectations, and the warning signs that tell you it is time to call in a specialist rather than climb up yourself. Whether you are dealing with a slow drip around a chimney or a sudden leak after a July storm, these expert tips will help you understand what is happening on your roof and what a proper repair should look like.
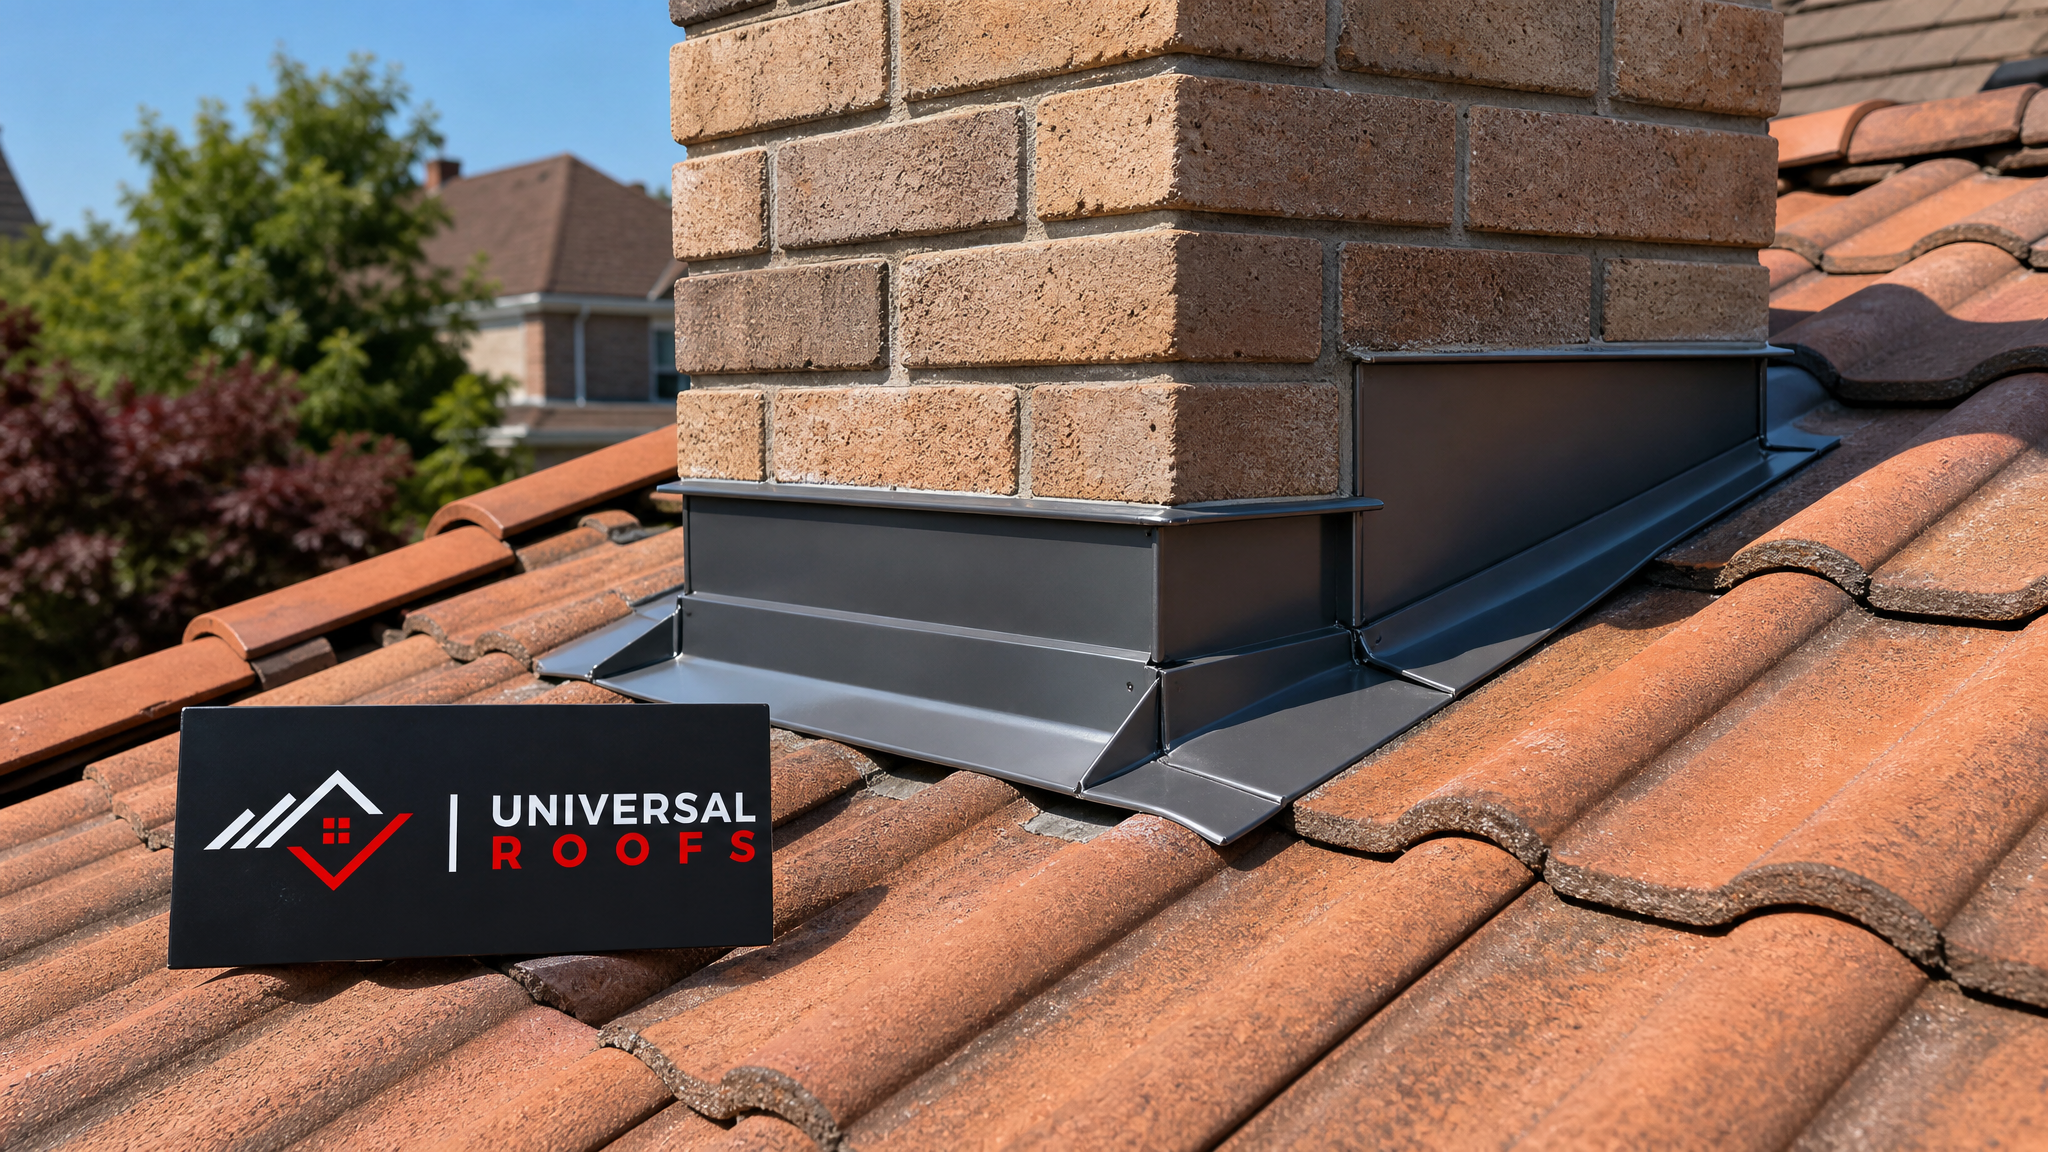
Why Tile Roof Flashing Fails More Often Than the Tiles Themselves
Clay and concrete tiles can last 50 years or more, but the flashing beneath them is typically galvanized steel, aluminum, or copper with a much shorter practical lifespan when it is poorly installed or exposed to constant moisture cycling. Understanding why flashing fails first helps homeowners recognize a leak early instead of assuming the whole roof needs replacing.
- Thermal movement — Metal flashing expands and contracts with temperature swings. Toronto summers regularly push roof surface temperatures well above 60°C, while winter nights can drop below -20°C. That constant expansion and contraction fatigues solder joints, loosens fasteners, and works sealant loose at every seam.
- Improper original installation — Many tile roofs installed decades ago used undersized flashing, insufficient headlap, or relied on caulking instead of proper step flashing. Sealant-dependent flashing details almost always fail years before mechanically interlocked flashing does.
- Corrosion and galvanic reaction — When dissimilar metals touch (for example, aluminum flashing against a copper vent stack), galvanic corrosion eats through the thinner metal from the inside out, often invisibly until a leak appears.
- Tile movement and cracking — Foot traffic, settling battens, or a falling branch can crack or shift a tile near a flashing transition, exposing the flashing to direct wind-driven rain it was never designed to handle alone.
- Sealant degradation — UV exposure and freeze-thaw cycling break down roofing sealant and mastic within 3 to 7 years, far sooner than the metal flashing itself, which is why sealant-only repairs are always a temporary fix.
If you are unsure whether your roof’s flashing is original or has already been patched, a professional roof repair assessment can trace the leak back to its actual source rather than guessing based on where the ceiling stain appears, which is often several feet from the true entry point due to water travelling along rafters.
Where Flashing Leaks Typically Start on a Tile Roof
Water always finds the path of least resistance, and on a tile roof that path is almost always a flashing transition rather than the field tiles. Knowing the common failure points helps you target your inspection instead of climbing the entire roof.
| Flashing Location | Typical Failure Mode | Warning Sign Indoors | Repair Difficulty |
|---|---|---|---|
| Chimney step and counter-flashing | Mortar joint erosion, lifted counter-flashing reglet | Ceiling stain near fireplace wall | Moderate to high |
| Roof-to-wall (sidewall) flashing | Sealant failure, corroded step flashing pieces | Staining along interior wall top plate | Moderate |
| Valley flashing | Debris damming, undersized valley metal, granule wear-through | Water tracking to lowest interior point | High |
| Skylight flashing kit | Cracked corner gussets, aged rubber gasket | Drip directly around skylight frame | Moderate (see skylight services) |
| Vent pipe boot flashing | Cracked or shrunken rubber collar | Localized stain below bathroom or kitchen vent | Low to moderate |
| Dormer flashing | Corner miter separation, nail-through leaks | Stain at dormer cheek wall interior | Moderate to high |
Notice that valley and chimney flashing are consistently the most difficult and highest-stakes repairs. This is because both involve multiple overlapping metal pieces, mortar or masonry interfaces, and tile removal to access the flashing properly. A rushed repair in these areas is one of the most common reasons homeowners end up calling for the same leak twice within a year.
Step-by-Step: Diagnosing the Real Source of the Leak
Before any flashing repair begins, correctly tracing the leak to its source is the single most important step — and the one most often skipped by homeowners eager for a quick fix.
- Start in the attic, not on the roof. On a dry day, use a flashlight to examine the underside of the roof deck and rafters for staining, dark streaks, or damp insulation. Water almost always travels downslope along a rafter or truss before it drips, so the stain’s location on the ceiling below is rarely directly beneath the actual leak.
- Trace the stain uphill. Follow the darkest, oldest staining upward toward the roof line. The point where staining stops climbing is usually close to the entry point, though it may still be a metre or more off from the true flashing failure.
- Check for daylight. During daytime, look for pinpoints of light coming through at flashing seams, nail holes, or gaps around penetrations — daylight gaps are a reliable sign that water can also get in.
- Inspect from the exterior after confirming the general area. Look for lifted, rusted, or separated flashing, cracked tiles nearby, missing mortar at chimney step flashing, and any sealant that has become brittle, cracked, or has pulled away from the metal.
- Simulate rain if the leak is intermittent. A garden hose test, run section by section from the bottom of the roof upward for 10-15 minutes per section with a helper watching the attic, can isolate exactly which flashing detail is letting water through.
- Rule out condensation. Especially in summer, humid attic air condensing on cool ductwork or poor ventilation can mimic a flashing leak. Confirming adequate attic ventilation rules this out before you spend money chasing a flashing problem that does not exist.
This diagnostic process is exactly what a professional inspection follows, and it is the reason a proper assessment before repair work begins saves homeowners from paying to fix the wrong spot.
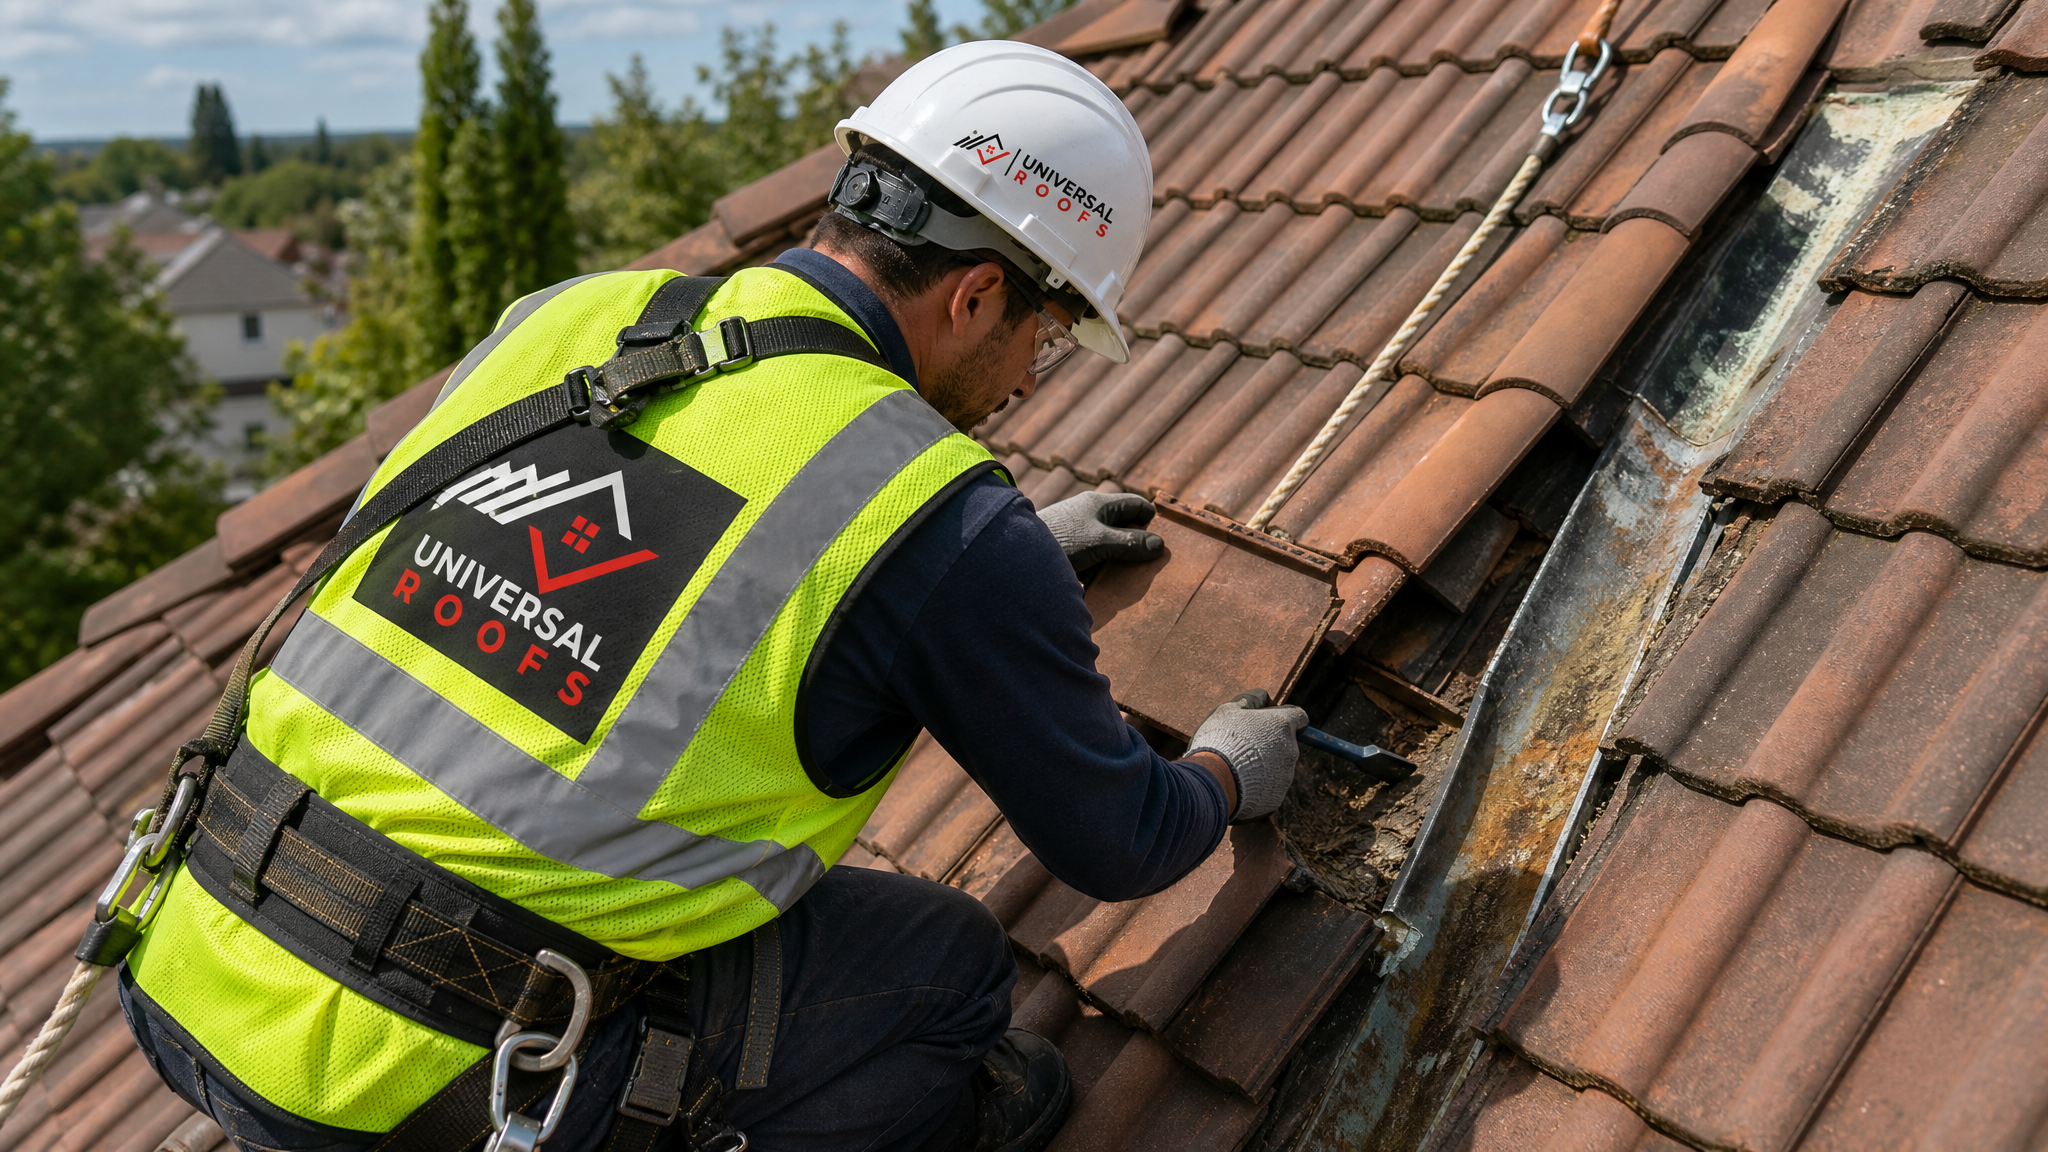
How Professionals Actually Repair Tile Roof Flashing
A correct flashing repair almost never involves simply caulking over the problem. Proper technique depends on the type of flashing and its location, but the general principles below apply across most tile roof flashing repairs.
Chimney and Sidewall Step Flashing
Each course of step flashing should overlap the one below it by at least 65mm, with counter-flashing above cut into a mortar reglet or embedded under existing brick coursing rather than surface-caulked. Repairing this properly requires carefully lifting the surrounding tiles, replacing corroded or bent step flashing pieces one at a time, and re-cutting the counter-flashing reglet if the original mortar joint has eroded. Sealant is used only as a secondary barrier at the counter-flashing edge, never as the primary waterproofing method.
Valley Flashing
Open valleys on tile roofs use a wide metal channel, typically 500-600mm across, installed beneath the tiles with the tile cuts held back from the centreline to allow water to flow freely. A failing valley is rarely repaired by patching; the standard professional approach is to remove tiles on both sides of the valley, replace the full length of valley metal, and reset the tiles with proper cut-back clearance and ice-and-water underlayment beneath the new metal.
Skylight and Vent Penetrations
Skylight flashing kits are engineered as a complete system and should be replaced as a full kit rather than patched piece by piece — mixing old and new flashing components is one of the most common causes of repeat leaks. If your skylight flashing has failed, it is often more cost-effective in the long run to review options through skylight replacement if the unit itself is also aging. Vent pipe boots with cracked rubber collars are a simpler fix: the boot is unscrewed or pried free, the surrounding tiles are lifted, and a new boot is set with fresh underlayment before tiles are reset.
| Repair Method | Best Used For | Typical Lifespan | Professional Cost Range (CAD) |
|---|---|---|---|
| Sealant/mastic patch only | Very minor, temporary hairline gaps | 6 months – 2 years | $150 – $350 |
| Vent boot replacement | Cracked rubber pipe collars | 10 – 15 years | $250 – $500 |
| Step flashing section replacement | Localized sidewall or chimney corrosion | 20 – 30 years | $600 – $1,500 |
| Full valley flashing replacement | Corroded or undersized valley metal | 25 – 40 years | $1,200 – $3,000 |
| Full chimney flashing rebuild | Widespread step and counter-flashing failure | 25 – 40 years | $1,500 – $3,500 |
These figures vary based on roof pitch, tile type, access difficulty, and how much surrounding tile needs to be removed and reset without breakage. A detailed on-site quote through requesting a free inspection will always be more accurate than a general estimate, since tile roofs in older Toronto neighbourhoods often have non-standard flashing details from previous repairs.
Materials That Matter: Choosing the Right Flashing for Your Climate
Not all flashing metals perform equally well in the GTA’s climate, and choosing the wrong material is a common reason repairs fail early. Freeze-thaw cycling, road salt in winter runoff, and humid summers all play a role in how long flashing lasts.
| Flashing Material | Corrosion Resistance | Cost | Notes for GTA Climate |
|---|---|---|---|
| Galvanized steel | Moderate (10-20 years before rust) | Low | Common on older builds; prone to rust once the zinc coating wears through |
| Aluminum | Good, but reacts with masonry mortar over time | Low-moderate | Should be coated or separated from direct mortar contact |
| Copper | Excellent (50+ years) | High | Best long-term performance; patinas naturally and does not rust |
| Stainless steel | Excellent | Moderate-high | Strong choice for valleys under heavy snow load areas |
| Painted steel | Moderate | Low | Coating can chip, exposing bare steel to rust at cut edges |
For most Toronto-area tile roofs, we generally recommend copper or stainless steel for valleys and chimney flashing, since these areas see the highest water volume and are the most disruptive and expensive to redo. Lower-exposure areas like simple vent boots can reasonably use more economical galvanized or aluminum components.
Seasonal Timing: Why Summer Is the Right Time for Flashing Repairs
July and August are actually the ideal window for tile roof flashing repairs in the GTA, for a few practical reasons. Sealants and mastics cure properly in warm, dry conditions rather than the cold, damp weather of late fall. Tiles are less brittle in warm weather, reducing the risk of cracking during the careful lifting and resetting process that proper flashing repair requires. And catching a flashing issue now, before autumn’s heavier rain and the freeze-thaw cycling of another Ontario winter, prevents a small leak from becoming a much larger repair.
If you noticed staining or a leak during a recent summer storm, it is worth acting on it now rather than waiting. Once winter arrives, ice damming at a compromised flashing detail can turn a moderate repair into full tile and decking replacement in that section of roof.
DIY Limits: What Homeowners Should (and Should Not) Attempt
Some flashing issues are within reach for a handy homeowner, while others genuinely require a trained roofer and proper fall protection equipment. Being honest about this distinction prevents both wasted effort and safety risk.
| Task | DIY-Appropriate? | Why |
|---|---|---|
| Reapplying sealant to a small visible gap | Yes, with caution | Low risk, low skill requirement, but a temporary fix at best |
| Clearing debris from a valley | Yes, from a ladder if safe access exists | No tile lifting required |
| Replacing a vent boot | Borderline | Requires lifting tiles without cracking them |
| Step flashing replacement | Not recommended | Requires precise overlap and reglet cutting into masonry |
| Valley or chimney flashing rebuild | No | High fall risk, specialized tools, and tile breakage risk if mishandled |
Tile roofs are also uniquely unforgiving of foot traffic. Walking on tiles incorrectly, even briefly, can crack them in ways that are not visible until the next rainfall causes a new leak somewhere else entirely. If your flashing issue falls into the “not recommended” or “no” categories above, it is worth the cost of a professional roof repair rather than risking a fall or creating new damage while attempting the fix yourself.
When a Flashing Leak Signals a Bigger Problem
Not every flashing leak is an isolated, easy fix. Certain signs indicate the flashing failure is a symptom of a larger issue that a patch repair will not resolve.
- Multiple leak points appearing at once across different flashing details often points to systemic underlayment failure rather than isolated flashing wear.
- Soft or spongy roof decking felt underfoot near a flashing area means water has been getting in for a long time and the wood sheathing itself needs repair, not just the metal above it.
- Recurring leaks in the same spot after a previous repair usually means the underlying cause (undersized flashing, poor headlap, or an incompatible metal pairing) was never actually addressed.
- Visible sagging along a valley or chimney line can indicate structural movement affecting the flashing, not the other way around.
- Roof age over 25-30 years combined with flashing issues at several locations is often a sign that a broader roof replacement conversation makes more financial sense than repeatedly patching individual flashing details as they fail one after another.
A thorough inspection, not just a flashing patch, is the only way to know for certain which category your roof falls into. We serve homeowners across Toronto, Peel Region, York Region, Halton Region, and Durham Region, and tile roof construction varies noticeably between these areas depending on the era of development and original builder specifications, which is one more reason a local, hands-on assessment beats a generic online estimate.

Preventing Future Flashing Leaks
Once a flashing repair is complete, a few maintenance habits go a long way toward preventing the next leak, especially given how much the GTA’s seasonal temperature swings stress every metal seam on the roof.
- Schedule an annual inspection, ideally in spring or early summer, to catch flashing issues before the fall rains arrive.
- Keep valleys and gutters clear of leaves and debris, since standing water and organic buildup accelerate corrosion at valley flashing seams.
- Avoid unnecessary roof foot traffic and always use a professional for any work near flashing details, since a single cracked tile near a flashing edge can undo an otherwise sound repair.
- Address small leaks immediately rather than waiting, since water intrusion compounds — a small flashing gap this month can mean rotted decking and mould remediation costs by next spring.
- Ask about warranty coverage on any flashing repair; reputable contractors stand behind their workmanship for several years, which reflects confidence in doing the job correctly the first time.
You can see examples of completed flashing and tile roof repairs, along with feedback from homeowners across the GTA, on our reviews page. For answers to more specific questions about materials, timelines, or warranty terms, our FAQ page covers many of the most common homeowner concerns, and our about page details our background working on tile and flat roofing systems across the region since 2005.
What are the best expert tips for fixing tile roof flashing leaks without causing more damage?
Can I use sealant alone to fix a tile roof flashing leak?
How much does professional tile roof flashing repair cost in the Toronto area?
What is the best flashing material for tile roofs in Toronto’s climate?
Is summer a good time to fix tile roof flashing leaks?
How do I know if my tile roof flashing leak needs a professional instead of a DIY fix?
Need Help With Expert Tips for Fixing?
Diagnosing and repairing tile roof flashing correctly takes experience with the specific way heat, cold, and rain move through a GTA roof system, and Universal Roofs has been solving exactly these problems on tile roofs across the region since 2005.
Call us today at (416) 732-2421 or request a free inspection to get started.
Universal Roofs proudly serves Toronto, Mississauga, Brampton, Vaughan, Markham, Oakville and the GTA since 2005.