
If you have noticed a musty smell in an upstairs bedroom, ice damming along the eaves every winter, or curling shingles that seem to fail years ahead of schedule, the culprit is often hiding where nobody thinks to look: the attic insulation underneath your tile roof. Tile roofing is prized across the Greater Toronto Area for its durability and curb appeal, but tile alone does not keep a home comfortable. It is the insulation and ventilation system working beneath those tiles that controls heat loss, moisture, and the freeze-thaw cycles that punish roofs all winter long.
At Universal Roofs, we have been repairing and upgrading tile roof insulation systems across the GTA since 2005, and we consistently see the same handful of problems: compressed batts, moisture-soaked insulation, blocked soffit vents, and gaps around penetrations like skylights and chimneys. The good news is that most of these issues are fixable without tearing off the tile roof itself, provided you catch them early and use the right repair approach for your specific situation.
This guide walks through seven effective, field-tested tile roof insulation repair tips that our crews use on real Toronto-area homes. Whether you are dealing with a small patch of damp insulation after a storm or planning a full attic upgrade before winter, these tips will help you diagnose the problem correctly and choose a repair that actually lasts.
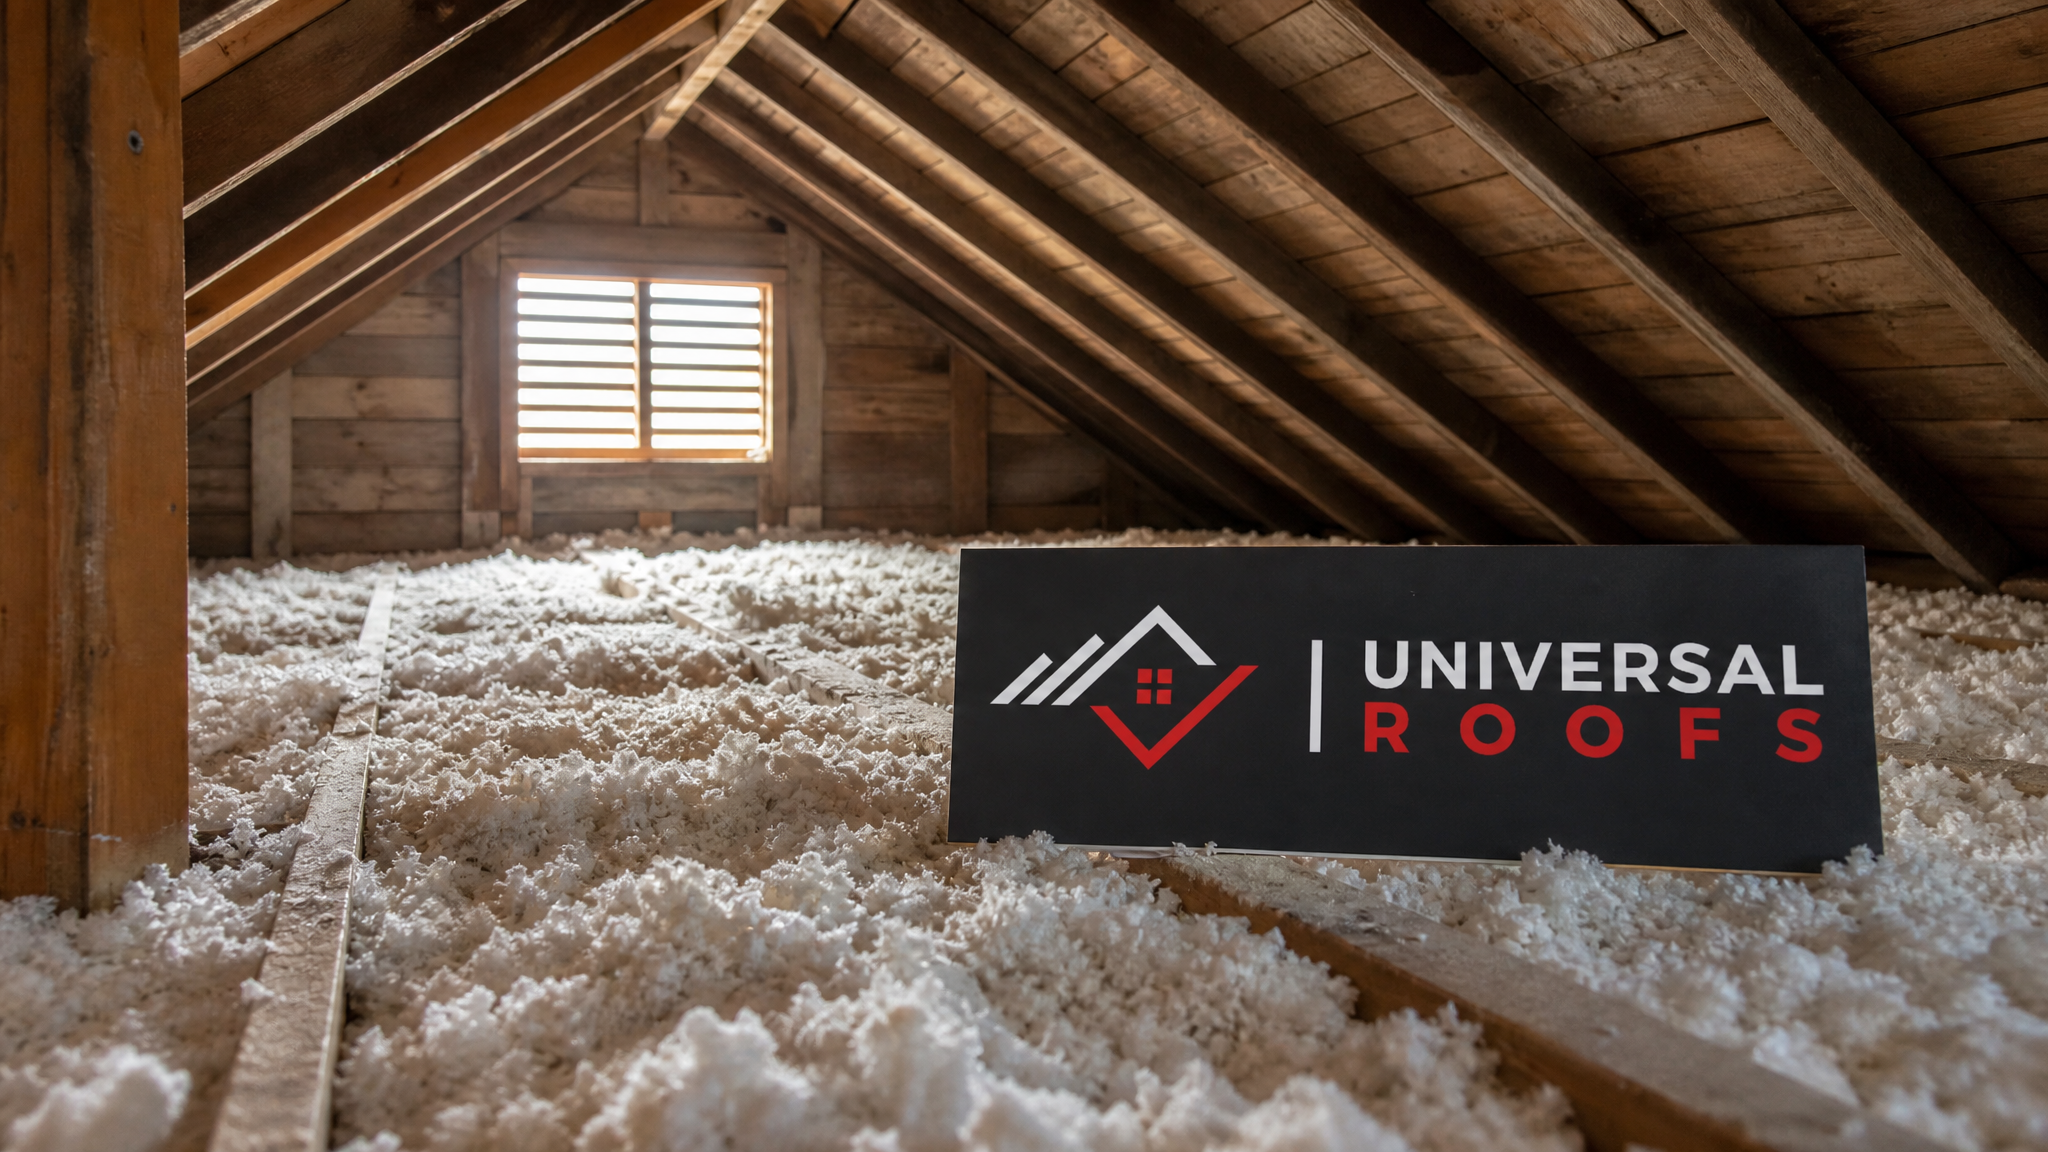
Why Tile Roof Insulation Fails in the First Place
Before jumping into repair tips, it helps to understand why insulation beneath a tile roof deteriorates faster than insulation under asphalt shingles. Tile roofing systems are typically installed over a batten framework with an air gap between the tile and the underlying deck. That gap is excellent for drainage and airflow, but it also means temperature swings transfer through the roof assembly more directly than homeowners expect, especially at the eaves and around flashing details.
In the GTA’s climate, attics endure repeated freeze-thaw cycles from November through March. Warm, moist air escapes from living spaces into the attic, hits the cold underside of the tile roof deck, and condenses. Over years, that condensation saturates fibreglass batts, compresses loose-fill insulation, and can rot the wood sheathing itself. Add in squirrel or raccoon intrusion through gaps in the soffit, and it is easy to see why so many tile roof attics in Toronto, Mississauga, and Vaughan need insulation repair within 15 to 20 years of the original installation.
A thorough attic inspection is always the starting point. Our technicians check moisture content with a probe meter, look for daylight through the soffit vents, and measure existing insulation depth against the current Ontario Building Code recommendation of R-60 for GTA attics. Only once we know exactly what has failed can we recommend a targeted repair instead of a costly full replacement.
Tip 1: Identify Moisture Damage Before You Touch the Insulation
The single biggest mistake homeowners make is patching over wet insulation without addressing the moisture source first. Wet fibreglass or cellulose loses most of its R-value and, worse, becomes a breeding ground for mould that can spread into ceiling drywall. If you can see water staining on the underside of the roof deck, feel damp batts, or smell a musty odour when you open the attic hatch, stop and diagnose the moisture path before installing new material.
Common moisture sources beneath tile roofs include failed flashing around chimneys and vent stacks, cracked or slipped tiles that allow wind-driven rain to work sideways under the roofing, and bathroom exhaust fans that vent directly into the attic instead of outside. Each of these needs a targeted fix, and in many cases the actual repair is on the roof surface rather than in the attic. If tiles have shifted or cracked, our roof repair team addresses that first so new insulation is not exposed to the same intrusion within a season.
Once the source is sealed, remove and discard any insulation that is visibly matted, discoloured, or holds water when squeezed. Compressed, water-damaged batts do not “dry out and recover” their R-value even after the moisture source is fixed, so replacement of the affected section is almost always the right call.
Signs You Have a Moisture Problem, Not Just an Insulation Gap
| Symptom | Likely Cause | Immediate Action | Urgency |
|---|---|---|---|
| Dark staining on roof deck underside | Long-term flashing leak or condensation | Trace stain to source, inspect flashing | High |
| Musty odour in upper floor rooms | Mould growth in wet insulation | Remove affected insulation, ventilate attic | High |
| Frost or ice crystals on nails in winter | Excess humidity, poor ventilation | Add soffit/ridge venting, seal air leaks | Medium |
| Sagging or compressed batts | Repeated wetting and drying cycles | Replace compressed sections | Medium |
| Visible daylight around chimney or skylight | Failed flashing or sealant | Reseal or replace flashing immediately | High |
Tip 2: Match the Insulation Material to the Repair Location
Not every section of attic insulation should be repaired with the same material. Loose-fill cellulose or blown fibreglass is excellent for topping up large open areas of attic floor because it settles into irregular joist bays and around obstructions like wiring and plumbing stacks. Batt insulation, by contrast, is easier to control in tight spaces such as around a skylight shaft, along a knee wall, or where you need a precise, contained patch.
For homes with skylights or older units that may need a skylight replacement, the insulation and air sealing around the shaft deserves special attention. Skylight shafts run from the roofline down through the attic to the ceiling, creating a long, narrow channel that is notoriously prone to gaps at the top and bottom plates. Rigid foam board cut to fit snugly against the shaft framing, sealed with fire-rated spray foam at the perimeter, performs far better here than loose batts that sag away from the frame over time.
Around masonry chimneys, code requires a fire-rated clearance, so never pack ordinary fibreglass directly against the chimney chase. Use mineral wool batts, which are non-combustible and hold their shape better in that high-heat zone, and maintain the required air gap per the Ontario Building Code.
| Insulation Type | Best Use Case | Approx. R-Value per Inch | Moisture Tolerance |
|---|---|---|---|
| Blown loose-fill cellulose | Large open attic floor areas | R-3.2 to R-3.8 | Poor once wet |
| Blown fibreglass | Topping up existing loose-fill | R-2.2 to R-2.7 | Fair, dries faster than cellulose |
| Fibreglass batts | Skylight shafts, knee walls, tight framing | R-3.1 to R-3.4 | Poor once wet |
| Rigid foam board | Skylight shafts, hatch covers | R-4.5 to R-6.5 | Excellent |
| Mineral wool batts | Chimney chases, fire-rated zones | R-3.0 to R-3.3 | Good, resists mould |
Tip 3: Restore Proper Attic Ventilation Alongside Insulation Repairs
Insulation and ventilation work as a team, and repairing one without the other is a half-measure. If soffit vents are blocked by insulation that has been pushed too far into the eaves, or if a previous owner stuffed batts against the roof deck to “add more insulation,” you have almost certainly created a condensation trap. Cold outside air needs a clear path to enter at the soffit and exit at the ridge or through roof vents, carrying moisture-laden attic air out with it.
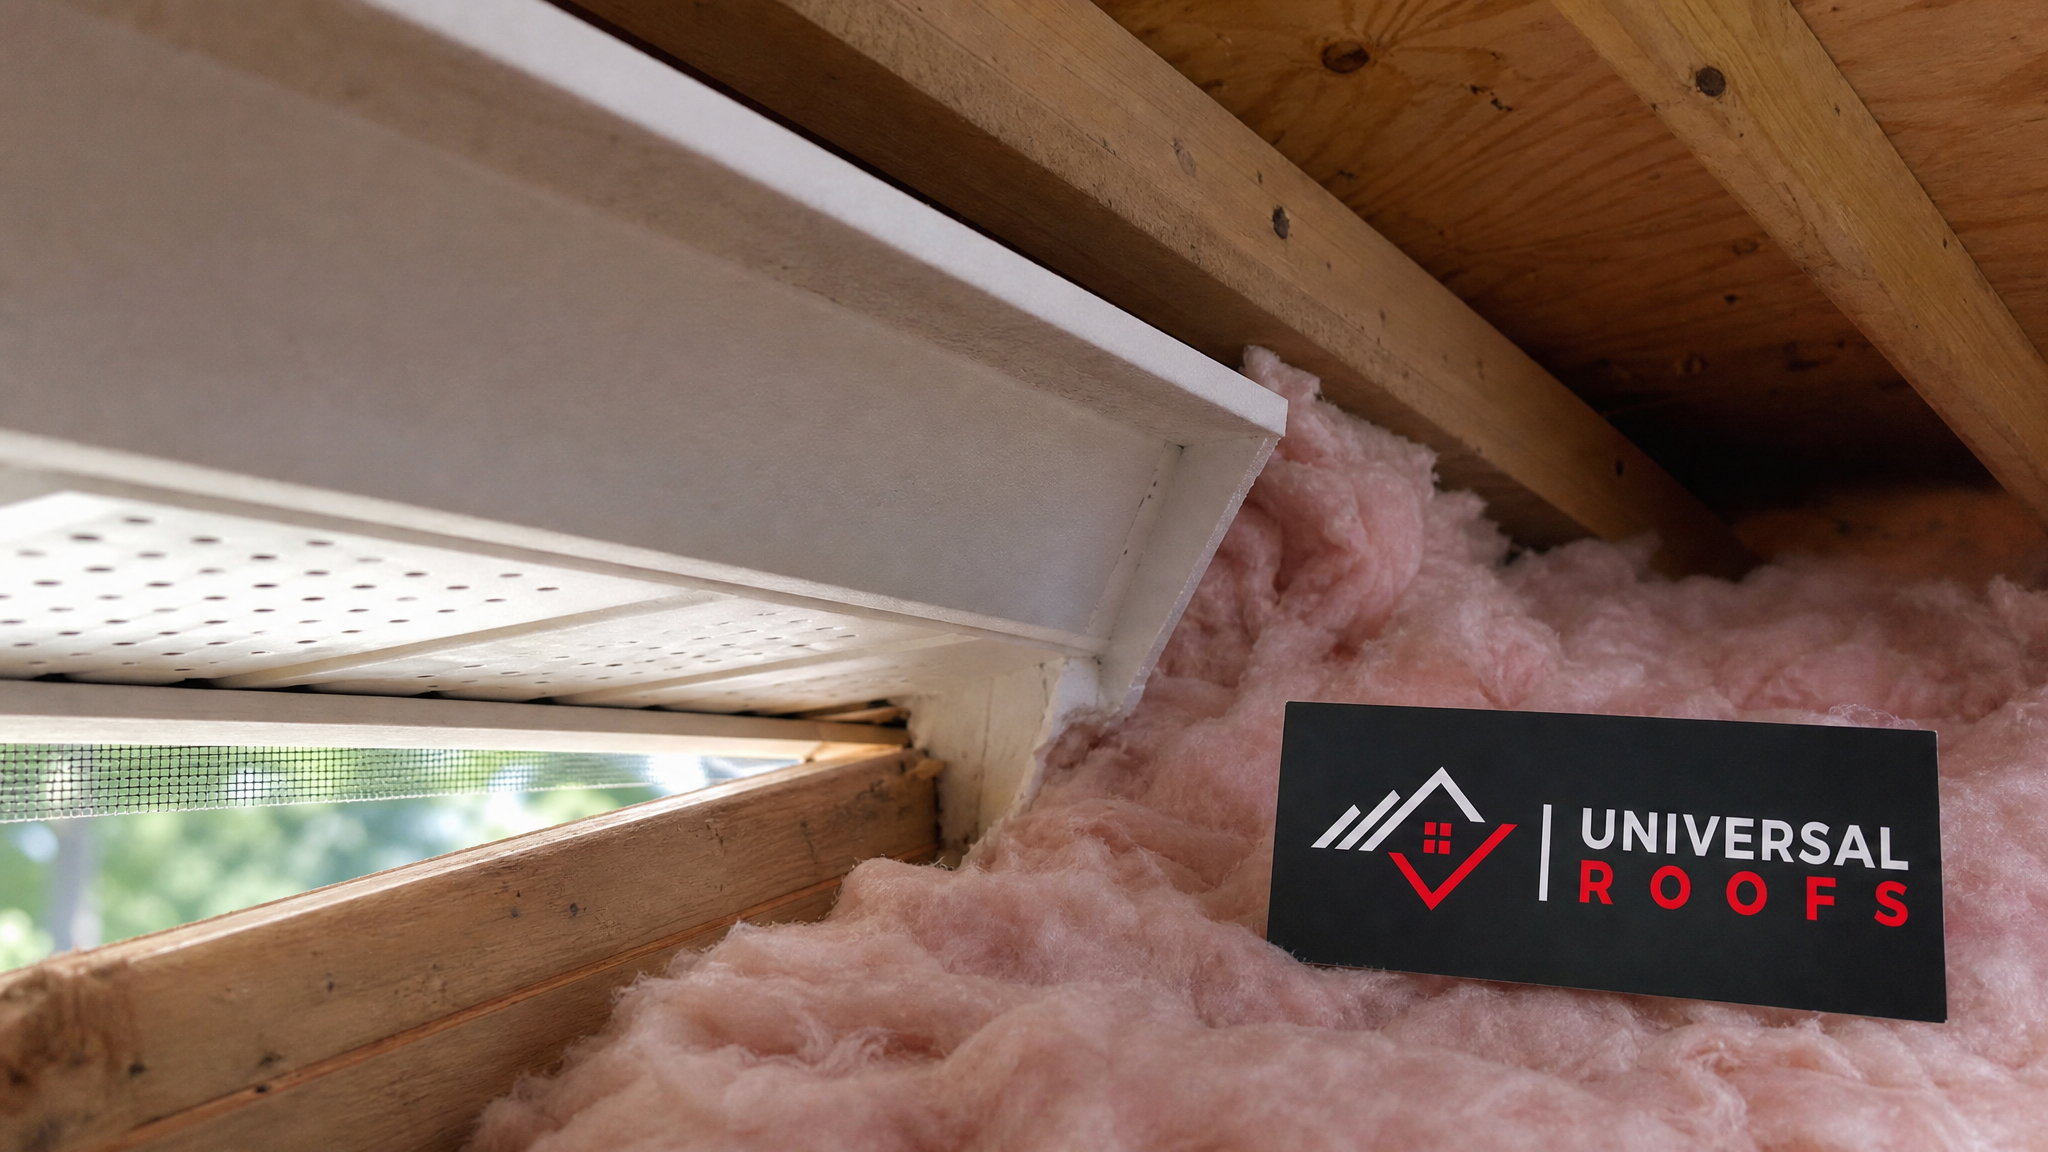
A simple but effective fix is installing rigid foam baffles (sometimes called vent chutes) at every soffit bay before adding or replacing insulation. These maintain a clear air channel from the soffit to the open attic space, regardless of how deep the insulation gets piled on top. On tile roofs specifically, we also check that the underlayment and batten system have not trapped moisture against the roof deck independently of the attic ventilation, which is a distinct issue tied to the tile roof deck installation itself, not the insulation layer.
Homes throughout our Toronto and Peel Region service areas often have older attics that were insulated decades ago without any baffles at all. Adding them during an insulation repair is inexpensive relative to the whole project and dramatically reduces the odds of repeat moisture damage.
Ventilation Balance Checklist
| Ventilation Component | Function | Common Defect Found | Fix Priority |
|---|---|---|---|
| Soffit vents | Intake for fresh, cool air | Painted shut or blocked by insulation | High |
| Ridge vent | Exhaust for warm, humid air | Insufficient net free area | High |
| Baffles/vent chutes | Keep soffit-to-attic air channel open | Missing entirely in older homes | High |
| Bathroom/kitchen exhaust ducts | Vent moist indoor air outside | Terminated inside attic instead of roof/wall cap | Critical |
| Gable vents (where present) | Supplemental cross-ventilation | Screens clogged with debris | Low |
Tip 4: Seal Air Leaks Before Adding New Insulation
Insulation slows heat transfer, but it does not stop moving air. Warm, humid household air finds every gap it can into the attic: pot lights, the attic hatch, plumbing stacks, electrical wire penetrations, and the top plates of interior walls. If you install fresh insulation over an attic floor riddled with air leaks, you are burying the problem rather than solving it, and the new material will show the same moisture and compression issues within a few years.
Before any insulation repair, our crews air-seal these penetrations with fire-rated caulking or foam, install airtight covers over recessed lighting, and weatherstrip the attic hatch. This step alone typically improves comfort and reduces ice damming more than adding extra depth of insulation, because it addresses the actual mechanism (warm moist air reaching the cold roof deck) rather than just the symptom.
For homes in the York Region and Halton Region area, we frequently find that older additions or converted attic spaces were never properly air-sealed at the connection point to the original structure, which explains why one section of roof ices up every winter while the rest stays clear.
Tip 5: Repair the Roof Surface Before You Repair the Insulation Underneath
It bears repeating: insulation repair on a tile roof is only as good as the roof surface protecting it. If slipped, cracked, or missing tiles are letting water past the underlayment, no amount of attic work will stop the damage from recurring. This is the step homeowners most often skip, usually because it requires a proper roof inspection rather than just an attic walkthrough.
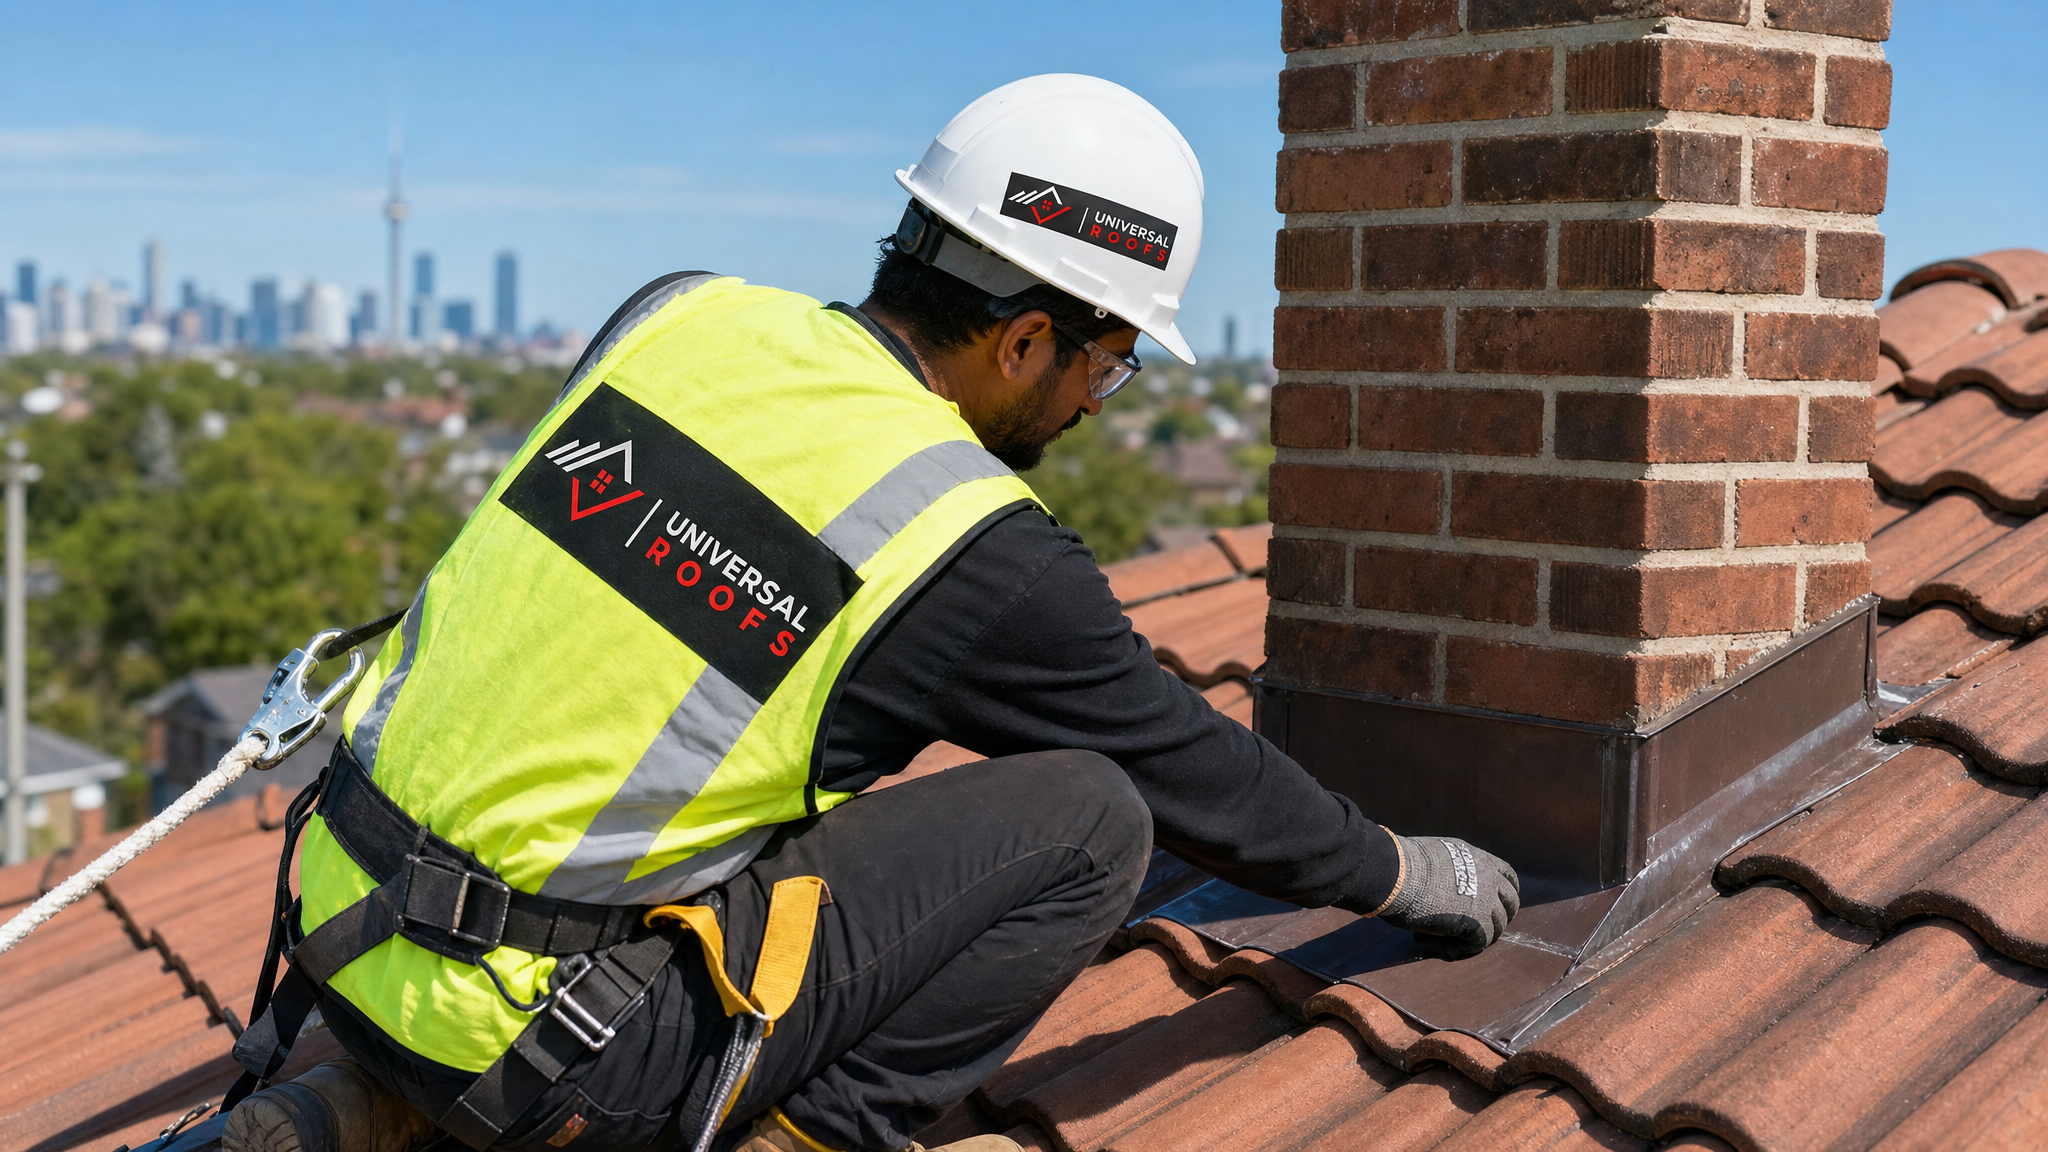
Common tile roof issues that lead directly to insulation damage include broken tiles from fallen branches or foot traffic, deteriorated underlayment past its service life (typically 20 to 30 years depending on material), and flashing at valleys, chimneys, and skylights that has separated from thermal cycling. Each of these should be evaluated and repaired through our roof repair service, and in cases where the underlayment is failing broadly across the roof rather than in isolated spots, a full roof replacement may be the more cost-effective long-term solution than repeated patch repairs.
We always recommend having the roof surface inspected at the same time as an insulation repair quote. It rarely adds significant cost, and it prevents the frustrating cycle of repairing insulation, only to have it soaked again the following spring.
Tip 6: Address Pest Intrusion Before Re-Insulating
Squirrels, raccoons, and birds are a persistent problem for GTA attics, and they cause more insulation damage than most homeowners realize. A single raccoon can flatten, soil, and displace a significant area of loose-fill insulation while denning for a season, and squirrels regularly chew entry holes through soffit vents or fascia boards that then become moisture entry points as well.
If you find insulation that is matted down in tunnels, has an ammonia-like odour, or is mixed with nesting material, do not simply cover it with fresh insulation. Contaminated insulation should be removed, the entry point sealed with appropriate materials (metal flashing rather than foam, since animals can chew through foam), and the area sanitized before new insulation goes in. Skipping this step means the same animals, or new ones following the scent trail, will be back within weeks.
This is also a good moment to check the condition of soffit and fascia trim broadly, since gaps here are both an entry point for wildlife and a ventilation issue as discussed in Tip 3. Homes throughout our Durham Region service area, which tends to have larger tree canopies and more wildlife pressure, see this issue more frequently than denser urban blocks.
Tip 7: Choose the Right Season and Timeline for the Repair
Timing matters more for insulation repair than most homeowners expect. Attic work is physically easier and safer in moderate weather, and it is far better to catch insulation problems in spring or summer than to discover ice damming and interior water stains partway through a January cold snap. July, when attic temperatures are predictable and roof surfaces are dry, is actually one of the better windows for a thorough attic inspection and insulation repair before the next heating season begins.
That said, not every repair can wait. Active leaks, visible mould, or a soaked ceiling below the attic need immediate attention regardless of season. For non-urgent top-ups and preventative repairs, scheduling before September gives contractors time to complete the work, and gives the insulation time to settle and perform correctly before the first hard frost.
| Repair Scenario | Recommended Timeline | Typical Duration | Notes |
|---|---|---|---|
| Active leak with interior staining | Immediate, any season | 1-2 days | Roof repair usually needed first |
| Wildlife-damaged insulation | Within 2-4 weeks of discovery | 1 day | Includes exclusion and sanitizing |
| General preventative top-up | Spring through early fall | 1 day | Best value, allows proper settling |
| Full attic insulation overhaul | Late spring to late summer | 2-3 days | Often paired with ventilation upgrades |
| Post-storm emergency patch | Immediate | Same day to 2 days | Temporary fix may precede full repair |
What a Professional Tile Roof Insulation Repair Actually Involves
When our team is called out for a tile roof insulation repair, the process generally follows a consistent sequence, regardless of which of the seven tips above applies to your specific home. First, we complete a full attic assessment, checking moisture levels, existing R-value, ventilation pathways, and signs of pest activity. Second, we inspect the roof surface itself, since as covered in Tip 5, insulation repairs are pointless if the tile roof above is still letting moisture through.
Third, we remove and dispose of any contaminated, compressed, or water-damaged material, being careful to protect ceiling drywall and electrical fixtures during removal. Fourth, we address the root cause, whether that is sealing air leaks, adding baffles, repairing flashing, or excluding wildlife. Only after these steps are complete do we install new insulation, matched to the specific area as outlined in Tip 2, and bring the space up to current recommended R-value.
Homeowners are often surprised that the insulation itself is usually the fastest part of the job. The diagnostic work and root-cause repairs take the majority of the time, but they are also what determines whether the repair lasts five years or twenty-five.
Cost Considerations for Tile Roof Insulation Repair in the GTA
Repair costs vary widely depending on the extent of moisture damage, the size of the affected area, and whether roof-surface repairs are needed alongside the attic work. A small, isolated patch of compressed or contaminated insulation, with no ventilation or roofing issues, is naturally far less expensive than a full attic overhaul that includes new baffles, air sealing, and a topped-up insulation depth across the whole floor.
Homeowners should be cautious of any quote that proposes adding insulation without first diagnosing the moisture or ventilation issue that likely caused the original damage. A cheaper quote that skips diagnostics often costs more in the long run once the same problem recurs. We recommend requesting an itemized quote that separates diagnostic work, root-cause repairs, and insulation material and labour, so you can see exactly what you are paying for and why.
Every home is different, and the only way to get an accurate number is through an on-site assessment. You can read about other GTA homeowners’ experiences with our repair process on our reviews page, or check our FAQ page for answers to common questions about scope and process before you book an inspection.
When to Call a Professional Instead of DIY
Plenty of homeowners can safely handle small insulation top-ups in an easily accessible attic. However, tile roof insulation repair often involves working around fragile tile battens, fire-rated clearances near chimneys, and moisture diagnostics that require experience to interpret correctly. If your attic access is limited, if you suspect mould, if wildlife has been present, or if the moisture source appears to be coming from the roof surface itself rather than the attic, it is worth having a professional assess the situation rather than guessing.
Our team has been serving homeowners across the region since 2005, and you can learn more about our background and approach on our about page. We combine roof-surface expertise with attic insulation know-how, which matters because, as this guide has emphasized throughout, these two systems fail together far more often than they fail independently.
How do I know if my tile roof insulation repair needs professional help?
Can I repair tile roof insulation without removing any tiles?
What causes insulation to get wet under a tile roof?
How much insulation depth do I need in a GTA attic?
Is tile roof insulation repair covered by home insurance?
How long does a tile roof insulation repair take?
Need Help With 7 Effective Tile Roof?
Whether you are dealing with a small patch of damp insulation or planning a full attic upgrade before the next heating season, Universal Roofs has the combined roofing and attic expertise to diagnose the real cause and fix it properly the first time.
Call us today at (416) 732-2421 or request a free inspection to get started.
Universal Roofs proudly serves Toronto, Mississauga, Brampton, Vaughan, Markham, Oakville and the GTA since 2005.