
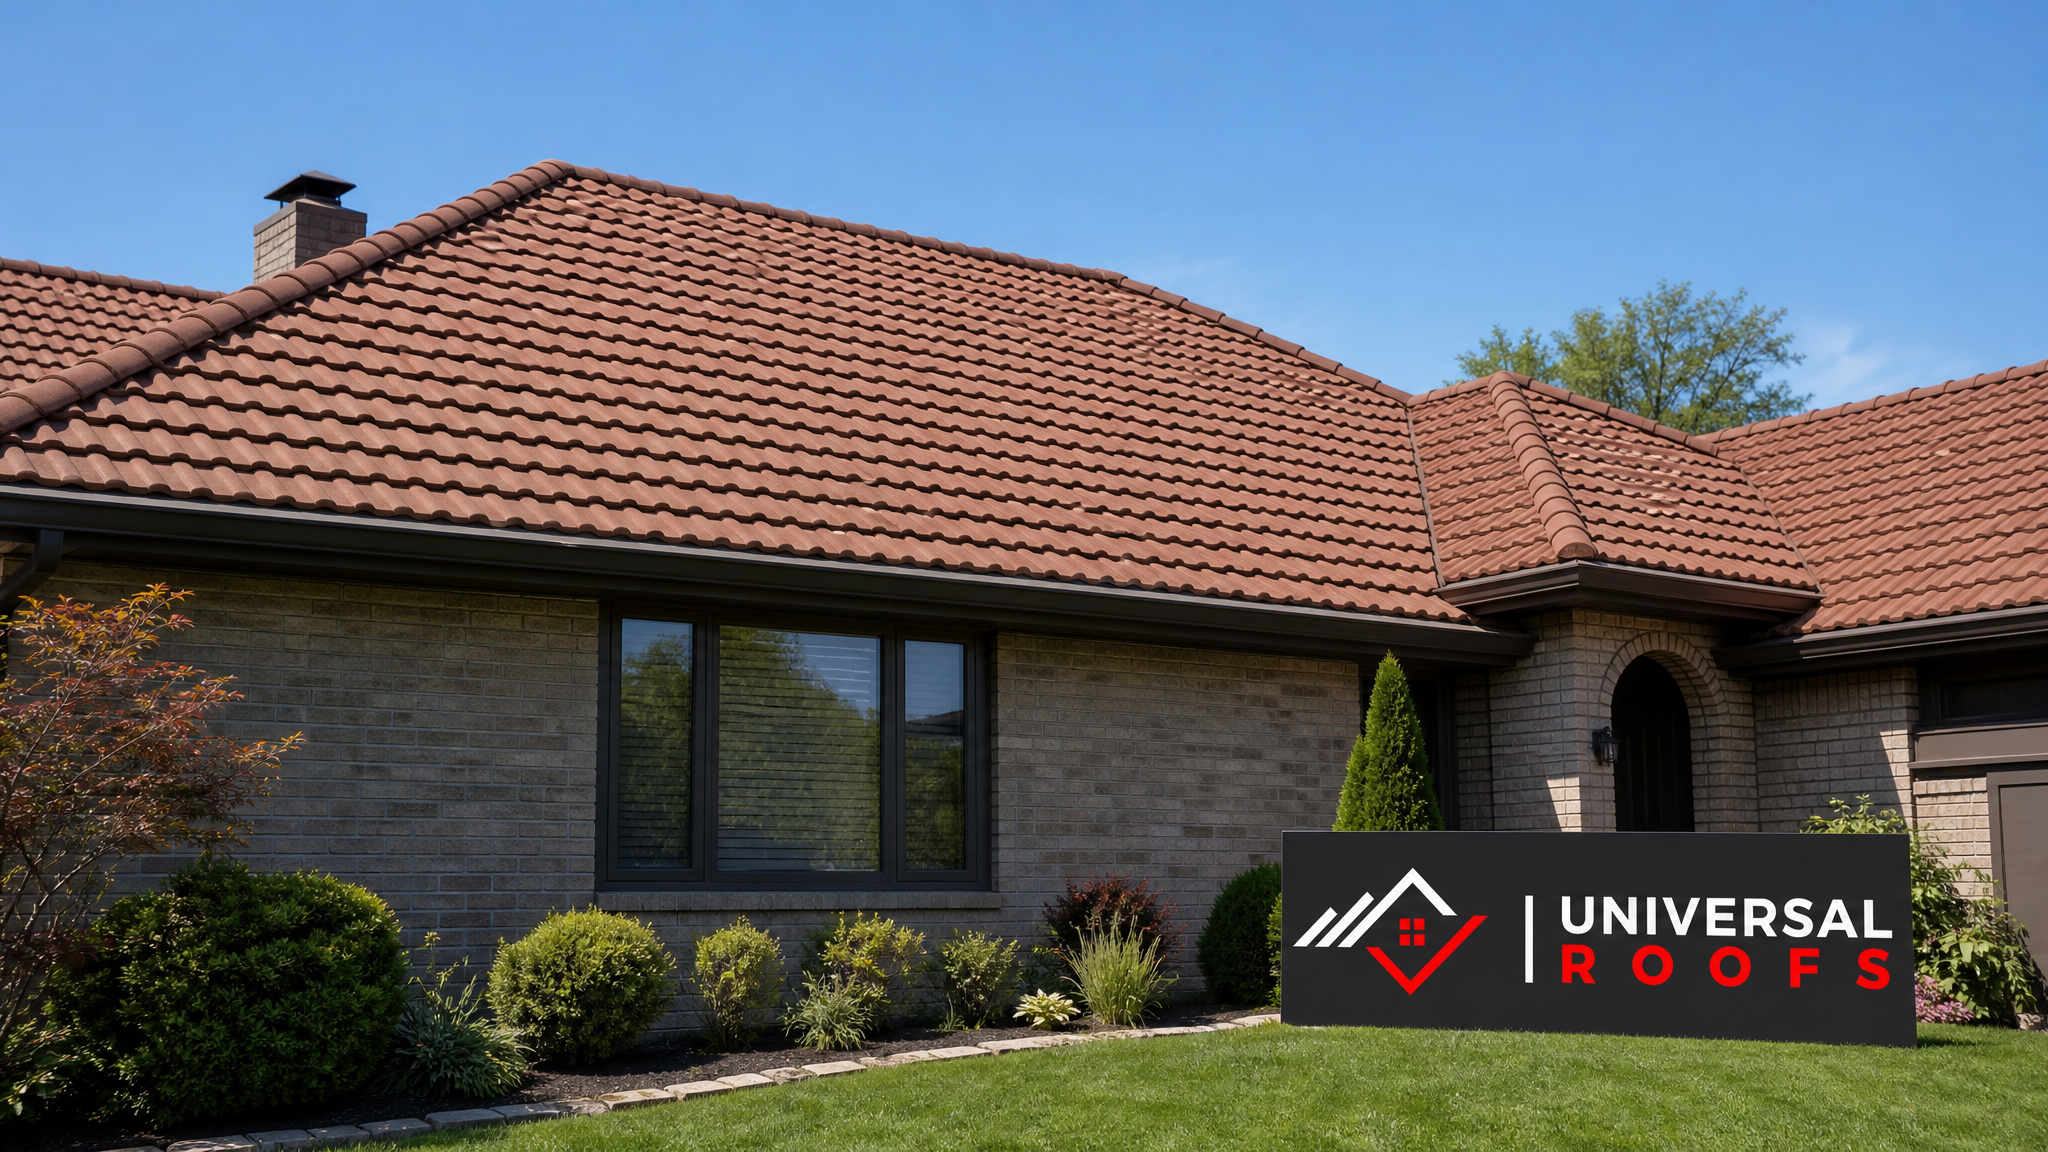
A single slipped or cracked tile rarely feels urgent, until the next windstorm sends it sliding off the roof or a summer downpour finds the gap underneath and starts staining your ceiling. Tile roofing is prized across the Greater Toronto Area for its durability and curb appeal, but even the best-installed tile roof will loosen over time as fasteners age, mortar beds crack, and Toronto’s freeze-thaw winters work their way into every seam. Knowing the correct steps to repair loose or displaced tile roof sections is the difference between a fifteen-minute fix and a full interior repair bill.
This guide walks homeowners through exactly how professional roofers assess, remove, and reset displaced tiles, what tools and materials are involved, how much you should expect a repair to cost in the GTA, and, just as importantly, when a loose tile is actually a symptom of a bigger problem that a DIY fix will not solve. Whether you noticed a tile shift after last week’s storm or you are simply doing a seasonal inspection before winter, these seven steps reflect the same process our crews use on tile roofs throughout Toronto, Mississauga, Brampton, Vaughan, Markham, and Oakville.
We will also cover the safety considerations that make this one of the more dangerous DIY roofing tasks, the materials that actually hold up to Ontario weather, and the warning signs that mean it is time to book a professional roof repair rather than climb up there yourself.
Why Tile Roofs Loosen and Shift in the First Place
Before jumping into the repair steps, it helps to understand why tiles move at all. Concrete and clay tiles are individually fastened, nailed, hooked, or mortar-set, and every one of those fastening methods degrades differently over a 40- to 75-year tile lifespan.
In the GTA specifically, three forces do most of the damage:
- Freeze-thaw cycling. Water that seeps under a tile edge in November can freeze, expand, and lever the tile upward by spring. Repeat that fifteen or twenty times a winter and fasteners loosen.
- Wind uplift. Lake-effect gusts off Lake Ontario regularly exceed 70 km/h during spring and fall storms, and tile roofs installed with older nail-only fastening (rather than modern clip-and-nail systems) are especially vulnerable at hips, ridges, and rake edges.
- Foot traffic and settling. Satellite installers, chimney sweeps, or even squirrels walking across a tile field can crack the mortar bond or snap a nib, the small lug on the back of the tile that hooks onto the batten.
Displacement is rarely a one-tile problem. If you find one loose tile, walk (or have a professional walk) the surrounding field, because the same wind event or freeze-thaw stress usually affects an entire slope, not a single unit.
Step 1: Confirm It Is Safe to Inspect the Roof Yourself
Tile roofs are steeper, heavier, and far more slippery than asphalt shingle roofs, and the tiles themselves crack under uneven foot pressure. Before you consider climbing up, be honest about the pitch, the weather, and your own comfort with heights.
A safe DIY inspection only applies if:
- The roof pitch is 6/12 or lower (anything steeper should be left to a harnessed professional)
- The tiles are dry, ice-free, and the forecast is clear for several hours
- You have a properly extended, secured ladder and a spotter holding it
- You are only inspecting, not walking the tile field, tile roofs are best assessed from a ladder at the eaves or with binoculars from the ground
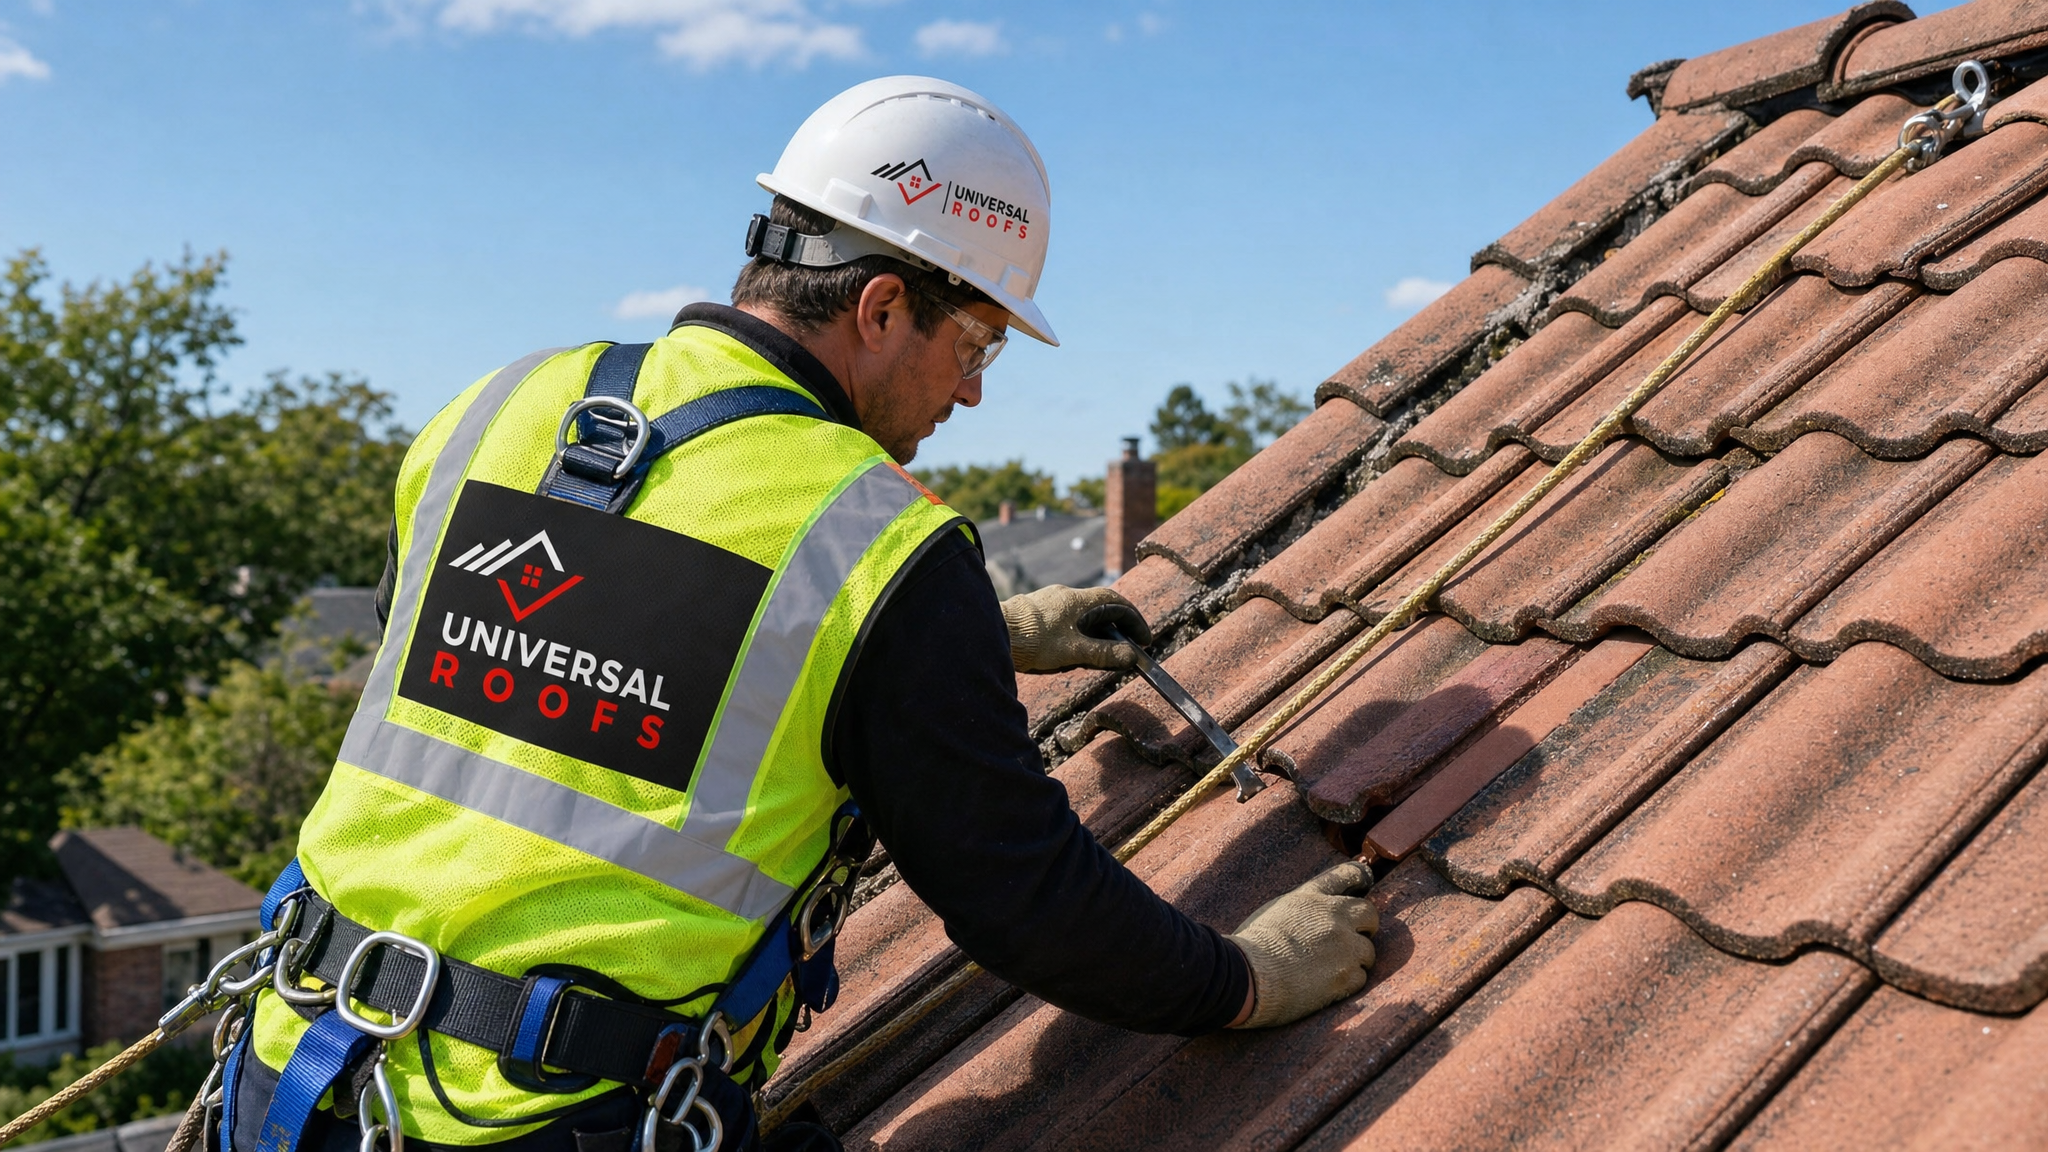
If any of those conditions are not met, or you simply are not confident on a roof, skip straight to requesting a free inspection rather than risking a fall or cracking additional tiles underfoot. This is genuinely one of the situations where “easy” steps still carry real risk, and our crews use fall-protection harnesses and roof anchors on every tile job for exactly this reason.
Step 2: Locate and Document Every Loose or Displaced Tile
Once it is safe to look, work systematically across each roof slope rather than fixing the first tile you spot and stopping. From the ground or ladder, look for:
- Tiles sitting visibly higher, lower, or at a different angle than their neighbours
- Gaps or dark triangular shadows where underlayment or battens are exposed
- Cracked tiles with a hairline fracture running corner to corner
- Tiles that have slid downslope, overlapping the course below more than the standard 75-100 mm
- Debris, granules, or broken tile fragments in the gutters, this often indicates cracking you cannot see from the ground
Photograph each problem area with your phone, zoomed in and from two angles. This documentation matters for two reasons: it gives you (or your roofer) a clear repair map, and it is invaluable if you ever file an insurance claim for storm damage. Note the compass-facing slope for each defect too, since south- and west-facing slopes in Toronto typically show more UV and wind wear than north-facing ones.
Step 3: Gather the Right Tools and Matching Replacement Tiles
A proper tile repair kit looks different from a shingle repair kit. Before heading up, assemble:
- A flat pry bar or slater’s ripper for lifting adjacent tiles without cracking them
- Roofing nails or corrosion-resistant tile clips matching your original fastening system
- Polyurethane roofing sealant or colour-matched tile adhesive (not generic silicone, which will not bond to unglazed clay or concrete)
- A rubber mallet
- Replacement tiles that match the profile, colour, and material of your existing roof
- Roofing felt or self-adhered underlayment patches for any exposed batten sections
- Soft-soled shoes and a fall-arrest harness anchored to a roof anchor point
Matching tiles is the step most DIYers underestimate. Clay and concrete tiles fade and weather over a decade or more, so a brand-new tile from a big-box store will stand out like a patch on a pair of jeans. Salvage yards, the original manufacturer, or a roofing supplier that stocks discontinued profiles are your best sources. If your roof is more than 15 years old, it is worth calling ahead, because sourcing an exact match can take longer than the repair itself.
Step 4: Lift and Remove the Damaged or Displaced Tile
Working from the row above the damaged tile downward, gently lift the overlapping tile with your pry bar just enough to slide underneath. Tile roofs are laid in an overlapping, shingled pattern, so you typically need to lift two adjacent tiles in the row above to free the one below.
To remove the tile itself:
- Slide the pry bar under the tile’s lower edge and gently walk it upward off its nib or clip
- Support the tile’s full weight as it comes free, tiles are brittle and will crack if allowed to drop even a few centimetres onto the tile below
- Set it aside, if it is undamaged you can often reuse it once the underlying issue is fixed
- Inspect the batten and underlayment now exposed underneath
This is the point where many “simple” loose-tile repairs reveal a second problem: cracked underlayment, a rusted-through nail, or rotted battens. If the felt underneath is intact, proceed to the next step. If you see daylight through the decking, water staining on the underlayment, or soft/spongy wood, stop and treat this as a larger repair, patching the tile over compromised underlayment will fail again within a season.
Step 5: Repair or Replace the Underlayment and Fastening Point
With the tile removed, address what actually caused the displacement:
- Cracked or torn felt: Cut away the damaged section and install a self-adhered underlayment patch, overlapping at least 100 mm on all sides in the correct shingle-style direction (higher courses over lower ones).
- Corroded or missing nail/clip: Replace with a corrosion-resistant roofing nail or a matching tile clip. Original builder-grade fasteners in the GTA are often galvanized steel that rusts through in 20-25 years; stainless or copper fasteners last considerably longer.
- Broken batten: A cracked wood batten needs to be sistered or replaced before any tile is reset on top of it, otherwise the new tile has nothing solid to hook onto.
This step is what separates a genuine repair from a cosmetic patch. Resetting a tile onto a still-compromised fastening point solves the problem for one season at best.
Step 6: Reset the Tile and Seal the Edges
Once the underlayment and fastener are sound, reinstall the tile:
- Slide the tile back into position, hooking its nib over the batten the same way the original was installed
- Seat it firmly with a rubber mallet, never a hammer directly on the tile, tapping gently until it sits flush with its neighbours
- Confirm the overlap with adjacent tiles matches the surrounding pattern (typically a 75-100 mm headlap)
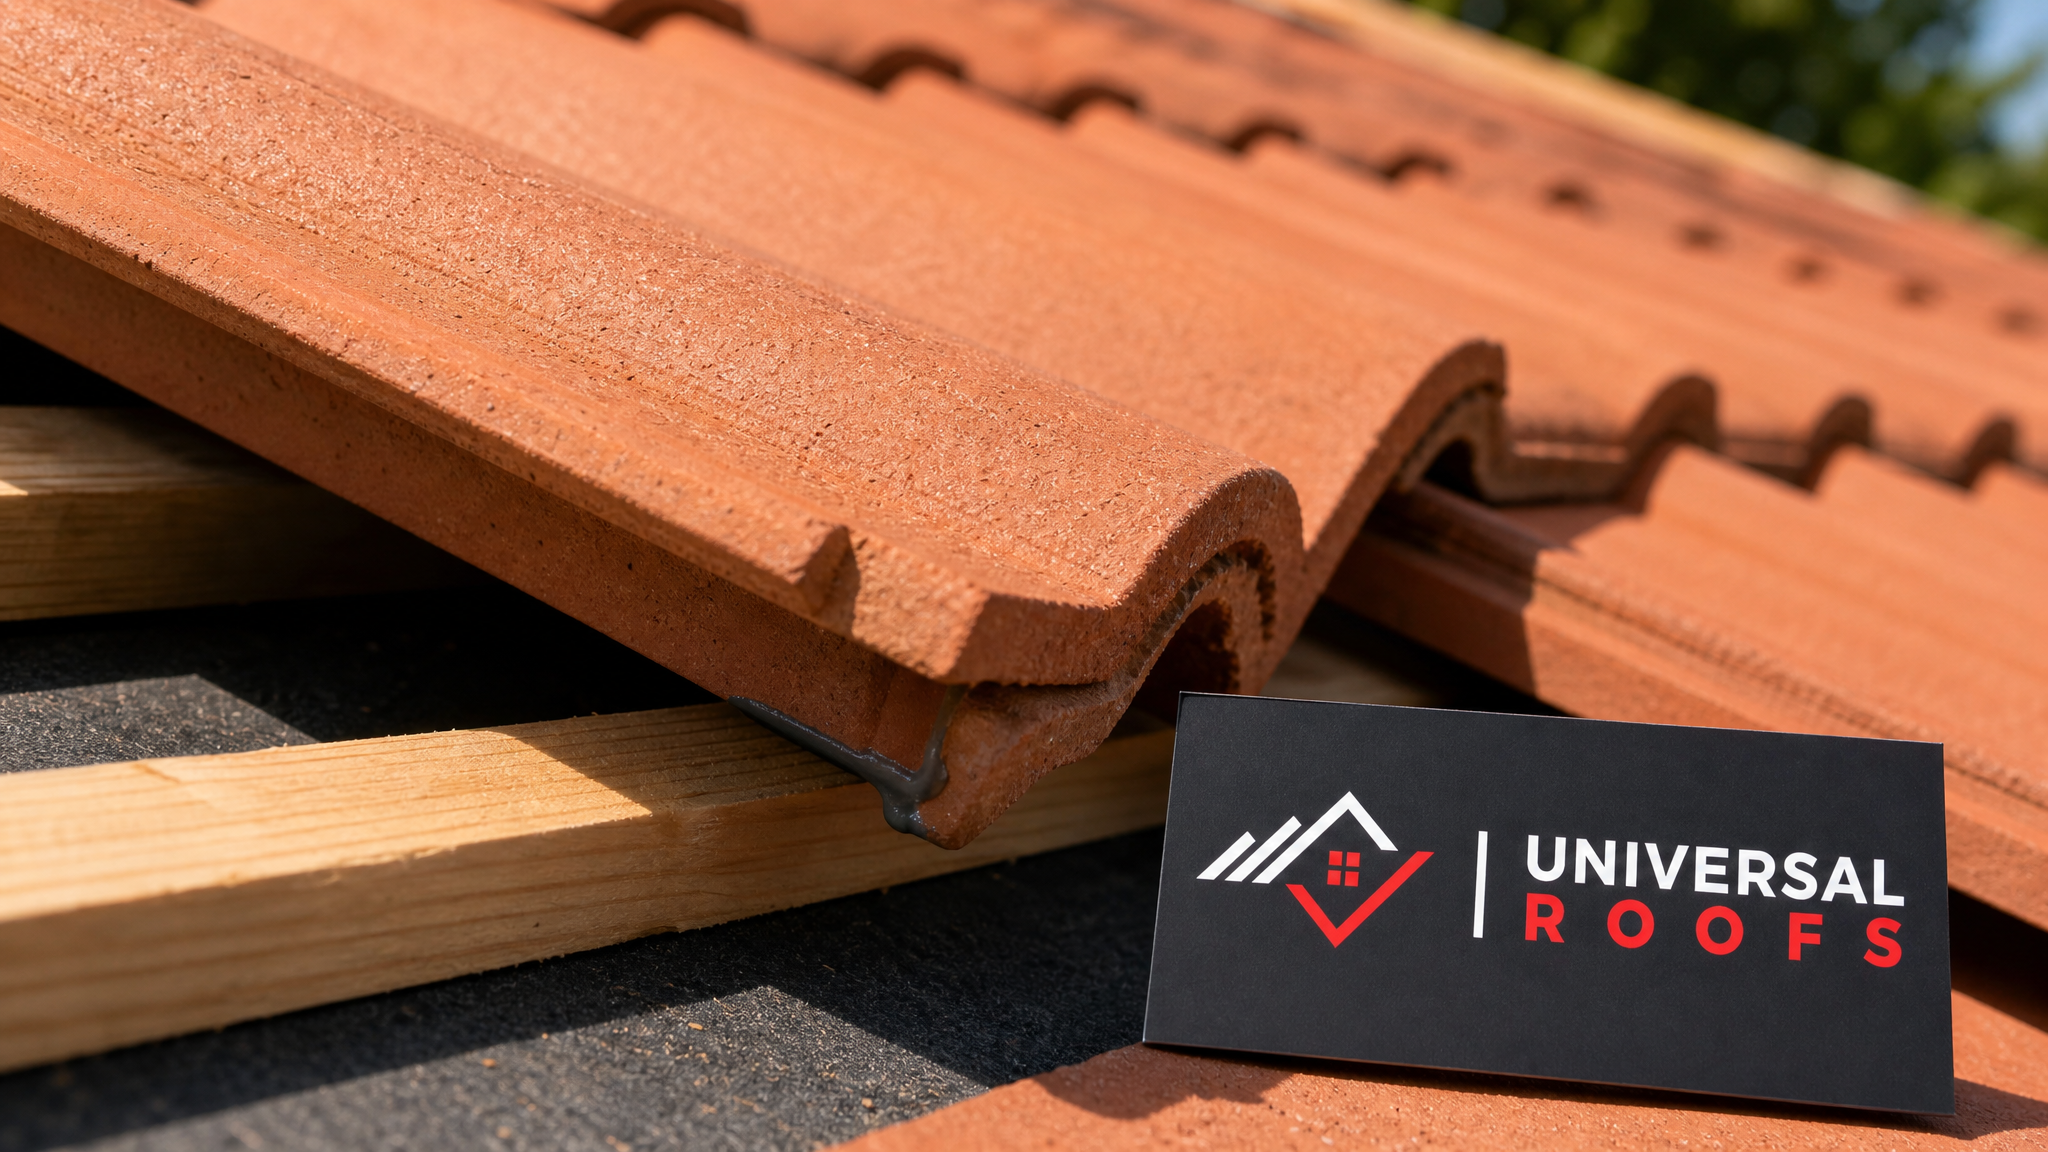
- Apply a bead of polyurethane roofing sealant or tile adhesive along the tile’s lower edge and side laps where water could otherwise wick underneath
- Lower the tiles above back into their resting position and check that the whole area now sits level with the surrounding field
Avoid the common mistake of over-sealing. A tile roof is designed to shed water through overlapping courses, not through a caulked seal, excess sealant can trap moisture against the tile and accelerate cracking in freeze-thaw conditions. Use sealant to secure edges against wind uplift, not as a substitute for correct overlap.
Step 7: Inspect the Full Slope and Schedule a Follow-Up Check
With the repair complete, do a final walk-through (from the ground or ladder) of the entire slope, not just the repaired tile:
- Check that neighbouring tiles were not cracked or shifted during the repair
- Confirm gutters are clear of any debris generated by the work
- Look at the roof from several angles in daylight to make sure the repaired tile’s colour and profile blend acceptably
- Mark your calendar for a follow-up inspection after the next significant windstorm or in early spring, whichever comes first
Because a loose tile is often an early symptom of broader wear across the roof, we recommend a full professional inspection within the same season, even after a successful DIY repair. If a wind event loosened one tile, it likely stressed fasteners nearby that have not failed yet. Our team can check attic ventilation and insulation during the same visit, since attic ventilation and moisture control directly affects how well tile roofing performs long-term in Ontario’s climate.
DIY Repair vs. Professional Tile Roof Repair: Cost and Time Comparison
Homeowners often ask whether a loose tile is worth doing themselves or worth a service call. The table below breaks down realistic GTA figures for both paths.
| Repair Scope | DIY Time Estimate | DIY Material Cost | Professional Cost (GTA) |
|---|---|---|---|
| Single reset tile (no underlayment damage) | 1-2 hours | $0-$40 | $250-$400 (service call minimum) |
| 2-5 tiles with minor underlayment patch | 3-5 hours | $60-$150 | $400-$750 |
| 6+ tiles, batten repair required | Not recommended DIY | $150-$400+ | $750-$1,800 |
| Full slope re-fastening after wind event | Not recommended DIY | N/A | $1,800-$4,500 |
| Emergency tarp + repair (active leak) | 1 hour (tarp only) | $30-$60 | $450-$900 |
Professional pricing includes liability coverage, matched tile sourcing, and a workmanship warranty, none of which a DIY repair carries. If your roof is under an active manufacturer or installer warranty, unsupervised DIY work on tiles can also void that coverage, so it is worth confirming your warranty terms before picking up a pry bar.
Common Tile Roof Materials and How Each Handles Displacement
Not all tile is created equal, and the material on your roof changes how you should approach a repair. This comparison covers the three tile types most common on GTA homes.
| Tile Material | Typical Lifespan | Displacement Risk Factors | Repair Difficulty |
|---|---|---|---|
| Clay tile | 50-75 years | Brittle in impact; nib breakage common with age | Moderate, matching colour/glaze can be difficult |
| Concrete tile | 40-60 years | Heavier; fastener fatigue over decades | Moderate, wide product availability aids matching |
| Interlocking metal tile | 40-60 years | Less prone to displacement; seam fasteners can loosen | Easier, fewer cracking risks during removal |
| Slate-look composite tile | 30-50 years | UV degradation can loosen adhesive-set units | Easier, lighter weight simplifies handling |
Clay and concrete make up the large majority of tile roofs across Toronto’s older established neighbourhoods, particularly homes built in the Mediterranean, Spanish, and Tudor Revival styles common through the 1980s and 1990s. If you are unsure which material is on your roof, a close-up photo sent to our team is usually enough to identify it before we arrive.
Troubleshooting: When a “Loose Tile” Is Actually a Bigger Problem
Sometimes what looks like a simple displaced tile is a signal of a deeper issue. Use this table to gauge whether you are looking at a straightforward reset or something that needs a fuller assessment.
| Symptom | Likely Cause | Recommended Action |
|---|---|---|
| One tile loose, no staining below | Failed nib or nail, isolated | Standard reset repair (Steps 1-7) |
| Multiple tiles loose on same slope | Wind event or batten failure across the field | Full slope inspection recommended |
| Loose tile plus ceiling stain indoors | Underlayment breach, active leak | Book an urgent roof repair assessment |
| Tiles loose near a skylight or chimney | Flashing failure, not a tile problem alone | Flashing and skylight inspection needed |
| Widespread cracking across roof age 40+ | End-of-service-life tile fatigue | Evaluate roof replacement options |
The skylight and chimney scenario deserves special attention. Tiles immediately surrounding a penetration point loosen far more often than field tiles, because the flashing underneath flexes with temperature swings and slowly works fasteners loose. If your displaced tile happens to be adjacent to a skylight, it is worth having that flashing checked at the same time, and if the skylight itself is original to an older tile roof, our skylight replacement team can evaluate whether the unit is contributing to the movement.
Seasonal Timing: Why Summer Is the Right Window for Tile Repairs
July is one of the best months in the GTA calendar to handle tile repairs. Tiles are dry, adhesives and sealants cure properly in warm, low-humidity conditions, and there is no risk of frost undermining a fresh repair before it has had a chance to set. Concrete and clay tiles that were dislodged by spring windstorms often sit unaddressed through a wet June, only to worsen through the humid weeks that follow.
Booking repairs now, before the fall storm season arrives, also means any underlayment or batten damage gets caught and corrected while the weather cooperates. Waiting until October or November means working against shorter days, colder decking, and a much narrower window before winter precipitation arrives.
Preventing Future Tile Displacement
Once your current repair is complete, a few maintenance habits significantly reduce how often you will be back up on the roof:
- Trim overhanging branches that drop debris or brush against tiles in wind
- Clear gutters twice a year so trapped water is not backing up under the eave course
- Schedule a professional inspection every 2-3 years, tile roofs age slowly but fastener failure accelerates once it starts
- Avoid unnecessary roof traffic for satellite dishes, holiday lighting, or solar mounts, each footstep on a tile field carries cracking risk
- Address minor cracks immediately rather than waiting, a hairline crack today becomes a displaced or missing tile after the next freeze-thaw cycle
Homeowners across our service areas in Toronto, Peel Region, York Region, Halton Region, and Durham Region tend to get the best results from tile roofs that receive light, consistent attention rather than reactive emergency repairs. You can see how these repairs hold up over time in the feedback on our reviews page, and our FAQ page covers additional questions about tile maintenance, warranties, and inspection scheduling.
When to Call a Professional Instead of DIY
The seven steps above genuinely work for isolated, accessible repairs on roofs with a safe, walkable pitch. But several situations call for a professional roofer rather than a homeowner on a ladder:
- The roof pitch exceeds what you can safely and comfortably navigate
- More than two or three tiles are displaced in the same area
- You can see daylight, staining, or soft decking under a removed tile
- The displacement is near a chimney, skylight, or valley flashing
- Your roof or the tile itself is discontinued and difficult to source
- You are not fully confident using a harness and roof anchor system
Our crews carry matched tile stock, use certified fall-protection systems on every job, and can typically diagnose and repair a displaced section in a single visit. Learn more about our team and how we have approached tile and roofing work across the GTA since 2005.
What are the basic steps to repair loose or displaced tile roof sections?
Can I repair a displaced tile roof myself, or do I need a professional?
How much does it cost to fix a loose or displaced tile roof in Toronto?
Why do tile roofs become loose or displaced in the first place?
Is it safe to walk on a tile roof to check for displaced tiles?
What time of year is best to repair a loose or displaced tile roof?
Need Help With 7 Easy Steps to?
Loose or displaced tiles rarely stay a one-tile problem for long, and a repair done without addressing the underlayment or fastener underneath tends to fail again by the next storm season. Universal Roofs has been repairing and maintaining tile roofs across the GTA since 2005, with the matched materials, harnessed crews, and local experience to get it right the first time.
Call us today at (416) 732-2421 or request a free inspection to get started.
Universal Roofs proudly serves Toronto, Mississauga, Brampton, Vaughan, Markham, Oakville and the GTA since 2005.