
If you have noticed dark streaks, greenish patches, or fuzzy black spots creeping across your tile roof, you are dealing with one of the most common cosmetic and structural complaints among GTA homeowners: algae, mildew, and mould growth on tile. Toronto’s humid summers, shaded tree canopies, and freeze-thaw winters create an ideal breeding ground for these organisms, and once they take hold, they spread quickly if left untreated. The good news is that removing mould and mildew from a tile roof is very manageable when you use the right products, the right technique, and the right safety precautions.
In this guide, we walk through five practical, field-tested tips to remove mould and mildew from tile roofs, along with the tools you will need, realistic timelines, and the situations where calling a professional roofing contractor makes more sense than a DIY weekend project. Whether you have concrete tile, clay tile, or a composite tile roof, these principles apply across the board, with a few material-specific notes along the way.
We also explain why mould and mildew are more than an eyesore. Left unaddressed, biological growth traps moisture against the tile surface, accelerates granule loss and surface erosion, and can work its way into cracked or lifted tiles, leading to leaks in the underlayment below. Understanding the full picture helps homeowners decide how urgently to act and whether a simple cleaning will solve the problem or whether it signals a deeper issue with ventilation, drainage, or aging materials.
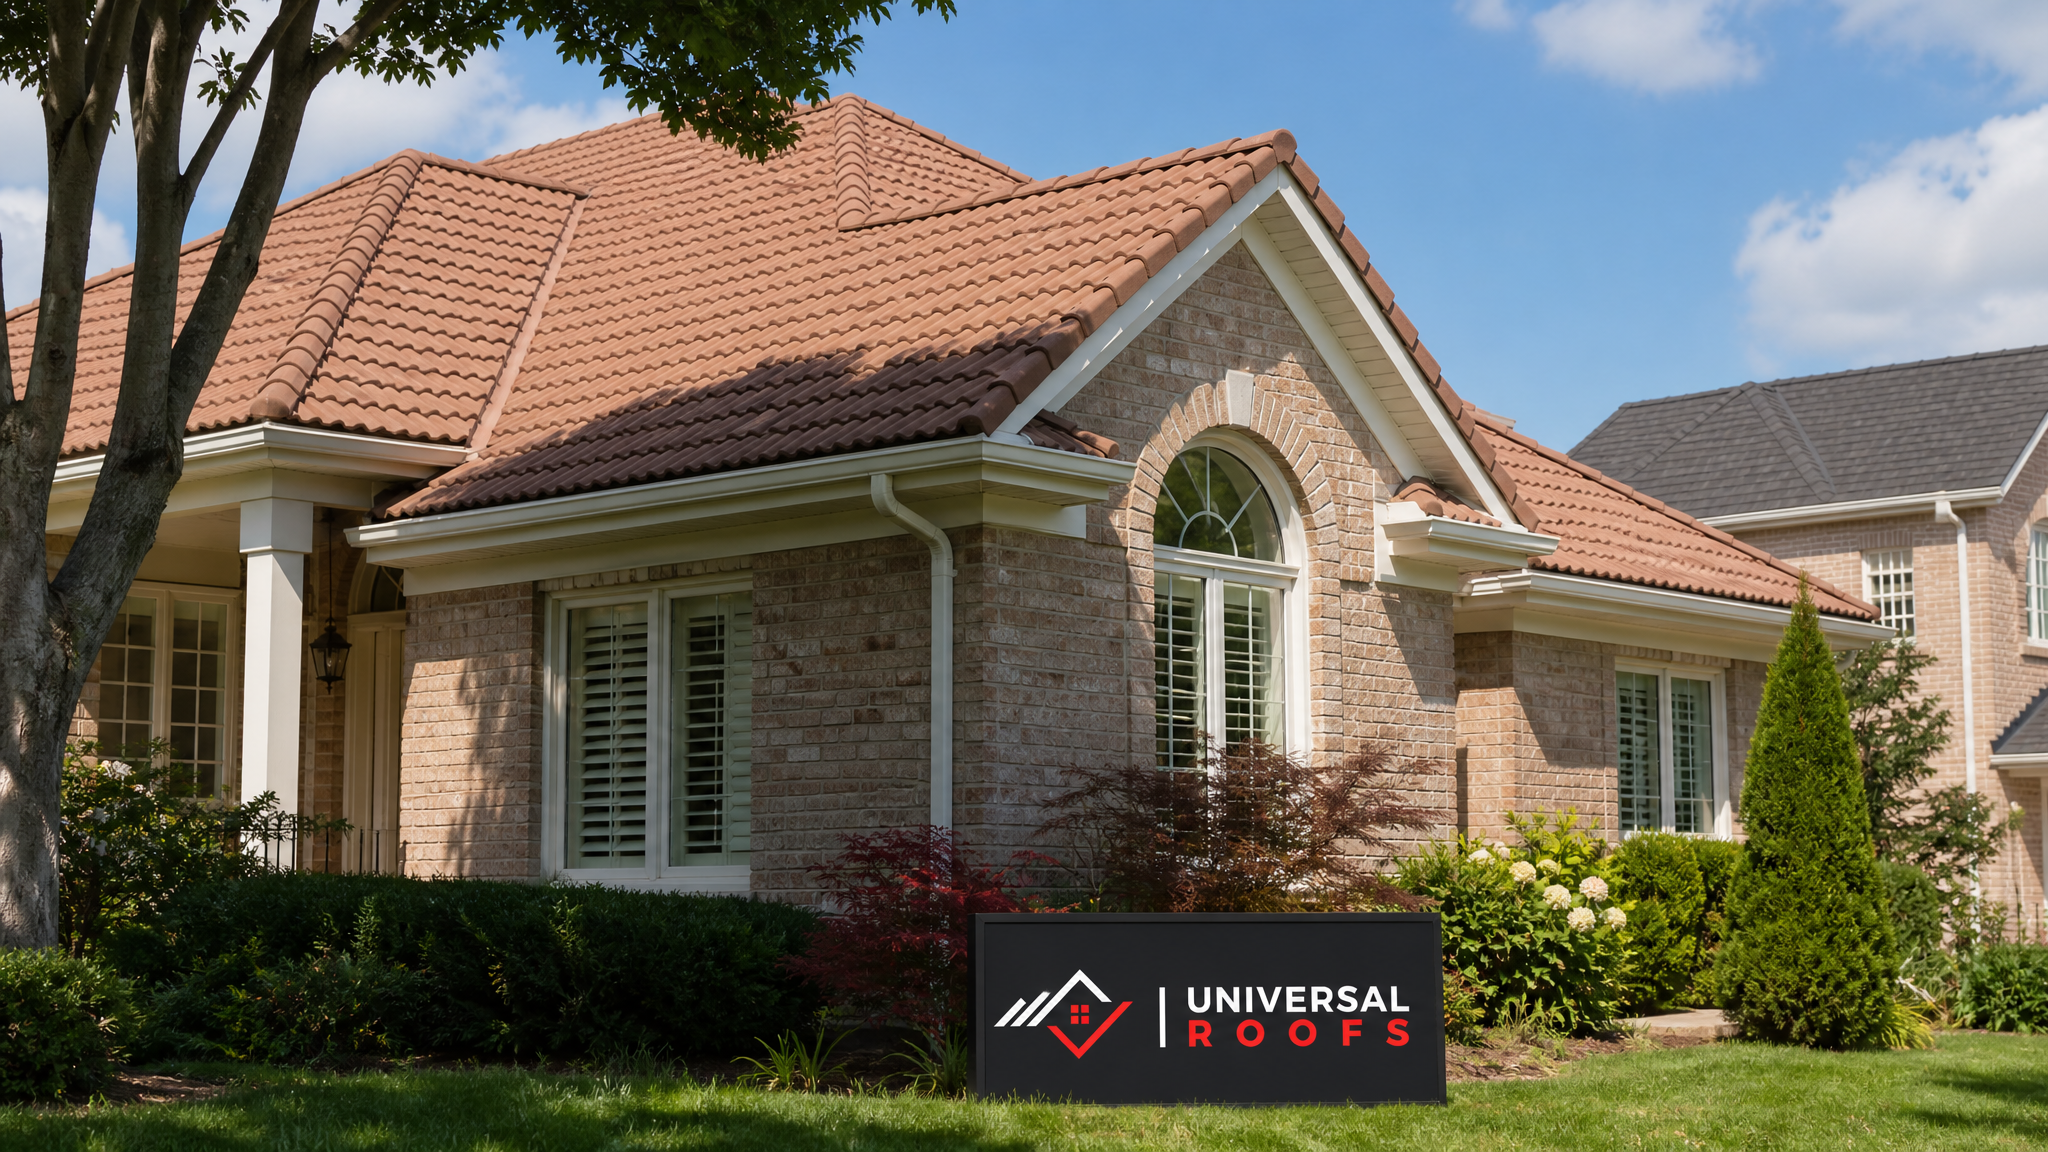
Why Mould and Mildew Grow on Tile Roofs in the GTA
Before jumping into removal techniques, it helps to understand why tile roofs in Toronto, Mississauga, and surrounding neighbourhoods are so prone to biological growth in the first place. Tile is a porous, textured material, and even glazed or sealed tiles develop microscopic surface irregularities over time as they weather. These tiny grooves and pores hold moisture long after a rainstorm, and that trapped humidity, combined with shade from mature trees, north-facing exposure, or a nearby ravine, gives algae spores and mildew colonies exactly what they need to establish themselves.
The most common organism homeowners battle is gloeocapsa magma, a blue-green algae that appears as black or dark grey streaking, usually running down from the ridge toward the eaves. True mildew and mould, meanwhile, tend to appear more diffuse and fuzzy, often in shaded valleys, behind chimneys, or wherever debris such as leaves and pine needles collects and holds moisture against the tile. In our experience inspecting roofs across the Toronto, Peel Region, York Region, Halton Region, and Durham Region service areas, homes backing onto ravines or with heavy tree cover see the fastest regrowth after cleaning, so a maintenance plan matters as much as the initial treatment.
Poor attic ventilation can also contribute to the problem from the underside. When warm, moist air escapes into the attic rather than venting properly, it can condense against the roof deck and migrate outward, keeping the underside of the tile assembly damper than it should be. If your home has chronic mould issues on the roof surface, it is worth having your attic ventilation assessed alongside the tile cleaning, since the two problems often compound each other.
Tip 1: Start With a Gentle, Low-Pressure Rinse
The single biggest mistake homeowners make when tackling mould and mildew on a tile roof is reaching for a gas-powered pressure washer set to maximum output. High-pressure washing is the fastest way to crack, chip, or dislodge tiles, strip protective glazing, and force water beneath the tile into the underlayment, which can create leaks that did not exist before you started cleaning. Tile is durable against weather but surprisingly brittle against concentrated mechanical force.
Instead, begin with a low-pressure garden hose rinse to remove loose surface debris: leaves, twigs, dirt, and loose algae. This step alone often removes a significant portion of surface grime and lets you see exactly where the heavier mould and mildew staining is concentrated. If you do use a pressure washer, keep the nozzle on a wide fan pattern, keep the wand at least 60 centimetres from the tile surface, and never angle the spray upward under the tile laps, where water can be forced into the roof assembly rather than off of it.
Working from the ridge downward, in the same direction water naturally sheds, also reduces the chance of forcing water backward under overlapping tiles. Take your time on this first pass. A rushed rinse leaves debris trapped in valleys and behind vent boots, which becomes the seed for the next round of growth.
Tip 2: Choose the Right Cleaning Solution for Your Tile Type
Not all cleaning solutions are appropriate for every tile roof, and choosing the wrong one can bleach clay tile, strip protective coatings from concrete tile, or damage surrounding landscaping and eavestroughs. Below is a comparison of the most common cleaning solutions homeowners and contractors use for mould and mildew removal on tile roofs.
| Cleaning Solution | Best For | Effectiveness on Mould/Mildew | Risk Level |
|---|---|---|---|
| Diluted bleach (1 part bleach to 3 parts water) | Concrete tile, glazed clay tile | High | Moderate — can bleach unglazed clay, harms plants |
| Oxygen bleach (sodium percarbonate) | All tile types, plant-friendly | High | Low |
| Commercial roof cleaner (zinc/potassium salt based) | Preventing regrowth long-term | Medium-High, slower acting | Low |
| Vinegar and water solution | Light mildew, spot treatment | Low-Medium | Very low |
| Pressure washing alone (no chemical) | Loose surface debris only | Low — regrowth is fast | High — physical tile damage risk |
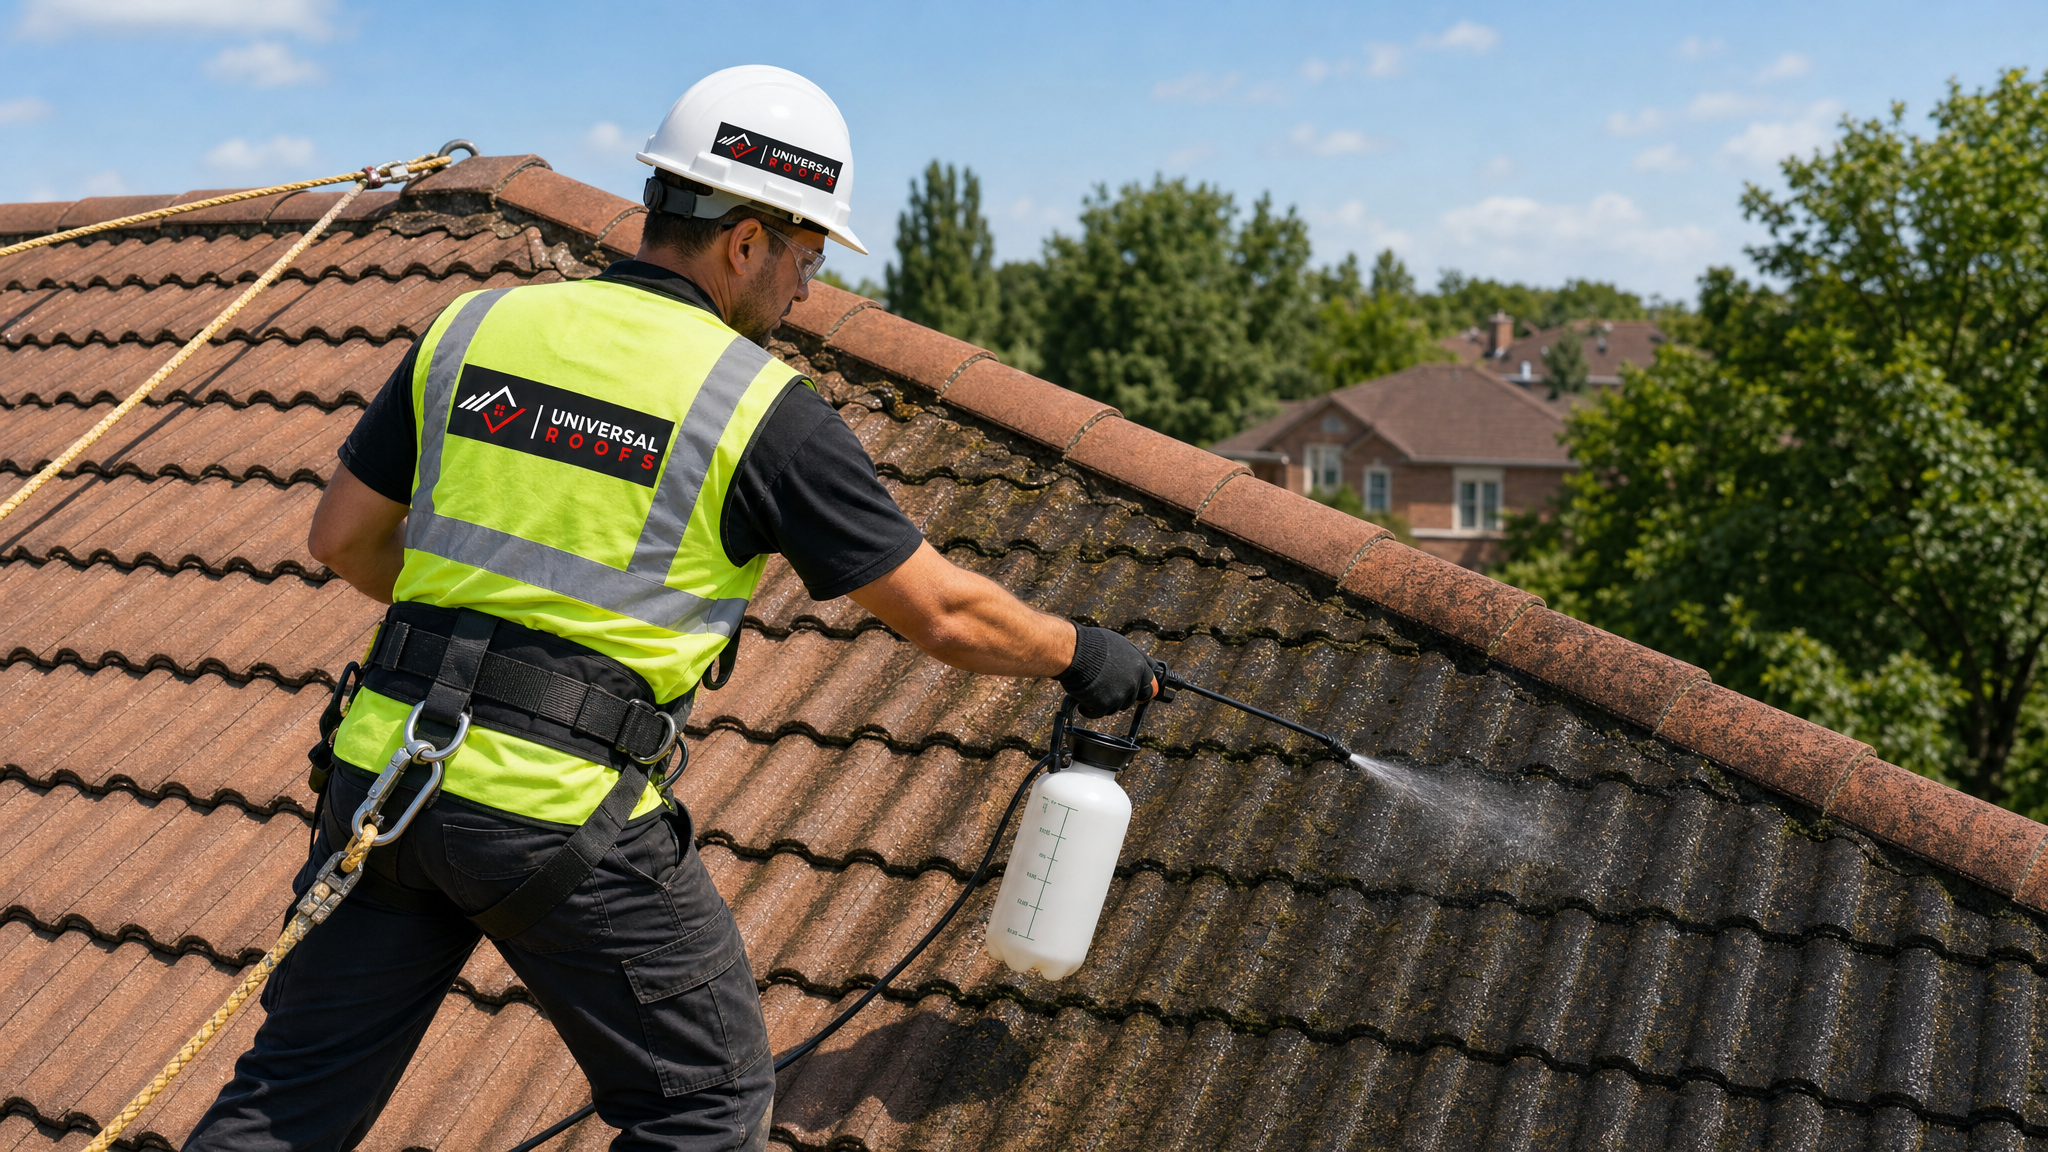
For most GTA homes, an oxygen bleach solution offers the best balance of effectiveness and safety. It breaks down mould and mildew at the cellular level, will not bleach out clay tile colour the way chlorine bleach can, and rinses away without harming the shrubs, perennials, and lawn below the roofline. Mix according to the product label, typically dissolved in warm water, and apply with a pump sprayer rather than pouring it directly, so you get even coverage across the affected areas.
If you go the diluted bleach route, always pre-wet any vegetation around the perimeter of the house and cover delicate plants with plastic sheeting beforehand, then rinse thoroughly afterward. Never mix bleach with any ammonia-based product, and always work in a well-ventilated, open-air environment, which a rooftop naturally provides, but be mindful of wind direction so overspray does not drift toward neighbouring properties.
Tip 3: Apply, Dwell, and Rinse the Correct Way
Once you have selected your cleaning solution, application technique matters as much as the chemical itself. Spray the solution evenly across the affected sections, working in manageable areas of roughly 3 to 4 square metres at a time so the product does not dry out before you can rinse it. Most cleaning solutions need a dwell time of 15 to 30 minutes to penetrate the mould and mildew colonies and break down their cellular structure, but always check the manufacturer’s instructions, since concentration and formulation vary.
Resist the urge to scrub aggressively with a stiff wire brush. Tile surfaces, especially glazed clay and older concrete tile with worn coatings, scratch easily, and those scratches become new footholds for algae spores to latch onto, ironically accelerating regrowth in the very spots you just cleaned. A soft-bristle brush or a long-handled synthetic scrub brush is sufficient for stubborn spots once the solution has had time to work.
After the dwell time has passed, rinse thoroughly with your low-pressure hose setup, again working from the ridge down. Check gutters and downspouts afterward, since a heavy cleaning session can wash a surprising amount of dislodged algae and debris into your eavestroughs, and a clogged gutter defeats the purpose of a freshly cleaned roof by allowing water to pool and re-introduce moisture at the roof edge.
Tip 4: Prevent Regrowth With Long-Term Maintenance Habits
Cleaning mould and mildew off a tile roof solves the immediate problem, but without ongoing maintenance, the same conditions that caused the growth the first time will bring it back within a season or two, particularly on shaded, north-facing slopes common throughout Toronto’s older neighbourhoods. A few maintenance habits meaningfully extend the time between cleanings.
First, trim back overhanging tree branches to reduce shade and allow the tile surface to dry faster after rain. Second, clean gutters and valleys at least twice a year, in late spring and again in fall, to prevent organic debris from accumulating and holding moisture against the tile. Third, consider a zinc or copper strip installed just below the ridge line on chronically affected slopes; rainwater washing over these metals releases trace ions that inhibit algae and mildew growth for years at a time, a low-maintenance solution many roofing manufacturers now recommend during a roof replacement or major re-roof.
The table below outlines a realistic maintenance schedule for keeping a tile roof mould- and mildew-free year-round in the GTA climate.
| Season | Recommended Task | Purpose | Frequency |
|---|---|---|---|
| Spring | Gutter and valley debris clearing | Remove winter accumulation before summer humidity sets in | Once, April-May |
| Summer | Visual inspection for new staining | Catch early growth before it spreads | Every 2-3 months |
| Fall | Tree trimming and gutter clearing | Reduce shade and leaf litter before winter | Once, October-November |
| Winter | Ice and snow load monitoring | Prevent trapped moisture under snowpack | After major snowfalls |
| Ongoing | Zinc/copper strip inspection | Confirm strips are intact and unobstructed | Annually |
Homeowners who follow a schedule like this typically stretch the interval between full cleanings from every one to two years down to every three to five years, which saves considerable time, money, and wear on the tile surface over the life of the roof.
Tip 5: Know When to Call a Professional Roofing Contractor
DIY cleaning is appropriate for light to moderate mould and mildew on a single-storey home with safe, stable roof access. However, several situations call for a professional rather than a homeowner on a ladder with a garden hose. Steep roof pitches, multi-storey homes, and roofs with limited safe access points all carry a fall risk that is simply not worth taking on for a cleaning task. Professional crews work with proper fall-protection harnesses, roof anchors, and ladder stabilizers that most homeowners do not own and should not attempt to improvise.
Beyond safety, a professional inspection during the cleaning process often catches problems a homeowner would miss: cracked or slipped tiles hidden beneath algae staining, deteriorating flashing around chimneys and vents, or early signs of underlayment failure that mould growth was masking. If your cleaning reveals cracked tiles, soft spots, or granule loss beyond surface staining, it is worth scheduling a proper roof repair assessment rather than simply re-cleaning the same spot next season.
It is also worth having a professional look at any roof where mould or mildew keeps returning aggressively despite regular cleaning, since that pattern often points to an underlying ventilation, drainage, or structural shading issue rather than a simple surface cleaning problem. In some cases, homeowners find that persistent mould around a chimney or dormer is actually tied to a nearby skylight seal that has begun to fail; if that is the case for your home, our team can evaluate whether a skylight replacement or resealing is needed at the same time as the tile cleaning.
DIY vs. Professional Cleaning: A Cost and Timeline Comparison
Many GTA homeowners weigh whether to rent equipment and buy supplies for a weekend DIY project versus hiring a roofing contractor to handle the job in a single visit. The table below compares the two approaches across the factors that matter most.
| Factor | DIY Cleaning | Professional Cleaning |
|---|---|---|
| Typical cost (average GTA home) | $80-$150 in supplies and equipment rental | $350-$800 depending on roof size and pitch |
| Time required | 4-8 hours over one or two days | 2-4 hours, usually same day |
| Safety equipment needed | Ladder, harness (often not owned by homeowner) | Full harness, roof anchors, fall protection included |
| Tile damage risk | Higher without experience | Lower, trained technique |
| Includes inspection for cracked tile/flashing | Only if homeowner knows what to look for | Yes, standard part of service |
| Regrowth prevention treatment | Optional add-on purchase | Often included or recommended on-site |
For single-storey homes with simple, low-pitch roofs and easy ladder access, DIY cleaning is a reasonable weekend project for a comfortable, moderately handy homeowner. For anything steeper, taller, or already showing signs of tile damage, the cost difference is well justified by the safety and inspection benefits a professional crew provides.
Signs Your Tile Roof Needs More Than a Cleaning
Sometimes what looks like a straightforward mould and mildew problem is actually a symptom of a bigger issue. Watch for these warning signs while you are up cleaning or having a professional inspect the roof: tiles that sound hollow or feel loose when gently pressed, granule buildup in the gutters that suggests surface erosion beneath the staining, dark staining on the underside of the roof deck visible from inside the attic, or musty odours indoors that suggest mould has migrated past the tile into the roof assembly itself.
Any of these signs mean the mould and mildew were a visible symptom of moisture intrusion rather than the root cause. In that case, a full roof assessment, and potentially a partial or full roof replacement, is the more responsible long-term fix. Homes in the Toronto, Peel Region, York Region, Halton Region, and Durham Region service areas we cover regularly see this pattern on roofs approaching 20 to 25 years old, where the tile itself may look serviceable from the ground but the underlayment beneath it has reached the end of its practical service life.
How Universal Roofs Approaches Tile Roof Mould and Mildew Removal
When our crews are called out for a mould and mildew removal job, we start with a full roof walk to check for cracked, slipped, or lifted tiles before any cleaning solution goes down. This step matters because cleaning a compromised tile roof without first identifying damage can push more moisture into an already vulnerable spot. From there, we select a cleaning solution appropriate to the specific tile material and the severity of growth, apply it using low-pressure equipment designed specifically for roofing work, and always work top-down to avoid forcing water beneath tile laps.
We also check attic ventilation while we are on-site, since chronic mould issues on the roof surface are sometimes linked to poor airflow beneath the tile assembly. If we find evidence that ventilation, flashing, or underlayment is contributing to the problem, we will tell you plainly rather than simply cleaning the surface and sending an invoice. Homeowners across our service areas appreciate that straightforward approach, and you can read what past clients have said on our reviews page.
If you are unsure whether your situation calls for a simple cleaning or a deeper look at the roof assembly, our FAQ page answers many of the most common homeowner questions, and our team is always happy to provide a straightforward, no-pressure opinion during an on-site visit.
What are the best tips to remove mold and mildew from tile roofs without damaging the tile?
Is bleach safe to use when removing mold and mildew from tile roofs?
How often should a tile roof be cleaned to prevent mold and mildew buildup?
Can pressure washing damage a tile roof during mold and mildew removal?
Why does mold and mildew keep coming back on my tile roof after cleaning?
Should I hire a professional to remove mold and mildew from a tile roof?
Need Help With 5 Tips to Remove?
Cleaning mould and mildew off a tile roof is manageable with the right approach, but not every roof, and not every homeowner’s comfort level with ladders and rooftop work, is suited to a DIY weekend project. Universal Roofs has been helping homeowners across the GTA keep their tile roofs clean, sound, and leak-free since 2005, and we are happy to provide a straightforward assessment of whether your roof needs a simple cleaning or a closer look at what is happening underneath.
Call us today at (416) 732-2421 or request a free inspection to get started.
Universal Roofs proudly serves Toronto, Mississauga, Brampton, Vaughan, Markham, Oakville and the GTA since 2005.