
If you have noticed peeling paint under your eaves, sagging panels along the roofline, or a family of squirrels that seem to have moved into your attic uninvited, the problem almost always traces back to your soffit and fascia. These two components are easy to ignore because they sit high above eye level, but they quietly do an enormous amount of work: venting your attic, shielding your roof deck from wind-driven rain, and giving your gutters something solid to hang from. When they fail, the damage rarely stays put — it spreads into your attic insulation, your fascia boards, and sometimes your interior ceilings.
Homeowners across the Greater Toronto Area ask us the best way to repair soffit and fascia on residential properties almost every week, usually after a windstorm has torn a panel loose or a home inspection has flagged rot before a sale. The honest answer is that “best” depends on how much damage exists, what material is currently installed, and how old the rest of the roofline is. This guide walks through diagnosis, repair methods, material choices, realistic costs, and the warning signs that mean a patch job will not be enough.
We will cover full inspection steps, a comparison of repair techniques, material options with lifespan data, a realistic Toronto-area cost breakdown, and the six questions we are asked most often. By the end, you should know exactly what your soffit and fascia need and how to talk to a contractor about it with confidence.
What Soffit and Fascia Actually Do
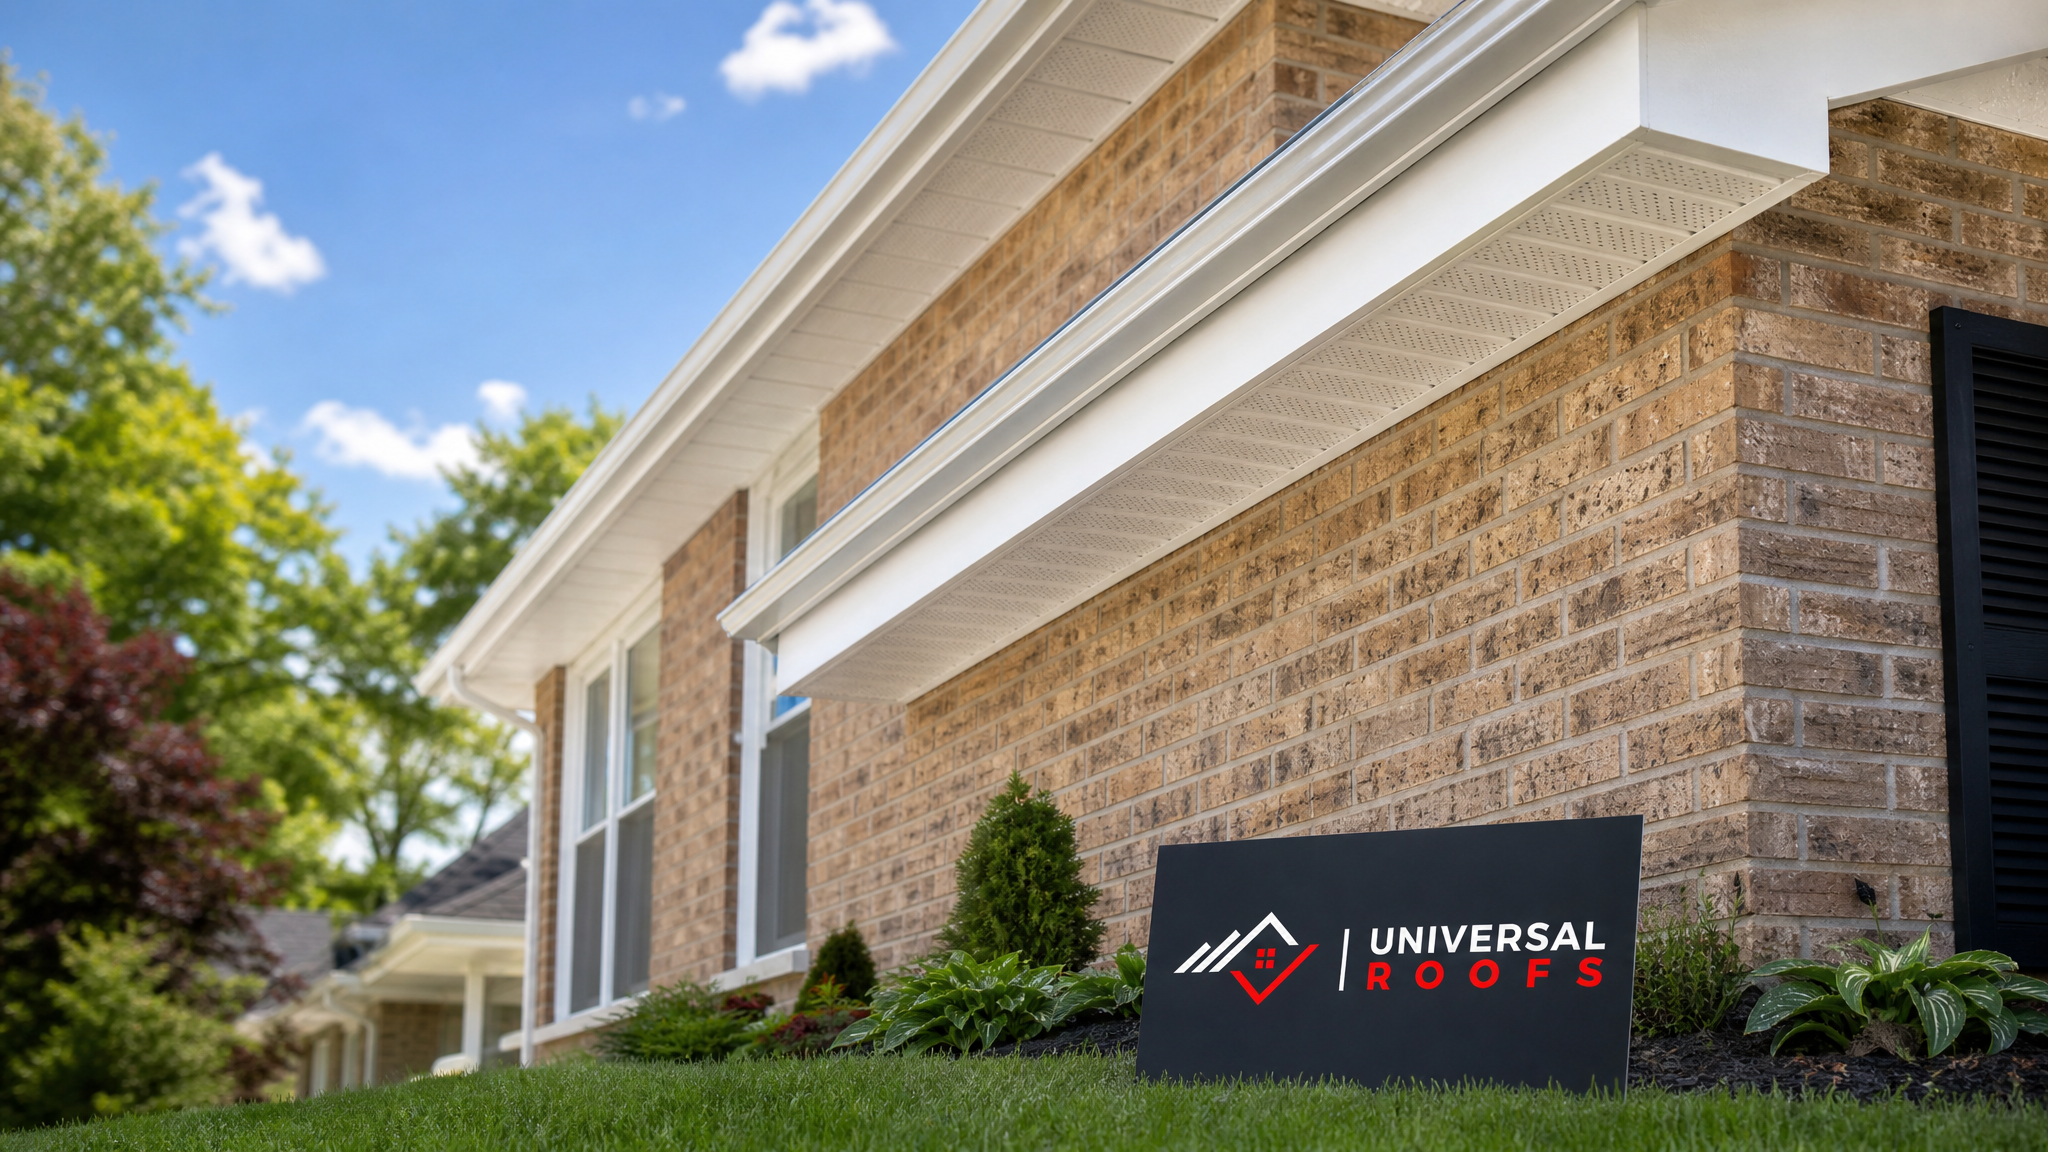
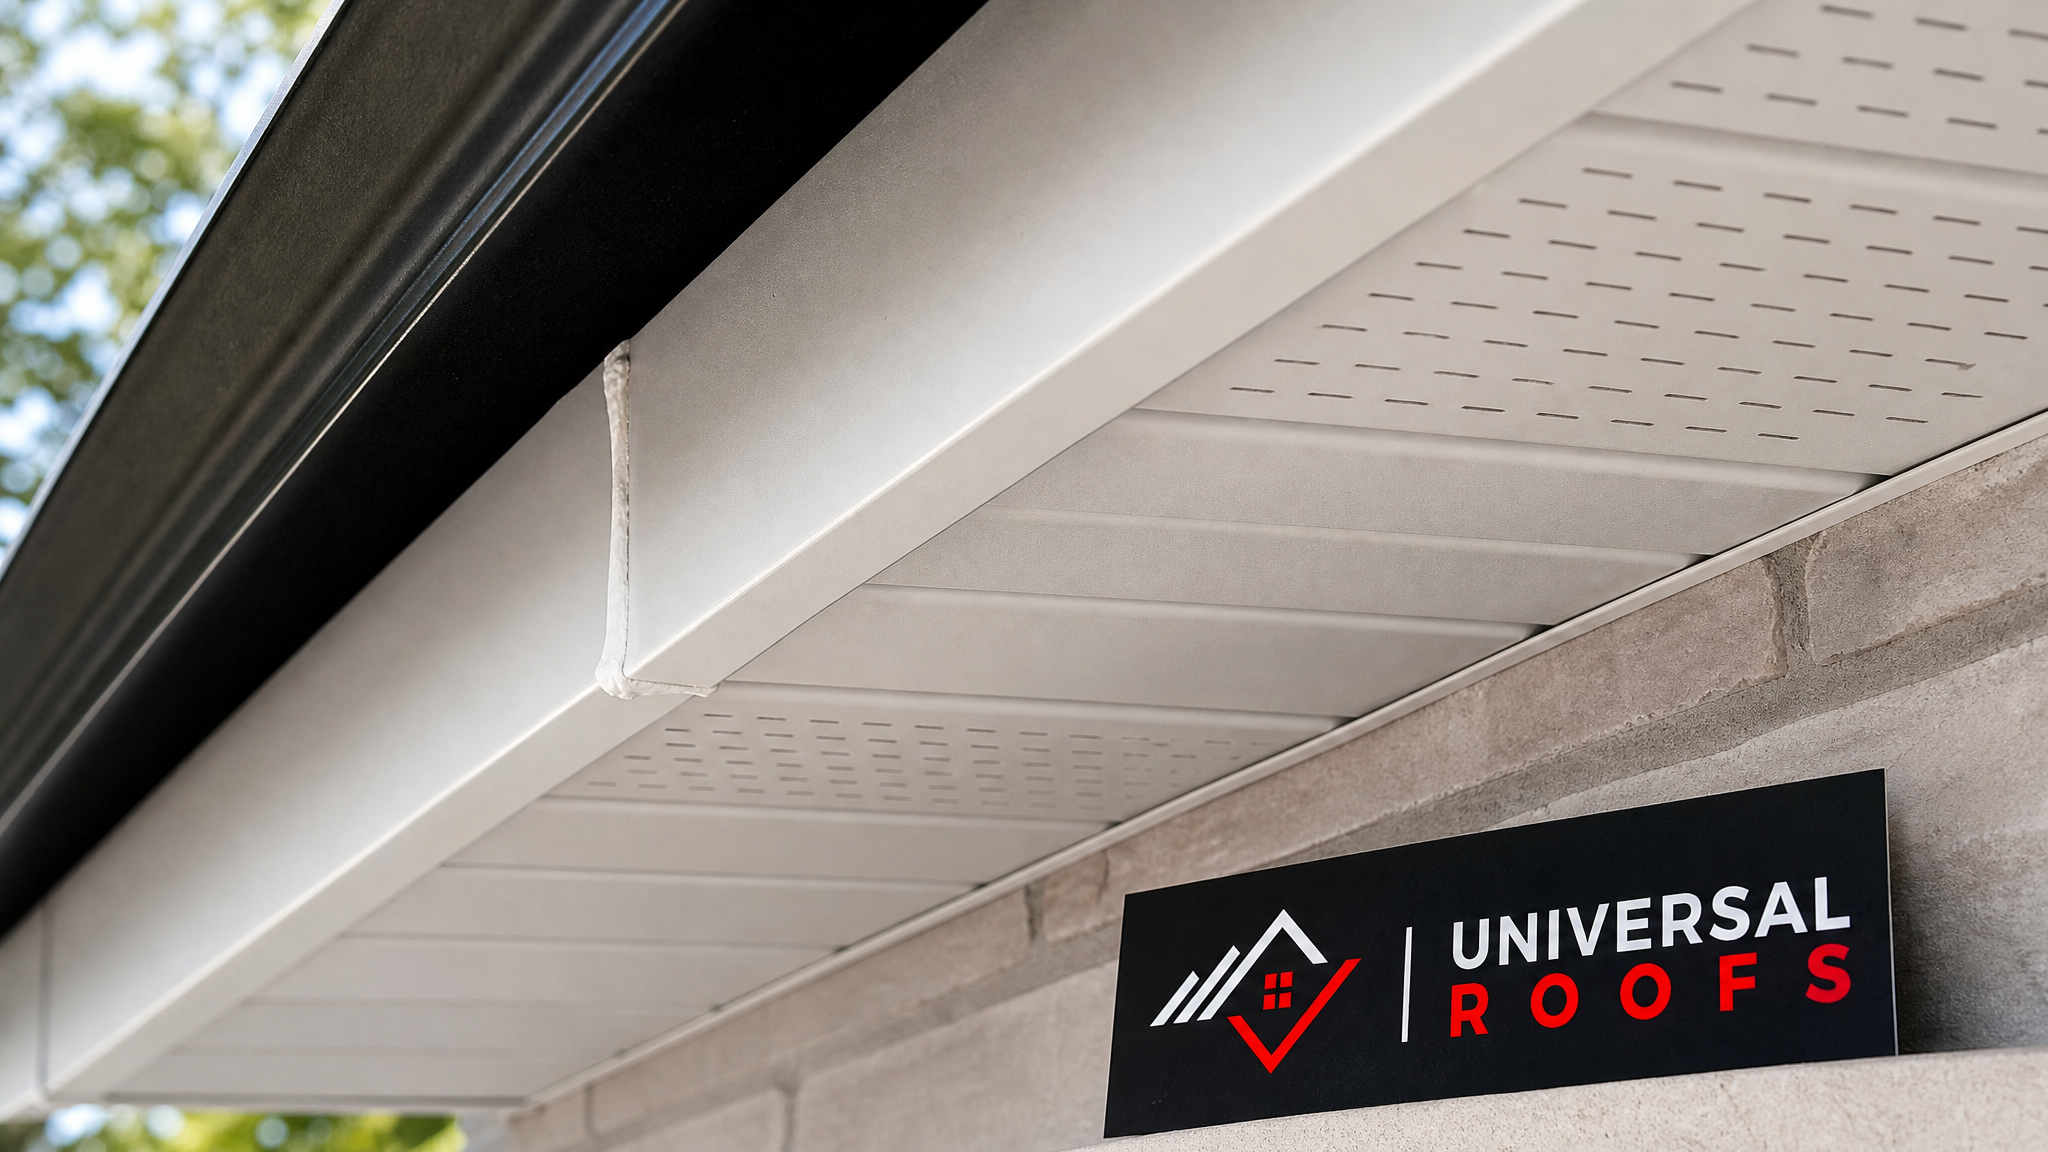
Before choosing a repair method, it helps to understand what each part is protecting. The fascia is the vertical board that runs along the edge of the roof, fastened directly to the tail ends of the rafters or trusses. It is the mounting point for your eavestroughs, and it forms a visual and physical barrier between the edge of the roof deck and the outside world. The soffit is the horizontal (or gently sloped) panel underneath the roof overhang, connecting the fascia to the side of the house. Soffit is almost always vented, either through continuous slots or individual round vents, because it is the primary intake point for fresh air moving into the attic.
Together, these components:
- Seal the underside of the roof overhang against pests, wind-driven rain, and ice
- Provide continuous intake ventilation that works with roof vents to prevent attic moisture buildup
- Support the fascia board and, by extension, the eavestrough system
- Finish the roofline aesthetically, hiding rafter tails and roof deck edges
When soffit or fascia fails, ventilation is usually the first casualty. A blocked or torn soffit panel starves the attic of intake air, which throws off the balance with your ridge or roof vents. That imbalance is one of the most common reasons we get called out for what looks like a small cosmetic issue but turns into a full attic ventilation assessment.
Signs You Are Dealing With a Soffit or Fascia Problem
Soffit and fascia damage rarely announces itself with a dramatic failure. It tends to show up as small, easy-to-dismiss signs that compound over a season or two. Watch for:
- Peeling or bubbling paint on the fascia board, which usually means moisture is trapped behind it
- Soft or spongy fascia wood when pressed with a screwdriver handle — a classic sign of rot
- Sagging or drooping soffit panels, especially after heavy rain or snow-melt season
- Visible daylight or gaps between soffit panels and the wall or fascia
- Wasp, bee, or squirrel activity around the eaves — pests exploit even small openings
- Streaking or staining on the fascia below a gutter joint, often pointing to a leak that is also affecting the fascia beneath it
- Ice buildup at the eaves in winter that seems disproportionate to the rest of the roof, suggesting a ventilation gap at the soffit
If you catch any of these early, a straightforward repair is usually enough. Left through another Toronto freeze-thaw cycle, minor rot can spread into the rafter tails themselves, which turns a soffit repair into a structural one.
Diagnosing the Damage Before You Repair Anything
A proper diagnosis is what separates a lasting repair from a callback six months later. Before any work begins, a thorough inspection should check:
- The extent of water intrusion. Is moisture limited to the surface of the fascia board, or has it travelled into the rafter tails and roof deck?
- The condition of the fasteners. Rusted or backed-out nails and screws are often the actual root cause of sagging soffit, not the panel material itself.
- Ventilation balance. Is the soffit intake still proportional to the exhaust ventilation at the ridge or roof vents? An imbalance accelerates future damage.
- Gutter condition and slope. Since eavestroughs are fastened to the fascia, sagging or overflowing gutters are frequently the hidden cause of fascia rot.
- Pest entry points. Squirrels, raccoons, and wasps will exploit even a small gap, and any repair needs to close those points permanently, not just cosmetically.
We always recommend combining a soffit and fascia inspection with a broader look at the roof edge, since a failing roof repair need in the field of the roof can sometimes masquerade as a soffit or fascia issue when water is actually travelling down from higher up.
The Best Repair Methods, Compared
There is no single “best way” that applies to every home — the right method depends on how much of the material is damaged and whether the underlying wood structure (the rafter tails and fascia board substrate) is sound. Below is how the common approaches stack up.
| Repair Method | Best For | Typical Lifespan After Repair | Relative Cost |
|---|---|---|---|
| Spot patch (small section replacement) | Isolated rot or a single storm-damaged panel | 10-15 years (matches remaining material) | Low |
| Full panel replacement (single run) | Rot or sagging across one continuous section | 20-25 years | Moderate |
| Fascia board sistering (reinforcing over old board) | Cosmetically sound board with minor surface rot | 10-15 years | Low to moderate |
| Fascia board full tear-off and replace | Structural rot reaching the rafter tails | 25-30 years | High |
| Whole-house soffit and fascia replacement | Original material at end of life or widespread failure | 30-40 years (aluminum) | Highest, but most cost-effective long term |
For most homeowners calling about a single problem area — a squirrel-chewed corner, one storm-torn panel, or a stretch of paint failure — a targeted repair is genuinely the right call. Full replacement only becomes the smarter option once damage is spread across multiple sections or the underlying wood substrate has been compromised. Our roof replacement team frequently handles soffit and fascia as part of a larger reroofing project, since it is far more efficient to address the whole roofline in a single mobilization.
Step-by-Step: How a Professional Soffit and Fascia Repair Is Done
Whether you are hiring it out or simply want to understand what should be happening on your roofline, here is the sequence a properly executed repair follows.
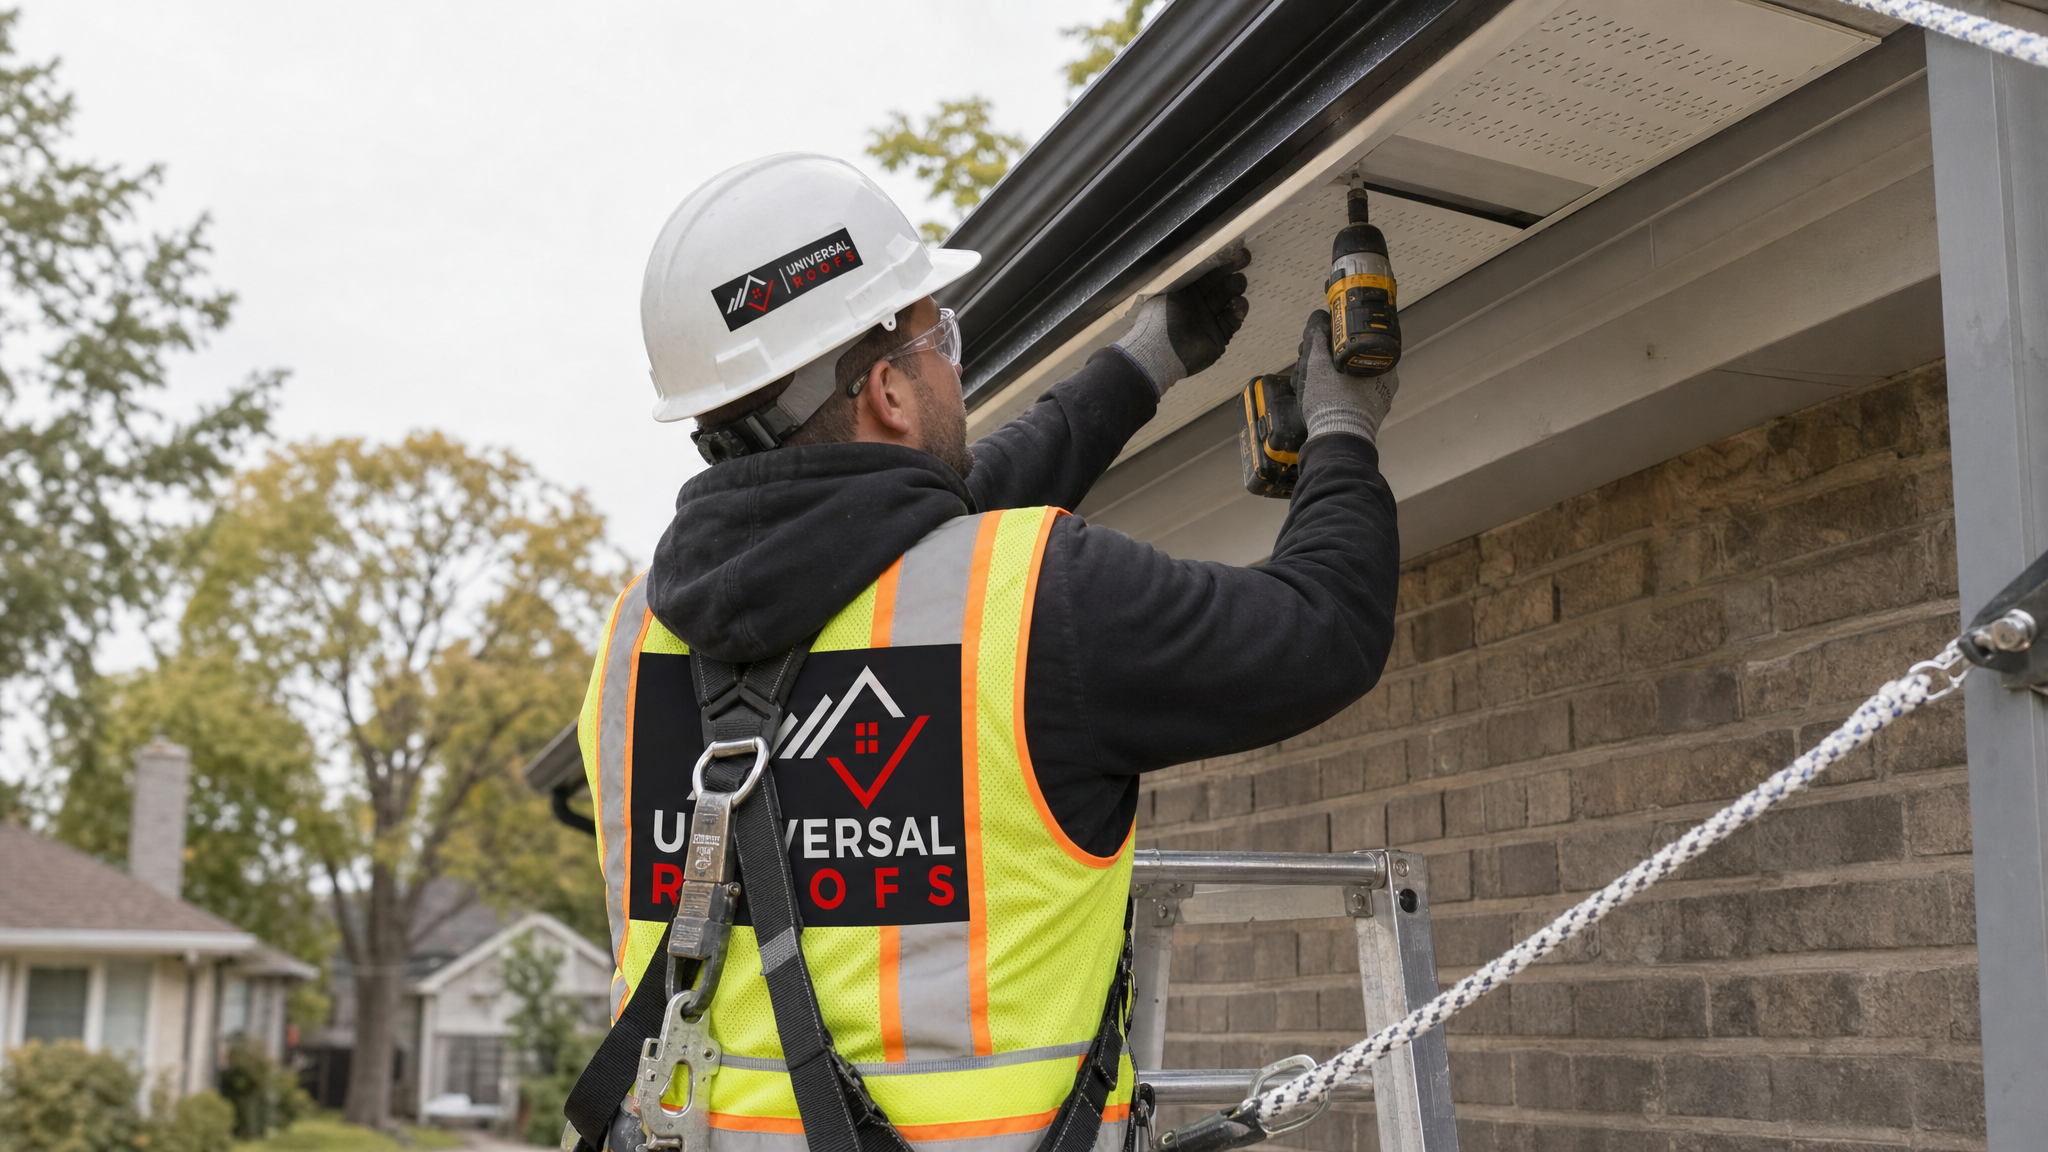
- Remove the eavestrough section where it overlaps the damaged area, since the fascia is almost always the mounting surface for the gutter hangers.
- Strip back the damaged soffit panels to expose the fascia board and rafter tails underneath, checking each rafter tail for soft wood with a screwdriver or awl.
- Replace or sister any compromised rafter tails before installing new fascia. Skipping this step is the single most common reason a “repaired” fascia fails again within a year or two.
- Install new or repaired fascia board, typically primed wood, engineered wood, or aluminum-wrapped fascia, fastened with corrosion-resistant nails or screws at proper spacing.
- Cut and fit new soffit panels, maintaining the correct venting ratio (usually vented soffit panels for roughly half to two-thirds of the total soffit run, depending on attic size).
- Reinstall or upgrade the eavestrough, checking slope so water drains toward the downspouts rather than pooling against the new fascia.
- Seal all joints and end caps with an appropriate exterior-grade sealant rated for Toronto’s temperature swings, and inspect for any remaining gaps that pests could exploit.
- Final ventilation check, confirming the intake at the soffit is balanced against the exhaust at the ridge or roof vents.
That final step is easy to skip but genuinely important. We have inspected plenty of homes where a previous soffit repair used solid (non-vented) panels for convenience, which quietly starved the attic of airflow for years afterward.
Choosing the Right Material for Your Repair
Material choice matters almost as much as workmanship. The three most common options for GTA homes each come with different trade-offs.
| Material | Average Lifespan | Maintenance Needs | Best Suited For |
|---|---|---|---|
| Painted wood | 10-15 years | Repainting every 3-5 years, regular rot checks | Character homes and heritage properties matching original trim |
| Aluminum (pre-finished) | 30-40 years | Occasional cleaning, virtually no repainting | Most GTA homes; pairs well with aluminum eavestroughs |
| Vinyl | 20-25 years | Low, but can become brittle in extreme cold | Budget-conscious repairs on newer builds |
| Engineered wood or fibre-cement | 25-30 years | Periodic sealant inspection at joints | Homes wanting a wood look with better rot resistance |
Aluminum is the material we install most often across Toronto, Mississauga, and the surrounding suburbs because it shrugs off our freeze-thaw cycles without the repainting cycle that wood demands. That said, if your home has original wood trim and you are only patching a small section, matching the existing wood can be the more sensible short-term choice, provided the new wood is properly primed on all six sides before installation.
What It Costs to Repair Soffit and Fascia in the GTA
Costs vary with linear footage, material, and how much of the underlying structure needs attention, but here is a realistic range based on typical residential jobs we see across the region.
| Job Type | Typical Scope | Estimated Cost Range (CAD) |
|---|---|---|
| Small spot repair | One panel or a few linear metres | $300 – $800 |
| Single-section replacement | 10-20 linear metres, aluminum | $1,200 – $2,800 |
| Fascia board replacement with rafter tail repair | Structural rot, 5-10 linear metres | $1,800 – $4,500 |
| Whole-house soffit and fascia replacement | Full roofline, average detached home | $4,500 – $12,000 |
| Combined with new eavestroughs | Full roofline plus gutters | $6,000 – $15,000 |
These figures assume the roof deck itself is in reasonable shape. If a leak has been active long enough to soften the plywood roof deck as well, that adds to the scope and should be flagged during the same inspection rather than discovered mid-project. Homeowners comparing quotes should always ask whether rafter tail repair and ventilation balancing are included, since some lower bids quietly exclude them.
Seasonal Timing: Why Summer Is the Right Window
July through early October is genuinely the best window for soffit and fascia work in the GTA. Warm, dry conditions let sealants and adhesives cure properly, and there is no risk of ice damming complicating the eavestrough disconnection step. Waiting until late fall means competing with roofers rushing to finish before the first frost, and doing this work in winter is rarely advisable since most exterior sealants will not cure correctly below a certain temperature threshold.
If you noticed damage during spring melt — a common time for sagging soffit to become obvious as snow slides off the roof — summer is exactly when to get it addressed before autumn rains test the repair. Booking early in the season also tends to give homeowners more flexibility in scheduling before contractors’ calendars fill up with fall reroofing projects.
DIY Repair vs. Hiring a Professional
Small cosmetic touch-ups, like caulking a hairline gap or repainting a fascia board that is otherwise sound, are reasonable DIY tasks for a confident homeowner with proper ladder safety equipment. However, most soffit and fascia repairs are not good DIY candidates, for a few concrete reasons:
- Working height. Most soffit and fascia sits well above what a standard extension ladder can safely reach without proper fall protection, and working near the roof edge without a harness is genuinely dangerous.
- Hidden structural damage. What looks like a cosmetic soffit issue frequently hides rafter tail rot that requires framing repair, not just panel replacement.
- Ventilation calculations. Getting the vented-to-solid soffit ratio wrong can create long-term moisture problems in the attic that are far more expensive to fix than the original soffit issue.
- Eavestrough coordination. Since the gutter system is fastened to the fascia, disconnecting and rehanging it without damaging the hangers or losing the proper slope takes practice.
If your assessment is limited to “which paint colour matches” rather than “is this board rotten,” it might be DIY-friendly. Anything involving rafter tails, ventilation, or work more than a storey off the ground is worth having assessed professionally. You can browse verified homeowner experiences on our reviews page to see how past soffit and fascia projects were handled from inspection through completion.
How Soffit and Fascia Repair Connects to the Rest of Your Roof
Soffit and fascia rarely fail in isolation. Because they sit at the interface between your roof, your attic, and your gutters, a problem in one area often points to — or causes — a problem in another.
- Rotting fascia is frequently a symptom of a failing eavestrough, not an independent problem
- Poor soffit ventilation contributes to premature shingle aging and ice damming, which ties directly into attic health
- Homes with older flat roofing sections often see fascia damage concentrated near the parapet or roof edge transition
- Skylight curbs near the roof edge can direct extra water toward the soffit if flashing has deteriorated — worth checking if you also have a skylight nearby, or if a skylight replacement is overdue
This is exactly why we recommend a full roofline inspection rather than looking at soffit and fascia in isolation — fixing the visible symptom without addressing the underlying water path just means a repeat call in a season or two.
Where We Work Across the GTA
Universal Roofs has repaired and replaced soffit and fascia on residential properties across the Greater Toronto Area since 2005. Our crews regularly work in Toronto, Peel Region communities like Mississauga and Brampton, York Region municipalities including Markham and Vaughan, Halton Region towns such as Oakville and Burlington, and throughout Durham Region. Local experience matters here — the housing stock, roofline styles, and even typical wind exposure vary enough across the GTA that a repair approach suited to a 1960s Scarborough bungalow is not always the right one for a newer Vaughan two-storey.
If you are unsure whether your situation calls for a repair or a full replacement, our FAQ page covers many of the follow-up questions homeowners ask after their first inspection, and our about page has more on how our crews are trained and equipped.
What is the best way to repair soffit and fascia on residential properties?
How do I know if my soffit and fascia need repair or full replacement?
What material lasts longest for soffit and fascia repairs?
Can I repair soffit and fascia myself?
How much does soffit and fascia repair cost in Toronto?
What is the best time of year to repair soffit and fascia?
Need Help With What Is the Best?
Every roofline is a little different, and the only way to know for certain whether your soffit and fascia need a quick patch or a full rebuild is a proper inspection. Universal Roofs has been assessing and repairing residential rooflines across the GTA since 2005, and we are happy to walk you through exactly what we find and why.
Call us today at (416) 732-2421 or request a free inspection to get started.
Universal Roofs proudly serves Toronto, Mississauga, Brampton, Vaughan, Markham, Oakville and the GTA since 2005.