
If you’ve noticed sagging, cracked, or peeling soffit and fascia along your roofline, you’re not alone — it’s one of the most common exterior repairs Toronto homeowners put off simply because they assume it means a full roof replacement bill. The good news is that a budget friendly soffit and fascia repair, a step by step approach, often costs a fraction of what people expect, especially when damage is caught early and the right materials are used for the job.
Soffit and fascia aren’t just cosmetic trim. The fascia board is the vertical band that caps the ends of your roof rafters and holds your eavestroughs in place, while the soffit is the underside panel that closes off the gap between your exterior wall and the roof overhang. Together they protect your attic and roof deck from moisture, pests, and wind-driven rain, and they play a key role in attic ventilation. When either one fails, small problems (a loose panel, a hairline crack) can quickly become bigger ones (squirrel entry points, water-damaged roof decking, mould in the attic).
In this guide, we’ll walk through exactly how to assess the damage, what materials give you the best value, a realistic step-by-step repair process, and — just as importantly — how to tell when a patch job is the right call versus when it’s time to call in a professional. Whether you’re planning a weekend DIY project or just want to understand what a contractor should be doing (and charging), this guide will help you make an informed, cost-conscious decision.
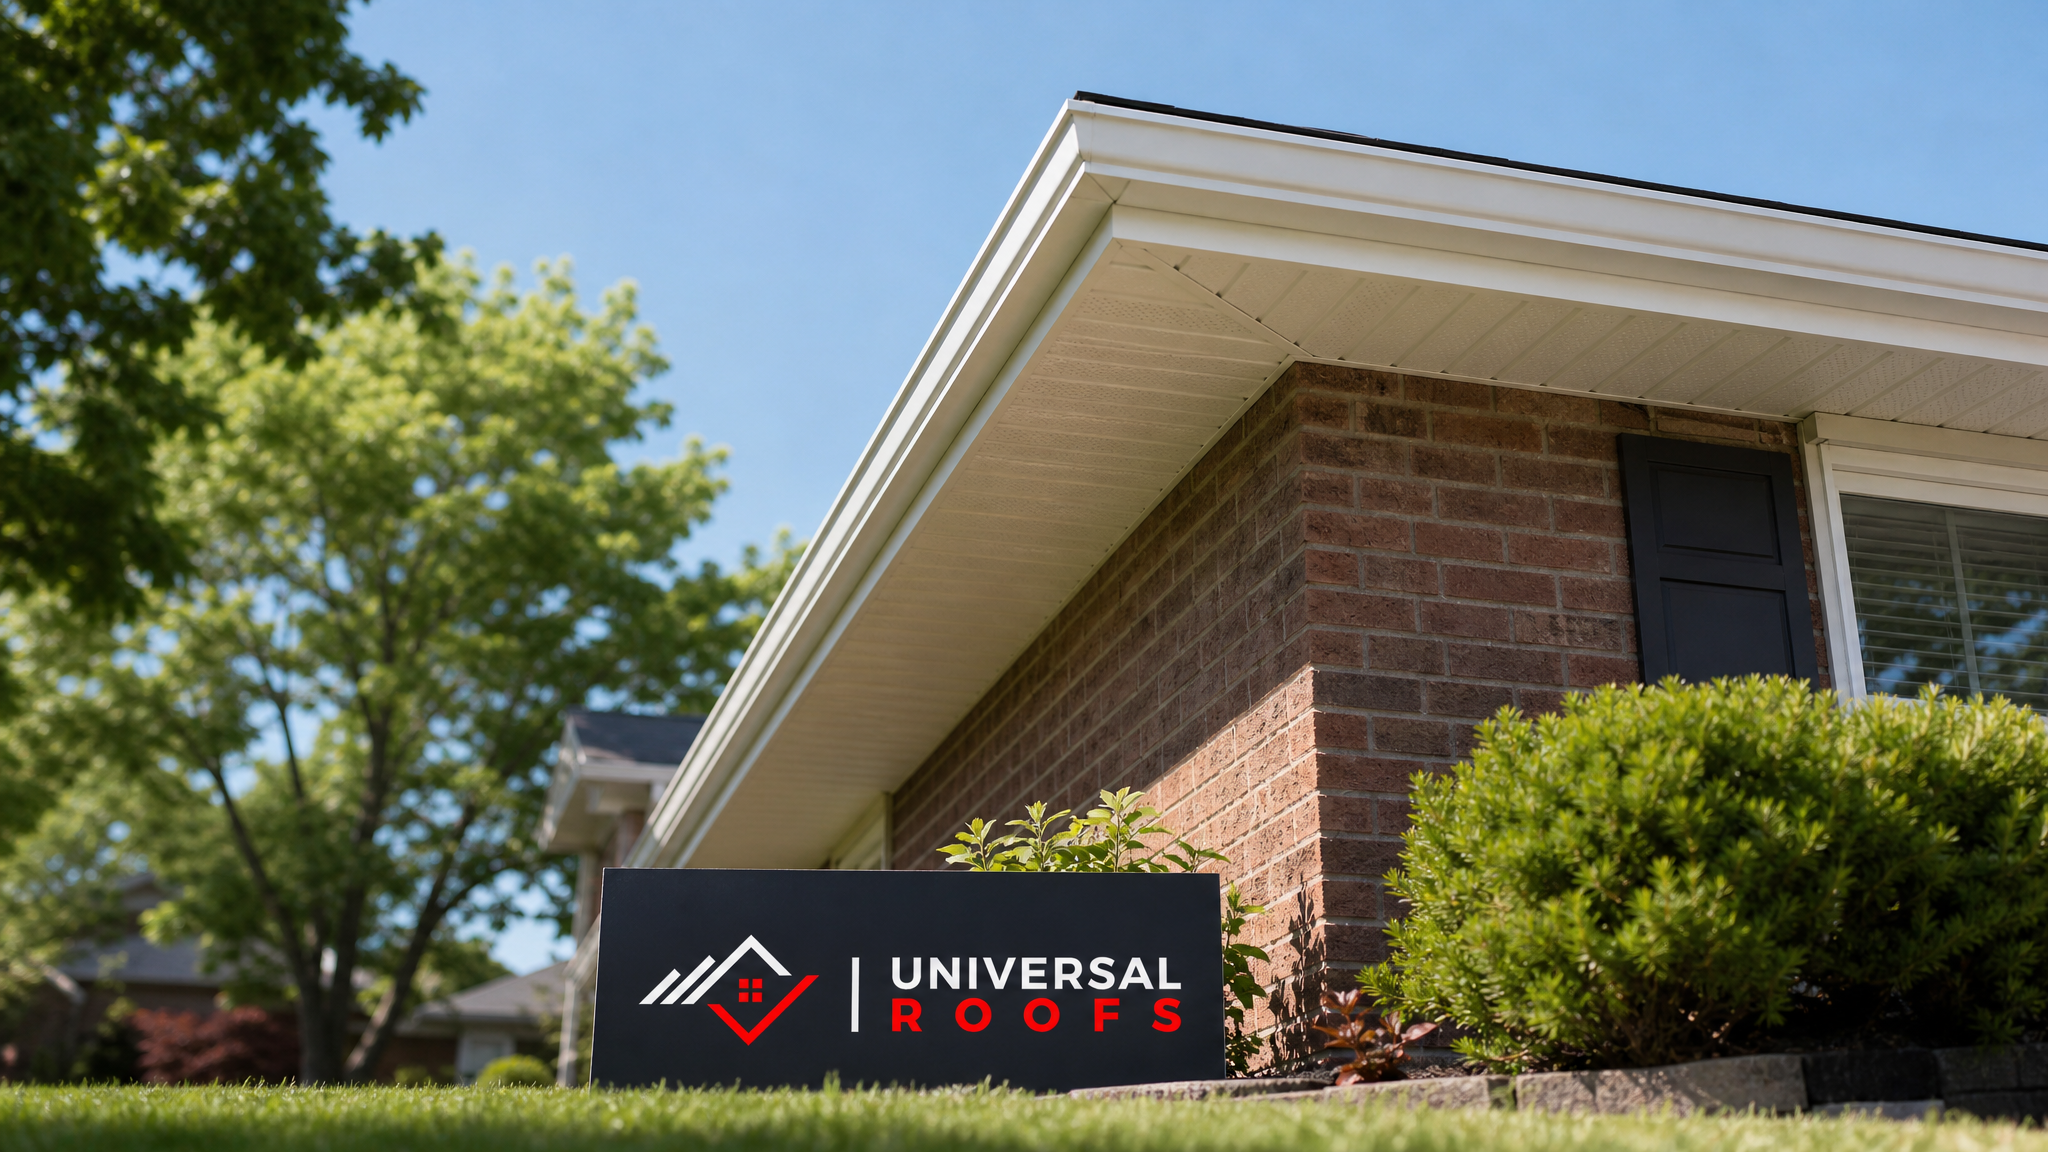
What Causes Soffit and Fascia Damage in the GTA
Before any budget friendly soffit and fascia repair, a step by step diagnosis of the actual cause matters more than the patch itself — if you don’t address the source, the same damage will reappear within a season or two. In the Greater Toronto Area, a few culprits show up again and again:
- Freeze-thaw cycling. Our winters swing repeatedly above and below freezing. Water that seeps behind fascia boards or into seams expands when it freezes, pushing nails loose and cracking wood or vinyl.
- Ice damming. When attic heat melts snow on the upper roof and it refreezes at the cold eaves, water backs up under shingles and drips directly onto the fascia and into the soffit, rotting wood fascia from behind.
- Clogged or sagging eavestroughs. Gutters full of leaves and debris overflow directly onto the fascia board, keeping it perpetually wet. Sagging gutter hangers also pull fascia boards away from the rafter tails.
- Squirrels and raccoons. Toronto’s urban wildlife will chew through weak spots in aluminum or wood soffit to access warm attic space, especially near tree-adjacent roofs in neighbourhoods like the Beaches, Leaside, and North York.
- UV and heat exposure. Summer sun bakes vinyl and aluminum soffit panels, causing them to become brittle and prone to cracking when hit by ladders, tree branches, or hail.
- Poor original installation. Builder-grade soffit fastened with too few nails or without proper expansion gaps will warp and pop loose over time, regardless of season.
Identifying which of these applies to your home determines whether you need a simple roof repair-adjacent fix or something more involved. If ice damming is the root cause, for example, patching the fascia without improving attic insulation and ventilation is only a temporary fix.
Soffit and Fascia Materials: A Cost and Durability Comparison
One of the biggest budget decisions in any soffit and fascia project is material selection. Here’s how the common options stack up for GTA homes:
| Material | Approx. Cost per Linear Foot (Installed) | Expected Lifespan | Best For |
|---|---|---|---|
| Painted wood fascia | $8 – $14 | 10 – 15 years | Character homes, matching existing wood trim |
| Aluminum-wrapped fascia | $10 – $18 | 20 – 30 years | Low-maintenance upgrade over existing wood board |
| Vinyl soffit panel | $4 – $8 | 15 – 25 years | Budget-friendly full soffit replacement |
| Perforated aluminum soffit | $6 – $11 | 25 – 35 years | Best airflow and durability, moderate cost increase |
| Solid aluminum soffit (non-vented) | $6 – $10 | 25 – 35 years | Areas needing solid coverage without ventilation |
For most homeowners chasing a genuinely budget friendly soffit and fascia repair, a step by step material choice looks like this: patch or spot-replace wood fascia sections with matching primed pine or aluminum-wrapped board, and switch damaged wood or brittle vinyl soffit sections to perforated aluminum panels. Aluminum costs slightly more upfront per panel but eliminates the repainting cycle that wood requires every 5 to 7 years, which is where the real long-term savings show up.
Step-by-Step: How the Repair Process Actually Works
Whether you’re tackling this yourself or evaluating a quote, here is the realistic sequence a proper soffit and fascia repair follows:
Step 1: Inspect from the Ground and the Ladder
Start with binoculars from the ground to spot obvious sagging, gaps, staining, or missing panels. Then, using a stable extension ladder (never a roof walk for this stage), get close enough to check for soft spots by pressing gently on wood fascia, looking for daylight gaps in soffit panels, and checking for nesting debris or animal entry holes.
Step 2: Remove the Damaged Section
Eavestrough brackets typically need to be temporarily loosened or removed before the fascia board behind them can be pulled. Damaged soffit panels usually slide out of a J-channel track along the wall and a matching channel on the fascia side — they’re rarely nailed directly in most modern installations, which is part of why replacement is more affordable than people expect.
Step 3: Check the Rafter Tails and Roof Deck Edge
This is the step most DIY guides skip, and it’s the most important one. If water has been getting behind the fascia for any length of time, the rafter tails (the wood the fascia is nailed into) may be soft or rotted. Patching new fascia onto rotted rafter tails is a guaranteed repeat repair within a year or two.
Step 4: Replace or Sister the Fascia Board
If the rafter tail itself is sound, cut the new fascia board to length, prime all cut edges (critical for wood), and fasten with corrosion-resistant nails or screws at each rafter tail. Aluminum-wrapped fascia gets a bent coil-stock cover fitted over the new or existing wood board for a maintenance-free finish.
Step 5: Reinstall or Replace the Soffit Panel
Slide the new perforated or solid aluminum panel into the wall-side J-channel and up into the fascia-side channel, ensuring perforated sections align with your attic’s intended ventilation path — mixing up vented and solid panels is a common mistake that quietly starves an attic of airflow.
Step 6: Reattach Eavestroughs and Seal Seams
Once fascia and soffit are secure, reattach and re-level the eavestrough hangers, then run a bead of quality exterior sealant along any seams where fascia meets soffit or trim to keep out wind-driven rain.
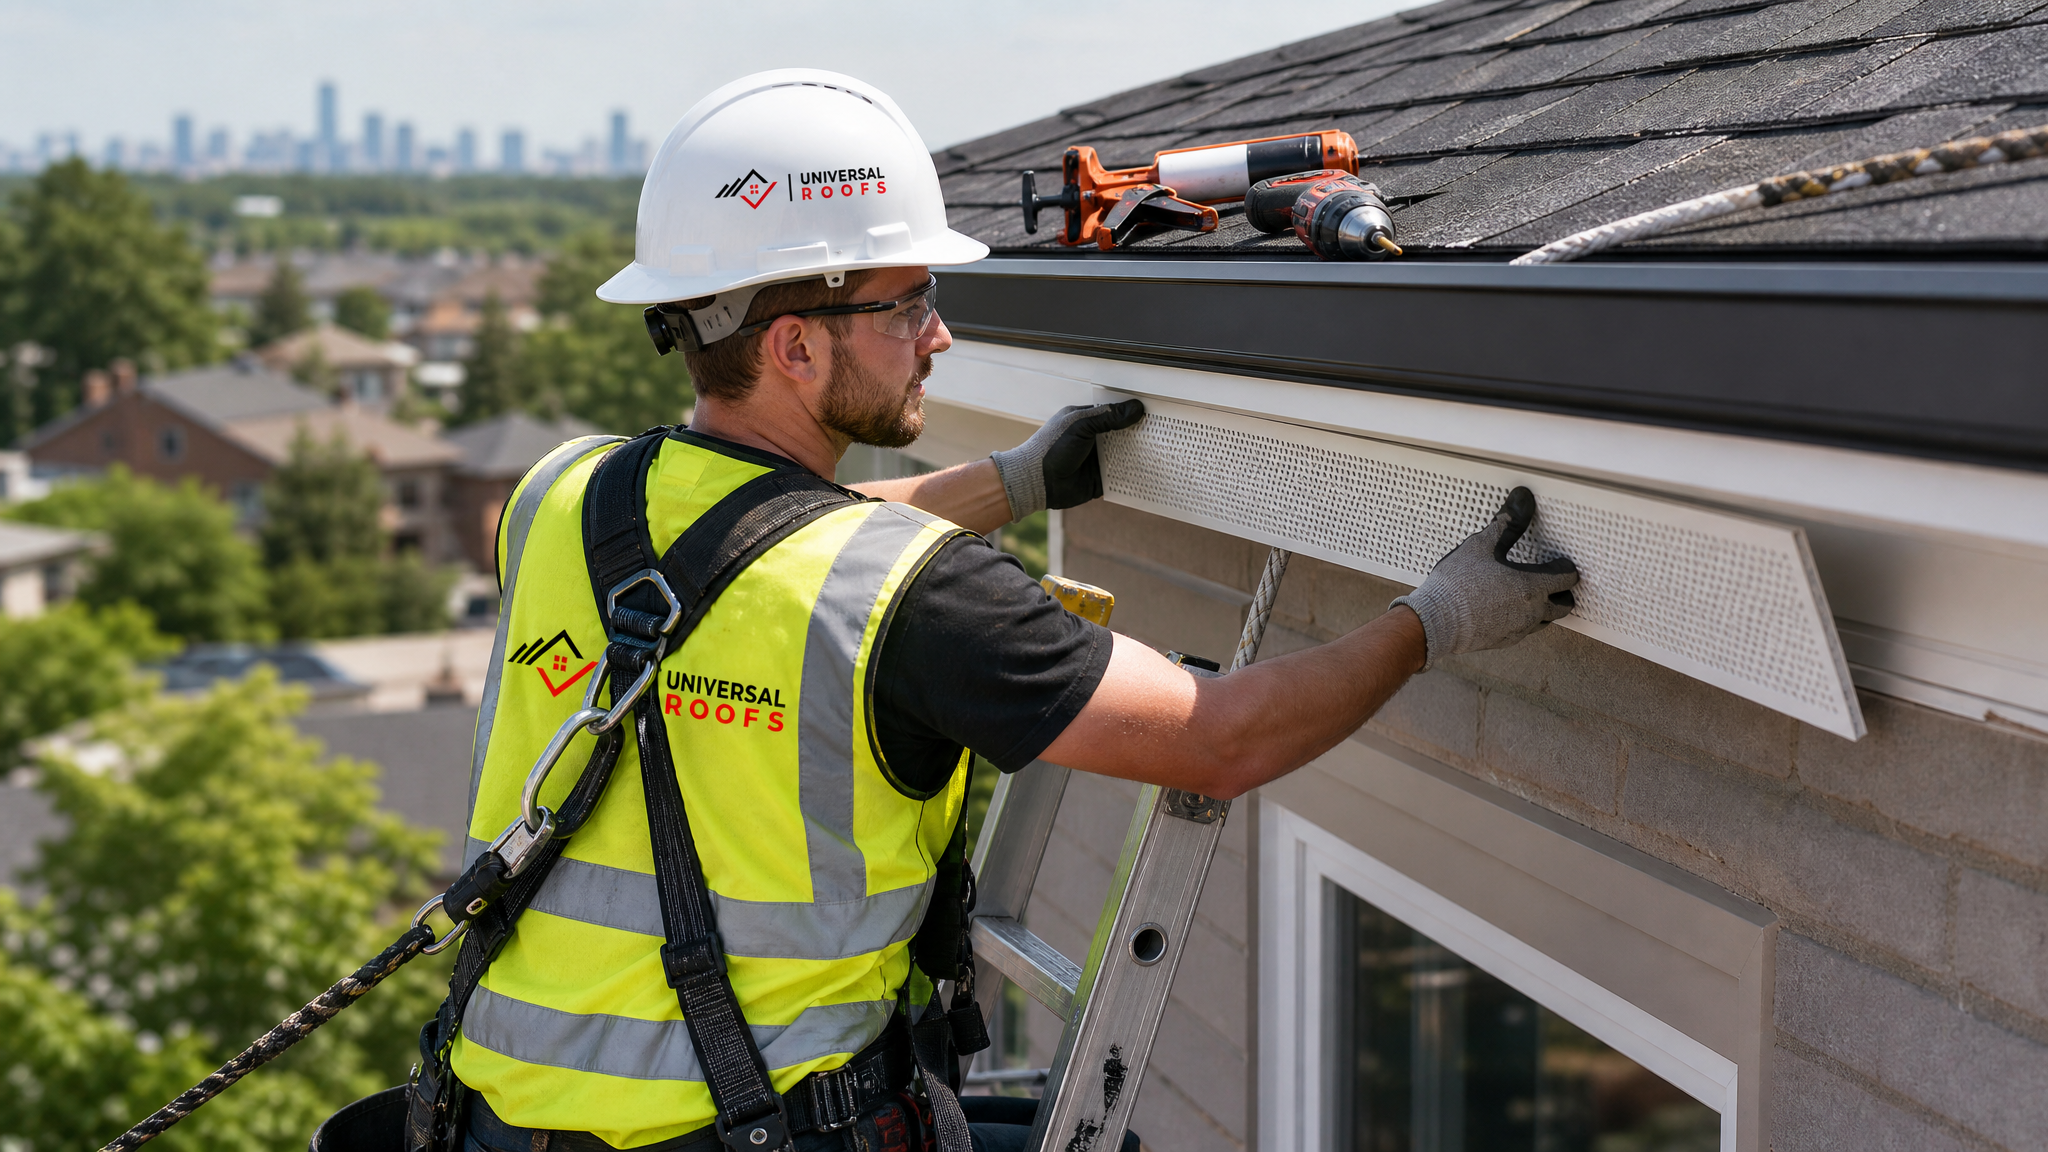
DIY vs. Professional Repair: An Honest Cost Comparison
Plenty of homeowners can handle a small, single-section soffit patch on a bungalow with a stable ladder setup. But before committing to full DIY, it’s worth being honest about what’s actually involved at typical GTA home heights (two-storey homes with steep pitched roofs, tight side-yard access, or anything above 4 metres from grade).
| Factor | DIY Approach | Professional Repair |
|---|---|---|
| Material cost (per typical 20 ft section) | $150 – $300 | Included in quoted price |
| Labour cost | $0 (your time) | $300 – $700 depending on height/access |
| Ladder/equipment needs | Extension ladder, stabilizer, helper required | Contractor-supplied, insured equipment |
| Rafter tail assessment | Often missed without experience | Standard part of inspection |
| Warranty on work | None | Typically 1–5 years depending on scope |
| Time investment | Half day to full weekend | 2 – 4 hours on site |
For single-storey homes with easily accessible, isolated damage, DIY can genuinely be the most budget friendly soffit and fascia repair, a step by step weekend project worth doing yourself. But for two-storey homes, steep rooflines, or any damage near power lines or complicated eavestrough runs, the labour savings rarely outweigh the fall risk and the chance of a poor seal leading to repeat water damage. If you’re unsure which category your home falls into, a quick request a free inspection conversation costs nothing and gives you a professional opinion before you buy a single panel.
Troubleshooting Common Soffit and Fascia Problems
Not every soffit or fascia issue needs a full section replacement. Here’s a quick troubleshooting reference for the symptoms we see most often on service calls across the GTA:
| Symptom | Likely Cause | Typical Fix |
|---|---|---|
| Soffit panel sagging or drooping | Loose or missing fasteners in J-channel | Re-secure channel, replace panel if warped |
| Fascia board feels soft or spongy | Rot from prolonged moisture behind board | Replace board and check rafter tail condition |
| Small holes or chew marks in soffit | Squirrels or raccoons seeking attic access | Seal entry point, replace panel, install wildlife guard |
| Peeling paint on wood fascia | UV exposure and lack of resealing | Scrape, prime, repaint, or wrap in aluminum |
| Visible daylight gaps at panel seams | Improper original installation or panel shrinkage | Reinstall with correct expansion gap and sealant |
| Musty smell in attic near eaves | Moisture intrusion through damaged soffit | Inspect attic insulation and ventilation, replace soffit |
If you’re seeing more than one of these symptoms at once, it’s usually a sign the damage has been developing for a while, and a broader inspection covering your attic ventilation and insulation is worth doing alongside the soffit and fascia work itself.
Why Ventilation Matters More Than Most Homeowners Realize
Soffit panels aren’t purely cosmetic — the perforated ones are a core part of your attic’s intake ventilation system, working together with ridge or roof vents to keep air moving year-round. In summer, that airflow keeps attic temperatures from climbing high enough to bake asphalt shingles from underneath and to push cooling costs up. In winter, it keeps the underside of the roof deck cold enough to prevent the ice damming cycle described earlier.
When homeowners patch damaged soffit with solid panel instead of matching the existing perforated sections — often because solid panel is what’s on the shelf at the hardware store — they unintentionally choke off part of that airflow. Over a few seasons, this can contribute to premature shingle aging and increased ice dam risk, turning what should have been a simple fascia repair into a much larger roofing conversation. If your home already has aging shingles, it’s worth having that assessed at the same time via our roof replacement team, since soffit work is far easier to coordinate before new shingles go on rather than after.
Budget-Stretching Tips for This Repair
If cost is the primary driver, here are the moves that make the biggest difference without compromising the repair’s durability:
- Match, don’t replace the whole run. Most soffit and fascia is sold and installed in manageable sections — you rarely need to redo an entire elevation to fix one damaged span, provided colour and profile are matched.
- Choose aluminum over repeated wood repainting. The slightly higher material cost of aluminum-wrapped fascia and perforated aluminum soffit pays for itself by eliminating the repaint cycle wood requires.
- Bundle with eavestrough maintenance. Since eavestroughs have to come down anyway to access fascia, having them cleaned and re-levelled in the same visit avoids paying for a second site visit later.
- Address the cause, not just the symptom. Fixing a squirrel entry point without a wildlife-proof detail, or patching ice-damage without improving attic airflow, guarantees you’ll be paying for the same repair again.
- Get a written scope, not a verbal estimate. A clear, itemized quote prevents scope creep and lets you compare like-for-like when getting multiple opinions.
When to Call a Professional Instead of DIYing It
There’s no shame in a well-executed weekend repair, but a few situations genuinely call for a professional, regardless of budget:
- Damage spans more than 10-15 feet or wraps around a corner, which usually indicates a systemic moisture issue rather than isolated damage.
- You find soft or rotted rafter tails, which requires structural carpentry knowledge, not just panel swapping.
- The affected section is above a second storey, over a steep pitch, or near power service lines.
- You’re also seeing shingle damage, active leaks, or attic moisture — these point to an interconnected roofing issue best assessed together.
- Wildlife has already gained attic access, since proper exclusion and repair requires specific detailing to prevent re-entry.
Our team at Universal Roofs has handled soffit and fascia repairs across Toronto, the Peel Region, York Region, Halton Region, and the Durham Region since 2005, and the pattern is consistent: the repairs that hold up longest are the ones that treat soffit and fascia as part of the whole roof system rather than an isolated cosmetic fix.
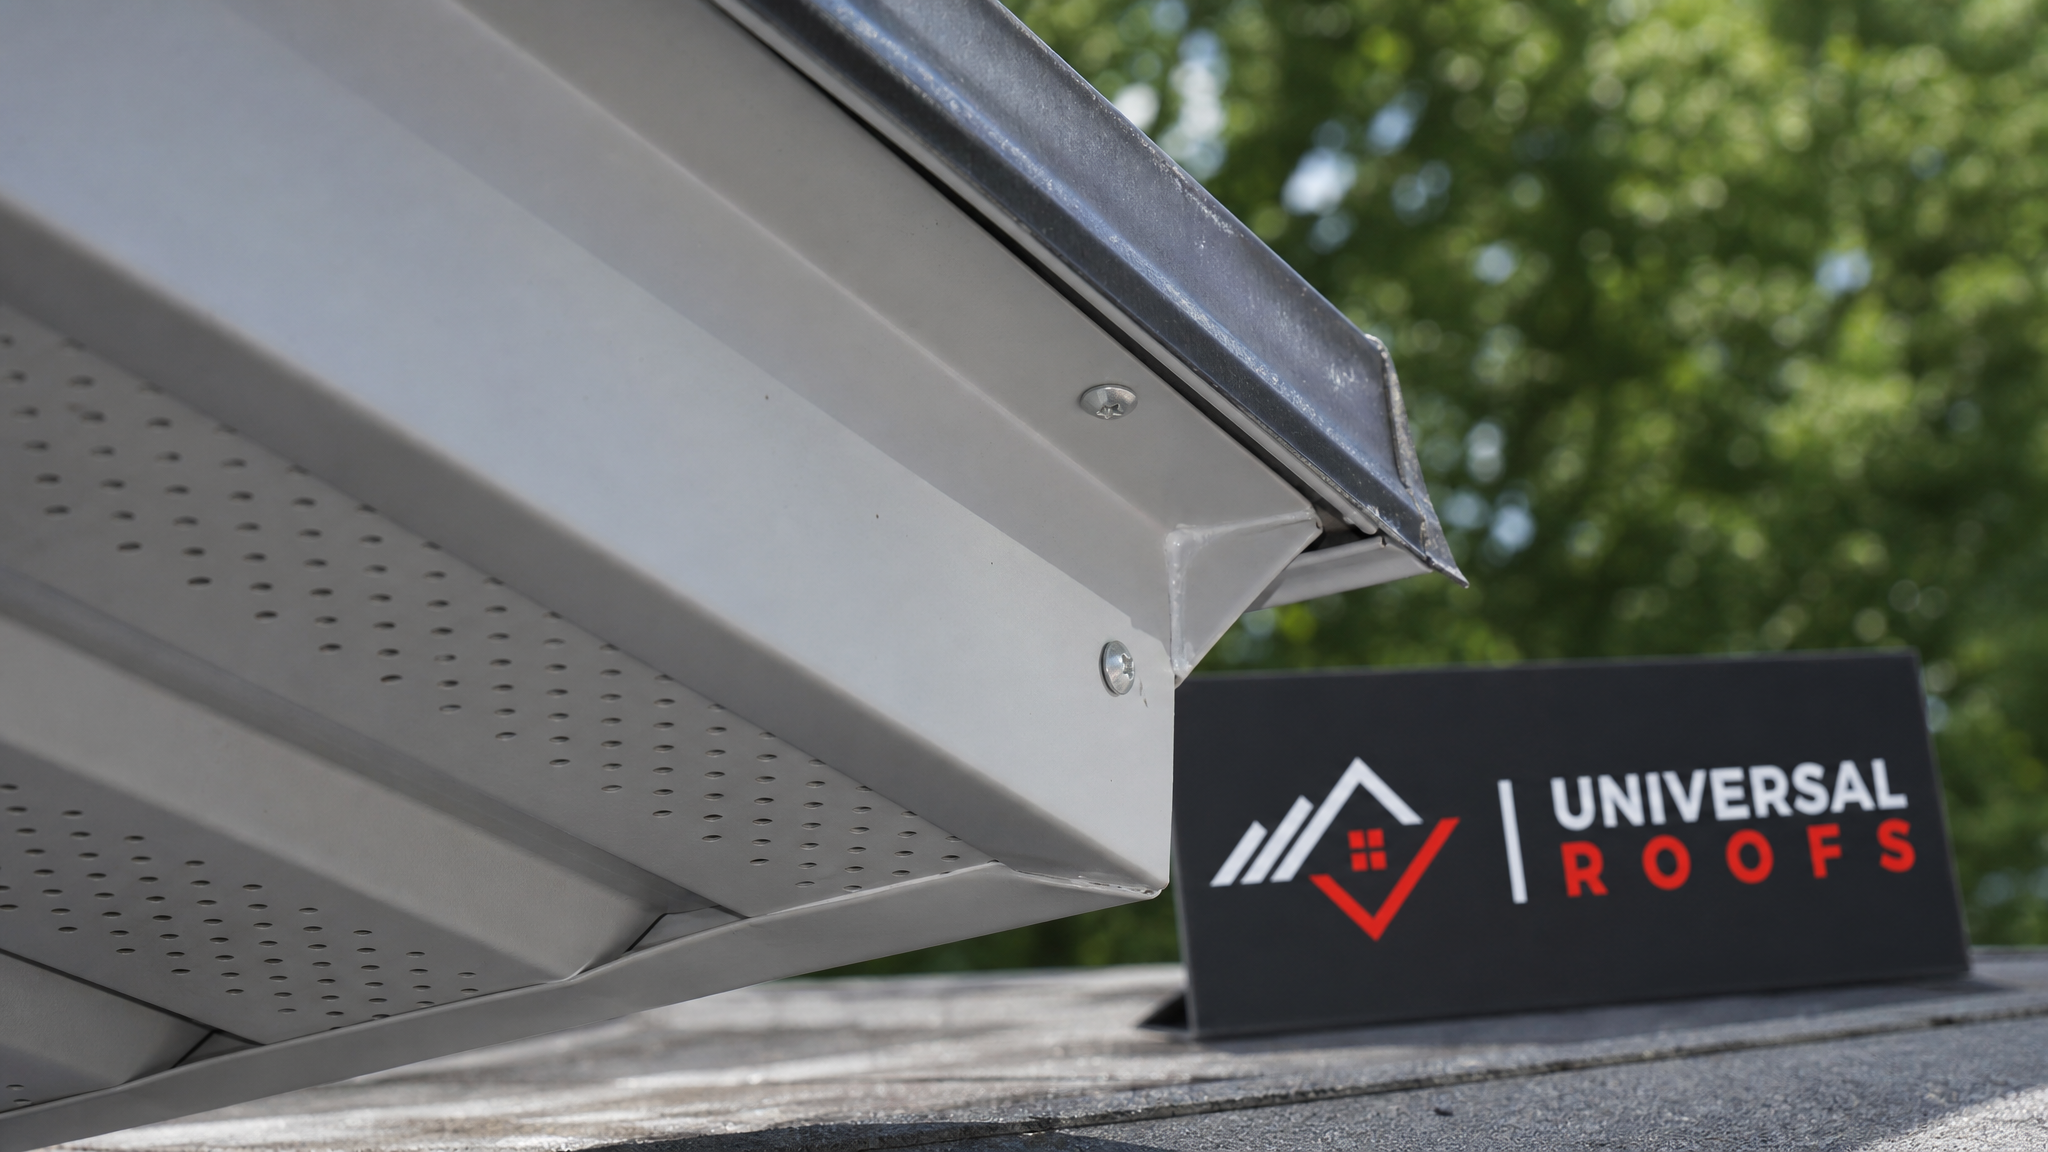
Maintaining Your Repair Long-Term
Once your soffit and fascia repair is complete, a bit of seasonal maintenance keeps it looking and performing well for decades:
- Clean eavestroughs at least twice a year (spring and fall) so overflow doesn’t re-soak the fascia board.
- Do a quick visual check from the ground each summer for new cracks, sagging, or signs of animal activity.
- Trim back tree branches that touch or overhang the roofline, since these are a common source of both physical damage and easy wildlife access.
- If you notice condensation or frost forming on the underside of the soffit in winter, have your attic ventilation rechecked, since this often signals a ventilation imbalance rather than a soffit defect itself.
Homeowners who also have older skylights or are considering a skylight replacement should note that skylight flashing and nearby fascia are often inspected together, since both sit at vulnerable transition points on the roofline. Similarly, if your home has a flat roofing section feeding into a sloped fascia line, that junction deserves extra attention during any soffit work, as it’s a common spot for water to collect.
Getting a Second Opinion Before You Commit
Because soffit and fascia damage is easy to underestimate — or overestimate — from the ground, it’s worth getting an in-person look before deciding between a DIY patch and a full professional repair. You can read what other GTA homeowners experienced on our reviews page, browse common questions on our FAQ page, or learn more about our team’s background on the about page. A short conversation with a professional often clarifies, in five minutes, what would otherwise take a full afternoon of guesswork on a ladder.
What is the most budget friendly soffit and fascia repair, a step by step approach for a small section of damage?
How much does soffit and fascia repair typically cost in the GTA?
Can I do soffit and fascia repair myself, or should I hire a professional?
What’s the best material for a budget friendly soffit and fascia repair, a step by step comparison of options?
How do I know if my soffit damage is linked to a bigger roofing problem?
Will fixing my soffit stop squirrels or raccoons from getting into my attic?
Need Help With Budget Friendly Soffit and Fascia Repair?
If your soffit or fascia is showing signs of wear, don’t wait for a small patch job to turn into a bigger repair. The team at Universal Roofs has been assessing and repairing eaves across the GTA since 2005, and we’re happy to give you a straightforward, cost-conscious recommendation before any work begins.
Call us today at (416) 732-2421 or request a free inspection to get started.
Universal Roofs proudly serves Toronto, Mississauga, Brampton, Vaughan, Markham, Oakville and the GTA since 2005.