
Soffit and fascia rarely get a second thought until a squirrel finds a gap, a paint job starts peeling, or an eavestrough pulls loose from the roofline. For GTA homeowners, these two components quietly do a lot of heavy lifting: fascia boards anchor your eavestroughs and shield the exposed ends of your roof rafters, while soffit panels ventilate the attic and keep pests and moisture out of the space above your ceiling. When either one fails, the damage rarely stays contained to that one board or panel.
This guide walks through six practical, tested DIY soffit and fascia repair tips that homeowners across Toronto, Mississauga, Brampton, Vaughan, Markham, Oakville and the wider GTA can use to extend the life of these components, stop small problems from becoming expensive ones, and know exactly when it is time to stop DIYing and call a professional. We will cover diagnosis, materials, tools, step-by-step repair techniques, and the specific ways our freeze-thaw climate accelerates soffit and fascia deterioration.
Before we get into the six tips, it is worth understanding why this matters so much in our region. Toronto winters swing from deep freezes to sudden thaws, and that cycle expands and contracts wood, aluminum and vinyl at the roofline dozens of times each season. Add in summer humidity, wind-driven rain and the occasional ice dam, and the soffit-fascia assembly takes more abuse here than in almost any other part of the house exterior. A well-executed roof repair is only as good as the fascia and soffit that support it, which is why we treat these components as part of the same system rather than an afterthought.
Tip 1: Correctly Diagnose Whether You Have a Soffit Problem, a Fascia Problem, or Both
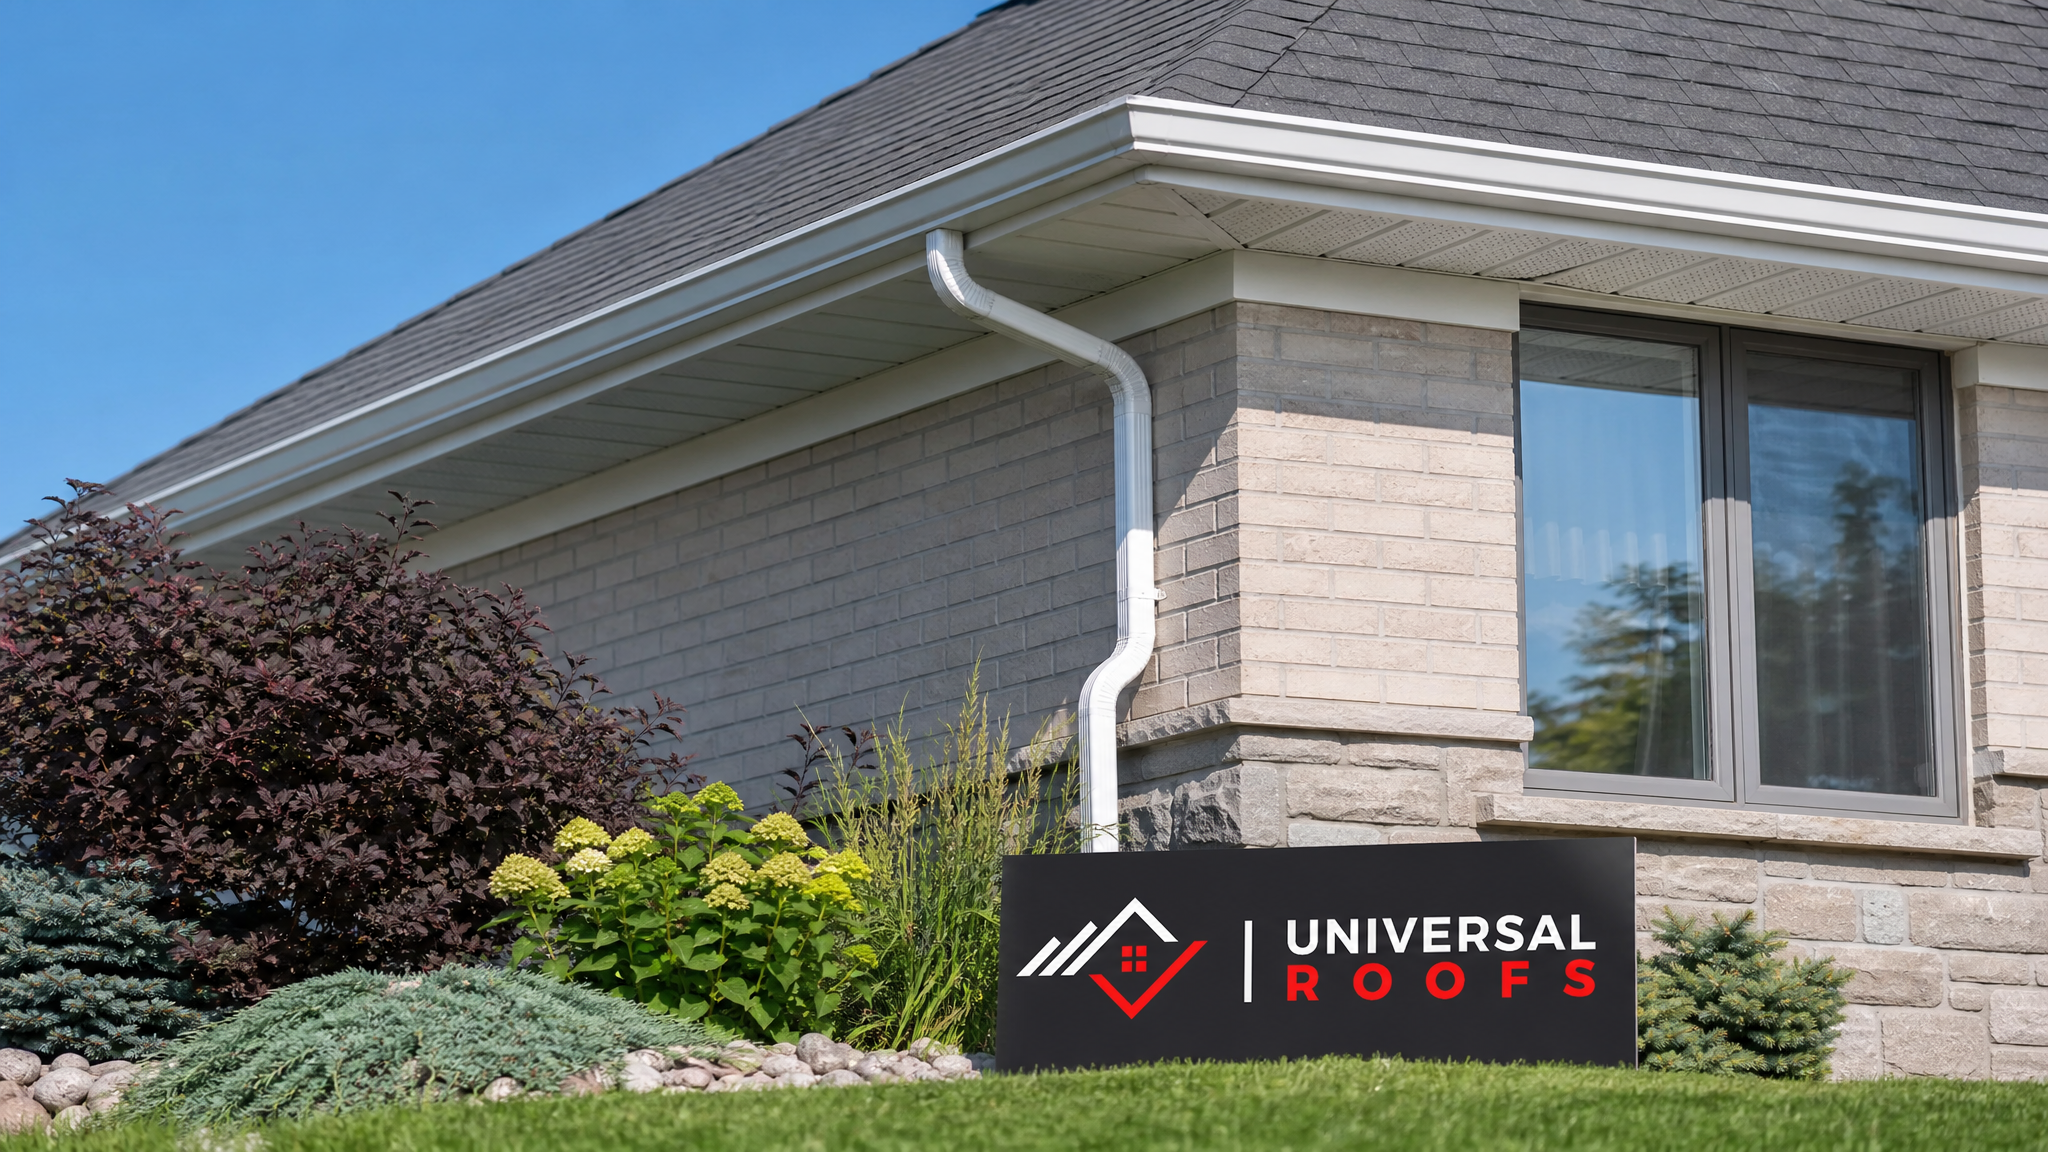
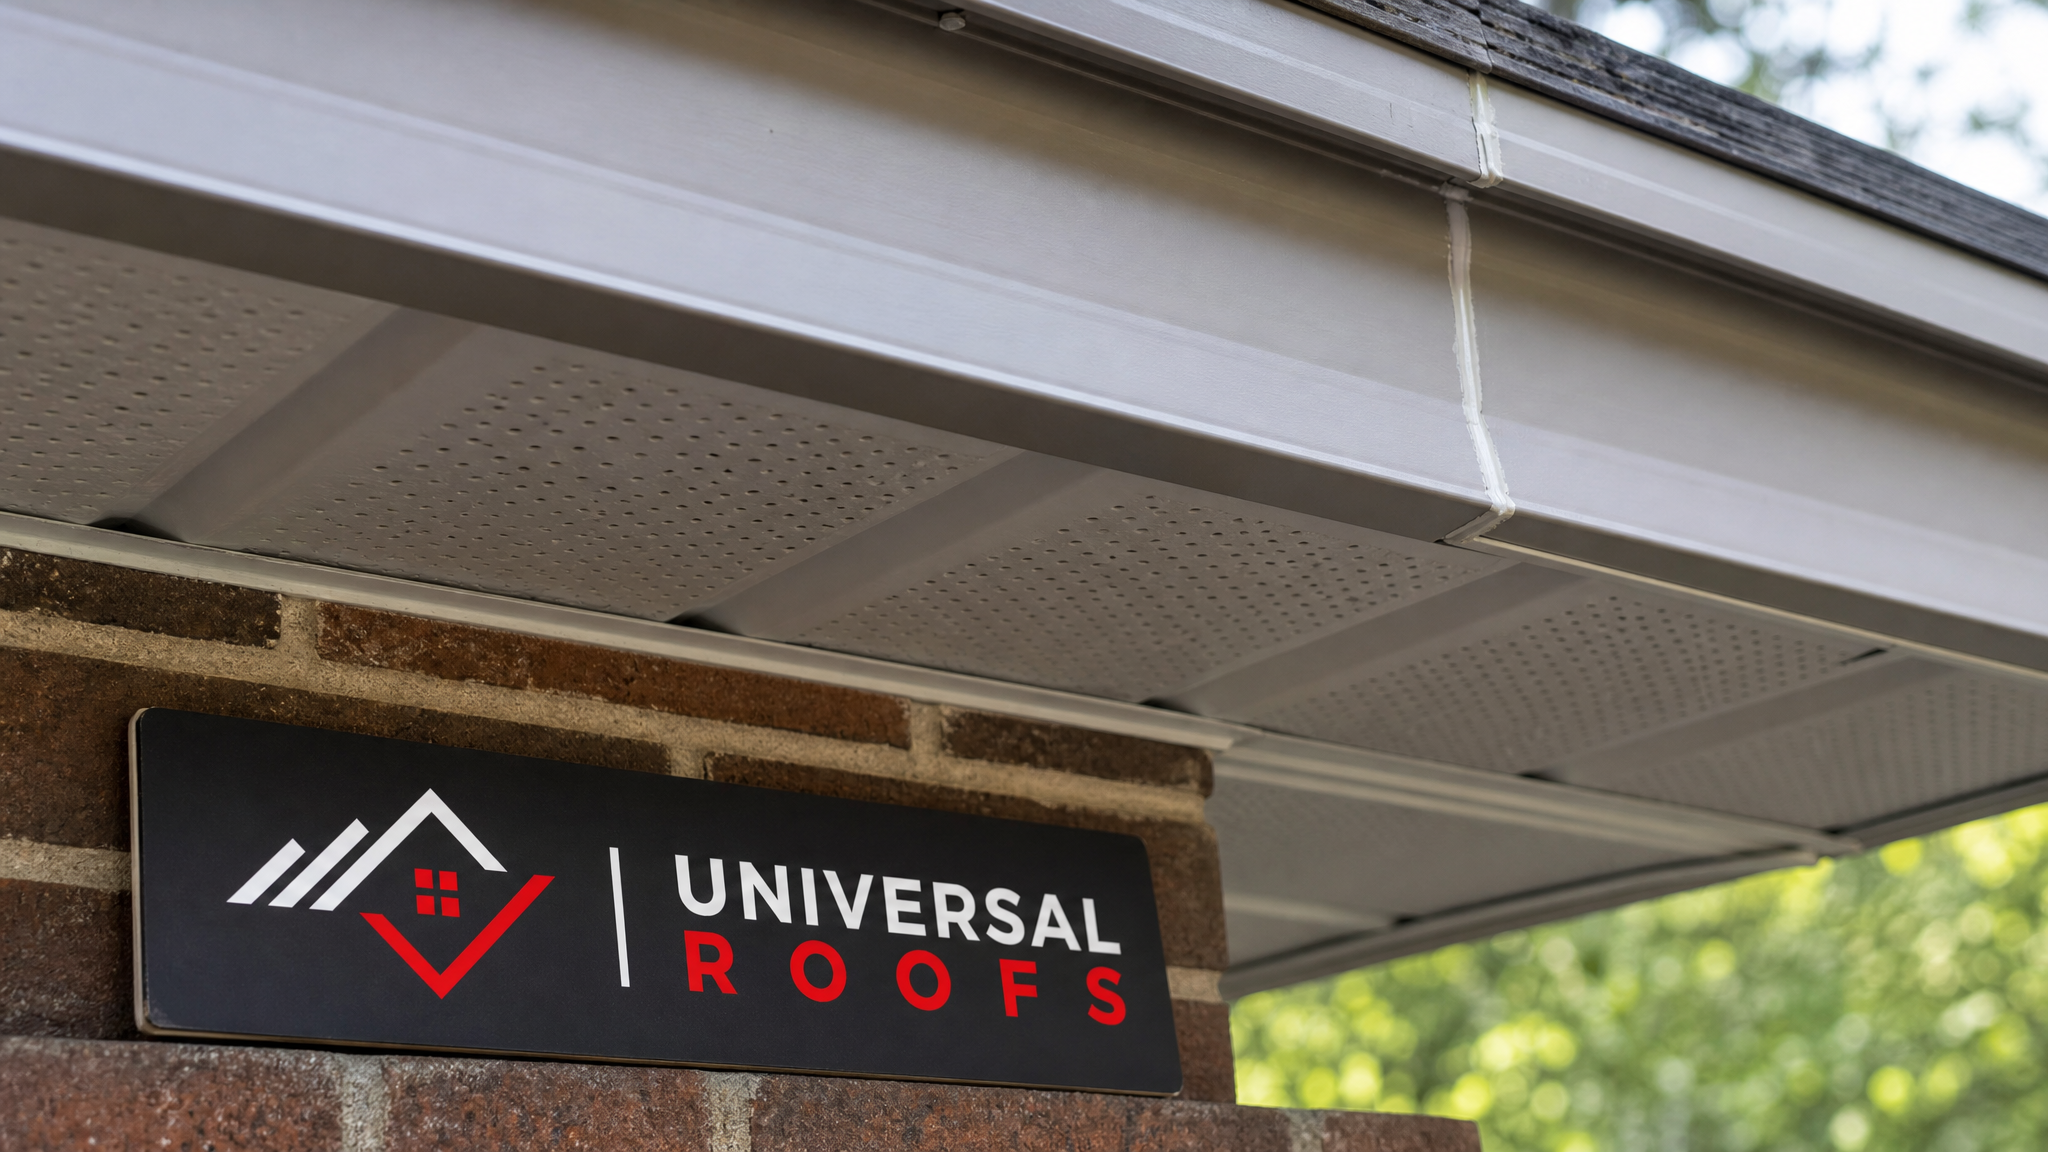
The single biggest mistake DIYers make is treating soffit and fascia repair as one job when they are actually two different systems with different failure modes. The fascia board is the vertical trim that runs along the edge of the roofline, usually behind or under the eavestrough. The soffit is the horizontal (or slightly angled) panel that covers the underside of the roof overhang, connecting the fascia to the side of the house.
Start every DIY soffit and fascia repair project with a proper inspection from a stable ladder, and note exactly what you are seeing:
- Sagging or dripping eavestroughs usually point to a fascia problem, since the eavestrough hangers are typically fastened directly into the fascia board.
- Peeling paint, soft or spongy wood, or a musty smell in the attic near the eave usually signals rot in either the fascia or the sub-fascia framing behind it.
- Wasp nests, bird activity, or visible daylight through the vents point to damaged or missing soffit panels.
- Water stains on the exterior wall just below the roofline usually mean water is bypassing the fascia and running down behind the siding.
- Chalky, faded, or cracked aluminum or vinyl soffit is typically just cosmetic weathering and can often be cleaned or repainted rather than replaced.
Take photos of every problem area before you start. This helps you order the right materials the first time, and if you eventually decide the damage is more extensive than expected, those photos are useful when you call in a professional roofing crew for a second opinion.
| Symptom | Likely Cause | DIY-Friendly? | Urgency |
|---|---|---|---|
| Sagging eavestrough pulling away from roofline | Loose or rotted fascia board behind hangers | Sometimes | High |
| Small holes or gaps in soffit panels | Pest entry, impact damage, aged vinyl | Yes | Medium |
| Soft, spongy fascia wood when pressed | Long-term water intrusion and rot | Limited | High |
| Peeling or chalky paint on aluminum fascia | UV exposure, age, oxidation | Yes | Low |
| Visible attic light or draft at soffit vents | Cracked, missing, or improperly cut vent panel | Yes | Medium |
| Widespread rot along multiple fascia sections | Long-term ice dam damage or clogged eavestroughs | No — call a professional | High |
Tip 2: Gather the Right Materials and Tools Before You Climb the Ladder
Soffit and fascia repair goes much faster, and much safer, when everything you need is staged on the ground before you go up. Nothing wastes an afternoon like climbing down repeatedly for a tool you forgot.
For most residential GTA homes, fascia is either painted wood, primed engineered wood (such as LP SmartSide), or aluminum coil stock wrapped over an existing wood board. Soffit is almost always either vented aluminum, vented vinyl, or solid wood/plywood on older homes. Knowing which material you have determines your entire repair approach, since aluminum and vinyl require very different techniques than solid wood.
| Material | Common Use | Typical Lifespan | Repair Difficulty |
|---|---|---|---|
| Vented aluminum soffit | Most homes built or re-clad after 1990 | 25-40 years | Moderate — needs tin snips and careful measuring |
| Vented vinyl soffit | Budget renovations, some newer builds | 15-25 years | Easy — cuts with a utility knife |
| Solid wood or plywood soffit | Older homes, character properties pre-1980 | 15-30 years with maintenance | Moderate — prone to rot, needs painting/sealing |
| Painted wood fascia | Older and mid-age homes | 15-20 years between repaints | Moderate — sanding, priming, painting required |
| Aluminum-wrapped fascia | Most homes with newer eavestroughs | 30-40 years | Higher — requires brake-formed metal and careful nailing |
For a basic DIY kit, plan on: a stable extension ladder rated for your height with a stand-off stabilizer, a pry bar, a cordless drill/driver, tin snips (for aluminum), a utility knife (for vinyl), galvanized or stainless nails or screws matched to your material, exterior-grade wood filler or epoxy for minor wood rot, a caulking gun with paintable exterior sealant, safety glasses, work gloves, and a friend to hold the ladder. If you are replacing more than a couple of sections, buy 10 to 15 percent extra material — soffit and fascia stock is sold in fixed lengths and offcuts add up fast.
Tip 3: Repair Minor Wood Rot Before It Spreads Into the Sub-Fascia
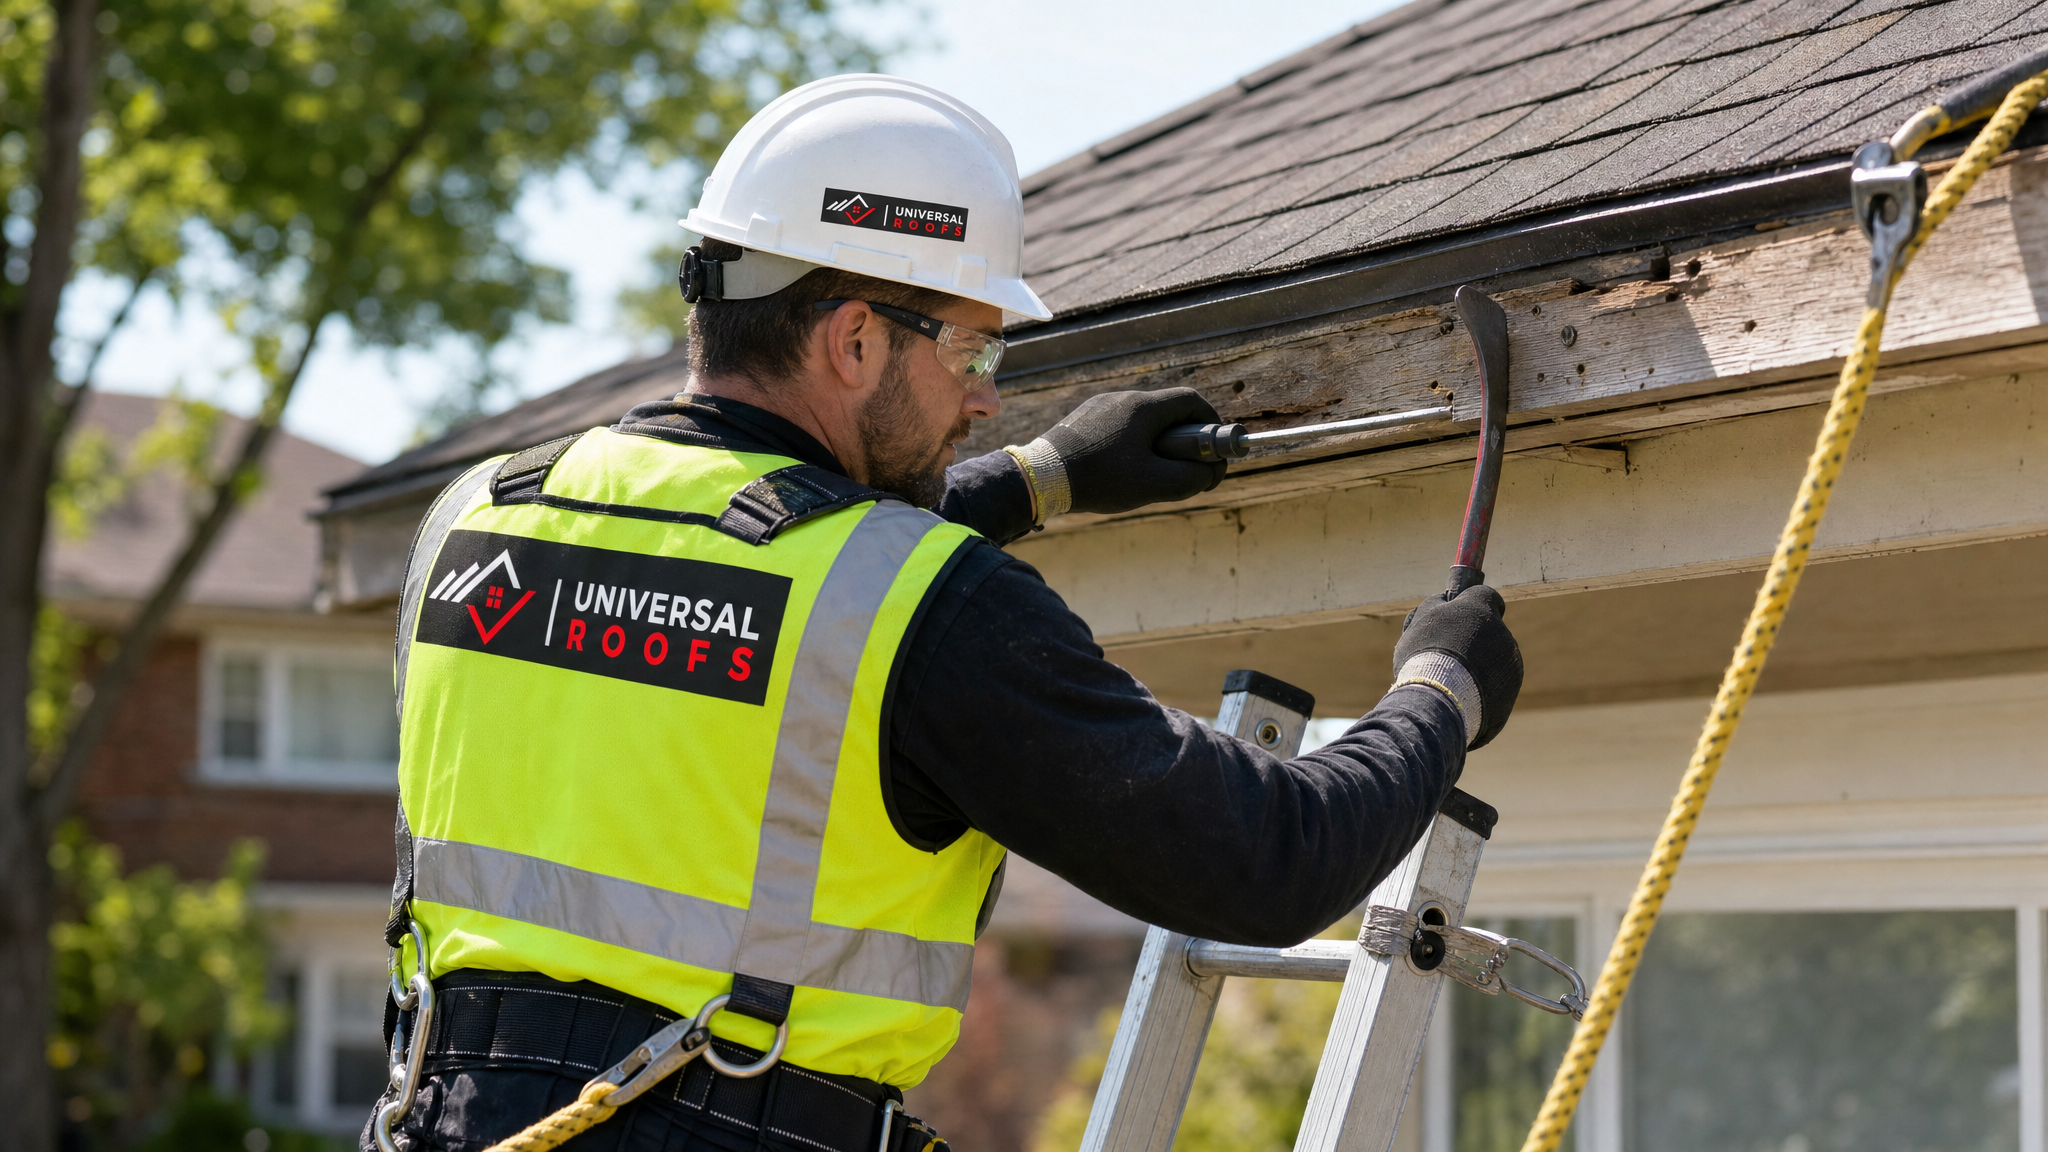
Small pockets of rot are the most common fascia problem homeowners deal with, and they are also the most forgiving to DIY if you catch them early. The technique is straightforward: probe the wood with a screwdriver to map out how far the soft, spongy material extends. Anything that is genuinely mushy needs to be removed; anything solid can stay.
For rot pockets smaller than about 10 centimetres across, a two-part exterior wood epoxy filler works well. Dig out all the soft material with a chisel or oscillating tool, let the cavity dry completely (this matters — trapped moisture under new filler just restarts the rot), then build the epoxy up in layers, sanding between coats once cured. Prime and paint to match once the repair is fully sanded flush.
For rot that runs the length of a section or has spread into the sub-fascia (the structural board hidden behind the finished fascia trim), epoxy is not enough. At that point you are looking at cutting out and sistering in a new section of dimensional lumber, which means temporarily supporting or removing the eavestrough section above it. This is where a lot of DIYers get into trouble, because a fascia board that looks fine at arm’s length can be structurally compromised once you open it up. If you find rot in the sub-fascia framing itself, that is a strong signal to bring in a professional for a proper roof repair assessment rather than patching over a structural issue.
Toronto’s freeze-thaw cycle is the reason wood rot at the roofline progresses so quickly compared to drier climates. Water that gets behind a fascia board in October can freeze in November, expand, crack the wood fibres slightly, thaw in a January melt, seep in further, and refreeze again — each cycle opening the wood up a little more to the next round of moisture. That is why a small soft spot noticed in the summer should never be left until “next year.”
Tip 4: Replace Damaged Aluminum or Vinyl Soffit Panels Section by Section
Vented aluminum and vinyl soffit panels are designed to be replaced in sections without touching the whole run, which is good news for DIYers. Both materials slide into a J-channel or F-channel track along the fascia on one side and the house wall on the other.
To replace a damaged panel: locate the nailing strip (usually hidden under the overlap of the next panel), remove the fasteners, and slide the damaged section out of the channel. Vinyl panels usually need to be flexed slightly to clear the lip of the channel; aluminum panels may need a persuasive tap with a rubber mallet. Measure the old panel carefully, including the vent perforation pattern if the section includes venting, and cut the replacement to match using tin snips for aluminum or a sharp utility knife scored multiple times for vinyl.
Slide the new panel into place, working from one end, and secure it with the same fastening method as the surrounding panels — usually a nail or screw through the pre-punched nailing strip, left slightly loose to allow for thermal expansion. Overtightening fasteners is one of the most common DIY mistakes here; aluminum and vinyl both need room to move as temperatures swing through a GTA year, and screwing them down drum-tight leads to buckling or cracking within a season or two.
If more than 25 to 30 percent of a soffit run needs replacing, it is almost always more cost-effective and better-looking to replace the entire run in one continuous piece rather than patchwork multiple sections, since colour fade on aluminum and vinyl makes older and newer panels mismatch visibly. This is also a good moment to reassess your attic ventilation as a whole — soffit intake venting works together with ridge or roof vents, and our attic ventilation services can confirm your intake-to-exhaust ratio is balanced before you close everything back up.
Tip 5: Seal Gaps, Re-Caulk Joints, and Refresh Paint to Prevent the Next Failure
A huge share of soffit and fascia problems start as a small, unsealed gap that lets moisture behind the assembly. Once you have made your structural repairs, spend an hour going over every joint, corner, and fastener with fresh, paintable exterior sealant.
Focus on: the joint where fascia meets the corner trim at roof edges, the seam where soffit panels meet the wall (behind the J-channel), any gaps around vent covers, and nail holes left from removed hardware. Use a high-quality polyurethane or siliconized acrylic latex sealant rated for exterior temperature swings — cheap caulk becomes brittle and cracks within one Toronto winter, undoing the whole repair.
For painted wood fascia, a proper repaint every 5 to 7 years is cheap insurance against the rot problems described in Tip 3. Scrape and sand loose or peeling paint back to sound material, spot-prime any bare wood with an exterior oil-based or high-build primer, and finish with two coats of 100 percent acrylic exterior paint. Avoid painting in direct summer afternoon sun when temperatures are climbing — the paint skins over too fast and traps solvents underneath, leading to premature peeling.
| Task | Recommended Frequency | DIY Time Estimate | Approx. Material Cost (CAD) |
|---|---|---|---|
| Visual inspection from ground/ladder | Twice a year (spring and fall) | 30-60 minutes | $0 |
| Re-caulking joints and seams | Every 2-3 years | 2-4 hours | $40-$80 |
| Repainting wood fascia | Every 5-7 years | 1-2 days | $150-$400 |
| Replacing a single soffit panel section | As needed | 1-3 hours | $60-$150 |
| Full soffit and fascia replacement (per side of house) | Every 25-40 years | Professional job | $1,200-$3,500+ |
Tip 6: Know Exactly When to Stop DIYing and Call a Professional
DIY soffit and fascia repair is genuinely satisfying and can save real money on minor, contained issues. But there are clear lines where continuing on your own becomes a safety risk, a structural risk, or simply a false economy. Watch for these signals:
- You need to work above the second storey or over a steep pitch. Ladder work at height without proper fall protection is the single biggest cause of serious injury in exterior home maintenance. If harnessing, roof anchors, or scaffolding would be required to do the job safely, that is a professional job.
- Rot has spread into the sub-fascia, rafter tails, or roof deck. This is no longer trim repair — it is structural repair that affects how your eavestrough and roof edge are supported.
- You find evidence of an active ice dam or long-term water intrusion. A single damaged fascia board caused by a summer storm is very different from a whole roofline showing water damage after years of ice damming; the latter usually means the ventilation and insulation system needs a full review.
- The eavestrough itself is sagging under weight or pulling fasteners out. Reattaching an eavestrough to compromised fascia without addressing the fascia first just guarantees a repeat failure.
- You are unsure about your roof’s warranty terms. Some shingle and roofing system warranties specify who is permitted to work on components tied to the roof edge; DIY fascia work done incorrectly can occasionally affect coverage.
If any of these apply, the smart move is a proper inspection rather than guessing. Our team handles everything from a single fascia board to a full roof replacement where the fascia, soffit, and roofing system are addressed together, and we also handle related issues like flat roofing transitions and skylight flashing details that intersect with the roof edge on many GTA homes.
| Sign | DIY or Call a Pro? | Why |
|---|---|---|
| Single soft spot under 10 cm on ground-level fascia | DIY | Contained, accessible, low risk |
| Missing soffit panel over a porch roof | DIY | Standard replacement, straightforward channel system |
| Rot along an entire fascia run | Call a pro | Likely structural involvement, extensive material matching |
| Any work above a second-storey roofline | Call a pro | Fall protection and proper equipment required |
| Sagging eavestrough pulling fasteners loose | Call a pro | Combined fascia and eavestrough system failure |
| Cosmetic fading or chalking on aluminum trim | DIY | Cleaning or repainting only, no structural component |
Homeowners across our service areas in Toronto, Peel Region, York Region, Halton Region and Durham Region deal with slightly different exposure conditions — homes closer to the lake see more wind-driven rain, while homes further north see harsher winter temperature swings — but the underlying maintenance principles in this guide apply everywhere in the GTA. If you want a second opinion on whether a repair is truly DIY-friendly, our FAQ page covers many of the most common roof edge questions we get from homeowners, and our customer reviews reflect two decades of exactly this kind of roof-edge troubleshooting across the region.
Can I do DIY soffit and fascia repair myself, or do I need a licensed contractor?
What is the difference between soffit and fascia?
How much does DIY soffit and fascia repair cost compared to hiring a professional?
Why does my soffit and fascia keep getting damaged every winter in Toronto?
What tools do I need for a basic DIY soffit and fascia repair?
How do I know if my soffit and fascia damage is actually a bigger roof problem?
Need Help With 6 Best DIY Soffit?
Whether you have already tackled a section yourself and want a professional check, or you have decided the job is bigger than a weekend project, Universal Roofs has been solving exactly these roof-edge problems across the GTA since 2005.
Call us today at (416) 732-2421 or request a free inspection to get started.
Universal Roofs proudly serves Toronto, Mississauga, Brampton, Vaughan, Markham, Oakville and the GTA since 2005.