
Skylights flood a room with natural light, but that same sunlight is the number one reason skylights fail early. Ultraviolet (UV) radiation breaks down seals, clouds acrylic domes, and dries out the flashing membrane that keeps water out of your attic. In a Toronto summer, when UV index readings regularly climb into the “high” and “very high” range, an unprotected skylight can age five years in one season.
The good news is that most UV damage is preventable. A properly specified skylight, paired with a handful of maintenance habits, can easily last 20 years or more on a GTA home. This guide covers the four UV protection strategies that matter most, what premature UV damage actually looks like, and when a skylight is too far gone to save.
At Universal Roofs, we have been inspecting, repairing, and replacing skylights across the Greater Toronto Area since 2005, and sun damage is one of the most common reasons homeowners call us. Whether you are trying to protect a brand-new install or extend the life of an ageing dome, the tips below will help.
Why UV Radiation Is So Hard on Skylights
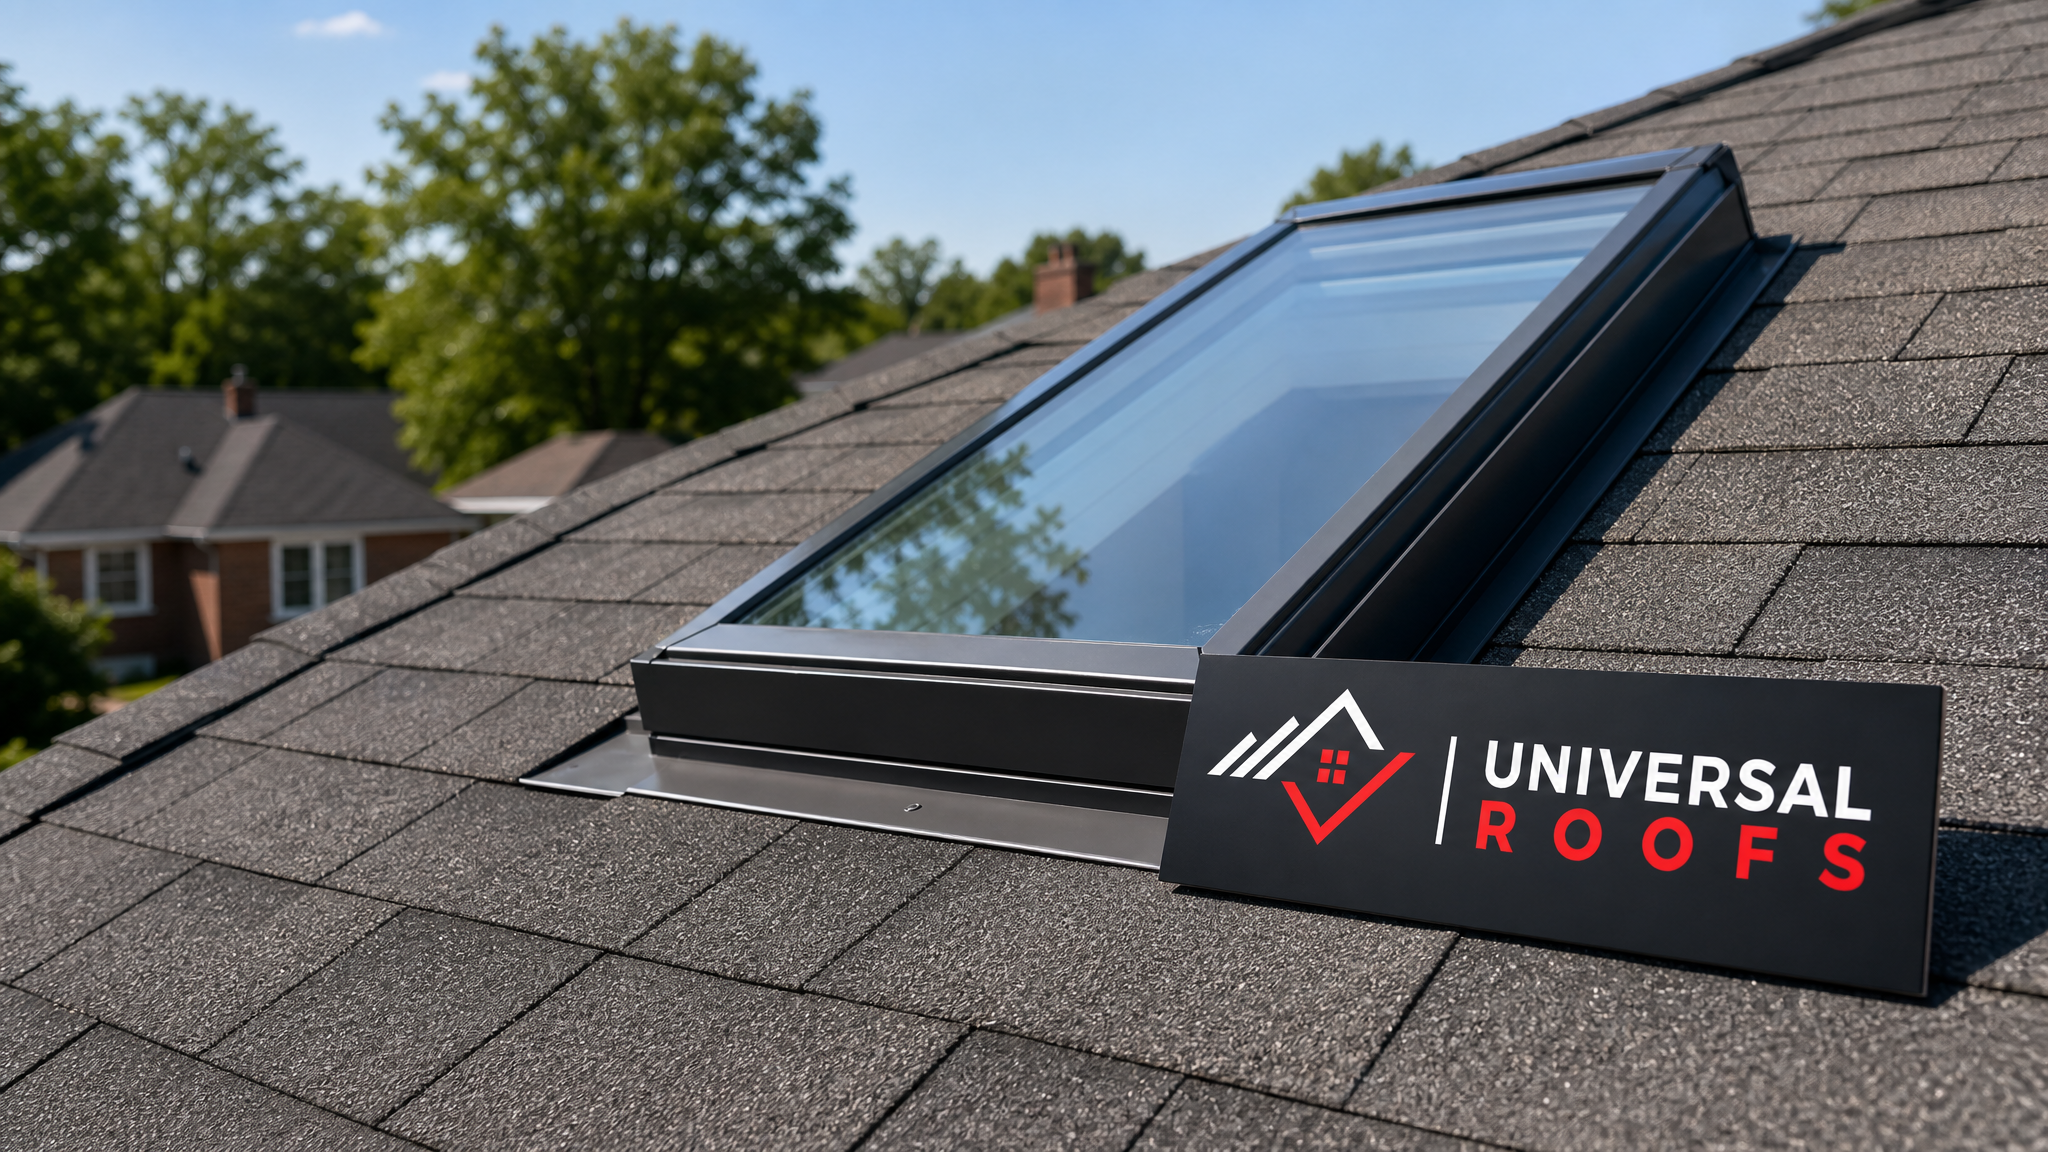
Unlike a wall or a section of shingles, a skylight sits at a steep, sun-facing angle for most of the day and receives almost uninterrupted direct sunlight from spring through early autumn. That constant exposure attacks three parts of the unit simultaneously:
- The glazing — acrylic domes yellow and become brittle under UV; even laminated glass units can see their inner PVB layer degrade over time.
- The seals and gaskets — the rubber and silicone seals around the frame dry out, shrink, and crack, which is the leading cause of skylight leaks.
- The frame finish — painted aluminum and vinyl frames chalk, fade, and can warp slightly as UV breaks down the polymer surface.
Heat compounds the problem. On a 30°C July afternoon, the surface temperature of a dark-framed skylight can exceed 60°C, and that heat-UV combination accelerates the breakdown of seals far faster than either factor alone. This is why skylights installed on south- and west-facing roof slopes — the norm on most Toronto subdivisions — tend to show UV wear years before those on north-facing slopes.
Understanding this is the first step toward protecting your investment. The four tips below target each failure point directly: glazing, seals, frame, and ongoing monitoring.
Tip 1: Choose UV-Rated Glazing and Coatings
The single biggest lifespan factor is decided before installation day: what glazing material and coating package you choose. Not all skylight glass or acrylic is created equal, and the difference in UV resistance between a builder-grade unit and a properly specified one is enormous.
Low-E laminated glass is the gold standard for GTA homes. The low-emissivity coating reflects a large share of incoming UV and infrared radiation before it ever reaches the interior, while the laminated PVB interlayer blocks close to 99% of UV transmission. This is also the safest glazing option, since laminated glass holds together if it cracks — an important consideration under Ontario’s freeze-thaw cycles and occasional summer hail.
UV-stabilized acrylic domes are more affordable and still common on older GTA homes, but they need a UV inhibitor built into the resin during manufacturing. Without it, a dome can visibly yellow within 3-5 years. If you are replacing an ageing dome, ask specifically for a UV-stabilized or co-extruded acrylic product rated for at least 15 years of outdoor exposure.
The table below compares the glazing options we install most often across Toronto, Mississauga, Vaughan, and the surrounding regions.
| Glazing Type | UV Transmission Blocked | Typical Lifespan (GTA climate) | Relative Cost |
|---|---|---|---|
| Standard clear acrylic dome | ~40-50% | 5-8 years before visible yellowing | $ |
| UV-stabilized acrylic dome | ~70-80% | 12-15 years | $$ |
| Tempered single-pane glass | ~60-70% | 10-15 years (seal-limited) | $$ |
| Low-E laminated glass (double or triple) | ~95-99% | 20-25+ years | $$$ |
If your existing skylight uses standard acrylic and is already showing colour change, it is often more cost-effective to upgrade the whole unit during a skylight replacement than to keep patching a dome that is nearing the end of its usable life.
Tip 2: Inspect and Maintain Seals and Flashing Every Spring
Even the best glazing cannot protect a skylight if the perimeter seals have failed. Seals are a wear item — they are designed to be replaced periodically, and UV exposure is what wears them out. In our experience, seal failure (not glass failure) is the reason for roughly 70% of the skylight leaks we get called out for in the GTA.
We recommend a spring inspection every year, ideally in May or June before the summer heat and UV peak arrive. A thorough inspection covers:
- Checking the rubber gasket around the glazing for cracking, shrinkage, or gaps
- Examining the step and counter-flashing where the skylight curb meets the roofing membrane
- Looking for chalky residue or fine cracks in exterior silicone sealant beads
- Confirming there is no soft or discoloured drywall around the interior skylight well, which signals a slow leak
Flashing deserves special attention. It is the metal or membrane detail that diverts water around the skylight curb, and UV-degraded sealant at the flashing joints is one of the most common entry points for water. If you notice staining on your ceiling or musty odours near a skylight, do not wait — a small flashing repair today is far cheaper than replacing water-damaged framing and insulation later.
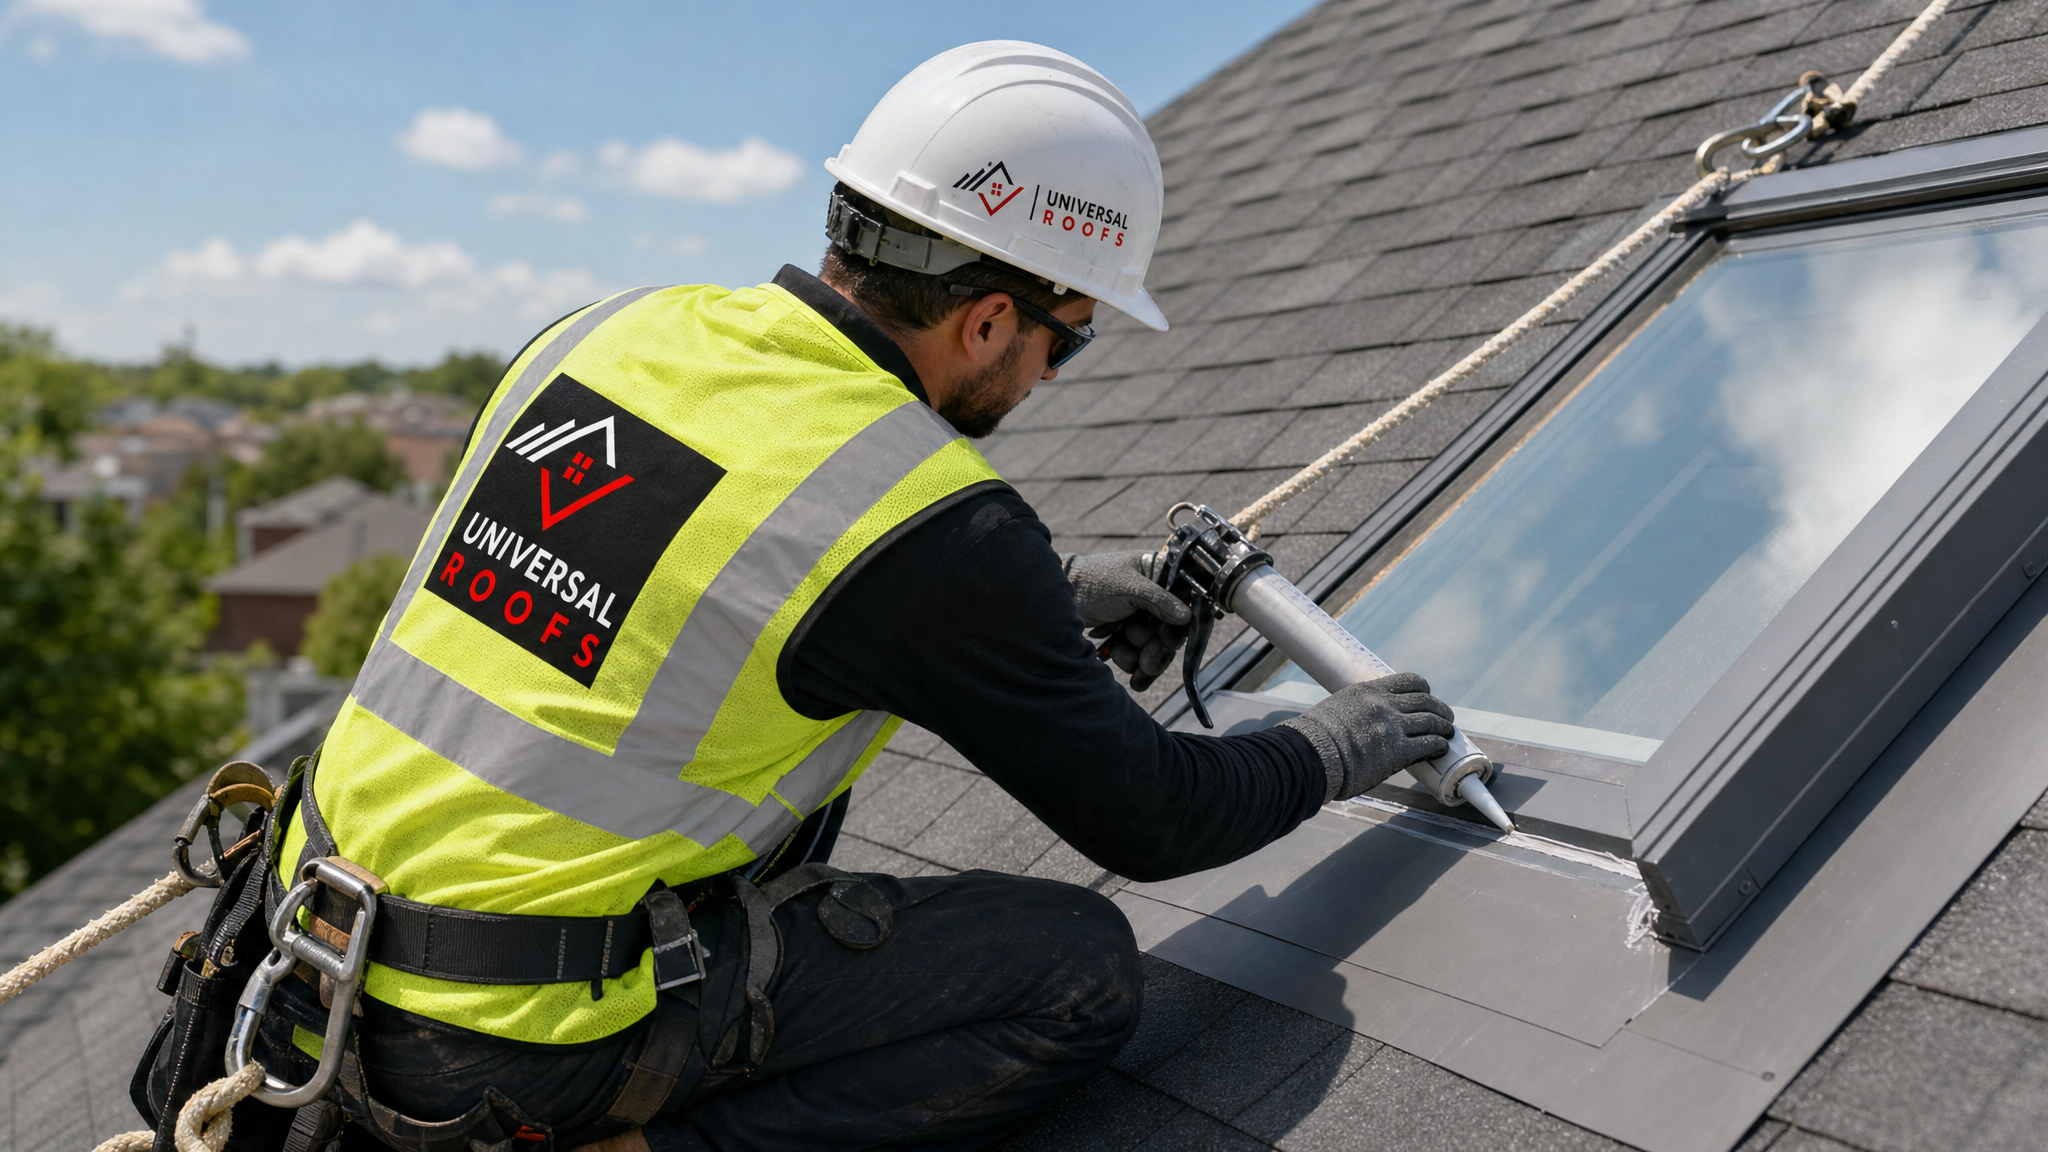
If your seals have already failed, our roof repair team can usually re-seal and re-flash a skylight in a single visit, restoring the watertight barrier without a full replacement. For homes with multiple ageing units, it is worth scheduling all of them together — technicians are already on the roof, which reduces labour cost per unit.
Tip 3: Reduce Direct UV Load With Shading, Films, and Coatings
The third strategy is to reduce how much raw UV actually reaches the skylight and the room below it. This protects both the unit itself and your furniture, flooring, and artwork, which fade under prolonged UV exposure just as fast as the skylight frame does.
Options worth considering, roughly in order of cost:
- Interior UV-filtering film — an affordable retrofit applied to the inside of the glazing that blocks a large share of UV without noticeably darkening the room.
- Retrofit exterior UV/solar coatings — a professionally applied coating on the outer glazing surface, best suited to glass units rather than acrylic domes.
- Interior shades or blinds — manual, solar-powered, or smart-home skylight shades that block direct sun during peak UV hours (typically 11 a.m. to 3 p.m. in summer) while still allowing diffused light the rest of the day.
- Exterior sun screens — mesh or louvre systems mounted above the glazing, most common on commercial and flat-roof installations, that intercept UV before it even hits the surface.
Homeowners often ask whether shading defeats the purpose of having a skylight. In practice, most shade systems are adjustable, so you get full natural light on an overcast winter day and controlled shade during the harshest July and August sun. This is also an energy-efficiency win: less solar heat gain means less strain on your air conditioning during heat-wave weeks.
| UV Reduction Method | UV/Heat Reduction | Best For | Approx. Installed Cost (per skylight) |
|---|---|---|---|
| Interior UV film | Blocks 95%+ UV, modest heat reduction | Any glazing type, budget-conscious retrofits | $150-$350 |
| Exterior solar coating | UV + significant heat reduction | Glass units, south/west-facing slopes | $300-$600 |
| Manual interior shade | Near-total light and UV block when closed | Bedrooms, media rooms | $200-$500 |
| Solar or electric shade | Near-total light and UV block, automated | Hard-to-reach skylights, vaulted ceilings | $500-$1,200 |
Not sure which option suits your specific skylight model? Our skylights team can assess your unit’s orientation, glazing type, and household needs and recommend the most cost-effective combination.
Tip 4: Keep Airflow and Attic Ventilation Balanced
UV protection is not only about the glazing surface — it is also about temperature and moisture management around the skylight shaft and curb. A poorly ventilated attic traps heat, and that trapped heat bakes the underside of the skylight frame and the surrounding roofing membrane, accelerating the same breakdown that direct sun causes on the exterior.
In winter, the opposite problem occurs: warm, moist interior air rises through a poorly insulated skylight shaft, condenses against the cold glazing, and can freeze at the frame edges. That freeze-thaw cycling stresses seals that are already brittle from summer UV exposure, creating a one-two punch that shortens skylight life dramatically.
To keep your skylight’s ventilation and insulation working in your favour:
- Confirm your attic has balanced intake (soffit) and exhaust (ridge or roof vents) ventilation — a rule of thumb is 1 square foot of vent area per 300 square feet of attic floor
- Check that the skylight shaft is properly insulated and air-sealed where it meets the ceiling drywall, not just where it meets the roof
- Avoid blocking soffit vents with insulation, which is a common issue in older GTA homes that have had attic insulation topped up over the years
- Have your ventilation assessed if you notice frost or condensation on the inside of the skylight glazing during cold snaps
A full attic ventilation assessment is worth doing at the same time as any skylight work, since the two systems directly affect each other’s lifespan. We regularly find that homes with chronic skylight seal failures also have undersized or blocked attic ventilation — fixing the airflow issue often doubles the life of the next set of seals.
What UV Damage Looks Like Before It Becomes a Leak
Catching UV degradation early is the difference between a $200 reseal and a $2,000+ emergency repair after water gets into the ceiling and framing. Here is what to watch for, roughly in the order symptoms typically appear.
| Stage | What You’ll See | Recommended Action |
|---|---|---|
| Early (Years 1-5) | Slight dulling or minor yellow tint at dome edges; frame finish looks slightly chalky | Apply UV film; schedule annual inspection |
| Moderate (Years 5-10) | Visible yellowing across the dome; hairline cracks in exterior sealant beads; gasket feels stiff | Reseal and re-caulk; consider exterior coating |
| Advanced (Years 10-15) | Brittle, cracking gaskets; cloudy or crazed glazing; occasional drips during heavy rain | Full reseal and flashing repair; assess for replacement |
| Failed (15+ years or sooner) | Persistent leaks, warped frame, condensation trapped between glazing panes | Full skylight replacement recommended |
If your skylight has reached the “advanced” or “failed” stage, repair is usually a temporary fix rather than a real solution — the underlying materials have already degraded past the point of holding a reliable seal. In those cases, a modern skylight replacement with UV-rated glazing will cost less over a 10-year horizon than repeated patch repairs, and it comes with a fresh manufacturer warranty.
Seasonal Maintenance Checklist for GTA Homeowners
Because Ontario’s climate swings from humid, high-UV summers to freezing winters, skylight maintenance really is a year-round job. Use this checklist to stay ahead of UV damage rather than reacting to it.
- Spring (April-May): Full seal and flashing inspection before peak UV season begins; clean glazing of winter grime so shading films and coatings adhere properly
- Summer (June-August): Monitor for yellowing or dulling; use shades during peak UV hours; check attic temperature isn’t excessive
- Autumn (September-October): Clear leaves and debris from the skylight well and surrounding roof; recheck seals before winter
- Winter (November-March): Watch for condensation or frost on interior glazing; confirm ice and snow are not pooling against the skylight curb
Homeowners who follow a checklist like this typically get a full 20-25 years out of a quality Low-E laminated skylight, compared to as little as 8-10 years for a neglected standard acrylic unit in the same location.
DIY Maintenance vs. Professional Servicing
Some UV protection tasks are safe and reasonable for a homeowner to handle; others genuinely require a professional on the roof. Knowing the difference protects both your skylight and your safety.
Safe for most homeowners: interior UV film application, interior shade installation, cleaning interior glazing, visual inspection from the ground or an interior ladder, monitoring for condensation.
Best left to professionals: exterior flashing repair, resealing exterior gaskets, exterior coating application, any work requiring roof access, and diagnosing the source of a leak (which is frequently not where the water appears to be entering). Roof work in the GTA also involves navigating steep pitches, wet moss on north-facing slopes, and — for many homes — working several storeys above grade, all of which call for proper fall protection.
If you are ever unsure whether an issue is DIY-friendly, a quick photo and phone call to a licensed contractor can save you from a fall risk or from making a seal problem worse with the wrong sealant product. Not all caulks are UV-stable, and using an interior-grade sealant outdoors is a common — and avoidable — mistake.
Frequently Asked Questions
What is the best way of maximizing skylight lifespan through UV protection?
How much does UV exposure actually shorten a skylight’s lifespan?
Can I add UV protection to an older skylight instead of replacing it?
How often should skylight seals be inspected for UV damage in Toronto?
Does skylight shading actually reduce cooling costs in summer?
How do I know if my skylight needs replacement instead of UV-related repair?
Need Help With Maximizing Skylight Lifespan: 4?
Protecting your skylight from UV damage starts with the right glazing, the right seals, and a maintenance routine that catches small issues before they become leaks. Our team at Universal Roofs has helped homeowners across the region choose, install, and maintain skylights that hold up to Ontario’s toughest summer sun and harshest winter freeze-thaw cycles.
Call us today at (416) 732-2421 or request a free inspection to get started.
Universal Roofs proudly serves Toronto, Mississauga, Brampton, Vaughan, Markham, Oakville and the GTA since 2005.