
A skylight is one of the best upgrades you can make to a Toronto home, flooding a kitchen, stairwell, or bedroom with natural light. But when it starts leaking, fogging up, or letting in a draft, that same feature can turn into a genuine headache. Finding expert skylight repair contractors who understand both the product and the realities of our GTA climate is the difference between a five-year patch job and a permanent fix.
This guide walks you through exactly how professional skylight repair works, from the first signs of trouble to the final inspection. We will cover how to diagnose common problems, what materials and techniques contractors actually use, how much repairs typically cost in the Toronto area, and the questions you should ask before hiring anyone to climb onto your roof. Whether your skylight is a small fixed unit over a hallway or a large venting model above a great room, the principles below apply.
Toronto’s freeze-thaw cycles, heavy spring rain, and summer thunderstorms put more stress on skylights than most other roof penetrations. A flashing detail that would last decades in a milder climate can fail in half that time here if it was not installed correctly the first time. That is exactly why the “how” behind skylight repair matters as much as the “what.”
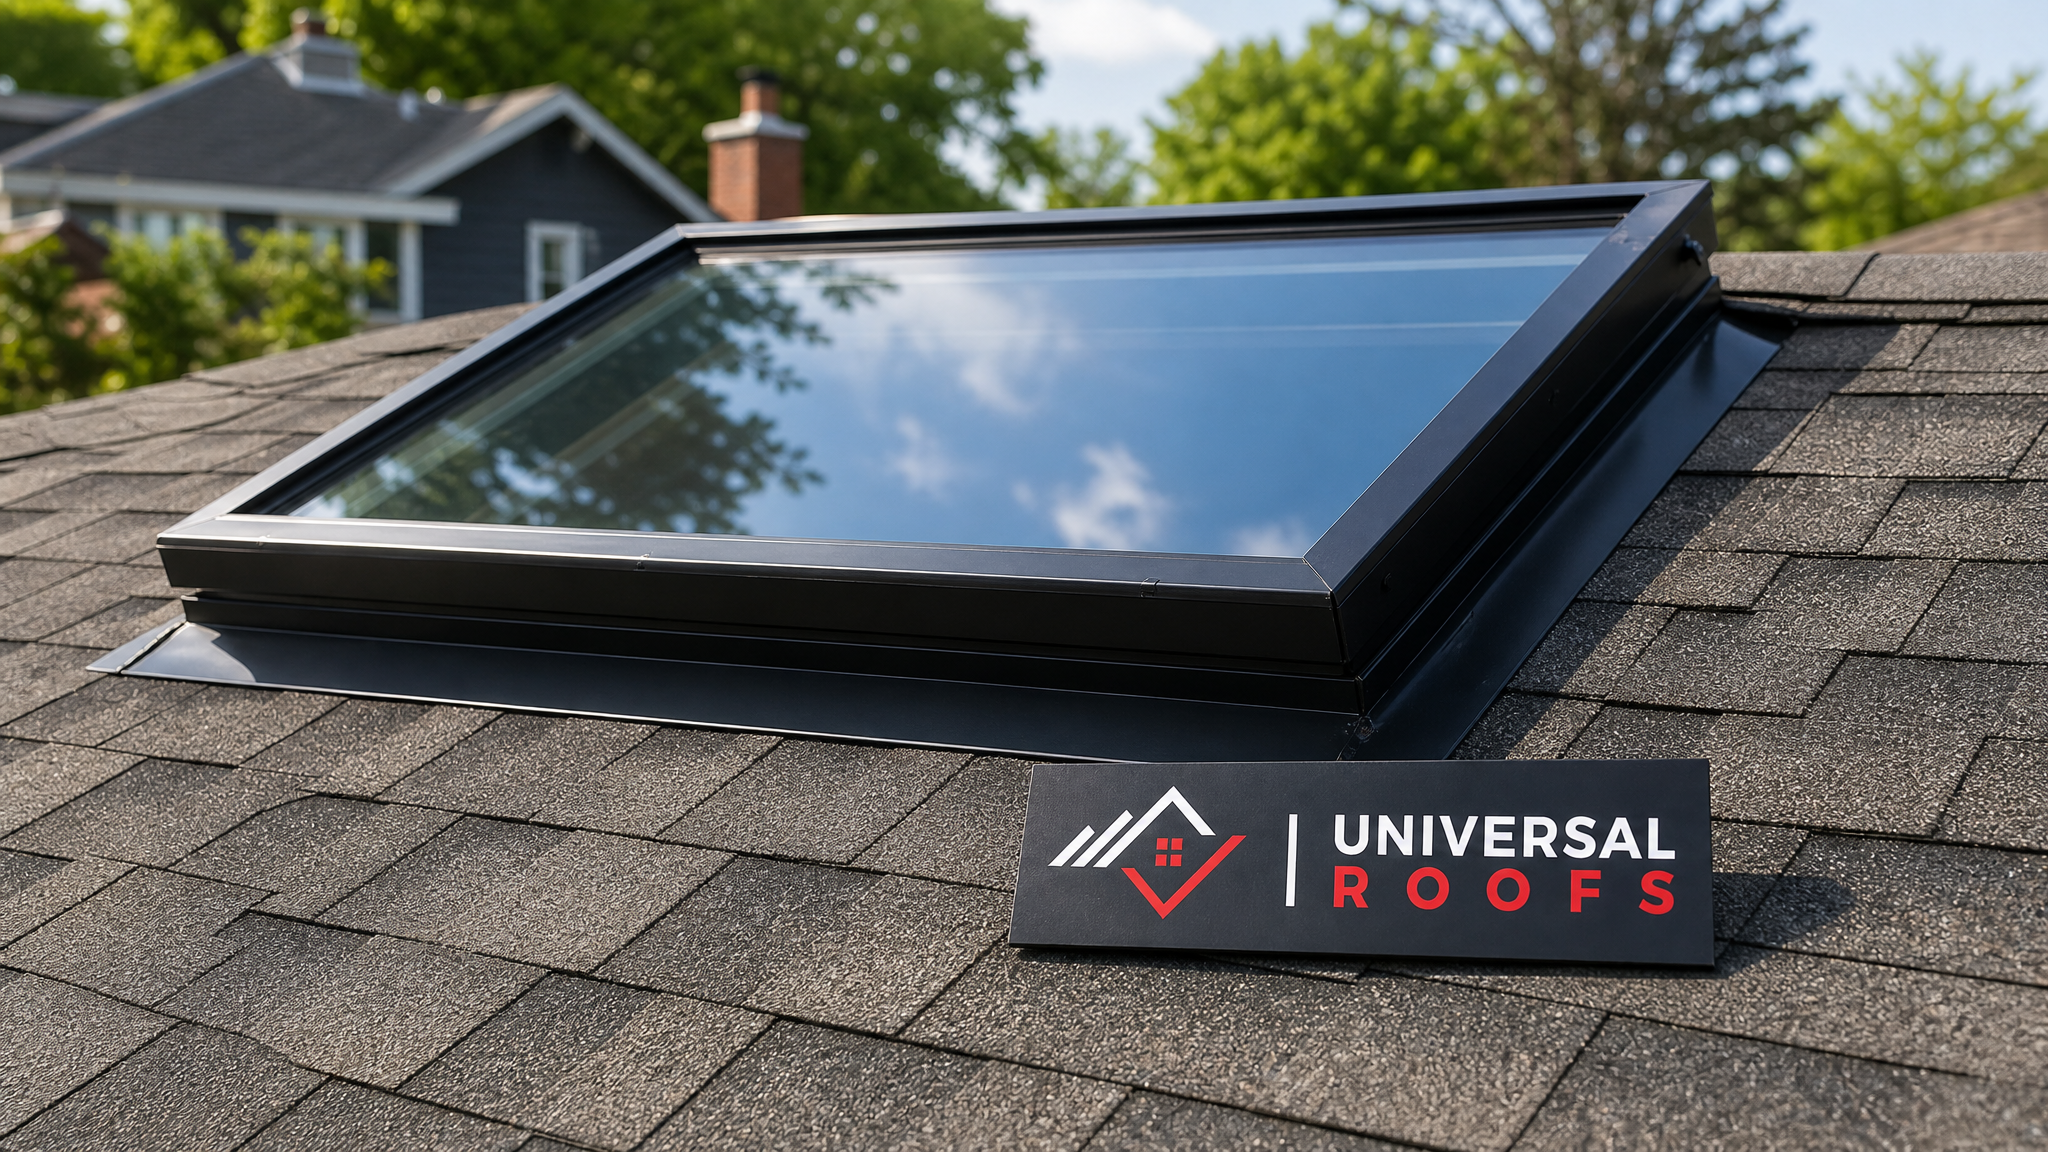
Recognizing the Warning Signs You Need a Skylight Repair
Most skylight problems do not appear overnight. They build slowly, and homeowners often dismiss the early signals as minor annoyances rather than symptoms of a bigger issue. Knowing what to look for lets you call in help before a small leak becomes a ceiling repair project.
The most common warning signs include:
- Water staining or discolouration on the drywall or trim surrounding the skylight shaft
- Condensation between the glass panes, which signals a failed seal on double or triple-glazed units
- Visible daylight gaps around the frame where flashing has pulled away
- Cracked, brittle, or missing sealant along the perimeter of the unit
- Whistling or rattling during windy conditions, suggesting the frame has shifted
- Difficulty opening or closing a venting skylight, often from a failing motor or warped frame
- Mould or mildew smell near the skylight shaft, which points to trapped moisture
If you notice any of these, do not wait for the next big storm to schedule an inspection. A trained technician can often catch a failing seal or a lifted flashing corner before it turns into water damage on your ceiling or walls. If you are unsure whether what you are seeing is cosmetic or structural, our skylight services team can walk you through a proper assessment.
Diagnosing the Root Cause: Leak vs. Condensation vs. Seal Failure
One of the most valuable things an expert brings to a repair job is accurate diagnosis. Homeowners frequently assume every drip means “the skylight is leaking,” but there are actually several distinct failure modes, and each calls for a different fix.
Flashing Failures
Flashing is the metal (or occasionally rubberized) material installed around the base of the skylight where it meets the roofing material. It is designed to shed water away from the opening. When flashing corrodes, was installed with insufficient overlap, or gets disturbed by ice damming, water can travel underneath the shingles or membrane and into the home. Flashing problems are the single most common cause of skylight leaks in our experience.
Sealant and Gasket Degradation
The rubber gaskets and sealant beads around the glazing unit break down over time from UV exposure and temperature swings. In Toronto, a sealant that goes from -20°C in January to 35°C in July experiences enormous expansion and contraction stress. Once the gasket cracks or the sealant separates from the frame, water can wick in even without any flashing damage.
Condensation, Not a Leak
Interior condensation dripping from the skylight frame is often mistaken for a leak, but it is actually a ventilation or insulation issue. Warm, humid indoor air meets a cold glazing surface and condenses, similar to a cold drink sweating on a summer day. This is common in bathrooms, kitchens, and poorly ventilated attics, and the fix usually involves improving attic ventilation rather than repairing the skylight itself.
Seal Failure Inside the Glass Unit
If you see fog or moisture trapped between the panes of glass, that is a manufacturing seal failure, not a roofing issue. The insulated glass unit’s edge seal has broken down, allowing humid air inside the sealed cavity. This typically requires glass unit replacement rather than a surface repair.
| Symptom | Likely Cause | Typical Fix |
|---|---|---|
| Water stain outside the frame, worse after rain | Flashing failure or lifted shingles | Flashing replacement, re-seal |
| Fog trapped between glass layers | Failed insulated glass unit seal | Glass unit replacement |
| Dripping only in winter, worse indoors | Condensation from poor ventilation | Attic ventilation upgrade |
| Cracked or peeling sealant beads | UV and thermal degradation | Strip and re-seal frame |
| Whistling noise in wind, visible daylight gap | Frame shift or fastener failure | Reframe and re-fasten |
| Motor won’t open/close venting unit | Electrical or mechanical failure | Motor or actuator replacement |
The Step-by-Step Skylight Repair Process
Once a contractor has correctly diagnosed the issue, the actual repair follows a fairly consistent sequence. Understanding these steps helps you evaluate whether a quote you receive covers the full scope of work, or whether it is cutting corners.
Step 1: Exterior Inspection and Moisture Mapping
A thorough technician starts on the roof, examining the condition of the shingles or membrane surrounding the skylight, the flashing at all four sides (head, sill, and both step flashing runs), and the state of any counter-flashing. Many contractors also check the interior shaft with a moisture metre to trace exactly where water is entering, since it can travel along rafters before showing up on the ceiling.
Step 2: Removing Compromised Materials
Old sealant, damaged flashing, and any water-softened decking or trim are removed. Skipping this step is one of the biggest shortcuts unqualified installers take — simply caulking over failed flashing without removing it almost always leads to a repeat leak within a season or two.
Step 3: Flashing Replacement and Underlayment
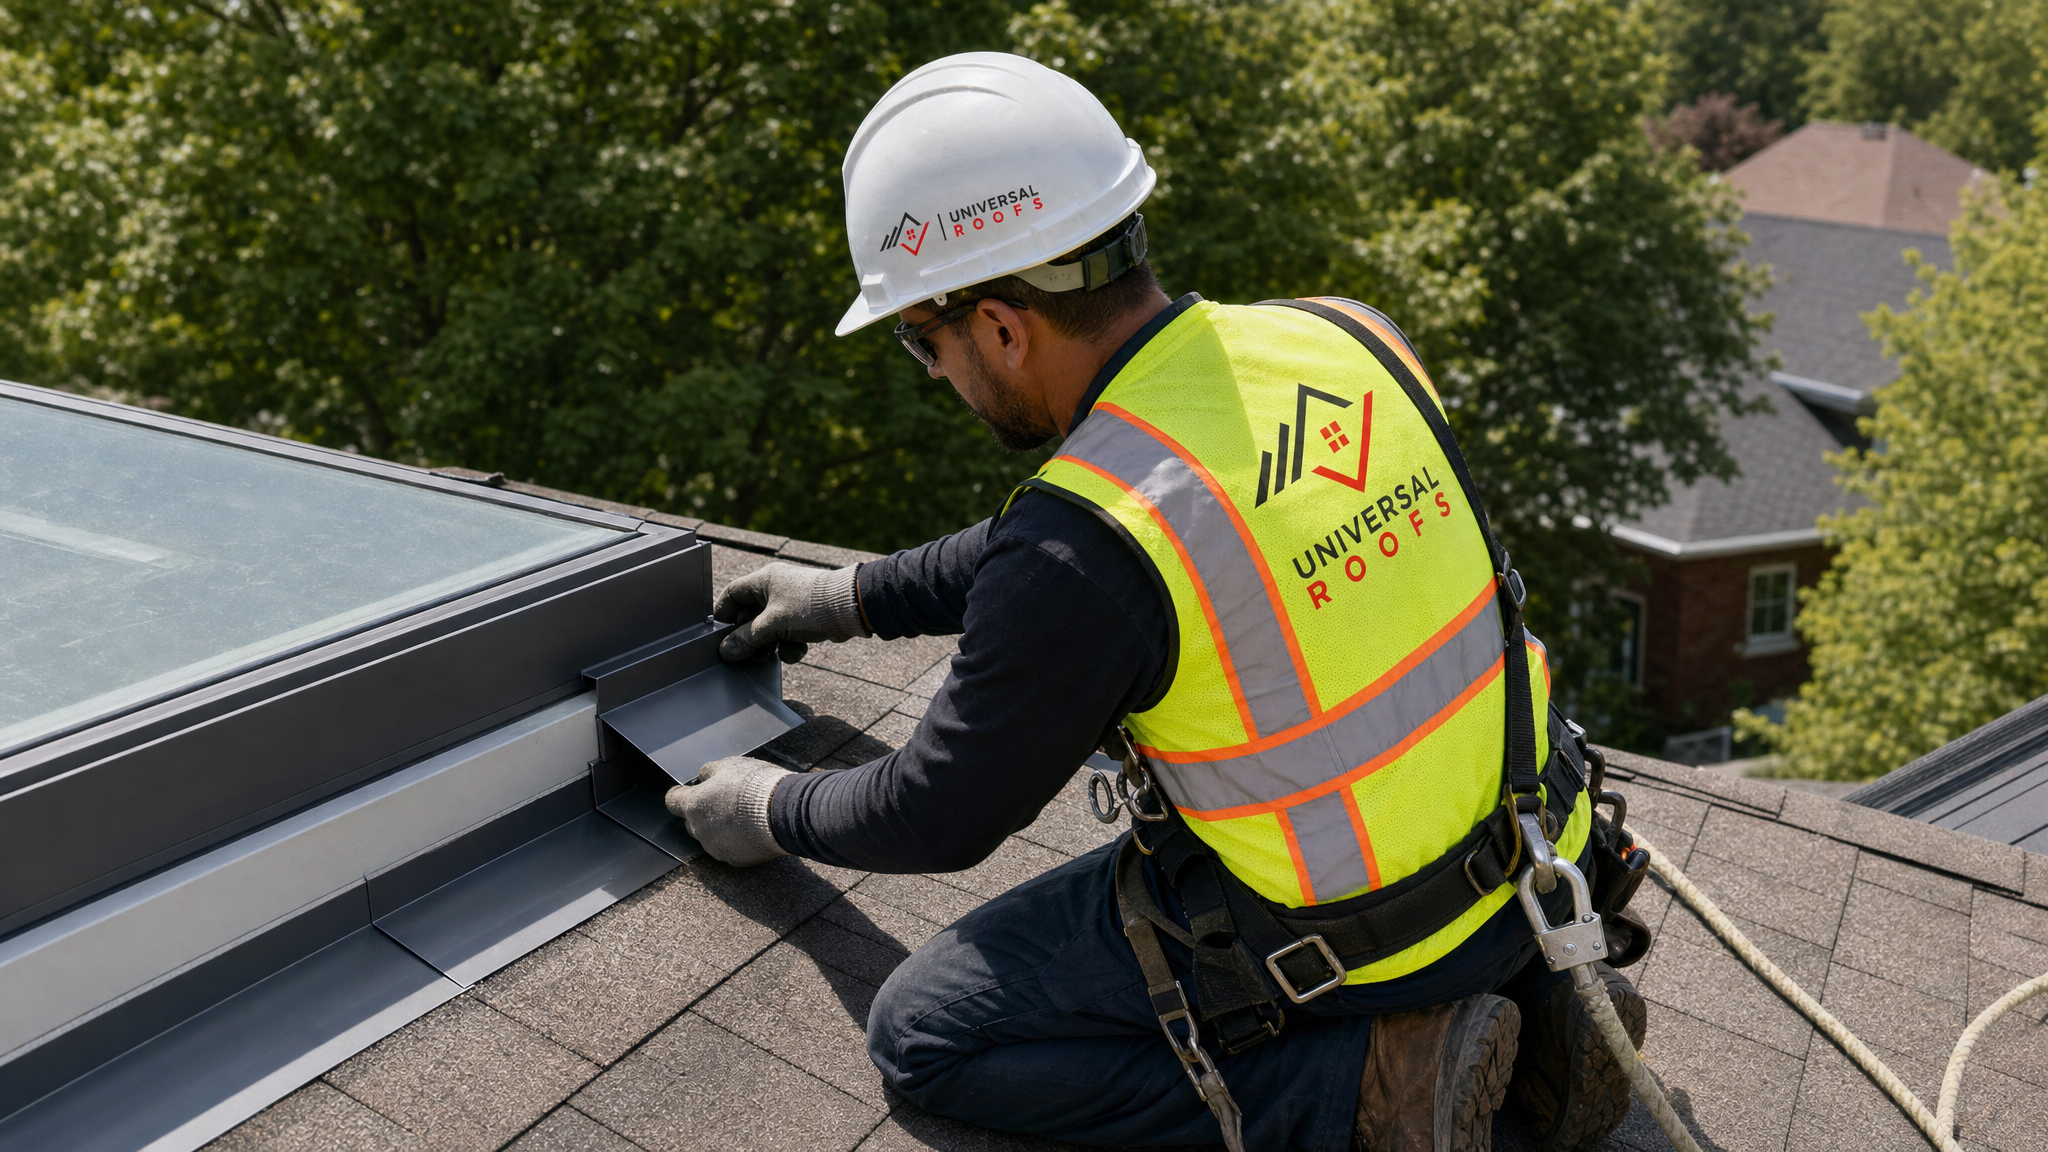
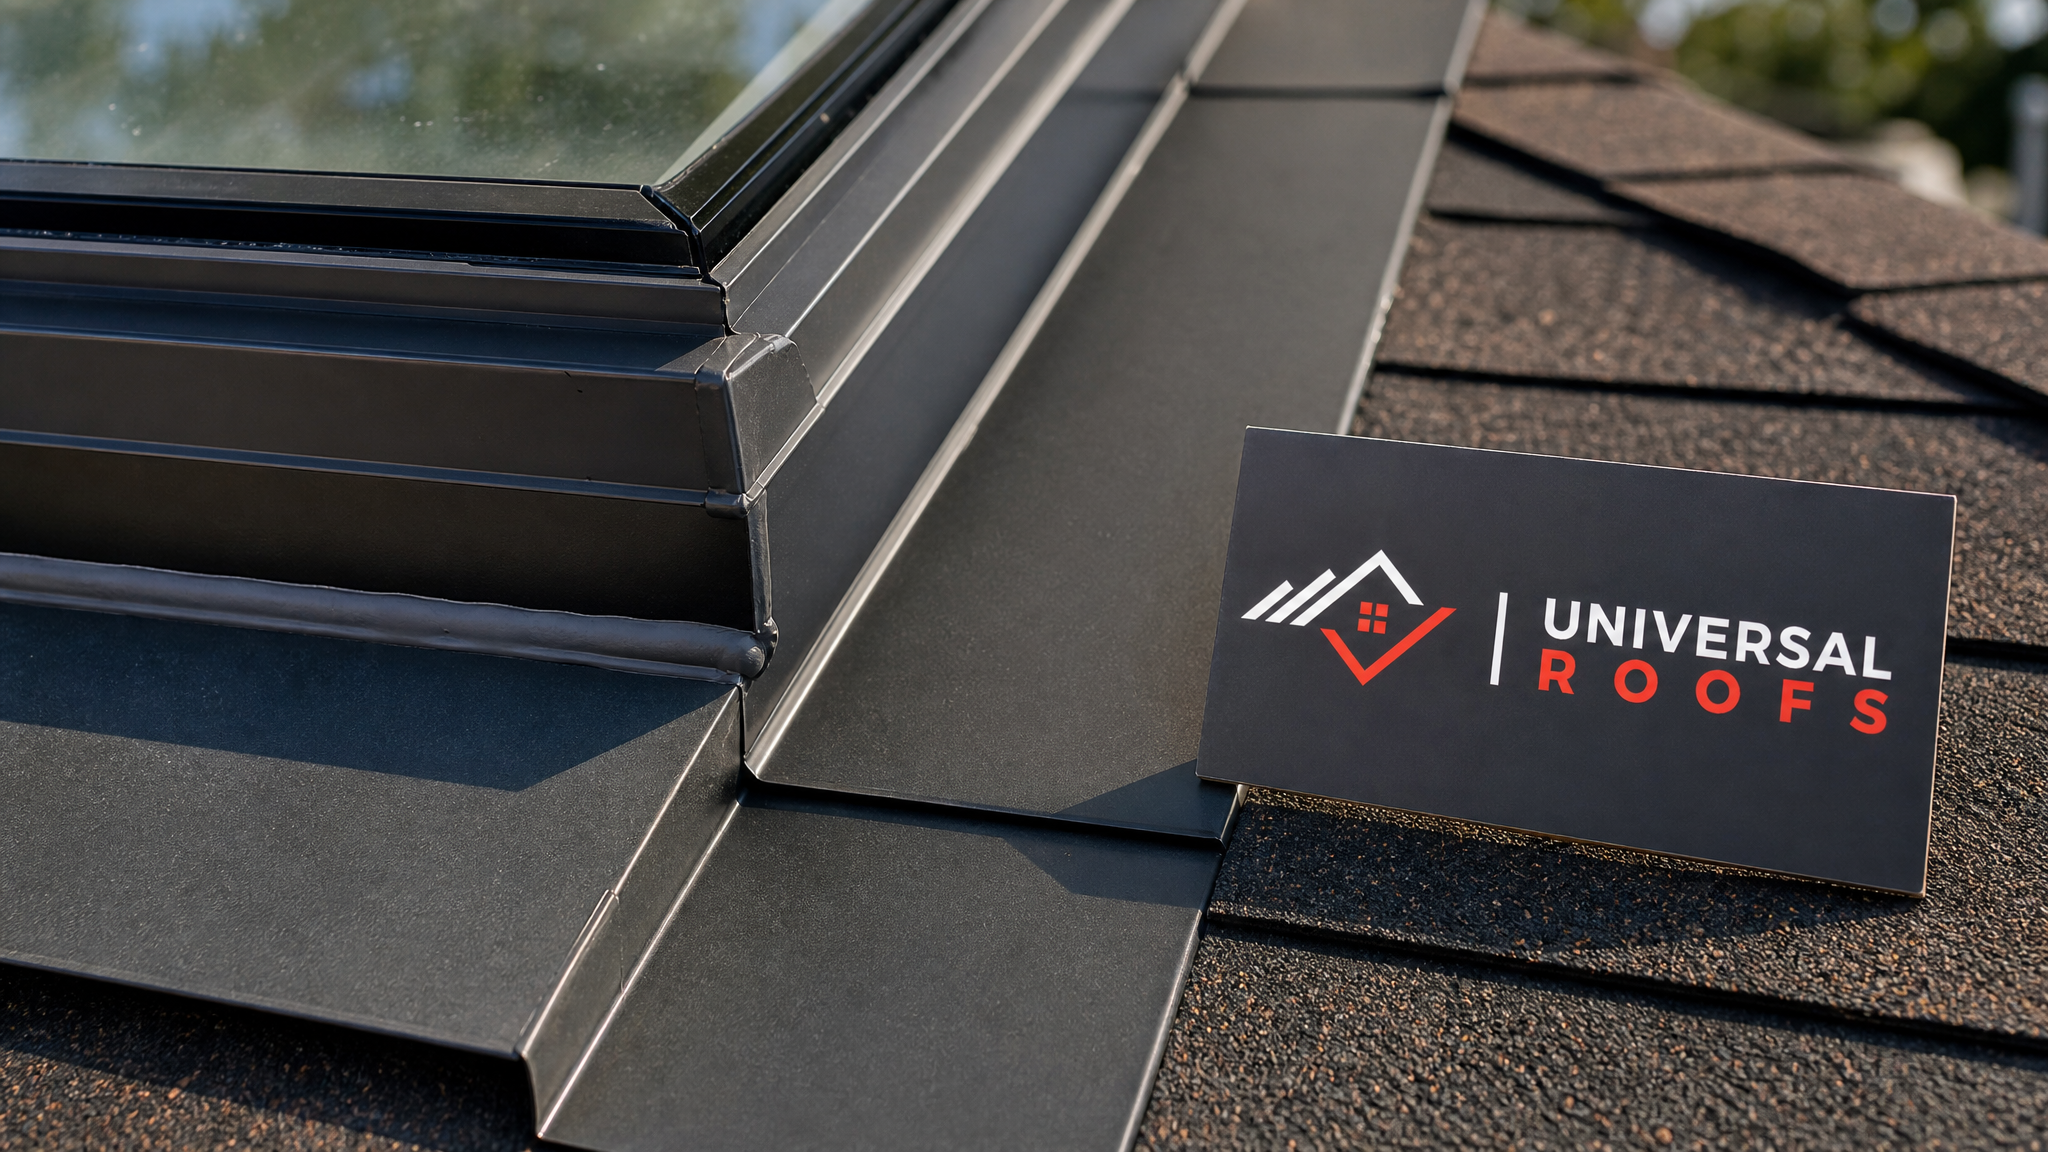
New step flashing, head flashing, and a self-adhering underlayment membrane are installed around the skylight curb, layered correctly so water always flows over top of the layer beneath it, never underneath. This shingle-lap technique is fundamental to a watertight result.
Step 4: Sealing and Weatherproofing
A high-quality, UV-stable sealant is applied at the glazing-to-frame junction and along any exposed fastener heads. On older units, gaskets may be fully replaced rather than just resealed.
Step 5: Glass or Glazing Unit Service
If the insulated glass unit itself has failed, the sash or the glazing panel is removed and replaced with a new, properly sized unit matched to the existing frame.
Step 6: Interior Trim and Finish Repair
Any interior drywall, trim, or paint damaged by the original leak is patched and finished so the repair is invisible from inside the home.
Step 7: Final Water Test and Walkthrough
A responsible contractor performs a controlled water test on the repaired area and reviews the completed work with the homeowner before calling the job finished.
Repair vs. Replacement: How to Know Which Your Skylight Needs
Not every skylight problem calls for a full replacement, but some do. Contractors weigh a handful of factors when making this recommendation, and understanding them helps you avoid paying for repairs on a unit that is simply past its service life.
| Factor | Favours Repair | Favours Replacement |
|---|---|---|
| Age of unit | Under 10 years old | Over 15-20 years old |
| Frame condition | Solid, no rot or corrosion | Warped, corroded, or rotted frame |
| Glass condition | Clear, single seal failure | Multiple failed seals or cracked glass |
| Leak history | First occurrence | Recurring leaks despite repairs |
| Energy efficiency | Double or triple glazed already | Old single-pane or poorly insulated unit |
| Cost comparison | Repair under 40% of replacement cost | Repair approaching replacement cost |
If your skylight is approaching the two-decade mark, or has already needed two or three repair visits, it is usually more economical in the long run to consider a full skylight replacement. Newer units offer meaningfully better thermal performance, tighter tolerances, and often come with stronger manufacturer warranties than a patch-repaired older frame ever could.
What Skylight Repairs Typically Cost in the Toronto Area
Pricing varies with the scope of work, roof pitch, accessibility, and the type of skylight involved, but homeowners in the GTA can use the following as a general planning guide. Always get an on-site quote, since photos and phone descriptions rarely capture the full picture.
| Repair Type | Typical Cost Range (CAD) | Typical Timeline |
|---|---|---|
| Re-sealing / gasket replacement | $250 – $600 | Half a day |
| Flashing replacement (single unit) | $600 – $1,500 | 1 day |
| Insulated glass unit replacement | $700 – $2,200 | 1 – 2 days |
| Motor/actuator repair (venting units) | $300 – $900 | Half a day |
| Interior trim and drywall repair | $200 – $800 | 1 day |
| Full skylight replacement | $1,800 – $4,500+ | 1 – 2 days |
Keep in mind that emergency callouts during storm season, difficult roof access, and steep pitches can add to these figures. It is always worth asking a contractor to itemize labour, materials, and any disposal or trim finishing costs separately so you can compare quotes fairly.
How Toronto’s Climate Shapes Skylight Repair Work
Skylight repair in the GTA is not identical to skylight repair in a milder climate, and any contractor who does not account for our specific conditions is more likely to leave you with a repeat problem. A few local factors matter enormously:
Freeze-thaw cycling. Toronto winters regularly swing above and below freezing multiple times per week. Any water that gets behind flashing or into a sealant crack will expand as ice, widening the gap and accelerating failure. This is why flashing work needs generous overlap and flexible, cold-rated sealants rather than the cheapest caulk available.
Ice damming. When heat escapes from a poorly insulated attic, it melts snow on the upper roof, which then refreezes at the colder eaves and around obstructions like skylight curbs. The resulting ice dam can force water backward under shingles and flashing. Good skylight repair almost always includes a check of nearby attic insulation and ventilation, since fixing the flashing alone will not stop leaks caused by ice damming upstream.
Summer storm intensity. July and August bring intense, short-duration downpours that stress-test any weak point in a roof’s waterproofing almost immediately. If your skylight has been “fine” for years but suddenly leaked during a recent summer storm, it likely means a seal that was already marginal finally gave way under heavier-than-usual rainfall.
UV exposure. Long summer days mean more cumulative UV exposure on sealants and gaskets, which is one of the primary reasons these materials need replacement every 8-12 years even without any visible damage.
A contractor familiar with these regional patterns, whether working in Toronto, Peel Region, York Region, Halton Region, or Durham Region, will design a repair to withstand the next decade of GTA weather, not just patch the symptom you called about.
What to Ask Before Hiring a Skylight Repair Contractor
Because skylight leaks can be tricky to diagnose and even trickier to fix permanently, the contractor you choose matters as much as the materials used. Here is a practical checklist for vetting a company before you sign anything.
- Do you carry proper liability insurance and WSIB coverage? Any contractor working at height on your home should be fully insured.
- Will you provide a written scope of work? Vague verbal quotes lead to disputes later. Get flashing type, sealant brand, and labour scope in writing.
- What warranty do you offer on the repair? Reputable contractors typically warranty workmanship for at least 2-5 years, separate from any manufacturer warranty on the skylight unit itself.
- Can you show examples of similar skylight repairs? Photos of past flashing and sealing work tell you more than a sales pitch.
- Will you inspect the surrounding roofing, not just the skylight? A leak often originates from adjacent shingles or membrane, not the skylight hardware itself.
- Do you offer a free on-site assessment? Phone-only estimates are rarely accurate for leak diagnosis.
You can also check independent customer reviews to see how a company has handled real repair jobs, and browse a company’s frequently asked questions page for how transparently they answer common homeowner concerns before you even pick up the phone.
Simple Maintenance Steps to Extend Your Skylight’s Life
Professional repair handles the problems that have already appeared, but a bit of routine homeowner maintenance can delay or prevent many of them altogether. Consider these habits as part of your seasonal home care routine:
- Inspect visually twice a year, ideally in spring and fall, looking for cracked sealant, lifted flashing edges, or debris buildup around the curb
- Clear leaves and debris from the area around the skylight, since trapped organic matter holds moisture against the flashing
- Check interior trim after major storms for any new staining, which can catch a problem before it spreads
- Keep gutters and nearby roof drainage clear, since overflow can back up water toward skylight curbs
- Test venting skylight motors periodically so a small mechanical issue does not go unnoticed until it fails completely
- Schedule a professional roof inspection every few years, particularly if your roof and skylights are approaching 10-15 years old
None of these steps require climbing onto the roof yourself, which we would strongly discourage for safety reasons. A pair of binoculars from the ground or a look from an upstairs window is usually enough to spot obvious red flags, with a professional called in for anything closer than that.
DIY Repair: When It Is Reasonable and When It Is Not
Some homeowners are tempted to handle a small skylight leak themselves, and in a few limited cases, that is reasonable. Reapplying a small bead of interior trim caulk, for instance, is low-risk and low-skill. But most skylight repairs fall outside safe or effective DIY territory for a few clear reasons.
Working at roof height without fall protection is dangerous, full stop, and this is the primary reason we always recommend a professional for any exterior work. Beyond safety, flashing work requires specific sequencing knowledge — installed incorrectly, a DIY flashing “fix” can actually make a leak worse by trapping water in a new location rather than shedding it. Sealant alone almost never solves a flashing problem, even though it is the most common DIY attempt, because it does not address water that is already getting underneath the roofing material.
If you are dealing with anything beyond a cosmetic interior trim touch-up, it is worth having a qualified technician assess the situation, even if you ultimately decide to wait before committing to the full repair. An accurate diagnosis costs far less than a redo after a failed DIY attempt.
How do I find expert skylight repair contractors near me in Toronto?
What is the ultimate how-to for diagnosing a skylight leak myself before calling a contractor?
How much do expert skylight repair contractors typically charge in the GTA?
Can a skylight be repaired instead of replaced?
How long does a professional skylight repair take?
Why does my skylight keep leaking even after a previous repair?
Need Help With Expert Skylight Repair Contractors?
Whether you are dealing with a persistent drip, a foggy pane, or a skylight that simply will not close properly anymore, the team at Universal Roofs has the experience to diagnose the real cause and fix it right the first time. We also handle related work like roof repair and flat roofing for homes where the skylight issue turns out to be part of a broader roofing concern.
Call us today at (416) 732-2421 or request a free inspection to get started.
Universal Roofs proudly serves Toronto, Mississauga, Brampton, Vaughan, Markham, Oakville and the GTA since 2005.