
A leaking or fogged-up skylight is one of those problems homeowners try to fix themselves before calling a professional, and that instinct is not wrong. Plenty of minor skylight issues genuinely are within reach of a careful, moderately handy homeowner with the right tools and a Saturday afternoon to spare. The trick is knowing which repairs are safe and sensible to attempt yourself, and which ones are false economy that can turn a $200 problem into a $2,000 one.
This guide covers the five best DIY skylight repair tips that actually work for GTA homes, along with the warning signs that tell you it is time to stop climbing the ladder and start dialling a phone. Toronto’s climate is uniquely hard on skylights: freeze-thaw cycles in winter, intense UV in summer, and heavy spring rain all stress the seals, flashing, and glazing around a roof opening in ways that flatter, drier climates never see. A repair approach that works in Arizona will not necessarily hold up on a Scarborough bungalow in February.
We wrote this as a practical, no-nonsense reference: what you can safely do yourself, what tools and materials to buy, how much time each fix takes, and where the line sits between “smart DIY” and “call a licenced roofer.” If you get partway through a repair and realize it is bigger than expected, Universal Roofs has been servicing skylights across the Greater Toronto Area since 2005 and can pick up exactly where you left off.
Before You Start: Safety and Diagnosis First
Before touching caulk gun or ladder, take fifteen minutes to actually diagnose the problem. The single biggest DIY skylight repair mistake homeowners make is treating the symptom instead of the source. Water stains on the ceiling below a skylight do not always mean the skylight itself is leaking — condensation, ice damming, attic ventilation problems, and even unrelated roof flashing failures nearby can all mimic a skylight leak.
Start indoors. Look at the stain pattern: is it directly under the skylight frame, or does it trail off to one side, suggesting water is travelling along a rafter from somewhere else? Check whether the moisture appears only after heavy rain (pointing to a flashing or seal failure) or mainly on cold mornings (pointing to condensation). Feel the interior frame — if it is damp and beaded rather than stained, that is very likely condensation, not a leak, and no amount of exterior caulking will fix it.
Safety matters as much as diagnosis. Skylights sit on roof slopes, and even a “quick five-minute fix” means working at height on a pitched surface, often wet or covered in granules that reduce traction. Use a properly extended and footed extension ladder, never work alone, wear rubber-soled shoes, and if your roof pitch is steeper than about 6/12 or the skylight is on a second-storey roof, this is a job better suited to a crew with harnesses and roof anchors than a homeowner on a Saturday. Our roof repair technicians carry proper fall protection for exactly this reason.
| Symptom | Likely Cause | DIY-Friendly? | Urgency |
|---|---|---|---|
| Water stain directly under frame after rain | Failed flashing or perimeter seal | Sometimes | Moderate — address within weeks |
| Beading moisture, no correlation to rain | Condensation from poor ventilation | Yes | Low — comfort issue |
| Foggy or cloudy glazing between panes | Failed seal on double/triple-glazed unit | No | Moderate — replacement needed |
| Cracked or yellowed acrylic dome | UV degradation of older plastic dome | No | High if cracked |
| Visible daylight around frame edge | Gap in flashing or trim | Sometimes | High |
| Dripping during active snowmelt only | Ice damming above skylight | Partially | Seasonal, high in winter |
Tip 1: Reseal the Perimeter With the Right Sealant
The most common DIY skylight repair — and the one most likely to actually succeed — is resealing a perimeter that has developed small gaps or cracked caulking. Over 10-15 years, Toronto’s seasonal expansion and contraction (baking summer sun followed by -20°C winter nights) causes even good sealant to shrink, crack, and pull away from the frame.
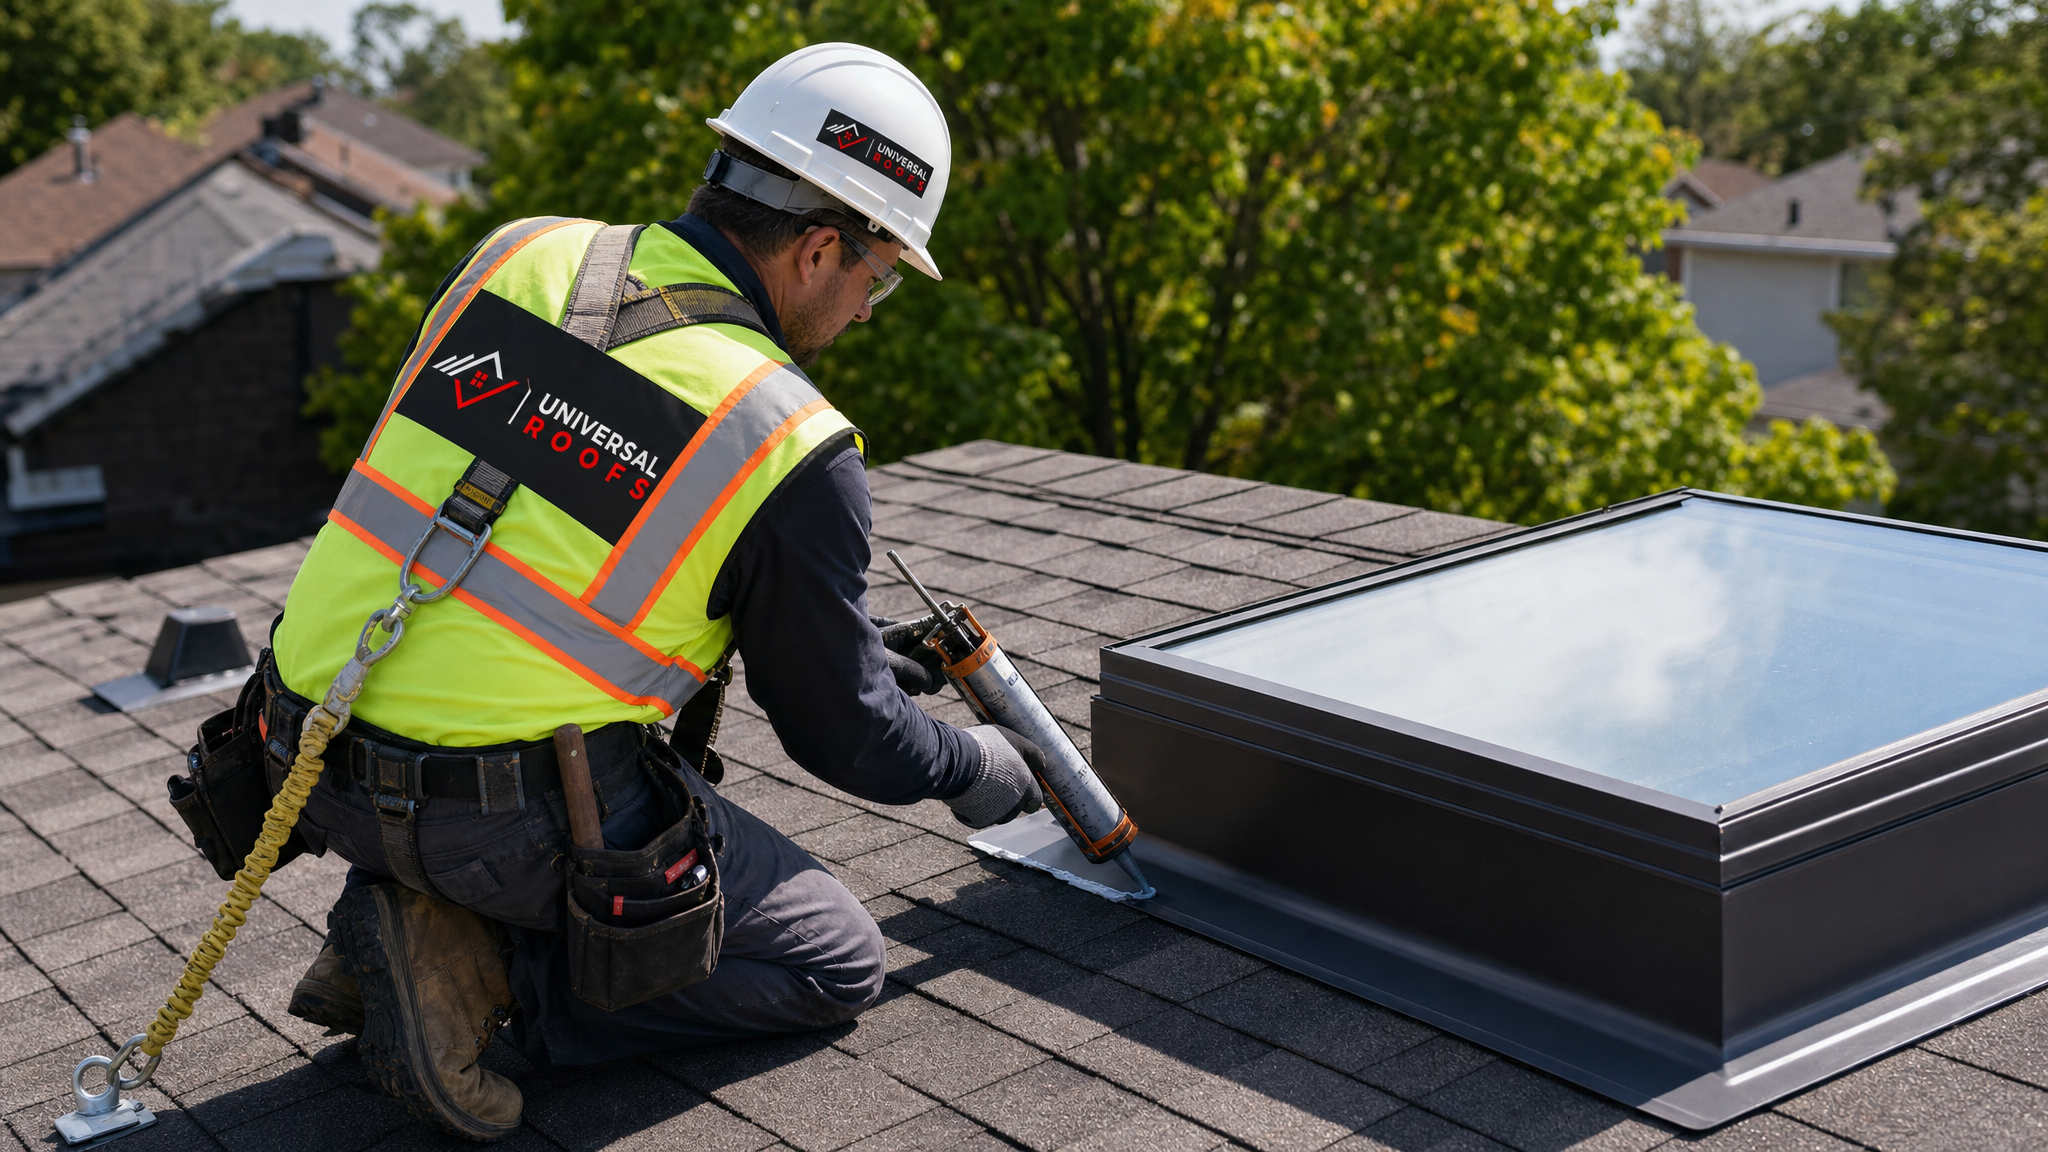
Start by removing all of the old, failed sealant with a plastic scraper or a specialized caulk-removal tool — never a metal blade, which can scratch the flashing or frame and create new leak points. Clean the surface thoroughly with isopropyl alcohol and let it dry completely; sealant applied over dust, pollen, or residual moisture will fail again within a season, often faster than the original.
For the new bead, use a purpose-made roofing or skylight sealant rated for exterior UV exposure and temperature swings from -30°C to 50°C — generic bathroom or kitchen silicone is not built for this and will crack within a year or two on an exposed roof. Apply a continuous, unbroken bead around the entire frame-to-roof junction, tooling it smooth with a wet finger or purpose tool so it seats fully against both surfaces rather than sitting as a bridge that water can undercut.
| Sealant Type | Best For | Temperature Range | Expected Lifespan |
|---|---|---|---|
| Polyurethane roofing sealant | Metal flashing joints, general perimeter | -30°C to 80°C | 8-12 years |
| Silicone (roofing-grade) | Glass-to-frame joints | -40°C to 90°C | 10-15 years |
| Butyl rubber tape | Flashing overlaps, quick patches | -30°C to 70°C | 5-8 years |
| Bathroom/kitchen silicone (not recommended) | Indoor use only | Limited UV resistance | 1-2 years on roof |
Give the sealant the full cure time listed on the tube — usually 24 to 48 hours — before any rain exposure if you can help it, and check the weather forecast before you start. A bead that gets rained on before it skins over will not bond properly, and you will be back on the ladder within a month. If you find the failure keeps recurring in the same spot year after year, that usually signals a flashing problem underneath rather than a sealant problem, which moves this out of DIY territory and into the realm of our roof repair crew.
Tip 2: Clear and Improve Drainage Around the Curb
Skylights are built with a raised curb specifically so water sheds around rather than pooling against the glazing, but debris changes that equation fast. Leaves, pine needles, roof granules, and windblown grit collect in the corners where the curb meets the roof deck, especially on lower-slope sections common on additions and bungalows. That debris dams water, forces it to sit against the seal for hours instead of draining in minutes, and accelerates seal failure dramatically.
Twice a year — late spring after pollen and seed drop, and late autumn after leaf fall — clear the area around every skylight by hand or with a soft brush. Never use a pressure washer directly on skylight seals or flashing; the pressure can force water under flashing laps that were never designed to resist direct jetting, creating a leak where none existed. A garden hose on a gentle spray, aimed downhill and away from seams, is sufficient to rinse loose debris.
While you are up there, check that the curb flashing has a clear, unobstructed path for water to run off on all four sides. If your skylight sits near a valley, chimney, or dormer, that debris load is often worse because those areas funnel extra runoff directly toward the skylight curb. Homes near mature trees in neighbourhoods across the Toronto and York Region areas tend to need this cleared more often — sometimes three or four times a year rather than twice.
Tip 3: Address Condensation Before It Mimics a Leak
A huge share of “skylight leak” service calls turn out to be condensation, and this is genuinely one of the easier problems for a homeowner to fix without ever going on the roof. Condensation forms when warm, humid indoor air contacts the cold interior surface of the skylight glazing or frame — exactly the physics that fogs a cold glass of lemonade on a summer patio, just happening on your ceiling instead.
The fix starts inside the house, not outside on the roof. Reduce humidity sources near the skylight: run bathroom and kitchen exhaust fans longer after showers and cooking, ensure a dryer vents outdoors rather than into the attic space, and consider a dehumidifier in basements or enclosed rooms during humid Toronto summers. If the skylight is an older single-glazed unit, condensation will be a near-permanent feature regardless of humidity control, because there is no insulating air gap to keep the interior pane warm.
| Glazing Type | Condensation Resistance | Typical Age | DIY Fixable? |
|---|---|---|---|
| Single-pane acrylic dome | Poor | 25+ years | No — replacement recommended |
| Double-glazed sealed unit | Good | 10-20 years | Yes if seal intact |
| Triple-glazed low-E unit | Excellent | 0-10 years | Rarely an issue |
| Double-glazed with failed seal (fogged) | Very poor | Any age | No — unit replacement needed |
Also check the attic space around the skylight shaft for adequate insulation and a vapour barrier. An under-insulated shaft lets warm interior air reach the cold roof deck and glazing directly, which is a leading cause of both condensation and, in winter, localized ice damming right above the skylight. This is where our attic insulation and ventilation team often finds the actual root cause after a homeowner has resealed a “leaking” skylight two or three times with no improvement.
Tip 4: Tighten and Inspect Interior Trim and Hardware
Not every skylight problem originates on the roof. Interior trim, blind hardware, and — on venting skylights — the crank or motor mechanism can loosen or fail over time, and these are genuinely simple, safe DIY fixes since they do not involve a ladder or roof access at all.
Start by checking the interior trim or drywall return where it meets the skylight frame. Small gaps here are typically a cosmetic and thermal issue rather than a water leak, since the actual weatherproofing happens at the roof level, but they do let conditioned air escape and can contribute to the frame getting cold enough to condensate. A bead of paintable acrylic caulk on the interior trim seam is a five-minute fix that also improves the room’s energy efficiency.
For venting (operable) skylights, inspect the crank mechanism, weatherstripping gasket around the sash, and any motorized components. A loose crank handle can usually be re-seated by removing a small set screw and reseating it on the shaft. A worn weatherstripping gasket — visible as a compressed, cracked, or gapped rubber seal around the moving sash — is a straightforward swap using a manufacturer-matched replacement gasket, which most skylight manufacturers sell directly for common model years.
| Repair Task | Tools Needed | Typical Time | Estimated DIY Cost |
|---|---|---|---|
| Reseal exterior perimeter | Scraper, caulk gun, sealant, ladder | 1-2 hours | $25-$60 |
| Clear curb debris/drainage | Soft brush, garden hose, ladder | 30-45 min | $0-$15 |
| Interior trim resealing | Caulk gun, paintable caulk | 20-30 min | $10-$20 |
| Weatherstripping gasket swap | Screwdriver, replacement gasket | 30-60 min | $20-$50 |
| Crank mechanism re-seat | Small screwdriver, Allen key set | 15-20 min | $0-$15 |
If a motorized venting skylight stops responding entirely, resist the urge to force the mechanism or pry the sash open manually — this can strip the drive gear or bend the sash arm, turning an electrical fix into a full unit replacement. Check the remote batteries and any GFCI-protected outlet or breaker first; those solve the problem more often than people expect.
Tip 5: Know the Warning Signs That Mean Stop and Call a Professional
The best DIY skylight repair tip of all is recognizing your own limit before a small job becomes a bigger, more expensive one. Certain signs mean the smart move is to stop and bring in a licenced roofer rather than keep troubleshooting from a ladder.
Cracked or crazed acrylic domes are not repairable with sealant or tape — the plastic itself has degraded from UV exposure, and any patch is temporary at best. Fogging between panes of a double- or triple-glazed unit means the factory seal has failed and the insulating gas has escaped; no exterior sealant can fix an internal seal failure, and the unit needs replacement. Soft, spongy, or visibly rotted decking or framing around the skylight opening means water has been getting in for a while and structural material needs to be cut out and replaced, which is well beyond caulk-and-ladder territory.
Persistent leaks that return after two genuine resealing attempts almost always indicate a flashing problem — the metal step flashing, counter-flashing, or the skylight’s own integrated flashing kit has failed or was installed incorrectly originally. Flashing repair requires removing shingles or roofing membrane around the skylight, which is not a homeowner-safe or homeowner-legal task on most steep-slope roofs, and doing it wrong typically makes the leak worse and voids any remaining manufacturer warranty.
| Warning Sign | Why DIY Won’t Fix It | Recommended Action |
|---|---|---|
| Cracked or crazed dome | Material failure, not a seal issue | Schedule skylight replacement |
| Fogging between panes | Internal factory seal failure | Unit replacement required |
| Soft or rotted decking nearby | Structural repair needed first | Professional roof repair assessment |
| Leak recurs after 2 DIY reseals | Underlying flashing failure | Professional flashing replacement |
| Skylight over 20 years old | Multiple components likely near end of life | Replacement often more cost-effective than repair |
Age is also a practical cutoff. A skylight older than 15-20 years has typically reached the end of its glazing seal life, its flashing kit’s expected service life, and often its frame’s structural integrity, all around the same time. At that point, chasing individual repairs stops being cost-effective, and a full skylight replacement with a modern, better-insulated unit is usually the smarter long-term investment — especially given how much more efficient today’s low-E, argon-filled units are compared to skylights installed in the early 2000s.
Tools and Materials Checklist for DIY Skylight Repair
Having the right kit on hand before you start prevents the frustrating mid-repair trip to the hardware store — and prevents the temptation to substitute the wrong product because it is what’s already in the garage.
- Roofing-grade or skylight-specific sealant (polyurethane or silicone, UV-rated)
- Plastic putty knife or dedicated caulk-removal tool
- Isopropyl alcohol and clean rags for surface prep
- Caulk gun rated for the sealant’s viscosity
- Soft-bristle brush for debris clearing
- Properly footed and extended aluminum or fibreglass extension ladder
- Rubber-soled, non-slip footwear
- Safety glasses and work gloves
- A helper to foot the ladder and watch from the ground
- Binoculars or a phone camera with zoom, to inspect from the ground before climbing
One habit that saves both time and money: photograph the skylight and surrounding flashing before you start any work. If the repair does not hold and you need to call in a professional, before-and-after photos help our technicians diagnose faster and avoid duplicate work, whether the underlying issue turns out to be the skylight itself or a broader section of flat roofing or shingle roofing nearby.
Seasonal Timing for Skylight Repairs in the GTA
When you attempt a DIY skylight repair matters almost as much as how you do it. Sealants need dry conditions and moderate temperatures to cure properly — most products specify application between 5°C and 32°C, which rules out both deep winter and the most humid days of a Toronto summer.
Late spring, once overnight frost risk has passed but before the humid mid-summer stretch, is generally the best window for exterior perimeter resealing. Early autumn is the second-best window, giving sealant time to fully cure before winter’s freeze-thaw cycling begins testing it. Attempting a reseal in July’s high humidity or in a shoulder-season cold snap increases the odds of a poor cure and a repeat leak within months.
| Season | Suitability for DIY Repair | Notes |
|---|---|---|
| Late spring (May-June) | Excellent | Ideal temperature and humidity for sealant cure |
| Summer (July-August) | Good, with care | Avoid highest-humidity days; work early morning |
| Early autumn (Sept-Oct) | Excellent | Cures before winter freeze-thaw begins |
| Winter (Nov-Mar) | Poor | Most sealants won’t cure properly below 5°C |
If a leak appears mid-winter, a temporary interior patch (absorbent material to catch drips, plus documenting the issue) is the safest stopgap until conditions allow a proper exterior repair, or until a professional crew can safely access the roof. Winter roof access carries real fall risk on snow- or ice-covered slopes, which is exactly the kind of job our crews handle with proper roof anchors and harness systems that a homeowner ladder setup simply cannot match.
When Repair Isn’t Enough: Considering Replacement
Sometimes the most honest answer to “how do I fix my skylight” is “you don’t — you replace it.” Weighing repair against replacement comes down to the skylight’s age, how many separate issues it has, and the cumulative cost of repeated DIY attempts that keep not-quite-working.
A single, isolated issue — a cracked bead of exterior sealant, a clogged drainage channel, a loose interior trim seam — is almost always worth repairing, whether by DIY or professional service. But when a skylight has two or more issues simultaneously (say, fogged glazing plus a cracked dome, or a flashing leak plus rotted decking), the combined repair cost frequently approaches or exceeds the cost of a modern replacement unit that comes with a fresh manufacturer warranty and dramatically better energy performance.
Homeowners across our service areas — from Peel Region to Halton Region to Durham Region — often reach out after a string of DIY attempts on an ageing skylight, and a straightforward on-site assessment usually clarifies within minutes whether another repair makes sense or whether replacement is the better long-term value. Reading through our reviews or checking our FAQ page is a good next step if you are weighing that decision. There is no shame in trying the DIY route first; it is often the right call. But there is also no reason to keep pouring caulk and weekends into a unit that has genuinely reached the end of its service life.
Can I do DIY skylight repair myself, or should I always hire a professional?
What is the best sealant for DIY skylight repair?
How do I tell if my skylight is leaking or just has condensation?
What time of year is best for DIY skylight repair in Toronto?
How much does DIY skylight repair typically cost compared to professional repair?
When should I replace my skylight instead of repairing it?
Need Help With 5 Best DIY Skylight?
DIY repair handles a real share of skylight problems, but when the issue turns out to be flashing, structural, or beyond ladder-safe reach, Universal Roofs is ready to finish the job properly and permanently.
Call us today at (416) 732-2421 or request a free inspection to get started.
Universal Roofs proudly serves Toronto, Mississauga, Brampton, Vaughan, Markham, Oakville and the GTA since 2005.