
Older homes across the Greater Toronto Area carry a kind of charm you can’t replicate with modern subdivisions — deep eaves, steep pitches, decorative dormers, and rooflines that were built to last generations. But that charm comes with a challenge. When the shingles on a century home in Cabbagetown or a 1920s bungalow in Leaside start failing, the fix isn’t always “tear it off and start over.” Restoring vintage roofs with a shingle repair approach — rather than a full rip-and-replace — is often the smarter, more respectful, and more cost-effective path, provided it’s done correctly.
This guide walks through exactly how to evaluate, repair, and restore an aging shingle roof on a heritage or vintage property, including when repair makes sense versus when it doesn’t, how to match discontinued shingle profiles, what it costs in the GTA market, and the specific techniques that keep an older roof watertight without erasing its character. We’ll also cover the freeze-thaw realities of a Toronto winter and why summer is actually the ideal season to tackle this work.
Whether you’re the owner of a designated heritage property with strict renovation rules, or simply the proud caretaker of a 60-plus-year-old roof that still has good bones, this article gives you a practical, contractor-level framework for restoring vintage roofs a shingle repair job can genuinely fix.
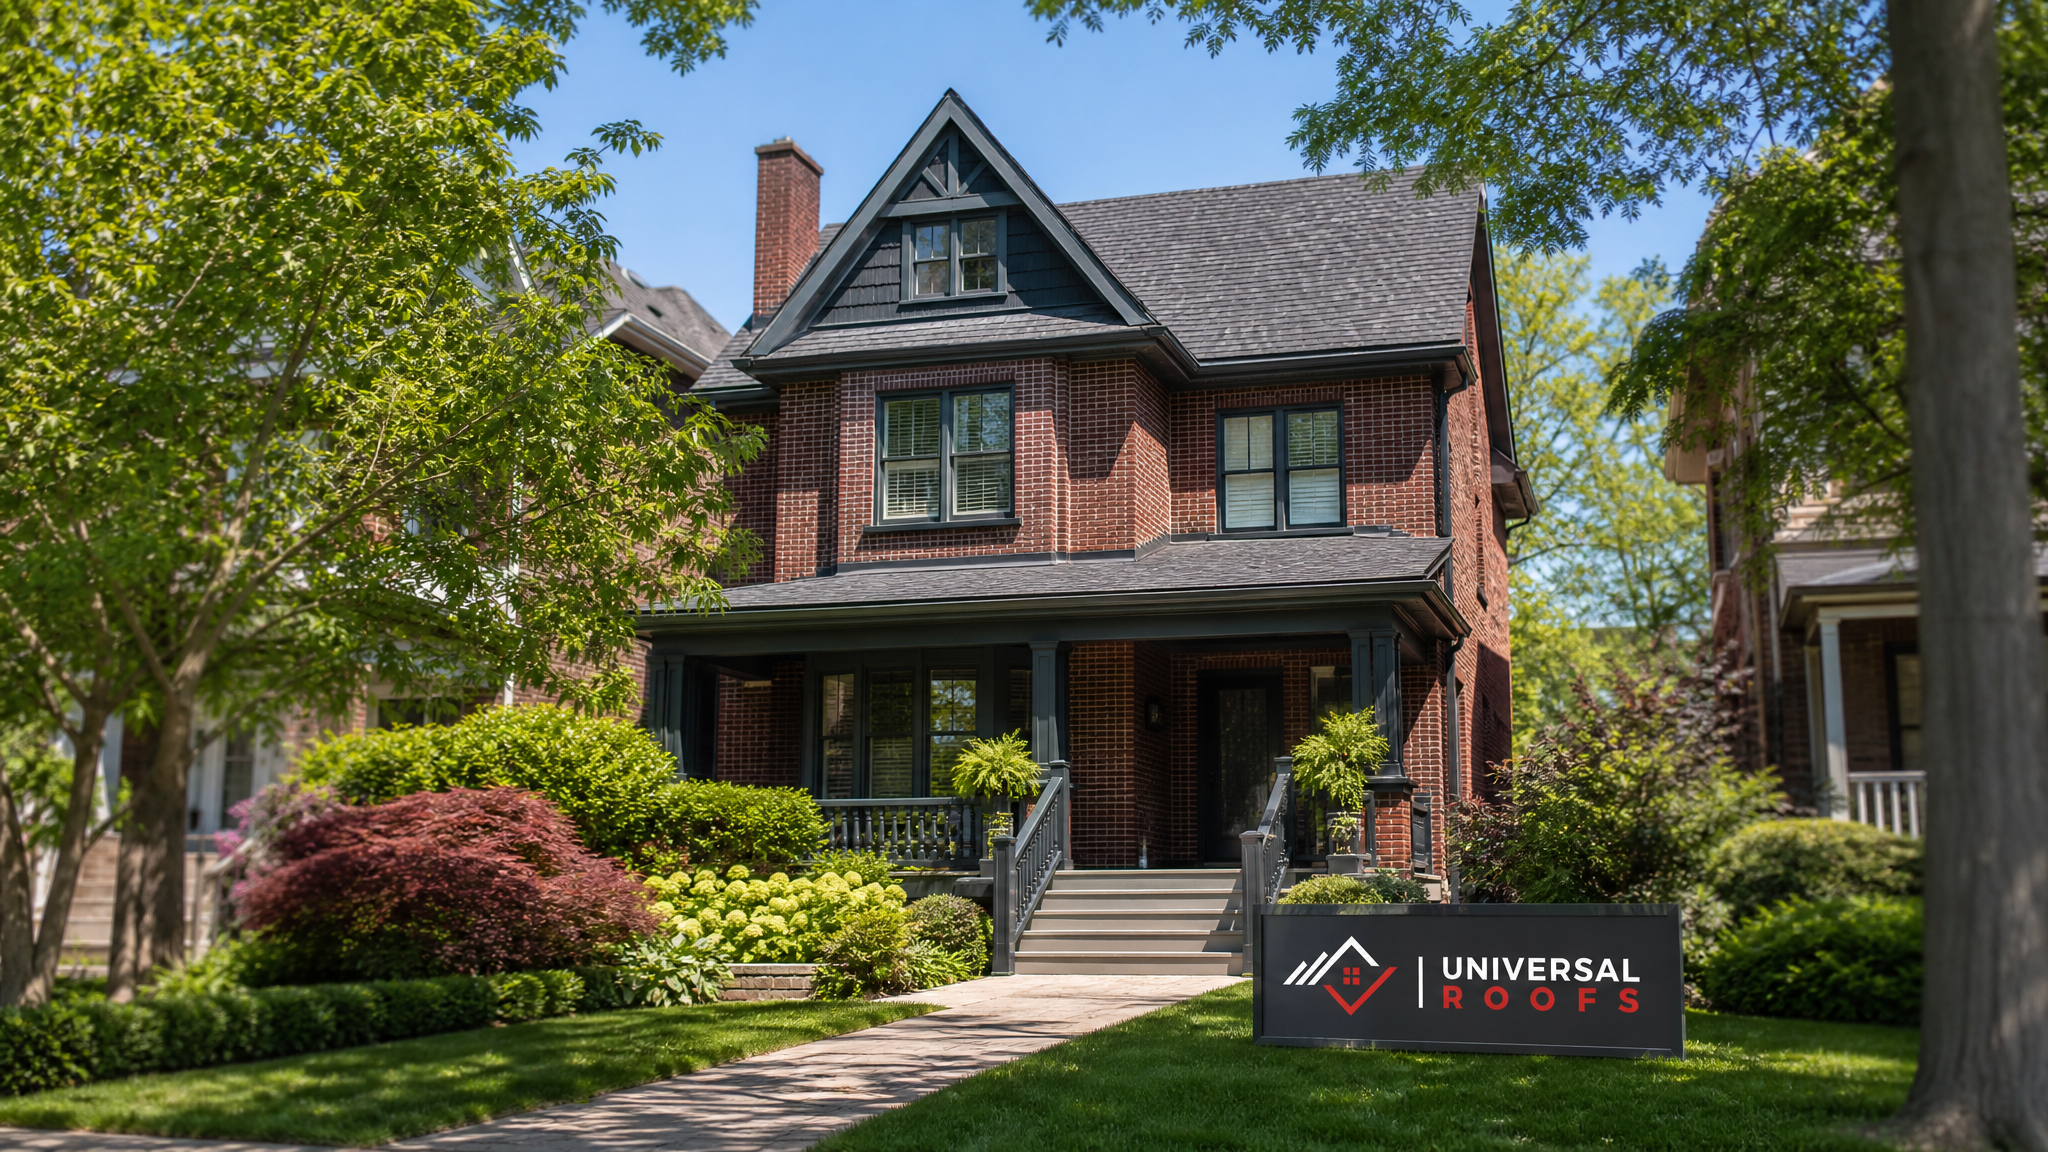
Why Vintage Roofs Need a Different Approach Than Standard Reroofs
A vintage roof — generally anything installed before the 1980s, or any roof on a home with recognized heritage value — was often built with materials, spacing, and detailing that modern crews don’t encounter on a typical subdivision reroof. Original roof decking may be true 1-inch board sheathing rather than plywood or OSB. Original shingle profiles, colours, and exposure widths may no longer be manufactured. Flashing details around dormers, chimneys, and valleys were frequently hand-formed on site rather than pulled off a rack.
This matters because restoring vintage roofs a shingle repair project has to solve two problems simultaneously: stop water intrusion and preserve visual authenticity. A crew that only understands modern reroofing will default to whatever shingle is on the truck, which can leave a jarring patchwork on a heritage façade — mismatched colour blocks, wrong exposure lines, or a modern architectural shingle sitting awkwardly next to 60-year-old three-tab originals.
At Universal Roofs, we’ve worked on enough century homes across the GTA to know that a proper vintage shingle repair starts with an honest inspection, not an assumption. Before any shingles come off, the roof needs a full diagnostic to determine what’s actually failing versus what’s merely weathered and cosmetically tired but still structurally sound.
Step One: A Proper Diagnostic Inspection
The single biggest mistake homeowners make with an older roof is assuming that visible wear equals failure. Curling, faded, or lightly moss-covered shingles can still be doing their job. The real questions a diagnostic inspection needs to answer are:
- Is water actually reaching the decking, or is this surface weathering only?
- Are the granules gone to the point of bare mat exposure (a true failure sign), or just thinned?
- Is the decking itself sound, or has moisture caused rot, delamination, or sagging?
- Are flashing points — chimney, valleys, dormers, skylights — the actual source of leaks, rather than the shingle field itself?
- How much of the roof is genuinely original material versus a previous patch job?
This last point matters enormously on vintage homes, because many have already been through one or two partial repairs by previous owners, often with mismatched materials. A thorough roof repair assessment maps out the roof section by section rather than treating it as one uniform surface.
In our experience, roughly 60-70% of vintage shingle problems are concentrated at penetrations and transitions — chimneys, valleys, skylight curbs, and dormer cheek walls — rather than spread evenly across the shingle field. That’s good news: it means a full teardown is often unnecessary, and a targeted, well-matched shingle repair can restore the roof’s integrity for a fraction of replacement cost.
Repair vs. Replacement: How to Decide
This is the question every vintage roof owner eventually has to answer, and it deserves an honest, criteria-based framework rather than a sales pitch. Here’s how we evaluate it on site.
| Factor | Favours Repair | Favours Full Replacement |
|---|---|---|
| Roof age | Under 20-25 years, or original heritage material still performing | Original install exceeds 30+ years with widespread granule loss |
| Decking condition | Solid, dry, no soft spots when walked or probed | Soft, spongy, or delaminated sheathing in multiple areas |
| Extent of damage | Isolated to specific sections, flashing points, or one slope | Widespread curling, cracking, or bald spots across all slopes |
| Material availability | Reasonable colour/profile match available or reclaimable | No viable match exists and blending would look patchy |
| Underlying structure | Rafters and trusses sound, no sagging | Visible sagging, structural movement, or truss damage |
| Budget horizon | Homeowner wants to extend roof life 5-10 years affordably | Homeowner plans to stay long-term and wants a 25+ year reset |
If your roof lands mostly in the “favours repair” column, restoring vintage roofs a shingle repair strategy is almost always the financially and architecturally smarter move. If it lands in the “favours replacement” column, our roof replacement team can guide you through a full reroof that still respects the home’s original lines and colour palette.
Matching Shingles on a Vintage Roof: The Real Challenge
Matching new shingles to a 30, 40, or 60-year-old roof is the part of this job that separates an experienced restoration crew from a standard reroofing contractor. A few practical strategies we use:
1. Source Reclaimed or New-Old-Stock Material
For homes with truly discontinued profiles — thick, hand-cut cedar-look asphalt shingles from the 1960s and 70s, for example — reclaimed shingles pulled from a demolition of a similar-era home are sometimes the only way to get an exact match. It takes longer to source, but the visual payoff on a heritage façade is significant.
2. Blend Rather Than Match Exactly
When an exact match isn’t available, the next-best approach is selecting a modern shingle that’s close in colour tone and exposure width, then placing the patched section in a less visually prominent area — a rear slope, a dormer cheek, or a section obscured by a mature tree canopy — rather than the primary street-facing plane.
3. Stagger the Transition
Rather than a hard line where new shingles meet old, a skilled crew will stagger the transition row by row, blending the two materials gradually so the eye doesn’t catch a single sharp demarcation line.
4. Consider a Full-Slope Refresh
Sometimes the most cost-effective solution is replacing shingles on one entire slope (say, the rear roof) while leaving the street-facing slope original, since a full single-slope replacement in uniform new material looks far better than a patchwork on the same slope.
Materials Comparison for Vintage Shingle Restoration
Not every replacement shingle performs — or looks — the same on an older home. Here’s how the common options compare for a restoration-focused repair in the GTA climate.
| Shingle Type | Visual Match to Vintage Roofs | Expected Lifespan | Relative Cost |
|---|---|---|---|
| Standard 3-tab asphalt | Good match for pre-1990s original 3-tab roofs | 15-20 years | Lowest |
| Laminated architectural asphalt | Moderate — thicker profile can look modern unless carefully selected | 25-30 years | Moderate |
| Cedar-look heavyweight architectural | Excellent for wood-shake-era vintage homes | 25-30 years | Moderate-high |
| Reclaimed/salvaged original shingles | Best possible match, exact era-correct appearance | Variable — depends on remaining life of salvage | Variable, often labour-intensive to source |
| Synthetic composite shake/slate | Good for slate or shake-era homes wanting longevity over exact match | 40-50 years | Highest |
For most GTA heritage and pre-war homes, a laminated architectural shingle in a muted, era-appropriate colour — charcoal, weathered wood, or driftwood tones — strikes the right balance between availability, cost, and visual authenticity. Our team walks every client through swatch samples on-site, in daylight, against the actual existing roof before any material is ordered.
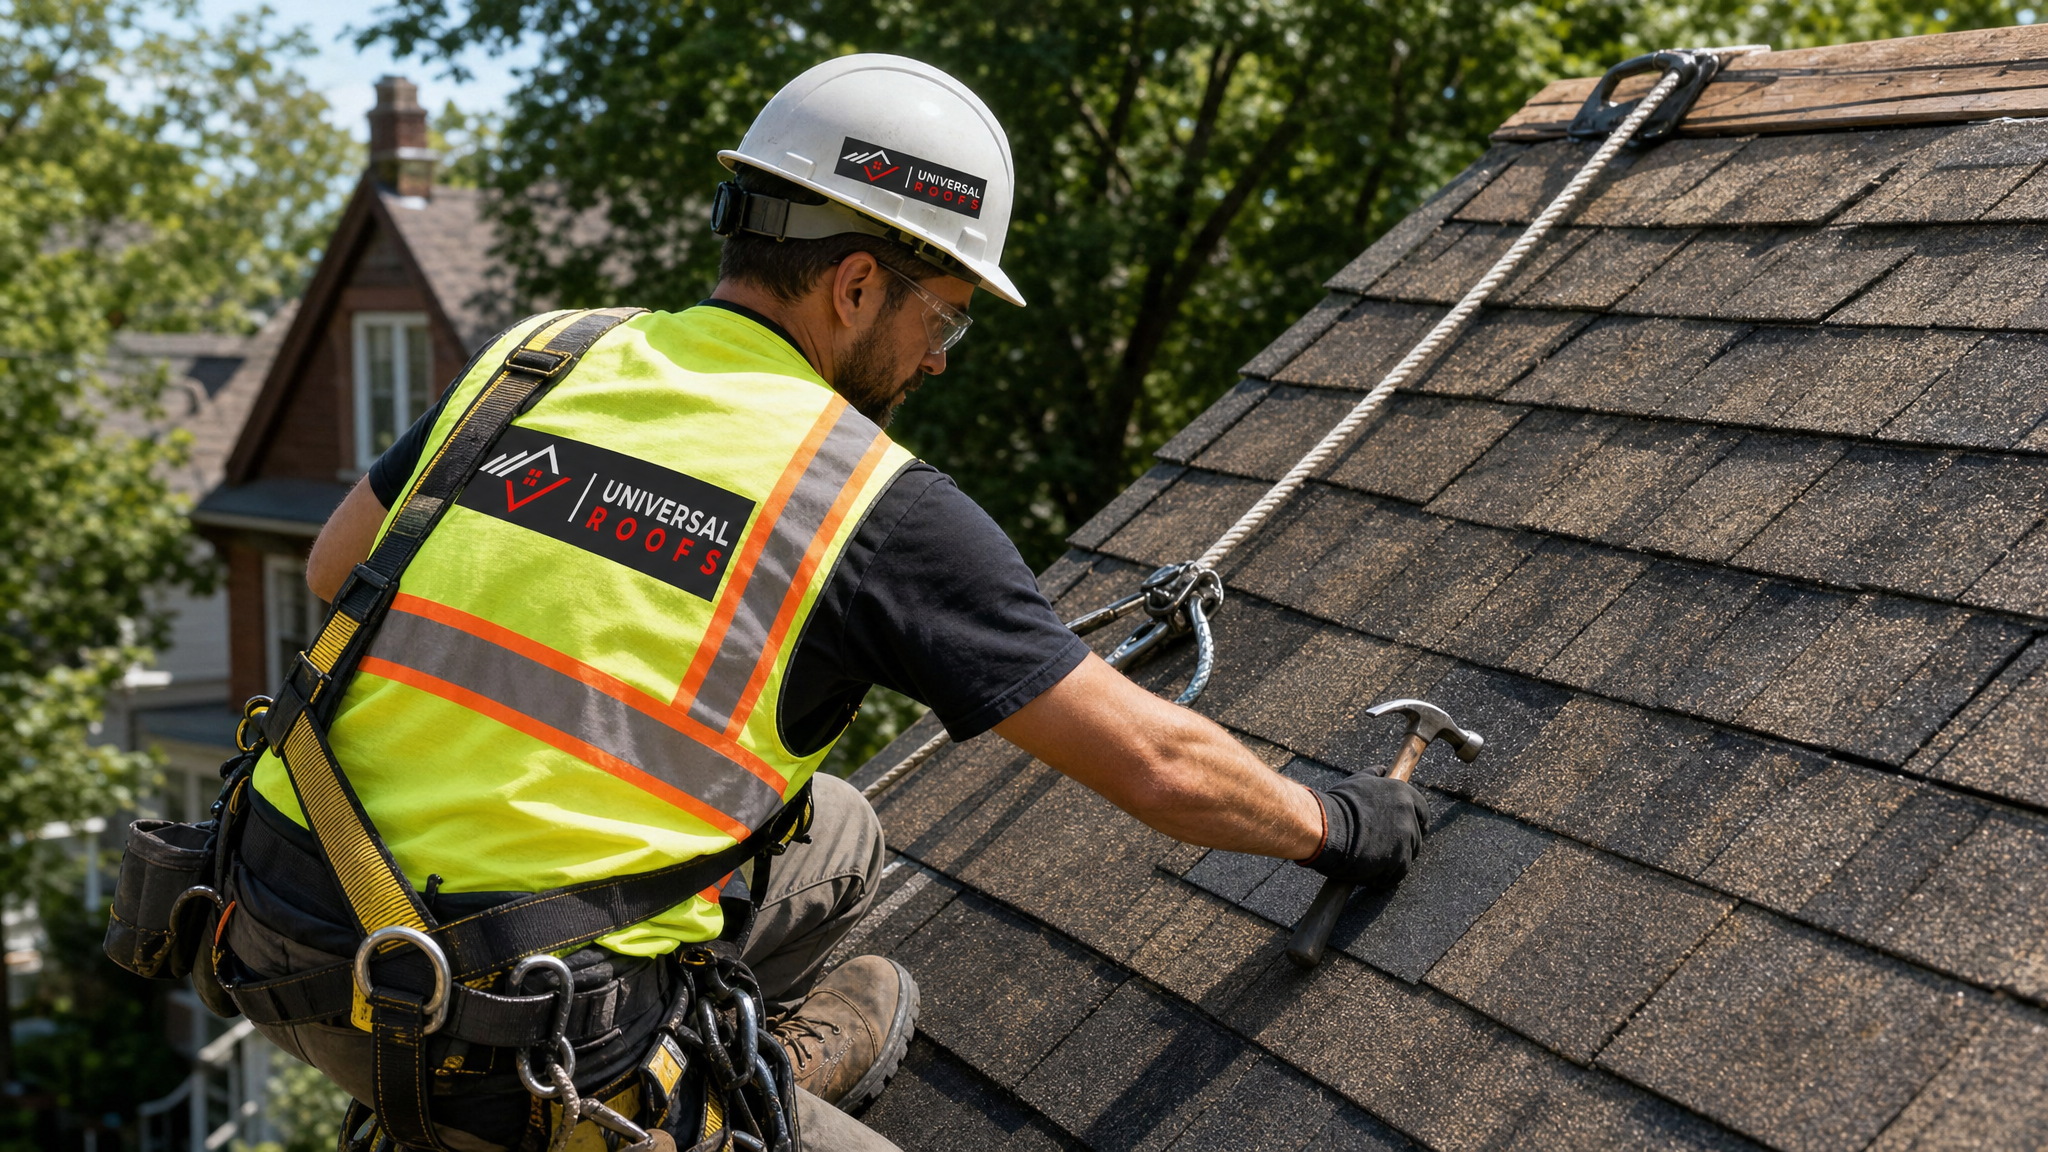
Step-By-Step: How a Vintage Shingle Repair Is Actually Done
Here’s the sequence our crews follow on a typical vintage shingle restoration, whether the job is a small flashing patch or a multi-section repair spanning several slopes.
- Full-roof photographic documentation — every slope, penetration, and existing patch is photographed before work begins, both for our records and for heritage-district compliance where applicable.
- Careful shingle removal — old shingles around the repair zone are lifted, not torn, to preserve adjacent undamaged shingles and avoid collateral cracking of brittle originals.
- Decking inspection and spot repair — any soft or delaminated sheathing revealed underneath is cut out and replaced with matching-thickness board or plywood before new shingles go down.
- Underlayment renewal — modern synthetic or felt underlayment is installed in the repair zone even though it wasn’t in the original 1960s-era build, since this single upgrade dramatically improves the repair’s water resistance.
- Flashing rebuild — chimney counter-flashing, valley metal, and step flashing at dormers are re-formed or replaced, since flashing failure is the leading cause of leaks on older homes.
- Shingle installation with blended transition — matched or blended shingles are installed with a staggered transition line as described above.
- Sealing and final inspection — all exposed nail heads, flashing edges, and transition seams are sealed, then the repair is walked and photographed again for the completion record.
Attention to the decking and flashing steps (3 and 5) is what separates a repair that lasts 10-15 years from one that fails again within two winters. If your home also has an older or converted attic space, it’s worth having our attic team check insulation and ventilation at the same time, since poor attic airflow accelerates shingle deterioration from underneath — a problem unique to many older GTA homes that were retrofitted with insulation decades after original construction.
Cost and Timeline Expectations
Every vintage roof is different, but homeowners consistently ask for a ballpark before committing to an inspection. Here’s a realistic range based on typical GTA vintage shingle repair projects.
| Repair Scope | Typical Cost Range (CAD) | Typical Timeline | Notes |
|---|---|---|---|
| Single flashing/penetration repair | $450 – $1,200 | 1 day | Chimney, vent, or single dormer flashing rebuild |
| Isolated shingle section (one small area) | $800 – $2,000 | 1-2 days | Includes decking check and blended shingle matching |
| Single full slope refresh | $2,500 – $6,000 | 2-3 days | Depends on slope size, pitch, and access |
| Multi-section restoration (several slopes) | $5,000 – $14,000 | 4-7 days | Sourcing reclaimed material can extend timeline |
| Reclaimed material sourcing (if required) | Add $500 – $3,000 | Adds 1-4 weeks lead time | Only needed for rare/discontinued profiles |
Homes located within a designated heritage conservation district in Toronto, Mississauga, or older parts of the GTA may also require heritage committee sign-off on exterior material changes, which can add administrative time but rarely changes the physical scope of work. Our estimators can flag this during the initial site visit if your property falls under a heritage overlay.
Why Summer Is the Ideal Season for This Work
Shingle repair on a vintage roof is far more forgiving in warm weather. Asphalt shingles — including the reclaimed and blended materials used in vintage matching — need warmth to properly seal down; the self-sealing adhesive strip on the underside of most shingles activates with sun exposure and ambient heat. A repair completed in July has weeks of hot Toronto summer to fully bond before the first frost, whereas a late-fall repair may not seal properly until the following spring, leaving it more vulnerable to wind uplift over winter.
Summer daylight hours also give crews more working time per day, which matters on vintage homes where careful, unhurried removal of brittle original shingles is essential to avoid unnecessary collateral damage. If you’ve been putting off a repair, mid-summer is genuinely one of the best windows of the year to get it done properly.
Winter Freeze-Thaw: The Enemy of an Aging Roof
Toronto’s freeze-thaw cycle is uniquely hard on older shingles. Water that seeps into hairline cracks, worn granule zones, or aging flashing seams during a thaw refreezes overnight, expanding and widening the damage with every cycle. On a roof already 30-plus years old, this is often what turns a small, repairable issue into a widespread failure within a single winter. Ice damming at eaves — especially common on vintage homes with shallower original eave overhangs and less attic insulation than modern builds — pushes meltwater back under the shingle line, which is one of the most frequent causes of interior leaks we see reported each spring.
Getting ahead of this with a summer or early-fall repair, rather than waiting until a leak actually appears mid-winter, is one of the most reliable ways to protect an older roof through the freeze-thaw season.
Common Restoration Mistakes to Avoid
Over years of restoration work on GTA heritage and vintage properties, a handful of recurring mistakes show up again and again:
- Using modern architectural shingles without checking blend — a thick, dimensional shingle patched next to flat original 3-tab material creates an obvious shadow line visible from the street.
- Skipping the decking inspection — patching shingles over rotted sheathing guarantees a repeat failure within a season or two.
- Ignoring flashing in favour of shingles alone — most vintage roof leaks originate at flashing, not in the open shingle field, so a shingle-only repair often misses the actual source.
- DIY patch jobs with incompatible sealants — using the wrong roofing cement or caulk on old, brittle asphalt can accelerate cracking rather than prevent it.
- Not documenting heritage-relevant details — for designated heritage properties, failing to photograph and match original details can create compliance headaches later.
A qualified crew familiar with our reviews and past restoration work can walk through each of these considerations on-site, giving you an honest read on what your specific roof needs rather than a one-size-fits-all quote.
When the Problem Isn’t the Shingles at All
Sometimes what looks like a shingle failure on a vintage home is actually a symptom of something else. A leak that seems to originate near a roof-mounted skylight, for instance, is often a flashing or seal issue at the skylight curb rather than the surrounding shingles — our skylights and skylight replacement teams frequently get called in alongside a shingle repair to solve the full picture. Similarly, a flat-roofed rear addition common on older semi-detached Toronto homes needs an entirely different repair approach than the pitched, shingled main roof — our flat roofing specialists handle that side of the property separately, using membrane systems rather than shingles.
An honest inspection distinguishes between these scenarios before any work begins, which is why we recommend a full-roof diagnostic rather than a narrow “just fix the shingles” quote whenever a vintage property is involved.
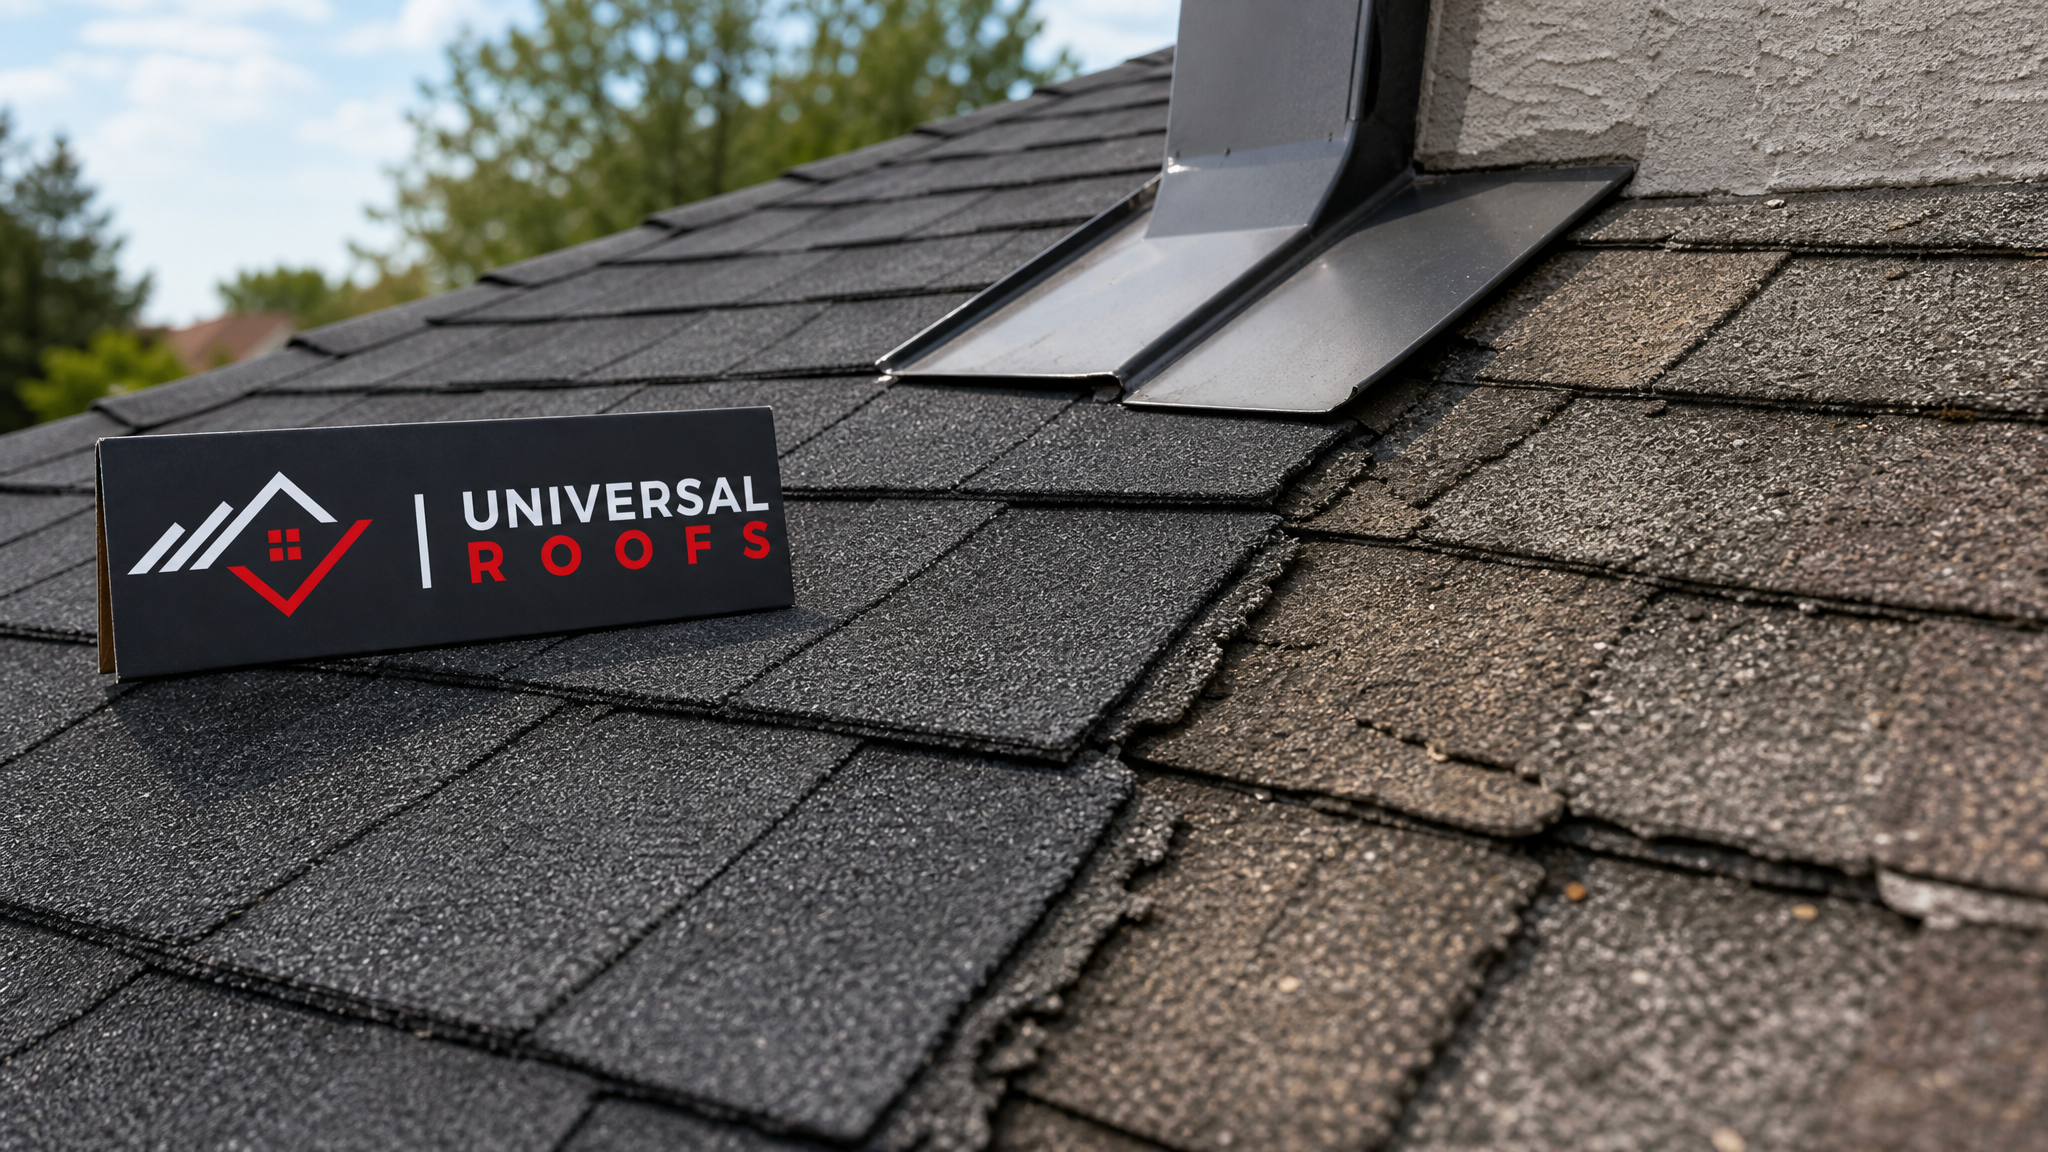
Serving Vintage Homes Across the GTA
Older housing stock is spread right across the region, and each municipality brings its own mix of build eras and roof styles. In Toronto, we regularly restore pre-war roofs in established neighbourhoods with steep pitches and decorative dormers. In Peel Region, older sections of Mississauga and Brampton include mid-century bungalows with original three-tab shingles well past their expected lifespan. York Region and Halton Region both have pockets of heritage-designated streets in older town cores like Markham Village, Unionville, and Oakville, where exterior material changes are closely reviewed. Further east, Durham Region‘s older lakeside communities carry similar restoration needs, often complicated by additional lake-effect weather exposure.
Wherever your vintage property sits, the underlying restoration principles stay the same: diagnose thoroughly, match materials honestly, and repair the actual point of failure rather than the whole roof by default.
What does restoring vintage roofs a shingle repair actually involve?
Can you actually match shingles on a 50-year-old roof?
How do I know if my vintage roof needs repair or full replacement?
Why do vintage roofs leak at flashing more than at the shingles themselves?
Is summer really the best time for a vintage shingle repair in Toronto?
Do heritage-designated homes in the GTA have special rules for shingle repair?
Need Help With Restoring Vintage Roofs a?
Every vintage roof has its own history, and getting the repair right means respecting that history while making sure the roof performs the way it should for years to come. The team at Universal Roofs has spent years working on heritage and older homes throughout the region, matching materials, rebuilding flashing, and restoring roofs section by section rather than defaulting to a full teardown.
Call us today at (416) 732-2421 or request a free inspection to get started.
Universal Roofs proudly serves Toronto, Mississauga, Brampton, Vaughan, Markham, Oakville and the GTA since 2005.