
Asphalt shingles are the most common roofing material in the Greater Toronto Area, and for good reason: they are affordable, versatile, and can last 20 to 30 years when properly maintained. The problem is that most homeowners never think about their shingles until a leak appears on the ceiling below, and by then the damage is usually well past the “quick fix” stage. Preventing shingle damage a step by step approach, done consistently through every season, is what actually separates a roof that lasts three decades from one that needs premature replacement at year twelve.
Toronto’s climate is uniquely hard on shingles. We get intense summer UV exposure that bakes and dries out the asphalt, followed by autumn winds and debris, then a long winter of freeze-thaw cycling, ice damming, and heavy snow loads. Each season attacks shingles differently, and each requires a slightly different prevention strategy. This guide walks through a genuine, practical, step-by-step system for preventing shingle damage that any GTA homeowner can follow, along with the warning signs that mean it is time to call in a professional.
We will cover the root causes of shingle damage, a season-by-season maintenance schedule, the tools and techniques for safe inspection, common mistakes that actually accelerate deterioration, and a clear decision framework for when a repair is enough versus when full roof replacement makes more financial sense. If you would rather have a professional handle the inspection from the start, our team can walk your roof and give you a written condition report.
Why Shingle Damage Happens in the First Place
Before you can prevent shingle damage, it helps to understand what actually breaks shingles down. Asphalt shingles are essentially a fibreglass mat coated in asphalt and topped with mineral granules. Every failure mode traces back to one of a handful of root causes, and almost all of them are preventable with regular attention.
UV and thermal cycling. Toronto summers deliver long days of direct sun that heat shingle surfaces well above ambient air temperature. That heat dries out the asphalt oils that keep shingles flexible. Combined with cold winter nights, the constant expansion and contraction causes the mat to become brittle over years, which is why older roofs crack more easily even without an obvious trigger.
Moisture intrusion and freeze-thaw. Water that gets under a shingle, into a nail hole, or trapped against a valley will freeze in winter and expand, prying granules loose and lifting shingle edges. This is the single biggest driver of shingle failure in our climate, more so than in warmer regions.
Poor attic ventilation. An overheated, poorly ventilated attic bakes shingles from underneath in summer and contributes to ice damming in winter by melting snow unevenly on the roof deck. If you have never had your attic ventilation assessed, this is often the hidden cause behind shingles that seem to fail faster than their rated lifespan.
Physical debris and impact. Falling branches, wind-blown grit, hail, and even foot traffic from other contractors (satellite installers, chimney sweeps) can crack shingles or knock granules loose, exposing the asphalt mat to accelerated UV damage.
Improper installation. Shingles nailed too high, too low, or with the wrong nail pattern will blow off or crack years before they should. This is why the quality of the original roof repair or installation work matters as much as ongoing maintenance.
Step 1: Establish a Baseline Inspection
Preventing shingle damage a step by step starts with knowing exactly what condition your roof is in today. You cannot prevent deterioration you have not identified. We recommend every homeowner complete a baseline inspection using binoculars from the ground — never climb onto the roof yourself without fall protection and proper training.
Walk the perimeter of your home and look for these specific issues from a safe vantage point:
- Shingles that appear curled at the edges or cupped in the middle
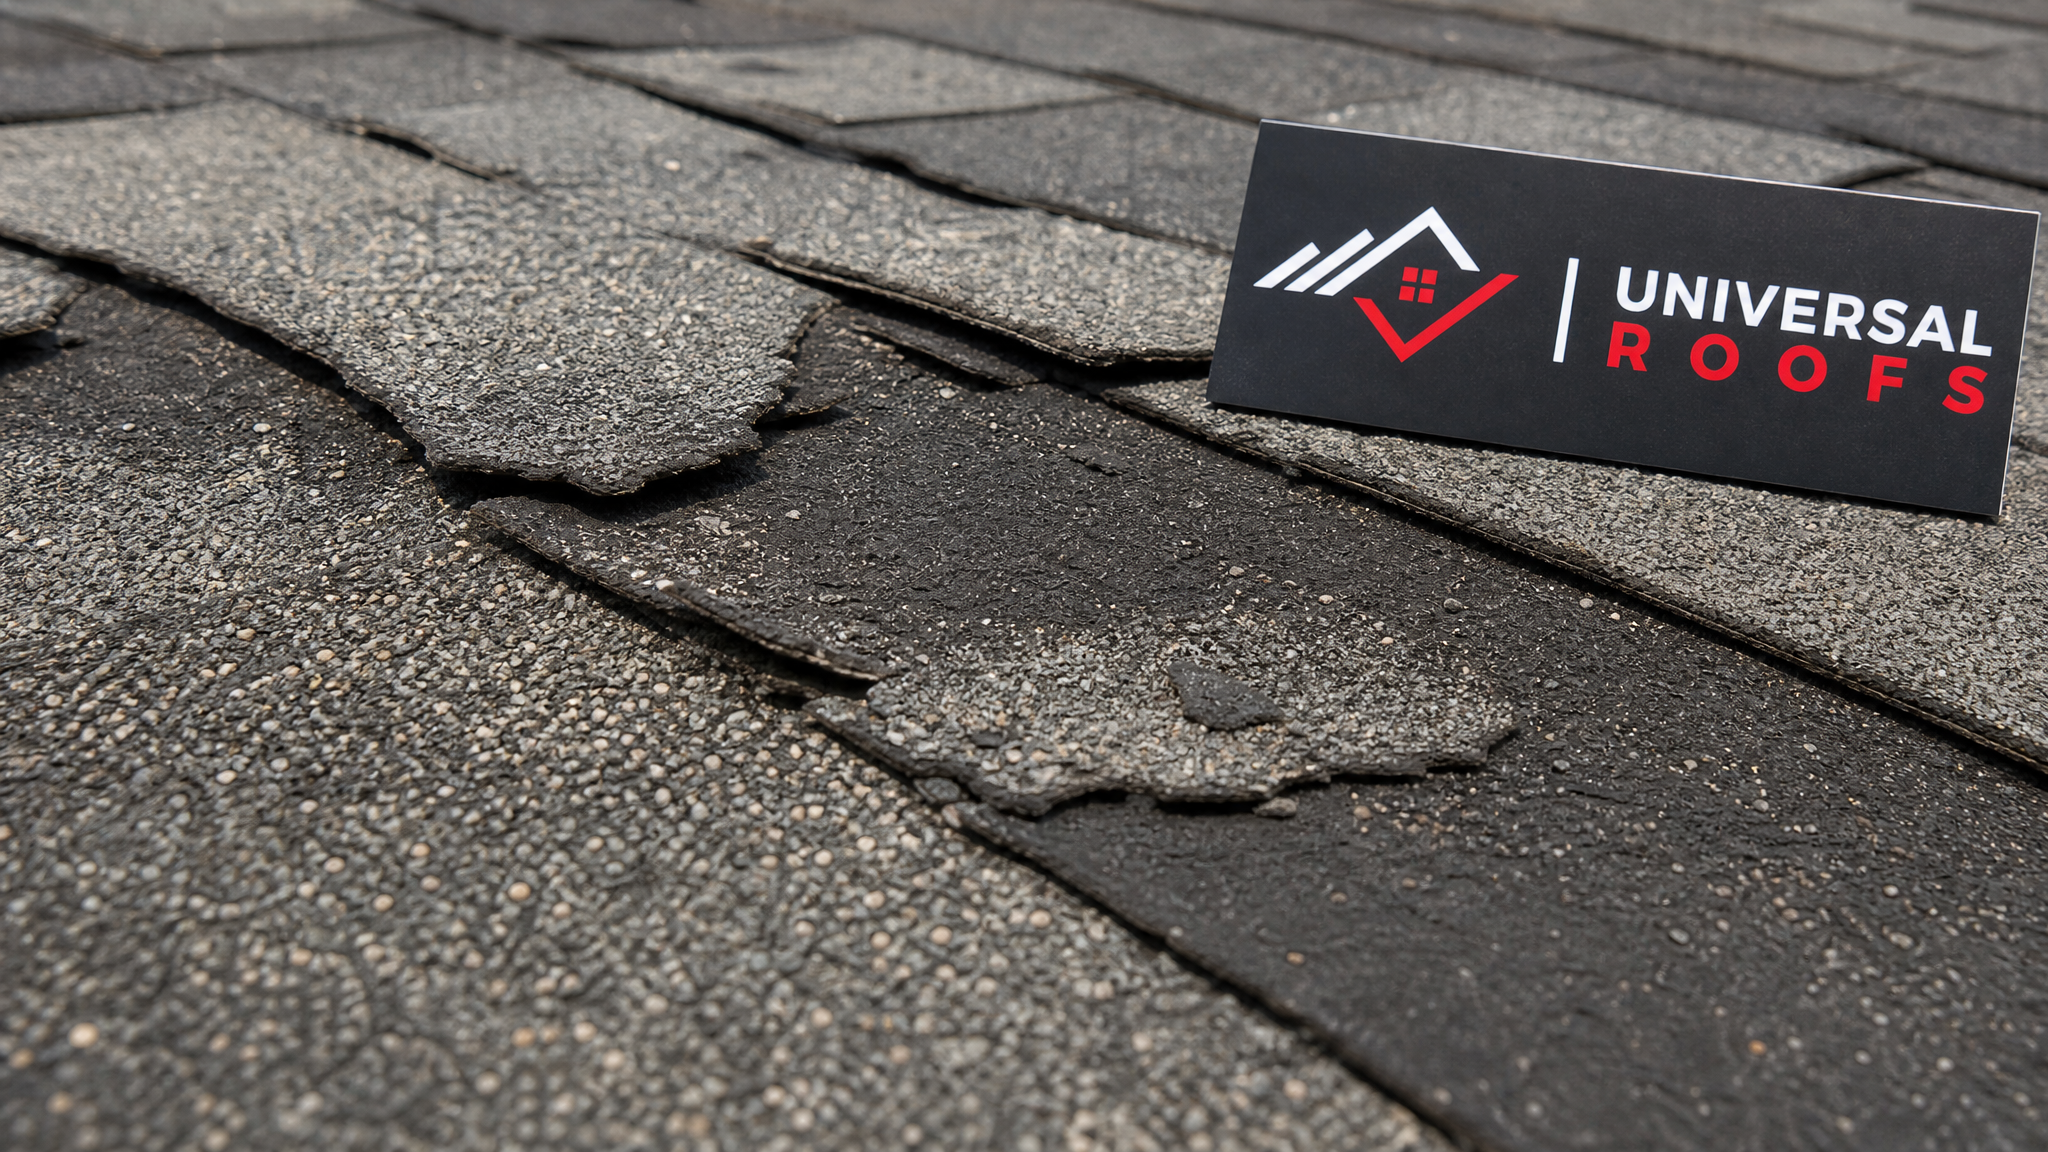
- Bald patches where granules have worn away, exposing black asphalt
- Missing shingles or shingles that appear to be lifted by wind
- Dark streaking (often algae) or moss growth, especially on north-facing slopes
- Sagging areas along the roofline that suggest deck or structural issues
- Granules accumulating in gutters or at the base of downspouts
Photograph each slope of the roof from the ground with a zoom lens or binoculars and date the images. This becomes your baseline record — compare against it every six months so you catch changes early rather than discovering a fully failed section during a rainstorm.
| Inspection Method | Tools Needed | Safety Level | What It Reveals |
|---|---|---|---|
| Ground-level visual scan | Binoculars, camera/phone | Very safe — no ladder | Curling, staining, missing shingles, sagging |
| Gutter debris check | Ladder (stabilized), gloves | Moderate — falls risk | Granule loss rate, blocked drainage |
| Attic interior check | Flashlight, moisture meter | Safe — indoors | Daylight gaps, water stains, insulation wetness |
| Drone or photo survey | Drone or telephoto camera | Very safe — no roof access | Full-slope condition without walking the roof |
| Professional roof walk | Harness, roof ladder, moisture meter | Requires training/insurance | Flashing, nail pops, soft decking, hidden leaks |
Step 2: Build a Seasonal Maintenance Calendar
The single most effective habit for preventing shingle damage is converting maintenance from a “someday” task into a scheduled one. Set calendar reminders for four checkpoints a year, timed to the GTA’s actual weather patterns rather than generic advice written for other climates.
Spring (April-May): This is your most important inspection window. Winter is over, and any freeze-thaw damage — cracked shingles, lifted tabs, ice-dam related granule loss — will be visible. Clear gutters of winter debris and check for granules that accumulated over the cold months.
Summer (June-August): Check for heat-related curling or blistering, especially on south and west-facing slopes that receive the most direct sun. Summer is also the ideal season to schedule any repairs identified in spring, since shingles seal best and are easiest to work with in warm, dry weather. If you are reading this in July, now is genuinely the best window of the year to get repairs done before autumn storms arrive.
Fall (September-November): Clear leaves and branches before the first snow. This is the last chance to fix small issues before winter makes roof access dangerous and repairs less effective (sealants do not cure properly in cold temperatures).
Winter (December-March): Active maintenance is largely off the table for safety reasons, but you should still monitor for ice dams, icicles along the eaves, and interior signs of leaks. Never attempt to remove ice or snow from a roof yourself — this is one of the most dangerous DIY tasks a homeowner can attempt.
| Season | Primary Risk | Recommended Action | Frequency |
|---|---|---|---|
| Spring | Freeze-thaw cracking, ice dam aftermath | Full visual inspection + gutter clearing | Once, early April |
| Summer | UV curling, heat blistering | Repair scheduling, attic ventilation check | Once, June-July |
| Fall | Debris accumulation, clogged valleys | Debris removal + pre-winter repair | Once, October |
| Winter | Ice damming, snow load | Ground-level monitoring only | Monthly visual check |
Step 3: Protect Against the Biggest Threat — Water Intrusion
Almost every serious shingle failure traces back to water finding a way underneath the shingle surface. Preventing this is less about the shingles themselves and more about the details around them: flashing, valleys, and drainage.
Flashing. The metal flashing around chimneys, vent pipes, and skylights is often where leaks originate, not the shingle field itself. If you have a skylight or are considering a skylight replacement, the flashing detail around it needs to be checked every spring, since it is a common failure point that homeowners rarely think to inspect.
Valleys. Where two roof slopes meet, water volume concentrates dramatically. Debris that collects in valleys holds moisture against the shingles far longer than open areas of the roof, accelerating granule loss and rot. Keep valleys clear, especially after windy autumn days.
Gutters and downspouts. Clogged gutters cause water to back up under the shingle edge at the eaves, which is one of the most common (and most preventable) causes of rot in the roof deck. Clean gutters twice a year at minimum — spring and fall — and confirm downspouts direct water at least 1.8 metres away from the foundation.
Ice dams. These form when heat escapes from a poorly insulated attic, melts snow on the upper roof, and refreezes at the colder eaves, creating a dam that forces meltwater back up under the shingles. This is a ventilation and insulation problem as much as a roofing one — proper attic insulation and ventilation is often the actual fix, not just re-shingling the eaves.
Step 4: Know What You Can Safely Do Yourself (and What You Cannot)
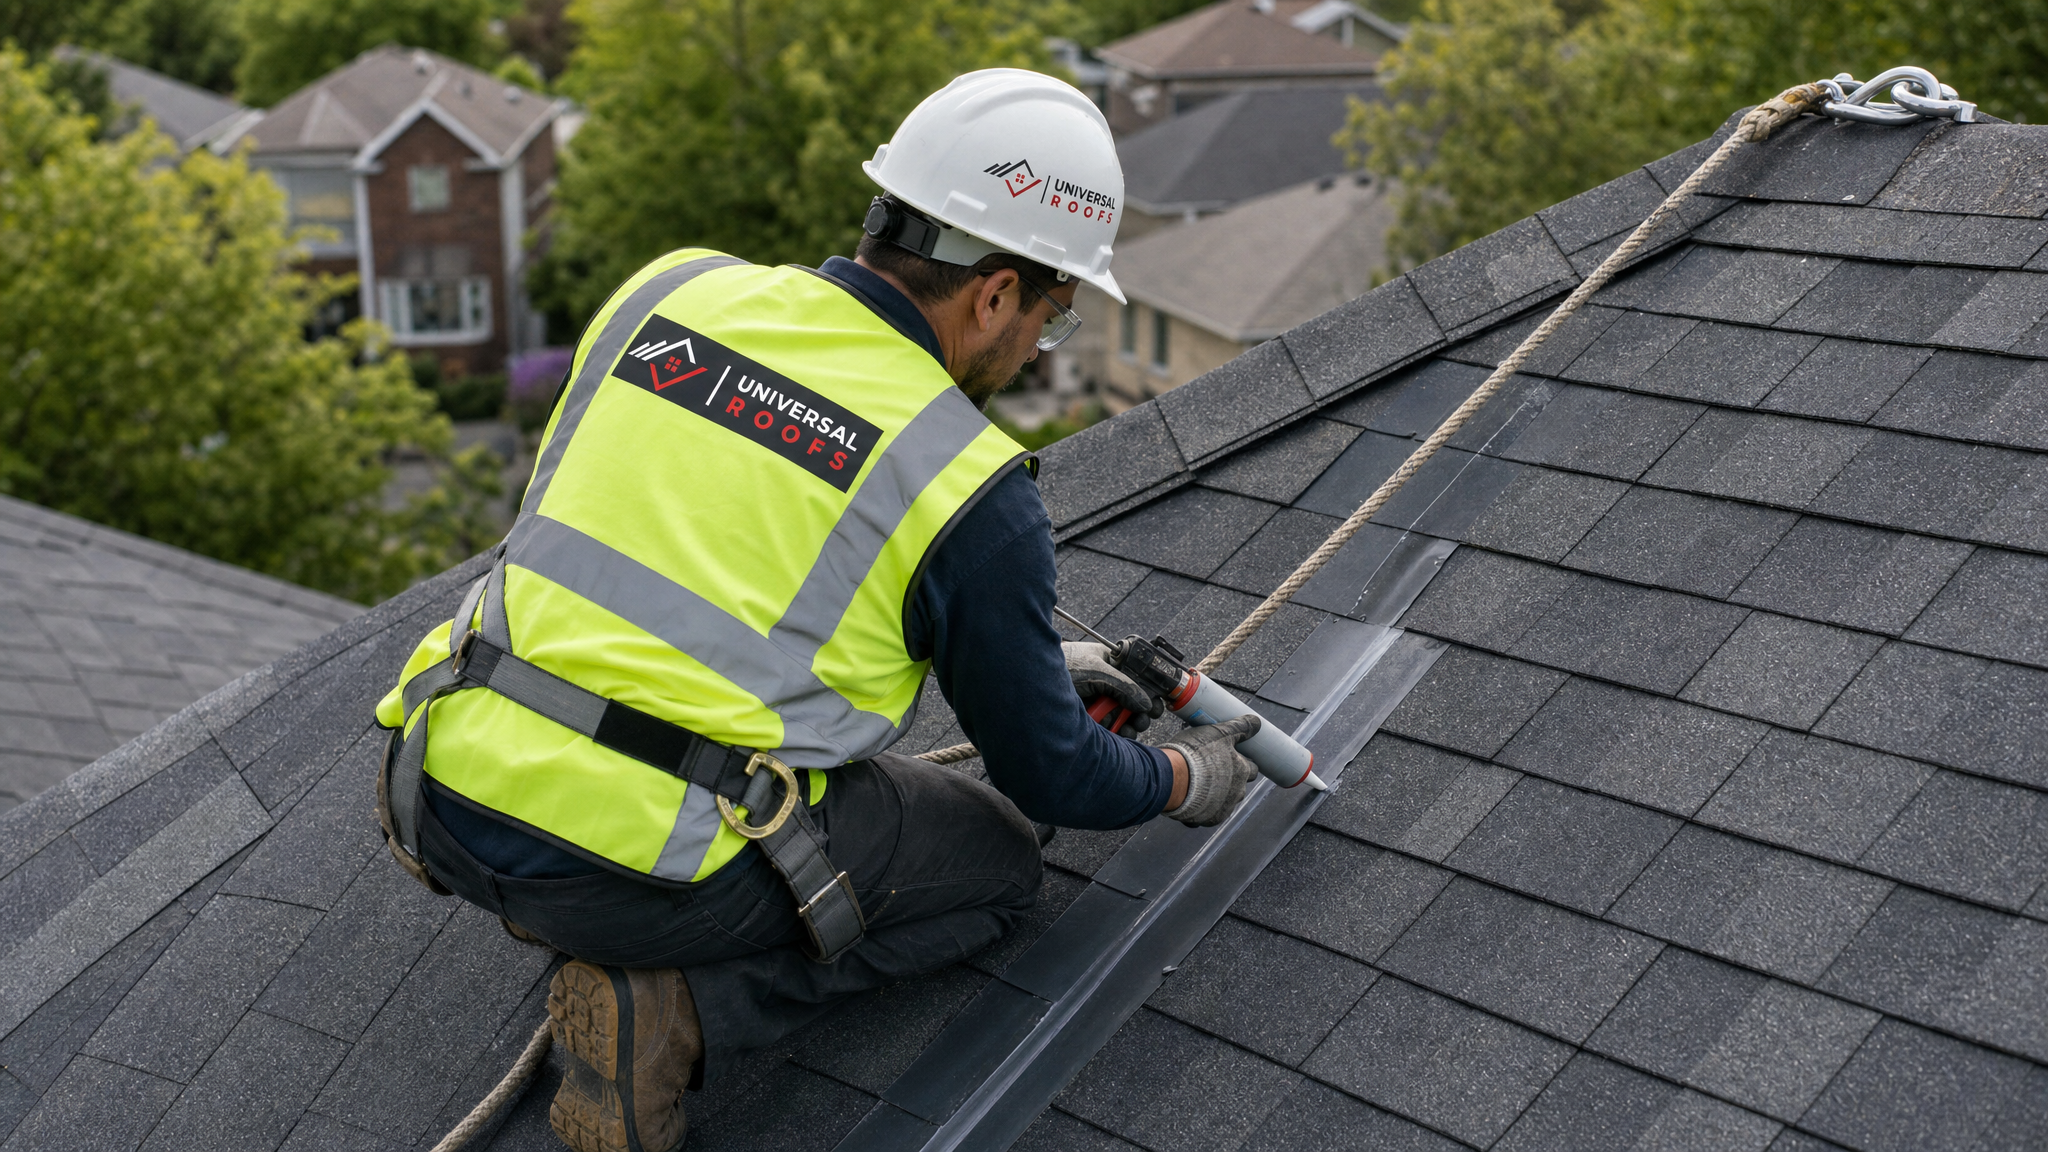
Preventing shingle damage a step by step does not mean doing every step yourself. Roof work carries genuine fall risk, and some tasks require training, proper harness anchoring, and experience reading roof conditions that most homeowners simply do not have. Here is an honest breakdown of what is reasonable to handle personally versus what should always go to a professional.
Safe for most homeowners: ground-level visual inspections, cleaning gutters from a properly footed ladder (never the roof itself), trimming overhanging branches, checking the attic interior for daylight or moisture, and monitoring for visible sagging or staining after storms.
Should go to a professional: anything requiring roof access, replacing individual shingles, resealing flashing, addressing ice dams, evaluating soft or spongy decking, and any inspection following hail or a major wind event. A licensed roofer carries insurance, uses proper fall protection, and can spot early-stage problems — like nail pops or minor granule loss — that are invisible from the ground but predict failure years in advance.
If a ground-level inspection reveals anything concerning, the right next step is a professional roof repair assessment rather than attempting a DIY fix that could void a shingle manufacturer’s warranty or, worse, cause a fall injury.
Step 5: Address Small Problems Before They Become Big Ones
The economics of shingle maintenance strongly favour early intervention. A single cracked shingle costs very little to replace. Left unaddressed through even one winter, that same crack can allow water into the roof deck, leading to rot, insulation damage, and potentially interior drywall and mould remediation costs that run into the thousands.
Below is a realistic comparison of repair costs at different stages of neglect, based on typical GTA pricing for a standard asphalt shingle roof. These are general ranges — your specific cost will depend on roof pitch, access, and the extent of hidden damage.
| Damage Stage | Typical Symptoms | Estimated Cost Range (CAD) | Urgency |
|---|---|---|---|
| Early — isolated crack or lifted tab | 1-3 shingles affected, no visible leak | $250 – $600 | Schedule within weeks |
| Moderate — localized granule loss | Small bald patch, minor curling on one slope | $600 – $1,800 | Schedule within a month |
| Advanced — active leak detected | Interior water stain, attic moisture present | $1,800 – $4,500 | Address within days |
| Severe — deck rot or structural damage | Sagging, soft decking, mould visible | $5,000 – $12,000+ | Immediate professional assessment |
| Full replacement needed | Widespread failure across multiple slopes | $9,000 – $22,000+ | Plan replacement within the season |
This is the core argument for a disciplined prevention routine: a $400 repair caught in spring is dramatically cheaper than the $6,000 deck repair that same crack causes by the following winter. If your roof has already crossed into the “advanced” or “severe” categories on multiple slopes, it may be more cost-effective to consider roof replacement rather than continuing to patch a roof that is fundamentally past its serviceable life.
Step 6: Choose Materials and Practices That Prevent Damage From the Start
Prevention also starts before a single shingle goes down. If you are planning a re-roof or partial replacement, the choices made during installation determine how much maintenance the roof will need for the next two decades.
Shingle quality and wind rating. Architectural shingles rated for higher wind speeds (110+ km/h) hold up significantly better in GTA storm conditions than basic three-tab shingles, and the price difference is modest relative to the lifespan gained.
Proper underlayment. A synthetic underlayment combined with ice-and-water shield membrane at eaves and valleys is not optional in this climate — it is the difference between minor nuisance leaks and serious water damage during ice-damming events.
Ventilation balance. Intake vents at the soffit paired with exhaust vents at the ridge keep attic temperature and moisture in balance, directly reducing both summer heat damage and winter ice damming. This is worth assessing any time you are also evaluating attic performance.
Flat sections and transitions. Many GTA homes have a mix of pitched and low-slope sections. Where a shingle roof transitions to a flat section, that junction needs a completely different waterproofing approach — this is where flat roofing expertise matters, since a standard shingle contractor may not detail this transition correctly.
| Material Choice | Standard Option | Upgraded Option | Damage Prevention Benefit |
|---|---|---|---|
| Shingle type | 3-tab, 60 km/h wind rating | Architectural, 110-210 km/h rating | Resists wind lift and cracking |
| Underlayment | Standard felt paper | Synthetic + ice/water shield | Blocks moisture intrusion at weak points |
| Ventilation | Gable vents only | Soffit intake + ridge exhaust | Reduces heat curling and ice damming |
| Flashing metal | Galvanized steel | Aluminum or copper | Longer corrosion resistance |
Step 7: Track Warning Signs That Mean It Is Time to Call a Professional
Even with a perfect maintenance routine, shingles age. Knowing the signs that indicate professional intervention is overdue keeps small issues from becoming emergency calls.
- Granules filling your gutters or forming piles at downspout outlets consistently, not just after one storm
- Shingles that feel soft, spongy, or bend easily rather than snapping back into place
- Daylight visible through the roof deck when viewed from inside the attic
- Water stains on interior ceilings, especially ones that grow after rain
- Shingles missing entirely after a wind event
- Visible sagging anywhere along the roofline
- A roof that is approaching or has passed 20 years of age, even without obvious symptoms
Any one of these on its own justifies a professional inspection. Multiple signs together, especially interior staining combined with granule loss, typically mean the damage has already progressed past a simple patch. Reading verified feedback from other GTA homeowners on our reviews page can help you understand what a proper inspection and repair process actually looks like before you commit to a contractor.
Regional Notes for GTA Homeowners
Shingle performance and risk factors vary somewhat across the region depending on tree cover, lake-effect weather exposure, and typical home age. Homeowners in Toronto proper often deal with mature tree canopy dropping debris into valleys, while those in Durham Region and along the lake see stronger wind exposure that stresses shingle edges and ridge caps more heavily.
Homes in Peel Region and York Region newer subdivisions tend to have younger roofs, but builder-grade shingles and minimal ventilation upgrades mean these roofs can show premature curling by year 12-15 if maintenance is neglected. In Halton Region, homes closer to the escarpment and lakeshore can see more variable wind loading, which makes wind-rating and proper nailing pattern especially important at time of installation.
Regardless of which municipality you are in, the fundamentals of preventing shingle damage a step by step remain consistent: inspect regularly, address flashing and drainage details, act on small problems immediately, and bring in a professional the moment you see signs beyond routine wear.
Putting It All Together: A Realistic Annual Routine
If you take nothing else from this guide, follow this simplified version: inspect from the ground every spring and fall, clean gutters at the same time, watch for granules and staining year-round, and treat any interior water stain as an emergency rather than something to monitor. Combine that habit with a professional inspection every 3-5 years (or immediately after any major storm), and most GTA homeowners can realistically stretch a quality shingle roof to its full 25-30 year lifespan without a single unexpected failure.
For homeowners who would rather not manage the calendar themselves, many GTA roofing companies, including ours, offer scheduled maintenance inspections that handle steps 1 through 5 above on your behalf, with a written report after each visit. Check our FAQ page for answers to common questions about maintenance plans, warranty coverage, and inspection scheduling, or learn more about our team and how long we have been serving the GTA.
What is the best step by step approach to preventing shingle damage?
How often should I inspect my shingles to prevent damage?
Can I prevent shingle damage myself without hiring a professional?
What causes most shingle damage in Toronto specifically?
How do I know if shingle damage requires repair or full replacement?
Does homeowner’s insurance cover shingle damage?
Need Help With Preventing Shingle Damage a?
A consistent, step-by-step prevention routine is the single best investment you can make in your roof’s lifespan, but a trained eye catches things a ground-level inspection cannot. Universal Roofs has been helping GTA homeowners protect their shingle roofs since 2005, combining routine maintenance visits with the kind of detailed flashing, valley, and ventilation assessments that actually prevent costly damage down the road.
Call us today at (416) 732-2421 or request a free inspection to get started.
Universal Roofs proudly serves Toronto, Mississauga, Brampton, Vaughan, Markham, Oakville and the GTA since 2005.