
A well-maintained asphalt shingle roof can last 20 to 25 years in the Greater Toronto Area, but only if it receives regular attention. Too many homeowners treat their roof as a “set it and forget it” feature, only calling a contractor once water is already dripping into the attic. This guide will show you how to maintain your shingles a step by step way, so small problems get caught and corrected long before they turn into costly repairs.
Shingle roofs in the GTA face a uniquely harsh combination of stresses: humid summer heat that bakes asphalt, freeze-thaw cycles that force ice into every seam, and windstorms that can lift or crack aging shingles. Maintaining your shingles properly means understanding what to look for, when to look for it, and which jobs are safe for a homeowner versus which require a licenced professional.
Below, we walk through a complete, practical maintenance routine — from your first visual inspection to seasonal upkeep and long-term planning — that any Toronto-area homeowner can follow to protect one of the most expensive components of their home.

Why a Step-by-Step Shingle Maintenance Routine Matters
Shingles do not fail all at once. They degrade gradually, granule by granule, seal strip by seal strip, until a single hard rain or windstorm finds the weak point. A consistent maintenance routine catches this degradation early, while repairs are still small and inexpensive.
Consider the financial angle. A minor shingle repair — replacing a handful of damaged shingles and resealing a flashing detail — typically costs a few hundred dollars. Left unaddressed, that same issue can lead to sheathing rot, insulation damage, mould growth, and in the worst cases, a full roof replacement years ahead of schedule. Insurance companies increasingly ask homeowners to document roof maintenance and age when filing claims, so a paper trail of inspections and upkeep protects you both physically and financially.
There is also a neighbourhood-level benefit. Roofs that are neglected tend to show visible streaking, moss, and curling shingles that affect kerb appeal and, eventually, resale value. A roof that is clearly cared for signals to prospective buyers — and to your neighbours — that the rest of the home has likely been maintained with the same diligence.
Step 1: Conduct a Ground-Level Visual Inspection
You do not need to climb a ladder to begin maintaining your shingles. Start with a simple walk around the perimeter of your home, ideally with binoculars, twice a year — once in spring after the snow has melted and once in autumn before the first frost.
Look for the following from the ground:
- Shingles that appear curled, cupped, or lifted at the edges
- Bald patches where granules have worn away, exposing the black asphalt mat underneath
- Dark streaking, which usually indicates algae growth rather than structural damage
- Missing shingles or visible gaps in coverage
- Sagging sections along the roofline, which can indicate deck or structural issues
- Debris buildup such as leaves, branches, or moss near valleys and the eaves
Also check your gutters and downspouts. Excessive granules collecting in the gutter troughs are a strong sign that your shingles are shedding their protective coating faster than normal, which often means the roof is nearing the end of its service life.
Step 2: Perform a Safe Close-Up Inspection
Once the ground-level check flags a potential concern — or simply once a year as routine due diligence — a closer inspection is warranted. If you are comfortable and confident on a ladder, you can visually inspect from the eaves without walking on the roof itself. Never walk on a wet, icy, or steeply pitched roof, and never inspect during or immediately after a storm.
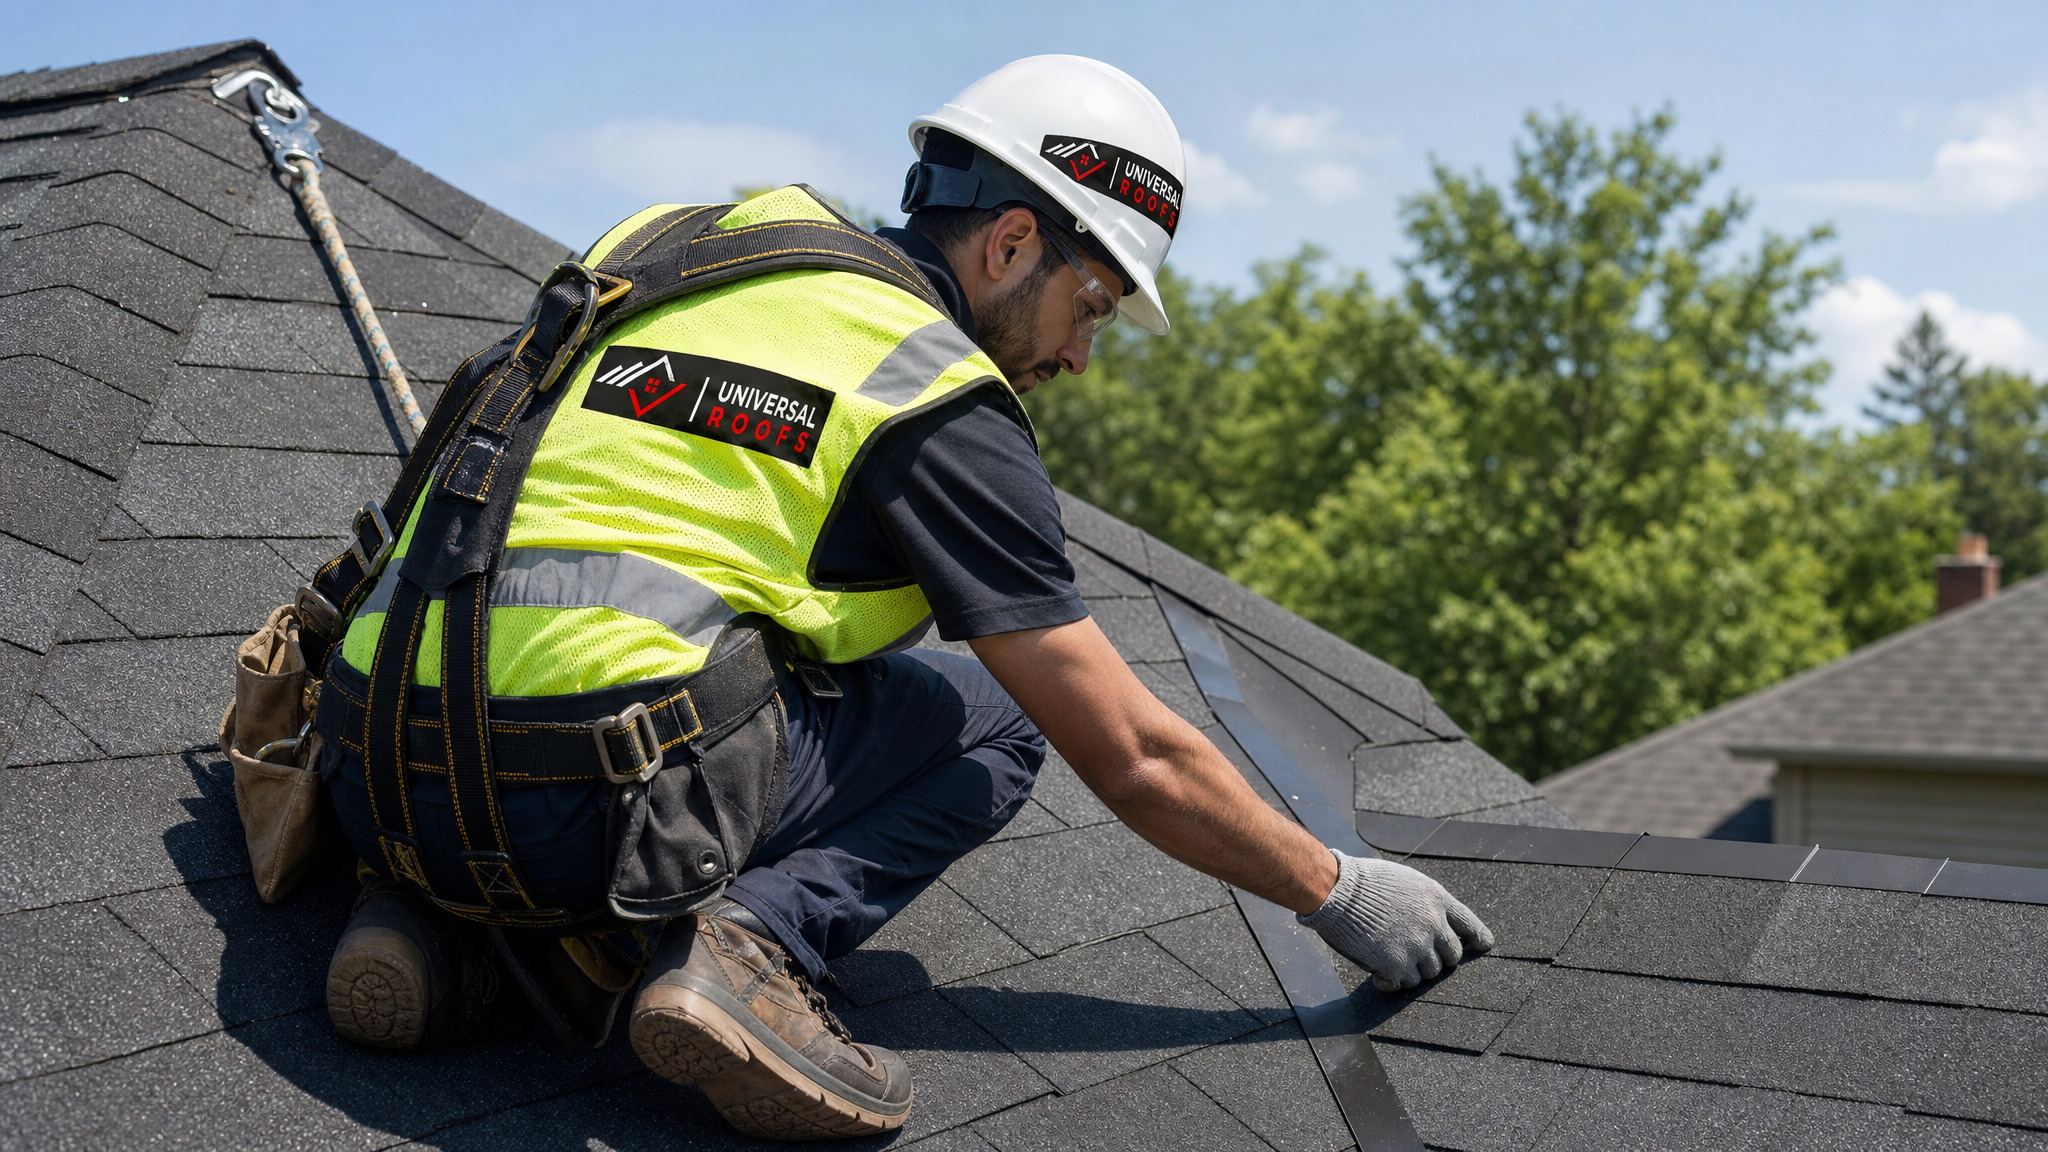
For anything beyond a basic ladder check, this is where professional help earns its cost. A trained technician can safely access valleys, ridges, and steep slopes using proper fall protection, and will know exactly what constitutes normal wear versus a genuine defect. Universal Roofs technicians carry harnesses and anchor points on every inspection, allowing a full, safe assessment of areas a homeowner should never attempt alone.
Step 3: Clean the Roof Surface and Gutters
Debris retains moisture against the shingle surface, accelerating decay and encouraging algae and moss growth. Clearing debris is one of the simplest and most effective maintenance tasks a homeowner can do consistently.
Use a soft-bristle broom or a leaf blower to clear loose debris from valleys and low-slope sections — never a pressure washer, which can strip granules and force water beneath the shingle mat. Clean gutters at least twice per year, more often if mature trees overhang the roof. Clogged gutters cause water to back up under the shingle edge, a leading cause of ice damming in Toronto winters.
For dark streaking caused by algae (Gloeocapsa magma), a diluted solution of water and a small amount of bleach or a commercial roof-safe cleaner, applied gently with a garden sprayer and rinsed with low-pressure water, will typically resolve the issue without damaging the shingles. Avoid scrubbing, which dislodges granules.
| Maintenance Task | Recommended Frequency | Homeowner or Professional | Typical Time Required |
|---|---|---|---|
| Ground-level visual inspection | Twice yearly (spring/fall) | Homeowner | 15-20 minutes |
| Gutter cleaning | Twice yearly, more with overhanging trees | Homeowner or professional | 1-2 hours |
| Close-up roof inspection | Annually | Professional | 30-60 minutes |
| Algae/moss treatment | As needed, typically every 1-3 years | Homeowner or professional | 1-3 hours |
| Flashing and seal check | Annually | Professional | 30-45 minutes |
| Post-storm inspection | After any severe wind or hail event | Professional | 30-60 minutes |
Step 4: Check Flashing, Vents, and Penetrations
Shingles rarely fail in the middle of a roof slope. Far more often, leaks originate at the details around flashing, vent pipes, chimneys, and skylights, where multiple materials meet and rely on sealant and proper overlap rather than the shingles themselves.
During any inspection, pay particular attention to:
- Step flashing along chimneys and dormer walls for gaps or rust
- Pipe boot seals around plumbing vents, which typically fail before the shingles do
- Valley flashing where two roof slopes meet, a high-water-volume area
- Skylight perimeter seals and curb flashing
- Ridge vent and soffit vent condition, which affects attic ventilation and shingle temperature
If your home has an ageing skylight, note that flashing failures around skylights are one of the most common sources of “mystery” ceiling stains that homeowners initially blame on the shingles themselves. If a skylight is more than 15 years old or has a history of leaks, it is often more cost-effective to address it through skylight replacement rather than repeated resealing.
Step 5: Address Minor Shingle Damage Promptly
Once you identify damaged shingles — whether cracked, curling, or missing — the response should be proportional to the extent of the problem. A handful of damaged shingles scattered across an otherwise sound roof is a straightforward repair. Widespread curling, granule loss, or damage across multiple sections signals the roof is approaching, or past, its practical service life.
Individual shingle repair generally involves:
- Carefully lifting the surrounding shingles to access the damaged one without cracking adjacent tabs
- Removing the nails holding the damaged shingle in place
- Sliding in a matching replacement shingle
- Re-nailing according to manufacturer spacing and sealing with roofing cement
- Resealing the tab bond so wind cannot lift it again
This sounds simple in a how-to article, but in practice it requires matching granule colour (which fades with age and can be difficult to source for older roofs), correct nail placement to avoid future leaks, and safe rooftop movement. Our roof repair team handles this exact scenario regularly across the GTA and can typically complete minor shingle repairs same-day.
Step 6: Know When Maintenance Becomes Replacement
Every shingle roof eventually crosses a line where repair is no longer the economical choice. Recognizing that line early prevents you from pouring money into a roof that needs full replacement anyway.
| Roof Condition | Likely Cause | Recommended Action | Estimated Cost Range (CAD) |
|---|---|---|---|
| A few cracked or missing shingles | Localized wind damage or age | Spot repair | $300 – $800 |
| Granule loss concentrated in one area | Localized wear, possible ventilation issue | Repair plus ventilation check | $500 – $1,500 |
| Widespread curling across multiple slopes | Roof nearing end of lifespan (15-20+ years) | Plan for full replacement | $8,000 – $18,000+ |
| Leaks at multiple flashing points | Ageing flashing system, not the shingles themselves | Flashing repair or replacement | $600 – $2,500 |
| Visible sagging or soft spots underfoot | Deck or structural damage | Structural assessment and likely replacement | $10,000+ |
As a general rule, if repair costs are approaching 30 to 40 percent of the cost of a full replacement, or if the roof is already past 18 to 20 years old, most homeowners are better served financially by scheduling a replacement rather than continuing to patch. Our team can walk you through this cost comparison honestly during an inspection — we would rather tell you a repair will suffice than upsell a replacement you do not yet need.
Step 7: Maintain Attic Ventilation and Insulation
Shingle maintenance does not stop at the roof surface. Attic conditions have a direct, measurable effect on shingle lifespan. Poor ventilation traps summer heat against the underside of the shingles, accelerating the breakdown of the asphalt and shortening lifespan by years. In winter, heat escaping from an under-insulated attic melts snow on the roof, which then refreezes at the colder eaves, forming ice dams that force water back up under the shingle courses.
A properly balanced attic system includes intake ventilation at the soffits and exhaust ventilation at the ridge, working together to keep the underside of the roof deck close to outdoor temperature year-round. If your attic feels noticeably hotter than the outdoors in summer, or you notice icicles and ice damming along the eaves each winter, your ventilation and insulation likely need attention alongside — or instead of — the shingles themselves.
Step 8: Build a Seasonal Maintenance Calendar
Consistency is what separates a roof that lasts 25 years from one that fails at 15. Here is a practical seasonal breakdown for Toronto-area homeowners.
| Season | Primary Maintenance Focus | Key Risk in the GTA | Recommended Action |
|---|---|---|---|
| Spring | Post-winter inspection and gutter clearing | Ice dam damage, freeze-thaw cracking | Full visual inspection, clear debris, check flashing |
| Summer | Ventilation check and algae treatment | Heat-accelerated shingle ageing, UV degradation | Attic temperature check, treat any algae streaking |
| Autumn | Debris removal before winter | Leaf and branch buildup blocking drainage | Clear gutters and valleys, schedule pre-winter inspection |
| Winter | Monitor for ice damming and snow load | Ice dams, heavy wet snow accumulation | Watch for icicles, arrange safe snow removal if needed |
Homeowners across Toronto, the Peel Region, York Region, Halton Region, and Durham Region all face broadly similar seasonal patterns, though microclimates near the lake shore can see slightly different freeze-thaw timing than inland communities further north.
Step 9: Keep Records and Documentation
An often-overlooked part of maintaining your shingles step by step is simply keeping a record. Note the date of each inspection, what was found, any repairs completed, and photos if possible. This documentation:
- Supports insurance claims if storm damage occurs
- Helps a roofing contractor quickly understand roof history during future service calls
- Provides valuable disclosure information if you sell your home
- Allows you to track degradation trends over multiple years rather than relying on memory
A simple spreadsheet or even a dated folder of phone photos is sufficient. The goal is simply to have a factual record rather than trying to recall details from three years ago when a claim or sale requires them.
Step 10: Know What Not to Do
Some well-intentioned maintenance habits actually shorten shingle life rather than extend it. Avoid the following:
- Pressure washing — strips protective granules and can force water beneath the shingle mat
- Walking on the roof unnecessarily — foot traffic breaks the granule seal and can crack shingles, especially in cold weather when asphalt becomes brittle
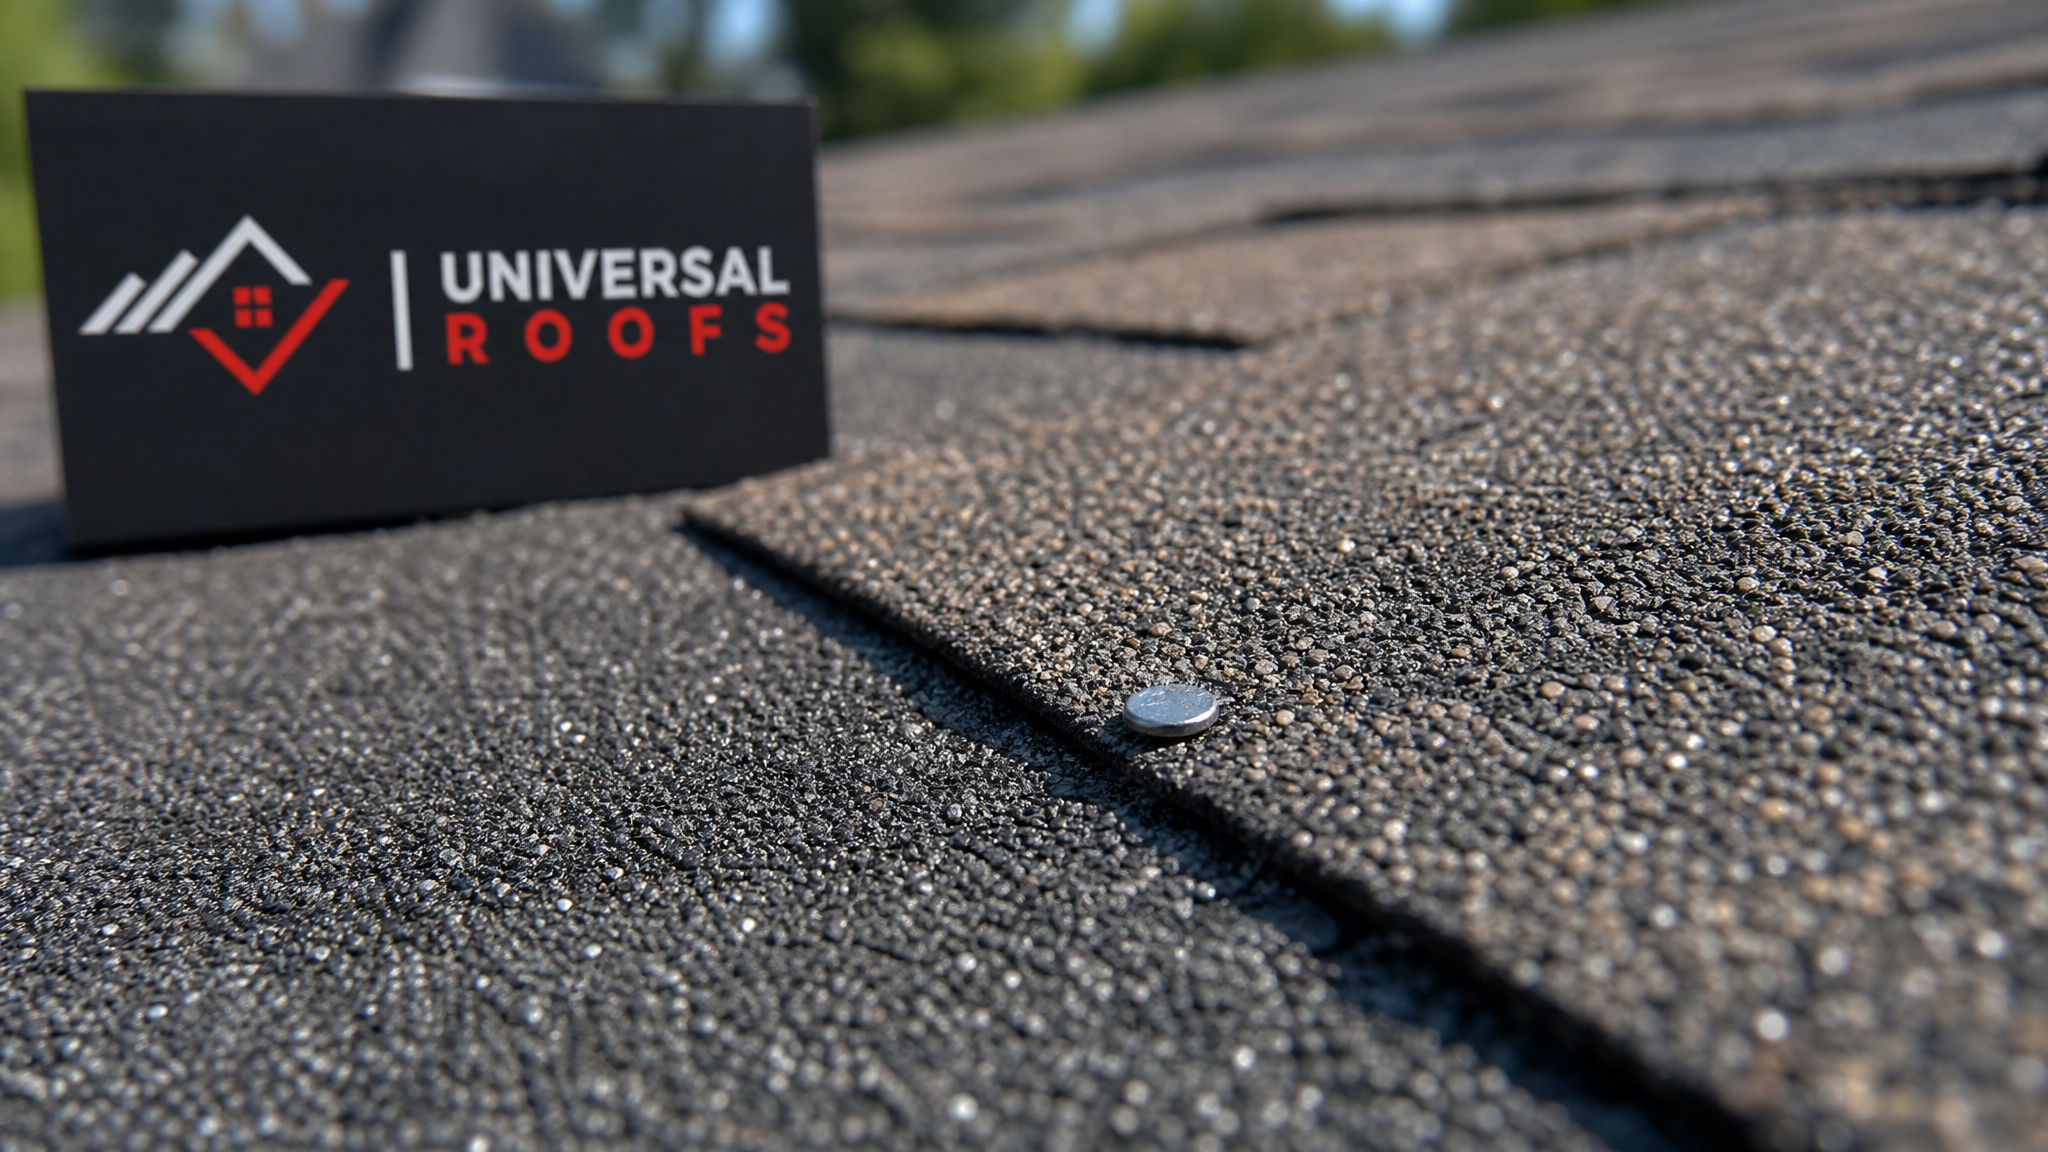
- Nailing through existing shingles to “fix” a lift — without lifting the shingle properly first, this often creates a new leak path rather than sealing one
- Ignoring small stains on ceilings — by the time a stain appears indoors, water has often been infiltrating for weeks or months
- DIY snow and ice removal with metal shovels or ice picks — these tools gouge shingles and can cause more damage than the ice itself
When in doubt, the safest and most cost-effective step is simply to have a professional take a look before attempting a fix yourself. What looks like a simple patch job to a homeowner is sometimes a symptom of a larger flashing or ventilation problem that a quick fix will only mask.
Frequently Asked Questions
How often should I maintain your shingles a step by step throughout the year?
Can I maintain my shingles myself, or do I need a professional?
What is the biggest mistake homeowners make when trying to maintain their shingles?
How do I know if shingle maintenance is enough or if I need a full replacement?
Does attic ventilation really affect how well I can maintain my shingles?
What does a professional shingle maintenance inspection typically include?
Need Help With Maintain Your Shingles a?
Following a consistent step-by-step maintenance routine is the single best thing you can do to protect your investment, but not every task is safe or practical to handle alone. When a repair, flashing issue, or ventilation problem is beyond a homeowner’s comfort level, the team at Universal Roofs is ready to help with an honest, thorough assessment.
Call us today at (416) 732-2421 or request a free inspection to get started.
Universal Roofs proudly serves Toronto, Mississauga, Brampton, Vaughan, Markham, Oakville and the GTA since 2005.