
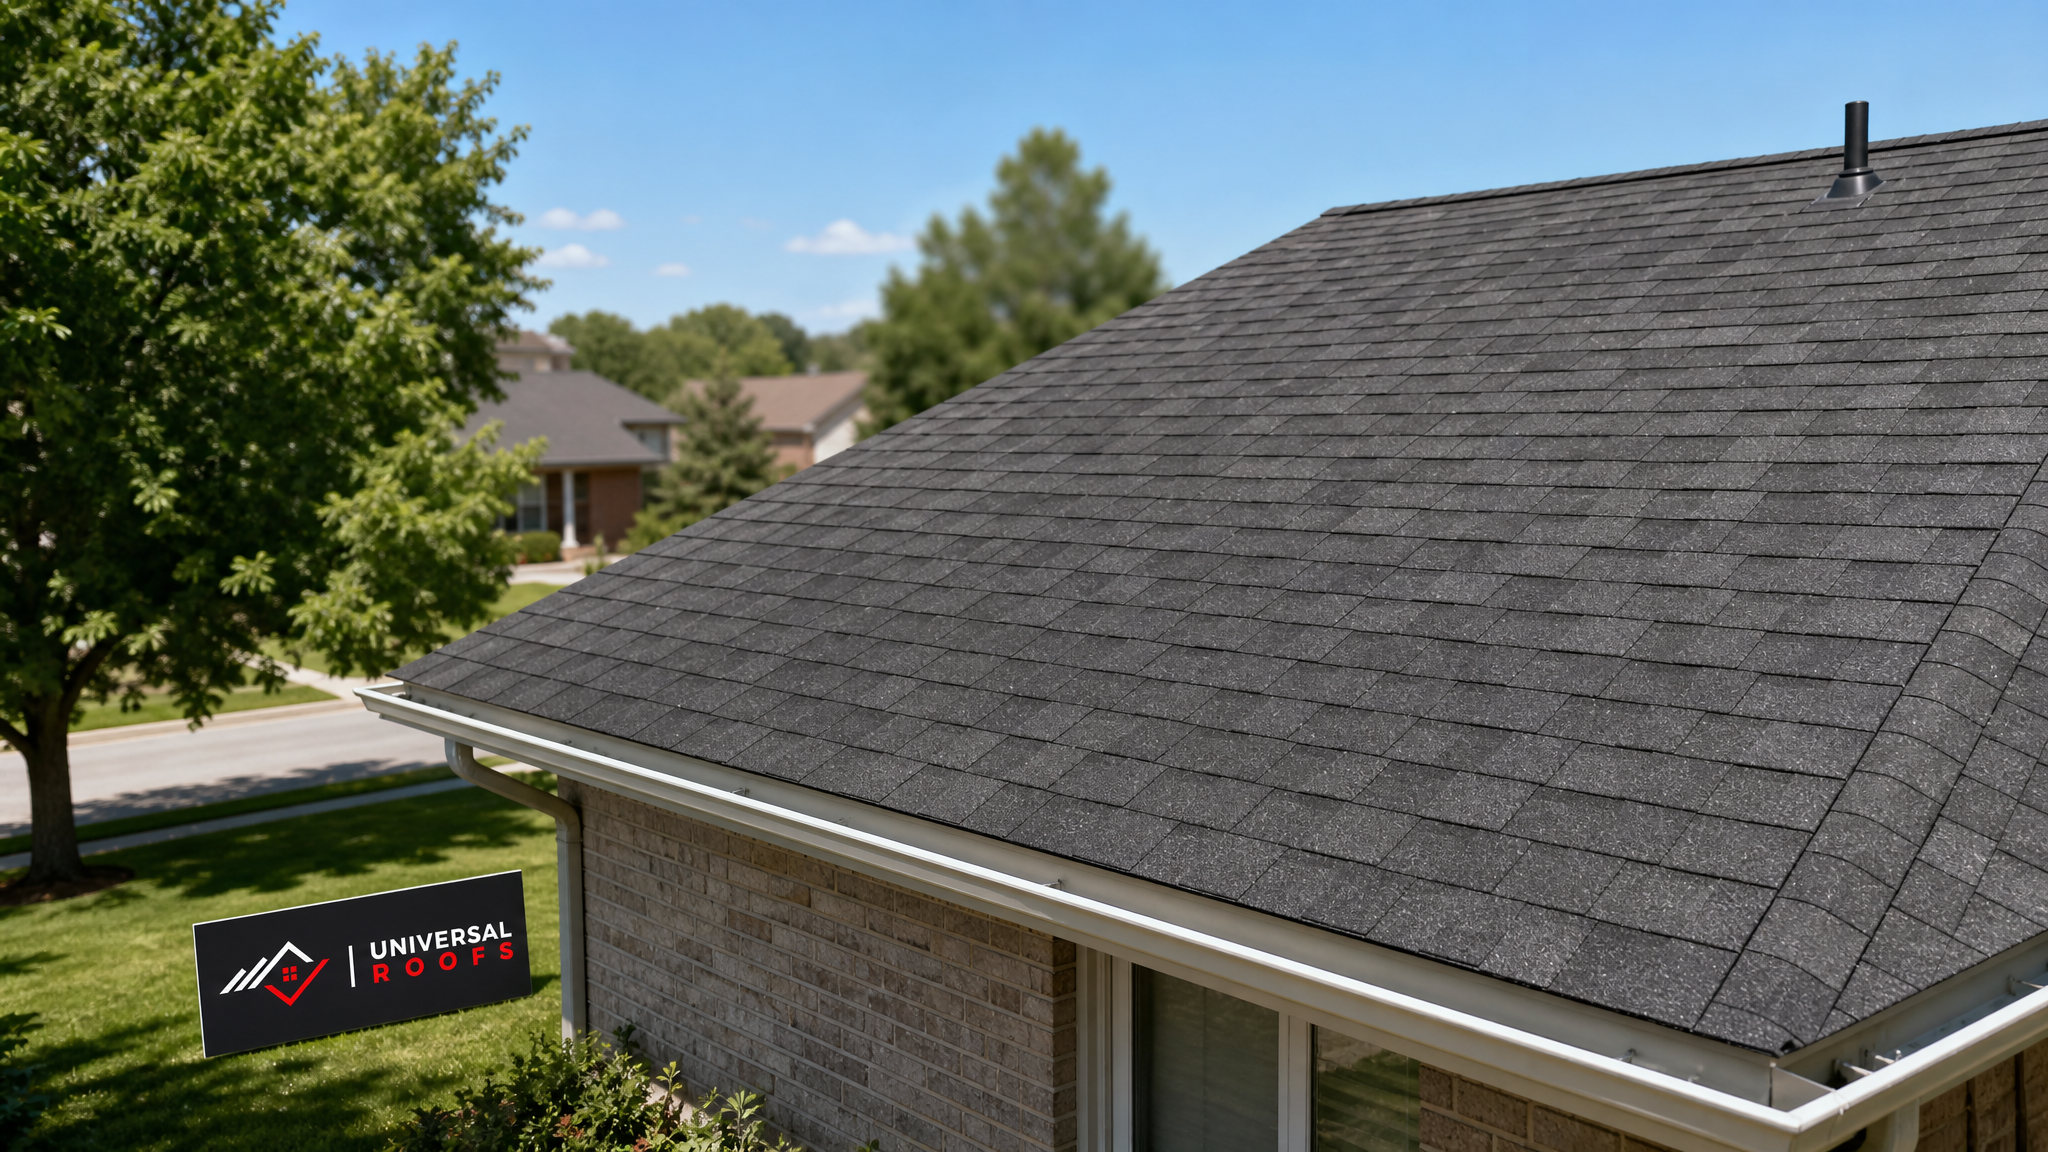
A handful of cracked or missing shingles rarely feels urgent, but in the Greater Toronto Area that small gap in your roofing system can turn into a five-figure repair bill faster than most homeowners expect. Between freeze-thaw cycles every winter, humid summer heat that bakes asphalt granules loose, and the occasional wind squall off Lake Ontario, GTA roofs take a beating that few other Canadian climates match. Knowing the proven tips for repairing roof shingles before a small problem becomes a structural one is the difference between a $300 patch job and a $12,000 deck replacement.
This guide walks through six field-tested strategies that professional roofers actually use, not generic advice recycled from a home improvement blog written for a different climate. We will cover how to spot early warning signs, when a patch is appropriate versus when the whole section needs replacing, which materials hold up best in Ontario weather, and the safety and code considerations every homeowner should understand before touching a ladder.
Whether you are dealing with a single storm-damaged section or trying to extend the life of an ageing roof by another five to seven years, these tips are grounded in what actually works on Toronto-area homes, not textbook theory.
Tip 1: Identify the Real Cause Before You Patch Anything
The single biggest mistake homeowners make when repairing roof shingles is treating the symptom instead of the cause. A curling shingle near the eaves might look like simple age, but it is frequently a sign of poor attic ventilation trapping heat and moisture against the underside of the roof deck. Granule loss in a concentrated patch often points to a gutter overflow issue rather than a failing shingle batch. If you patch the visible damage without addressing what caused it, the same failure will reappear within a season or two.
Before any repair, walk the perimeter of your home and look for these root-cause indicators:
- Ice damming along the eaves in winter, which signals inadequate attic insulation or ventilation
- Dark streaking or algae growth, which suggests trapped moisture and poor airflow under the shingles
- Shingles that are curling only on the south or west-facing slope, which points to UV and heat exposure rather than a manufacturing defect
- Nail pops appearing in a straight line, which usually means the original installation used the wrong nailing pattern or fastener length
If ventilation is the culprit, no amount of shingle repair will solve the underlying problem. In that case, it is worth having a professional inspect your attic ventilation and insulation system before spending money on surface-level shingle work. Addressing the cause first means your repair actually lasts.
Tip 2: Match Replacement Shingles Correctly, Not Just Approximately
One of the most common repair failures we see across Toronto, Mississauga, and Brampton is a mismatched shingle patch. Asphalt shingles fade over their lifespan due to UV exposure, so a shingle bundle purchased today will almost never match a roof that is eight or ten years old, even if the product line and colour name are identical. A mismatched patch is not just a cosmetic problem — it can also indicate a difference in granule composition and adhesive strip performance, which affects how well the patch seals against wind-driven rain.
For the best results:
- Pull spare shingles from a hidden area of the roof (such as a rear slope) to patch a highly visible front-facing section, and use the new shingles on the hidden slope instead
- If you have leftover shingles from the original installation stored in a garage or shed, use those first since they will have faded at a similar rate
- When no matching stock exists, choose the closest manufacturer colour match and accept that a slight tonal difference is preferable to leaving the roof unrepaired
- Always confirm the shingle profile (three-tab versus laminate/architectural) matches exactly, since mixing profiles creates uneven wind uplift resistance
The table below compares the three most common asphalt shingle types used on GTA homes and how each performs during a spot repair.
| Shingle Type | Typical Lifespan | Repair Difficulty | Wind Rating | Best Use Case |
|---|---|---|---|---|
| 3-Tab Asphalt | 15-20 years | Easy — uniform tabs simplify matching | Up to 96 km/h | Budget-conscious repairs on older roofs |
| Laminate/Architectural | 25-30 years | Moderate — layered profile needs careful alignment | Up to 210 km/h | Most GTA homes built after 2005 |
| Premium Designer | 30-50 years | Harder — specialty cuts and colour blends | Up to 210 km/h | Heritage homes and high-end renovations |
| Impact-Resistant (Class 4) | 25-30 years | Moderate — reinforced mat resists tearing | Up to 210 km/h | Properties prone to hail or falling branches |
Tip 3: Use the Correct Nailing Pattern and Sealant Technique
Improper fastening is behind a large share of the repeat repair calls we get in the Toronto area. Manufacturers specify exact nail placement — typically four to six nails per shingle, positioned just below the adhesive strip — and deviating from that pattern is one of the fastest ways to void a shingle warranty and invite wind uplift failure during the next storm.
When repairing roof shingles, keep these fastening rules in mind:
- Use roofing nails with a minimum 3.2 cm shank length so they penetrate through the shingle and into the roof deck, not just the underlayment
- Never use staples as a substitute for nails; staples have far less pull-through resistance and are a leading cause of shingle blow-off in high wind
- Hand-seal the underside of the replacement shingle with roofing cement in a quarter-sized dab under each corner if the repair happens outside the summer months, since the factory adhesive strip needs heat to activate properly
- Avoid overdriving nails, which crushes the shingle mat and creates a weak point that tears loose in the first strong wind
In the height of summer, the self-sealing adhesive strips on asphalt shingles activate naturally within a day or two of installation as the sun warms them. During cooler shoulder-season repairs, manually sealing each tab is not optional — it is the only way to guarantee the patch survives its first windstorm.
Tip 4: Know When a Patch Is Enough — and When It Isn’t
Not every instance of shingle damage calls for a full-section tear-off, but homeowners frequently repair well past the point where it makes financial sense. A good rule of thumb: if damage is isolated to fewer than a dozen shingles in one localized area and the surrounding roof deck is dry and sound, a targeted repair is the right call. If damage is spread across multiple slopes, if you can see daylight through the roof deck from the attic, or if the shingles are already past 80 percent of their rated lifespan, patching is a short-term fix that delays an inevitable full roof replacement.
Use this decision table to help gauge which path fits your situation.
| Situation | Recommended Action | Estimated Cost Range (CAD) | Typical Timeline |
|---|---|---|---|
| Fewer than 10 shingles damaged, roof under 12 years old | Spot repair | $300 – $900 | Same day |
| Storm damage isolated to one slope | Section repair with underlayment check | $800 – $2,500 | 1-2 days |
| Widespread granule loss, roof 15+ years old | Full roof repair assessment | $2,500 – $6,000 | 2-4 days |
| Deck rot, multiple slopes affected, roof past rated life | Full replacement | $9,000 – $18,000+ | 1-3 days on-site |
If you are uncertain which category your roof falls into, an in-person assessment is worth the twenty minutes it takes. Many homeowners assume a repair is straightforward until a contractor pulls back the damaged shingles and finds a soft, water-damaged deck underneath, which changes the scope entirely.
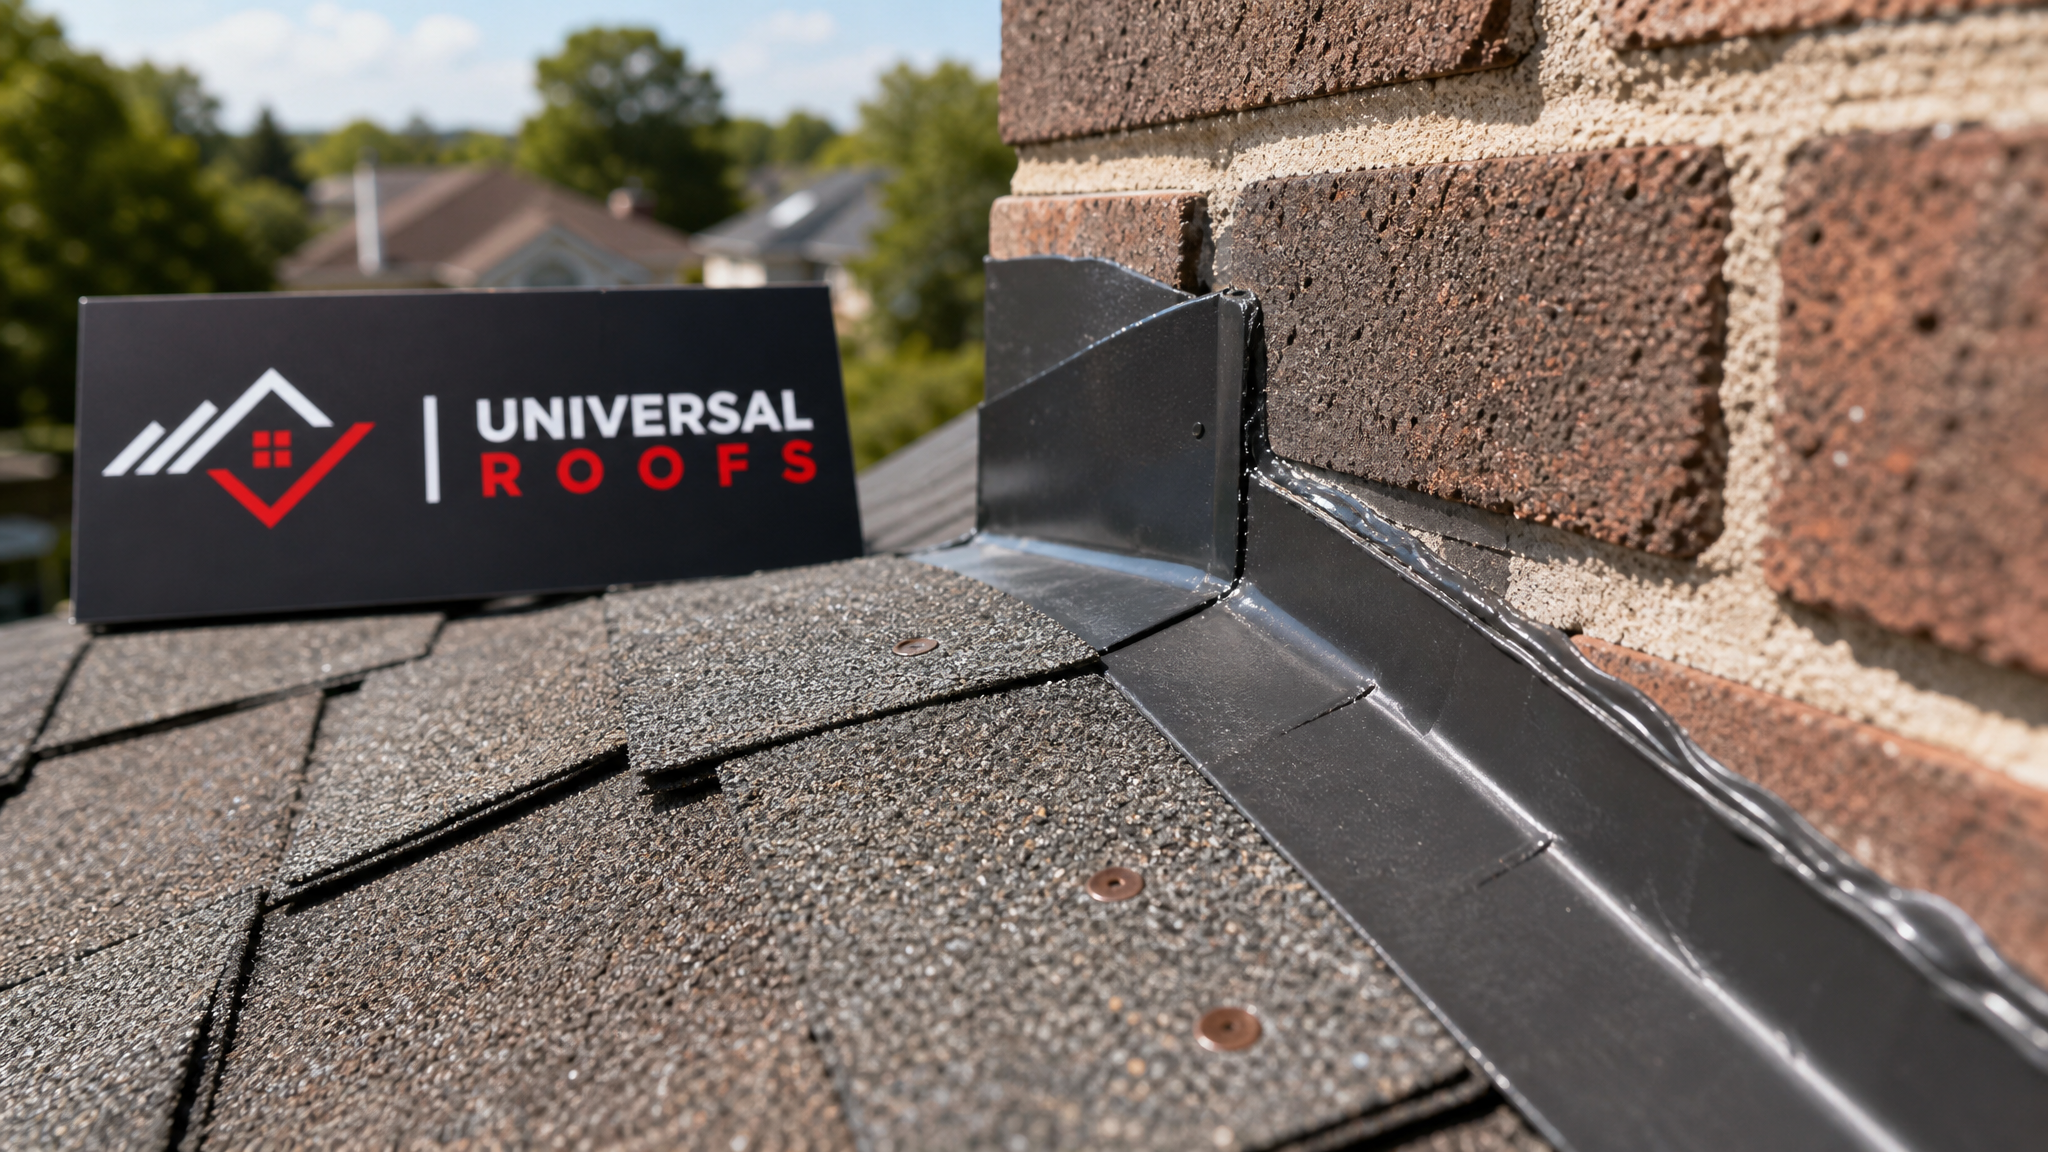
Tip 5: Don’t Neglect Flashing, Valleys, and Transition Points
Shingle repair conversations tend to focus entirely on the shingles themselves, but the majority of leaks that masquerade as shingle problems actually originate at flashing and transition points: chimneys, vent stacks, skylight curbs, and roof valleys. If you are repairing shingles near any of these features, inspect the flashing at the same time. Corroded or improperly lapped flashing will continue leaking even after a perfect shingle repair, because water is bypassing the shingles entirely and running behind the flashing.
Common trouble spots to check during any shingle repair include:
- Step flashing along chimney sides, which corrodes faster than the surrounding shingles and should be replaced in kind, not caulked over
- Valley flashing where two roof slopes meet, a high-water-volume area that wears out well before the field shingles
- Skylight curb flashing — if you notice water staining near a skylight, the issue is more often flashing failure than the skylight unit itself, though older units may also need a skylight replacement if the seals have degraded
- Plumbing vent boot collars, whose rubber gaskets crack and shrink after roughly ten years regardless of the surrounding shingle condition
A shingle repair performed without checking adjacent flashing is, at best, half a repair. This is one of the most overlooked proven tips for repairing roof shingles, and it is the reason many “repaired” roofs continue leaking during the next heavy rain.
Tip 6: Time Repairs Around Toronto’s Climate Windows
Timing matters more in the GTA than in milder climates. Asphalt shingles need ambient temperatures above roughly 4°C to seal properly and become pliable enough to cut and shape without cracking. That gives homeowners a practical repair window from late spring through early autumn, with mid-summer — right now, in July — being one of the most reliable stretches for a same-day patch, since the adhesive strips activate quickly in the heat and there is little risk of sudden frost interrupting the seal.
That said, summer repairs come with their own considerations:
- Shingles become more pliable in hot weather, which makes them easier to shape but also more prone to scuffing and granule displacement if walked on carelessly
- Afternoon thunderstorms are common in the GTA through July and August, so repairs should be scheduled for morning hours when the roof surface is dry and stable
- Emergency repairs after a summer hailstorm should not wait — even minor bruising to the shingle mat can compromise waterproofing well before it becomes visually obvious
Waiting until autumn to fix a known problem is a common and costly mistake. A small leak that goes unaddressed through a rainy September and into the first winter freeze-thaw cycle almost always grows substantially worse, since water that gets under the shingles can freeze, expand, and lift adjacent shingles that were previously undamaged.
| Season | Repair Suitability | Key Consideration | Recommended Action |
|---|---|---|---|
| Late Spring (May-June) | Excellent | Mild temperatures, good adhesive activation | Ideal for planned repairs |
| Summer (July-August) | Excellent | Fast sealing but watch for afternoon storms | Schedule morning work |
| Autumn (September-October) | Good | Cooling temps slow adhesive activation | Manual sealing often required |
| Winter (November-March) | Poor | Shingles brittle, adhesive won’t activate | Emergency tarping only, repair in spring |
Repair Versus Replacement: Making the Long-Term Call
Even with all six tips applied correctly, there comes a point on every roof where continued patching stops making financial sense. As a rough industry benchmark, if repair costs over a 24-month period exceed roughly 30 percent of a full replacement quote, replacement is almost always the better long-term investment. Beyond the direct dollar comparison, an ageing roof nearing the end of its service life also tends to fail in multiple places simultaneously rather than one at a time, which is exactly the kind of scenario that turns a homeowner’s repair budget into a replacement budget anyway, just on an emergency timeline instead of a planned one.
If your roof is approaching or past the fifteen-year mark and you are facing a second or third repair call within a year, it is worth getting a full inspection rather than continuing to chase individual leaks. This is also a good time to evaluate whether your flat roofing sections (common on additions, garages, and rear extensions across the GTA) are ageing at the same rate as the main sloped roof, since mixed roof systems often need attention on different timelines.
Homeowners across Toronto, Peel Region, York Region, Halton Region, and Durham Region face largely the same climate pressures, though microclimates do vary — homes closer to the lake tend to see more wind-driven rain, while inland areas see steeper winter temperature swings that accelerate freeze-thaw damage. A regionally aware inspection accounts for these differences rather than applying a one-size-fits-all repair plan.
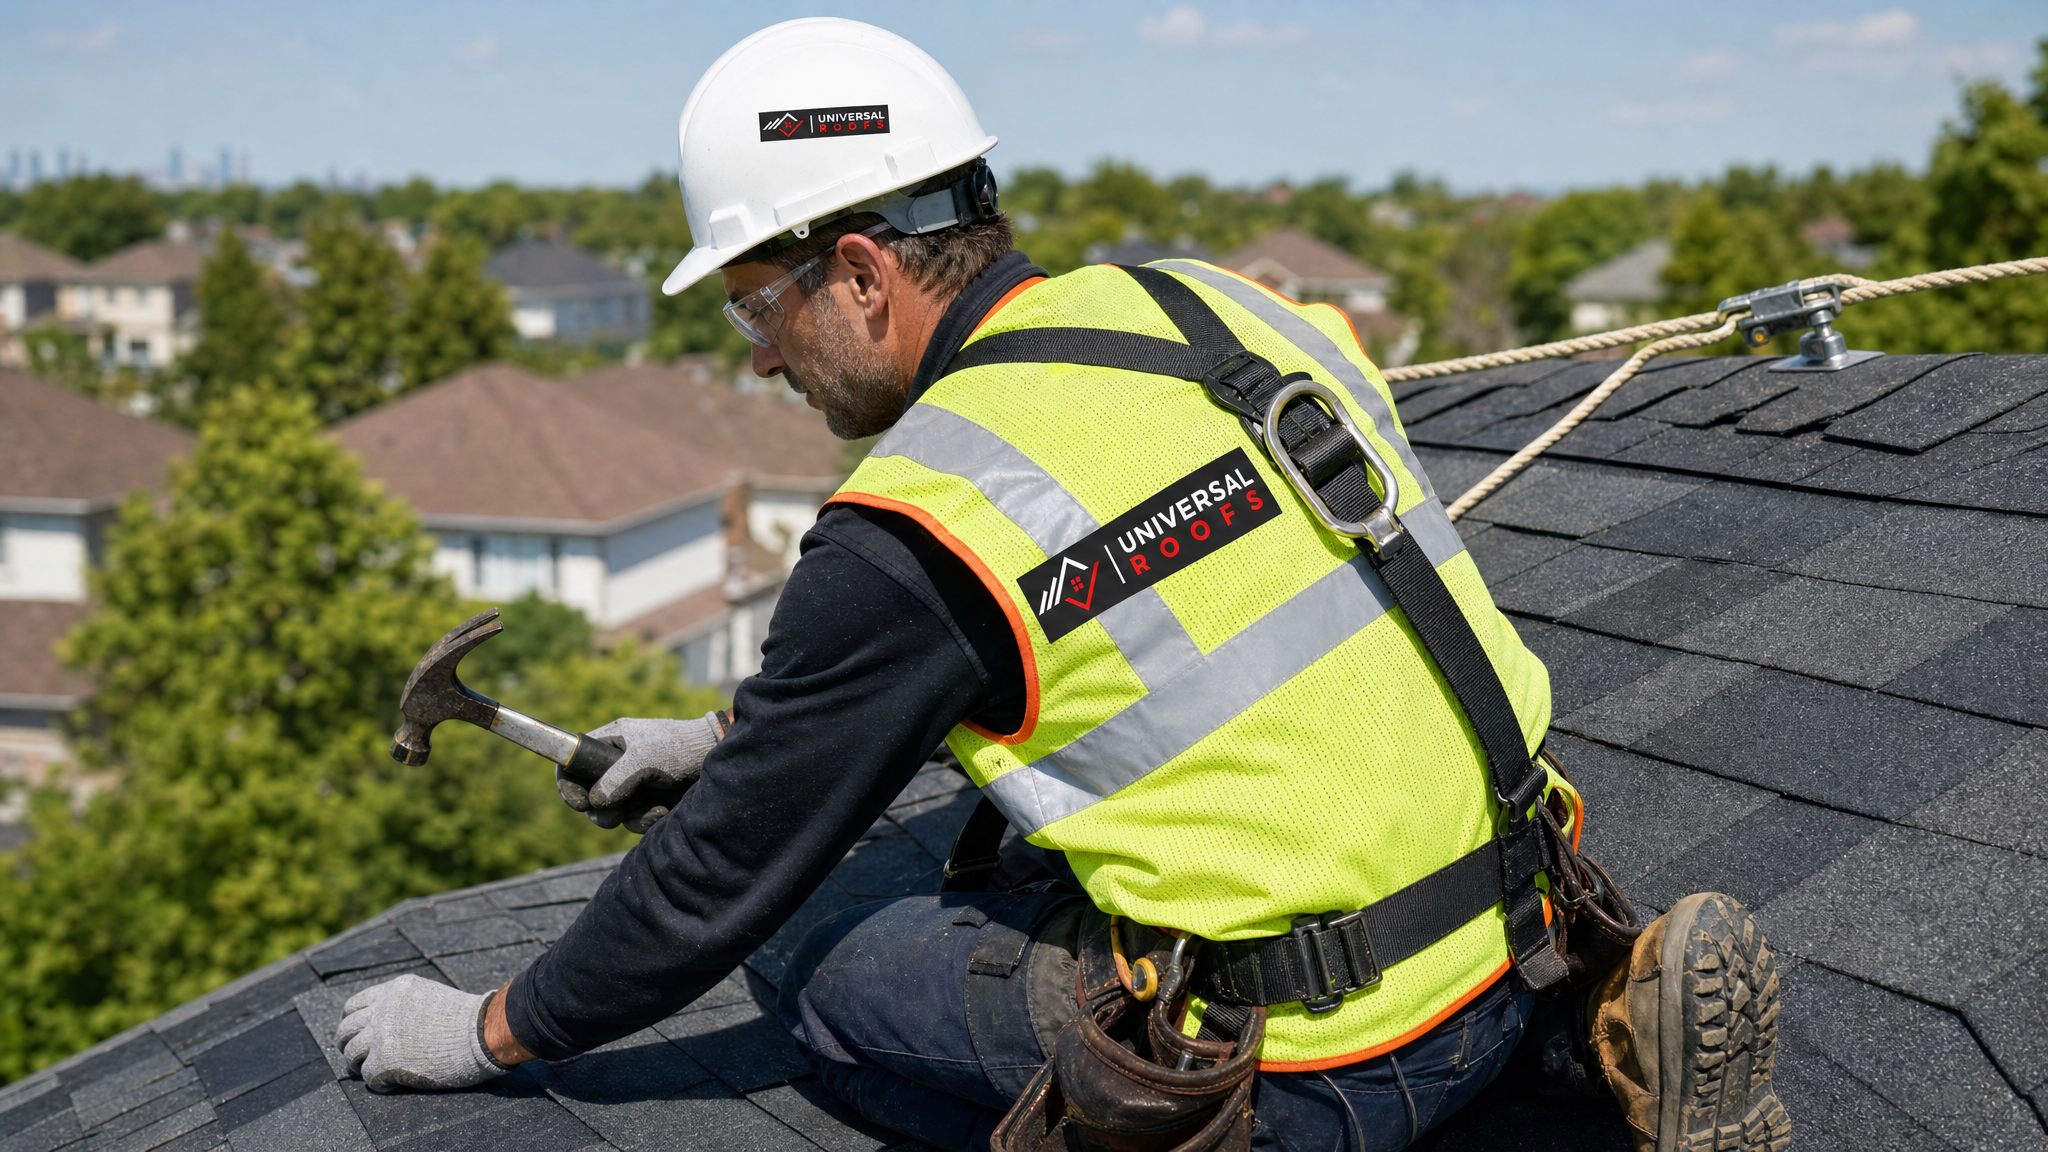
DIY Repair Safety: What Homeowners Should Know
Many of the tips above are approachable for a confident DIYer working on a single-storey, low-slope roof in dry conditions. However, roof work carries real fall risk, and the Ontario Occupational Health and Safety Act requires fall protection for any worker at height above three metres on a construction site — a standard worth applying to your own home repairs even though it is not legally mandated for homeowners working on their own property.
Before attempting a shingle repair yourself, consider these safety factors honestly:
- Roof pitch above a 6:12 slope (a rise of 6 inches for every 12 inches of run) becomes significantly harder to work on safely without proper harness anchoring
- Wet or dew-covered shingles in the early morning are dangerously slick, even on a moderate slope
- Two-storey homes present a fall height that turns even a minor slip into a serious injury
- Working near power lines, which are common where roof eaves meet overhead service drops, adds an electrocution risk that professional crews are trained and equipped to manage
If any of these factors apply, the cost of a professional repair is a reasonable trade-off against the risk of a fall. It is also worth noting that most homeowner insurance policies exclude injury claims arising from DIY roof work, whereas a licensed contractor carries liability coverage for exactly this scenario.
Reading Customer Experiences Before You Choose a Repair Contractor
Whether you decide to tackle a shingle repair yourself or bring in a professional, it is worth doing homework on any contractor before they set foot on your roof. Check that they carry Workplace Safety and Insurance Board (WSIB) coverage, ask for proof of liability insurance, and look at recent, verifiable customer feedback rather than relying on a sales pitch alone. Reading through homeowner reviews from similar properties in your area can tell you a lot about how a company handles both routine repairs and the unexpected complications that sometimes surface once shingles are pulled back. For answers to common questions about scheduling, warranty coverage, and material options, our FAQ page covers most of what homeowners ask before booking a repair, and our about page details our licensing and experience across the GTA.
What are the most important proven tips for repairing roof shingles on an older Toronto home?
Can I repair a few missing roof shingles myself, or should I hire a professional?
What is the best time of year in the GTA to repair roof shingles?
How do I know if my shingle damage needs a patch or a full roof replacement?
Why does my roof keep leaking even after I repair the shingles?
What roofing nails and sealant should be used when repairing asphalt shingles?
Need Help With 6 Proven Tips for?
Repairing roof shingles correctly the first time protects your home from far costlier damage down the road, and the team at Universal Roofs has been helping GTA homeowners make that call correctly since 2005.
Call us today at (416) 732-2421 or request a free inspection to get started.
Universal Roofs proudly serves Toronto, Mississauga, Brampton, Vaughan, Markham, Oakville and the GTA since 2005.