
A single cracked or missing shingle rarely announces itself with a leak right away, but in the Greater Toronto Area’s freeze-thaw climate, small gaps turn into big repair bills faster than most homeowners expect. Between summer thunderstorms, winter ice damming, and the constant temperature swings that stress asphalt and its adhesive strip, shingle damage is one of the most common reasons GTA homeowners search for a weekend fix before calling in a professional.
DIY shingle repair can be a reasonable stopgap for a small, isolated problem, such as one lifted tab after a windstorm or a single crack from a fallen branch. But it is not a substitute for a proper inspection, and doing it incorrectly can create more problems than it solves, including trapped moisture, voided material warranties, and shingles that blow off again during the next windstorm. This guide walks through the practices for DIY shingle repair that actually hold up, when a homeowner should attempt the work themselves, and when it is time to call in Universal Roofs for a professional assessment instead.
We have been repairing and replacing roofs across the GTA since 2005, and the patterns are consistent: rushed repairs, wrong materials, and skipped safety steps cause the majority of callbacks we see on previously “DIY-repaired” roofs. The three best practices below are the difference between a repair that lasts a full Toronto winter and one that fails at the first thaw.
Practice 1: Match the Shingle and Prep the Repair Area Properly
The single most common DIY shingle repair mistake we see across Toronto, Mississauga, and Vaughan roofs is a mismatched patch. Asphalt shingles fade with UV exposure over a few seasons, so a shingle bought fresh from a hardware store this summer will look noticeably different from a roof that has weathered three or four GTA winters. If you have leftover shingles from the original roof installation, use those first. If not, look for shingles from the same manufacturer and colour line, and accept that a slight mismatch is normal and not worth chasing perfection over.
Before any new shingle goes down, the repair area needs proper preparation. Start by carefully removing the damaged shingle. Asphalt shingles are secured by nails driven through the overlapping course above, so you will need a flat pry bar to gently lift the shingle above the damaged one and expose the nails holding it in place. Work slowly here: yanking on a shingle in cool weather can crack the surrounding tabs, and yanking in hot weather can tear the reinforcing mat because the asphalt has softened.
Once the damaged shingle is free, inspect the exposed underlayment and decking. This is the step most DIYers skip, and it is the one that matters most. Look for soft, spongy decking, dark staining, or any sign of moisture that has already worked its way beneath the surface. If the decking feels soft underfoot or the underlayment is torn, a simple shingle swap will not solve the underlying problem — you are looking at a job for our roof repair team, not a driveway toolbox.
Clean the exposed nail holes and roofing felt of any old adhesive or debris before setting the new shingle. A putty knife works well for scraping without damaging the underlayment. Dress the area so the new shingle will sit flush against its neighbours; a proud edge or a hump under the shingle is what causes wind to catch it again during the next storm off Lake Ontario.
| Preparation Step | Tool Needed | Common Mistake | Why It Matters |
|---|---|---|---|
| Lift overlapping shingle | Flat pry bar | Forcing it in cold weather | Cracks surrounding tabs |
| Remove old nails | Hammer or roofing nail puller | Leaving bent nails in place | Creates a bump under new shingle |
| Inspect decking | Flashlight, gloved hand | Skipping this check entirely | Misses soft or rotted plywood |
| Clean nail holes | Putty knife | Leaving old sealant residue | Prevents new shingle from sitting flush |
| Match replacement shingle | Leftover shingles or matching colour line | Grabbing any shingle off the shelf | Causes obvious colour mismatch |
Practice 2: Nail and Seal in the Correct Pattern
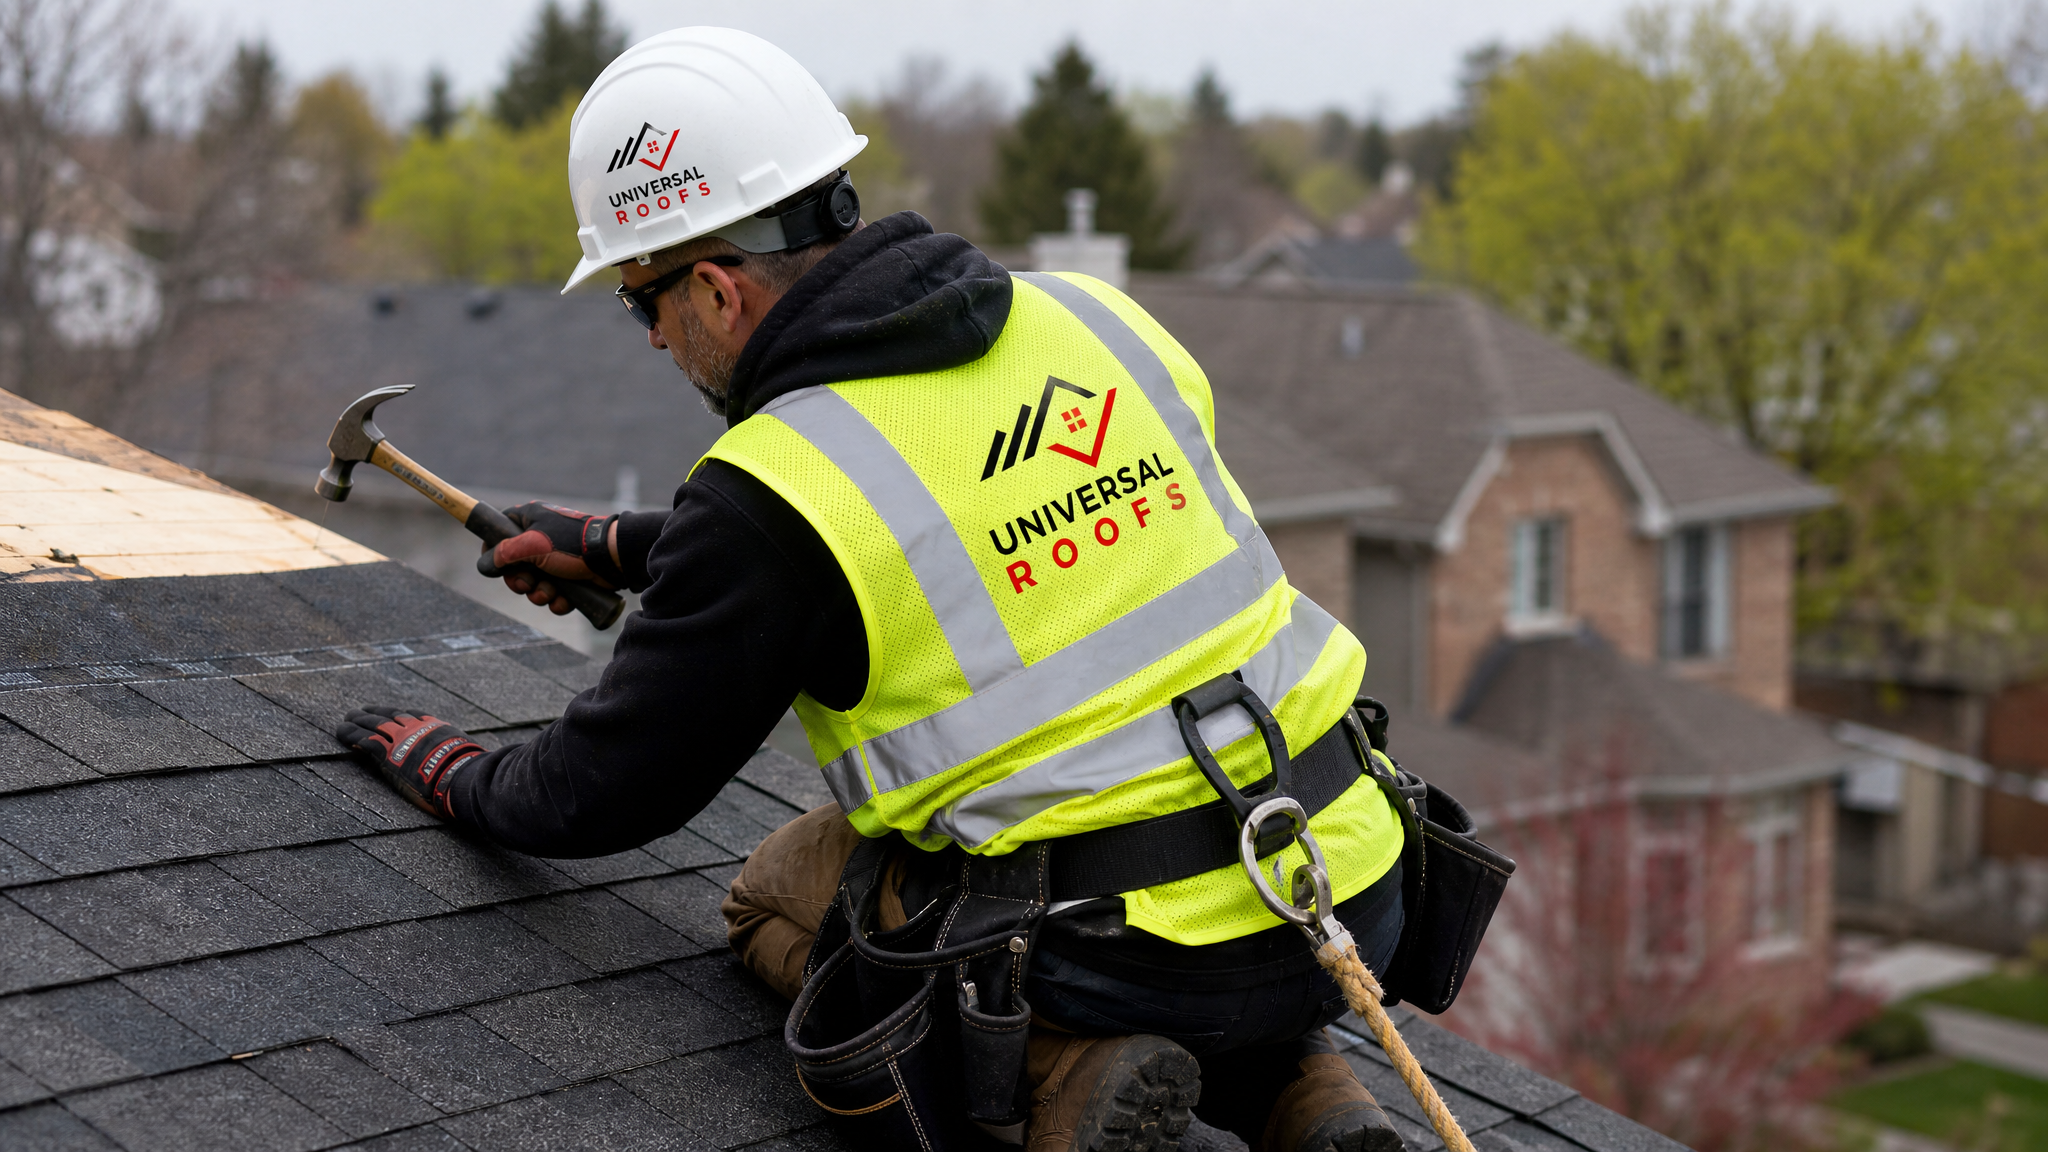
Fastening a shingle correctly is not intuitive, and it is the second area where DIY repairs commonly go wrong. Each shingle needs four roofing nails, placed just below the adhesive strip line and about 25 millimetres in from each edge, never through the exposed tab area itself. Nails placed too high miss the reinforcing layer beneath the tab above; nails placed too low will show below the shingle line and invite water intrusion at the exposed nail head.
Use galvanized or stainless roofing nails long enough to penetrate through the shingle, underlayment, and at least 20 millimetres into the roof decking. Nails that are too short will back out over a winter of freeze-thaw cycling as the decking expands and contracts, and a backed-out nail is one of the more common causes of a “new” leak appearing a season after a DIY repair.
Once the shingle is nailed, every exposed nail head and the shingle’s leading edge should be sealed with a compatible roofing cement or asphalt sealant, applied with a caulking gun in a thin, even bead. Avoid the temptation to overload nail heads with sealant; a thick blob traps water rather than shedding it, and it looks unprofessional from the ground. The goal is a bead just large enough to fully cover the nail head and the seam edge, tooled smooth with a putty knife.
Temperature matters here more than most homeowners realize. Asphalt sealant needs to cure properly, and application outside the manufacturer’s recommended temperature range, generally above 4 to 10 degrees Celsius depending on the product, will result in a poor bond. If you are repairing in late fall or early spring when Toronto temperatures swing widely within a single day, work during the warmest part of the afternoon and check the product label for its minimum application temperature.
| Fastening Element | Correct Practice | Common DIY Error | Consequence of Error |
|---|---|---|---|
| Nail count per shingle | 4 nails minimum | Using only 2 nails | Shingle lifts in high wind |
| Nail placement | Just below adhesive strip, 25mm from edges | Nailing through the tab | Exposed nail heads leak |
| Nail penetration depth | 20mm+ into decking | Using nails that are too short | Nails back out over winter |
| Sealant application | Thin, even, tooled bead | Thick blob over nail head | Traps water, looks unfinished |
| Application temperature | Follow product minimum, typically 4-10°C+ | Sealing in cold or damp conditions | Poor adhesion, early failure |
Practice 3: Work Safely, and Know the Weather Window
The third practice is less about the shingle and more about the homeowner attempting the repair. Roof work is the leading cause of serious home-maintenance injuries, and a sloped asphalt roof becomes considerably more dangerous when it is damp, frosted, or hot enough to soften underfoot. If your roof pitch is steeper than roughly 6:12, or if the repair area is anywhere near a second-storey edge, this is a job better suited to a professional crew with proper fall protection than a homeowner on an extension ladder.
If you do proceed with a DIY repair, use a stabilizer or ladder-securing device at the eave, wear rubber-soled shoes with good grip, and never work alone. Choose a dry day with no wind and moderate temperatures. Toronto’s July and August afternoons can push asphalt shingle surface temperatures well above what feels comfortable to kneel on, so early morning is usually the better window in summer, while a clear early-afternoon slot works well in the shoulder seasons.
Weather timing also affects the quality of the repair itself, not just comfort and safety. Shingles installed or sealed in high humidity or shortly before rain do not bond properly, and repairs attempted right after a rainfall trap moisture beneath the new shingle. The ideal window is 24 to 48 hours of dry weather before and immediately after the repair, giving the sealant time to properly cure before it is tested by rain.
Know your limits and recognize when a small repair has revealed a larger problem. If you pull back one damaged shingle and find that the surrounding shingles are also brittle, cracked, or granule-bare, that is a sign of a roof nearing the end of its service life rather than an isolated repair situation. In that case, a patch is a short-term delay, and it is worth having our team assess whether a full roof replacement makes more financial sense than repeated patch jobs.
| Situation | DIY Appropriate? | Recommended Action | Estimated Timeline |
|---|---|---|---|
| Single lifted tab, no cracking | Yes, with proper sealant | Re-seal tab with roofing cement | 30-60 minutes |
| One cracked shingle, isolated | Yes, for confident homeowners | Replace shingle following steps above | 1-2 hours |
| Several shingles cracked or brittle nearby | No | Book a professional inspection | Same-week assessment |
| Soft or stained decking underneath | No | Professional repair, possible decking replacement | 1-3 days depending on scope |
| Steep pitch or second-storey access needed | No | Licenced crew with fall protection | Same-day to next-day service |
Tools and Materials Checklist for a Proper Repair
Having the right materials on hand before climbing onto the roof avoids the frustration of a half-finished repair and repeated trips up and down the ladder. A basic shingle repair kit should include a flat pry bar, a hammer or pneumatic nailer if you have one, galvanized roofing nails, a caulking gun, roofing cement or asphalt sealant rated for your climate, replacement shingles matching your existing colour and profile, and a putty knife for tooling sealant and cleaning old adhesive.
Safety equipment matters just as much as roofing tools. A properly rated extension ladder with a stabilizer, soft-soled non-slip footwear, work gloves, and, ideally, a roof anchor and harness system for anything beyond a very shallow pitch are not optional extras. A repair that saves a few hundred dollars is not worth an emergency-room visit, and it is the reason our crews train extensively in fall protection before they are ever sent up a ladder.
It’s also worth keeping a small supply of matching shingles on hand year-round if your roof is over ten years old. Manufacturers periodically discontinue colour runs, and having a bundle stored in a dry garage or shed means a future repair will not force you into an obvious colour mismatch on an otherwise uniform roof.
When a Shingle Problem Signals a Bigger Roofing Issue
Not every damaged shingle is an isolated event. Recurring shingle failures in the same area of the roof, particularly around valleys, chimneys, or vent penetrations, usually point to a flashing problem rather than a shingle problem, and no amount of shingle replacement will fix a flashing leak. Similarly, shingles that granule excessively, curl at the edges, or crack in multiple, unrelated spots across the roof are showing signs of age-related failure, not storm damage, and patching them individually is a losing game.
If your roof also has a skylight nearby and you are noticing shingle damage close to the skylight curb, it is worth having that checked alongside the shingle repair, since flashing around a skylight is a common leak source that looks like a shingle problem at first glance. Our skylights and skylight replacement teams frequently find that what a homeowner assumed was a shingle issue was actually failed flashing at the skylight curb.
Attic conditions can also masquerade as a shingle problem. Poor attic ventilation causes excess heat and moisture buildup that accelerates shingle aging from underneath, leading to premature cracking and granule loss that looks like storm damage but is actually a ventilation issue. If shingle damage keeps recurring despite proper repairs, it is worth having our attic specialists check ventilation and insulation levels as part of the diagnosis.
Seasonal Considerations for GTA Homeowners
Summer is genuinely one of the better times of year to tackle a DIY shingle repair in the Toronto area, provided you avoid the hottest midday hours when asphalt softens and footing becomes unstable. Morning repairs, before the sun has fully heated the roof surface, give you firmer footing and a sealant cure window before afternoon heat.
That said, summer thunderstorms across the GTA can cause sudden, isolated wind damage, so it is common to discover a lifted or missing shingle after a storm system passes through Toronto, Peel Region, or York Region. Addressing that damage within a few days, rather than waiting, prevents a small leak point from becoming a larger issue during the next heavy rain event.
Looking ahead, homeowners who patch a shingle in summer should still plan for a fall inspection before winter sets in. Freeze-thaw cycling is the hardest test any repair will face, and a patch that looks fine in August can fail by January if the nailing or sealing was slightly off. If you are in Halton Region or Durham Region and unsure whether your summer repair will hold through winter, a quick professional check now is far cheaper than an emergency callout during an ice storm.
Cost Comparison: DIY Repair vs. Professional Service
Cost is often the deciding factor for homeowners weighing a DIY shingle repair against calling a professional. The table below breaks down typical costs across the GTA, though actual pricing varies by roof pitch, accessibility, and the extent of damage found once the repair area is opened up.
| Repair Type | Typical DIY Material Cost | Typical Professional Cost | Warranty Coverage |
|---|---|---|---|
| Single shingle re-seal | $15-30 | $150-250 (service call minimum) | None (DIY) vs. workmanship guarantee (pro) |
| Single shingle replacement | $25-50 | $175-300 | None (DIY) vs. workmanship guarantee (pro) |
| Multiple shingle repair (3-5 shingles) | $75-150 | $300-600 | None (DIY) vs. workmanship guarantee (pro) |
| Repair plus decking inspection | Not recommended DIY | $400-900+ | Full workmanship and material guarantee |
The professional cost includes a proper inspection of surrounding shingles, flashing, and decking, which is exactly the coverage a DIY repair skips. For an isolated, easily accessible repair, the DIY savings can be worthwhile. For anything involving multiple shingles, an inaccessible area, or a roof over fifteen years old, the inspection that comes bundled with a professional visit tends to pay for itself by catching problems before they become expensive.
How to Decide Between Repair and Replacement
A shingle repair only makes sense if the rest of the roof has useful life left in it. Asphalt shingles in the GTA typically last 20 to 25 years depending on product quality and attic ventilation, and a roof approaching that age with widespread granule loss, curling, or multiple problem areas is usually better served by a full replacement rather than an ongoing series of patches.
Our team can walk any homeowner through that decision with a straightforward, no-pressure inspection. We look at the age of the roof, the condition of the decking, the flashing at penetrations, and attic ventilation before recommending either a targeted repair or a full replacement. Homeowners across Toronto, Peel Region, York Region, Halton Region, and Durham Region can book that assessment directly with our office.
If you would rather see what other homeowners experienced before booking, our reviews page has feedback from clients across the GTA, and our FAQ page answers many of the more detailed technical questions that come up during a shingle repair conversation. You can also learn more about our team’s background on the about page.
What are the best practices for DIY shingle repair on an asphalt roof?
Can I repair a single damaged shingle myself?
How many nails should be used per shingle during a repair?
What is the best weather for repairing shingles in the GTA?
How do I know if my shingle damage requires professional repair instead of DIY?
How much does it cost to repair a shingle myself versus hiring a professional?
Need Help With 3 Best Practices for?
A DIY shingle repair can buy you time, but a professional inspection from Universal Roofs is the only way to know whether that repair is really all your roof needs, or whether it is masking a larger problem underneath.
Call us today at (416) 732-2421 or request a free inspection to get started.
Universal Roofs proudly serves Toronto, Mississauga, Brampton, Vaughan, Markham, Oakville and the GTA since 2005.