
If you have ever climbed into your attic on a humid July afternoon and noticed a soft, spongy patch overhead, or spotted a sagging dip along your roofline from the driveway, you have already met your roof decking. Most homeowners never think about this hidden plywood or oriented strand board (OSB) layer until something goes wrong, and by then the damage is often more advanced than it looks from the ground. Troubleshooting and fixing roof decking problems a step by step approach is the difference between a straightforward repair and a full roof replacement that could have been avoided.
Roof decking is the structural skin that ties your rafters or trusses together and gives your shingles, underlayment and flashing something solid to grip. When it fails, everything above it becomes unstable, no matter how new your shingles are. In the Greater Toronto Area, our decking takes a beating from freeze-thaw cycles, ice damming, humid summers and sudden hailstorms, which is why decking problems show up more often here than in drier climates.
This guide walks through how to identify decking problems, what causes them, how professionals diagnose the extent of damage, and the realistic costs and timelines for repair. Whether you are dealing with a small soft spot after a storm or planning a full roof replacement, understanding the decking underneath is essential before any shingle work begins.
What Roof Decking Is and Why It Fails
Roof decking (also called sheathing) is the layer of plywood or OSB panels nailed directly to your rafters or roof trusses. It forms the flat surface that underlayment, shingles, flashing and vents are all attached to. Most homes built in Ontario since the 1980s use half-inch or 5/8-inch OSB, while older homes, particularly in established Toronto neighbourhoods, often still have solid plank decking made of individual boards.
Decking fails for one main reason above all others: sustained moisture exposure. Wood is a forgiving material when it stays dry, but once water finds a way in and lingers, it begins to break down the wood fibres, invite fungal growth, and lose its structural integrity. The most common pathways for that moisture are:
- Damaged, cracked, or missing shingles that expose the underlayment directly to rain
- Failed or missing underlayment that no longer sheds water past nail penetrations
- Ice dams that force meltwater backward under shingles during our GTA winters
- Poor attic ventilation that traps warm, moist air against the underside of the decking
- Cracked or corroded flashing around chimneys, skylights, and roof valleys
- Clogged gutters that back water up under the roof edge
- Physical damage from fallen branches, hail impacts, or foot traffic during past repairs
Once moisture penetrates, OSB tends to swell and delaminate, while plank decking rots and becomes brittle. Left unaddressed, either material can eventually fail to hold fasteners, leading to loose or lifting shingles and, in severe cases, a decking panel that gives way underfoot.
Recognizing the Warning Signs From Inside and Outside
Troubleshooting and fixing roof decking problems a step by step process always starts with recognizing the symptoms, because decking sits hidden beneath your shingles. You will rarely see the wood itself until a repair is already underway. Instead, you look for secondary clues.
From inside your attic, on a dry day, look for:
- Dark staining, streaking, or water rings on the underside of the decking
- Visible daylight coming through small gaps or nail holes
- A musty, damp smell that persists even in warm weather
- Sagging between rafters, sometimes visible as a wavy ceiling of decking overhead
- Soft or spongy texture if you gently press on accessible sections with a gloved hand
- Mould growth, particularly grey-green or black patches near valleys or penetrations
From the exterior or ground level, watch for:
- Visible dips, waves, or soft-looking depressions along the roof plane, especially noticeable when sunlight rakes across the surface in early morning or late afternoon
- Shingles that appear to be curling, cupping, or sitting unevenly in one section
- Granule loss concentrated in one area rather than spread evenly across the whole roof
- A soft, “give” feeling underfoot in specific spots if a contractor walks the roof during an inspection
- Sagging fascia or a wavy roofline visible from the street
None of these signs alone confirms decking failure, but two or more together are a strong signal that it is time for a proper inspection. If you are unsure what you are looking at, our team can walk you through a roof repair assessment before committing to any work.
Table 1: Common Decking Symptoms, Likely Causes, and Urgency
| Symptom Observed | Most Likely Cause | Where It Is Usually Found | Urgency Level |
|---|---|---|---|
| Dark water stains on attic decking | Slow, ongoing leak through shingles or flashing | Around chimneys, valleys, skylights | Moderate — schedule inspection within weeks |
| Spongy or soft spot underfoot | Advanced wood rot or delamination | Low slopes, valleys, roof edges | High — schedule repair promptly |
| Visible sagging roofline from street | Structural decking failure across a wide area | Mid-span between trusses | Urgent — structural assessment needed |
| Musty smell without visible staining | Trapped moisture, early-stage mould | Poorly ventilated attic sections | Moderate — ventilation review recommended |
| Nail pops or shingles lifting in one zone | Decking has lost holding strength for fasteners | Localized to damaged panel | High — panel replacement likely needed |
| Daylight visible through decking | Rot has created a hole or the board has separated | Older plank decking, edges | Urgent — active leak path present |
Step-by-Step Diagnosis: How Professionals Confirm Decking Damage
A methodical inspection avoids both under-diagnosis (missing hidden rot) and over-diagnosis (replacing sound decking unnecessarily). Here is the sequence we use when troubleshooting and fixing roof decking problems a step by step for GTA homeowners.
Step 1: Interior Attic Inspection
We start inside, since it is the least invasive way to spot problems. A flashlight inspection of the underside of the decking reveals staining patterns, active drips, and soft sagging that indicate where trouble originates. We also check insulation for compaction or staining, since wet insulation is often the first visible clue of a decking leak above it.
Step 2: Exterior Visual and Walking Inspection
Next, a trained roofer walks the roof surface itself (never recommended for homeowners without fall protection) to feel for soft spots, check granule loss patterns, and examine flashing, valleys, and vent boots up close. This is also when hail bruising, cracked shingles, and lifted tabs get documented.
Step 3: Moisture Meter Testing
For sections that look questionable but are not obviously rotted, a pin or pinless moisture meter measures the actual moisture content of the decking. Healthy wood typically reads under 15-19%. Readings well above that confirm active saturation even before visible rot appears, letting us catch problems early rather than waiting for a soft spot to fully develop.
Step 4: Selective Shingle Removal
When staining or soft spots are found, we remove shingles and underlayment in that specific zone to expose the decking directly. This lets us assess the exact boundaries of the damage rather than guessing, so the repair plan only covers what actually needs replacing.
Step 5: Structural Assessment
For larger sagging areas or homes with older plank decking, we check whether the rafters or trusses underneath have also been compromised. Decking failure caught early rarely affects the framing, but prolonged neglect sometimes does, and that changes the scope of repair considerably.
How Decking Repairs Are Actually Done
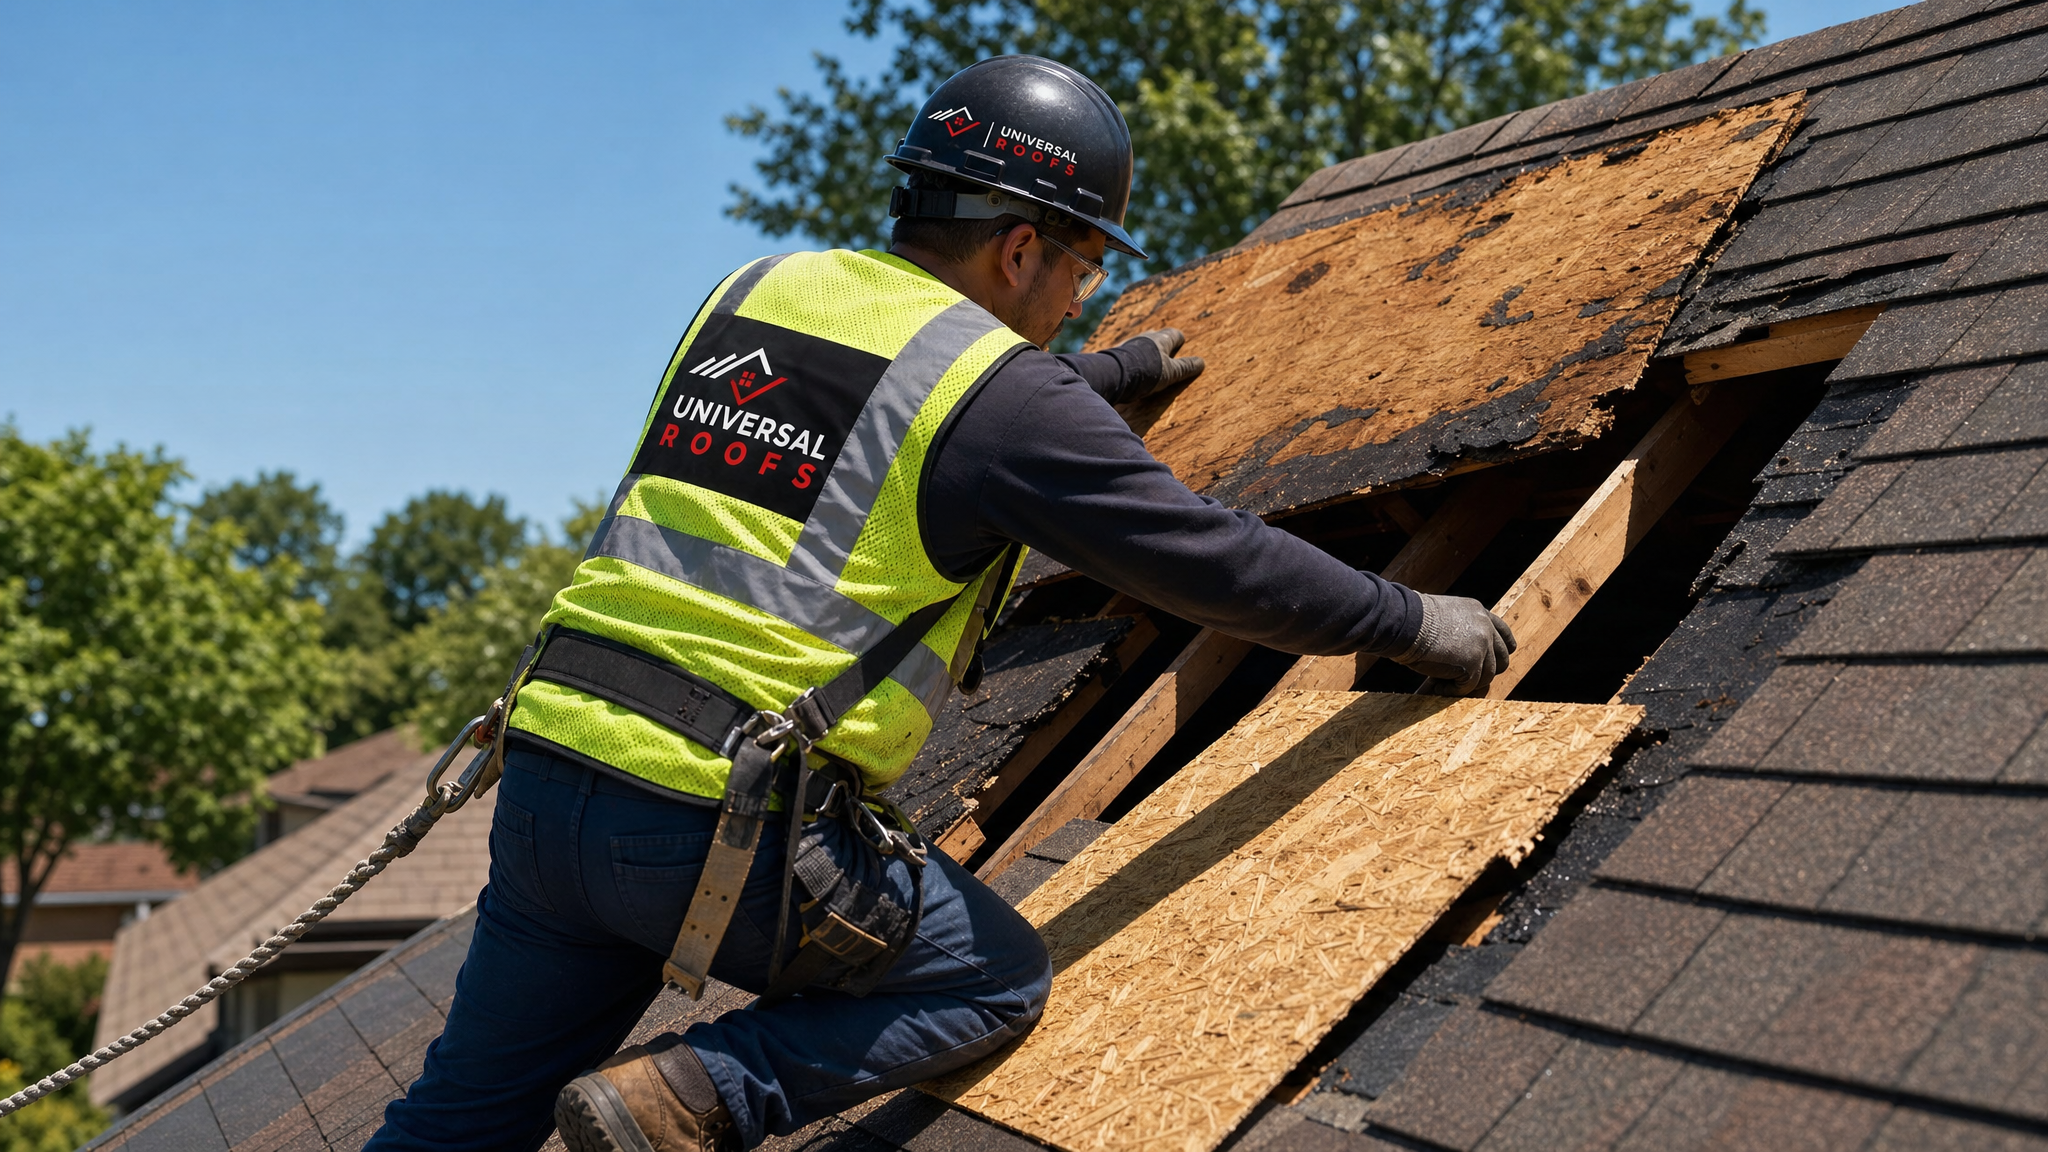
Once damage is confirmed and mapped out, the physical repair follows a consistent sequence regardless of whether it is a single panel or a wider section.
- Remove shingles and underlayment in the affected zone, working back to sound material beyond the visible damage on all sides.
- Cut out the damaged decking along the centreline of the nearest rafters so the new panel has full support at its edges, rather than leaving an unsupported seam.
- Inspect the exposed rafters for soft or rotted wood, sistering in new lumber alongside any compromised framing member before decking goes back on.
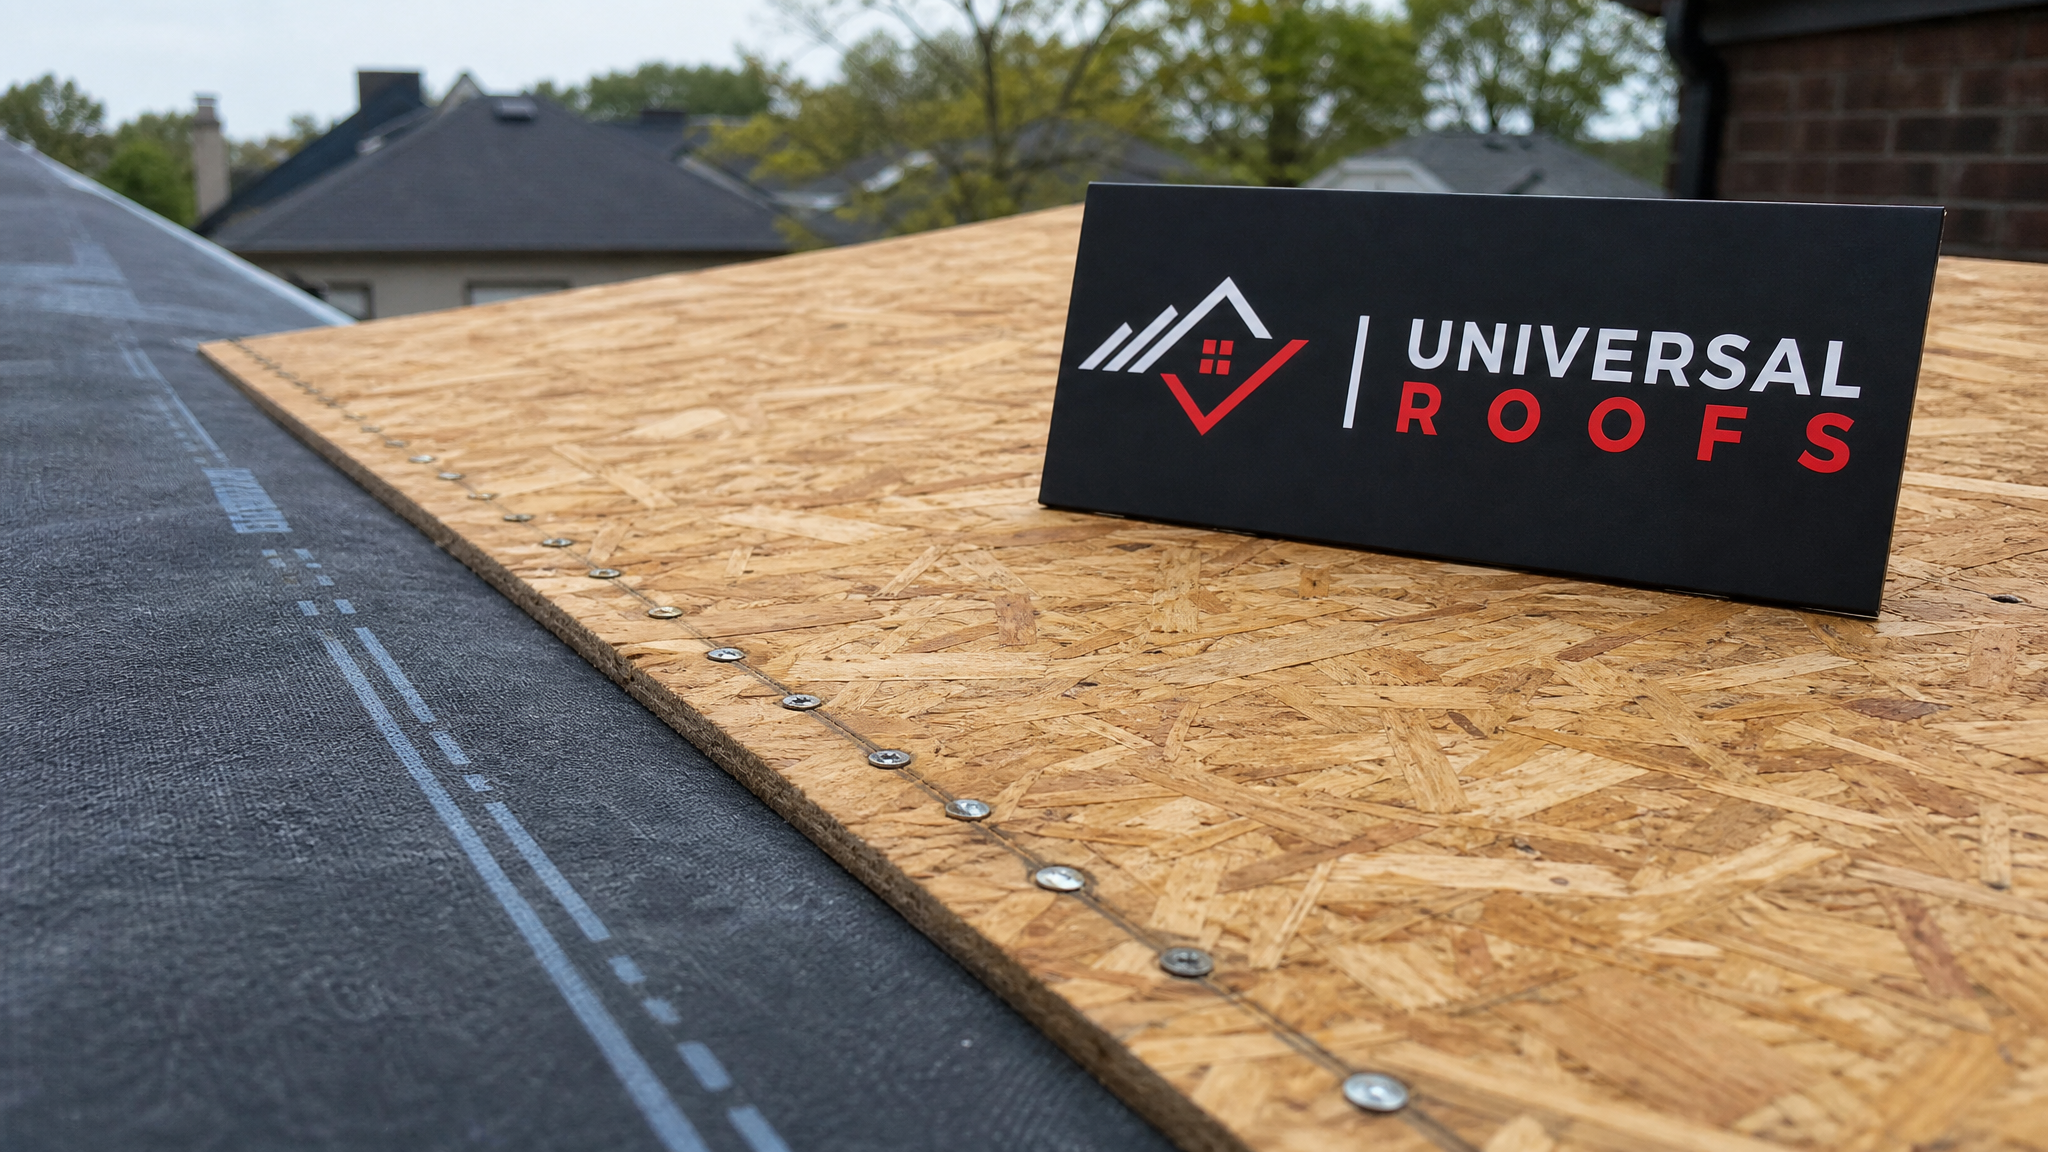
- Install new decking panels of matching thickness, typically 7/16-inch or 1/2-inch OSB for most residential applications, fastened with ring-shank nails spaced according to code.
- Apply an ice and water shield membrane over the repaired area and along vulnerable zones like valleys, eaves, and penetrations, which matters enormously in our climate.
- Re-install underlayment, flashing, and shingles, matching the existing shingle profile and colour as closely as possible for a seamless appearance.
- Address the root cause, whether that means improving attic ventilation, sealing a flashing failure, or clearing gutters, so the same damage does not recur.
That last step is the one most frequently skipped by inexperienced contractors, and it is the reason some homeowners end up with the same soft spot two winters later. Fixing the wood without correcting the moisture source is only half the job.
Table 2: Decking Material Options Compared
| Material | Typical Thickness | Moisture Resistance | Best Use Case | Relative Cost |
|---|---|---|---|---|
| Standard OSB | 7/16 in. to 5/8 in. | Moderate; swells if soaked repeatedly | Most residential re-decking | Lowest |
| CDX Plywood | 1/2 in. to 5/8 in. | Good; holds shape better than OSB when damp | Homes with higher moisture exposure or valleys | Moderate |
| Radiant-barrier OSB | 1/2 in. | Moderate, plus reflective coating | Attics needing added summer heat reduction | Moderate-high |
| Solid plank replacement | 3/4 in. boards | Good if kept dry, prone to gapping over time | Heritage homes matching original construction | Highest |
| Structural insulated panels | Varies by system | High, integrated vapour control | Full roof replacements seeking added insulation value | Highest |
Understanding Repair Costs and Timelines
Costs for decking repair in the GTA vary widely because the scope depends entirely on how much damage is found once shingles come off. A homeowner budgeting for this work should think in terms of ranges rather than a single number, and should expect the final price to be confirmed only after a contractor physically opens up the affected section.
Small, contained repairs, such as a single damaged panel discovered after a storm, are usually resolved in a single day. Larger sections spanning multiple rafter bays, or repairs uncovered during a full roof replacement, take longer simply because more old material needs to come off and more new decking needs to be cut, fitted, and fastened correctly.
Table 3: Decking Repair Cost and Timeline Estimates (GTA Averages)
| Repair Scope | Approximate Area | Typical Cost Range (CAD) | Typical Timeline |
|---|---|---|---|
| Single panel replacement | Up to 32 sq. ft. | $400 – $900 | Half day to 1 day |
| Localized multi-panel repair | 32 – 150 sq. ft. | $900 – $2,500 | 1 – 2 days |
| Extensive section replacement | 150 – 400 sq. ft. | $2,500 – $6,000 | 2 – 4 days |
| Full re-decking (whole roof) | Entire roof surface | $6,000 – $15,000+ | 4 – 8 days, often bundled with a full replacement |
| Structural rafter repair add-on | Per affected rafter bay | $300 – $800 per bay | Adds 1 – 2 days depending on extent |
These figures assume access is straightforward and disposal of old material is included. Steep slopes, multiple storeys, or difficult access can push costs toward the higher end of each range. It is also worth noting that decking issues are frequently discovered mid-project during a scheduled shingle replacement, which is one reason we always recommend budgeting some contingency when planning larger roofing work.
Preventing Decking Problems Before They Start
Prevention is far cheaper than repair, and most of it comes down to controlling moisture and maintaining the components that protect the decking.
- Keep gutters clear, especially heading into fall, so water is not forced back under the roof edge during heavy rain or spring melt.
- Maintain balanced attic ventilation with adequate intake at the soffits and exhaust at the ridge, which keeps humid indoor air from condensing on the underside of cold decking in winter.
- Inspect flashing annually around chimneys, skylights, and valleys, since flashing failure is one of the most common hidden entry points for water.
- Address ice dams promptly each winter rather than letting them sit, since prolonged ice damming is one of the single biggest contributors to GTA decking damage.
- Schedule a professional roof inspection every one to two years, particularly after major storms, so small issues are caught while they are still cheap to fix.
- Check your attic insulation levels, since insufficient insulation contributes directly to the temperature imbalance that drives condensation and ice damming.
If your roof already has a history of ice damming or you have noticed drafts, it may also be worth having your attic ventilation and insulation assessed alongside any decking repair, since the two issues are closely linked in our climate.
When Decking Problems Signal a Bigger Roofing Decision
Not every decking issue calls for a full roof replacement, but some situations make it the more sensible choice. If your shingles are already near the end of their service life and decking damage is found in multiple areas, it often makes more financial sense to replace both together rather than repairing decking twice within a few years. Similarly, homes with widespread plank decking that has gapped and warped with age sometimes benefit from a full re-deck with modern OSB or plywood, which creates a flatter, more stable base for new shingles.
On the other hand, a single isolated soft spot on an otherwise healthy, newer roof is almost always a straightforward, localized repair. This is exactly why a proper inspection matters before committing to either path. If you have a flat or low-slope section involved, decking behaves somewhat differently and pairs closely with our flat roofing services, since flat roof decking sees different drainage and membrane considerations than sloped shingle roofs.
Skylights are another area worth double-checking, since poorly flashed or ageing skylight curbs are a frequent, easily overlooked source of decking rot around the opening. If your roof has a skylight nearing the end of its lifespan, our skylight replacement team can evaluate the surrounding decking at the same time to avoid a repeat repair later.
Why Local Experience Matters for Decking Repairs
The Greater Toronto Area presents a particular combination of challenges for roof decking: cold, wet winters with repeated freeze-thaw cycles, humid summers that keep moisture lingering in attics, and older housing stock throughout Toronto, Mississauga, Brampton, Vaughan, Markham, Oakville and the surrounding region that still has original plank decking in place. A contractor unfamiliar with these regional patterns may misdiagnose the cause or under-spec the repair.
Universal Roofs has been diagnosing and repairing decking issues across the GTA since 2005, and our crews are trained to recognize the specific signatures of freeze-thaw damage, ice dam saturation, and ventilation-driven condensation that are common in this region. We serve homeowners throughout Toronto, the Peel Region, York Region, Halton Region, and the Durham Region, and our crews carry the fastener types, membrane products, and matching panel thicknesses needed to make a repair blend seamlessly with your existing roof.
You can read what past clients have experienced on our reviews page, and if you have general questions about the repair process, our FAQ page covers many of the most common concerns homeowners raise before booking an inspection. You can also learn more about our licenced team and history on our about page.
A Practical Checklist Before You Call a Roofer
Before booking an inspection, a quick self-check can help you describe the problem accurately and get a faster, more useful assessment over the phone.
- Note which room or section of the attic shows staining, and roughly how large the affected area appears
- Check whether the issue coincides with a recent storm, or has developed gradually over multiple seasons
- Look for any obvious exterior clues, such as missing shingles, exposed nails, or visible flashing damage nearby
- Take a few photos with your phone from a safe vantage point, both inside the attic and from the ground outside
- Mention any history of ice damming on that section of roof during winter
- Avoid walking on the roof yourself or pressing hard on suspected soft spots from inside the attic, since decking that is already compromised can give way unexpectedly
This information helps a roofing professional prioritize the visit and arrive with the right materials on hand, which can shorten the overall repair timeline.
What is the first step in troubleshooting and fixing roof decking problems a step by step?
How do I know if my roof decking needs to be replaced or just repaired?
Can I walk on my roof to check for soft decking myself?
What causes roof decking to rot in the Toronto area specifically?
How much does it typically cost to repair damaged roof decking?
Does fixing roof decking problems also fix ice dams or ventilation issues?
Need Help With Troubleshooting and Fixing Roof?
Decking problems rarely announce themselves clearly, which is why a proper inspection from Universal Roofs is the safest way to find out what is really happening above your ceiling before it becomes a larger repair.
Call us today at (416) 732-2421 or request a free inspection to get started.
Universal Roofs proudly serves Toronto, Mississauga, Brampton, Vaughan, Markham, Oakville and the GTA since 2005.