
Most homeowners only go through a roof replacement once or twice in the time they own a house, so it is natural to feel unsure about what will actually happen. Who shows up first? How loud is it? What happens if the crew finds rot under the old shingles? This guide walks through the roof replacement process in the order it really unfolds on a typical asphalt shingle job, from the paperwork before anyone climbs a ladder to the magnet sweep of your lawn at the end.
Knowing the sequence helps you in two ways. You can prepare your house and family for the disruption, and you can judge whether the crew is doing things properly, because each step has a clear purpose.
Before Work Starts: Planning the Roof Replacement Process
A good roof replacement process starts well before tear-off day. The planning stage covers the inspection, the written scope, scheduling and, where needed, permits.
The inspection and the quote
A proper inspection includes measuring the roof, checking the pitch, counting how many layers of shingles are on it, looking in the attic for signs of leaks or moisture, and checking ventilation. The written quote should list every component: tear-off, deck repair pricing, drip edge, eave protection, underlayment, shingles and accessories, flashings, vents, disposal and clean-up. If you are still at the stage of deciding whether you need a new roof at all, our page on full roof replacement for GTA homes explains the signs and options.
Permits
Whether a permit is needed depends on your municipality and the scope. A straightforward re-shingle of an existing sloped roof often does not require a building permit in many Ontario municipalities, but structural work such as replacing rafters, changing the roof shape or adding a dormer usually does. Rules differ, so your contractor should confirm the current requirements with your municipality before starting, and you can call the building department yourself if you want certainty.
Scheduling and material delivery
Once you sign, the contractor orders materials and books a start date that depends on weather. Shingles and supplies are often delivered a day or two ahead, sometimes loaded directly onto the roof by the supplier’s boom. Make sure you know where the bin will go and that the spot is clear.
Preparing Your Home and Yard
A little preparation makes the work smoother and protects your property. Here is what we usually ask clients to do, and what the crew does on the first morning.
| Who | Task | Why it matters |
|---|---|---|
| Homeowner | Clear the area where the disposal bin will sit and keep it clear | The bin needs a clean, accessible spot close to the house |
| Homeowner | Take down wall hangings on top-floor walls and shelves with fragile items | Hammering and nailing cause vibration through the framing |
| Homeowner | Move patio furniture, planters, barbecues and toys away from the house | Debris falls off the roof edges during tear-off |
| Homeowner | Cover items stored in the attic with a drop sheet | Dust and bits of old granules can fall through gaps in the deck boards |
| Crew | Lay tarps over landscaping, decks and along the foundation | Catches nails and shingle pieces before they hit gardens and lawn |
| Crew | Lean plywood over windows, air conditioner units and delicate plants | Protects glass and equipment from falling debris |
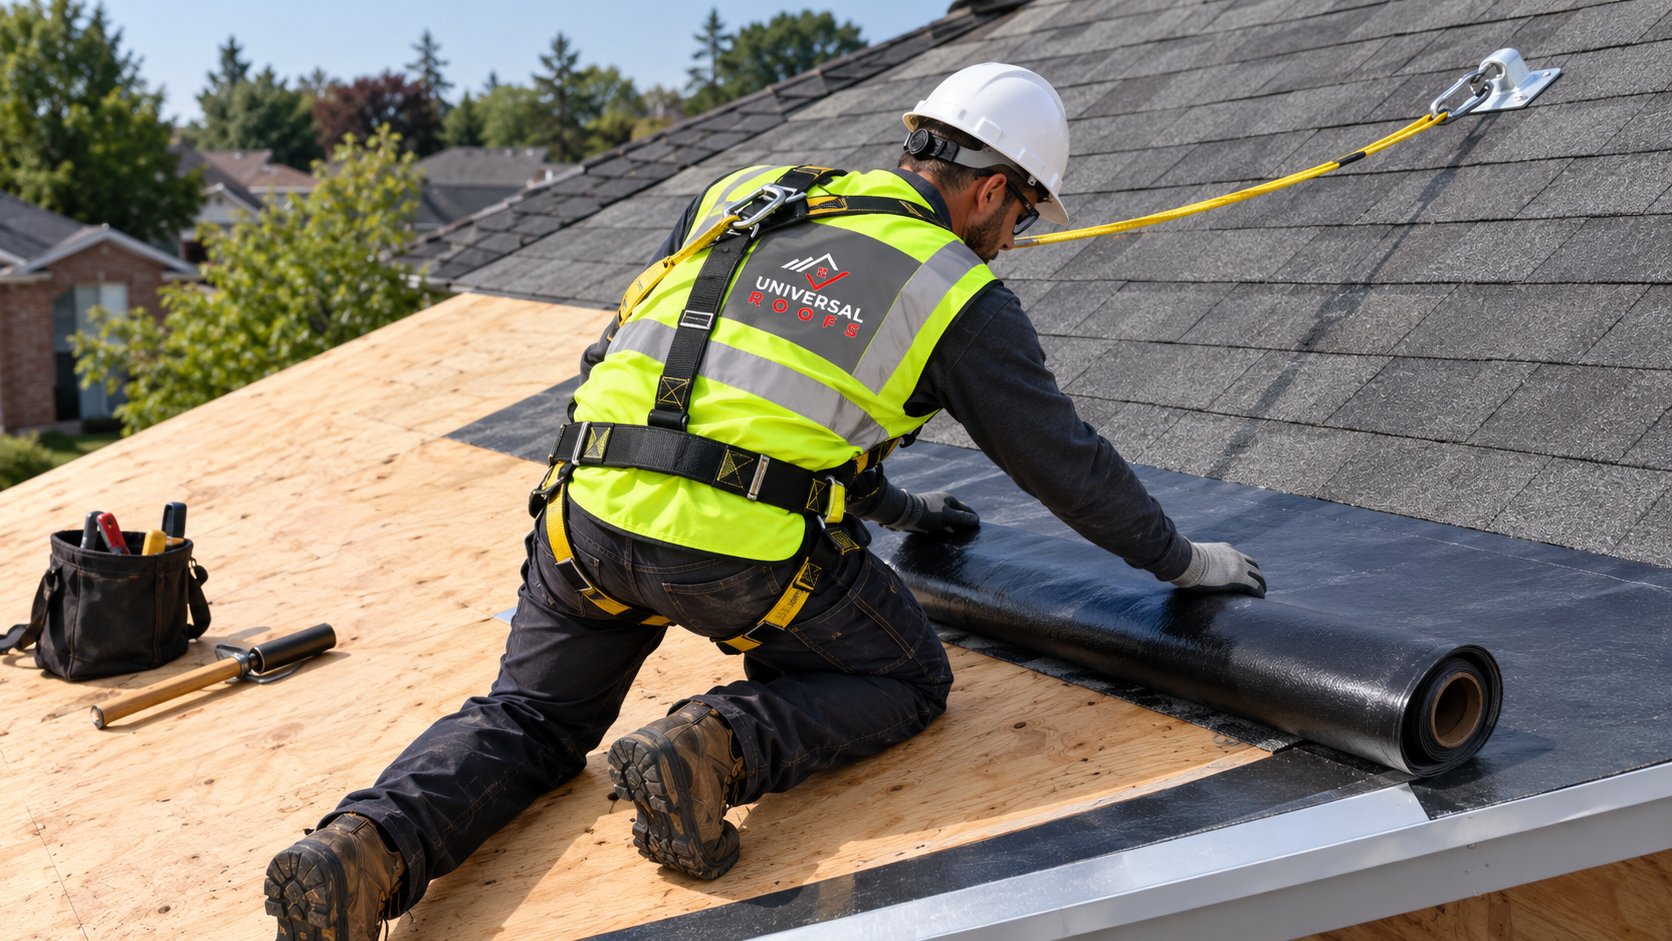
| Crew | Set up roof anchors and fall protection | Required safety step before anyone works on a sloped roof |
Pets and young children should be kept inside or away from the work zone. The noise can be startling, and debris does come off the roof edge quickly during tear-off.
Tear-Off: Stripping the Old Roof
Tear-off is the loudest and messiest stage. The crew uses roofing shovels and forks to lift the old shingles, underlayment and nails off the deck, working from the top of the roof down. Debris goes straight into the bin or onto tarps below.
A few things to know:
- Removing all layers is the norm. Some older homes have two layers of shingles. Tearing everything off lets the crew inspect the deck and gives the new roof a flat base.
- Crews usually tear off only what they can cover the same day. A responsible roofer does not leave an open deck exposed overnight. If weather turns, they dry-in with underlayment or tarps.
- Old flashings are generally removed too. Reusing old step or chimney flashing is a common shortcut that causes leaks later.
Deck Inspection and Replacement
With the old shingles off, the roof deck, usually plywood or OSB on newer homes and sometimes plank boards on older ones, is fully visible. This is one of the most important moments in the roof replacement process, because it is the only time anyone will see the deck until the next re-roof.
The crew walks the deck looking for soft spots, delaminated panels, rot around chimneys and valleys, and gaps between old plank boards that are too wide to nail into safely. Damaged sections are cut out and replaced with new sheathing fastened to the rafters or trusses.
This is also where surprises happen. The quote should have told you how deck repairs are priced, usually per sheet, so you are not negotiating on the spot. A good contractor will show you the damage, either in person or with photos, before replacing more than a sheet or two.
What deck problems can tell you
Rot concentrated along the eaves often points to ice damming or eavestrough overflow. Rot near the ridge or across large areas of the upper deck can point to attic moisture from poor ventilation or air leaks from the house. Fixing the deck without fixing the cause means the new roof inherits the problem.
| What the crew finds | Where it usually appears | Likely cause | Typical response |
|---|---|---|---|
| Dark, soft or crumbling sheathing | Along the eaves | Ice damming or eavestrough overflow wetting the roof edge | Replace affected sheets; review eave protection and eavestroughs |
| Widespread staining or delamination | Upper deck and near the ridge | Warm, moist air from the house condensing in the attic | Replace damaged sheets; improve ventilation and air sealing |
| Rot in a small patch | Around chimneys, skylights or plumbing stacks | Failed flashing or sealant letting water in | Replace the patch; install new flashing |
| Wide gaps between old plank boards | Across older plank decks | Original construction and shrinkage over decades | Overlay with new sheathing or replace sections so nails have solid backing |
| Sagging between rafters | Mid-span on older or thinner decking | Undersized sheathing or long-term moisture | Replace sheathing; flag any structural concerns for further assessment |
Reading the deck this way turns the roof replacement process into a diagnostic opportunity, not just a surface swap.
Drip Edge, Ice and Water Shield and Underlayment
Once the deck is sound, the crew builds up the layers that keep water out before the shingles ever go on.
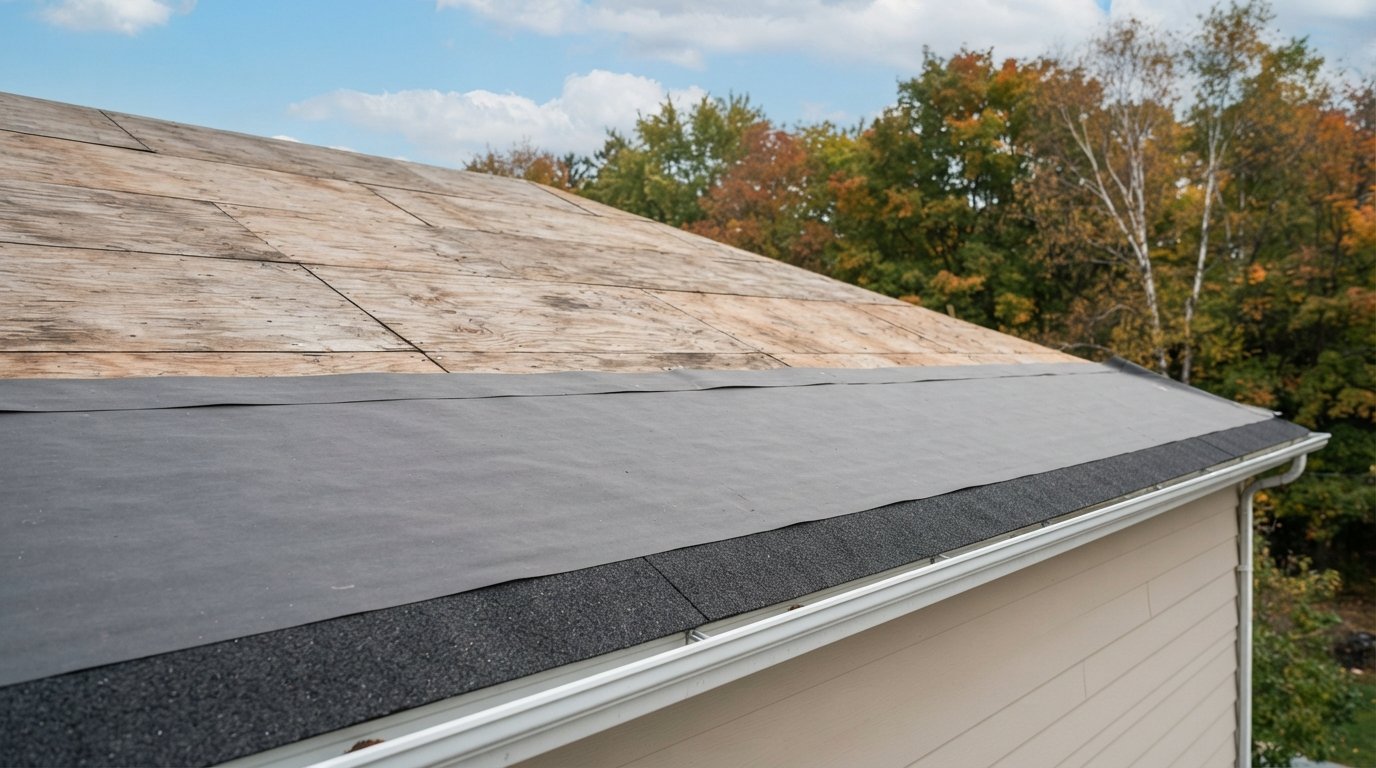
- Drip edge along the eaves. A metal edge is fastened along the lower edge of the roof so water drips clear of the fascia and into the eavestrough.
- Eave protection. A self-adhered ice and water membrane is rolled along the eaves, extending up the roof far enough to cover the area where ice damming can back water up. The Ontario Building Code has requirements for eave protection on shingled roofs; your contractor should know and follow the current requirements. The same membrane goes into valleys and around chimneys, skylights and other penetrations.
- Underlayment over the rest of the deck. A synthetic or felt underlayment covers the remaining deck, lapped so water sheds downward.
- Drip edge on the rakes. On the sloped gable edges, drip edge usually goes on over the underlayment.
By the end of this stage the house is “dried in”: even before shingles, it is protected from a passing shower.
Ventilation: Getting the Attic Right
The roof replacement process is the best chance you will have to fix attic ventilation, because the deck is open. Balanced ventilation needs intake low on the roof, typically through soffit vents, and exhaust high, through a ridge vent or roof vents.
During this stage the crew may cut a continuous slot along the ridge for a ridge vent, install new roof vents, or replace old ones. They should also check from the attic side that insulation is not blocking the soffit intake. If it is, baffles can be added. Mixing different exhaust types on the same roof section, such as a ridge vent and several box vents, can short-circuit airflow, so ask your roofer to explain their plan.
Shingle manufacturers commonly make adequate attic ventilation a condition of their warranties, which is one more reason not to skip this step.
Shingles and Flashing
This is the stage of the roof replacement process everyone pictures when they think of a re-roof.
Starter course and field shingles
The crew installs a starter strip along the eaves and rakes, then lays the field shingles course by course, snapping chalk lines to keep rows straight. Nails go in the manufacturer’s nailing zone, in the number specified for the product and conditions.
Valleys
Valleys carry more water than any other part of the roof. Depending on the design, they may be closed-cut, woven or open metal. Whichever method is used, the ice and water membrane underneath is the real protection.
Flashing
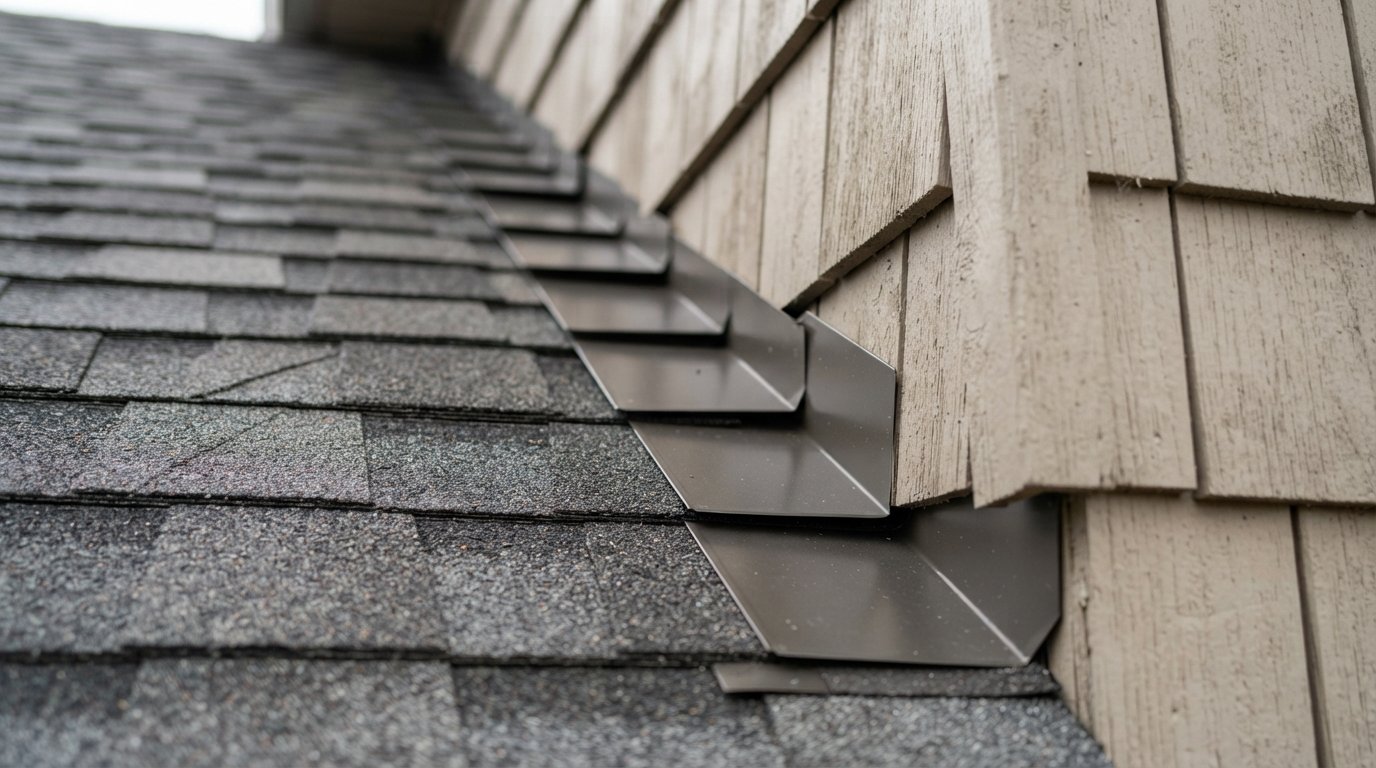
Flashing is where most leaks start. New step flashing is woven in with each course where a roof meets a wall. Chimneys get step flashing plus counter-flashing set into the mortar joints. Plumbing stacks get new pipe flashings or boots. Skylights need their own flashing kits. A quality roof replacement process treats flashing as its own careful job, not an afterthought.
Hip and ridge caps
Finally, hip and ridge cap shingles are installed along the hips and over the ridge vent, finishing the roof.
Timeline: How Long the Roof Replacement Process Takes
Every roof is different, but most standard residential re-roofs follow a predictable rhythm. The table below is a general guide, not a promise; weather, roof size and complexity all shift it.
| Stage | Typical duration | What can make it longer |
|---|---|---|
| Inspection, quote and scheduling | Several days to a few weeks before the start | Busy season, material availability, permits if required |
| Set-up and protection | First hour or two of day one | Tight lots, extensive landscaping |
| Tear-off and deck repair | Often the first day on a typical house | Multiple layers, widespread rot, steep pitch |
| Membranes, underlayment and ventilation | Same day as tear-off, section by section | Complex roof shapes, many penetrations |
| Shingles, flashing and caps | One to two days on many detached homes | Dormers, chimneys, skylights, steep slopes |
| Clean-up and final inspection | A few hours at the end | Large yards, gravel beds and dense gardens |
Many straightforward detached-house re-roofs are finished within one to three working days, but larger or more complex roofs can take longer.
Clean-Up, Magnetic Sweep and Final Inspection
The job is not finished when the last cap shingle goes on. Clean-up matters, because roofing nails in a lawn or driveway are a real hazard.
- Tarps are folded inward and emptied into the bin.
- Eavestroughs are cleared of granules and debris from the job.
- A rolling magnetic sweeper is run over the lawn, gardens, walkways and driveway, often more than once, to pick up stray nails.
- Plywood and protection are removed from windows, the air conditioner and landscaping.
Then comes the final inspection. The site supervisor or owner should walk the roof, check flashings, vents, the ridge and edges, and walk the property with you. This is your chance to ask questions and point out anything that concerns you. Our York Region roofing, eavestroughs and attic work team finishes every re-roof with that walk-through so homeowners see the completed work before the crew leaves.
Paperwork You Should Receive
At the end of the roof replacement process, you should have a clear paper trail. It matters if you ever sell the house, make an insurance claim or need warranty service.
- A final invoice listing the shingle product and colour, underlayment, membranes and vents used.
- A record of any deck sheets replaced, with the number and price.
- Information about the manufacturer’s material warranty and how it is registered. Manufacturer warranty terms are set by the manufacturer, so keep a copy of their current document.
- The contractor’s written workmanship coverage, if they offer it, stating what it covers and for how long.
- Permit closure documents if a permit was required.
Keep all of this together with photos of the finished roof. It is easy to lose track of years later.
Frequently Asked Questions
How long does a roof replacement take?
Do I need to be home during the work?
What happens if rotten wood is found?
Will my landscaping be protected?
Do I need a permit to replace my roof?
Is autumn a good time for a new roof?
Plan Your Roof Replacement Process With Confidence
A new roof should feel organized, not chaotic. Universal Roofs explains each step before work begins, protects your property, and walks the finished roof with you at the end. If your roof is due, early autumn is a good time to get on the schedule. Call us today at (416) 732-2421 or request a free estimate.
Serving homeowners across York Region and the wider GTA with roofing, eavestroughs and attic work.