
A historical roof is one of the most unforgiving projects in residential construction. Get it right, and you preserve a piece of Toronto’s architectural heritage while adding decades of protection. Get it wrong, and you can permanently damage century-old rafters, void heritage designations, or trap moisture inside walls that were never built with modern vapour barriers in mind. Restoring historical roofs a step by step process is not the same job as a standard reroof, and homeowners who treat it that way often pay for it twice.
Across the GTA’s older neighbourhoods, from Cabbagetown and the Annex to Unionville’s heritage core and downtown Oakville, we regularly work on roofs that predate the Second World War. Slate, cedar shake, standing seam metal, and even the occasional clay tile survive on these homes, and each material demands a different restoration approach. This guide walks through the full process, from the initial heritage assessment through material sourcing, structural repair, and final weatherproofing, so you know exactly what a proper restoration involves before you hire anyone.
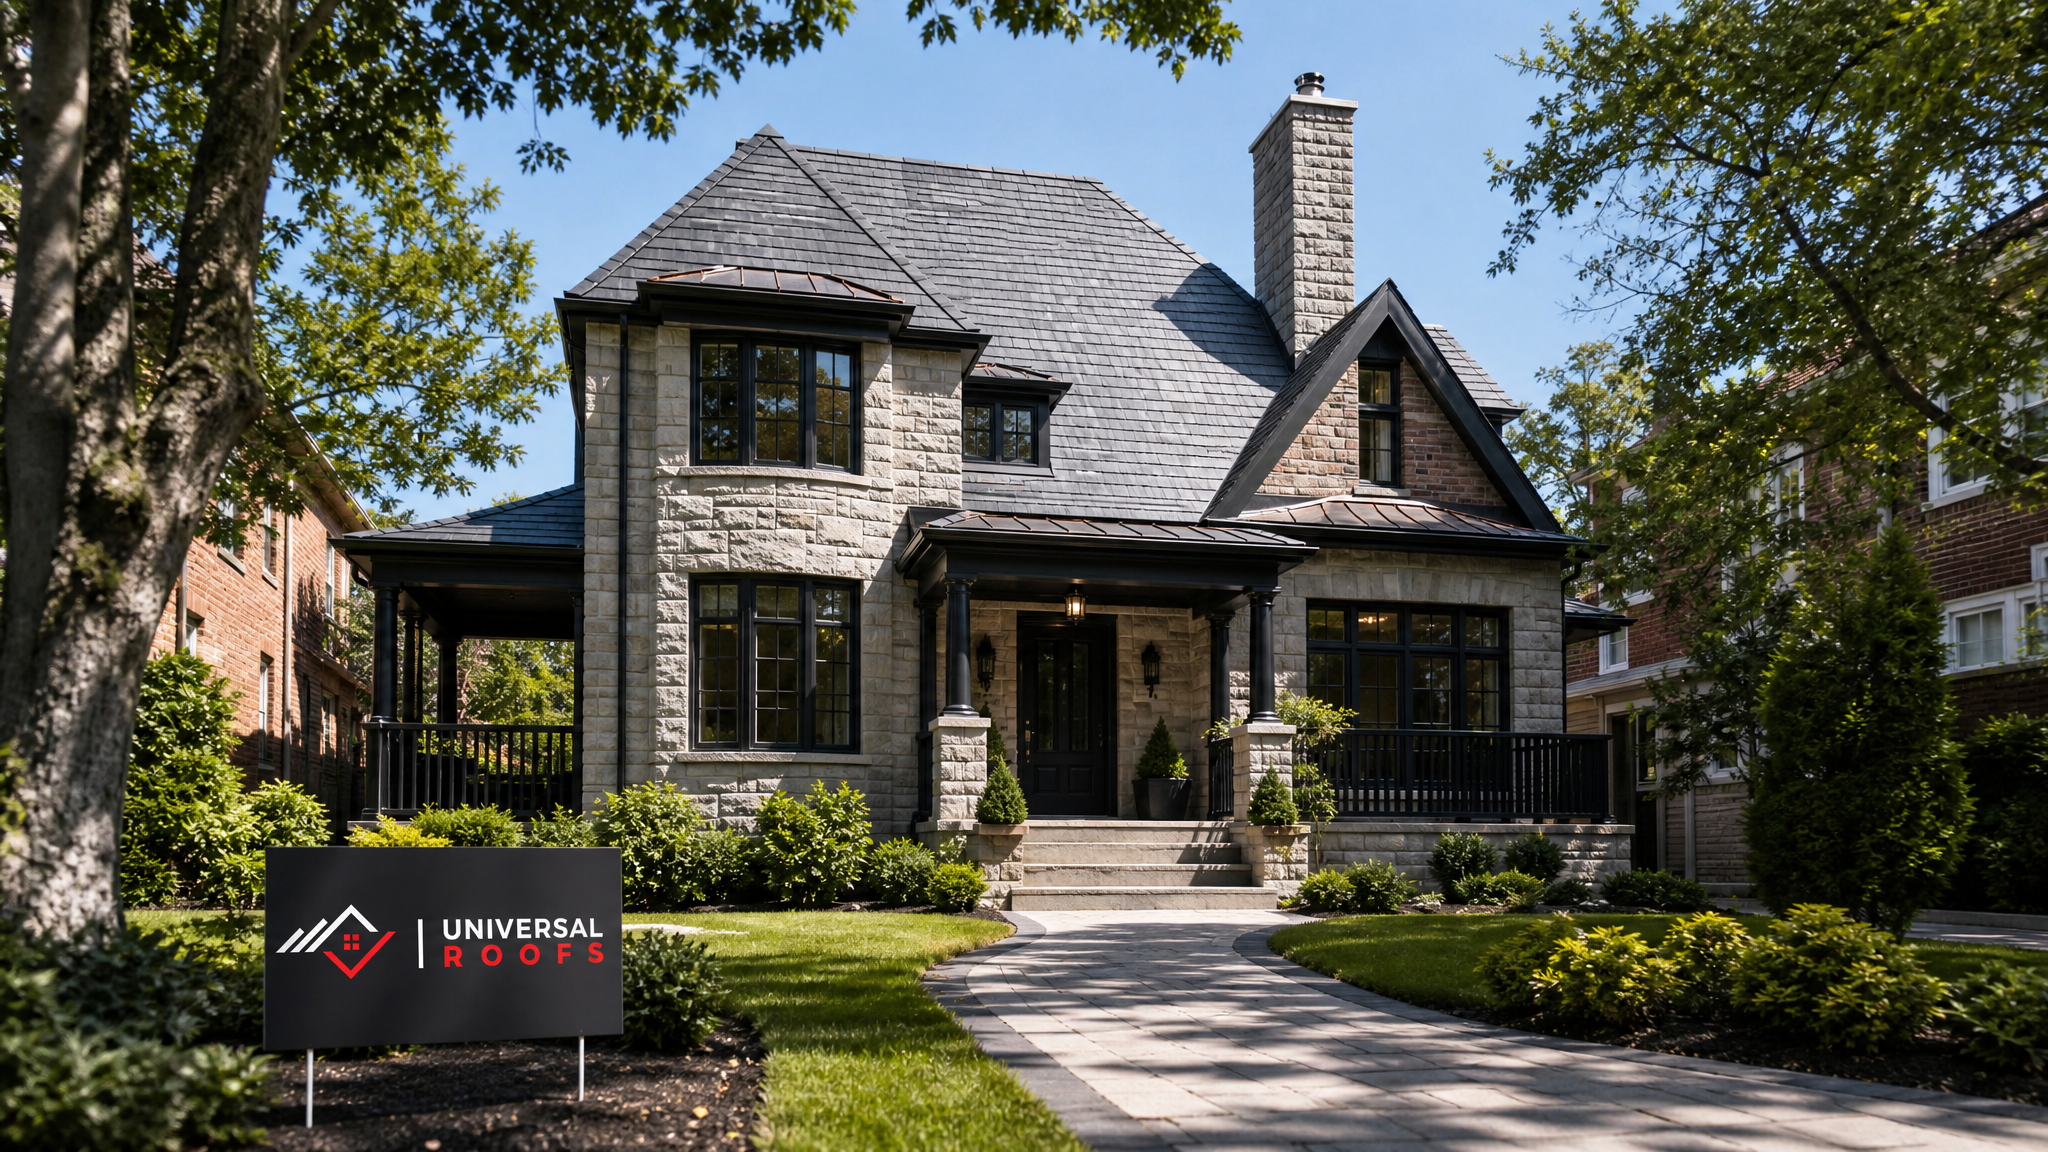
Why Restoring Historical Roofs a Step by Step Approach Matters
Heritage roofs fail differently than modern ones. A 1920s slate roof rarely leaks because the slate itself wears out; slate can last well over a century. It leaks because the fasteners holding it corrode, the underlying wood battens rot, or a handful of slates crack from impact and nobody replaces them properly. Standing seam metal roofs from the same era usually fail at the seams and solder joints, not the metal panels themselves. Cedar shake roofs typically fail from the bottom up as moisture wicks into end grain.
Understanding these specific failure patterns is the foundation of any competent roof repair plan for an older home. A contractor who doesn’t recognize the difference between a slate roof and an asphalt shingle roof will often recommend a full tear-off when a targeted repair would have preserved the original material and saved thousands of dollars.
There’s also a regulatory dimension. Many homes in designated heritage conservation districts, or those individually listed under the Ontario Heritage Act, require municipal heritage committee approval before any exterior work, including roofing. Toronto, Markham, Oakville, and several other GTA municipalities maintain heritage registers, and skipping this step can result in stop-work orders or fines partway through a project.
Step 1: Documentation and Heritage Assessment
Before a single shingle or slate is touched, the property needs to be documented. This means:
- Photographing the existing roof from all elevations, including close-ups of flashing details, ridge treatments, and any decorative elements like finials or cresting
- Checking the municipal heritage register to confirm whether the property is listed, designated, or sits within a Heritage Conservation District
- Reviewing any existing heritage easement agreements that may specify material requirements
- Measuring existing slate, tile, or shake dimensions and patterns for accurate matching
- Noting the original fastening method, since older roofs often used copper or hot-dipped galvanized nails that behave differently than modern fasteners
If the home is designated, you will typically need to submit a heritage permit application alongside your building permit, and the municipality’s heritage planner may require that visible roofing materials match the original in colour, texture, and profile. This is one area where cutting corners causes real problems later, since a rejected application can delay a project by months during Toronto’s short roofing season.
Step 2: Structural Inspection From the Attic Up
Every historical roof restoration should start with an interior inspection before the crew ever gets on the roof. Walking the attic space with a flashlight reveals far more than a ground-level look at the shingles. We’re checking for:
- Daylight visible through the roof deck, which indicates gaps in the sheathing or flashing
- Water staining on rafters, ridge beams, and the underside of the deck
- Soft or spongy wood when probed with an awl, a sign of rot
- Sagging ridge lines or rafters, which can indicate long-term overloading from heavy materials like slate or clay tile
- Insulation that’s compressed, moldy, or missing entirely, since many century homes were never properly insulated
- Signs of previous pest activity, particularly carpenter ants and powderpost beetles, which favour old, moisture-affected softwood
Only after this interior assessment does the crew move to the exterior, setting up fall protection and walking the roof surface itself to map out which sections need full replacement, which need spot repair, and which are structurally sound.
Step 3: Matching Materials to the Original Roof
Material matching is where most historical restorations succeed or fail. The table below compares the four most common historical roofing materials we encounter across the GTA and the realistic restoration approach for each.
| Material | Typical Era | Common Failure Point | Restoration Approach |
|---|---|---|---|
| Natural slate | 1880s–1930s | Corroded copper or iron nails (“nail sickness”) | Selective slate replacement, re-nailing with copper, matching quarry source where possible |
| Cedar shake | 1900s–1960s | Rot at butt ends, moss and algae buildup | Full re-shake with fire-treated cedar, improved ventilation behind shakes |
| Standing seam metal | 1890s–1950s | Failed solder joints, seam separation | Re-solder or replace panels, match seam spacing and profile |
| Clay or terracotta tile | 1900s–1940s | Cracked tiles from freeze-thaw cycling | Salvage and reuse sound tiles, source reclaimed matches for broken ones |
Sourcing matching materials is often the hardest part of the process. Reclaimed slate yards, architectural salvage dealers, and specialty cedar mills that still produce hand-split shakes are the usual sources. For clay tile, some restorations require custom-fired replacements from a ceramics specialist when the original profile is no longer manufactured. This is also where a full roof replacement sometimes becomes unavoidable if enough of the original material has failed that spot repairs would leave a visibly patchworked appearance the heritage committee won’t approve.
Step 4: Repairing or Replacing the Deck and Structure
Once the roofing material is removed from a section (never the whole roof at once on an active restoration, to keep the structure protected from Toronto’s summer thunderstorms), the deck and structural members underneath get addressed. This typically involves:
- Sistering new lumber alongside rotted or undersized rafters rather than removing original structural members where possible, which preserves more of the historical fabric
- Replacing sheathing boards that have delaminated or rotted, matching board width where visible from the interior
- Installing modern underlayment as a hidden improvement, since original roofs rarely had any water barrier beyond the roofing material itself
- Adding or improving ridge and soffit ventilation, which dramatically extends the life of any new roofing material without altering the visible exterior profile
- Reinforcing valleys and hips where water concentration causes the most wear
This is also the stage where many older Toronto homes benefit from a broader look at attic performance. Improving insulation and air sealing at this point, while the deck is already exposed, is far cheaper than doing it as a separate project later.
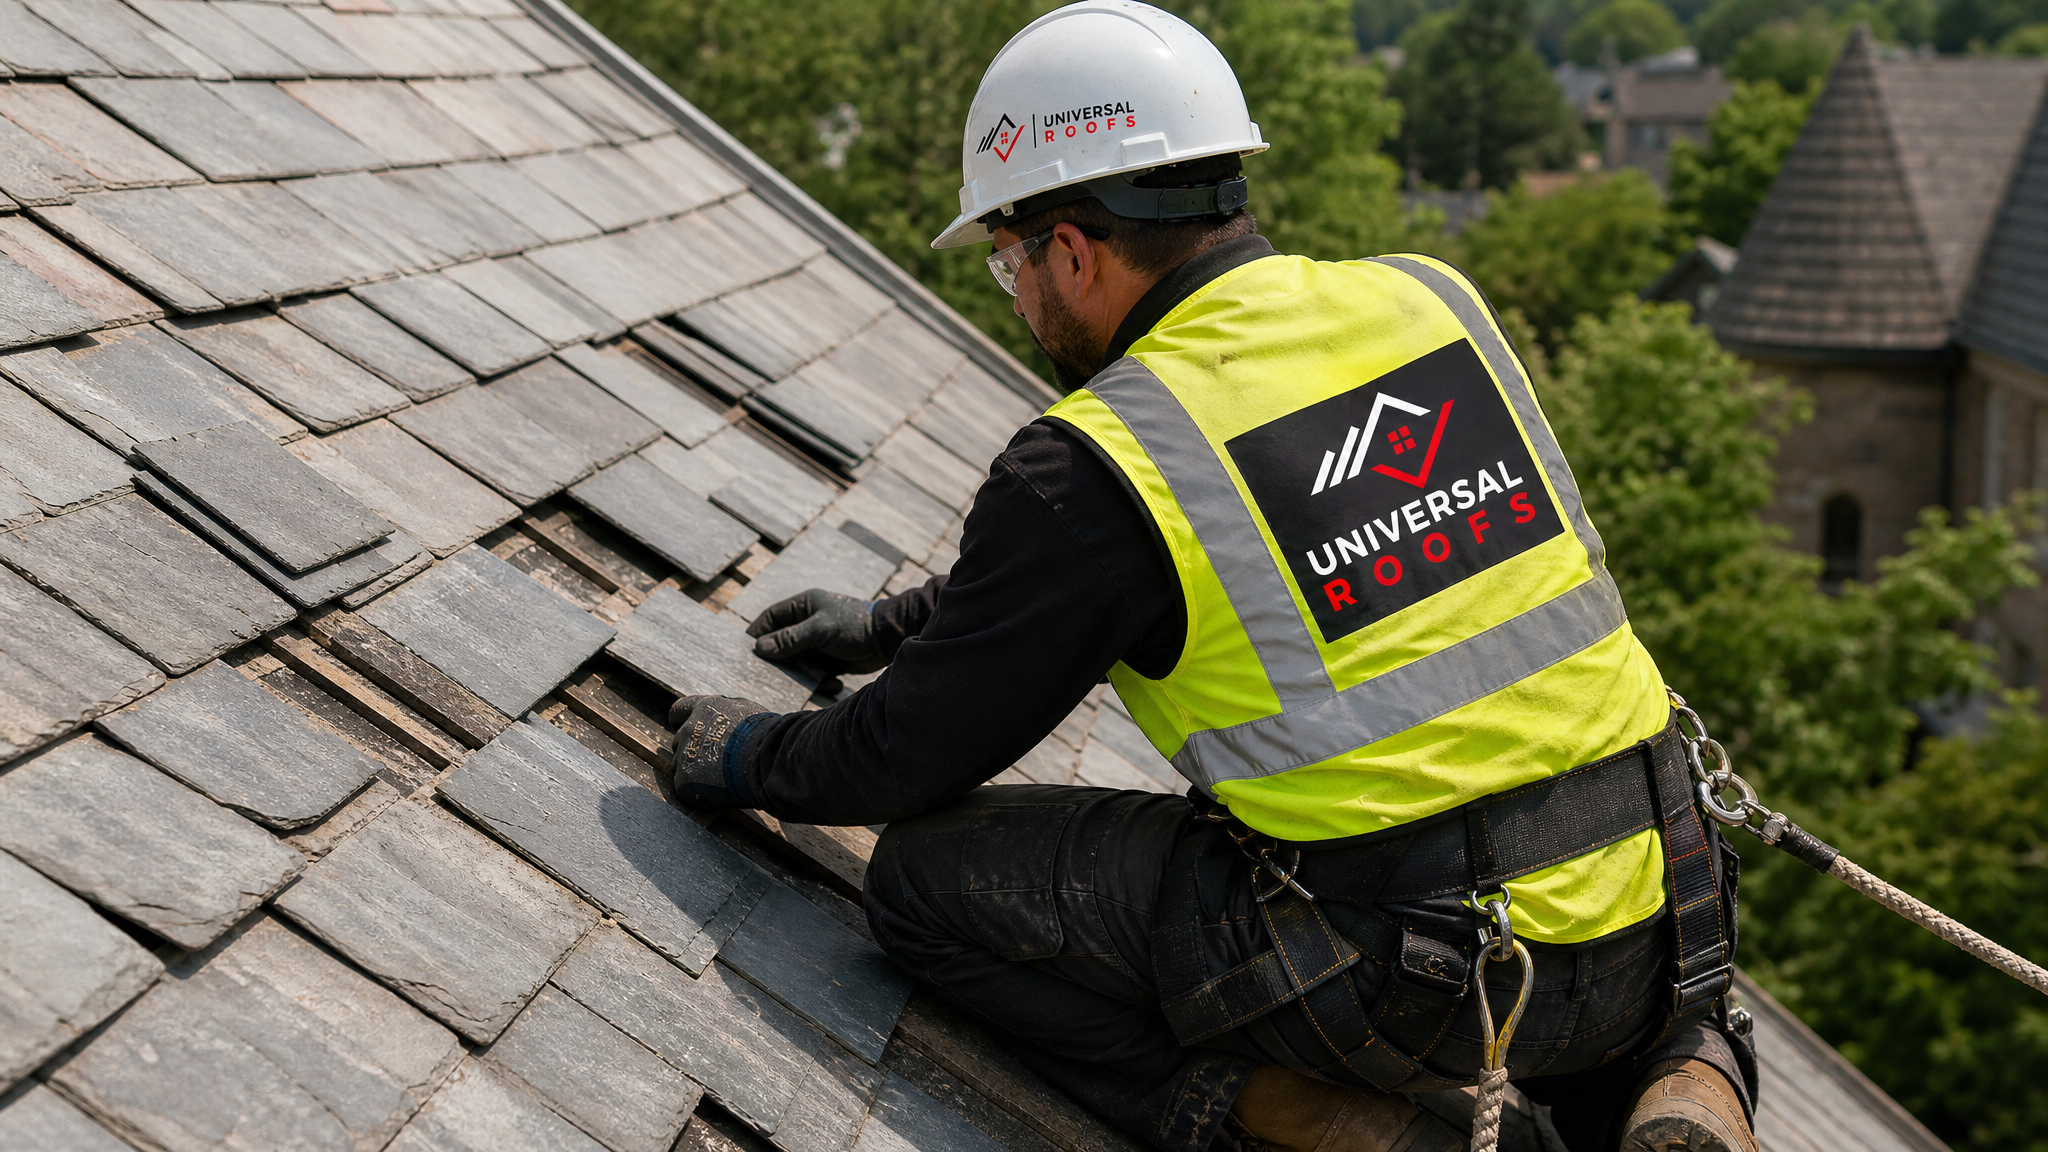
Step 5: Flashing, Chimneys, and Detail Work
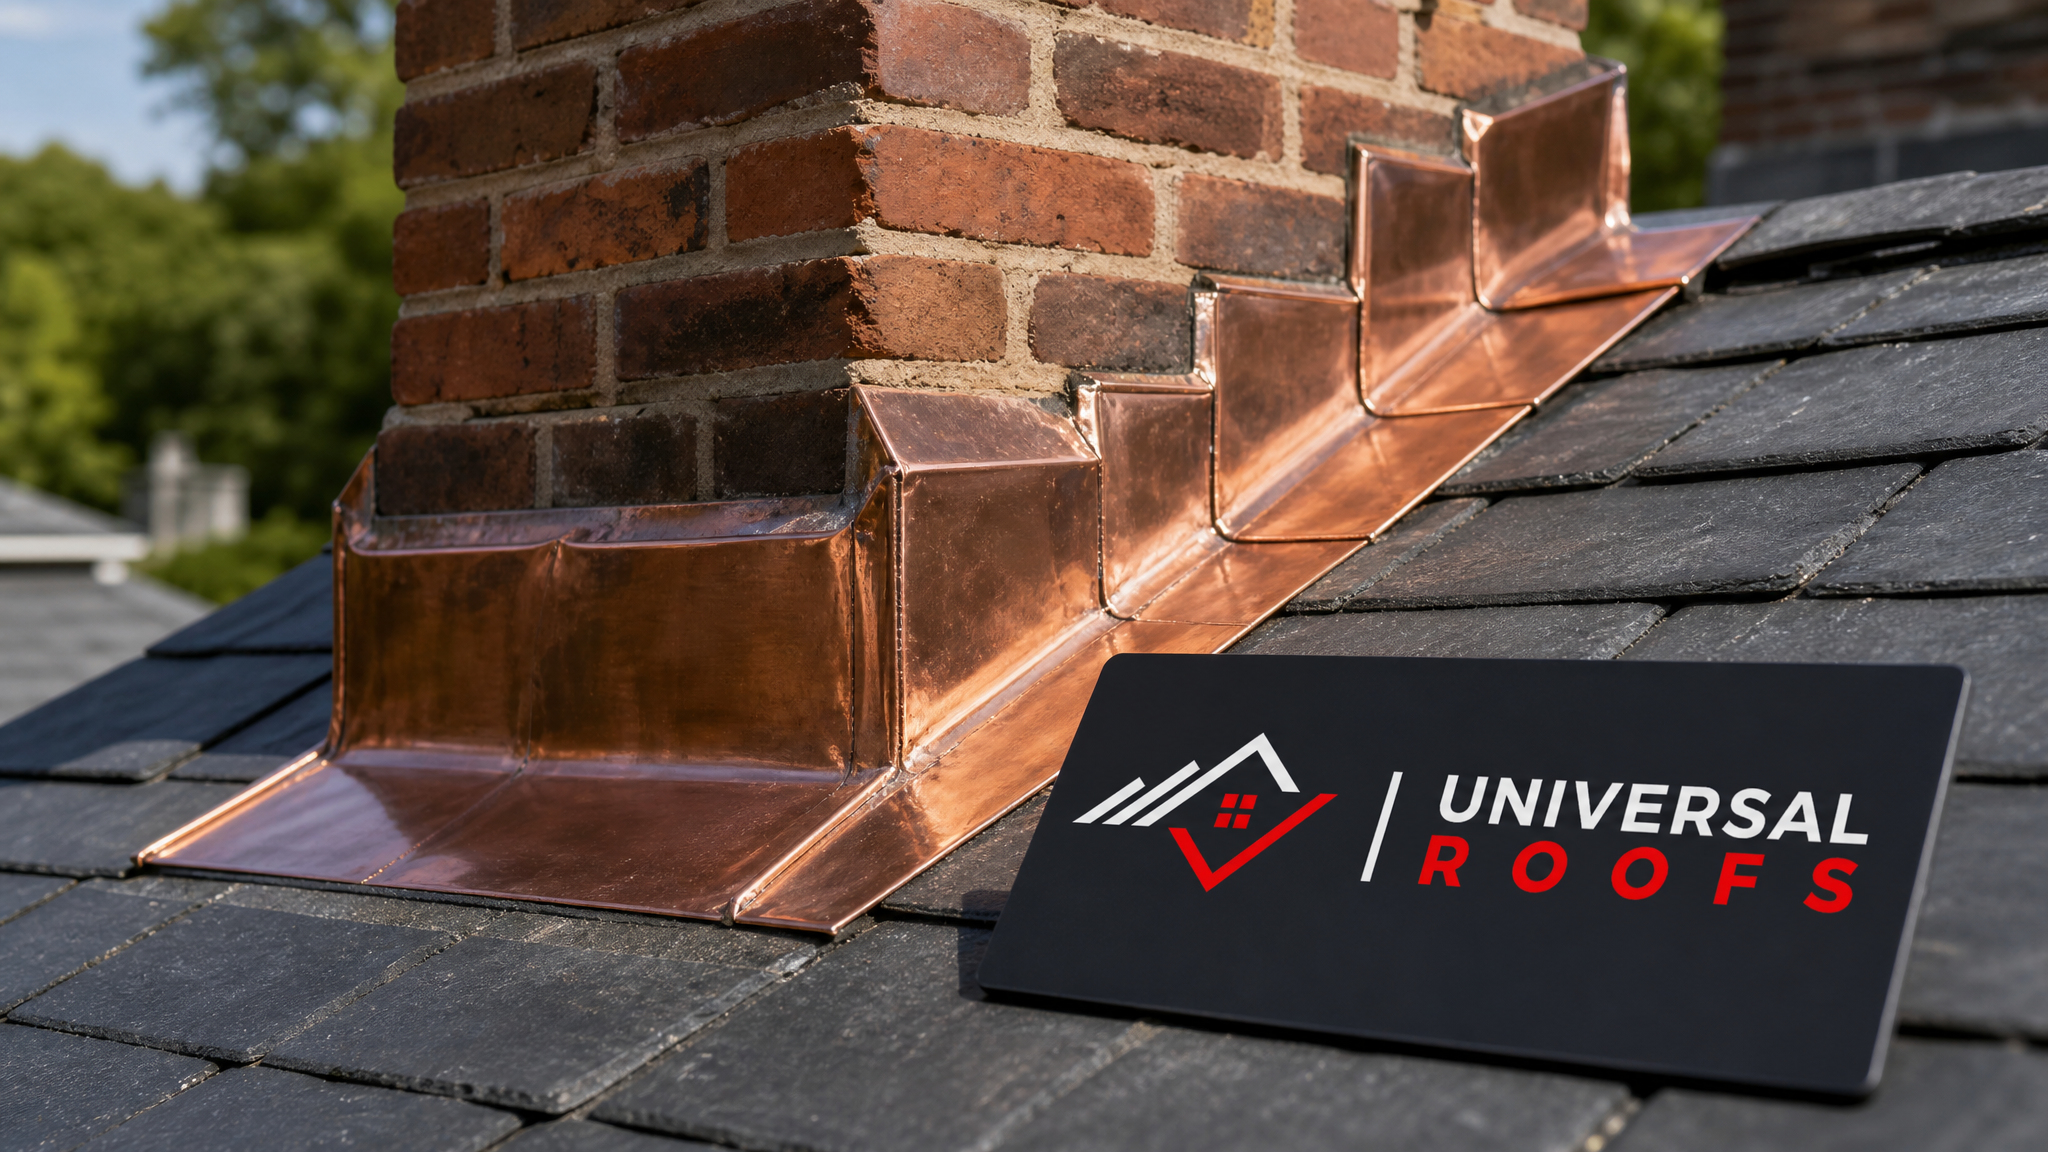
Flashing failures cause more historical roof leaks than the roofing material itself. Older homes typically used lead or copper flashing around chimneys, dormers, and valleys, hand-formed on site rather than stamped from a factory die. Modern restoration should replicate this where visible flashing is part of the architectural character, using:
- 16 oz. or 20 oz. copper for step flashing and counter-flashing on chimneys and dormers
- Lead or lead-coated copper for complex geometries like conical turrets or curved dormers
- Properly formed and soldered valley flashing sized for the roof’s pitch and drainage area
- New chimney crowns and repointed masonry where the original mortar has failed, since a leaking chimney is often mistaken for a roof leak
If the home has a skylight integrated into the roofline, whether original to the building or added later, this is the point where it needs the same scrutiny. Older skylights are notorious leak points, and a skylight replacement with a modern, properly flashed unit is often more sensible than trying to restore deteriorated original glazing and frames.
The table below summarizes common warning signs found during a heritage roof inspection and what they typically indicate, which helps homeowners understand why a contractor recommends a given scope of work.
| Warning Sign | Likely Cause | Recommended Action |
|---|---|---|
| Green or black streaking on slate/tile | Moss, algae, or lichen growth from moisture retention | Gentle cleaning, improve airflow, no pressure washing |
| Rust stains below flashing | Corroding galvanized nails or mismatched flashing metals | Replace fasteners with copper, correct metal mismatch |
| Sagging ridge line visible from street | Long-term structural overload or rafter rot | Interior inspection and rafter sistering or replacement |
| Interior ceiling stains near chimney | Failed chimney flashing or cracked crown | Chimney flashing replacement and masonry repointing |
| Missing or slipped slate/shake pieces | Fastener failure or wind damage | Prompt spot repair before deck exposure worsens |
Step 6: Reinstalling or Replacing the Roofing Material
With the deck, structure, and flashing addressed, the final roofing surface goes back on. The sequence and technique vary significantly by material, but the underlying principle is the same throughout: match the original coursing pattern, exposure, and fastening method as closely as possible so the finished roof reads as original from the street.
For slate, this means correct headlap (typically 3 inches on standard slope roofs in our climate) and staggered joints. For cedar shake, it means proper exposure spacing and often a “keyway” gap between shakes to allow for seasonal expansion. For standing seam metal, panel width and seam height need to match the historical profile, not a generic modern standing seam product, if the roof is visible from the street in a heritage district.
Cost and Timeline Expectations
Historical roof restoration costs more than a standard reroof, largely because of labour intensity, material sourcing, and the slower pace required to protect original fabric. The table below gives realistic GTA ranges as of 2026 for a typical 2,000 to 2,800 square foot heritage home roof.
| Restoration Type | Typical Cost Range (CAD) | Typical Timeline | Notes |
|---|---|---|---|
| Slate spot repair (10-20 slates) | $1,500 – $4,000 | 1–2 days | Requires slate ripper and matching stock |
| Full slate restoration | $35,000 – $70,000+ | 3–6 weeks | Cost driven heavily by slate sourcing and copper flashing |
| Cedar shake full re-roof | $18,000 – $32,000 | 2–4 weeks | Fire-treated cedar required by most municipal codes |
| Standing seam metal restoration | $25,000 – $55,000 | 3–5 weeks | Custom panel forming adds cost vs. standard metal roofing |
| Structural deck and rafter repair (added scope) | $3,000 – $15,000 | Adds 1–3 weeks | Highly variable depending on extent of rot found |
These figures assume work in the core GTA. Projects in the Toronto heritage districts, the Peel Region, York Region, Halton Region, and Durham Region all fall within similar cost bands, though permit requirements and heritage committee timelines vary by municipality.
Common Mistakes That Damage Historical Roofs
We routinely get called in to fix problems created by well-intentioned but poorly executed prior work. The most common mistakes include:
- Using modern asphalt shingles as a “temporary” fix that then becomes permanent, permanently altering the building’s heritage character and often violating designation agreements
- Power washing slate or clay tile, which can crack brittle historical material and force water underneath the surface
- Nailing through slate face instead of using traditional hook or nail-and-bib methods, which cracks the slate over time
- Skipping the heritage permit because the homeowner assumes roofing “doesn’t count” as a visible alteration
- Ignoring ventilation when replacing shakes or slate, which shortens the lifespan of the new material dramatically in our humid summers and freeze-thaw winters
- Mismatched flashing metals, such as installing aluminum flashing against copper, which causes galvanic corrosion that eats through the metal within a few years
Any of these mistakes can turn a straightforward restoration into an expensive redo. This is why verifying a contractor’s specific experience with heritage roofing, not just general roofing experience, matters so much for this type of project. Reading through reviews from homeowners who’ve had similar heritage work done is a reasonable way to vet this before signing a contract.
Seasonal Timing for Historical Roof Restoration in the GTA
Late spring through early autumn remains the best window for this work in our climate, and summer, right now as you’re reading this, is prime restoration season provided the crew can manage heat and humidity safely for material handling. Slate and clay tile become more brittle in cold temperatures, and cedar shake installation benefits from warm, dry conditions that let the wood acclimatize before the first winter freeze-thaw cycle.
Copper and lead flashing work is also easier to solder and form properly in warmer weather, since cold metal is harder to shape without cracking solder joints. If your restoration project is being planned for this year, starting the heritage permit and material sourcing process now, in July, keeps you on track for exterior work to be substantially complete before the shoulder season weather arrives in October.
Maintaining a Restored Historical Roof
Once restoration is complete, the maintenance schedule differs from a standard asphalt roof. Historical roofing materials reward regular, light-touch maintenance far more than they reward being ignored until something fails:
- Annual visual inspection of flashing, valleys, and any areas prone to ice damming
- Gentle removal of moss and debris from slate and shake surfaces without pressure washing
- Prompt replacement of individual cracked slates or tiles before water intrusion damages the deck underneath
- Gutter cleaning at least twice a year, since older homes often have narrower gutters that clog faster
- Periodic chimney and masonry inspection, since chimney flashing failures are frequently misdiagnosed as roof leaks
Homeowners who stay ahead of small repairs on a restored historical roof routinely get another 40 to 75 years out of slate, and 25 to 35 years out of a properly installed and ventilated cedar shake roof, figures that would be unheard of with standard modern roofing products.
What is involved in restoring historical roofs a step by step?
Do I need a heritage permit to restore my roof in Toronto?
Can original slate or cedar shake roofing be repaired instead of fully replaced?
How much does restoring a historical roof cost in the GTA?
What is the best time of year for restoring historical roofs a step by step process in Toronto?
What mistakes should I avoid when restoring a historical roof?
Need Help With Restoring Historical Roofs a?
Heritage roof restoration rewards experience, patience, and access to the right materials, and Universal Roofs has spent years working on slate, cedar shake, and standing seam metal roofs across the GTA’s oldest neighbourhoods.
Call us today at (416) 732-2421 or request a free inspection to get started.
Universal Roofs proudly serves Toronto, Mississauga, Brampton, Vaughan, Markham, Oakville and the GTA since 2005.