
If you have ever pulled back a section of damaged shingles and found soft, spongy, or discoloured plywood underneath, you already understand why roof decking repair matters. The decking (also called sheathing) is the structural skin that ties your rafters or trusses together and gives your shingles, underlayment, and flashing something solid to grip. When it fails, everything above it is compromised, no matter how good the shingles look from the driveway.
This guide walks Toronto-area homeowners through mastering roof decking repair step by step, from spotting the warning signs to choosing materials, removing damaged panels, and installing new sheathing that will hold up through another GTA winter. Whether you plan to tackle a small section yourself or you simply want to understand what a contractor should be doing on your roof, this article covers the process in the kind of detail that actually helps you make good decisions.
We will also cover when decking repair is a reasonable weekend project versus when it signals a bigger issue that calls in a professional roof repair team, and how decking condition factors into a full roof replacement decision.
What Roof Decking Is and Why It Fails
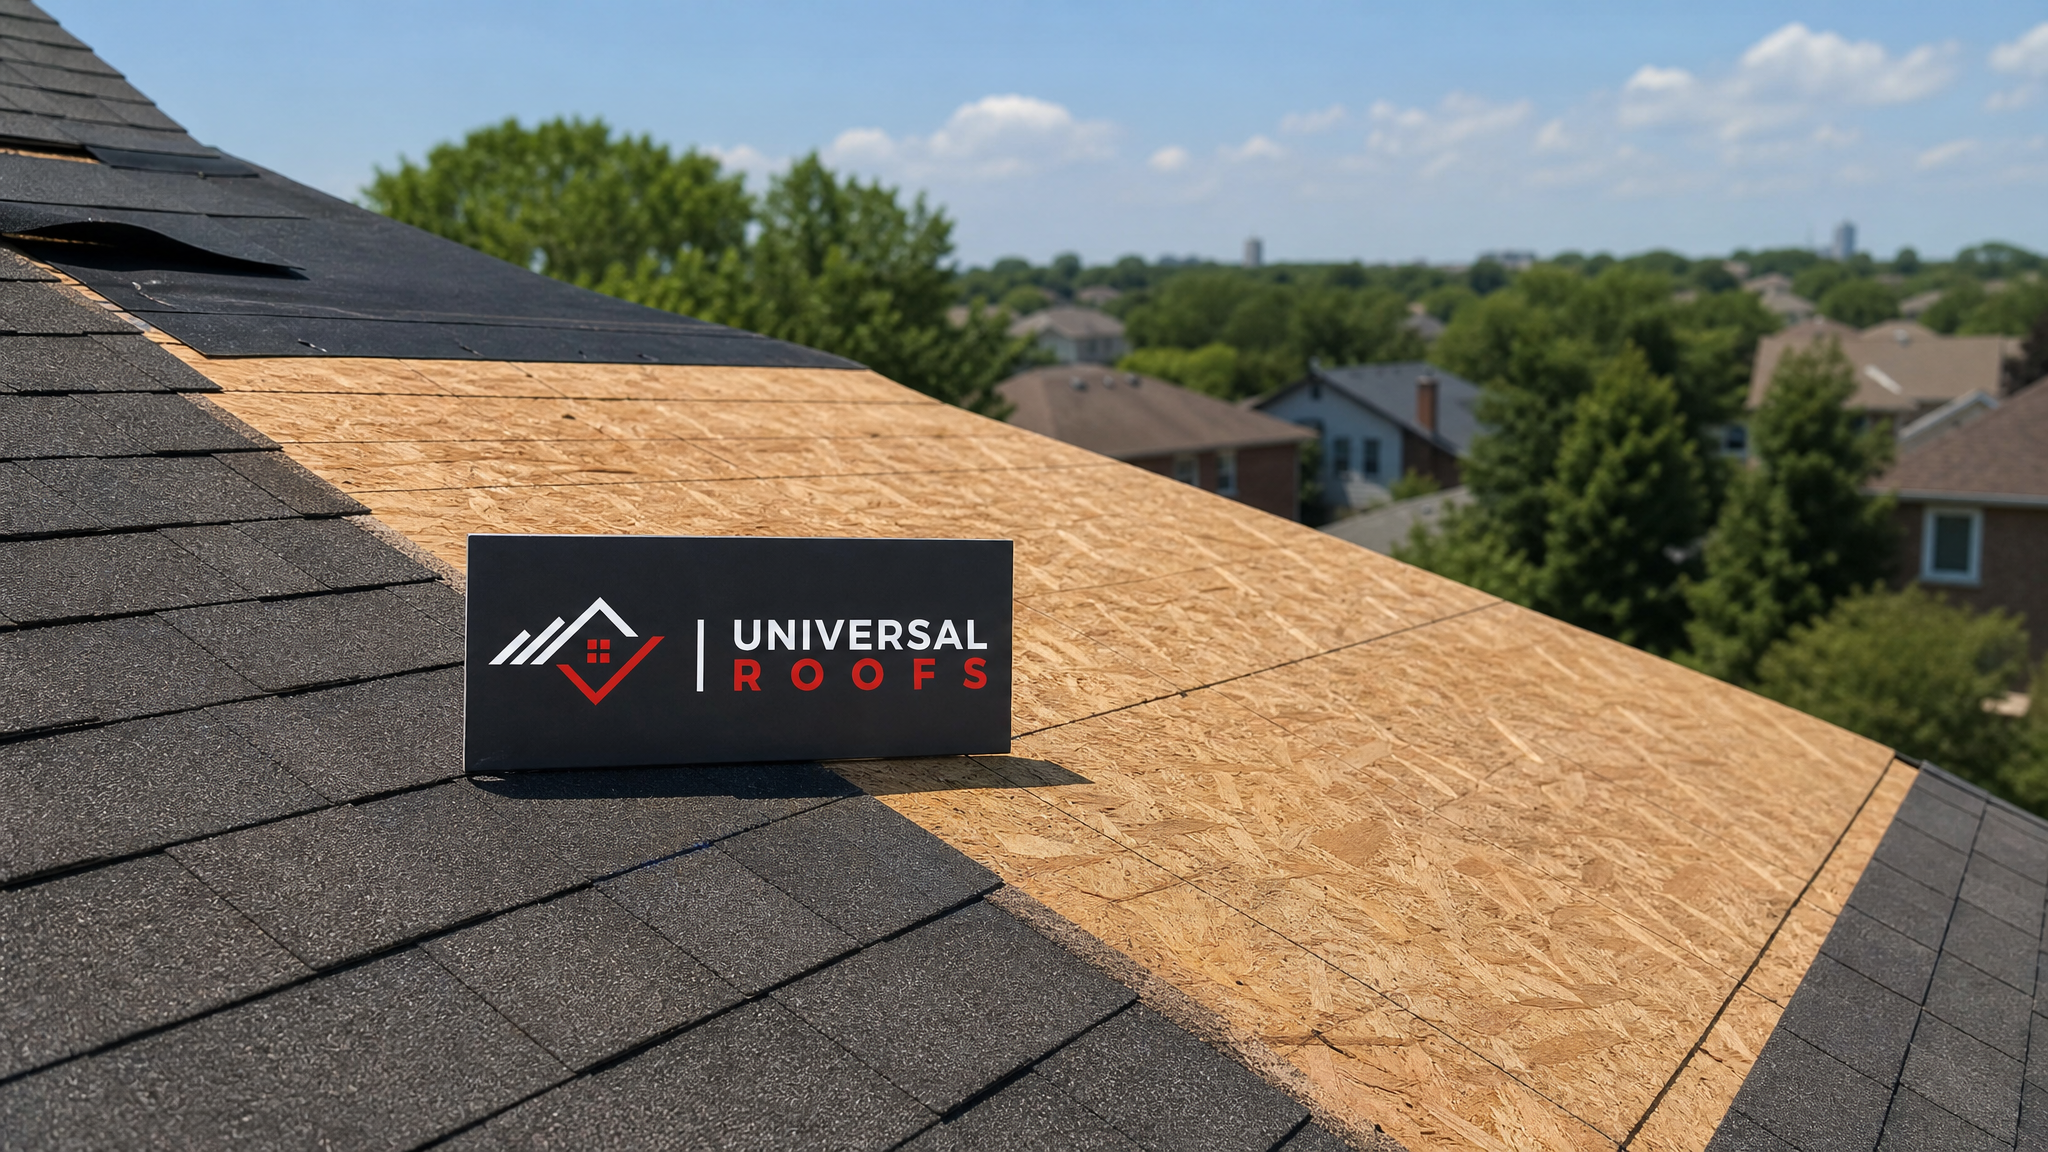
Roof decking is typically 7/16-inch to 5/8-inch oriented strand board (OSB) or plywood, nailed or screwed across the rafters or trusses. It forms the continuous surface that underlayment, ice and water membrane, and shingles are fastened to. Think of it as the foundation of everything visible on your roof.
Decking rarely fails on its own. It almost always fails because water got underneath the shingles and had somewhere to sit. Common causes we see across the GTA include:
- Aging or damaged shingles that no longer shed water, allowing moisture to seep through nail holes and seams
- Cracked or missing flashing around chimneys, skylights, and valleys, which is one of the most frequent entry points we find during skylight inspections
- Ice damming in winter, where melted snow refreezes at the eaves and backs up under the shingle line
- Poor attic ventilation, which traps humid air against the underside of the deck and encourages rot from below rather than above
- Clogged gutters that force water to pool against the fascia and wick upward into the deck edge
In Toronto’s climate, the freeze-thaw cycle is the real culprit behind slow-motion decking failure. Water finds its way in during a mild spell, freezes, expands, and gradually widens cracks and gaps in the wood fibres. By the time spring arrives, a small leak from December has often become a soft, delaminated section of sheathing.
Signs Your Roof Decking Needs Repair
Most homeowners do not discover decking damage until they are already up on the roof for something else, like a shingle repair or a skylight assessment. Here are the signs worth acting on immediately:
- Sagging or wavy roof lines visible from the street, especially between rafters
- Soft spots you can feel when walking the roof (never do this without proper fall protection and roof anchors)
- Water stains or dark rings on the attic ceiling or on the underside of the deck itself
- A musty smell in the attic, which usually means mould has already started colonizing wet wood
- Visible daylight through the roof deck when viewed from inside the attic during the day
- Nail pops or fastener backout pushing up through the shingles, a sign the deck underneath has shifted or swollen
If you catch any of these early, an attic inspection is the fastest way to confirm the extent of the problem before it spreads to adjacent rafter bays.
Tools and Materials for Roof Decking Repair
Before starting any decking repair, gather the right tools and materials. Using the wrong fastener or panel thickness is one of the most common mistakes we see on DIY jobs that later need to be redone.
| Tool or Material | Purpose | Typical Cost (CAD) | Notes |
|---|---|---|---|
| OSB or plywood sheathing (7/16″ or 1/2″) | Replacement decking panels | $35–$55 per 4×8 sheet | Match existing thickness exactly |
| Ring-shank nails or deck screws | Fastening new panels to rafters | $15–$25 per box | Ring-shank resists backout better than smooth nails |
| Roofing pry bar | Removing shingles and old fasteners | $25–$40 | Flat, wide blade reduces deck damage |
| Circular saw | Cutting damaged sections cleanly | $100–$180 | Set blade depth to deck thickness only |
| Ice and water membrane | Sealing new deck seams and eaves | $60–$90 per roll | Mandatory in GTA valleys and eaves by code |
| Fall protection harness and anchor | Personal safety on the roof | $150–$300 | Non-negotiable above one storey |
Always match new sheathing thickness to the existing deck. Mixing thicknesses creates an uneven plane that telegraphs through the shingles and can cause premature wear at the seam.
Step-by-Step Roof Decking Repair Process
Here is the process our crews follow, broken into stages you can follow along with whether you are supervising a contractor or attempting a small repair yourself.
Step 1: Identify and Mark the Damaged Area
Start from the attic if possible, tracing the water stain back to its source and marking the affected rafter bays with chalk or tape visible from the roof surface. This prevents cutting into sound wood unnecessarily and helps you plan panel breaks that land on rafter centres.
Step 2: Remove Shingles and Underlayment
Strip shingles back at least 30 to 45 centimetres beyond the visibly damaged area in every direction. Water travels sideways under shingles far more than most people expect, so the stained area on the underside of the deck is often smaller than the true wet zone above it.
Step 3: Cut Out the Damaged Sheathing
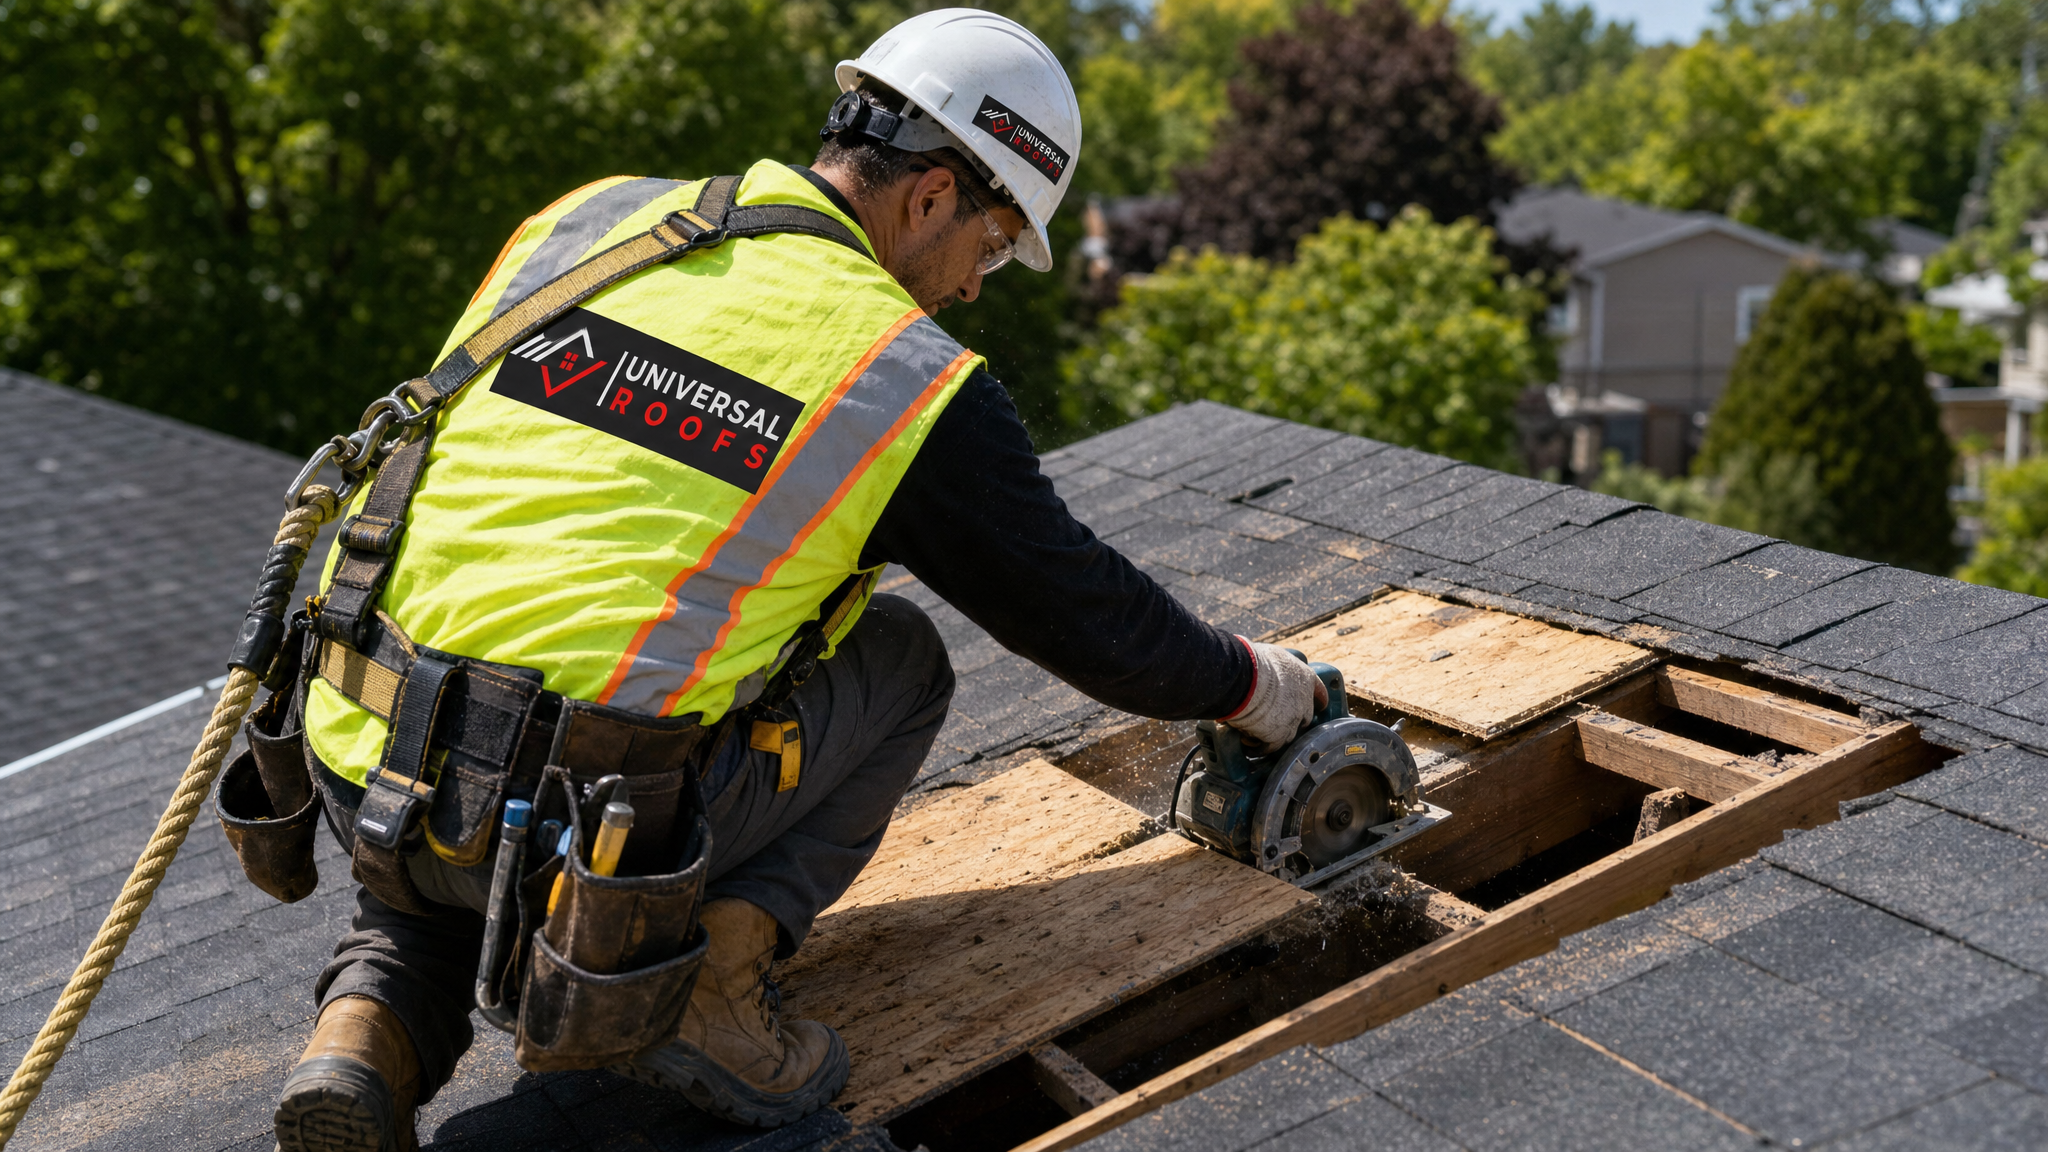
Set a circular saw to the exact depth of the deck thickness to avoid nicking rafters. Cut along the centreline of the nearest solid rafters on each side so the new panel has full bearing support at every edge, not just a butt joint hanging in open air.
Step 4: Inspect and Repair the Rafters
Once the deck is exposed, check the rafters themselves for rot, splitting, or insect damage. Soft or spongy rafters need sistering (bolting a new piece of lumber alongside the damaged one) before any new decking goes down. Skipping this step is the single biggest reason decking repairs fail within a year or two.
Step 5: Install New Sheathing
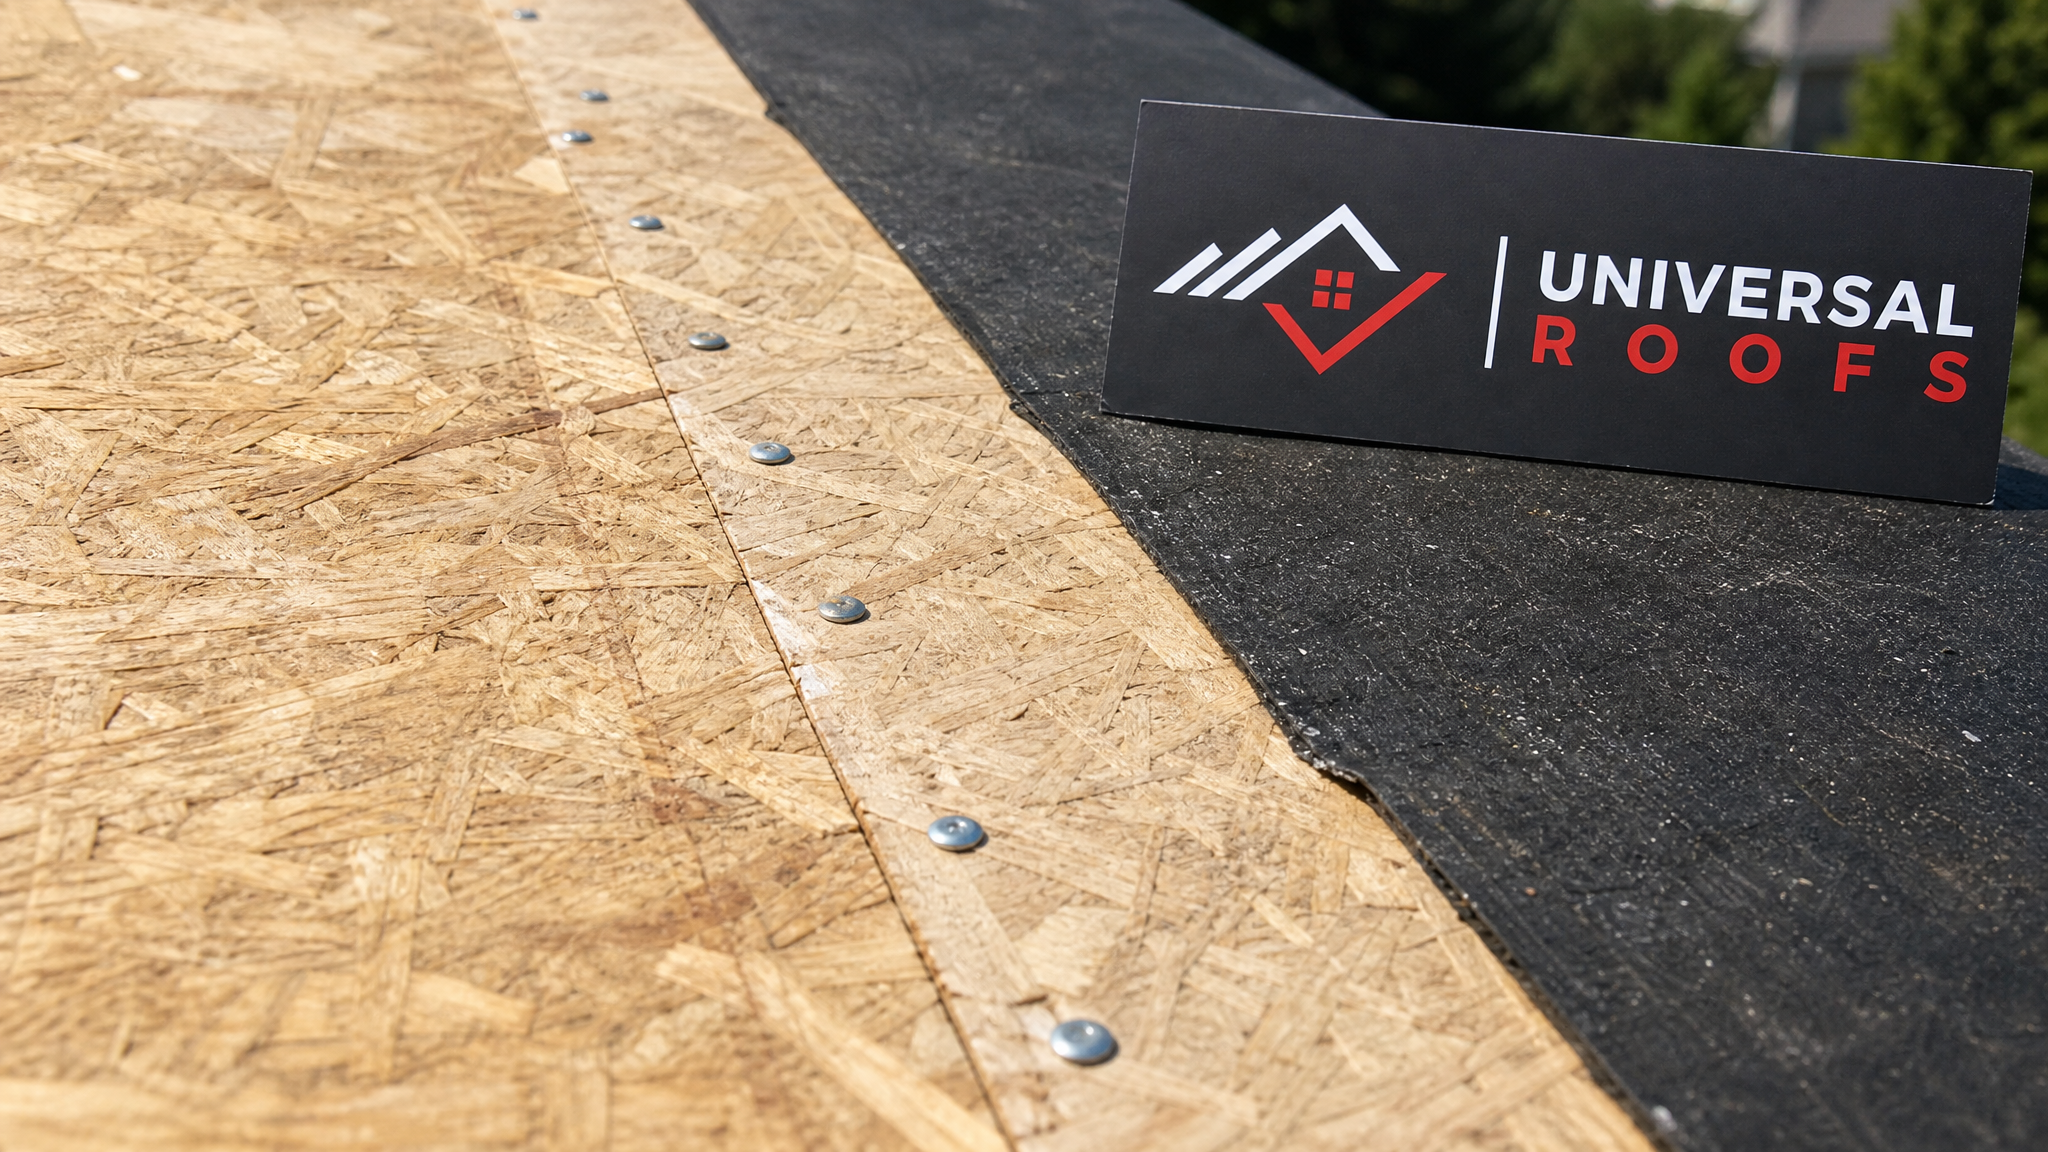
Cut replacement panels to fit, leaving a 3mm gap at each edge to allow for seasonal expansion. Fasten with ring-shank nails or screws every 15cm along the edges and every 30cm in the field, driving fasteners flush without overdriving them through the panel face.
Step 6: Seal, Underlay, and Reshingle
Apply ice and water membrane over the new seams and at least 60cm up from the eave edge, then run synthetic underlayment across the full repaired section before reinstalling shingles. This layered approach is what actually keeps water out long-term, not the shingles alone.
Roof Decking Repair vs. Full Deck Replacement
One of the most common questions we get is whether a section repair is enough or whether the whole deck needs replacing. The table below outlines how to think through that decision.
| Factor | Section Repair Makes Sense | Full Replacement Recommended |
|---|---|---|
| Extent of damage | Isolated to one or two rafter bays | Spread across multiple sections or the whole slope |
| Roof age | Roof is under 12 years old | Roof is near or past its expected shingle lifespan |
| Rafter condition | Rafters are solid and sound | Multiple rafters show rot or need sistering |
| Attic ventilation | Ventilation is adequate, issue was localized | Poor ventilation is causing widespread deck moisture |
| Cost efficiency | Repair cost is well under 30% of replacement cost | Repeated repairs are approaching replacement pricing |
If more than a third of the deck needs replacing, it is almost always more cost-effective to proceed straight to a full roof replacement rather than patch section after section over several seasons.
Roof Decking and Flat Roofs
Flat and low-slope roofs have their own decking considerations. Because water does not shed as quickly, ponding and slow seepage are more common failure modes than the wind-driven leaks typical of sloped shingle roofs. If you own a commercial building or a home with a flat-roofed addition, deck inspections should happen more frequently, and drainage slope should be checked whenever decking repairs are made. Our flat roofing team factors deck condition into every membrane replacement quote for exactly this reason.
Decking Repair Around Skylights and Penetrations
Any point where something penetrates the roof deck, a skylight, chimney, vent stack, or plumbing boot, is a higher-risk zone for decking rot because flashing failures concentrate water at a single point rather than spreading it across a broad shingle field. If you are noticing staining specifically around a skylight opening, it is worth having both the deck and the flashing assessed together. Our skylight replacement crews routinely find decking that needs attention during what starts as a simple flashing job, and it is far more efficient to address both at once than to reopen the same area twice.
Seasonal Timing for Decking Repairs in the GTA
Summer is genuinely the best window for decking work in Toronto. The wood dries out fully, adhesives and sealants cure properly in warm temperatures, and crews are not fighting frost or snow load while panels are open. If you spotted a soft spot or a stain over the winter, July and August are when to get it addressed, well before the fall rains and winter freeze-thaw cycle return and make the damage worse.
| Season | Suitability for Decking Repair | Considerations |
|---|---|---|
| Summer (Jun–Aug) | Ideal | Dry wood, proper sealant cure, long daylight hours |
| Fall (Sep–Nov) | Good, time-sensitive | Repair before winter precipitation increases |
| Winter (Dec–Feb) | Emergency only | Frozen decking, limited sealant performance |
| Spring (Mar–May) | Good once thaw completes | Highest demand season, book early |
Common Mistakes That Cause Decking Repairs to Fail
We get called out to redo decking repairs more often than you might expect, and the same handful of mistakes show up every time:
- Patching over rotted rafters instead of sistering or replacing them first
- Using the wrong panel thickness, creating an uneven roof plane
- Skipping ice and water membrane at the repaired seam
- Nailing directly over the damaged area without cutting back to solid rafter bearing
- Ignoring the ventilation problem that caused the rot in the first place, guaranteeing a repeat failure
- Rushing the shingle tie-in, leaving a visible seam that also underperforms during wind events
A properly documented repair, with photos of the exposed rafters and the new deck before shingles go back on, is also valuable for insurance purposes if the damage was storm-related.
When to Call a Professional Roofer
Decking repair sits at the intersection of carpentry, roofing, and structural judgment. A small, accessible patch on a single-storey garage might be a reasonable DIY project for an experienced homeowner with proper fall protection. Anything involving multiple rafter bays, steep pitches, second-storey work, or visible sagging should go to a licenced professional.
The risk is not just falling, though that is the most immediate one. Misjudging rafter condition, using the wrong fastener pattern, or missing a ventilation problem can turn a $600 repair into a $6,000 one within a few years. If you are uncertain about what you are looking at, an inspection costs far less than a mistake.
You can read what past clients have said about our decking, flashing, and full roof projects on our reviews page, and browse common questions on our FAQ page before booking an assessment.
Service Areas for Roof Decking Repair
Universal Roofs handles decking repair and full roof replacement projects across the Greater Toronto Area, including Toronto, Peel Region (Mississauga and Brampton), York Region (Vaughan, Markham, and Richmond Hill), Halton Region (Oakville and Burlington), and Durham Region (Ajax and Pickering). Local building codes across these municipalities generally require ice and water membrane at eaves and valleys, so any decking repair should be brought up to current code, not just patched to match the old installation.
What does mastering roof decking repair step by step actually involve?
How do I know if my roof decking needs repair or full replacement?
What thickness of plywood or OSB should I use for roof decking repair?
Can I repair roof decking myself, or should I hire a professional?
What is the best time of year in Toronto to repair roof decking?
How much does roof decking repair typically cost in the GTA?
Need Help With Mastering Roof Decking Repair?
Whether you are dealing with a single soft spot near a skylight or a larger section of water-damaged sheathing, Universal Roofs has the experience to diagnose the cause, repair the deck correctly, and make sure the same problem does not come back next winter.
Call us today at (416) 732-2421 or request a free inspection to get started.
Universal Roofs proudly serves Toronto, Mississauga, Brampton, Vaughan, Markham, Oakville and the GTA since 2005.