
High winds are one of the most common reasons Toronto-area homeowners end up calling a roofer for an emergency repair. Lake-effect gusts off Lake Ontario, spring and fall windstorms, and the occasional remnant of a tropical system can all put serious lateral and uplift force on a roof deck. If your roof is due for replacement, building in wind resistance from day one is far cheaper than paying for storm damage repairs every few years.
At Universal Roofs, we have been replacing roofs across the Greater Toronto Area since 2005, and wind damage is one of the most preventable problems we see. A roof that is installed correctly, with the right materials and the right fastening pattern, can shrug off gusts that would tear apart a roof installed with shortcuts. This guide walks through six practical, field-tested tips for a wind-resistant roof replacement, plus the material choices, cost ranges, and inspection checkpoints that matter most for GTA homes.
Whether you are planning a full roof replacement this season or just want to understand what separates a roof that survives a windstorm from one that doesn’t, this article covers the engineering, the materials, and the installation details that make the difference.
Why Wind Resistance Matters for a Roof Replacement in the GTA
Wind resistant roof replacement is not a niche concern for coastal properties — it is a core consideration for every roof we install in Toronto, Mississauga, Brampton, Vaughan, Markham, Oakville, and the surrounding regions. The GTA sees sustained winds and gusts that regularly exceed 70-90 km/h during spring and autumn storm systems, and open subdivisions, ravine lots, and homes near the lake experience even stronger uplift forces. Add in freeze-thaw cycling through our winters, which loosens fasteners and degrades sealants over time, and you have a climate that punishes weak roofing details.
The Ontario Building Code sets minimum wind load requirements for roof assemblies, but code minimums are a floor, not a target. A roof built only to bare minimum standards may pass inspection yet still lose shingles in a strong windstorm. The goal of a true wind resistant roof replacement is to exceed code minimums using better materials, better fastening, and better attention to the vulnerable transition points — ridges, eaves, valleys, and rake edges — where wind uplift concentrates.
Every homeowner considering a wind resistant roof replacement should think about it as a system, not a single product. The shingle or membrane matters, but so does the underlayment, the fastening method, the edge metal, and the ventilation strategy. Skimping on any one component can undermine the rest. Below are the six tips we rely on most heavily when we plan and execute a wind resistant roof replacement for a GTA home.
Tip 1: Choose a Wind-Rated Shingle or Membrane System
The single biggest lever you have in a wind resistant roof replacement is the product itself. Asphalt shingles are rated by wind speed classification (typically Class D, F, G, or H under ASTM D3161 and D7158 testing), and the difference between a basic three-tab shingle and a modern laminated architectural shingle with a reinforced nailing zone is dramatic. Most manufacturers now offer shingles warrantied for winds up to 210 km/h when installed with the specified fastening pattern — but that warranty is void the moment the installer cuts corners on nail count or placement.
For flat and low-slope sections, wind resistance depends on the membrane system and its attachment method (mechanically fastened, fully adhered, or ballasted) rather than a wind rating printed on the package. If your home has a flat-roofed addition, garage, or porch, that section needs its own wind strategy — see our flat roofing page for the systems we install on low-slope GTA roofs.
| Shingle Class | Wind Rating (Approx.) | Typical Nailing Requirement | Best For |
|---|---|---|---|
| Standard 3-tab | Up to 100-120 km/h | 4 nails per shingle | Budget builds, low-exposure lots |
| Architectural (laminated) | Up to 190 km/h | 4-6 nails per shingle | Most GTA homes |
| High-wind architectural | Up to 210+ km/h | 6 nails per shingle, sealed nailing zone | Open lots, ravine edges, lakeside exposure |
| Standing seam metal | Up to 250+ km/h | Concealed clip fastening, engineered spacing | Steep-slope homes wanting 50+ year lifespan |
| TPO/EPDM membrane (flat) | Rated by attachment method, not shingle class | Mechanically fastened or fully adhered | Flat roofs, additions, garages |
When we quote a wind resistant roof replacement, we walk homeowners through which class of shingle fits their specific lot. A sheltered infill lot in a mature Toronto neighbourhood has very different exposure than an open-concept subdivision in Vaughan or a home backing onto a ravine in Markham. Matching the product to the exposure is step one — but the product is only as good as the installation underneath it, which is where the next five tips come in.
Tip 2: Use the Correct Nailing Pattern — Every Time
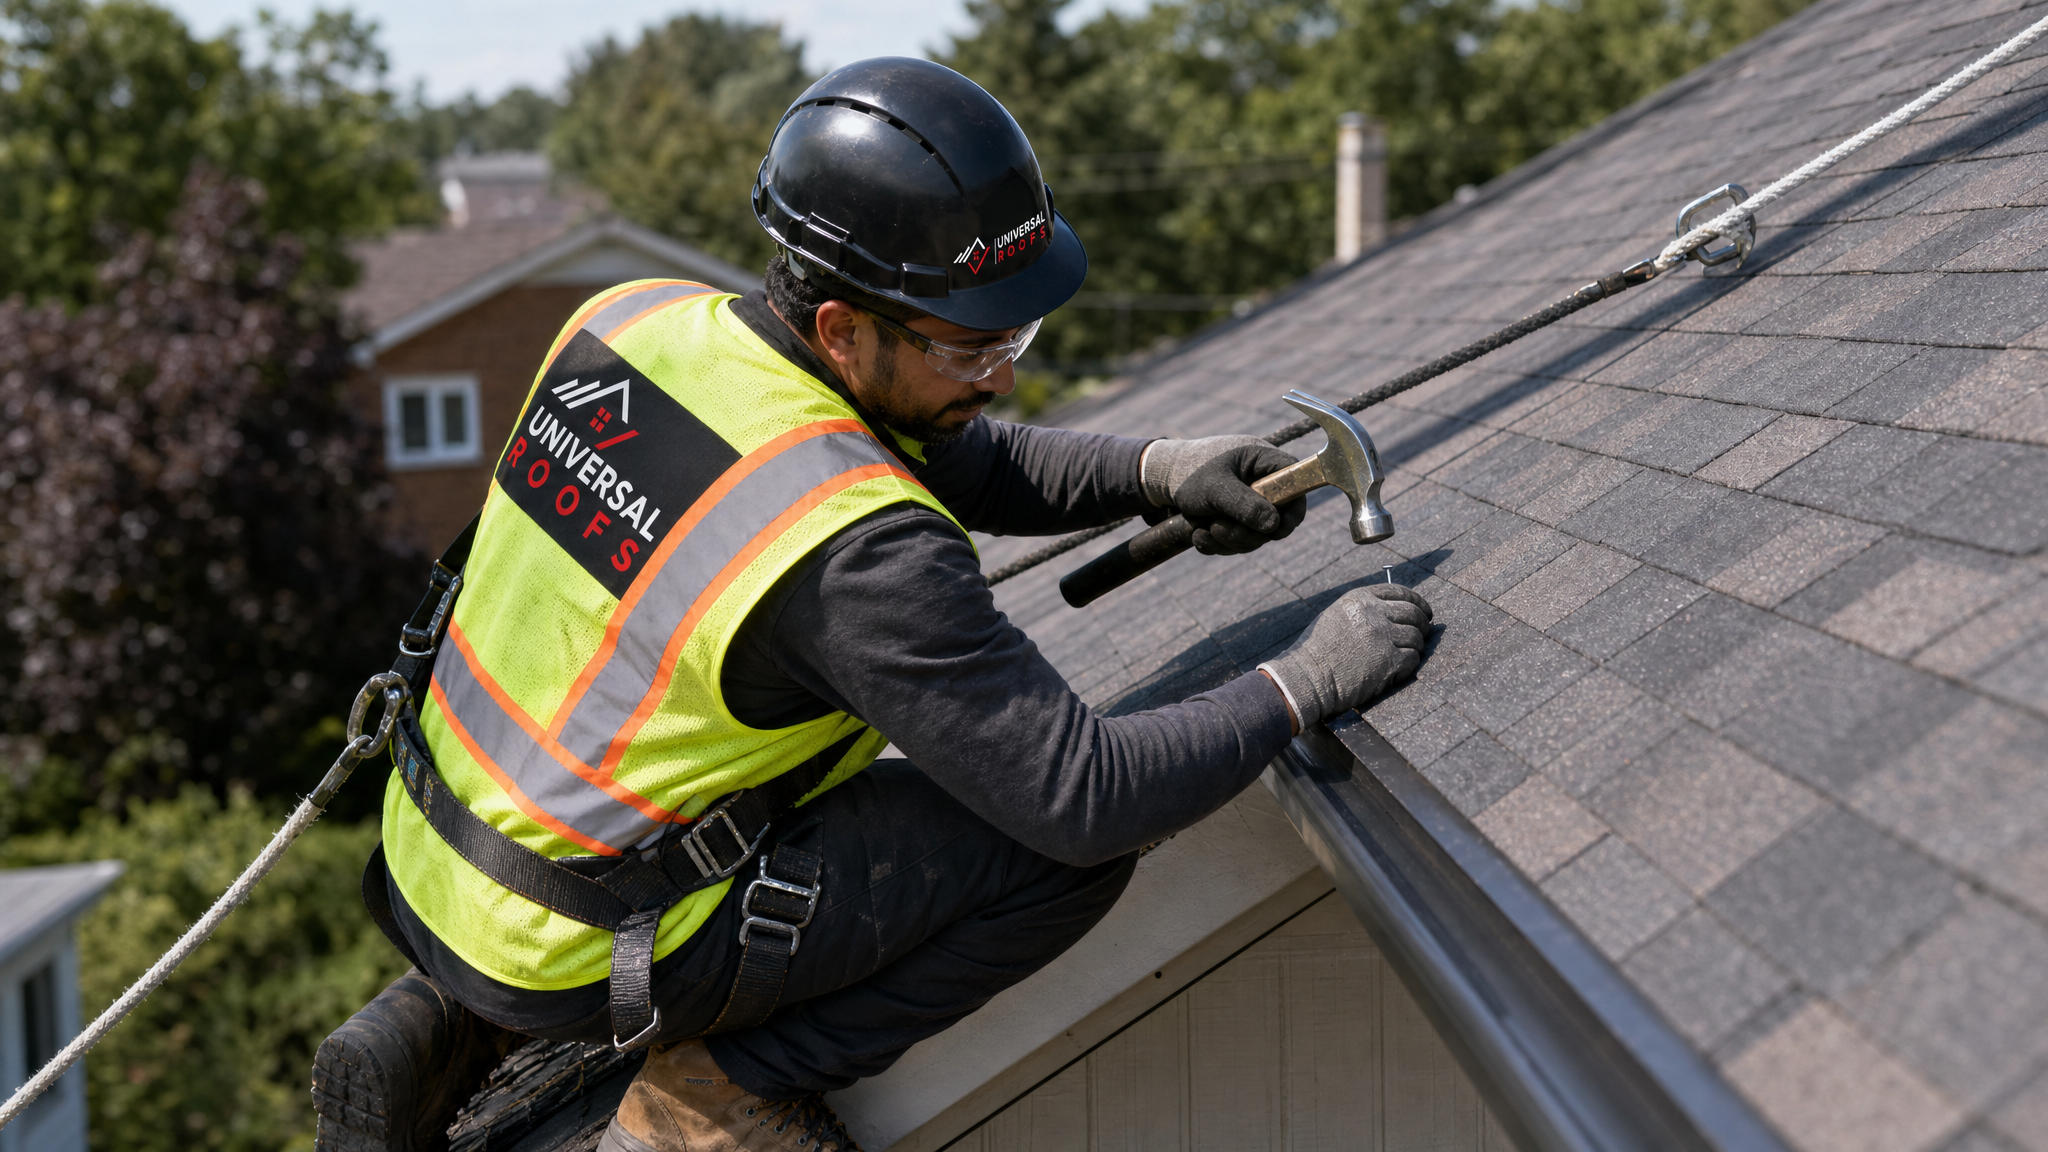
This is the single most common shortcut that causes wind damage, and it is almost entirely avoidable. Every asphalt shingle has a manufacturer-specified nailing zone, usually a printed line about 25-32 mm above the bottom edge of the shingle, along with a minimum nail count (usually four in standard installations, six in high-wind zones). Nails placed too high, too low, at an angle, or simply skipped to save time will not hold the shingle down when uplift forces hit the tab.
We insist on hand-driven verification on every wind resistant roof replacement, meaning our crews physically check nail placement rather than relying solely on pneumatic nailers set to a standard depth. Overdriven nails that cut through the shingle mat are just as dangerous as underdriven nails that fail to seat — both create a weak point that wind will find during the first serious storm.
| Nailing Mistake | Consequence in High Wind | Correct Practice |
|---|---|---|
| Nails placed above the nailing zone | Shingle tab flaps loose, seal strip never activates | Nail exactly on the manufacturer’s marked line |
| Fewer than the specified nail count | Reduced holding power, premature blow-off | Use 6 nails per shingle in high-wind zones |
| Overdriven nail heads | Torn shingle mat, water entry point | Set nailer pressure and check depth by hand |
| Nails driven at an angle | Partial holding power, easy to work loose | Nail straight down, flush to the surface |
| Staples instead of nails | Significantly lower pull-through resistance | Use ring-shank roofing nails only |
Ring-shank nails, rather than smooth-shank, are standard on every wind resistant roof replacement we perform, because the ridged shank resists the back-and-forth pull-through that repeated wind gusts create over years of freeze-thaw cycling. It is a small material cost difference that pays for itself many times over in reduced callbacks.
Tip 3: Reinforce the Vulnerable Edges — Eaves, Rakes, and Ridges
Wind does not usually peel a roof from the centre of a field of shingles. It starts at an edge — a rake edge that catches a gust broadside, an eave that gets under-pressure lift from wind moving up the slope, or a ridge cap that was fastened with standard shingles instead of purpose-built ridge product. A wind resistant roof replacement pays disproportionate attention to these transition points because that is where failures begin.
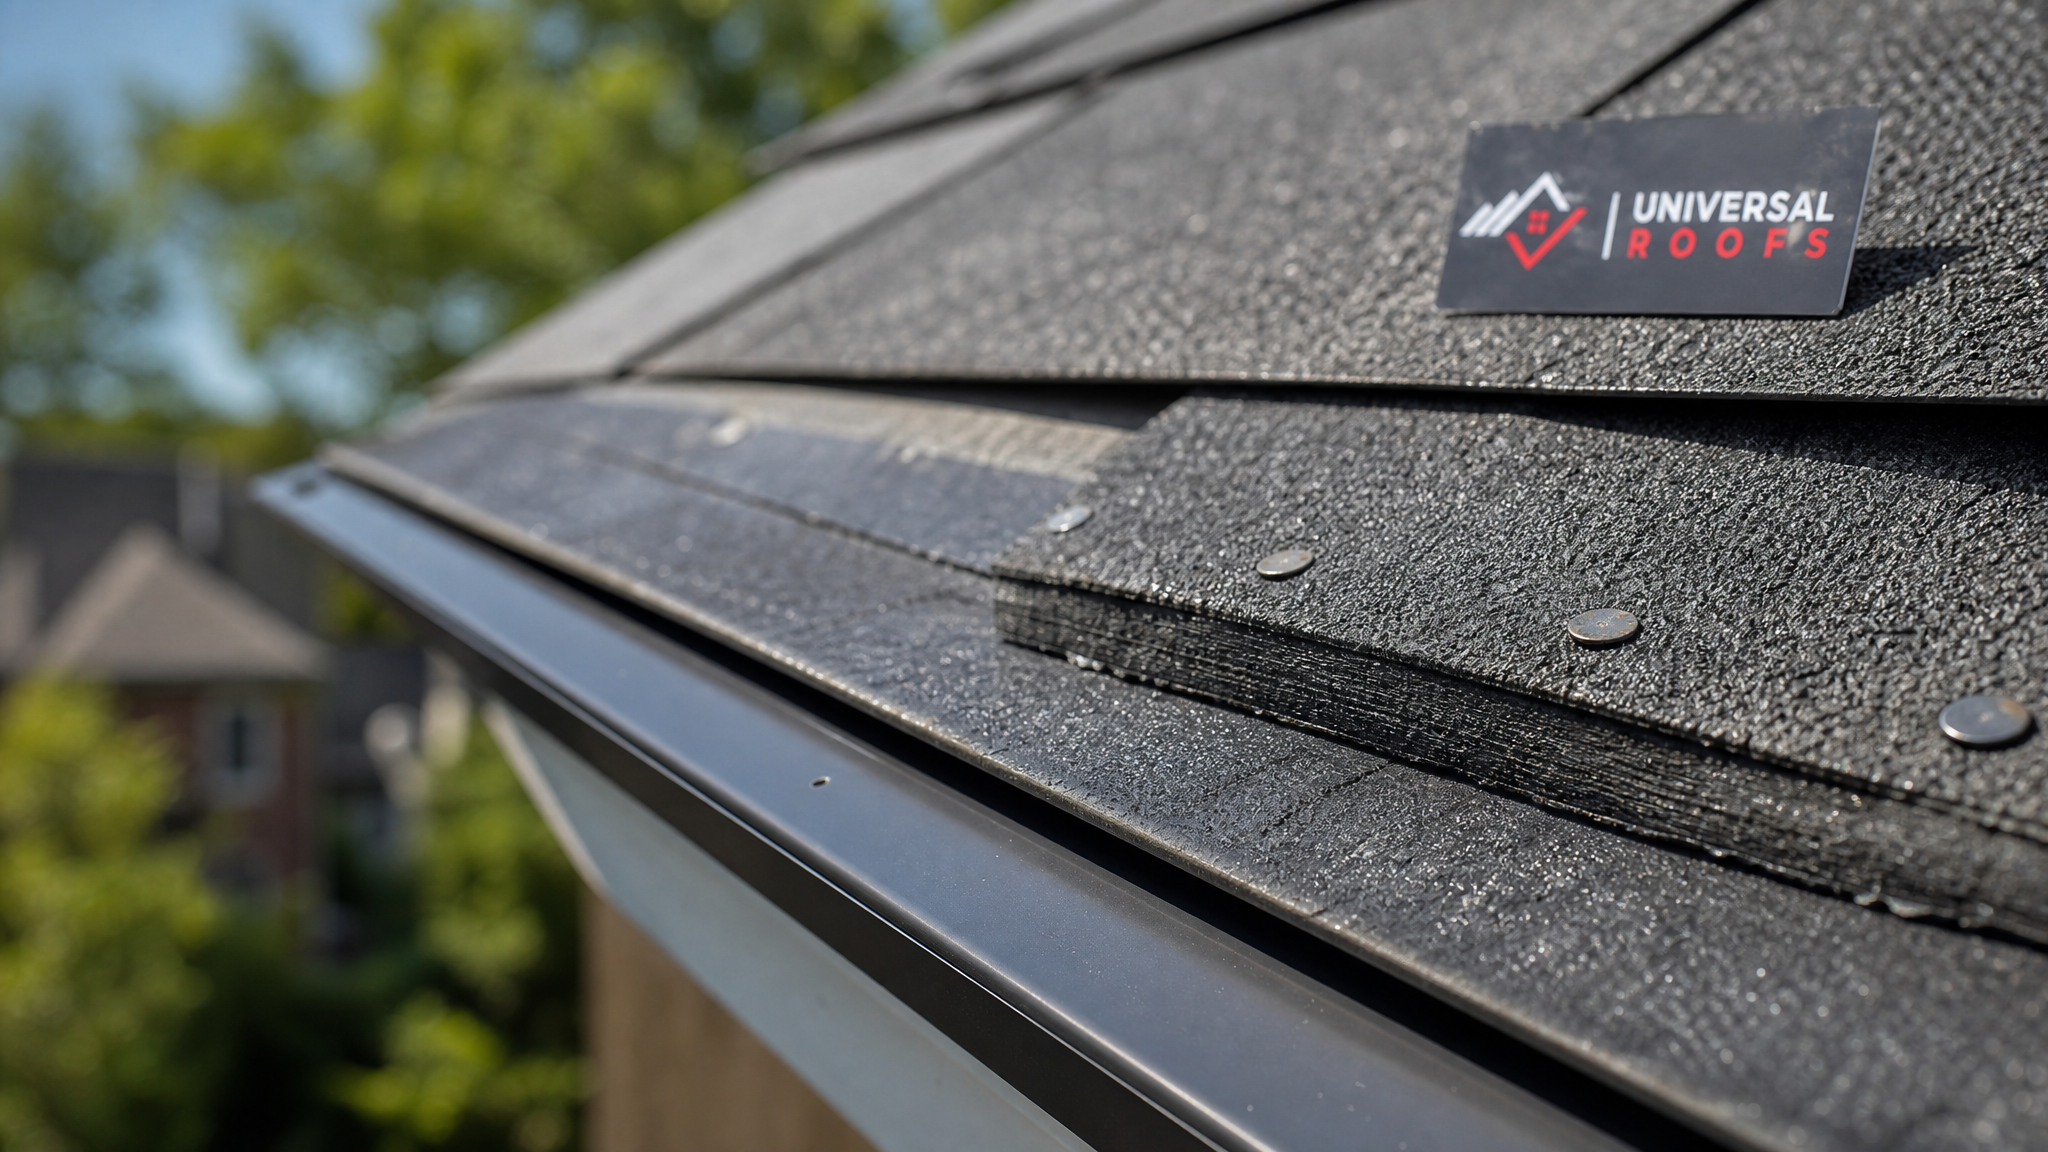
Drip edge metal should be installed at both the eaves and rakes, nailed at tight intervals (typically every 200-300 mm), with the underlayment lapped correctly over or under the metal depending on the edge. Starter strip shingles with factory-applied adhesive belong along every eave and rake — never a standard shingle cut down and flipped, which is a shortcut that leaves the seal strip in the wrong position to resist uplift.
At the ridge, wind-rated ridge cap shingles (not field shingles bent over the peak) should be fastened with nails long enough to penetrate the roof deck by at least 20 mm, and the exposed nail heads should be sealed. Hip and ridge products are engineered with their own wind ratings for exactly this reason — the ridge is the highest point on the roof and takes the most direct wind exposure.
Tip 4: Install High-Quality Underlayment as a Backup Water Barrier
Even a well-fastened wind resistant roof replacement should assume that some wind-driven rain will find its way past the primary shingle layer during a severe storm — that is what the underlayment is for. Synthetic underlayment has largely replaced traditional felt paper on our jobs because it has significantly higher tear resistance, will not wrinkle or degrade if exposed briefly during installation, and provides a more reliable secondary water barrier if wind lifts a shingle edge.
Self-adhering ice-and-water membrane is code-required along the eaves in most GTA municipalities (typically extending at least 900 mm past the interior wall line) specifically because of our freeze-thaw climate, but we also recommend it in valleys, around every roof penetration, and along rake edges on exposed lots — anywhere wind-driven water is most likely to test the assembly.
| Underlayment Type | Tear Resistance | Best Use on a Wind Resistant Roof |
|---|---|---|
| Standard felt paper (15 lb/30 lb) | Low to moderate | Budget projects only; not recommended for high-exposure lots |
| Synthetic underlayment | High | Full-roof secondary water barrier on every wind resistant install |
| Self-adhering ice-and-water membrane | Very high, also seals around fasteners | Eaves, valleys, penetrations, rake edges on exposed lots |
| High-temperature peel-and-stick | Very high | Metal roofing and areas with high heat exposure |
Tip 5: Get the Ventilation and Attic Airflow Right
Ventilation is not the first thing homeowners associate with wind resistance, but it plays a real role. A balanced intake-and-exhaust system — soffit vents drawing air in, ridge vents letting it out — keeps the underside of the roof deck at a stable temperature and moisture level. A poorly ventilated attic traps heat and moisture that can degrade the roof deck and underlayment from below over time, weakening the very substrate that your shingles and fasteners depend on.
There is also a direct pressure consideration: ridge vents and other roof-mounted ventilation components need to be wind-rated products, properly baffled against wind-driven rain intrusion, and fastened with the same rigour as the rest of the roof. A cheap, unbaffled ridge vent can become a weak point that either lets wind-driven rain in or gets torn loose in a storm, taking a section of ridge cap with it.
If your attic currently has visible frost in winter, uneven snow melt patterns on the roof, or noticeably hot upper floors in summer, it is worth having ventilation assessed as part of any roof replacement — correcting it at the same time as a wind resistant roof replacement avoids paying for access twice.
Tip 6: Hire a Licenced, Insured Roofer With Wind-Specific Experience
None of the previous five tips matter if the crew installing your roof does not follow through on the details. A wind resistant roof replacement depends on consistent execution across hundreds of individual fastening points, edge details, and flashing transitions — the kind of consistency that comes from an experienced, properly trained crew working to a documented standard, not from the cheapest bid.
When evaluating a roofing contractor for a wind resistant roof replacement, ask specifically about their nailing pattern policy, whether they upgrade starter strip and ridge cap as standard practice or as an upsell, and whether they carry liability insurance and Workplace Safety and Insurance Board (WSIB) coverage. A contractor who cannot answer these questions clearly is not the contractor you want handling a wind resistant roof replacement. You can read how past GTA homeowners have rated our crews on our reviews page, and browse common questions on our FAQ page.
It is also worth asking how the contractor handles skylights, chimneys, and other penetrations during a full roof replacement, since these are common wind and water entry points if flashed incorrectly. If your home has a skylight that is original to the house, a roof replacement is often the ideal time to address it — see our skylights and skylight replacement pages for more on that scope of work, and our roof repair page if you are dealing with isolated wind damage rather than a full tear-off.
What a Wind Resistant Roof Replacement Typically Costs in the GTA
Cost is one of the first questions every homeowner asks, and it is a fair one — wind resistant upgrades do add cost to a roof replacement, but usually far less than homeowners expect relative to the protection gained. The table below gives approximate GTA pricing ranges for a typical 2,000-2,300 square foot roof; every home is different, so treat these as planning figures rather than a quote.
| Component / Upgrade | Approximate Cost Range | Wind Resistance Benefit |
|---|---|---|
| Standard architectural shingle replacement | $9,000 – $14,000 | Baseline code-compliant wind rating |
| Upgrade to high-wind architectural shingle | +$800 – $1,800 | Rated to 210+ km/h with correct install |
| Synthetic underlayment upgrade (full roof) | +$500 – $1,200 | Stronger secondary water barrier |
| Ice-and-water membrane (eaves, valleys, penetrations) | +$600 – $1,500 | Prevents wind-driven water intrusion at weak points |
| Reinforced starter strip and ridge cap upgrade | +$300 – $700 | Protects the two most wind-vulnerable transitions |
| Ventilation correction (soffit/ridge vent balancing) | $400 – $1,200 | Protects deck integrity long-term, supports fastener holding power |
Most homeowners find that a genuinely wind resistant roof replacement adds somewhere between 10 and 20 percent to a standard quote, depending on which upgrades apply to their home. Given that a single wind-damage emergency repair can run $1,500-$4,000 or more, plus the risk of interior water damage, that upfront investment typically pays for itself within the first one or two significant storms it prevents damage from.
Signs Your Current Roof Is Not Wind Resistant
If you are not sure whether your existing roof needs a wind resistant roof replacement now or can wait, look for these warning signs after the next windy day:
- Shingle tabs that are lifted, curled, or flapping, even slightly, at the corners
- Granules collecting in gutters or at downspout outlets after a storm
- Exposed nail heads where a shingle has shifted from its original position
- Missing or cracked ridge cap shingles along the peak
- Soft spots or visible sagging near the eaves, often a sign of deck damage under the shingles
- Daylight visible through the attic roof deck, or fresh water staining on attic sheathing after a windy rainstorm
Any of these signs after a windstorm are worth a professional inspection promptly, since a small area of wind damage can allow water intrusion that spreads quickly through underlayment and decking if left unaddressed through another storm cycle.
Regional Considerations Across the GTA
Wind exposure is not uniform across the region, and it is worth thinking about your specific location when planning a wind resistant roof replacement. Homes in Toronto, especially near the waterfront or on taller structures, often see stronger sustained gusts off the lake. Newer subdivisions throughout Peel Region and York Region frequently sit on open lots with fewer mature trees to break wind, which increases direct exposure on the roof plane. Homes in Halton Region near the escarpment can experience unusual local wind funnelling, while properties throughout Durham Region closer to the lake face similar exposure to Toronto’s waterfront communities.
None of this means one part of the GTA needs a fundamentally different roofing approach than another — the six tips above apply everywhere — but it does mean your specific lot, tree cover, and roof height should factor into which shingle class and which upgrades make the most sense for your home. An in-person assessment is the only reliable way to make that call, which is why we always inspect the property before finalizing a wind resistant roof replacement quote.
Maintaining a Wind Resistant Roof After Installation
A wind resistant roof replacement is not a “set it and forget it” investment. A simple annual check — ideally after the windiest stretches of spring and fall — keeps small issues from becoming expensive ones. Walk the perimeter of your property and look up at the roofline for lifted shingles, displaced ridge cap, or damaged flashing. Clean gutters regularly, since clogged gutters can force water back under the shingle edge during heavy wind-driven rain, undermining even a well-installed roof.
If you notice anything unusual, especially right after a storm, it is far better to have it looked at within days than to wait for the next inspection cycle. A small area of lifted shingles is a quick, inexpensive fix; the same issue left through several more windstorms can progress to deck damage, insulation damage, and interior water staining.
Frequently Asked Questions About Wind Resistant Roof Replacement
What makes a roof replacement wind resistant?
How many nails should be used per shingle for wind resistance?
Does a wind resistant roof replacement cost significantly more?
What wind speed can a properly installed roof withstand?
Which parts of a roof are most vulnerable to wind damage?
How do I know if my roof needs a wind resistant roof replacement now?
Need Help With 6 Tips for Wind?
Putting all six of these tips into practice takes an experienced crew and the right materials from day one — that is exactly what Universal Roofs has been delivering to GTA homeowners since 2005.
Call us today at (416) 732-2421 or request a free inspection to get started.
Universal Roofs proudly serves Toronto, Mississauga, Brampton, Vaughan, Markham, Oakville and the GTA since 2005.