
When homeowners think about roof problems, they usually picture missing shingles or a leaky flashing detail. But underneath every shingle, membrane, or metal panel sits the unsung hero of the entire system: the roof decking. This layer of plywood or oriented strand board (OSB) is the structural platform that everything else is fastened to, and when it rots, delaminates, or sags, no amount of surface-level patching will fix the underlying problem.
Roof decking repair looks different depending on what kind of roof sits above it. A steep-slope asphalt shingle roof, a low-slope flat roof, a roof with a skylight cut into it, and an older cedar shake roof each present their own decking challenges, fastening patterns, and moisture risks. Get the approach wrong and you can trap water, void a warranty, or create a soft spot that reappears within a year.
In this guide we break down five practical, field-tested tips for repairing roof decking across the different roof types most common in the Greater Toronto Area, along with the tools, materials, and warning signs every homeowner should understand before hiring a contractor or attempting a repair themselves.
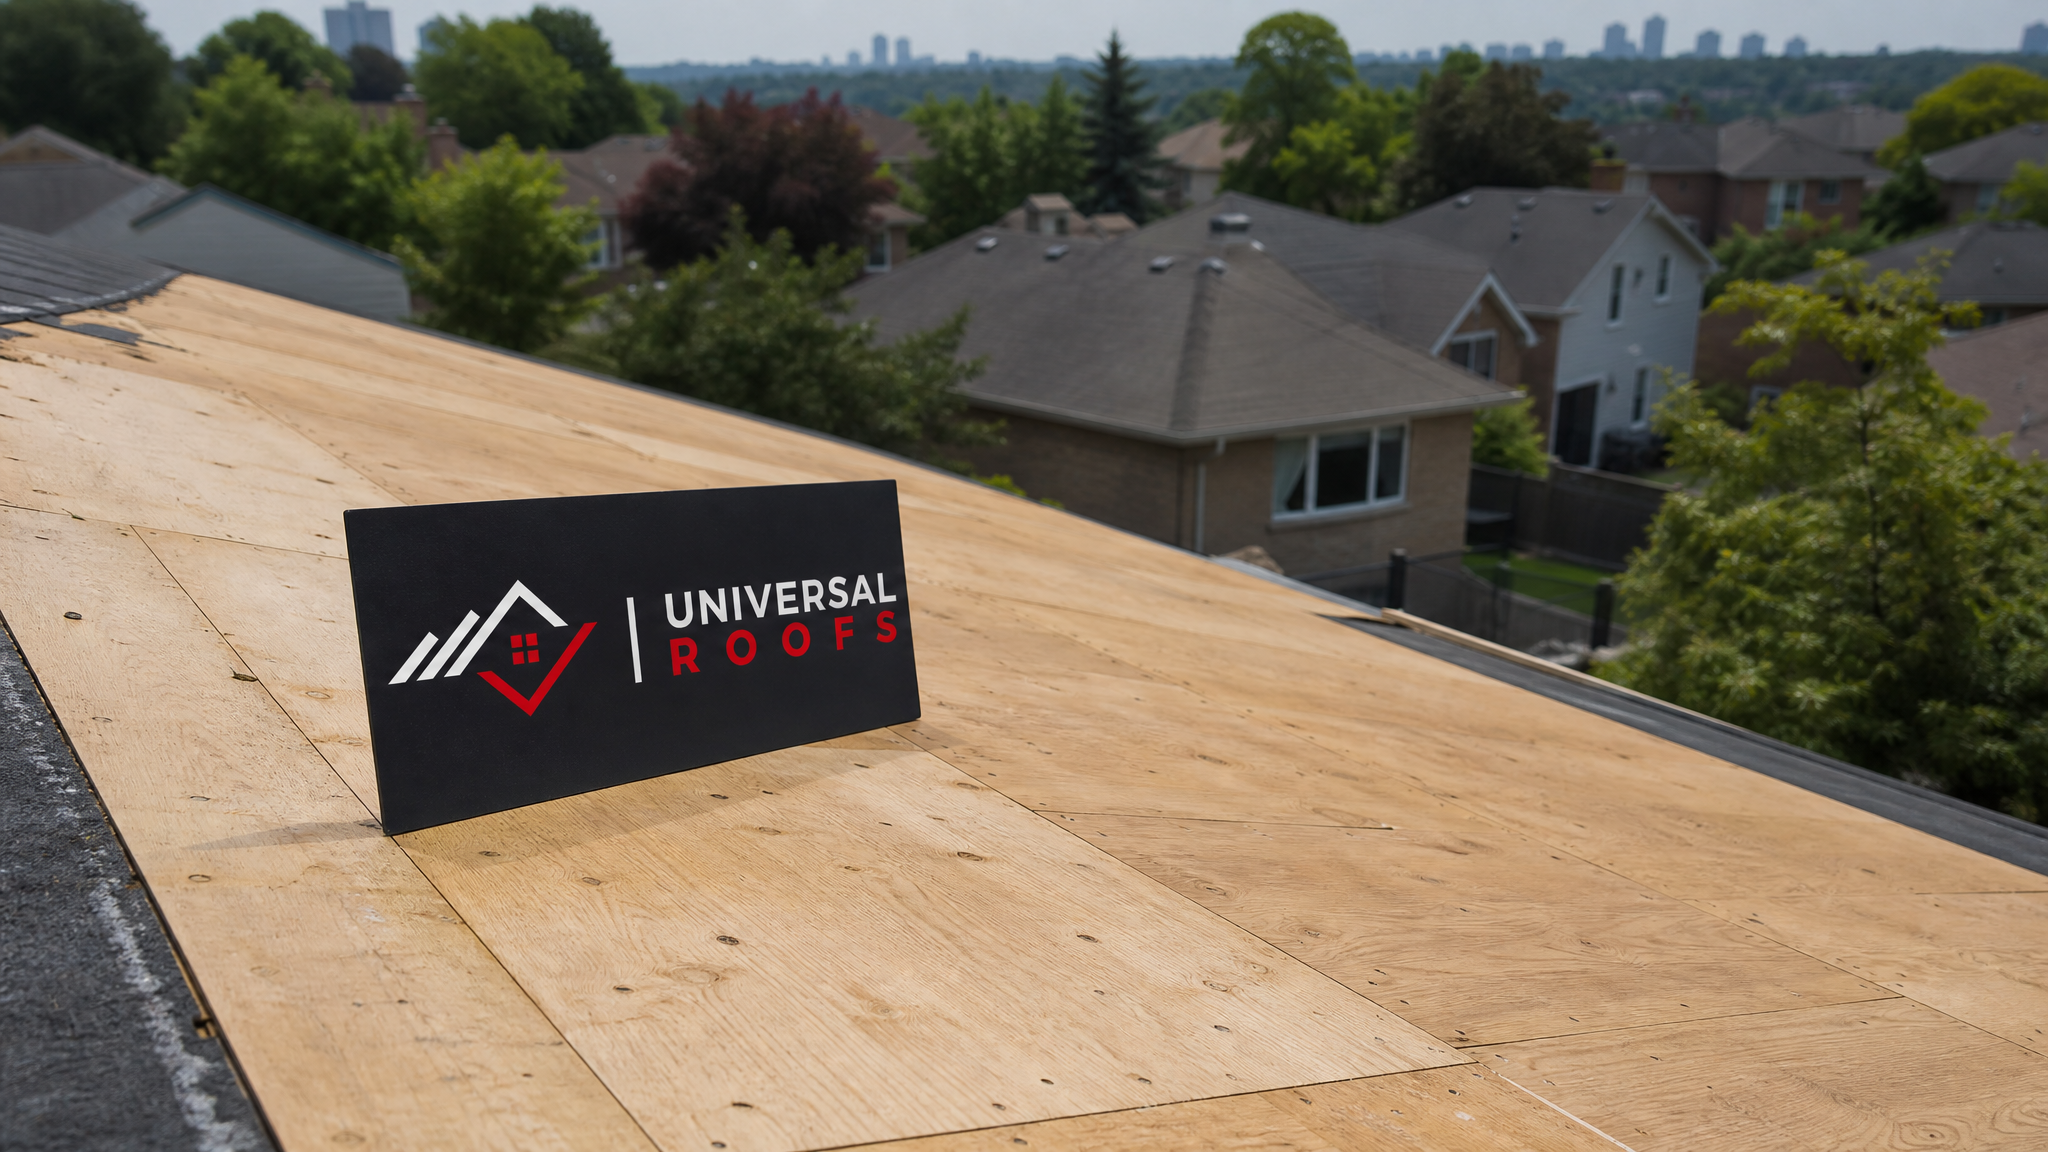
Why Roof Decking Fails in the First Place
Before repairing decking, it helps to understand why it fails. In the Toronto climate, decking damage is almost always tied to moisture that got past the roofing material and had nowhere to go. Common causes include:
- Ice damming in winter, which forces meltwater backward under shingles and onto the deck
- Failed or missing flashing around chimneys, skylights, and vent stacks
- Nail pops and lifted shingles that allow wind-driven rain to penetrate
- Poor attic ventilation, which traps humid air against the underside of the deck
- Age — most OSB and plywood decking is rated for 20 to 30 years under normal conditions, but constant freeze-thaw cycling in the GTA can shorten that lifespan
Because the root cause is almost always moisture-related, a proper decking repair has to address both the damaged wood and the pathway that let water in. Replacing rotten plywood without fixing the flashing or ventilation issue that caused it is a temporary fix at best. This is one of the most common mistakes we see when doing a roof repair after a homeowner has already tried a do-it-yourself patch.
Tip 1: Identify the Roof Type Before You Touch the Decking
The single biggest mistake homeowners make is treating all decking repairs the same way. A steep-slope shingle roof, a flat roof, and a roof carrying a skylight each have different decking thicknesses, fastening schedules, and moisture-management needs. Here is how the main roof types typically differ:
| Roof Type | Typical Decking Material | Common Failure Points | Repair Complexity |
|---|---|---|---|
| Steep-slope asphalt shingle | 7/16″ OSB or 1/2″ plywood | Ice dam rot at eaves, nail pop soft spots | Low to moderate |
| Flat or low-slope membrane | 5/8″ plywood or tapered insulation over deck | Ponding water saturation, seam failures | Moderate to high |
| Cedar shake or shingle | Skip sheathing or solid plywood | Trapped moisture between shakes and deck | Moderate |
| Roof with skylight cutout | Reinforced plywood around curb | Flashing leaks rotting deck around the opening | High |
| Metal roofing over deck | 1/2″ to 5/8″ plywood with underlayment | Condensation buildup under panels | Moderate |
On a steep-slope shingle roof, decking damage tends to concentrate along the eaves and valleys, where ice damming pushes water back under the shingle courses each winter. On a flat roof, the failure pattern is different: water tends to pool in low spots and slowly saturate the plywood from below the membrane, which is why our flat roofing crews always probe the entire deck with a moisture meter rather than assuming damage is limited to the visibly stained area.
Roofs with a skylight present their own unique risk zone, since the curb flashing around the opening is one of the highest-stress details on the entire roof. If you are dealing with a soft spot near a skylight, it is worth having the unit itself inspected alongside the decking — sometimes the more cost-effective long-term fix is a full skylight replacement rather than repeated flashing repairs around an aging frame.
Tip 2: Match Your Repair Method to the Extent of the Damage
Not every soft spot requires a full sheet replacement. Roof decking repair generally falls into three categories of intervention, and choosing the right one saves money without compromising the roof’s structural integrity.
| Repair Method | Best For | Approximate Cost (GTA, 2026) | Typical Timeline |
|---|---|---|---|
| Spot patch (small area, under 1 sq. ft.) | Isolated nail pop rot or a small puncture | $150 – $400 | Half day |
| Sister/scab repair (reinforcing sound wood) | Weakened but not fully rotted sections | $300 – $800 | Half to full day |
| Full sheet replacement | Rotted, delaminated, or spongy decking | $600 – $1,500 per sheet area | 1 to 2 days |
| Multi-sheet / large section replacement | Widespread rot from long-term leaks | $2,000 – $6,000+ | 2 to 5 days |
| Full deck tear-off and re-sheathing | Roof-wide age-related deterioration | Rolled into full roof replacement cost | Part of full re-roof timeline |
As a general rule, if less than 25 percent of a single sheet is compromised and the surrounding wood still passes a firm probe test with a screwdriver, a sister repair — fastening a new piece of plywood directly over or beside the damaged section — is usually sufficient. Once damage exceeds that threshold, or if the rot has reached the framing below, a full sheet swap is the safer long-term choice. When decking damage is extensive across multiple sections of an ageing roof, it often makes more financial sense to fold the repair into a full roof replacement rather than patching sheet by sheet, since tear-off labour is a large part of either job’s cost regardless of scope.
Tip 3: Use the Right Fasteners and Sheet Thickness for Each Roof Type
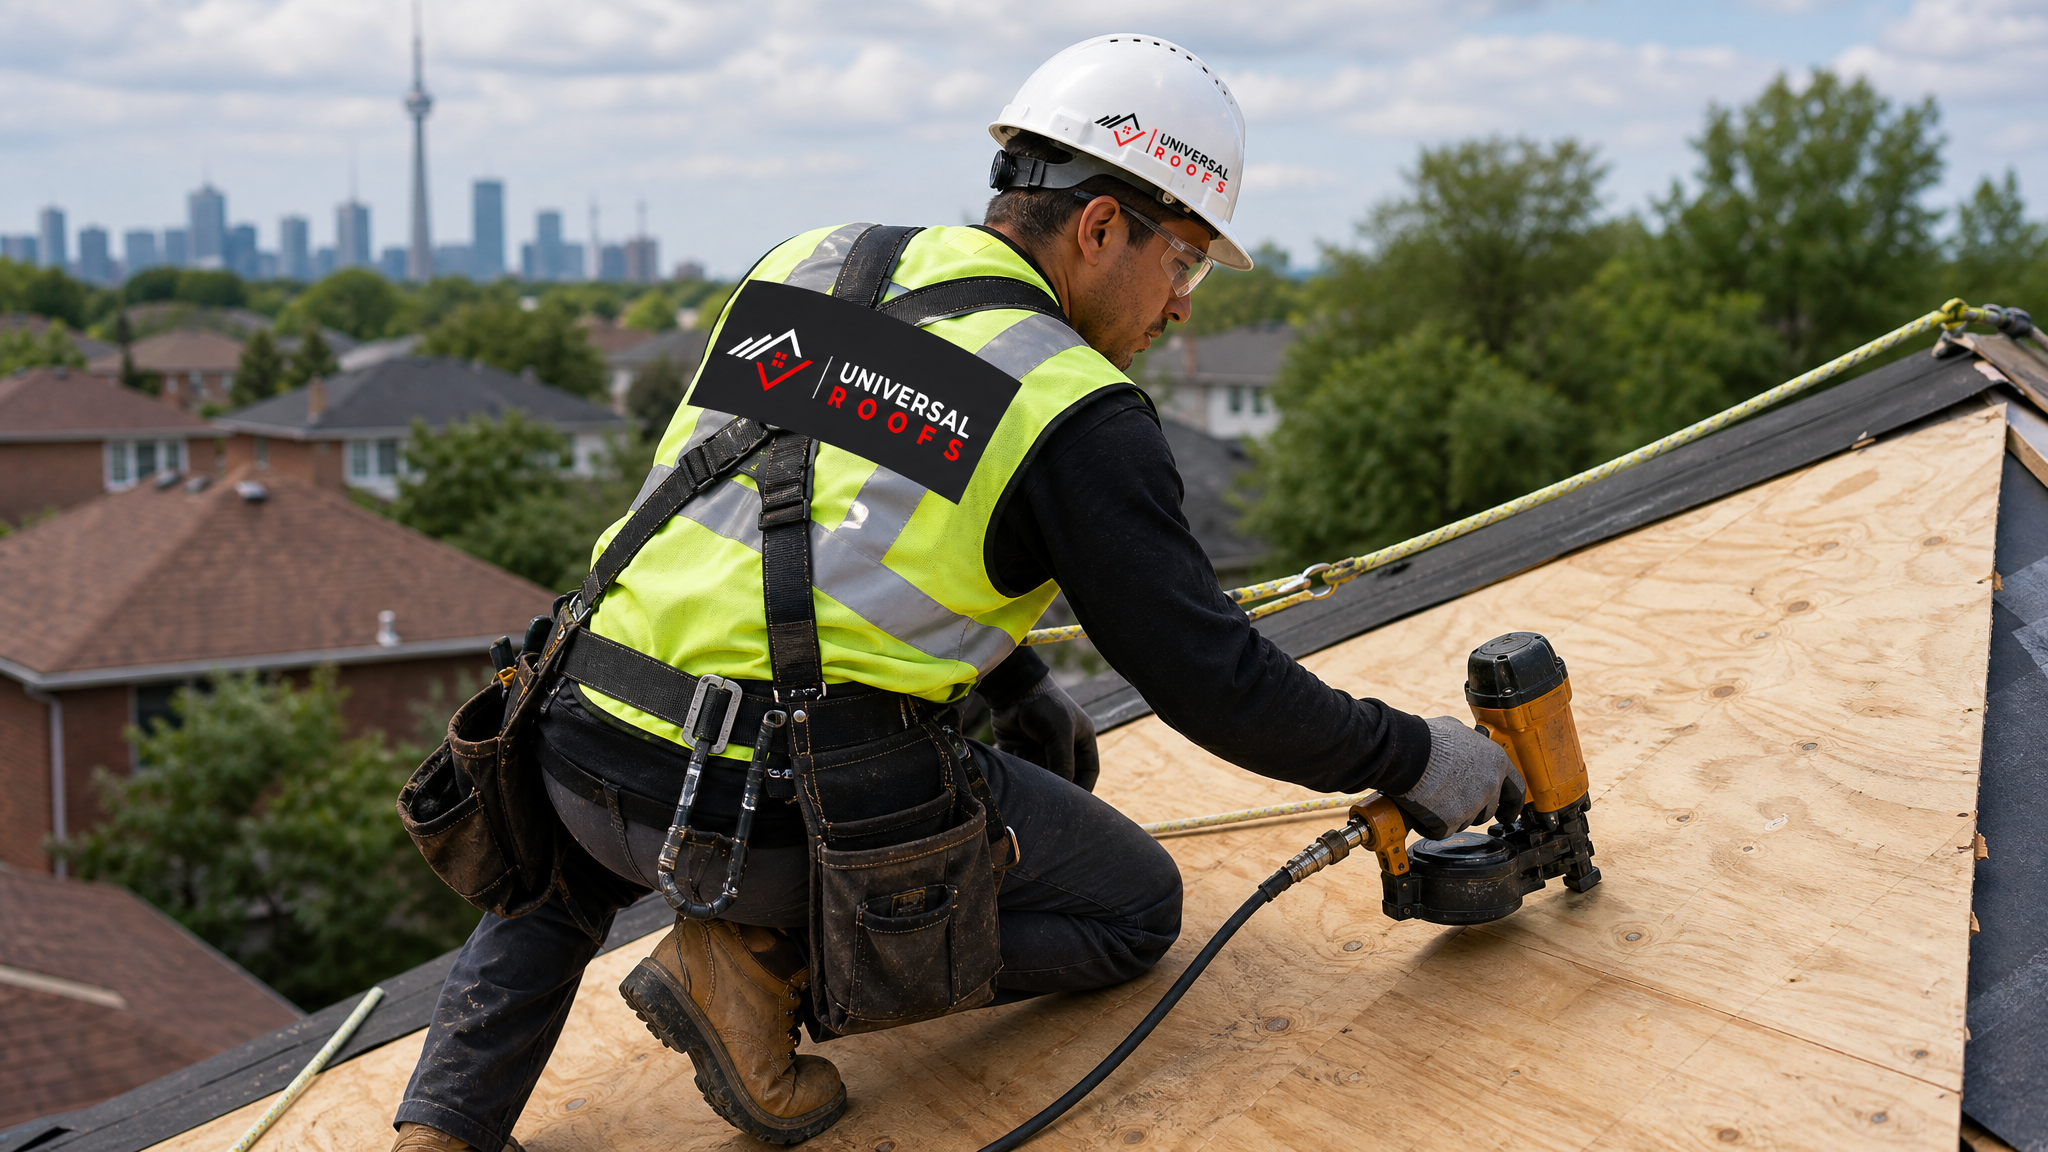
Decking repairs fail prematurely more often because of the wrong fastener or sheet thickness than because of the material itself. Local building code in most GTA municipalities calls for a minimum of 7/16″ OSB or equivalent on residential steep-slope roofs, but flat roofs and skylight surrounds typically require thicker 5/8″ plywood to handle point loads and foot traffic during maintenance.
A few fastening principles apply across almost every roof type:
- Use ring-shank nails or coarse-thread deck screws, never smooth shank nails, which back out over time as the wood expands and contracts through freeze-thaw cycles
- Stagger the seams of new decking sheets so they don’t line up with the seams of the surrounding boards, which prevents a continuous weak line across the roof
- Leave a 1/8″ gap between sheets to allow for thermal expansion, especially important given Toronto’s wide seasonal temperature swings
- Fasten every 6 inches along sheet edges and every 12 inches in the field, matching or exceeding the original nailing pattern
- On flat roofs, confirm the new decking is properly sloped or paired with tapered insulation so ponding water doesn’t simply recreate the original failure
For cedar shake roofs, many older homes in North York and the Beaches still have skip sheathing rather than solid decking. If you are repairing a section of skip sheathing, it is often worth upgrading to solid plywood decking in that area, since solid decking gives future roofing material — including asphalt shingles, should the home ever switch away from cedar — a proper nailing surface.
Tip 4: Address Ventilation and Moisture Barriers Before Closing the Roof Back Up
Replacing rotten decking without correcting the moisture source is the most common reason homeowners end up paying for the same repair twice. Before any new decking is covered with underlayment, shingles, or membrane, take the opportunity to inspect and correct the conditions that caused the failure.
Key moisture-control checkpoints during a decking repair include:
- Confirming attic insulation isn’t blocking soffit vents, which restricts airflow and traps humid air against the deck’s underside
- Installing or replacing ice-and-water shield membrane along the eaves, valleys, and around any penetrations before the new decking is exposed to weather
- Checking that ridge and soffit ventilation are balanced — too much intake with too little exhaust (or vice versa) accelerates condensation problems
- Re-flashing chimneys, vents, and skylight curbs with new step flashing and counter-flashing rather than reusing old, corroded pieces
- Verifying bathroom and kitchen exhaust fans vent completely outside the attic space, not into it
If your attic consistently runs hot and humid, it’s worth having it assessed independently of the roofing repair. Our attic inspection process checks insulation depth, air sealing, and ventilation balance — all factors that directly affect how long a fresh decking repair will last. A brand-new sheet of plywood installed over a poorly ventilated attic space can begin absorbing moisture again within a single winter.
Tip 5: Know When to Call a Professional Instead of DIY-ing the Repair
Small, isolated decking repairs on a single-storey garage or shed roof are sometimes within reach of a confident do-it-yourselfer with the right safety equipment. But most home roof decking repairs come with risks that make professional help the safer and, in many cases, more cost-effective choice.
| Situation | DIY Feasibility | Why Professional Help Is Recommended |
|---|---|---|
| Small soft spot on a low, walkable roof | Possible for experienced homeowners | Still requires fall protection and moisture testing |
| Steep-slope roof (6/12 pitch or higher) | Not recommended | Fall risk increases sharply; requires harness and anchor points |
| Any repair near a skylight or chimney | Not recommended | Flashing details are easy to get wrong and hard to inspect after closing up |
| Flat or low-slope membrane roofs | Not recommended | Membrane welding and tapered insulation require specialized tools |
| Rot extending into rafters or trusses | Not recommended | Structural repair requires engineering judgment and permits |
Beyond the safety considerations, there is also a warranty and insurance angle worth thinking about. Many shingle and membrane manufacturers require that decking repairs be documented and, in some cases, performed by a licensed contractor for the material warranty to remain valid. If a claim is ever filed for a leak or storm damage, insurers will often ask for proof that any prior decking repair was done to code. Reviewing our FAQ page is a good starting point if you’re unsure whether your situation falls into DIY territory or needs a licensed crew.
What a Professional Decking Repair Process Looks Like
When our crews are called out for a suspected decking issue, the process typically follows a consistent sequence regardless of roof type:
- Interior inspection — checking the attic for daylight, staining, or sagging sheathing before ever going on the roof
- Exterior probe testing — using a moisture meter and awl to map the exact boundaries of the damaged decking
- Careful removal of roofing material — shingles, membrane, or shakes are removed in a wider area than the visible damage to confirm the true extent of rot
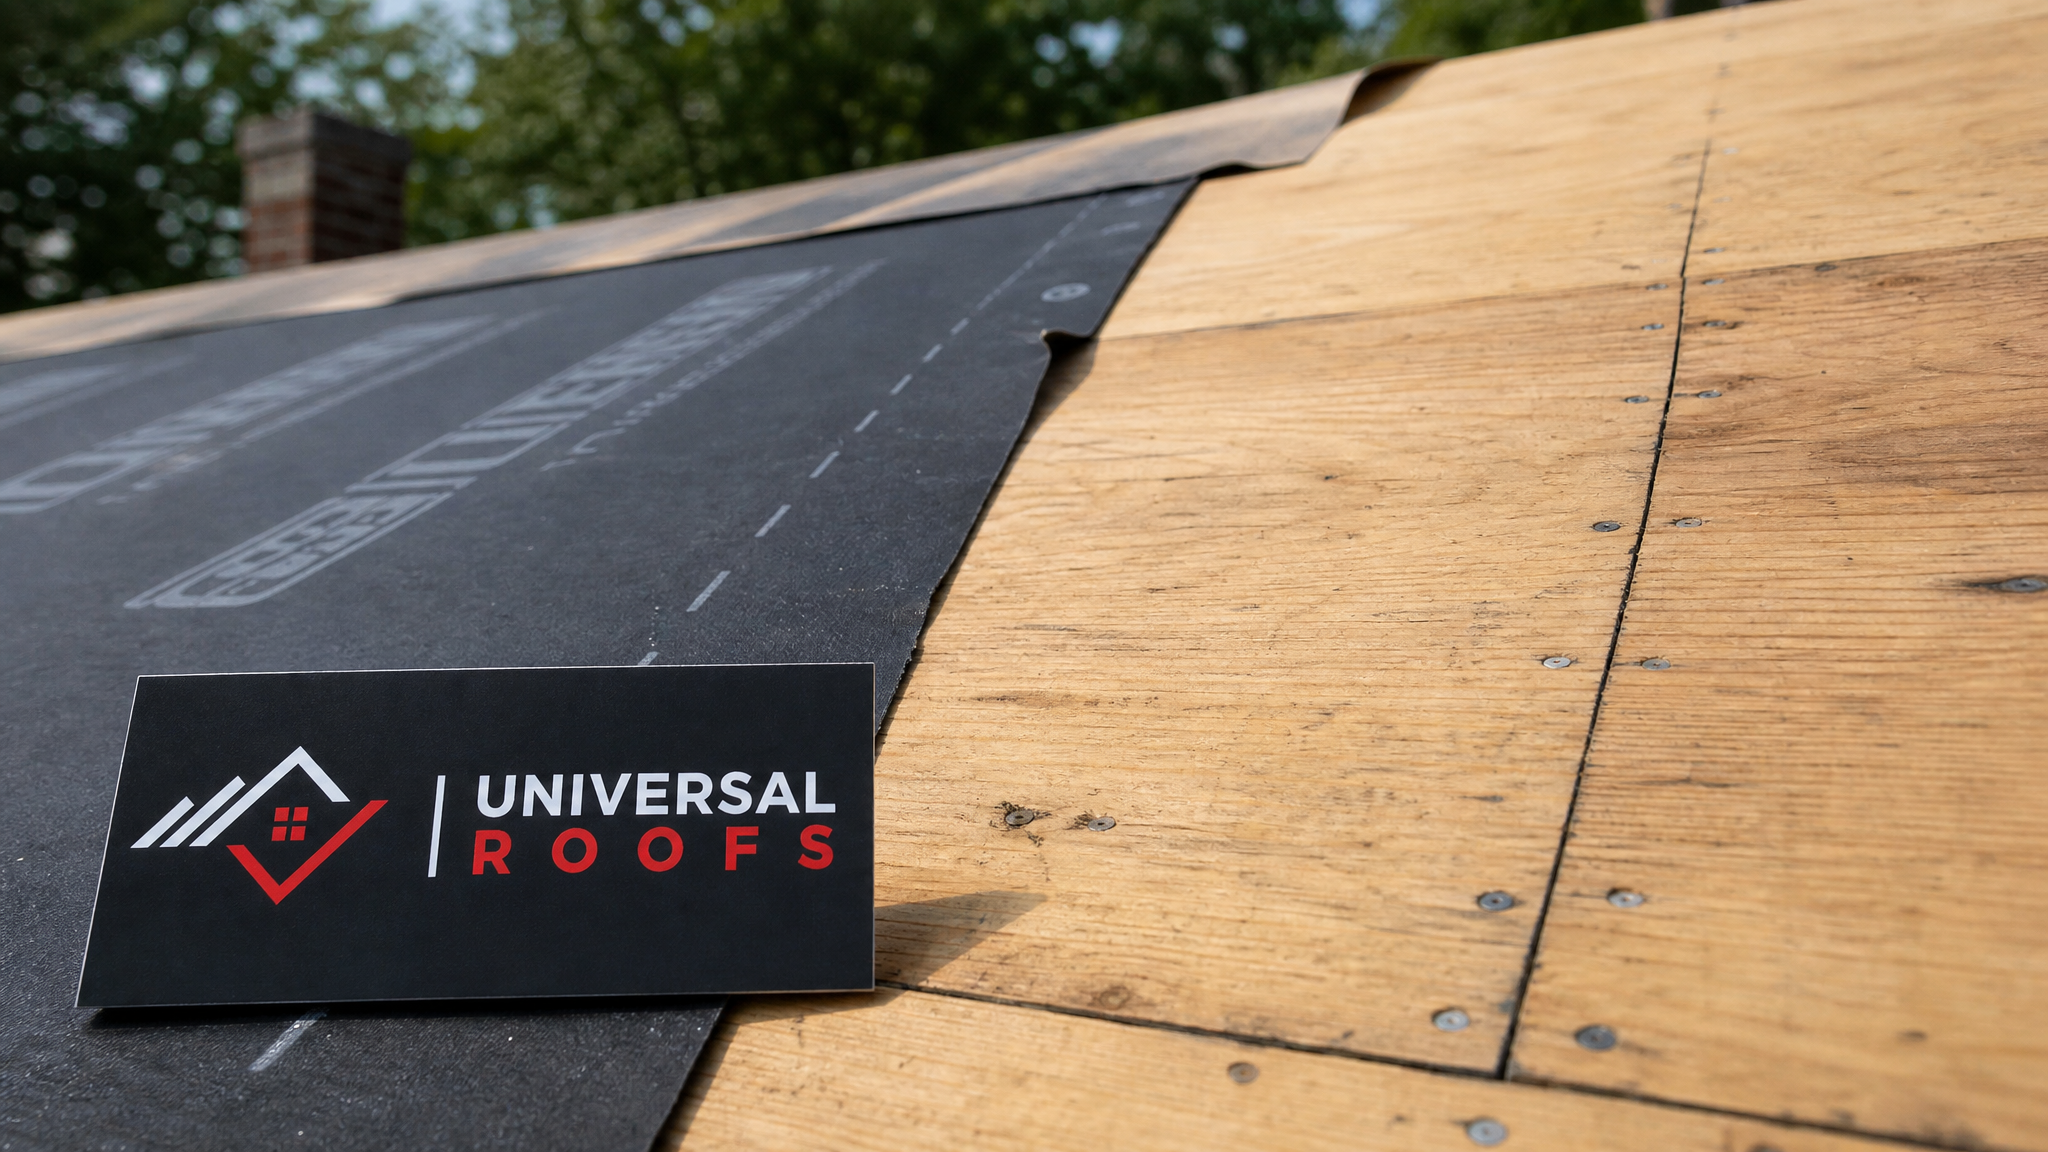
- Decking removal and replacement — damaged sheets are cut back to solid framing and replaced with matching thickness material
- Flashing and membrane renewal — ice-and-water shield, underlayment, and flashing are installed fresh around the repaired area
- Re-roofing the section — matching shingles, membrane, or shakes are installed to blend with the surrounding roof
- Final inspection and photo documentation — confirming the repair meets code and providing the homeowner with a record for insurance or resale purposes
This same process applies whether the work is happening on a century home in Toronto, a newer subdivision in Peel Region, or an established neighbourhood in York Region. Regional building codes are largely consistent across the GTA, but local inspectors in different municipalities can have their own preferences around permit requirements for larger decking replacements, so it always pays to work with a contractor who is familiar with the specific jurisdiction.
Seasonal Timing: Why Summer Is the Ideal Window for Decking Repairs
While decking damage is often discovered after the spring thaw reveals a winter’s worth of ice damming, mid-summer is genuinely one of the best times of year to have the repair carried out. Dry, warm weather allows new plywood or OSB to be installed without trapping moisture underneath, membrane materials adhere and seal more reliably in warm temperatures, and crews can work longer, safer days on the roof surface.
Homeowners in the Halton Region and Durham Region who notice soft spots, sagging rooflines, or interior ceiling stains this summer are in a good position to get ahead of the problem before autumn rains and the next winter’s freeze-thaw cycle make the damage worse. Waiting until late fall to address a known soft spot often means repairing it under wet, cold conditions — or worse, discovering the full extent of the damage only after a winter storm forces an emergency call.
Warning Signs You Shouldn’t Ignore
Roof decking problems rarely announce themselves loudly. Instead, they show up as small, easy-to-dismiss signs that are worth taking seriously:
- A soft, spongy, or bouncy feeling when walking across a section of roof (steep-slope or flat)
- Visible sagging or a wavy roofline when viewed from the street or a neighbouring property
- Brown water stains or streaking on interior ceilings, especially near exterior walls or skylight openings
- A musty smell in the attic, which often signals trapped moisture before visible rot appears
- Daylight visible through the roof deck when viewed from inside the attic
- Shingles that appear to dip or curl unevenly in one localized area rather than uniformly across the roof
If you notice any of these signs, it’s worth having a professional take a look before the next rainfall rather than waiting for a full-blown leak. Checking recent reviews from other GTA homeowners can help you understand what a thorough inspection and repair process should look like, and reading more about our team on the about page will give you a sense of the experience level performing the work.
What are the best tips for roof decking repair on different types of roofs?
How do I know if my roof decking needs to be repaired or fully replaced?
Does roof decking repair differ between flat roofs and shingle roofs?
Can I repair rotten roof decking myself?
What causes roof decking to rot in the first place?
How much does roof decking repair typically cost in the GTA?
Need Help With 5 Tips for Roof?
Whether you’ve spotted a soft spot after a storm, noticed a ceiling stain, or simply want a professional opinion before a small issue becomes a major one, Universal Roofs has the experience to diagnose and repair roof decking correctly the first time, on any roof type across the GTA.
Call us today at (416) 732-2421 or request a free inspection to get started.
Universal Roofs proudly serves Toronto, Mississauga, Brampton, Vaughan, Markham, Oakville and the GTA since 2005.