
When the temperature on your street hits 32°C, the temperature inside your attic can climb past 60°C in a matter of hours. That heat does not stay put. It radiates down through your insulation, pushes your air conditioner into overtime, and slowly cooks your shingles from underneath. The single biggest factor separating a roof that handles a Toronto summer gracefully from one that blisters, curls, and fails early is roof ventilation.
Homeowners across the GTA often assume ventilation is a winter issue — something to do with ice damming and condensation. In reality, proper airflow through your attic and roof assembly matters just as much, if not more, during hot weather. A well-ventilated roof stays cooler, lasts longer, and keeps your energy bills in check. A poorly ventilated one traps heat and moisture, accelerating shingle deterioration and creating a breeding ground for mould.
This guide walks through the practical, field-tested roof ventilation tips for hot climates that we use every summer across Toronto, Mississauga, Brampton, Vaughan, Markham, Oakville, and the surrounding regions. Whether you are troubleshooting a stuffy upstairs bedroom, comparing intake and exhaust vent options, or simply trying to understand why your roof feels like an oven, this article covers what actually works.
Why Roof Ventilation Matters More in Hot Climates
Every roof assembly needs a continuous path for air to move in and out. In hot weather, that airflow does two critical jobs: it exhausts superheated air before it can damage roofing materials, and it prevents heat from radiating into your living space below. Without adequate ventilation, attic temperatures on a 30°C day can easily exceed 65°C, which is hot enough to soften asphalt shingles, degrade the adhesive strip that holds them flat, and shorten the lifespan of the entire roofing system by years.
The mechanics are straightforward. Hot air rises. If your roof has intake vents low near the eaves (usually in the soffit) and exhaust vents high near the ridge, a natural convective loop forms — cooler air is drawn in low, heats up, and escapes high, continuously flushing the attic. This is often called a balanced ventilation system, and it is the standard that every roofing code in Ontario is built around. When either side of that loop is blocked, undersized, or missing altogether, heat has nowhere to go.
Beyond comfort and shingle longevity, ventilation directly affects your cooling costs. An overheated attic acts like a radiant heater sitting directly above your ceiling insulation. Even with a well-insulated attic floor, enough heat migrates through over a full summer day that your air conditioner has to work harder and longer. Homeowners who correct ventilation problems often notice a real difference in how evenly their upper floor cools, particularly in older Toronto homes where the attic was never properly vented to begin with.
Ventilation problems rarely show up as a single dramatic failure. Instead, they show up as a slow accumulation of symptoms: shingles that look sun-bleached and brittle years before they should, a musty smell in the attic, visible sagging in the roof deck, or an upstairs that never seems to cool down no matter how low you set the thermostat. If any of that sounds familiar, it is worth having your ventilation assessed before you invest in a full roof replacement.
Understanding Intake and Exhaust: The Two Halves of a Ventilation System
Every functional attic ventilation system needs two components working together. Get one right and neglect the other, and you have accomplished very little.
Intake vents are almost always located at the lowest point of the roofline, typically built into the soffit (the underside of the roof overhang). Their job is to draw cooler outside air into the attic space. Continuous soffit venting — a long strip vent running the full length of the eave — performs far better than individual round or rectangular vents spaced along the soffit, because it delivers a more even distribution of airflow rather than a few hot spots of movement surrounded by dead air.
Exhaust vents sit at or near the ridge, the highest point of the roof, where hot air naturally collects before escaping. Ridge vents are the most common and generally most effective option for sloped roofs, running continuously along the peak and blending in visually with the shingle line. Other exhaust options include static box vents, power (electric) attic fans, and turbine vents, each with different performance characteristics depending on your roof’s shape and the amount of attic space you are trying to cool.
The critical rule that many DIY attempts get wrong: intake and exhaust must be balanced. The National Building Code and most Ontario municipal codes call for a minimum ratio of 1 square foot of net free ventilation area for every 300 square feet of attic floor space (when a vapour barrier is present), split roughly evenly between intake and exhaust. If you add a large amount of exhaust capacity without a matching increase in intake, the system can actually pull conditioned air from your living space through gaps in the ceiling instead of drawing fresh air from the soffits — which defeats the purpose entirely and can worsen indoor humidity problems.
| Ventilation Component | Location | Primary Function | Typical Net Free Area |
|---|---|---|---|
| Continuous soffit vent | Eaves (low point) | Intake — draws in cool air | 9–12 sq. in. per linear foot |
| Ridge vent | Roof peak (high point) | Exhaust — releases hot air | 12–18 sq. in. per linear foot |
| Box (static) vent | Upper roof slope | Exhaust — passive venting | 50–65 sq. in. per unit |
| Power attic fan | Upper roof slope or gable | Exhaust — active, thermostat-driven | Rated by CFM, not net free area |
| Gable vent | Attic end wall | Intake or exhaust (cross-ventilation) | Varies by size, typically 50–180 sq. in. |
Common Signs Your Roof Ventilation Is Failing in Summer
Because ventilation problems develop gradually, most homeowners only notice them once the damage is already underway. Here are the warning signs we see most often during summer service calls across the GTA.
Excessive attic heat. If you go into your attic on a hot afternoon and it feels noticeably hotter than the outdoor temperature — well beyond the 10–20°C differential you would expect even in a well-vented space — that is a strong indicator of inadequate exhaust capacity.
Curling or blistering shingles. Asphalt shingles are engineered to handle heat from sun exposure, but they are not designed to also absorb heat radiating up from a superheated attic underneath. When both happen simultaneously, shingles can blister, curl at the edges, or lose granules prematurely. This is one of the most common reasons we get called out for roof repair on homes that are only 12 to 15 years into what should be a 20-plus year shingle life.
Uneven upstairs temperatures. A second floor or upper-level bedroom that stays noticeably warmer than the rest of the house, even with the air conditioning running, often points to heat radiating down through an underventilated attic.
Musty odours or visible mould. While mould is more commonly associated with winter condensation, stagnant humid air in a poorly ventilated attic during summer can also support mould growth, particularly in attics with any humidity source below (bathroom fans vented into the attic instead of outside, for example, are a frequent culprit).
Ice damming the following winter. It might seem odd to mention winter symptoms in a summer ventilation guide, but the same ventilation deficiency that causes summer heat buildup is often the root cause of ice dams in January. If you dealt with ice damming last winter, summer is the ideal time to fix the underlying ventilation issue before the next cold season arrives.
Practical Ventilation Upgrades for Hot Weather Performance
If an inspection confirms your attic ventilation is undersized or unbalanced, there are several proven upgrades worth considering, ranging from simple and inexpensive to more involved.
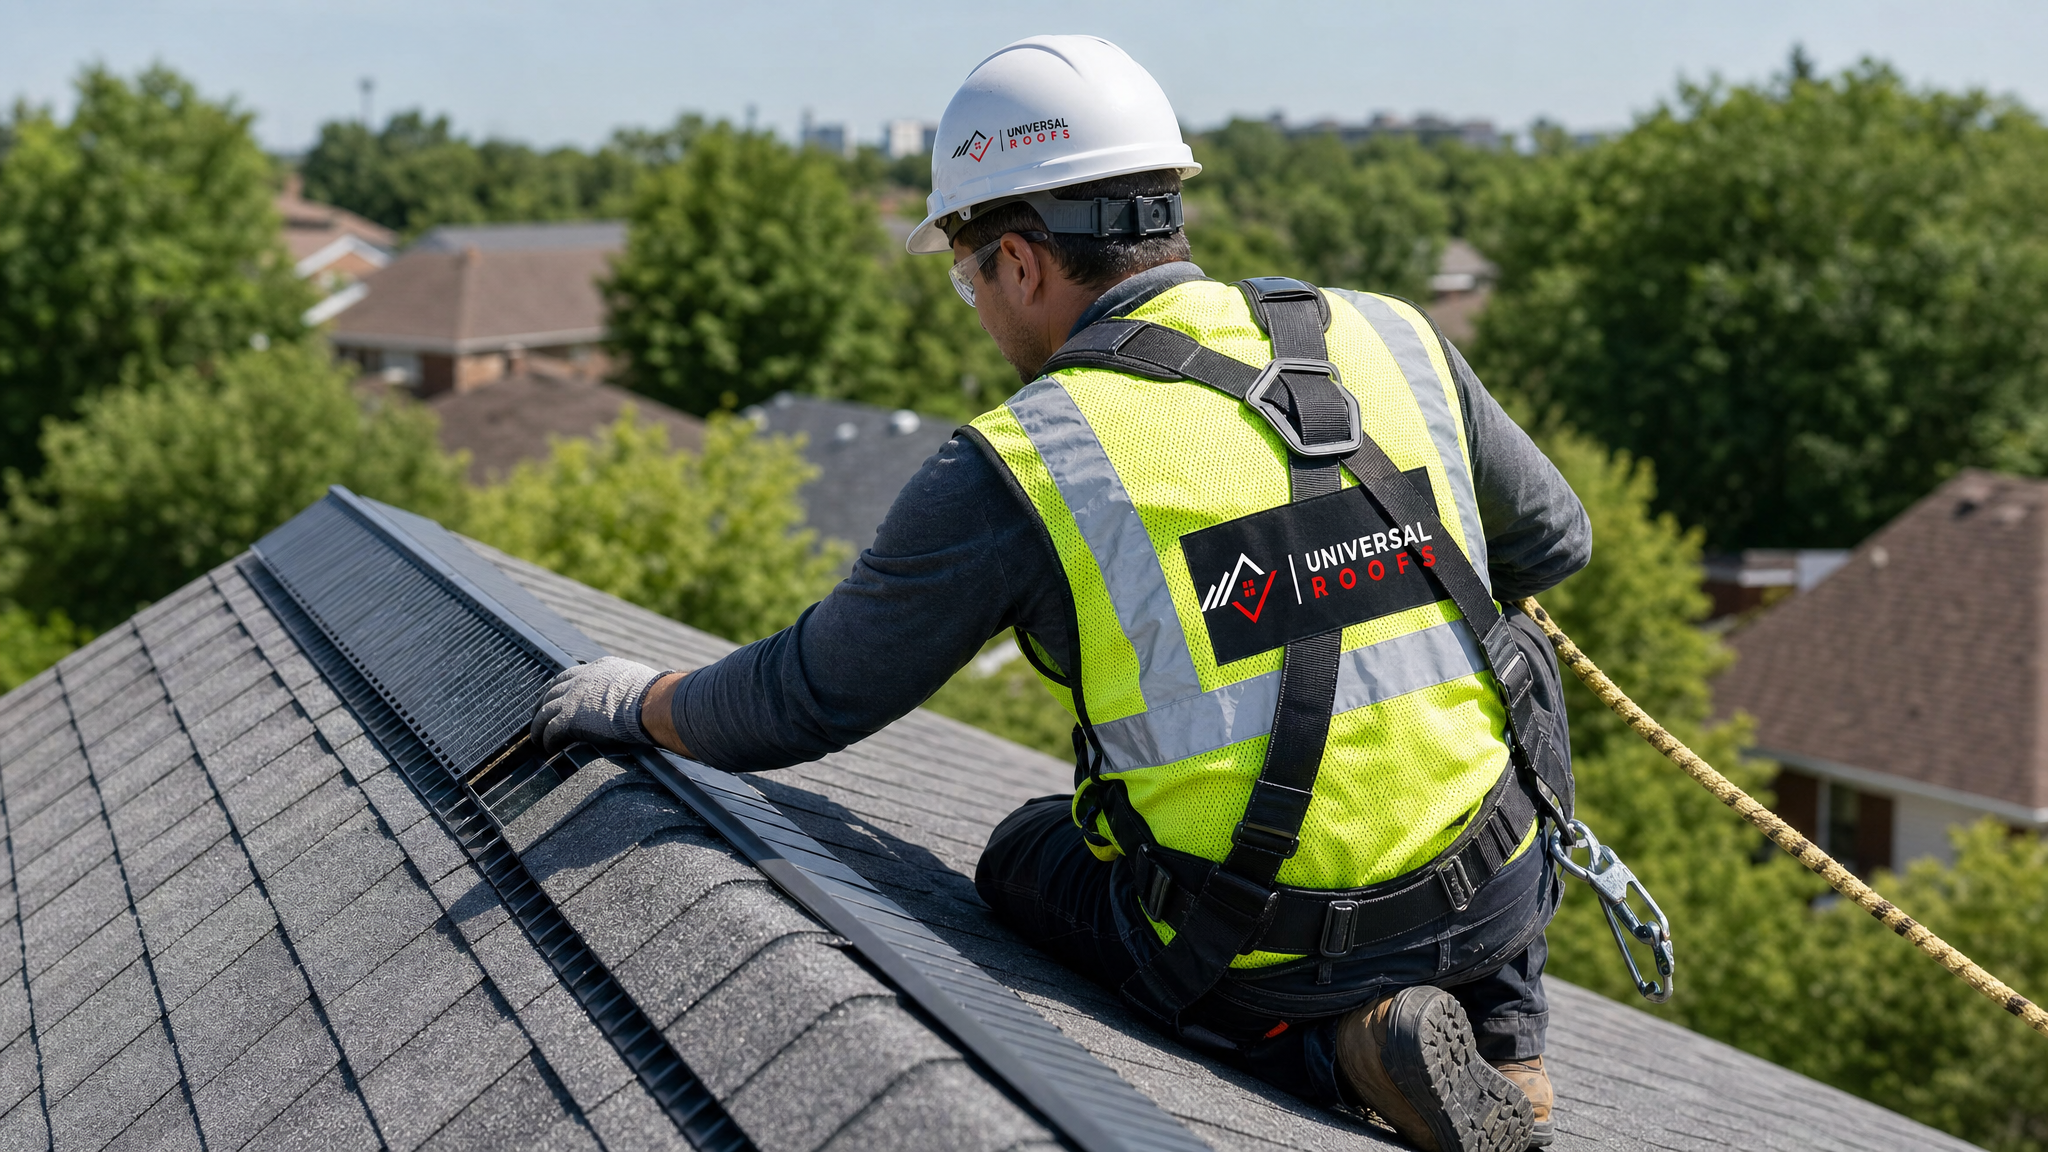
Add or extend continuous soffit venting. Many older GTA homes have solid soffit panels with no venting at all, or only a handful of small circular vents. Replacing solid soffit with continuous vented soffit panels dramatically increases intake capacity and is often the single highest-impact, lowest-cost upgrade available.
Upgrade to a continuous ridge vent. If your roof currently relies on a scattering of small box vents, converting to a continuous ridge vent during your next roof replacement typically provides more consistent exhaust across the entire roof rather than concentrated hot spots near individual vents.
Clear insulation away from soffit vents. A shockingly common issue: insulation installed in the attic floor gets pushed or blown too far toward the eaves, physically blocking the soffit vents from the inside. Installing baffles (rigid channels that hold insulation back from the vent opening) restores airflow without sacrificing insulation depth.
Consider a solar-powered or electric attic fan for problem attics. In attics with complex rooflines, limited ridge length, or persistent hot spots that passive ventilation cannot resolve, a thermostatically controlled power fan can supplement natural airflow. These need to be sized and installed carefully, however — an oversized fan without matching intake can create the same negative-pressure problem described earlier, pulling air-conditioned air out of the house instead of hot air out of the attic.
Check and upgrade skylight flashing and seals. Homes with skylights have an additional heat and ventilation consideration, since skylight wells can trap warm air if not properly integrated with the surrounding roof structure. If your skylights are original to an older roof, a skylight replacement with modern insulated glazing and proper flashing can reduce both heat gain and the risk of the well trapping humid air.
Address flat roof sections separately. Flat and low-slope roof sections, common on additions, garages, and some bungalows, ventilate very differently from pitched roofs and often need a dedicated venting strategy. If your home has a flat roofing section, it should be assessed on its own rather than assumed to share ventilation with the rest of the house.
How Much Ventilation Does Your Attic Actually Need?
Sizing ventilation correctly is where most DIY attempts and even some inexperienced installers go wrong. The standard formula used across Ontario building codes is the 1-in-300 rule: 1 square foot of net free ventilation area (NFVA) for every 300 square feet of attic floor space, provided there is an effective vapour barrier on the warm side of the ceiling. Without a vapour barrier, or in attics with unusual humidity loads, the more conservative 1-in-150 rule applies.
Net free area is not the same as the physical size of a vent opening — it refers to the actual unobstructed area through which air can pass, accounting for the screens, louvres, and baffles that reduce a vent’s real airflow capacity. Manufacturer specification sheets list NFVA per linear foot or per unit, which is what should be used for calculations rather than the vent’s outer dimensions.
| Attic Floor Area | Total NFVA Needed (1:300 rule) | Intake Portion (50%) | Exhaust Portion (50%) |
|---|---|---|---|
| 900 sq. ft. | 3 sq. ft. (432 sq. in.) | 216 sq. in. | 216 sq. in. |
| 1,500 sq. ft. | 5 sq. ft. (720 sq. in.) | 360 sq. in. | 360 sq. in. |
| 2,100 sq. ft. | 7 sq. ft. (1,008 sq. in.) | 504 sq. in. | 504 sq. in. |
| 2,700 sq. ft. | 9 sq. ft. (1,296 sq. in.) | 648 sq. in. | 648 sq. in. |
| 3,300 sq. ft. | 11 sq. ft. (1,584 sq. in.) | 792 sq. in. | 792 sq. in. |
Because these calculations depend on your specific roofline, existing vent placement, and attic configuration, they are best confirmed with an on-site assessment rather than a generic online calculator. A roof that looks adequately vented from the ground can still be significantly short of code minimums once someone actually measures the soffit and ridge openings.
Ventilation Options Compared: Passive vs. Active Systems
Not every attic needs the same solution, and homeowners often ask whether it is worth paying more for an active (powered) system versus relying on passive airflow. The honest answer depends on your roof’s shape, orientation, and how much ridge length is available for venting.
Passive systems — soffit vents paired with ridge vents, box vents, or gable vents — rely entirely on natural convection and wind effect to move air. They have no moving parts, no electricity cost, and effectively no maintenance requirement beyond keeping them clear of debris and insulation. For most straightforward gable and hip roofs, a well-sized passive system is entirely sufficient and is what we recommend by default.
Active systems, most commonly solar-powered or electric attic fans, mechanically pull air out of the attic, which can help in roofs with limited ridge length, unusual geometry, or attics that have proven resistant to passive solutions even after intake and exhaust have been corrected. The tradeoff is added cost, a component that can fail, and the negative-pressure risk mentioned earlier if the fan’s capacity outpaces available intake area.
| System Type | Best Suited For | Approximate Cost Range | Maintenance Needs |
|---|---|---|---|
| Soffit + ridge vent (passive) | Standard gable/hip roofs | $800–$2,200 installed | Low — occasional debris/insulation check |
| Box vents (passive) | Roofs with limited ridge length | $60–$150 per unit installed | Low |
| Gable vents (passive) | Homes with prominent gable ends | $150–$400 per vent installed | Low |
| Solar attic fan (active) | Hot spots, complex rooflines | $700–$1,600 installed | Moderate — panel cleaning, motor lifespan ~10-15 yrs |
| Electric attic fan (active) | Large attics needing supplemental exhaust | $450–$1,100 installed | Moderate — thermostat/humidistat checks, wiring |
How Ventilation Interacts With Insulation and Attic Moisture
Ventilation and insulation are often discussed separately, but they function as one system. Insulation slows heat transfer between the attic and living space; ventilation removes the heat and moisture that insulation alone cannot handle. Neither one compensates for a deficiency in the other.
In summer specifically, humid outdoor air drawn in through intake vents can occasionally introduce moisture into the attic, particularly during periods of high humidity common to a Toronto summer. This is normal and expected — the continuous airflow through a properly balanced system carries that moisture back out through the exhaust vents before it can settle and cause problems. Issues only arise when airflow is restricted, allowing humidity to linger and condense on cooler surfaces like the underside of the roof deck or ductwork running through the attic.
If your attic insulation was topped up or replaced without also addressing ventilation, it is worth having both assessed together. We frequently find attics where insulation was upgraded for energy efficiency, inadvertently blocking soffit intake in the process, which ironically makes summer heat buildup worse rather than better despite the improved R-value.
Seasonal Timing: Why Summer Is the Right Time to Fix Ventilation
Early-to-mid summer, before the peak heat of late July and August sets in, is the ideal window to correct ventilation deficiencies. Roofing crews can access the attic and roof deck comfortably, shingle adhesive is warm enough for any necessary repair work to seal properly, and any adjustments made now have the rest of the cooling season to prove out their effect on indoor comfort and energy use.
It is also a practical time to address ventilation ahead of the next winter. Because summer heat buildup and winter ice damming share the same root cause — inadequate or unbalanced attic airflow — fixing the issue now means you are covered for both extremes rather than reacting to a mid-winter emergency when access and materials are far more limited.
When to Call a Professional vs. What You Can Check Yourself
Some ventilation checks are safe and reasonable for homeowners to perform themselves; others genuinely require a professional assessment.
What you can check yourself: From inside the attic (with proper footing on joists, never stepping directly on insulation or drywall), you can visually confirm whether soffit vents are visible and unobstructed from the inside, check for daylight coming through ridge or gable vents, and note whether insulation has crept over any intake points. From outside, you can look for continuous soffit venting versus solid panels, and check whether your ridge line has a visible vent strip or only a handful of scattered box vents.
What requires a professional: Calculating your home’s precise NFVA requirement, accessing steep or high roof sections safely, cutting new ridge or soffit openings without compromising structural elements or existing flashing, and diagnosing whether a moisture or heat issue is a ventilation problem versus an insulation, flashing, or bathroom-fan-venting problem. Our technicians carry out a full roof repair assessment that includes attic airflow as a standard part of any summer inspection, since the two are so closely linked.
If you are unsure where your home currently stands, browsing our FAQ page or reading through reviews from homeowners we have helped with similar ventilation concerns can give you a sense of what a proper assessment involves before you commit to any work.
Ventilation Considerations by Roof Type
Not all roofs ventilate the same way, and the right approach depends heavily on the roof’s shape and slope.
Standard gable and hip roofs are the easiest to ventilate correctly, since they typically have a clear ridge line for exhaust and full-length eaves for intake. Most homes across Toronto and Peel Region fall into this category, and a properly sized soffit-and-ridge system is usually all that is needed.
Complex or cut-up rooflines, common in additions and multi-gable designs seen throughout York Region and Halton Region, often have short or interrupted ridge lengths that limit passive exhaust capacity. These roofs frequently benefit from supplemental box vents or a well-sized power fan in addition to standard ridge venting.
Flat and low-slope roofs, more common on additions, garages, and some homes in Durham Region, rely on a completely different ventilation strategy involving edge vents or mechanical ventilation rather than the soffit-to-ridge convective loop used on sloped roofs. If your home combines a sloped main roof with a flat addition, each section needs its own ventilation plan.
Frequently Asked Questions
What are the most effective roof ventilation tips for hot climates?
How hot can an attic get without proper roof ventilation?
Can too much roof ventilation cause problems?
Do skylights affect attic ventilation in hot weather?
How much does upgrading roof ventilation typically cost?
Is summer or winter the better time to fix roof ventilation issues?
Need Help With Top Roof Ventilation Tips?
Getting attic airflow right is one of the most cost-effective things you can do for the long-term health of your roof, and the team at Universal Roofs assesses ventilation as a standard part of every summer inspection we perform across the GTA.
Call us today at (416) 732-2421 or request a free inspection to get started.
Universal Roofs proudly serves Toronto, Mississauga, Brampton, Vaughan, Markham, Oakville and the GTA since 2005.