
If your home feels stuffy in summer, musty in spring, or drafty and damp in winter, the problem may not be your furnace or air conditioner at all — it may be your roof. Homeowners across the Greater Toronto Area often overlook one of the most powerful levers for healthier indoor air: a properly ventilated attic and roof system. Good roof ventilation does far more than protect shingles from premature failure. It directly influences the moisture, temperature, and pollutant levels of the air you breathe inside your living space.
These tips for improving indoor air quality with roof ventilation are drawn from decades of hands-on attic inspections, roof replacements, and moisture troubleshooting across Toronto, Mississauga, Brampton, Vaughan, Markham, Oakville, and the wider GTA. Our climate is uniquely demanding — humid summers, freeze-thaw winters, and everything in between — which means a ventilation strategy that works in Arizona or Florida will not necessarily work here. This guide walks through seven practical, actionable steps homeowners can take, along with the underlying building science that explains why each one matters.
Whether you are dealing with a musty attic smell, condensation on nails and sheathing, ice damming every winter, or simply want to future-proof your home’s air quality before your next roof replacement, this article will give you a clear roadmap. We will also cover common troubleshooting scenarios, a cost comparison of ventilation upgrades, and a maintenance schedule you can actually stick to.
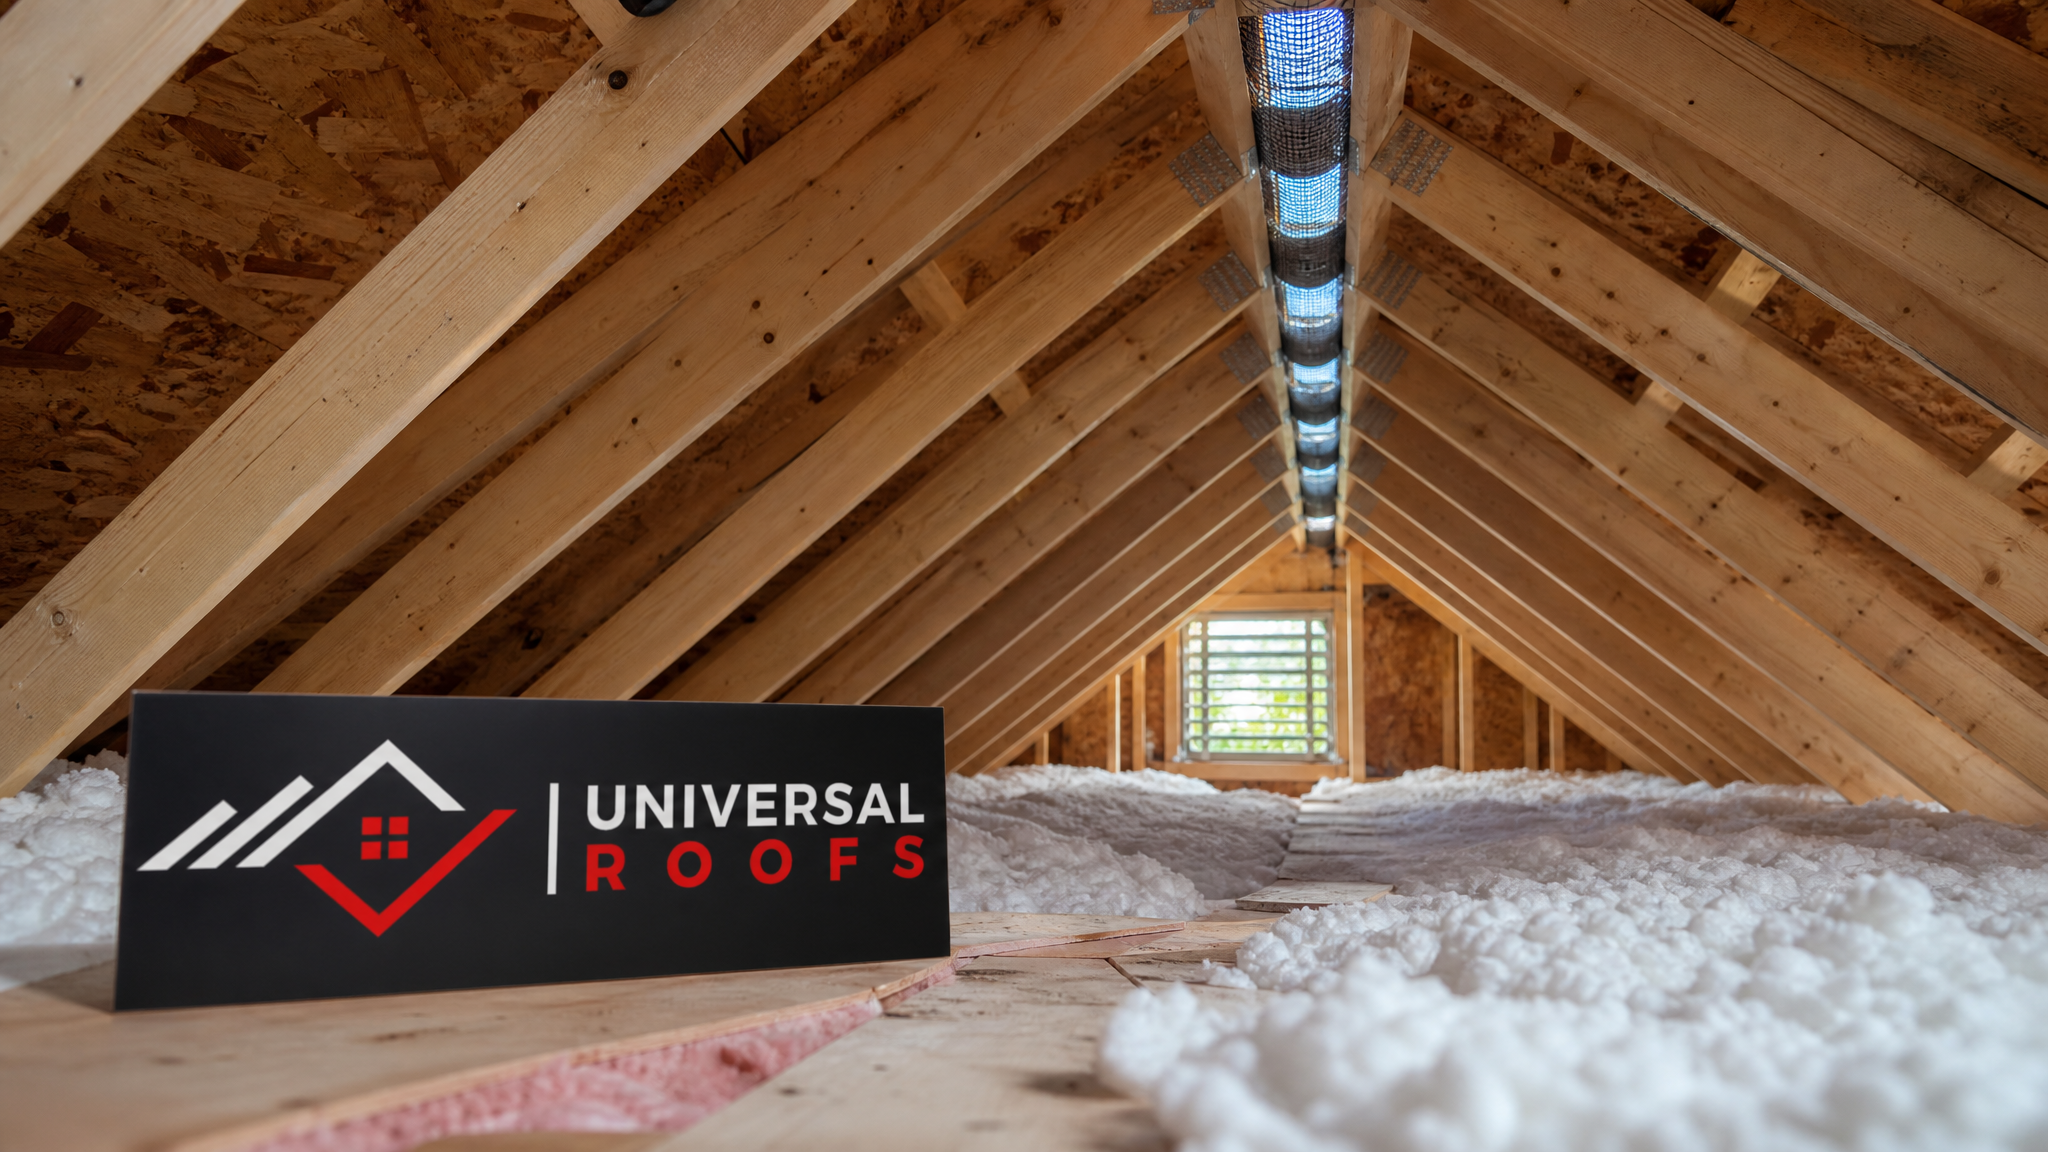
Why Roof Ventilation Is Connected to Indoor Air Quality
Most homeowners think of roof ventilation purely as a shingle-protection measure — something that stops asphalt shingles from overheating and curling. That is true, but it is only half the story. The attic sits directly above your living space, separated only by insulation and a layer of drywall. Whatever is happening in that attic — trapped moisture, stagnant heat, mould growth, or pest activity — has a direct pathway into the air you and your family breathe.
Warm, moist air from bathrooms, kitchens, and laundry rooms naturally rises through small gaps around light fixtures, plumbing stacks, and attic hatches (a phenomenon called the stack effect). If that air becomes trapped in a poorly vented attic, it condenses on cold roof sheathing during Toronto’s winter months, creating the perfect environment for mould and mildew. Spores from that mould do not stay contained in the attic — they migrate downward through the same gaps the moisture came up through, degrading indoor air quality throughout the house.
A balanced ventilation system, drawing fresh air in through soffit vents and expelling warm, moist air through ridge or roof vents, interrupts this cycle. It keeps the attic closer to outdoor temperature and humidity, which reduces condensation, discourages mould, and limits the amount of attic air that gets pulled into your living space. For a full understanding of how your attic system contributes to whole-home comfort, it helps to look at ventilation, insulation, and air sealing as three parts of one connected system rather than separate projects.
Tip 1: Balance Intake and Exhaust Ventilation
The single most common ventilation mistake we see on inspections across the GTA is an imbalance between intake and exhaust. Homeowners (or previous contractors) add ridge vents or powered exhaust fans without ensuring there is enough matching intake at the soffits. When exhaust capacity outpaces intake, the system starves for air and can even begin pulling conditioned air out of the living space through the ceiling — the opposite of what you want.
The general rule of thumb, based on the 1:150 or 1:300 ventilation ratio (net free ventilating area to attic floor area, depending on whether a vapour barrier is present), is that intake and exhaust should each provide roughly half of the total required ventilation area. In practice, this means:
- Continuous soffit vents along the full eave length, unobstructed by insulation
- A continuous ridge vent or evenly spaced roof vents at or near the peak
- Baffles (rafter vents) installed at every truss bay to keep insulation from blocking the soffit intake
When we assess a home for a roof replacement, checking this balance is one of the first things our estimators do, because getting it wrong undermines every other air quality improvement on this list.
| Ventilation Type | Function | Typical Location | Best For |
|---|---|---|---|
| Soffit vents | Intake (fresh air in) | Under the eaves | Nearly all attic types |
| Ridge vent | Exhaust (warm air out) | Roof peak, full length | Homes with a straight ridge line |
| Box/static vents | Exhaust | Scattered near the peak | Complex rooflines, hips |
| Gable vents | Cross-ventilation | Attic end walls | Older homes, supplemental use |
| Powered attic fans | Forced exhaust | Roof deck or gable | Hot, poorly ventilated attics (use cautiously) |
Tip 2: Seal Air Leaks Between the House and Attic Before Adding Vents
Ventilation only manages the air that reaches the attic — it does not stop humid, contaminant-laden household air from bypassing insulation and entering the attic in the first place. Before investing in new vents, it pays to find and seal the bypasses that let warm indoor air escape upward. Common culprits include:
- Gaps around bathroom and kitchen exhaust fan housings
- Unsealed plumbing and electrical penetrations through the top plate
- Recessed “pot” lights without airtight housings
- Poorly weatherstripped attic hatches or pull-down stairs
- Gaps around chimney chases and masonry penetrations
Sealing these points with fire-rated caulking, foam gaskets, or spray foam reduces the volume of moist air reaching the attic in the first place, which means your soffit and ridge vents have less work to do and perform far more effectively. This step is frequently skipped because it is less visible than adding a new vent, but our technicians consistently find it delivers the biggest improvement in attic humidity readings during follow-up visits.
Tip 3: Confirm Bathroom, Kitchen, and Dryer Vents Exhaust Outside — Not Into the Attic
This is one of the most surprising discoveries we make during attic inspections, especially in homes over 20 years old or those that have had renovations completed by different contractors over time. Bathroom exhaust fans, kitchen range hoods, and even clothes dryers are sometimes vented directly into the attic space instead of through a dedicated roof or wall cap to the exterior.
Every time someone showers, cooks, or does laundry, that moist air — sometimes carrying grease particulates or lint — dumps straight into the attic. Over months and years, this creates chronic dampness that no amount of soffit and ridge venting can fully offset, because the moisture load is simply too concentrated and too close to the roof deck. If you notice a persistent damp or musty smell in upstairs rooms, or visible staining on the underside of your roof sheathing directly above a bathroom, this is one of the first things to check.
The fix is straightforward: reroute the exhaust duct to terminate outside through a proper roof or soffit cap with a backdraft damper. This single correction, paired with balanced soffit and ridge ventilation, often resolves persistent attic moisture problems that homeowners had assumed were a roofing defect.
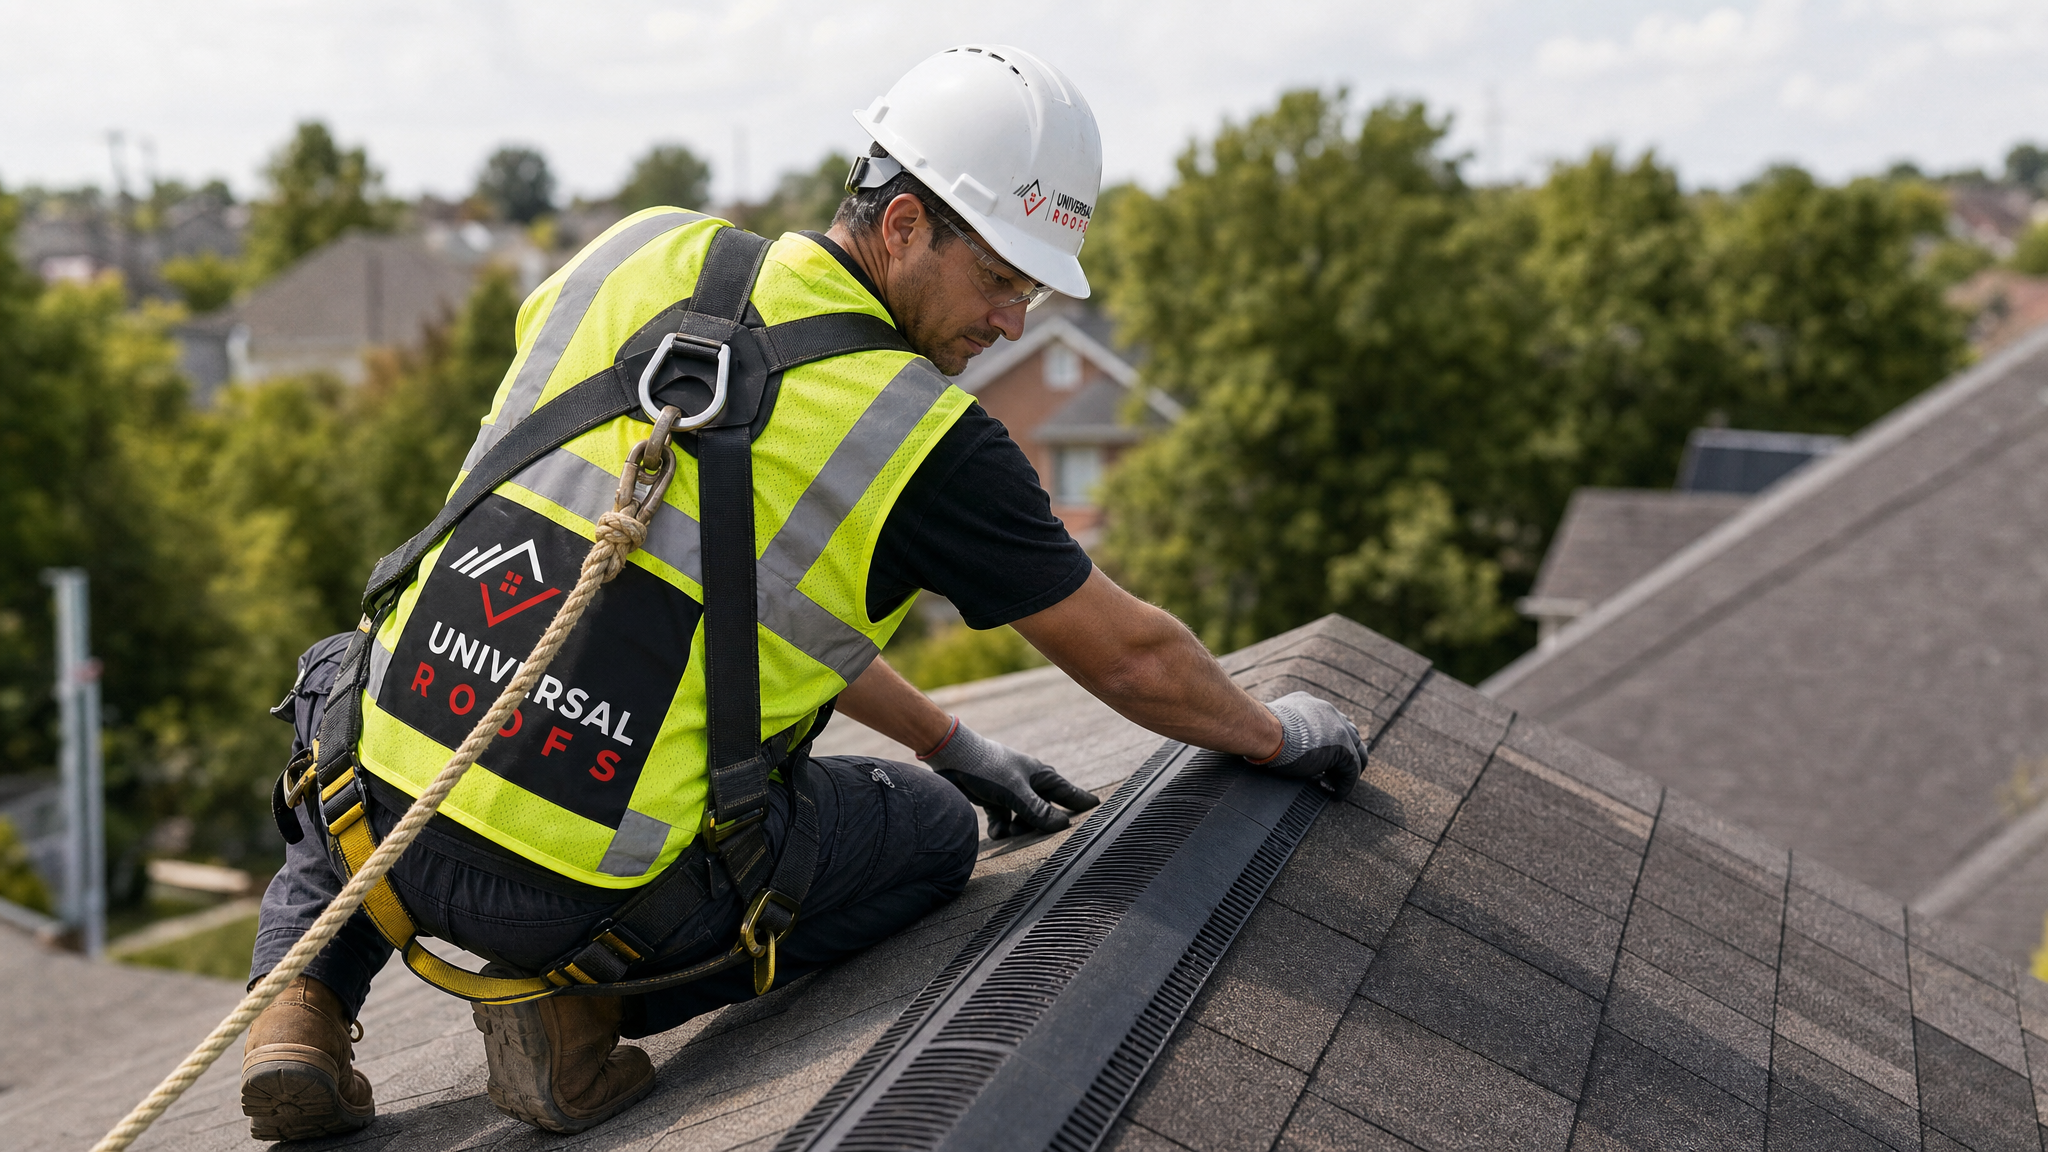
Tip 4: Match Attic Insulation Levels to Ventilation, Not Instead of It
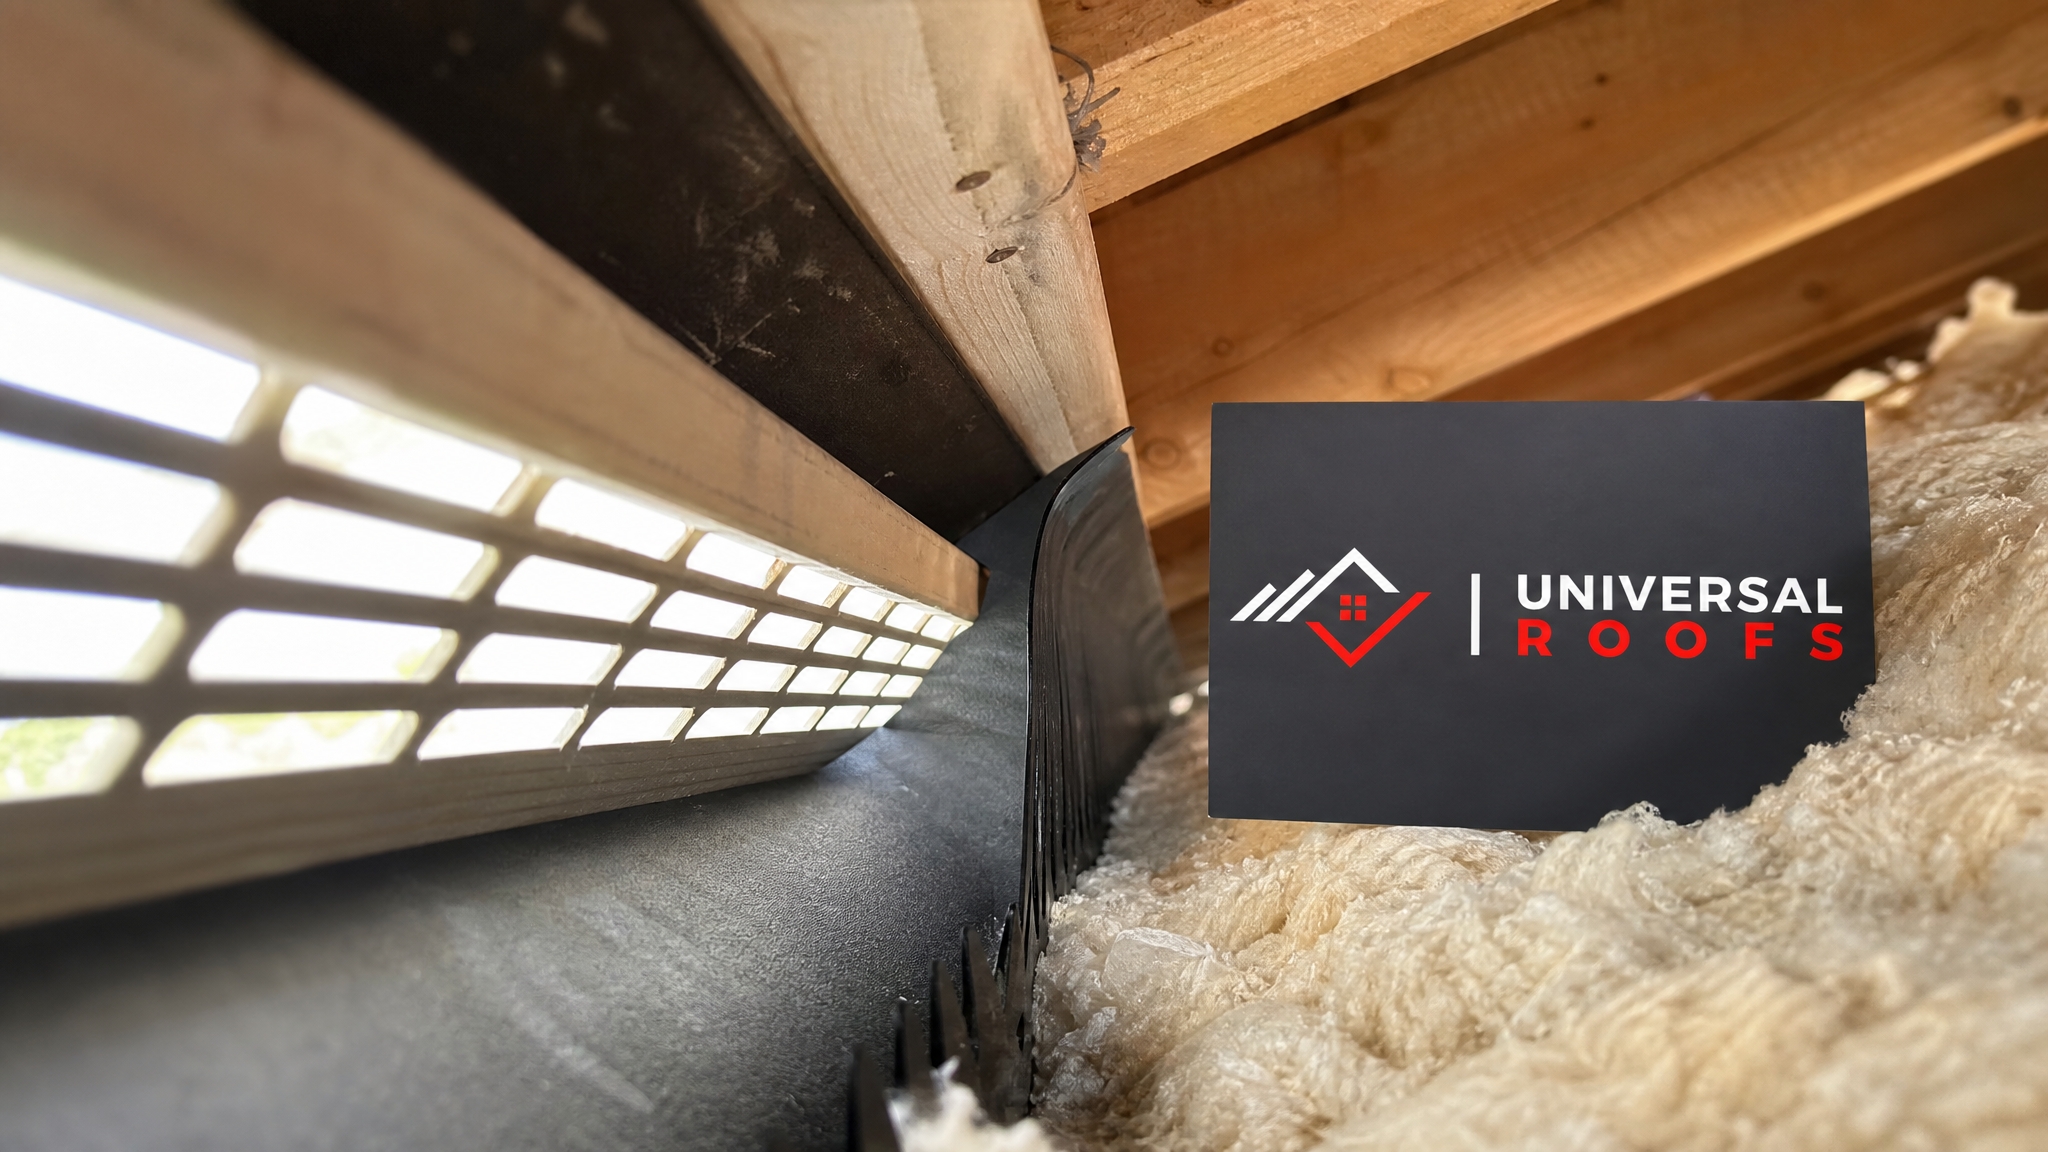
A frequent misconception is that more insulation alone will solve air quality and moisture problems. Insulation slows heat transfer, but it does nothing to remove moisture or stale air — that is the job of ventilation. In fact, insulation installed incorrectly can actively block ventilation: batts or loose-fill insulation pushed too far into the eaves will smother soffit vents, cutting off intake airflow even if the vents themselves look fine from outside.
For most GTA homes, current energy codes call for attic insulation in the R-50 to R-60 range, but that insulation needs baffles at every rafter bay to preserve a clear air channel from the soffit to the open attic space. When our crews handle attic upgrades, we always check that:
- Baffles are present and unobstructed at every soffit bay
- Insulation depth is even, without gaps or compressed areas
- No insulation covers the attic hatch weatherstripping or blocks access for future inspection
Getting insulation and ventilation working together, rather than working against each other, is one of the most cost-effective indoor air quality upgrades available to GTA homeowners, and it pairs naturally with any broader attic improvement project.
Tip 5: Choose the Right Ventilation Style for Flat and Low-Slope Roofs
Homeowners with flat or low-slope roofs — common on additions, garages, and some contemporary GTA homes — often assume ventilation principles do not apply to them the way they do to a traditional pitched attic. In reality, flat roof assemblies need just as much attention to moisture management, just through different mechanisms, since there is often no open attic cavity to vent in the conventional sense.
For flat roofs, air quality protection typically comes from a combination of a continuous vapour barrier on the warm side of the insulation, adequate insulation thickness to keep the roof deck above the dew point, and, where the assembly allows it, vented perimeter or parapet details that let trapped moisture escape gradually. Skipping these details is one of the most common reasons flat roofs develop hidden condensation damage that homeowners only discover once a ceiling stain or musty smell appears. If you are planning a flat roof project or troubleshooting an existing one, our flat roofing team can assess whether your assembly is managing moisture correctly.
Tip 6: Address Skylights as a Ventilation and Air Quality Opportunity, Not Just a Light Source
Skylights are often installed purely for natural light, but they intersect directly with roof ventilation and air quality in two ways. First, a poorly flashed or aging skylight is a common source of moisture intrusion into the attic or ceiling cavity, introducing the exact kind of chronic dampness that undermines air quality. Second, certain skylight models — vented or “fresh air” skylights — can actively contribute to a home’s ventilation strategy by allowing warm, stale air to escape from upper-floor rooms on demand.
If your home has older, fixed skylights that are more than 15 years old, it is worth having them assessed alongside your attic ventilation, since seal failure often shows up as the same musty smell or ceiling staining that homeowners mistake for a roof leak. Our skylights and skylight replacement services include a check of surrounding flashing and insulation, since a leaking skylight curb can introduce as much moisture into an attic space as a poorly balanced vent system.
| Warning Sign | Likely Cause | Air Quality Impact | Recommended Action |
|---|---|---|---|
| Musty smell in upstairs rooms | Bathroom fan venting into attic, or blocked soffits | Mould spore migration indoors | Inspect exhaust routing and soffit clearance |
| Frost or condensation on nail tips in attic | Excess humidity, insufficient exhaust ventilation | Mould risk, wood rot | Add/rebalance ridge or roof vents |
| Ice damming along the eaves in winter | Warm attic air melting snow near the ridge | Water intrusion, indoor mould | Improve insulation and ventilation balance |
| Peeling paint or staining near ceiling | Trapped moisture behind drywall | Poor humidity control indoors | Check for skylight or roof leaks, seal bypasses |
| Unusually hot upper floor in summer | Overheated, poorly vented attic | Increased dust, reduced comfort | Confirm soffit-to-ridge airflow, consider attic fan |
Tip 7: Schedule Seasonal Roof and Attic Inspections
Roof ventilation is not a set-it-and-forget-it system. Soffit vents get blocked by nesting birds, insulation shifts over time, and exhaust ducts can come loose in attics that see limited foot traffic. A twice-yearly inspection — once in late spring and once in early fall — lets you catch small problems, like a partially blocked vent or a disconnected duct, before they compound into an indoor air quality issue over an entire heating or cooling season.
During a professional inspection, a technician should check soffit and ridge vents for obstructions, confirm bathroom and dryer ducts terminate outside as intended, look for staining or frost on the underside of the roof deck, and verify insulation baffles remain in place. Many of these checks pair naturally with a broader roof repair inspection, since the same access point (the attic hatch) and the same visual cues (staining, daylight gaps, deck discolouration) apply to both moisture management and general roof health.
| Season | Priority Check | Why It Matters in the GTA | Typical Time Required |
|---|---|---|---|
| Spring | Winter moisture damage, blocked soffits from debris | Freeze-thaw cycles stress vents and flashing | 30-45 minutes |
| Summer | Attic temperature, ridge vent airflow | Heat and humidity peak, AC strain increases | 20-30 minutes |
| Fall | Exhaust duct routing, insulation depth | Prepares attic for winter humidity load | 30-45 minutes |
| Winter | Ice damming, frost on sheathing | Confirms ventilation balance under worst-case conditions | 15-20 minutes (visual only) |
What a Ventilation Upgrade Typically Costs and Involves
Homeowners often ask what it actually costs to correct a ventilation problem once it has been identified. The answer depends heavily on the scope: adding baffles and sealing bypasses is a relatively small project, while retrofitting a full soffit-to-ridge system on an older home with limited eave depth is more involved. The table below reflects general ranges we see across Toronto, Mississauga, Brampton, Vaughan, Markham, and Oakville projects; every home is different; and an on-site assessment is the only way to get an accurate number for your property.
| Upgrade | Typical Scope | Relative Cost | Timeframe |
|---|---|---|---|
| Air sealing bypasses | Foam/caulk at penetrations, hatch weatherstripping | Low | Half a day |
| Reroute bath/dryer exhaust | New duct run to exterior cap | Low to moderate | Half a day to one day |
| Add soffit and ridge venting | New continuous vents, baffle installation | Moderate | One to two days |
| Full attic insulation and ventilation retrofit | Insulation top-up, baffles, vent balancing | Moderate to higher | One to three days |
| Skylight reflashing or replacement | Full curb, flashing, and unit replacement | Varies by unit size | One day per skylight |
Because ventilation upgrades are frequently rolled into other roof work, many homeowners choose to address these issues at the same time as a scheduled roof replacement, since the roof deck is already exposed and vent placement can be optimized without extra disruption.
Why Toronto and GTA Climate Conditions Make This Especially Important
The Greater Toronto Area experiences a wide swing between humid summers and cold, snowy winters, and both extremes put extra demand on attic ventilation compared to milder climates. In summer, an under-ventilated attic can reach temperatures well above outdoor levels, driving heat and humidity into upper-floor rooms and straining air conditioning systems. In winter, the freeze-thaw cycle common to our region means any trapped moisture that reaches the roof deck has repeated opportunities to condense, freeze, thaw, and encourage mould or wood decay.
Homes in Toronto, the Peel Region, York Region, Halton Region, and Durham Region all share this climate exposure, though local micro-conditions (proximity to the lake, tree cover, home age, and construction style) can shift the specifics. Older homes in established neighbourhoods often have shallower soffits and more complex roof lines, which makes balanced ventilation trickier to achieve without a professional assessment. Newer builds sometimes have adequate vent count on paper but suffer from insulation encroachment that blocks intake airflow in practice. Either way, a proper diagnosis starts with an in-person look at the specific attic, not a generic rule applied blindly.
Common Mistakes That Undermine Air Quality Improvements
Even well-intentioned DIY efforts can backfire if they address only part of the system. Some of the most frequent mistakes we encounter during inspections include:
- Adding a powered attic fan without matching intake ventilation, which can pull conditioned air from the living space instead of fresh air from outside
- Installing both ridge vents and gable vents on the same attic, which can create short-circuiting airflow patterns that reduce overall effectiveness
- Covering soffit vents with insulation during a DIY top-up, unintentionally choking off intake air
- Assuming a musty smell is “normal for an old house” rather than investigating the exhaust routing or vent balance
- Sealing an attic hatch so tightly that it restricts necessary future access for inspection and maintenance
Avoiding these pitfalls generally comes down to treating ventilation, insulation, and air sealing as one connected system, and having a qualified technician verify the balance rather than adding components piecemeal.
How to Know If Your Home Needs a Professional Ventilation Assessment
Not every home needs a full ventilation overhaul, but certain signs strongly suggest it is time for a professional look. If you notice condensation on windows even when your indoor humidity seems reasonable, a persistently musty smell on the upper floor, visible frost or staining when you check the attic, ice damming along the eaves each winter, or unusually high summer cooling bills relative to similar homes nearby, these are all indicators worth investigating. You can also review real homeowner experiences and results on our reviews page, or check our FAQ page for answers to other common roofing and ventilation questions before booking an assessment.
A thorough assessment typically includes a visual inspection of the attic space, a check of insulation depth and baffle placement, confirmation of exhaust duct routing, and an evaluation of existing intake and exhaust vent capacity against the size of the attic. From there, a technician can recommend the specific combination of the seven tips above that will make the biggest difference for your particular home.
What are the most effective tips for improving indoor air quality with roof ventilation?
Can poor roof ventilation actually affect the air quality inside my home?
How do I know if my attic has a ventilation problem?
Do bathroom exhaust fans need to vent outside the roof rather than into the attic?
How often should roof ventilation be inspected for air quality purposes?
Does adding more attic insulation improve indoor air quality on its own?
Need Help With 7 Tips for Improving?
Balanced roof ventilation is one of the most overlooked ways to protect the air quality inside your home, and getting it right takes an experienced eye that understands both roofing systems and building science. Universal Roofs has been assessing and correcting attic ventilation problems across the GTA since 2005, and we can help you identify exactly which of these seven tips will make the biggest difference for your property.
Call us today at (416) 732-2421 or request a free inspection to get started.
Universal Roofs proudly serves Toronto, Mississauga, Brampton, Vaughan, Markham, Oakville and the GTA since 2005.