
A house fire is one of the most frightening events a homeowner can face, and even after the flames are out and the smoke has cleared, the danger isn’t necessarily over. Above your head, the roof truss system that carries the entire weight of your roof deck, shingles, snow load, and often ductwork or storage may have been silently weakened by heat, even in areas where you can’t see visible char. Understanding why roof truss repair is important for fire damage recovery is essential before you move back in, list your home for insurance settlement, or simply assume “the fire didn’t reach the roof, so we’re fine.”
At Universal Roofs, we’ve been repairing roofs across the Greater Toronto Area since 2005, and fire-damaged truss assessments are some of the most safety-critical calls we take. Heat doesn’t need to touch a truss directly to compromise it. Smoke, prolonged indirect heat exposure, and the water used to extinguish the fire can all degrade wood fibre strength, corrode metal truss connector plates, and introduce moisture that leads to rot weeks or months later. Skipping a proper structural evaluation after any fire event, even a small one, can leave your family living under a roof that’s structurally unreliable.
This guide walks through exactly why truss repair matters after fire damage, how to identify warning signs, what the repair process actually involves, how it differs from a simple reroof, and what it typically costs across the GTA. Whether you’re dealing with an active insurance claim or just trying to understand your options, this is the information you need before anyone climbs back into that attic.
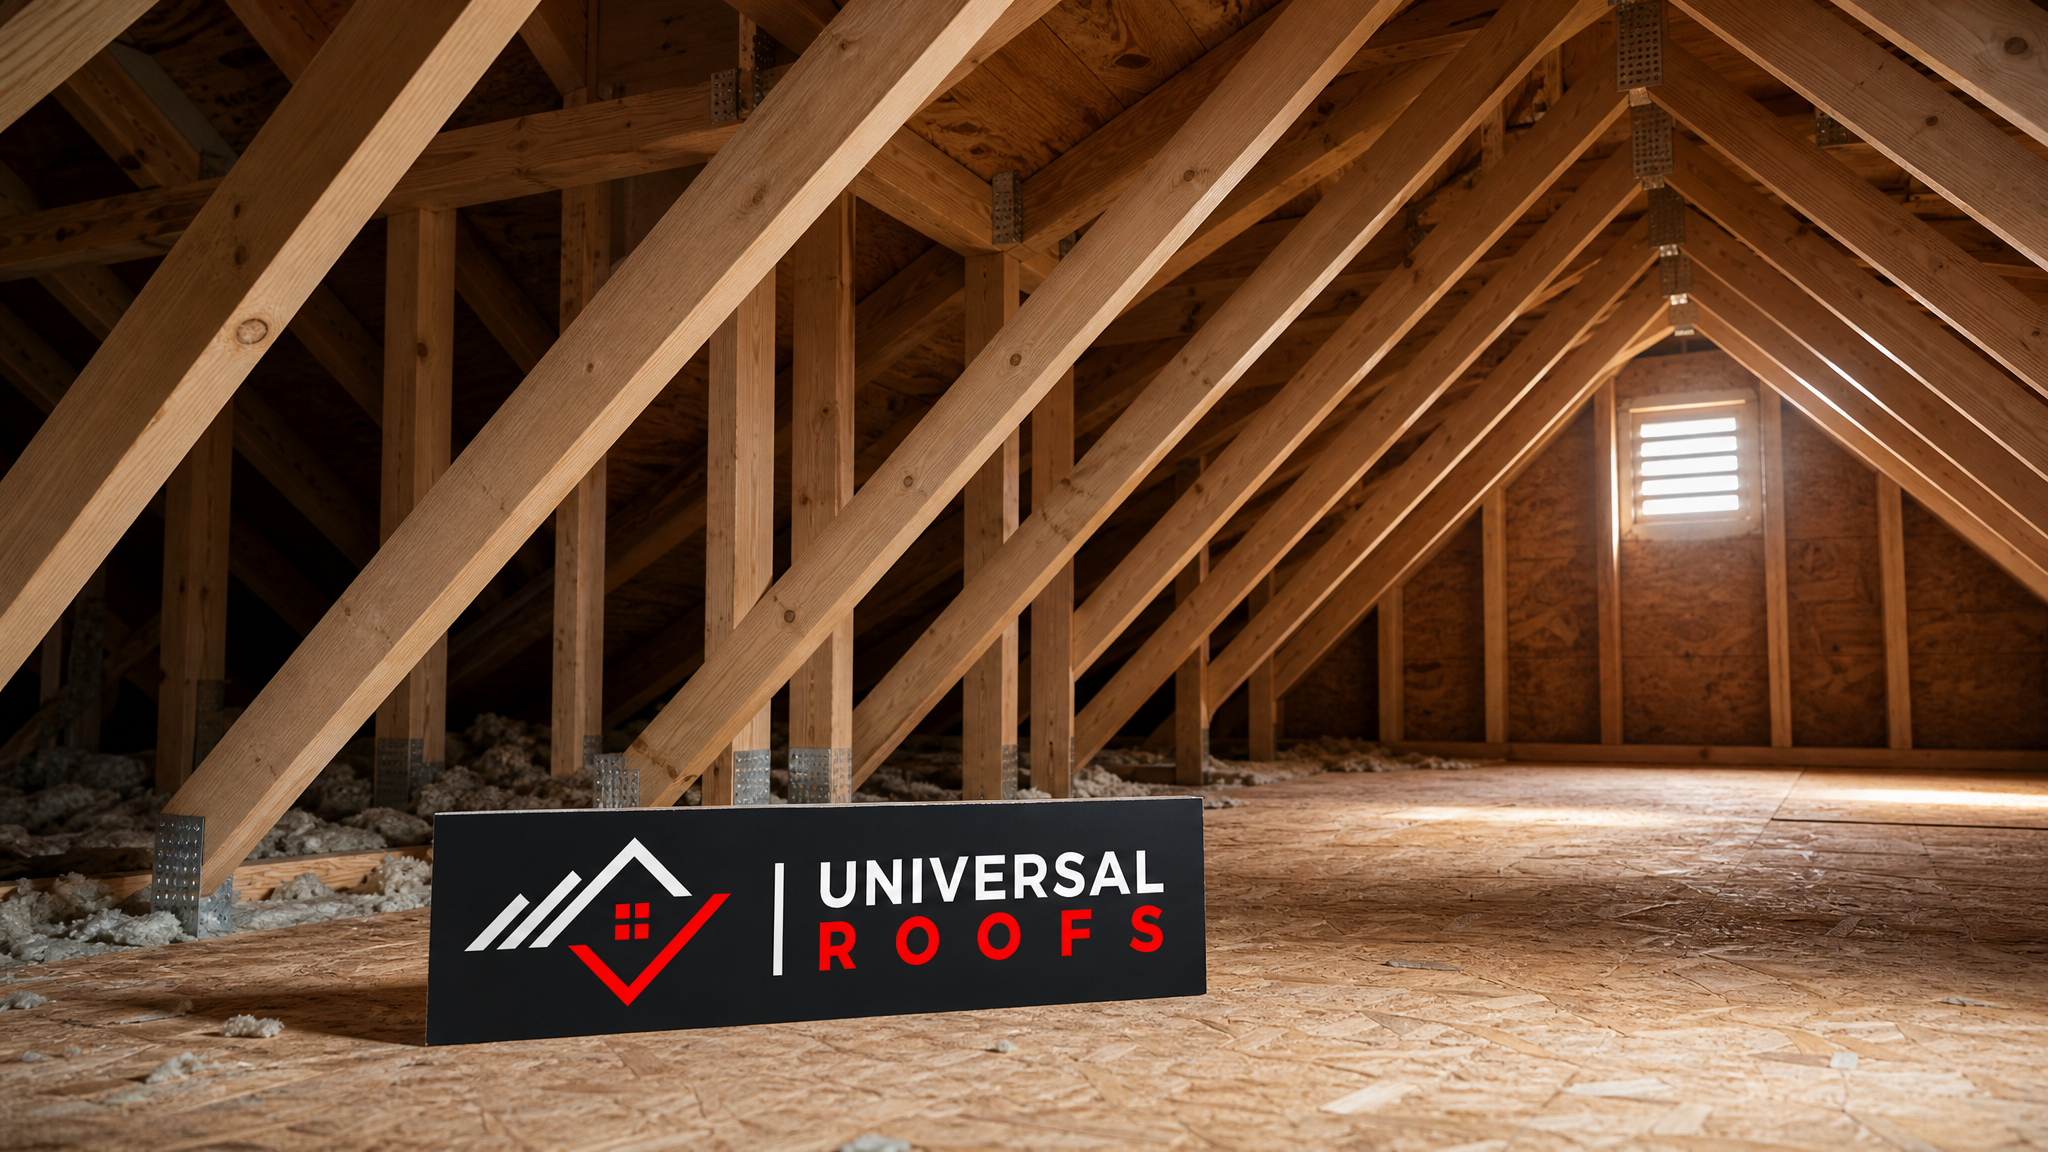
What a Roof Truss Actually Does — and Why Fire Threatens It
A roof truss is a triangulated wood (or occasionally steel) framework engineered to distribute the load of your roof evenly down to the exterior walls. Most GTA homes built from the 1970s onward use prefabricated wood trusses connected with galvanized steel truss plates, spaced roughly 600 millimetres apart, forming a rigid net that holds up sheathing, shingles, snow load, and sometimes HVAC equipment or attic storage.
Fire threatens trusses in three distinct ways, and homeowners often only think about the first one:
- Direct flame contact — chars and burns away wood fibre, visibly reducing the cross-sectional area of the member that carries load.
- Radiant and convective heat exposure — even without visible flame, sustained heat above roughly 300°C begins to break down the cellulose structure of wood, reducing strength well before charring is visible. Metal truss plates can also lose grip strength as the surrounding wood dries and shrinks under heat.
- Water and moisture damage from firefighting efforts — the water used to extinguish a fire soaks into truss members and insulation, and if not fully dried out, leads to fungal decay and rot that continues weakening the wood for months after the fire itself.
This is precisely why roof repair after a fire needs to start with the structural frame, not the shingles. Replacing burnt shingles on top of a compromised truss just hides the real problem under a new layer of material.
Why Roof Truss Repair Is Critical After Fire Damage
Here is the core reason roof truss repair matters so much after a fire: a truss doesn’t need to be broken or visibly burned through to have lost a significant portion of its rated load capacity. Engineered wood trusses are designed with fairly tight safety margins to keep material costs reasonable. When heat reduces the strength of even one or two members in a truss chain, the load that member used to carry has to be redistributed to its neighbours, which were never designed to carry the extra weight.
That redistribution isn’t always obvious day to day. A weakened truss system can hold up under dry summer conditions and then fail under the added weight of wet snow the following winter, or under the vibration of routine attic maintenance. This delayed-failure risk is exactly why truss repair is treated as a life-safety issue, not a cosmetic one, in every fire-damage restoration plan we build for GTA clients.
There’s also an insurance and resale dimension. Most home insurance policies and provincial building codes in Ontario require documented structural sign-off before a fire-damaged home can be reoccupied or resold. Skipping proper truss assessment and repair can leave a homeowner with a property that fails inspection, invalidates future insurance claims, or simply can’t legally be occupied until the structural deficiency is corrected.
| Risk of Skipping Truss Repair | What Actually Happens | Timeline to Failure | Consequence |
|---|---|---|---|
| Charred truss left in place | Reduced cross-section can no longer carry rated load | Months to years | Localized roof sagging or collapse |
| Heat-weakened wood, no visible char | Cellulose breakdown reduces strength silently | Unpredictable, often triggered by snow load | Sudden structural failure under load |
| Water-soaked insulation and framing | Fungal decay sets in within 48-72 hours if not dried | Weeks to months | Progressive rot, mould, further weakening |
| Corroded truss plate connectors | Metal-to-wood grip weakens as wood shrinks | Months | Joint separation, truss racking |
| No structural sign-off documented | Home fails resale or insurance inspection | Immediate, at time of sale or claim | Legal/financial exposure for homeowner |
Warning Signs That Your Truss System Was Compromised
Not every sign of truss damage is obvious from the attic hatch. Some signs only show up once you know what to look for, and a few require a contractor with fire-damage experience to properly interpret. Here’s what we tell every GTA homeowner to check for, or to have a professional check for them:
- Visible charring or blackening on any truss member, even partial, along the chord or webbing.
- A “hollow” or papery sound when tapping a truss member with a hammer handle, which suggests the wood has lost internal density from heat exposure.
- Sagging rooflines visible from the street or driveway, sometimes a subtle dip rather than a dramatic bow.
- Cracked, split, or separated truss plates where the metal connector no longer sits flush against the wood.
- A persistent smoky or musty odour in the attic weeks after the fire, which can indicate trapped moisture and early decay.
- Discoloured or bubbled paint/drywall on ceilings below the attic, suggesting heat travelled further than visible fire damage.
- New daylight gaps at the roofline where trusses may have shifted slightly out of alignment.
If you notice any of these signs, do not walk on the roof or spend extended time in the attic until a professional has assessed the load-bearing members. This is genuinely a safety-first situation, not a “get to it eventually” item on your renovation list.
The Truss Repair Process, Step by Step
Fire-damaged truss repair is a more involved process than a standard shingle repair, and for good reason — you’re restoring the structural skeleton of the roof, not just its weatherproofing skin. Here’s how the process typically unfolds on a GTA home:
- Structural assessment. A qualified inspector examines every truss in the affected area, testing for char depth, moisture content, and connector integrity. On larger fires, a structural engineer may be brought in to certify load capacity.
- Load stabilization. If any truss is deemed unsafe, temporary shoring is installed immediately to prevent movement or collapse while repairs are planned.
- Removal of compromised material. Charred wood, water-damaged insulation, and any truss plates that have lost grip are removed. In many cases, the surrounding attic insulation and ventilation components also need replacement.
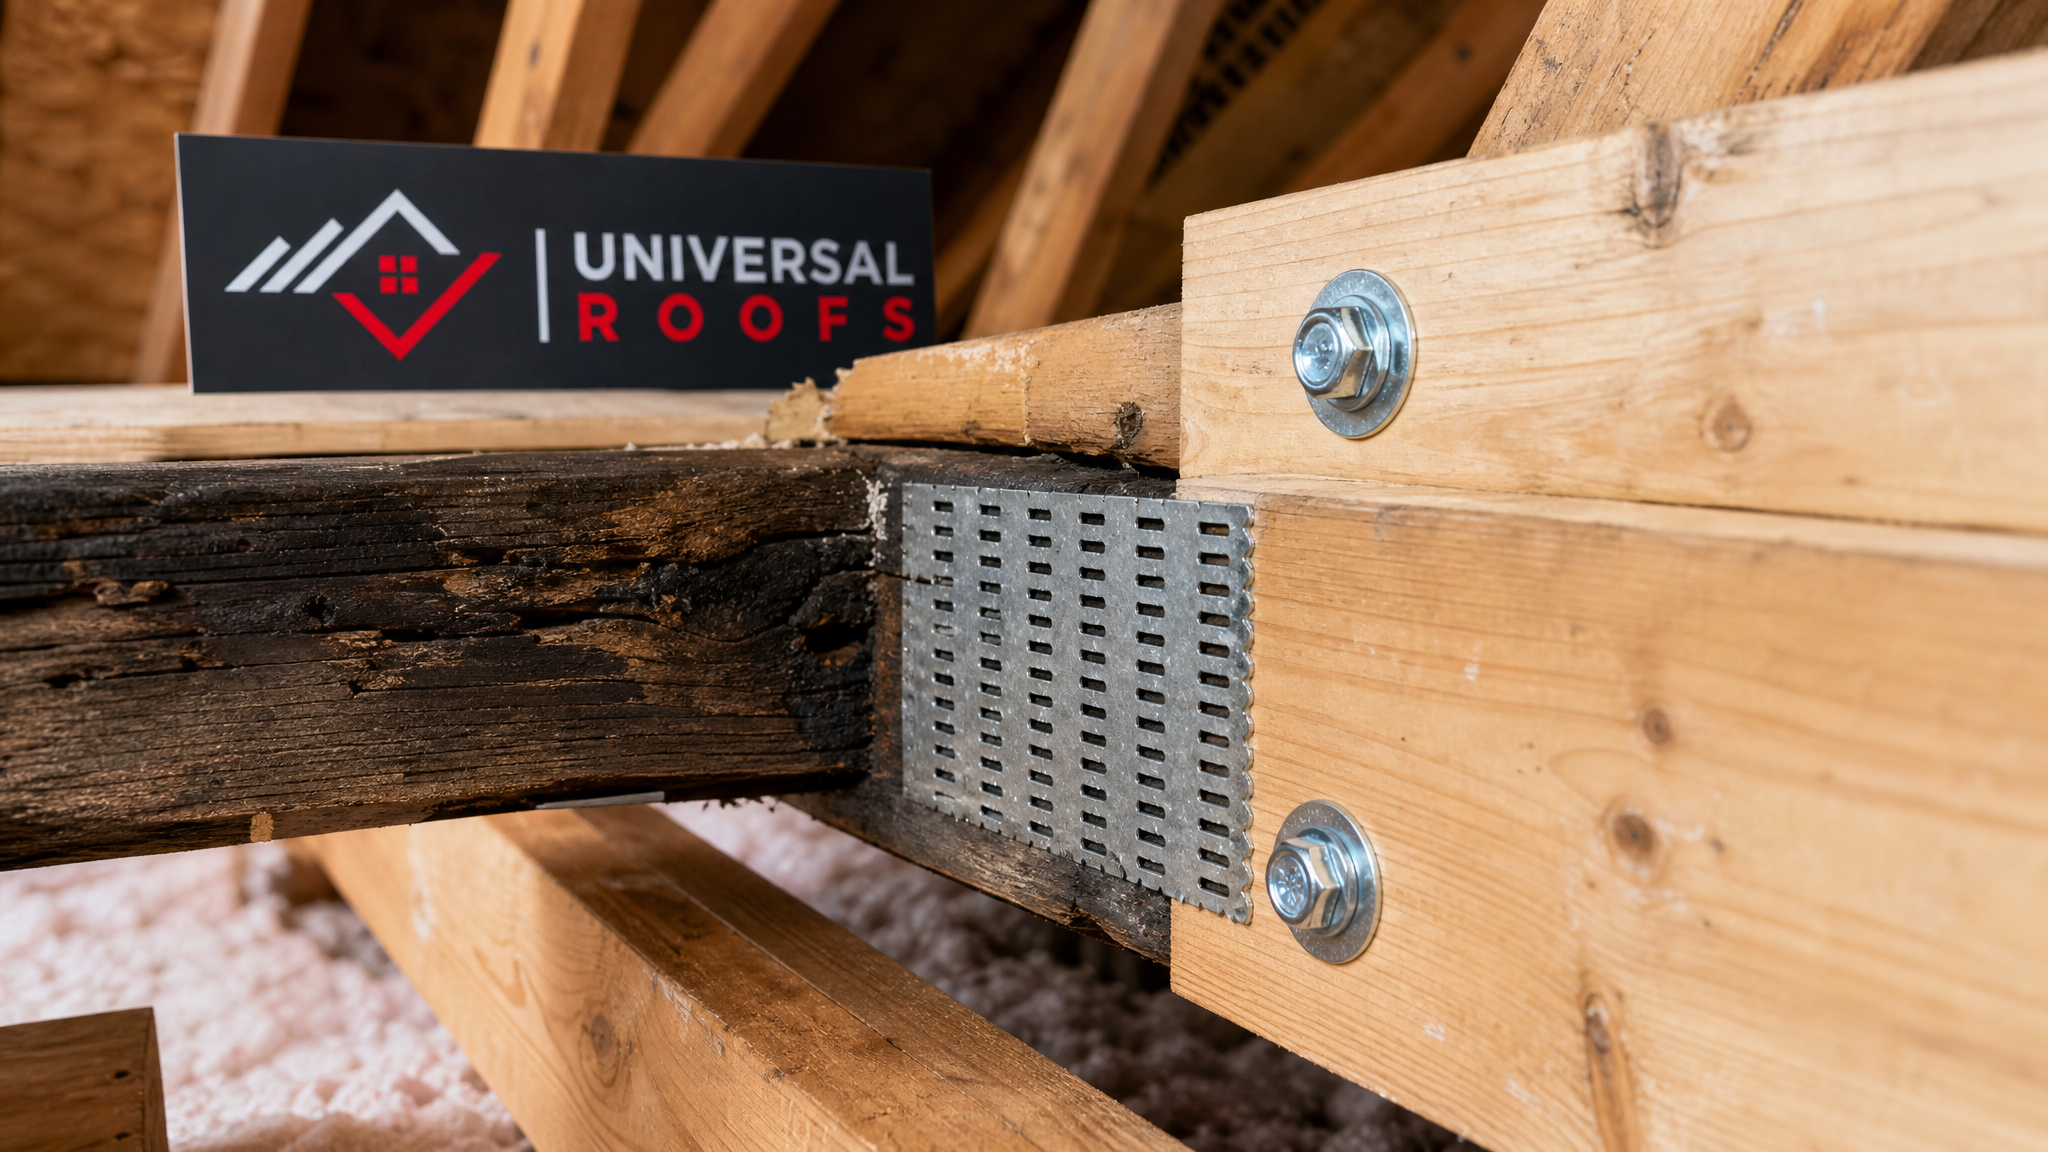
- Sistering or full member replacement. Lightly damaged trusses are often repaired by “sistering” — bolting a new full-length lumber member alongside the damaged one to restore full load capacity. Severely charred trusses are cut out and replaced entirely.
- Reinforcement of connections. New galvanized truss plates or structural screws are installed at every repaired joint, matching or exceeding the original engineered specification.
- Sheathing and roofing system rebuild. Once the truss frame is certified sound, new roof sheathing, underlayment, and shingles go back on as part of a full roof replacement or targeted repair, depending on the extent of fire spread.
- Final inspection and documentation. A written structural report is provided for insurance and municipal records, confirming the repaired trusses meet Ontario Building Code load requirements.
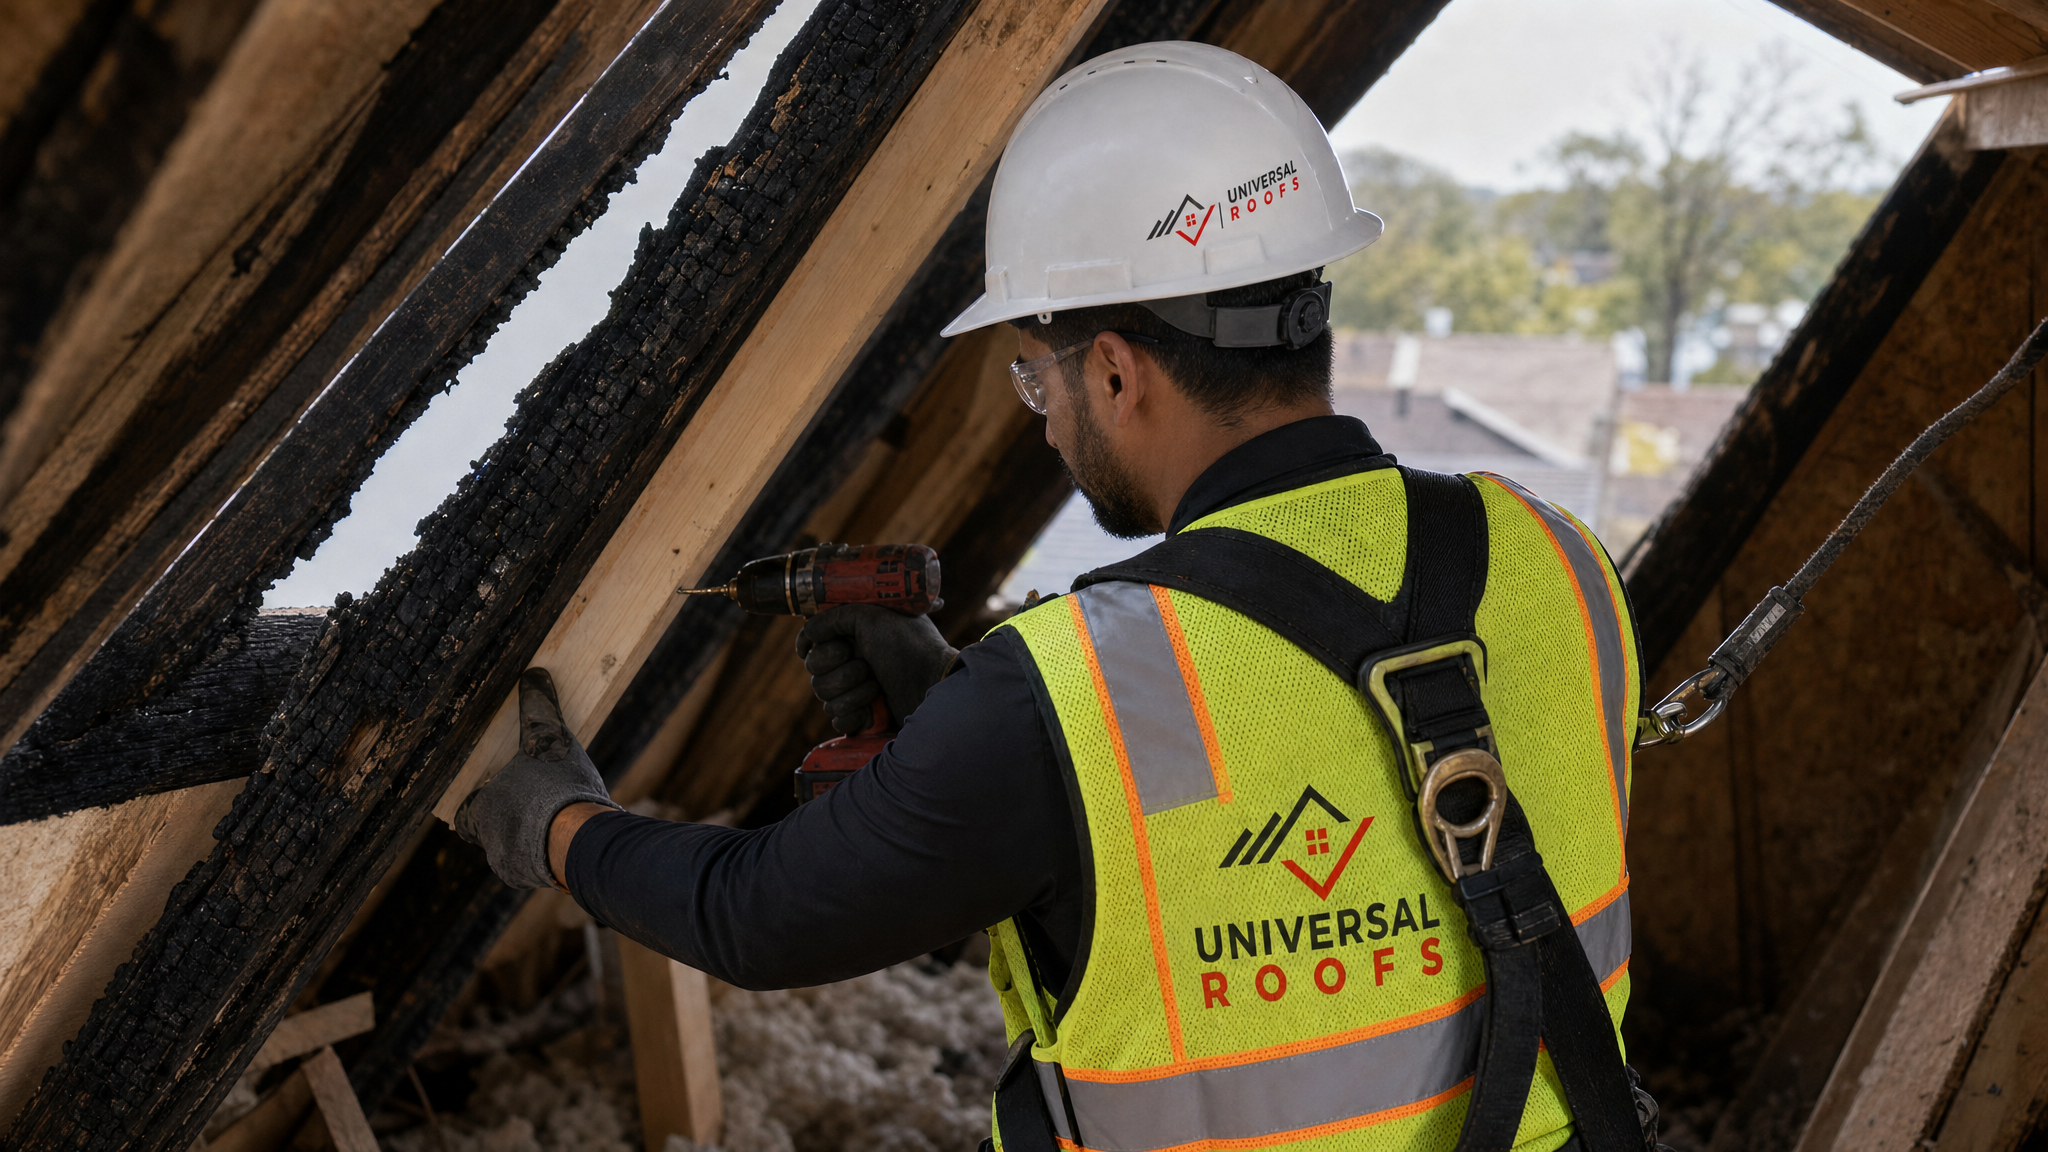
Sistering vs. Full Truss Replacement: Which Does Your Roof Need?
One of the most common questions homeowners ask is whether a truss can be repaired or whether it needs to be replaced outright. The honest answer depends entirely on the depth and location of the fire damage, and this is a decision that should always be made by a professional after physically inspecting the wood, not guessed from photos. Here’s a general comparison of the two approaches:
| Factor | Sistering (Reinforcement) | Full Truss Replacement |
|---|---|---|
| Best for | Surface charring, minor heat exposure, sound core wood | Deep charring, cracked members, structural compromise at joints |
| Typical cost per truss | Lower — material plus labour for one added member | Higher — full removal, disposal, and new engineered truss |
| Timeline per truss | Half a day to one day | One to two days, including access and staging |
| Load capacity result | Restored to original or better, if executed correctly | Restored to full original engineered specification |
| When it’s not appropriate | When char has reduced more than roughly 1/3 of member depth | Rarely inappropriate, but overkill for lightly smoke-damaged trusses |
In many fire-damage jobs across Toronto and the surrounding regions, we use a combination approach: sistering the trusses with moderate, repairable damage and fully replacing the ones closest to the fire’s origin point where char runs deep. This hybrid method keeps costs reasonable without cutting any corners on safety.
Cost Considerations for GTA Homeowners
Fire-related truss repair costs vary significantly based on the number of trusses affected, whether full replacement or sistering is used, and how much of the surrounding roof deck, insulation, and ventilation system also needs rebuilding. Below are general ranges we see across the GTA — every quote should be based on an in-person structural assessment, since fire damage is rarely uniform across a roof.
| Scope of Work | Typical Cost Range (CAD) | Notes |
|---|---|---|
| Structural assessment only | $400 – $900 | Often credited toward repair cost if you proceed |
| Sistering, per affected truss | $350 – $700 | Includes lumber, fasteners, and labour |
| Full truss replacement, per truss | $700 – $1,600 | Higher for engineered/custom-span trusses |
| Partial roof rebuild (deck + shingles) after truss repair | $8,000 – $22,000 | Depends on affected roof area |
| Full roof and truss system replacement | $20,000 – $45,000+ | For significant fire spread across the roof structure |
Most homeowners dealing with fire damage are working through an insurance claim, and a detailed written scope of work with photos and engineering notes makes a significant difference in how smoothly that claim moves. We provide full documentation packages for every fire-damage assessment specifically to support the insurance process.
Why Professional Assessment Matters More Than a Quick Patch
It’s tempting, especially with a minor fire, to assume a quick patch of the burnt shingles and some fresh drywall below will take care of things. This is one of the most common and costly mistakes we see. A truss that looks “mostly fine” from the attic floor can have lost 20 to 40 percent of its rated strength from heat exposure alone, with no visible charring at all on the surface facing you.
A qualified assessment goes beyond a visual check. It typically includes probing suspect wood with an awl to test for softness, measuring moisture content with a meter, checking truss plate seating with a flat bar, and in serious cases, bringing in a structural engineer to calculate remaining load capacity against Ontario Building Code requirements. This level of diligence is what actually protects your family and your investment, rather than just making the ceiling look presentable again.
It’s also worth remembering that summer, while a lower-risk season for roof leaks compared to winter freeze-thaw cycles, is actually the ideal window for this kind of structural work. Dry weather means the attic and truss cavity can be properly opened up, dried, and repaired without the complications of snow, ice, or sub-zero temperatures slowing down lumber curing and material installation.
How Fire Damage Repair Differs From Standard Roof Repair
Homeowners sometimes assume that fire damage repair is just a bigger version of a normal roof repair, like fixing storm damage or a leak. Structurally, it’s a different category of work entirely, and it’s worth understanding why before you hire anyone.
| Aspect | Standard Roof Repair | Fire Damage Truss Repair |
|---|---|---|
| Primary concern | Weatherproofing (leaks, missing shingles) | Structural load capacity and life safety |
| Assessment method | Visual inspection of exterior surfaces | Physical probing, moisture testing, sometimes engineering review |
| Documentation required | Optional, usually just an invoice | Often mandatory for insurance and municipal sign-off |
| Materials involved | Shingles, flashing, underlayment | Structural lumber, truss plates, fasteners, plus roofing materials |
| Risk if done incorrectly | Recurring leaks | Roof collapse or long-term structural failure |
This distinction is exactly why it’s worth working with a contractor experienced specifically in fire restoration, rather than assuming any general roofer can handle it. Trusses that support skylights or roof penetrations need particular care too — if your fire damage was near a skylight or the trusses framing one, that area often needs both structural repair and a skylight replacement assessment, since the heat exposure and water intrusion can compromise the seal and frame independently of the truss itself.
What to Do Immediately After a Roof Fire
The first 48 to 72 hours after a fire are critical for preventing secondary damage from water and moisture, which is often what turns a repairable truss into one that needs full replacement. Here’s the sequence we recommend to every homeowner:
- Stay off the roof and out of the attic until a professional confirms it’s structurally safe to access.
- Photograph everything you can safely see, from the ground and from inside, before any cleanup begins.
- Contact your insurance provider immediately to open a claim and get their documentation requirements.
- Arrange emergency tarping if the roof deck is compromised, to prevent rain from soaking already-weakened trusses.
- Book a structural roof assessment within days, not weeks — every day of delay increases the risk of moisture-driven decay setting into damaged wood.
- Improve attic ventilation temporarily if it’s safe to do so, to help dry out any water used by fire crews before mould has a chance to establish.
Homes across Toronto, Peel Region, York Region, Halton Region, and Durham Region all fall under the same Ontario Building Code structural requirements, so regardless of which GTA municipality you’re in, the assessment and documentation standard should be the same.
Choosing a Contractor for Fire-Damaged Truss Repair
Not every roofing company is set up to properly assess and repair fire-damaged structural framing. When you’re vetting contractors for this kind of work, ask specifically about their experience with structural fire restoration, not just general roofing. A few questions worth asking:
- Do they provide written structural assessments suitable for insurance claims?
- Do they work with, or bring in, a structural engineer when char depth or load capacity is uncertain?
- Can they show before-and-after documentation from previous fire-damage jobs?
- Do they address moisture and ventilation issues, not just the visible burnt wood?
- Are they licenced, insured, and familiar with Ontario Building Code structural requirements?
You can read what past clients across the GTA have said about our repair and restoration work on our reviews page, and if you have general questions about process, timelines, or insurance coordination, our FAQ page covers many of the questions homeowners ask before booking an assessment. You can also learn more about our team’s background and licencing on our about page.
Flat Roofs and Fire Damage: A Special Case
While most residential truss fires happen on pitched, shingled roofs, flat-roof structures common on additions, garages, and some GTA homes have their own fire-damage considerations. Flat roof framing typically uses joists rather than triangulated trusses, but the same principle applies: heat exposure reduces load capacity even without visible burning through. If your home has a flat-roofed section that was exposed to fire, it needs the same structural scrutiny as a pitched truss system, and often needs to be assessed alongside our flat roofing team to confirm the membrane, insulation, and structural deck are all sound before anything is rebuilt on top.
Why is roof truss repair important for fire damage recovery specifically?
Can a fire-damaged truss be repaired instead of replaced?
How do I know if my roof truss was damaged by fire if there’s no visible char?
Does home insurance cover roof truss repair for fire damage?
How long does fire-damaged truss repair take?
Is it safe to enter the attic after a small roof fire before repairs are done?
Need Help With Why Is Roof Truss?
Fire damage to a roof truss system isn’t something to guess about or patch over. Getting a proper structural assessment and repair plan protects your family, satisfies your insurance requirements, and restores your roof to the strength it had before the fire. Universal Roofs has been assessing and repairing fire-damaged roofs across the GTA since 2005, and we know exactly what inspectors, insurers, and homeowners each need to see documented.
Call us today at (416) 732-2421 or request a free inspection to get started.
Universal Roofs proudly serves Toronto, Mississauga, Brampton, Vaughan, Markham, Oakville and the GTA since 2005.