
Many homeowners assume that once a damaged roof truss is repaired, any roofing material can safely go back on top. That assumption causes more callback repairs than almost any other mistake we see across the GTA. A truss is not just a structural frame sitting quietly under your shingles — it is the load-bearing partner that every roofing material depends on for spacing, deflection tolerance, ventilation clearance, and fastening. Repair the truss without accounting for what is going on top of it, and you can end up with a roof that looks fine for a year or two and then develops problems that trace right back to the framing below.
At Universal Roofs, we have repaired truss systems under asphalt shingles, metal panels, cedar shakes, and flat membrane roofs across Toronto, Mississauga, Vaughan, Markham, and every corner of the Greater Toronto Area since 2005. The pattern is consistent: trusses and roofing materials are engineered to work as a matched system, and a repair that ignores that relationship almost always resurfaces as a leak, a sag, or a warranty denial down the road.
This guide explains why roof truss repair and roofing material compatibility are inseparable, how different materials place different demands on the framing beneath them, and what a properly sequenced repair looks like when you are also planning a re-roof. We will cover deflection limits, spacing and fastening requirements by material type, ventilation considerations, cost ranges, and the warning signs that tell you a truss repair needs to happen before, not after, a new roof goes on.
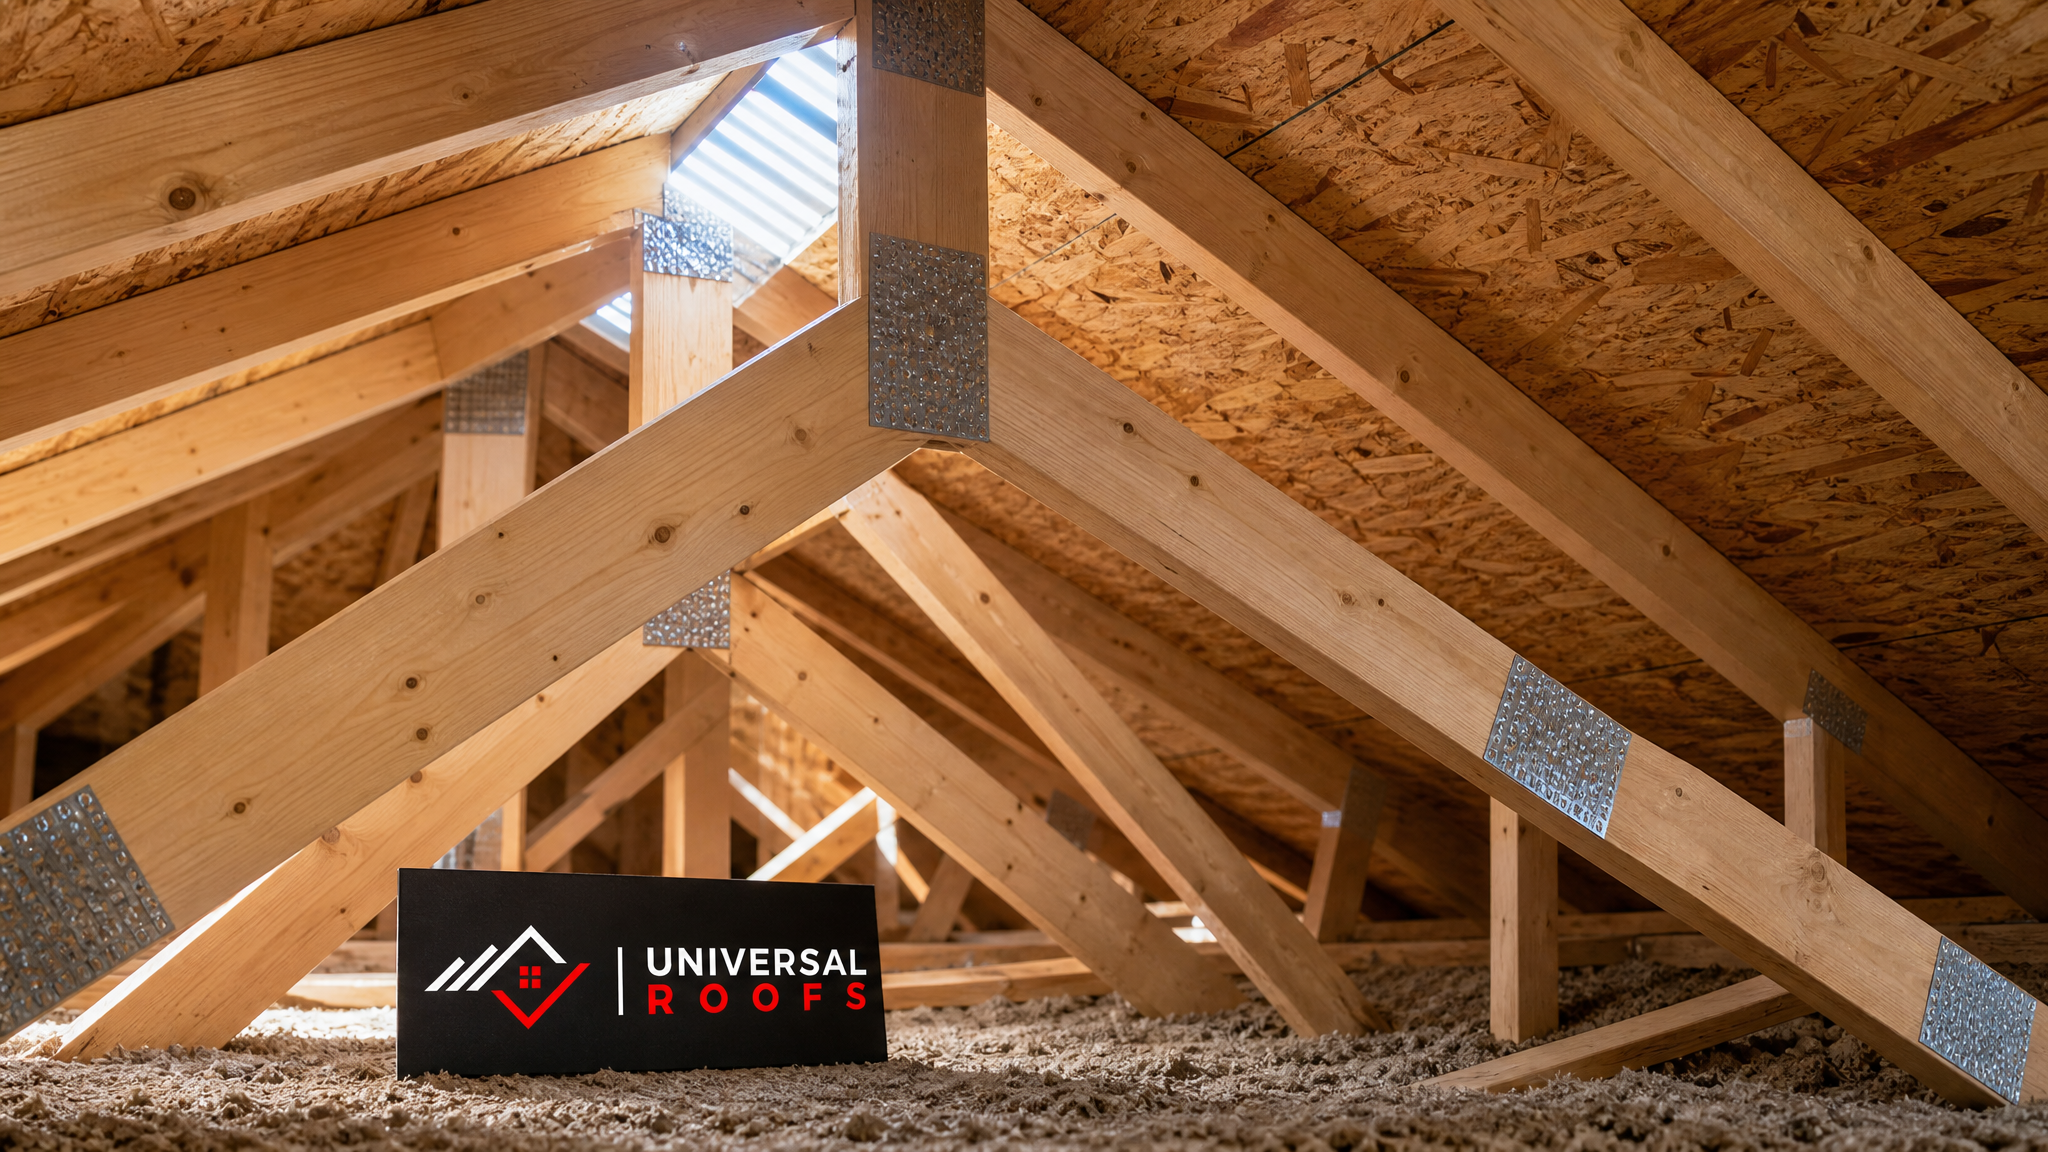
Why Truss Condition Determines Which Roofing Materials Will Actually Work
Every roofing material on the market is engineered around assumptions about the structure beneath it: a maximum allowable deflection, a minimum fastener spacing, a specific truss or rafter spacing, and in many cases a defined ventilation gap. Manufacturers build their product warranties around those assumptions. When a truss is cracked, sagging, undersized for its span, or spaced incorrectly because of a prior repair, none of those assumptions hold anymore — and the roofing material installed on top inherits the problem whether it is rated to handle it or not.
This is the part that catches homeowners off guard: a truss can be structurally “good enough” to hold up a lightweight asphalt shingle roof and still be entirely inadequate for a heavier concrete tile or a standing-seam metal system. Compatibility is not a single fixed standard; it shifts depending on what you intend to install. That is exactly why roof repair and roof replacement planning need to happen together rather than as two separate, disconnected projects.
In the GTA specifically, our freeze-thaw winters compound the issue. A truss connection that is marginal in summer can crack further once snow load and repeated freeze-thaw cycling stress it through the winter, and by the time spring arrives the “minor” compatibility gap has become a visible sag or an active leak.
How Asphalt Shingles, Metal, Tile, and Flat Membranes Each Load a Truss Differently
The single biggest variable in truss-to-material compatibility is weight, but it is not the only one. Fastening pattern, wind uplift resistance, and thermal movement all place different demands on the framing.
| Roofing Material | Approx. Weight per Square (100 sq ft) | Truss Demand Created | Compatibility Consideration |
|---|---|---|---|
| Asphalt shingles (standard) | 90-110 kg | Moderate uniform load, moderate fastener pull-through resistance needed | Most forgiving material; still requires sound deck attachment to trusses |
| Standing-seam metal roofing | 50-70 kg | Lighter load but concentrated fastening at clips; more thermal expansion movement | Needs consistent truss spacing for clip alignment and expansion allowance |
| Concrete or clay tile | 360-450 kg | Very high point and uniform load; requires reinforced framing | Often requires truss upgrade or engineered reinforcement before installation |
| Cedar shakes | 140-160 kg | Moderate load, high ventilation demand behind the material | Truss and deck must allow airflow to prevent rot; compatibility tied to ventilation, not just weight |
| Flat roof membrane (TPO/EPDM/modified bitumen) | Varies with insulation and ballast | Load spread across a low-slope deck; deflection tolerance is critical | Truss or joist deflection must stay within strict limits to avoid ponding |
Notice that tile roofing is the clearest example of a material that can demand an entirely different truss specification than what is already on the house. We regularly get calls from homeowners who want to switch from asphalt shingles to tile for aesthetic reasons, only to learn during the roof replacement assessment that the existing truss system was never engineered for that load and needs reinforcement first. On the other end of the spectrum, a switch to lightweight standing-seam metal can sometimes proceed with only a truss repair rather than a full reinforcement, provided the spacing and deck attachment are addressed.
Deflection Limits: The Number Most Homeowners Never Hear About
Deflection is how much a truss or rafter is allowed to bend under load before it is considered a structural or serviceability problem. Building codes express it as a fraction, such as L/240 or L/360, where L is the span length. A tighter fraction (like L/360) means less allowable bending, and it is typically required under materials that are unforgiving of movement.
This matters enormously for truss repair because a sistered or spliced truss member that meets minimum strength requirements can still fail a deflection test if it flexes more than the roofing material above it can tolerate. Flat and low-slope roofs are the most sensitive: excess deflection creates low spots where water pools instead of draining, which is one of the leading causes of premature membrane failure on flat roofing systems across the GTA.
| Roofing Material | Typical Deflection Limit Required | Why It Matters | Consequence If Truss Repair Ignores This |
|---|---|---|---|
| Asphalt shingles (sloped roof) | L/240 | Shingles tolerate minor flex without cracking | Minor sag rarely causes immediate failure but can telegraph through over time |
| Metal panel roofing | L/240 to L/360 depending on panel type | Panels can oil-can or buckle with excess movement | Visible waviness, failed seams, and voided manufacturer warranty |
| Tile roofing | L/360 | Rigid tiles crack under uneven support | Cracked tiles and water intrusion at broken units |
| Flat membrane roofing | L/240 with strict slope-to-drain requirements | Even small sag creates ponding areas | Standing water, membrane blistering, accelerated seam failure |
When we quote a truss repair on a home that is also getting a new roofing material, we always calculate deflection against the material going on top — not the material coming off. A repair that would have been perfectly adequate for the old asphalt shingles can be under-engineered for a new metal or tile installation, and skipping that recalculation is one of the most expensive mistakes a contractor can make.
Spacing, Fastening, and Why a “Good Enough” Repair Still Fails Inspection
Most residential trusses in the GTA are spaced at 400 mm or 600 mm on centre, and every roofing material’s fastening schedule is built around one of those two standards. Metal panel clips, tile battens, and even the nailing pattern for asphalt shingle decking assume a consistent, unbroken spacing across the roof plane.
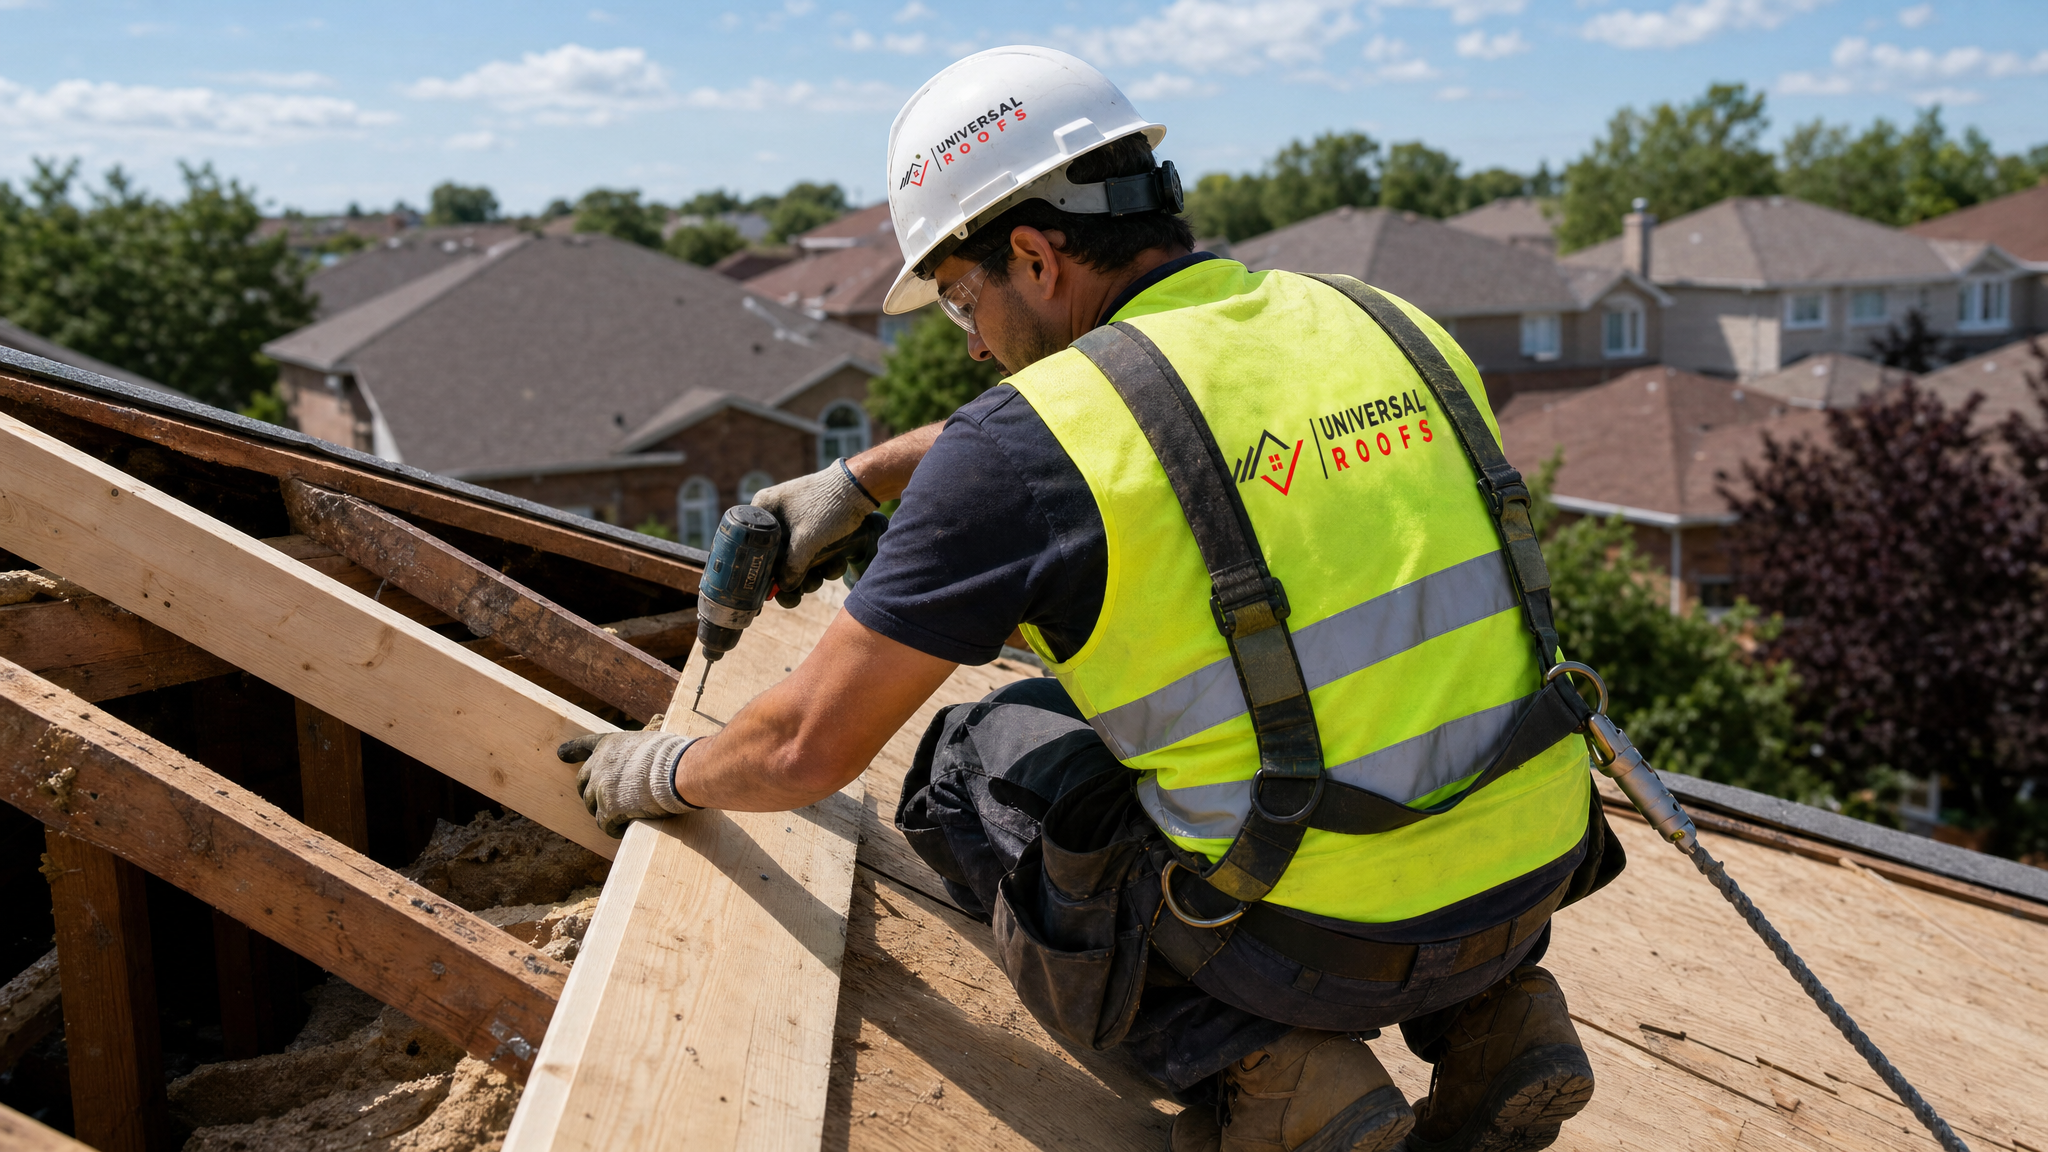
Truss repairs that involve sistering, splicing, or partial replacement can inadvertently shift that spacing if the new member is not installed true to the original line, or if a damaged truss is removed and not replaced with one of matching dimension and camber. Even a 20-30 mm variance can throw off a metal panel’s clip alignment enough to cause oil-canning or fastener stress at the seams. On tile roofs, inconsistent spacing means battens do not sit flush, which telegraphs into cracked or lifted tiles within a few seasons.
This is why we always re-check truss spacing along the entire repaired section, not just at the point of damage, before signing off on compatibility with the intended roofing material.
Ventilation Gaps: The Compatibility Factor Most Repairs Overlook
Roofing material compatibility is not only about weight and deflection — it is also about airflow. Cedar shakes need continuous airflow behind the material to prevent moisture buildup and premature rot. Metal roofing often requires a ventilated air gap to manage condensation and thermal cycling. Even asphalt shingle systems rely on balanced intake and exhaust ventilation through the attic to prevent ice damming in winter and heat buildup in summer.
Truss repairs that add blocking, extra bracing, or replacement members in the wrong location can unintentionally close off the ventilation channels the roofing material depends on. We have seen well-intentioned truss reinforcement projects choke off soffit-to-ridge airflow completely, which then caused condensation problems under a brand-new metal roof within its first winter. Any truss repair plan needs to explicitly preserve, or better yet improve, the ventilation path for whichever material is going on top.
Skylights, Penetrations, and Truss Compatibility Around Roof Openings
Roof penetrations add another layer to the compatibility question. Skylights, for example, typically require a modified truss or rafter opening with doubled headers and trimmers to carry the load that would otherwise have passed through the missing truss members. If a truss around an existing skylight is damaged, the repair has to restore that engineered opening correctly, not just patch the nearest chord.
This becomes especially relevant when a homeowner is planning a skylight replacement or a new skylight installation at the same time as a truss or roofing material upgrade. The framing around the opening needs to be sized for both the new skylight unit’s weight and the roofing material’s flashing and fastening requirements at that transition. Coordinating these two scopes of work in the same visit avoids the situation where a skylight is installed correctly but the surrounding truss work was never brought up to the same standard.
Cost Ranges: Truss Repair Alone vs. Truss Repair Paired With a Material Upgrade
Homeowners often ask whether it makes sense to repair the truss now and deal with the roofing material later, or handle both at once. In almost every case across the GTA, doing both together costs less overall than two separate projects, mainly because access, staging, and deck removal are shared costs.
| Scope of Work | Typical Cost Range (CAD) | Timeline | Notes |
|---|---|---|---|
| Minor truss sistering (1-2 members, no material change) | $600 – $1,800 | 1 day | Standard repair for localized cracking or minor rot |
| Truss reinforcement for heavier material (e.g., switching to tile) | $3,000 – $9,000 | 2-4 days | Includes engineering review and additional structural members |
| Truss repair combined with full asphalt shingle replacement | $8,000 – $16,000 | 3-5 days | Shared staging and deck access reduces combined cost vs. doing separately |
| Truss repair combined with metal roof installation | $14,000 – $28,000 | 4-7 days | Spacing verification and clip alignment checked during install |
| Emergency truss stabilization (active sag or storm damage) | $1,200 – $4,500 | Same day to 2 days | Temporary shoring often required before permanent repair |
These figures are general GTA ranges and will vary with roof size, pitch, and access. What tends to surprise homeowners most is the middle tier: reinforcing a truss system to accept a heavier material is often the single biggest line item in a re-roofing budget, and it is the one most frequently skipped by contractors who are only pricing the roofing material itself.
Warning Signs Your Truss Needs Attention Before Your Next Re-Roof
If any of the following are present, have the truss system assessed before committing to a specific roofing material, not after the new material is already ordered:
- A visible ridge line sag when viewed from the street or driveway
- Doors or windows on the top floor that have started sticking or misaligning
- Cracked or separated gusset plates visible from inside the attic
- Soft, spongy, or discoloured wood at truss chords or connections
- Uneven shingle courses or waviness across the roof plane
- Standing water or slow drainage on a flat or low-slope section
Any one of these is reason enough to schedule an inspection before signing a contract for a new roofing material. Choosing the material first and discovering a truss problem mid-installation almost always costs more, because crews and materials are already staged and delays compound the labour cost.
How Our GTA-Wide Process Coordinates Truss Repair With Material Selection
When we assess a roof that needs both truss work and a roofing material decision, we walk through deflection limits, spacing requirements, ventilation needs, and any planned penetrations like skylights before recommending a specific product. This sequencing protects the homeowner from paying for a truss repair that turns out to be inadequate once the material is chosen, and it protects the roofing material’s warranty, since most manufacturers require documented, code-compliant framing underneath.
We serve homeowners across Toronto, the Peel Region, York Region, Halton Region, and Durham Region, and the same core principle applies everywhere: the truss and the roofing material are one connected system, and treating them separately is where most costly re-roofing mistakes begin.
When to Call a Licensed Contractor Instead of Attempting a DIY Fix
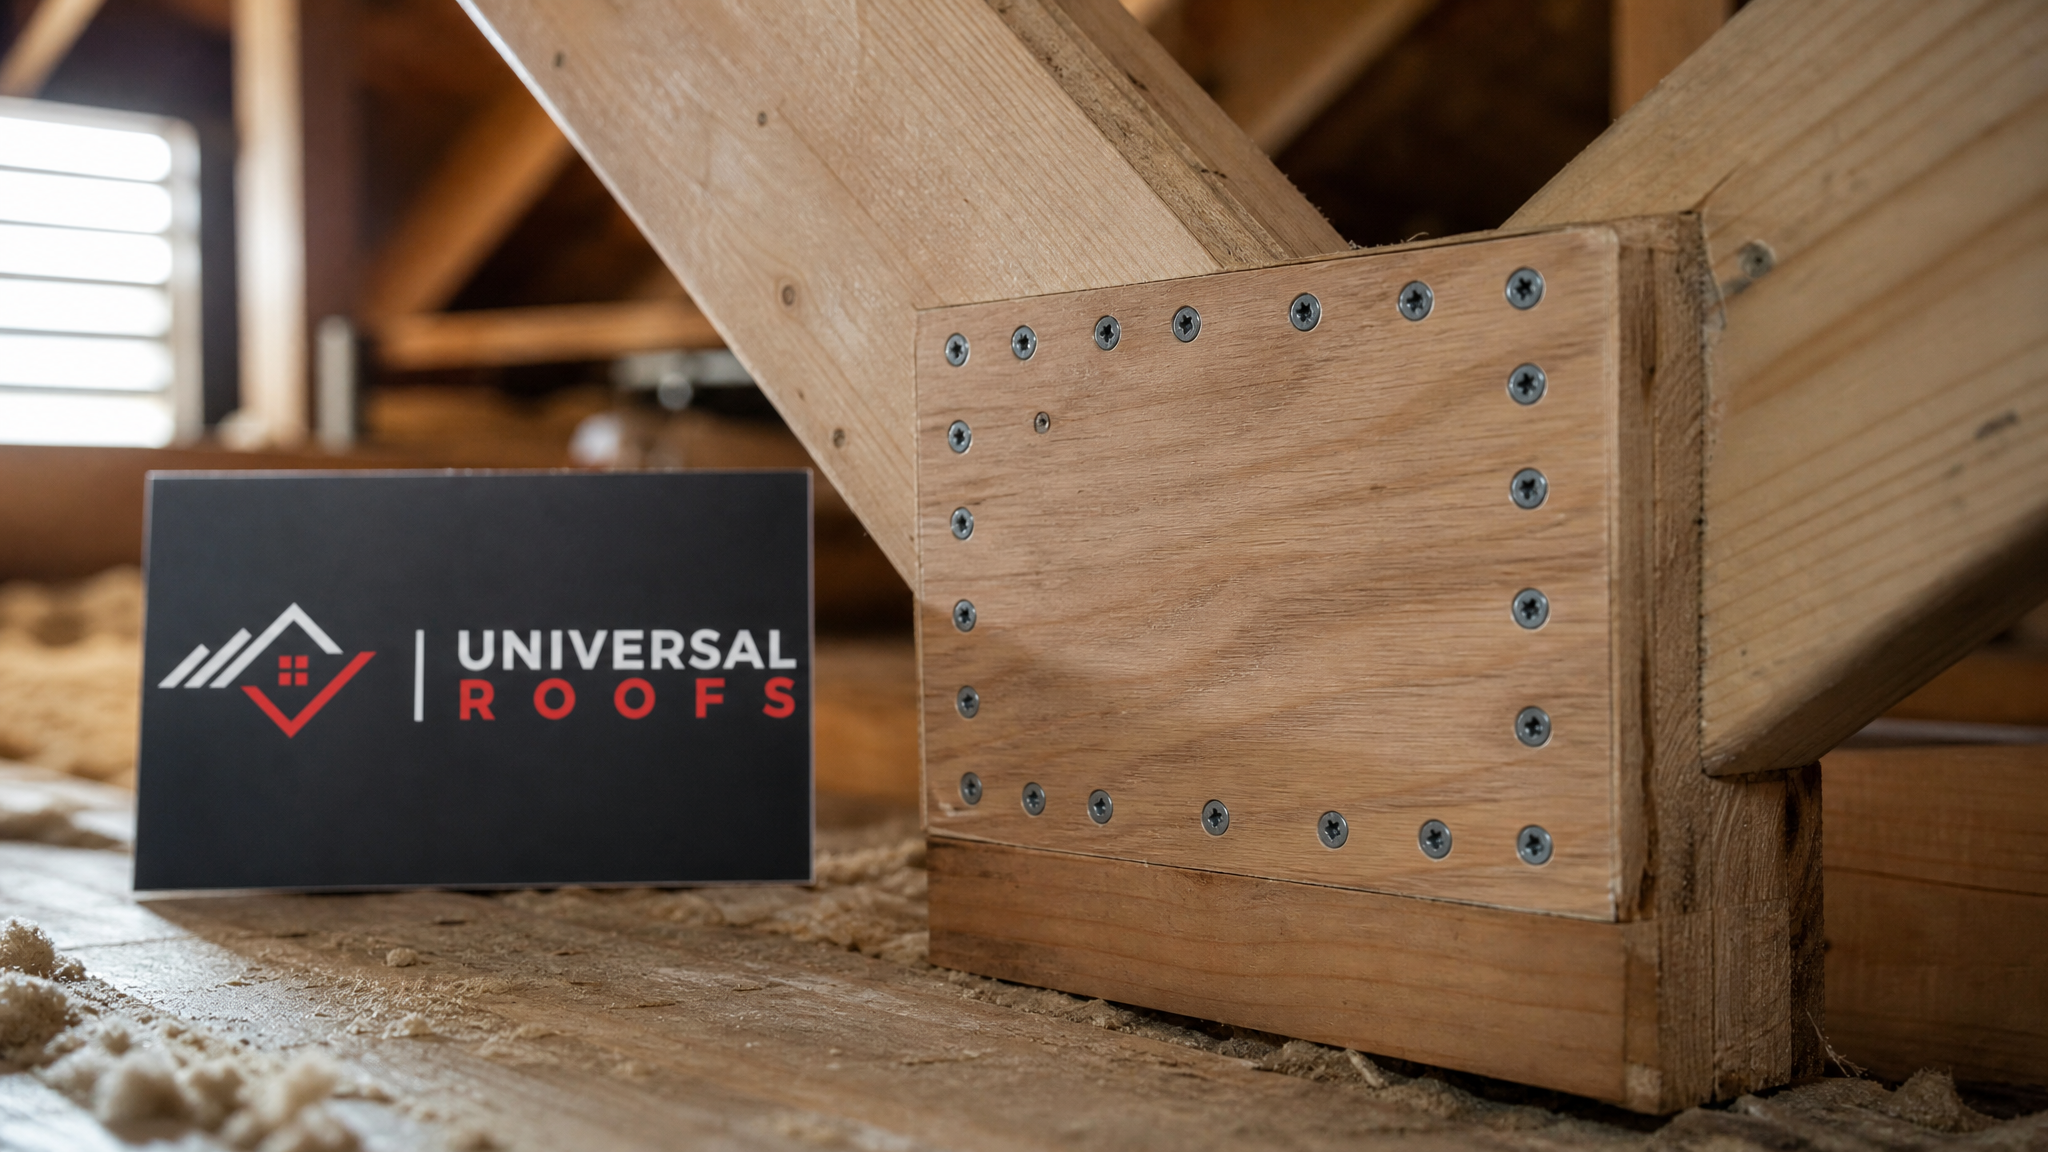
Basic surface patching or filling minor cracks with epoxy consolidant is reasonable for a handy homeowner to attempt on a low-risk section. Anything involving sistering, splicing, gusset plate replacement, or a change in roofing material, however, should go to a licensed roofing contractor. Truss systems are engineered assemblies, and modifying one member without understanding how load redistributes to its neighbours can create a problem far more serious than the one you started with.
If you are unsure whether your situation calls for a DIY fix or a professional assessment, our FAQ page covers many of the most common homeowner questions, and our reviews reflect two decades of GTA homeowners who trusted us to get this exact call right. You can also read more about our approach and history on our about page.
Why is roof truss repair essential for roofing material compatibility?
Can I switch to a heavier roofing material like tile without repairing my trusses first?
Does truss spacing really affect metal roofing installation?
What is deflection and why does it matter for roof truss repair essential for roofing material compatibility?
How much does truss repair combined with a roofing material upgrade cost in the GTA?
Should I hire a professional for truss repair or can I DIY it?
Need Help With Why Is Roof Truss?
If you are planning a re-roof or have noticed signs of truss damage, do not let material selection and structural repair happen in isolation. Universal Roofs has spent nearly two decades making sure GTA homeowners get a truss system that is genuinely compatible with the roofing material going on top of it, not just a patch job that looks fine until the next freeze-thaw season.
Call us today at (416) 732-2421 or request a free inspection to get started.
Universal Roofs proudly serves Toronto, Mississauga, Brampton, Vaughan, Markham, Oakville and the GTA since 2005.