
When heavy, wet snow piles up on a Toronto roof after a February storm, most homeowners worry about ice dams or a leaking shingle. Far fewer think about the wooden skeleton hidden above their ceiling that is quietly carrying every kilogram of that load. That skeleton is the roof truss system, and when it is compromised, no amount of shingle maintenance will keep your home safe. This is exactly why roof truss repair crucial for snow load problems is not a niche concern reserved for engineers — it is a practical, seasonal reality for anyone living in the Greater Toronto Area.
Trusses are engineered to carry a specific design load, calculated using local snow load data, roof pitch, and spacing between members. Over time, however, cuts made for ductwork, water damage from a slow roof leak, insect activity, or simple age can weaken individual members. A truss system that was perfectly adequate when it was built can become dangerously undersized for a modern GTA winter, especially as freeze-thaw cycles become more erratic and heavy snowfalls arrive later or later in the season. Understanding why roof truss repair crucial for snow load problems becomes an urgent maintenance item — and knowing how to spot the warning signs before a failure — is one of the most valuable things a homeowner can learn.
In this guide, we will walk through how trusses actually work, the specific ways snow load stresses them, the warning signs that separate a cosmetic issue from a structural emergency, and the repair methods contractors use to restore a truss system to full strength. We will also cover costs, timelines, and how Universal Roofs approaches truss assessments across the GTA.
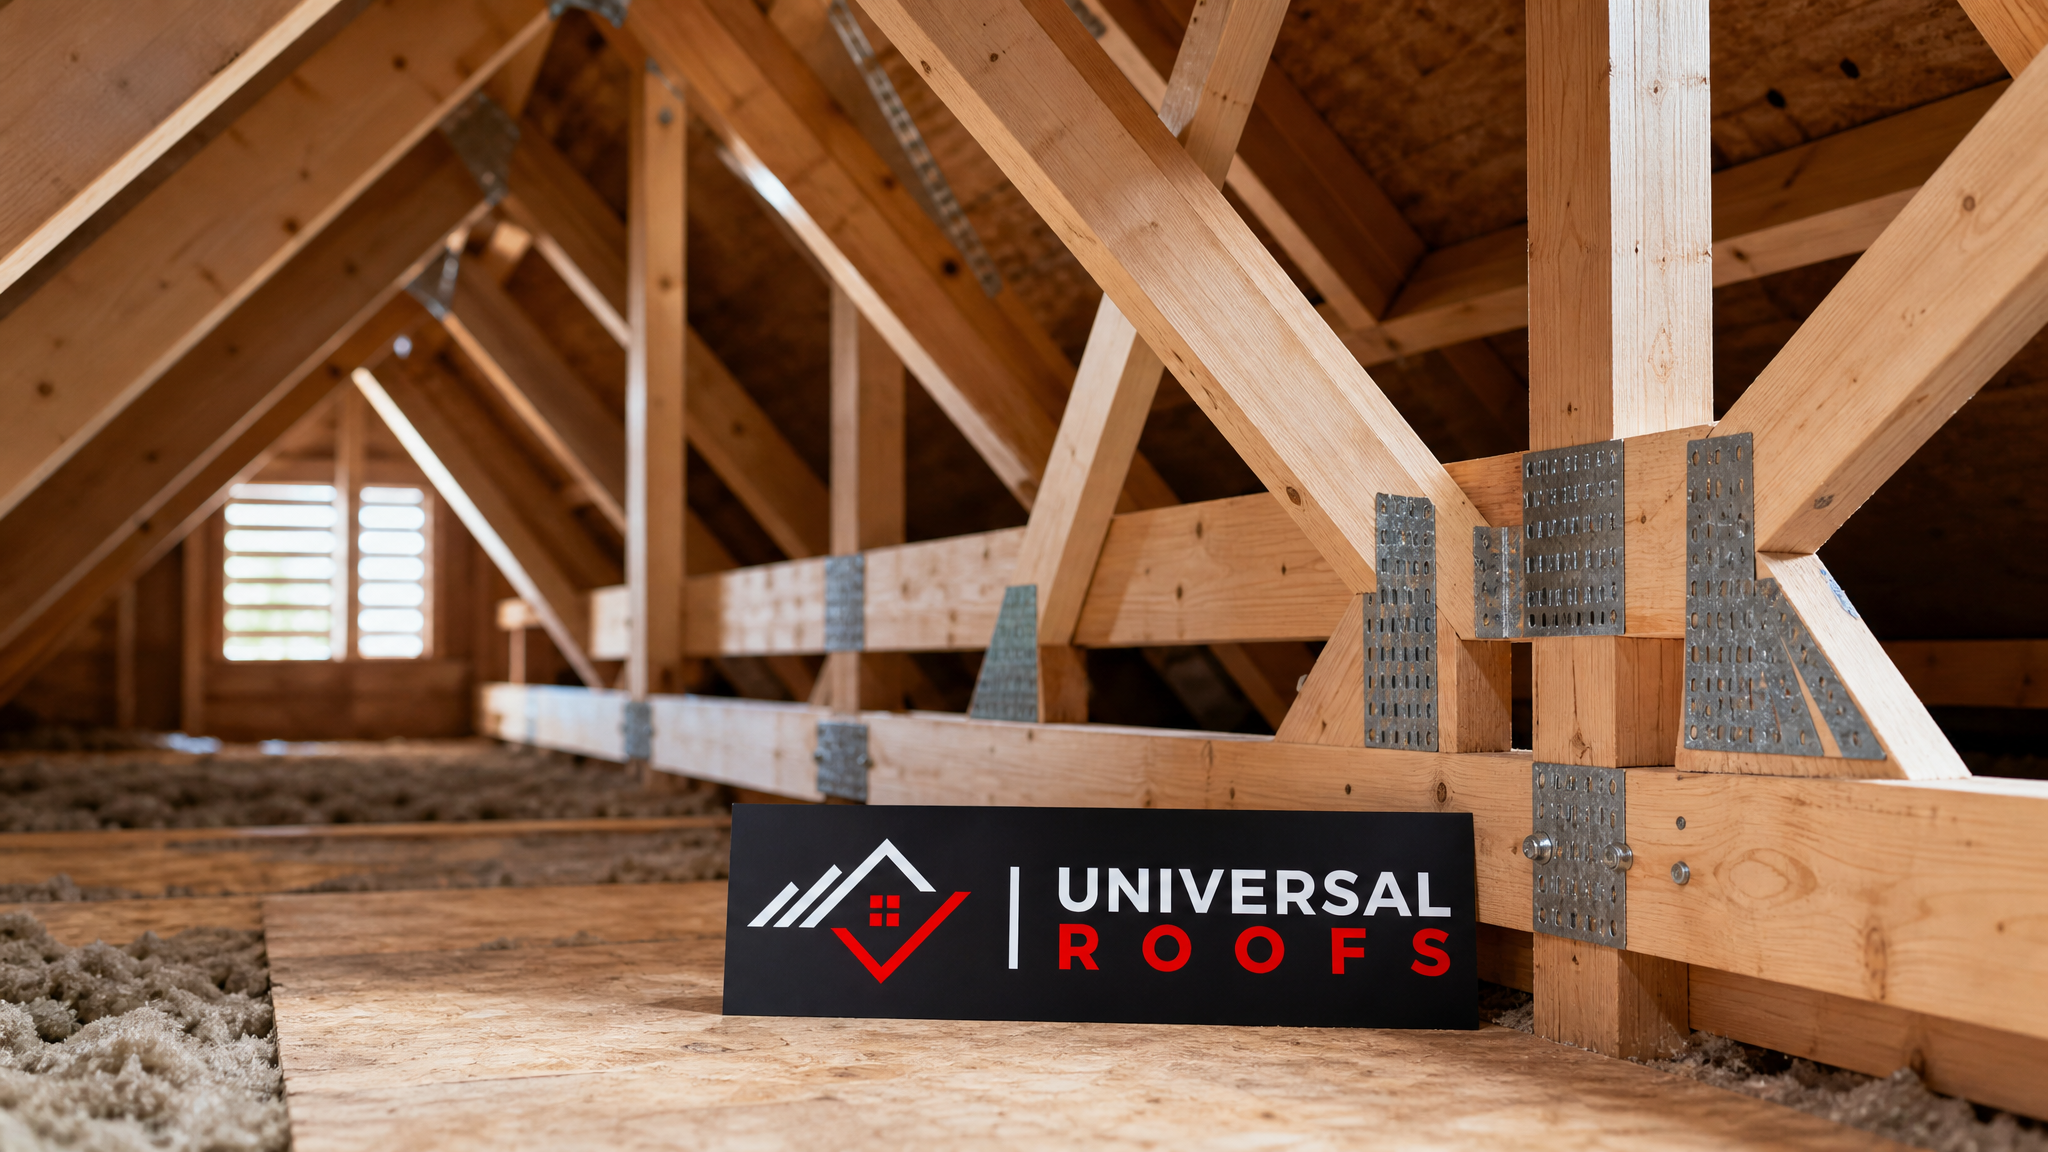
What a Roof Truss Actually Does
A truss is a triangulated wood-frame assembly designed to transfer the weight of the roof — and everything that lands on it — down through the exterior walls and into the foundation. Unlike older stick-framed rafter roofs, which rely on solid lumber and ridge beams, most homes built in the Toronto area since the 1970s use prefabricated trusses connected with metal gusset plates. This design is efficient and strong, but it depends on every single member functioning exactly as engineered. Cut, notch, or water-damage even one chord or web member, and the load path through the entire truss can be disrupted.
Each truss is designed around a specific “design snow load,” a number derived from historical weather data for the region. In the GTA, that figure accounts for accumulated snow depth, snow density, and the possibility of drifting against parapets, dormers, or adjacent rooflines. When a truss loses even 15 to 20 percent of its rated strength through decay or damage, the safety margin built into the original design shrinks dramatically, and a heavy, wet snowfall can push the structure past its limit.
This is the central reason roof truss repair crucial for snow load problems keeps surfacing in inspection reports across older GTA neighbourhoods. A truss does not need to fail completely to become dangerous — it only needs to lose enough capacity that the next major snow event exceeds what remains.
How Snow Load Actually Stresses a Truss System
Fresh, dry snow is deceptively light, but as it compacts, absorbs moisture, and refreezes through multiple freeze-thaw cycles, its density rises sharply. A metre of fresh powder might weigh very little per square metre, but the same depth of compacted, ice-laden snow after a Toronto thaw-and-refreeze week can weigh three to five times as much. Add drifting snow against a parapet wall, a rooftop mechanical unit, or a two-storey step in the roofline, and localized loads can spike well beyond the “average” snow load the truss was designed to carry uniformly.
Trusses handle this stress through their triangulated web pattern, distributing the vertical load into tension and compression forces along the top chord, bottom chord, and internal webs. When every member is intact, this system is remarkably efficient. When a member has been compromised, the forces that were meant to travel through it get redistributed onto neighbouring members that were never designed to carry the extra share. Over one or two winters, this redistribution accelerates fatigue, sagging, and eventually cracking.
- Heavy, wet snow accumulation after freeze-thaw cycling
- Drift loading against parapets, dormers, and roof step-downs
- Ice damming adding trapped water weight along eaves
- Rooftop equipment (HVAC units, satellite mounts) adding point loads
- Previous unpermitted alterations that cut or notched truss members
Warning Signs You Should Never Ignore
Most truss problems do not announce themselves with a dramatic collapse. Instead, they show up as small, easy-to-dismiss signs that a careful homeowner — or an experienced roofer performing a roof repair assessment — will recognize immediately.
A sagging ridge line visible from the street, doors and windows on the top floor that suddenly stick, hairline cracks appearing in ceiling drywall directly beneath the attic, or a visible bow in the bottom chord of a truss when viewed from inside the attic are all signals that load is not being carried the way it should be. Popping or cracking sounds during or immediately after a heavy snowfall are another red flag — that sound is often a gusset plate or a wood fibre reaching its stress limit.
| Warning Sign | What It Usually Means | Urgency Level | Recommended Action |
|---|---|---|---|
| Visible ridge sag from the street | Long-term overload or chord failure | High | Same-week professional inspection |
| Cracking sounds during snow load | Gusset plate or joint stress | High | Immediate inspection, avoid attic access |
| Hairline ceiling cracks below attic | Truss deflection transferring to drywall | Medium | Inspection within 1-2 weeks |
| Sticking doors/windows on top floor | Frame racking from roof movement | Medium | Schedule structural assessment |
| Visible bow in bottom chord | Member overstressed or previously cut | High | Do not add attic storage; call a contractor |
| Daylight visible at gusset plate edges | Plate separating from wood | High | Immediate repair required |
If you notice any of these signs after a significant snowfall, avoid walking in the attic near the affected area and contact a roofing contractor promptly. Continuing to add weight — whether from stored boxes, additional snow, or even foot traffic — while a truss is compromised increases the risk of sudden failure.
Common Causes of Truss Weakness in GTA Homes
Understanding why a truss becomes vulnerable in the first place helps homeowners prevent the problem from recurring after repair. In our experience working across Toronto, Mississauga, and the surrounding regions, five causes account for the vast majority of truss failures we are called out to address.
Unpermitted attic modifications are the most frequent culprit. Homeowners or previous contractors cutting a web member to run new ductwork, add a skylight shaft, or create attic storage space rarely realize that every member in a truss is load-bearing by design — there is no “spare” wood to remove. Water intrusion is the second major cause: a slow roof leak, often originating from failed flashing or an aging skylight installation, can saturate and rot truss chords for years before symptoms appear on the ceiling below. Poor attic ventilation compounds this by trapping humidity that condenses on cold truss members throughout winter. Age and original construction quality also play a role, particularly in homes built during rapid postwar expansion when lumber grading and gusset plate standards were less rigorous than today. Finally, added rooftop equipment — mechanical units, solar mounts, or oversized satellite dishes — introduces point loads that many original truss designs never accounted for.
Repair Methods: Sistering, Scabbing, and Full Replacement
Once a truss weakness is identified, the repair approach depends on the extent and location of the damage. The three most common methods used across the industry are sistering, scabbing, and full truss replacement, each suited to a different severity of damage.
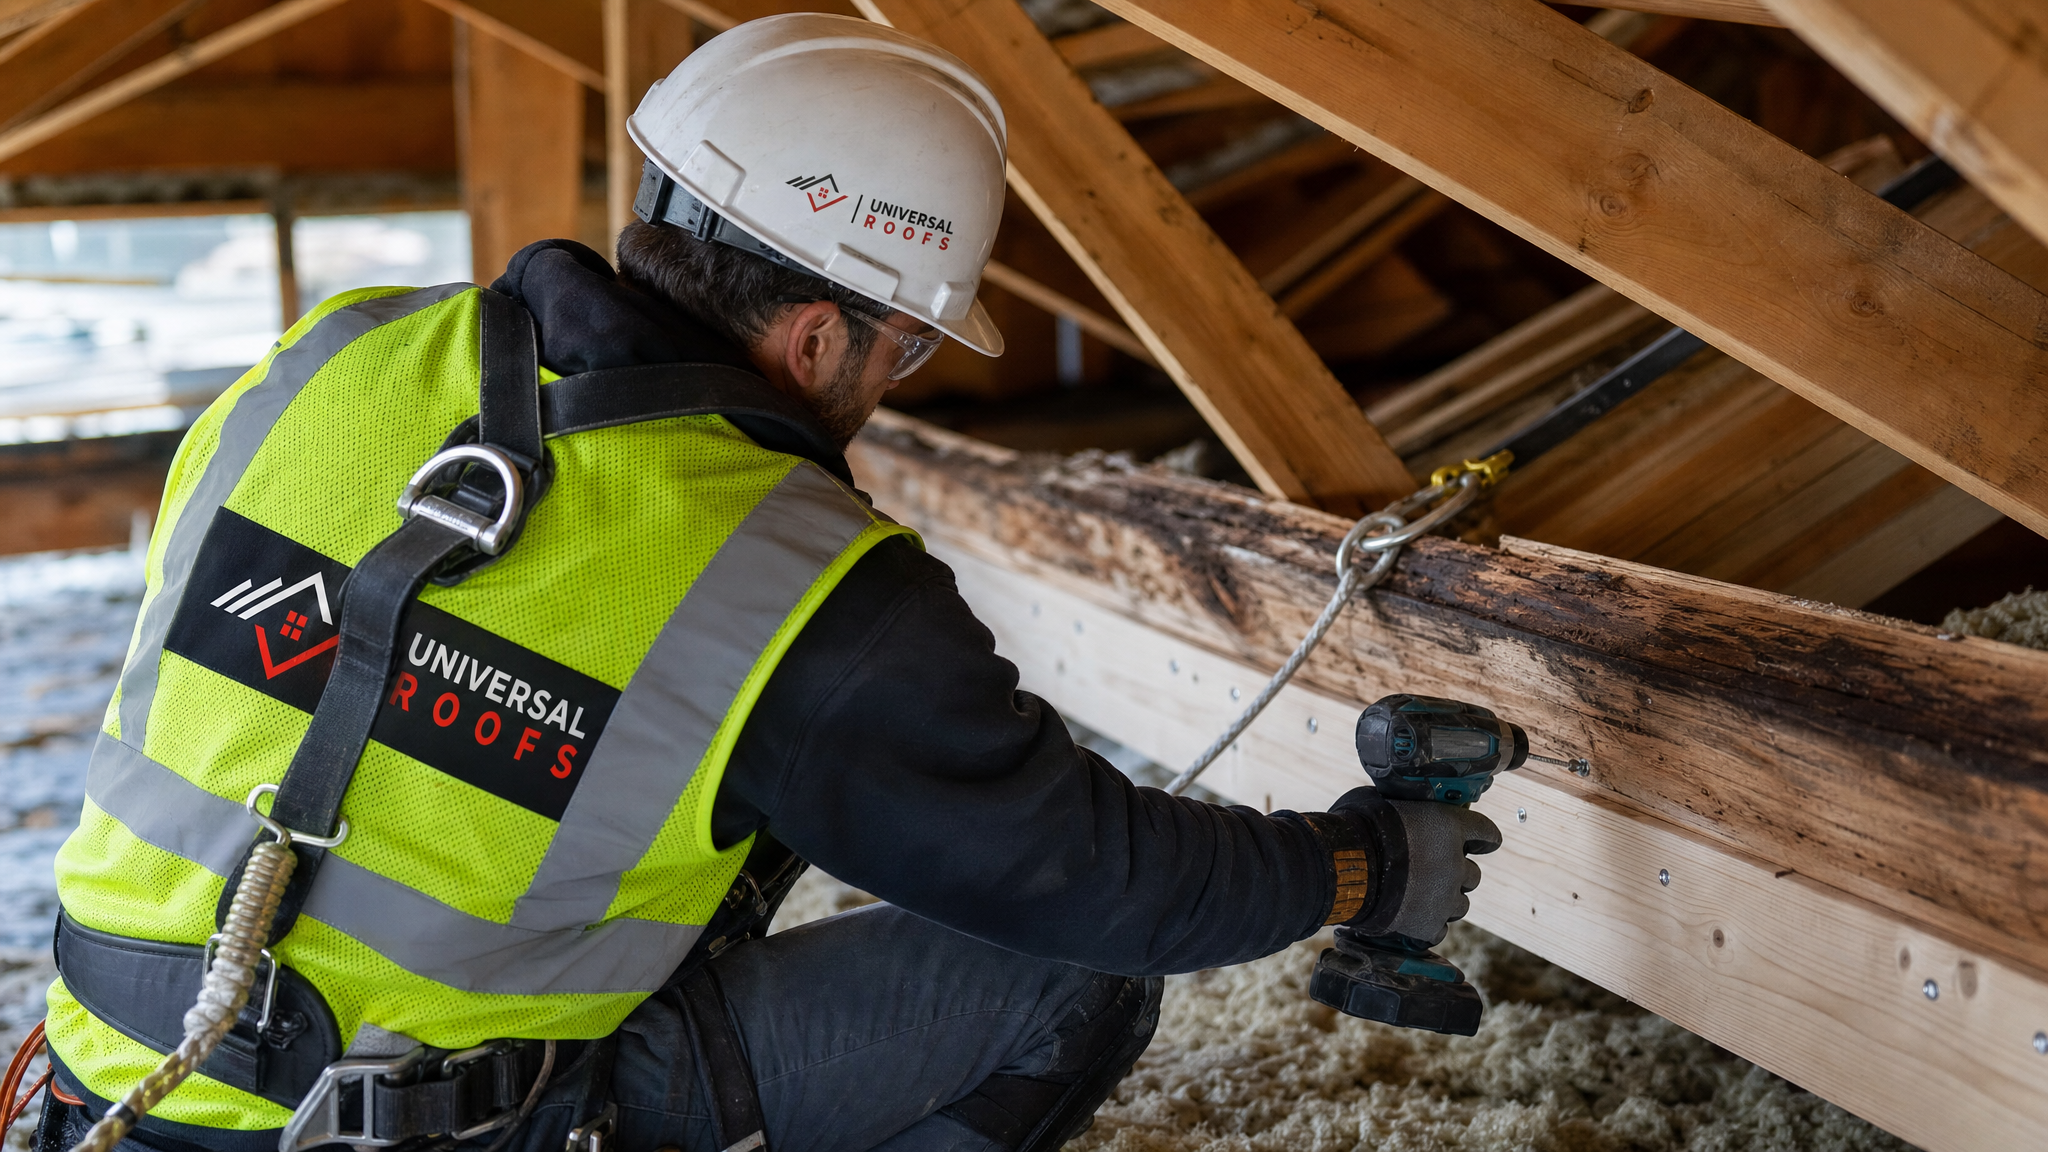
Sistering involves attaching a new length of lumber alongside a damaged or undersized chord or web member, fastened with structural screws or through-bolts, effectively doubling the load-carrying capacity at that location. This is the most common repair for moderate rot, minor cracking, or a truss that was slightly undersized for current snow load requirements. Scabbing is a more localized version of the same principle, used to bridge a specific crack or notch rather than reinforcing the entire member length. For severe cases — where a chord has failed completely, where fire or extensive water damage has destroyed structural wood fibre, or where an entire truss was removed without engineering approval — full truss replacement is required, sometimes with temporary shoring installed to support the roof load during the swap.
| Repair Method | Best For | Typical Cost Range (CAD) | Typical Timeline |
|---|---|---|---|
| Sistering (single member) | Minor rot, undersized chord, localized crack | $600 – $1,400 per truss | 1 day |
| Scabbing / plate reinforcement | Small crack or notch, gusset plate separation | $400 – $900 per repair point | Half day to 1 day |
| Multiple truss sistering | Widespread minor damage across attic | $3,000 – $8,000 | 2-3 days |
| Full truss replacement (single) | Severe rot, cut member, fire/water damage | $1,800 – $4,500 per truss | 1-2 days plus shoring |
| Engineered structural retrofit | Whole-roof undercapacity for current snow load code | $8,000 – $25,000+ | 1-3 weeks |
Every legitimate truss repair in Ontario involving structural members should be reviewed or specified by a licenced structural engineer, particularly when the repair changes load paths or when a building permit is required. A qualified contractor performing roof replacement work will coordinate directly with an engineer when truss issues are discovered mid-project, rather than simply covering the problem back up with new shingles.
Snow Load Codes and What They Mean for Your Home
Ontario’s Building Code establishes ground snow load values by municipality, and these figures are used to calculate the roof snow load a truss must be engineered to resist. Toronto’s design ground snow load is higher than many people assume, and it does not account for drifting, which can locally double or triple the load in specific zones of a roof. Homes built to older code editions were designed around the snow load data available at the time, and as that data has been revised upward in newer code cycles to reflect more accurate historical records, some older trusses are technically undersized relative to current standards, even though they were fully compliant when built.
This gap matters most when a homeowner is planning renovations, additions, or a change in roof covering that adds weight — switching from asphalt shingles to a heavier material, for instance, or adding a green roof section. It also matters for homes near flat roofing sections, where drainage design and snow accumulation patterns differ significantly from pitched roofs and where ponding combined with snow load creates a more complex structural picture.
| Roof Type | Primary Snow Load Risk | Inspection Frequency | Key Structural Concern |
|---|---|---|---|
| Standard pitched truss roof | Uniform accumulation, ridge sag | Every 2-3 years or after major storms | Chord and web member integrity |
| Roof with dormers or step-downs | Drift loading concentration | Annually | Localized truss overload near steps |
| Flat or low-slope roof | Ponding plus snow weight combined | Twice yearly (fall and spring) | Deck and joist deflection, drainage |
| Roof with rooftop mechanicals | Point-load stress near equipment | Annually | Truss members beneath equipment pads |
| Homes built before 1990 | Outdated design snow load assumptions | Every 2 years | Overall structural capacity vs. current code |
Preventive Maintenance Between Repairs
Repairing a damaged truss solves the immediate problem, but ongoing prevention is what keeps snow load issues from recurring. A well-maintained roof and attic system reduces the moisture, ventilation, and load factors that weaken trusses in the first place.
Start by maintaining proper attic ventilation and insulation, which keeps the underside of the roof deck cold and prevents the freeze-thaw cycling that drives ice damming — a leading cause of hidden water damage to truss chords. Schedule a professional inspection of your attic space every one to two years, checking specifically for daylight at gusset plates, moisture staining, and any signs of movement at connection points. After any snowfall exceeding roughly 30 centimetres, or after a series of storms without a thaw in between, a visual check of ceiling lines and door/window operation on the top floor takes only a few minutes and can catch a developing problem early. Keep gutters and downspouts clear so that meltwater has somewhere to go rather than backing up under shingles and soaking into the roof deck and truss bearing points. Finally, avoid unpermitted attic modifications entirely — if you need to run new wiring, ductwork, or add a skylight shaft, involve a contractor who understands truss engineering rather than making a cut that seems harmless.
When to Call a Professional vs. Monitor the Situation
Not every attic quirk requires an emergency call. Minor cosmetic cracking in old gusset plate paint, slight lumber checking (small surface splits that are common in kiln-dried wood and do not run through the member), or very minor dust settling from vibration are generally not structural concerns. However, any of the high-urgency signs described earlier — audible cracking during snow load, visible sagging, or daylight appearing at a gusset connection — warrant an immediate professional assessment rather than a wait-and-see approach.
When in doubt, the safest and most cost-effective decision is to have a qualified roofer evaluate the attic before the next major snowfall rather than after. Many GTA homeowners who reach out to Universal Roofs after noticing early warning signs are able to resolve the issue with a modest sistering repair costing a few hundred dollars, compared to the far larger expense and disruption of an emergency shoring job after a partial failure. You can review examples of past work and homeowner feedback on our reviews page, and browse common questions on our FAQ page.
How Universal Roofs Approaches Truss Assessments
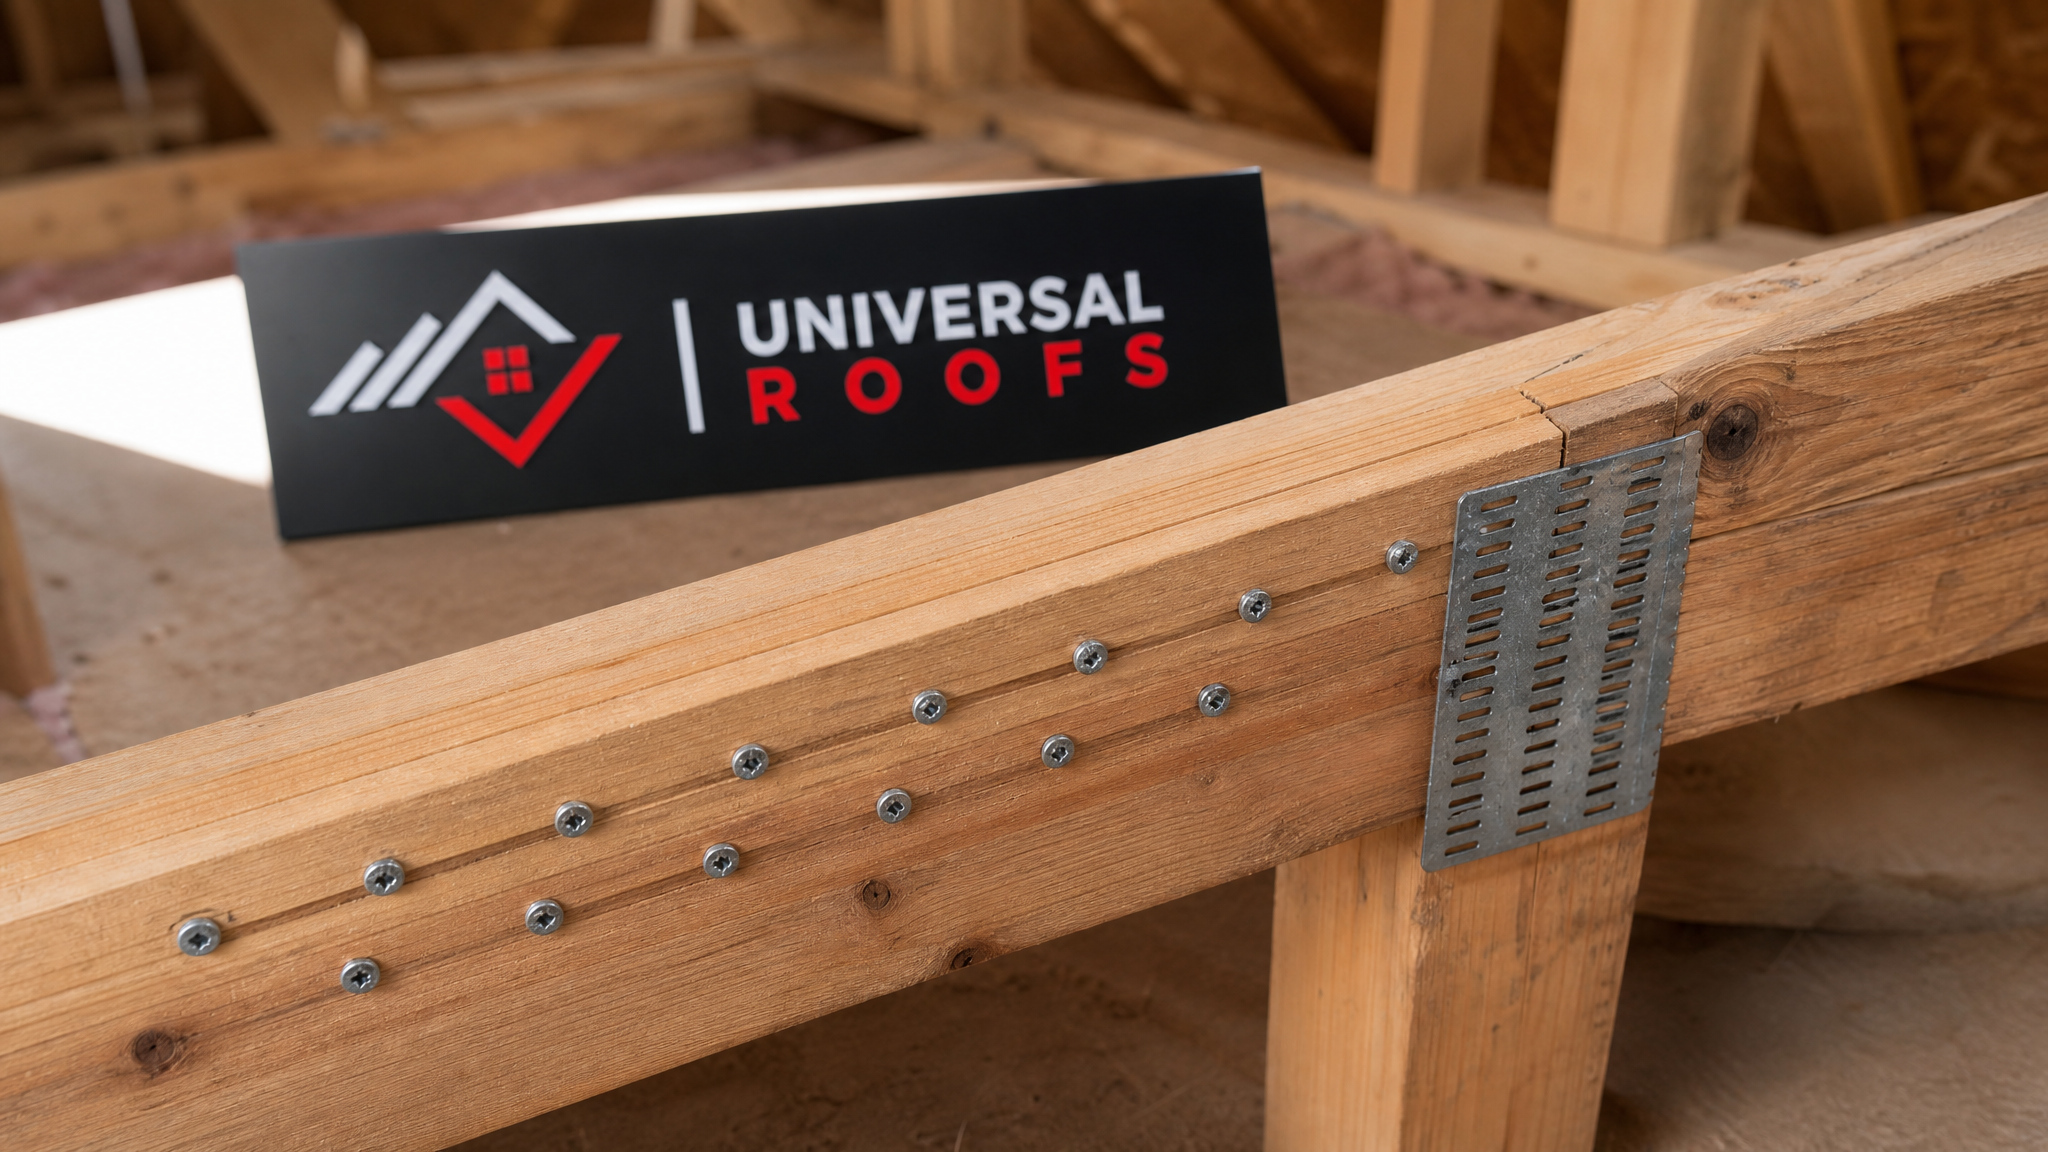
Since 2005, our crews have inspected and repaired truss systems across a wide range of GTA housing stock, from postwar bungalows to newer subdivision builds. Every assessment begins with a full attic walkthrough, checking each visible truss for sag, cracking, moisture staining, and gusset plate condition, followed by a review of any prior alterations that may have compromised structural members. Where a repair is required, we outline the recommended method — sistering, scabbing, or full replacement — along with realistic cost and timeline expectations, and we bring in a structural engineer whenever the scope calls for one.
We work across Toronto, the Peel Region, York Region, Halton Region, and Durham Region, giving us a broad, current view of how local snow load patterns and housing ages interact across different municipalities. That regional experience matters because a truss issue in an older North York bungalow can look very different from one in a newer Vaughan build with rooftop mechanicals, even though both fall under the same general category of snow load stress.
Why is roof truss repair crucial for snow load problems in the first place?
How do I know if my roof truss is failing under snow load?
What is the difference between sistering and replacing a truss?
Can I add attic storage if I am worried about snow load on my trusses?
Does home insurance cover roof truss repair from snow load damage?
How often should GTA homeowners inspect their roof trusses for snow load risk?
Need Help With Why Is Roof Truss?
Snow load problems rarely announce themselves until a storm has already tested your roof’s limits, which is why proactive truss assessment matters so much for GTA homeowners. The team at Universal Roofs has spent nearly two decades inspecting, sistering, and replacing trusses across the region, and we can help you understand exactly where your roof stands before the next heavy snowfall arrives.
Call us today at (416) 732-2421 or request a free inspection to get started.
Universal Roofs proudly serves Toronto, Mississauga, Brampton, Vaughan, Markham, Oakville and the GTA since 2005.