
A sagging roofline, a cracked ceiling seam, or a door that suddenly sticks in its frame can all trace back to the same hidden culprit: a damaged roof truss. Trusses are the triangular wooden skeleton holding your entire roof deck, insulation, and shingles in place, and when one member cracks, splits, or pulls away from a connector plate, the problem rarely stays small. Homeowners across the GTA searching for roof truss repair contractors for reliable fixes are usually dealing with one of a handful of warning signs — and choosing the right contractor is the difference between a permanent structural repair and a costly redo.
This guide walks through how truss damage happens, what a proper repair actually involves, how much it costs in the Toronto market, and exactly what to look for when vetting a contractor. We will also cover the questions to ask before signing a quote, the red flags that separate a reliable structural repair firm from a handyman with a nail gun, and how truss issues connect to broader roof health, attic ventilation, and insurance coverage.
We wrote this because trusses are one of the most misunderstood parts of a home. Unlike a leaking shingle or a clogged eavestrough, truss damage is structural — it affects the load path of your entire roof — and it is not a place to gamble on a quick, cheap fix. Universal Roofs has been repairing and replacing roof systems across the Greater Toronto Area since 2005, and truss and structural repair calls are a recurring part of our roof repair work, especially after ice damming, wind events, or renovations that remove interior support walls without accounting for the load they were carrying.
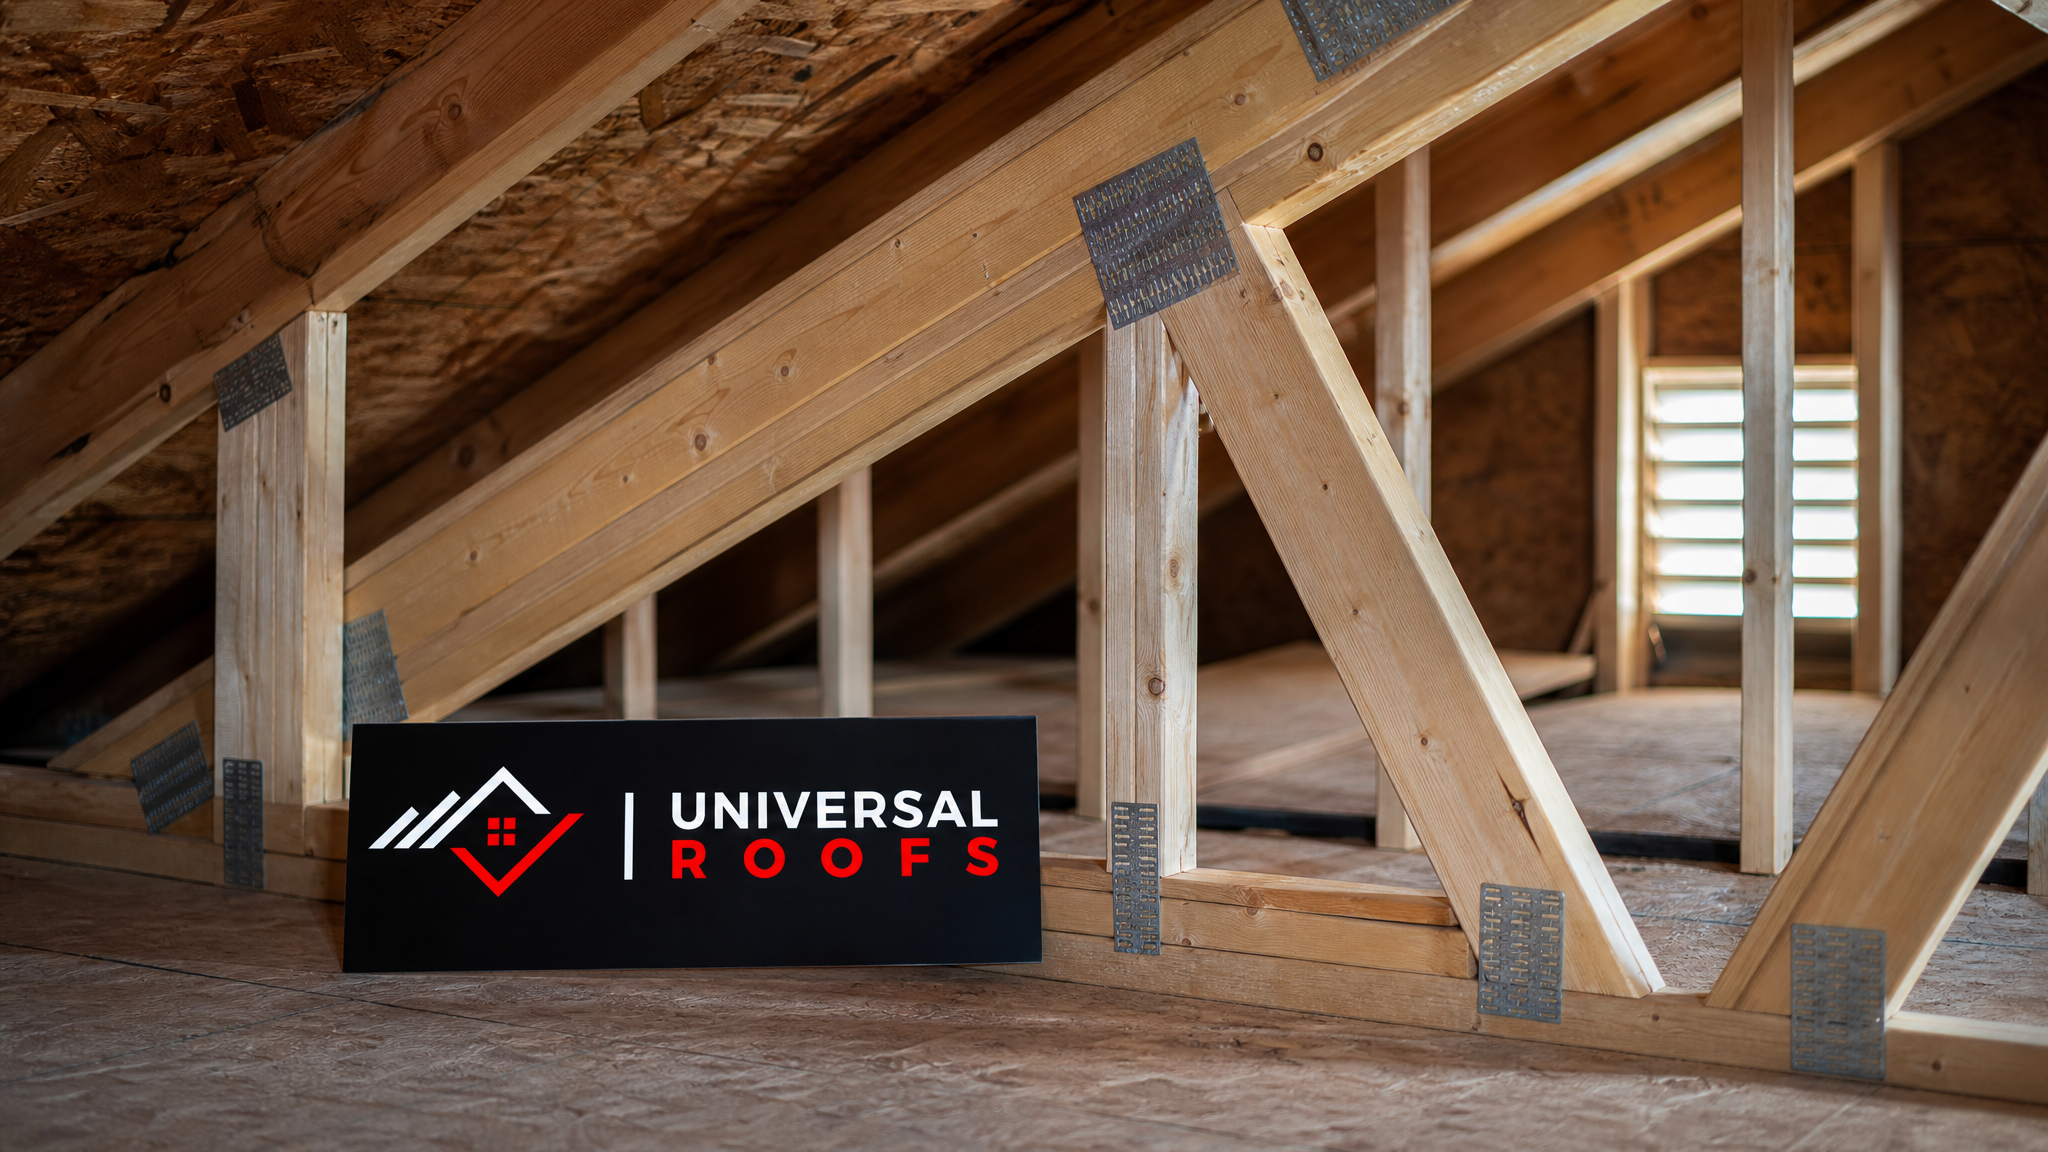
What Roof Truss Damage Looks Like and Why It Happens
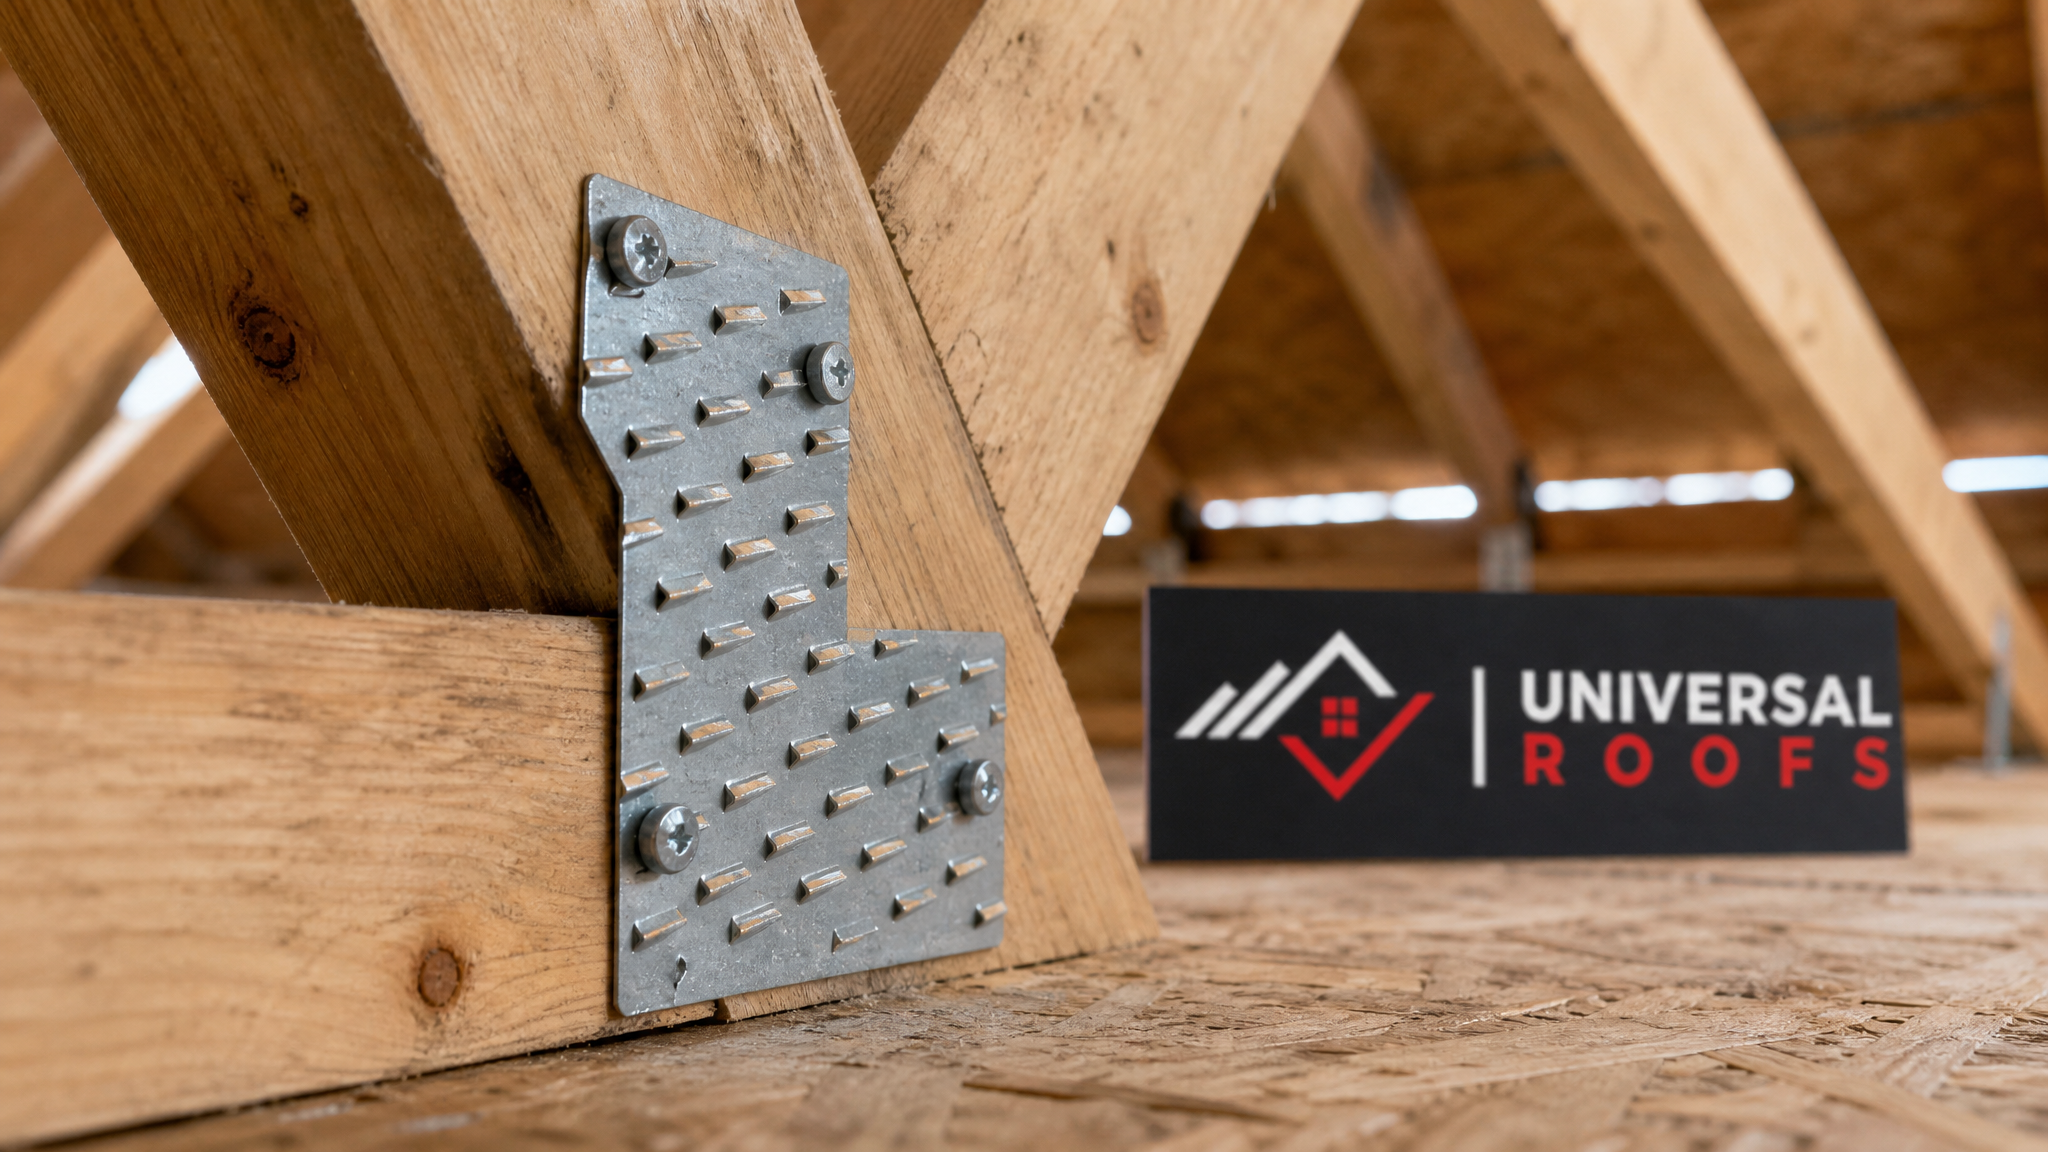
Roof trusses are engineered assemblies of wood chords and webs connected with galvanized metal gusset plates, designed to carry a specific calculated load down to your exterior walls. When something disrupts that design — moisture, an undersized member, an improperly cut notch, or an added point load the truss was never meant to carry — the truss starts to deflect, crack, or separate at its joints.
In the Toronto area, the most common causes we see are:
- Moisture and rot. A slow roof leak, ice damming along the eaves, or poor attic ventilation lets moisture sit against the wood chords for months or years, softening the fibres until they lose load capacity.
- Freeze-thaw cycling. GTA winters push moisture into small cracks in the wood or around fasteners, where it freezes, expands, and widens the gap every cycle. Over a decade or two this alone can loosen gusset plate teeth.
- Storm and wind loading. A severe windstorm or a heavy, wet snow load beyond design expectations can rack a truss system sideways, cracking webs near their connections.
- Renovation cuts. Homeowners or unlicensed contractors sometimes cut into a truss chord or web to run ductwork, a chimney, or a skylight shaft, removing material the truss needs to carry load.
- Manufacturing or installation defects. Occasionally a truss arrives from the factory with a knot in a critical location, or is installed with inadequate bearing, and the problem only surfaces years later.
Visible symptoms include a sagging ridge line when viewed from the street, horizontal cracks in interior drywall near the ceiling-wall junction, doors and windows that begin sticking on upper floors, daylight visible through a gusset plate connection in the attic, and standing water stains directly beneath a truss joint. Any one of these on its own is worth a professional look; two or more together usually means it is time to call in a specialist rather than wait.
Why Truss Repair Is Different From Ordinary Roof Repair
A shingle repair or flashing patch is a maintenance task. Truss repair is structural work, and it needs to be treated that way. The truss is not just holding up shingles — it is transferring roof load, snow load, and wind load down through the exterior walls to the foundation. A repair that looks fine on the surface but does not restore the truss’s original load-carrying capacity can leave a home vulnerable during the next heavy snowfall.
That is why reliable truss repair contractors typically follow an engineering-informed process rather than an eyeball-and-hammer approach:
- Inspection and diagnosis — identifying every affected truss, the type and location of damage, and whether the cause (moisture, load, or a bad cut) is ongoing or resolved.
- Load assessment — for anything beyond a minor crack, a structural engineer or engineered-repair specification determines the sistering, plating, or bracing needed to restore capacity.
- Material selection — matching lumber grade and species to the original truss design, or specifying an approved engineered wood product where called for.
- Repair execution — sistering new members alongside damaged ones, installing structural screws or through-bolts, and adding new gusset plates or steel reinforcement plates as specified.
- Verification — confirming the repair meets local building code and, where required, obtaining sign-off from the engineer or municipal inspector.
Contractors who skip the diagnosis and assessment steps and go straight to “screwing a board next to the crack” are the ones homeowners end up calling back a second time. A reliable fix addresses the root cause first.
Roof Truss Repair Methods Compared
Not every truss problem needs the same solution. The table below compares the main repair methods used by GTA structural and roof repair contractors, from simplest to most involved.
| Repair Method | Best For | Typical Materials | Relative Cost | Notes |
|---|---|---|---|---|
| Sistering (scab repair) | Single cracked chord or web, minor rot | Matching dimensional lumber, structural screws or bolts | $ | Most common repair; new member fastened alongside the damaged one to share the load |
| Gusset plate reinforcement | Loosened or corroded connector plates at joints | Galvanized steel plates, structural fasteners | $ | Restores joint strength without replacing wood members |
| Steel flitch plate repair | Wider cracks or notched/cut members needing extra capacity | Steel plate sandwiched between wood members, through-bolts | $$ | Common where a chord has been notched for ductwork or wiring |
| Partial truss replacement | Severe rot or a badly split member beyond sistering | New engineered truss section, temporary shoring | $$$ | Requires temporary support while the damaged section is cut out and replaced |
| Full truss replacement | Multiple compromised members or fire/water damage | New manufactured truss, crane or manual rigging | $$$$ | Usually requires an engineer’s stamped drawing and roof deck disturbance |
Sistering is the workhorse repair for the majority of residential truss issues in the GTA — it is fast, cost-effective, and when done with the correct fastener schedule and member length, restores full load capacity. Flitch plates and partial replacement come into play more often after a renovation cut or a serious moisture event. Full replacement is reserved for the more severe cases, such as long-term water intrusion or fire damage.
What Reliable Truss Repair Costs in the GTA
Cost depends heavily on the number of trusses affected, attic accessibility, whether an engineer’s report is required, and whether the roof deck needs to be opened to reach the damage from above. The following ranges reflect what we typically see across Toronto, Mississauga, Brampton, Vaughan, Markham, Oakville, and the surrounding GTA in 2026.
| Scope of Work | Typical Price Range (CAD) | Timeline | Engineer Review Usually Required? |
|---|---|---|---|
| Single truss, minor sistering repair | $450 – $900 | Half day to 1 day | No, for minor cracks |
| Multiple truss sistering (3-6 trusses) | $1,800 – $4,500 | 1 – 2 days | Recommended |
| Gusset plate reinforcement, per joint | $150 – $350 per joint | Same day | No, for isolated joints |
| Flitch plate or notched member repair | $800 – $2,200 per member | 1 day | Yes |
| Partial truss replacement | $2,500 – $6,000 per truss section | 2 – 4 days | Yes, stamped drawing typical |
| Full truss system replacement (whole roof) | $15,000 – $40,000+ | 1 – 3 weeks | Yes, mandatory |
Two cost factors surprise homeowners most often. First, attic access matters — a cramped, low-clearance attic with blown-in insulation adds labour time before the repair even starts. Second, if the truss damage is tied to an active roof leak, the leak itself needs to be fixed as part of the same project, or the new repair will rot just as fast as the old one did. Anyone quoting a truss repair without asking about the roof’s current condition, including flashing, ventilation, and shingle age, is not doing a complete assessment.
How to Vet a Roof Truss Repair Contractor
Because truss work touches the structural integrity of the home, the vetting bar should be higher than for a routine shingle job. Here is what separates contractors capable of a reliable, lasting fix from those who are not.
Licensing, insurance, and engineering relationships
Ask directly whether the company carries general liability insurance and WSIB coverage, and whether they have a working relationship with a structural engineer for anything beyond minor sistering. A contractor who bristles at this question, or claims engineering sign-off is “not necessary” for a multi-truss repair, is a red flag.
Local Toronto and GTA experience
Truss design loads, snow load assumptions, and ice damming patterns are regional. A contractor who has worked through GTA winters understands why a truss failed near the eaves versus at the ridge, and can spot a ventilation or insulation problem that is quietly causing repeat damage. Ask how long they have serviced your specific municipality — Toronto, Peel Region, York Region, Halton Region, and Durham Region each have slightly different bylaw and permitting requirements for structural roof work.
A written scope, not a verbal estimate
A reliable quote for truss repair should specify the number of trusses affected, the exact repair method (sistering, flitch plate, replacement), materials and fastener schedule, whether temporary shoring is included, and the expected timeline. If a quote is a single lump-sum number with no breakdown, ask for detail before signing.
Willingness to diagnose the root cause
If the truss damage stems from a leak, poor attic ventilation, or ice damming, a reliable contractor addresses that cause in the same scope of work, not as a separate upsell discovered halfway through. This is also where a broader roof repair assessment or an attic ventilation review often becomes part of the conversation.
Reviews and verifiable references
Structural repairs are exactly the kind of job where past customer experience matters most. Read through a contractor’s reviews looking specifically for mentions of structural or truss work, not just shingle jobs, and ask for a reference you can call who had a comparable repair done.
Red Flags to Avoid When Hiring for Truss Repair
The table below summarizes common warning signs homeowners run into during the quoting process, along with what they usually signal.
| Red Flag | What It Usually Means | What to Do Instead |
|---|---|---|
| No attic inspection before quoting | Estimate is a guess, not a diagnosis | Insist on a physical attic inspection before accepting any price |
| Refuses to involve an engineer for multi-truss damage | May not understand load requirements or is cutting corners | Ask for an engineered repair spec, or get a second opinion |
| Verbal-only quote, no written scope | Hard to hold the contractor accountable for the specific repair method | Request an itemized written estimate before work begins |
| Unusually low price compared to other quotes | Likely skipping sistering length, fastener schedule, or root-cause repair | Compare scopes line by line, not just the bottom-line number |
| No mention of the underlying leak or ventilation issue | Repair may fail again once the same moisture problem recurs | Ask specifically how they will address the cause, not just the symptom |
| Pressure to sign same-day with a “deal” | Common high-pressure sales tactic, especially after storms | Take at least 24 hours and get a second quote for structural work |
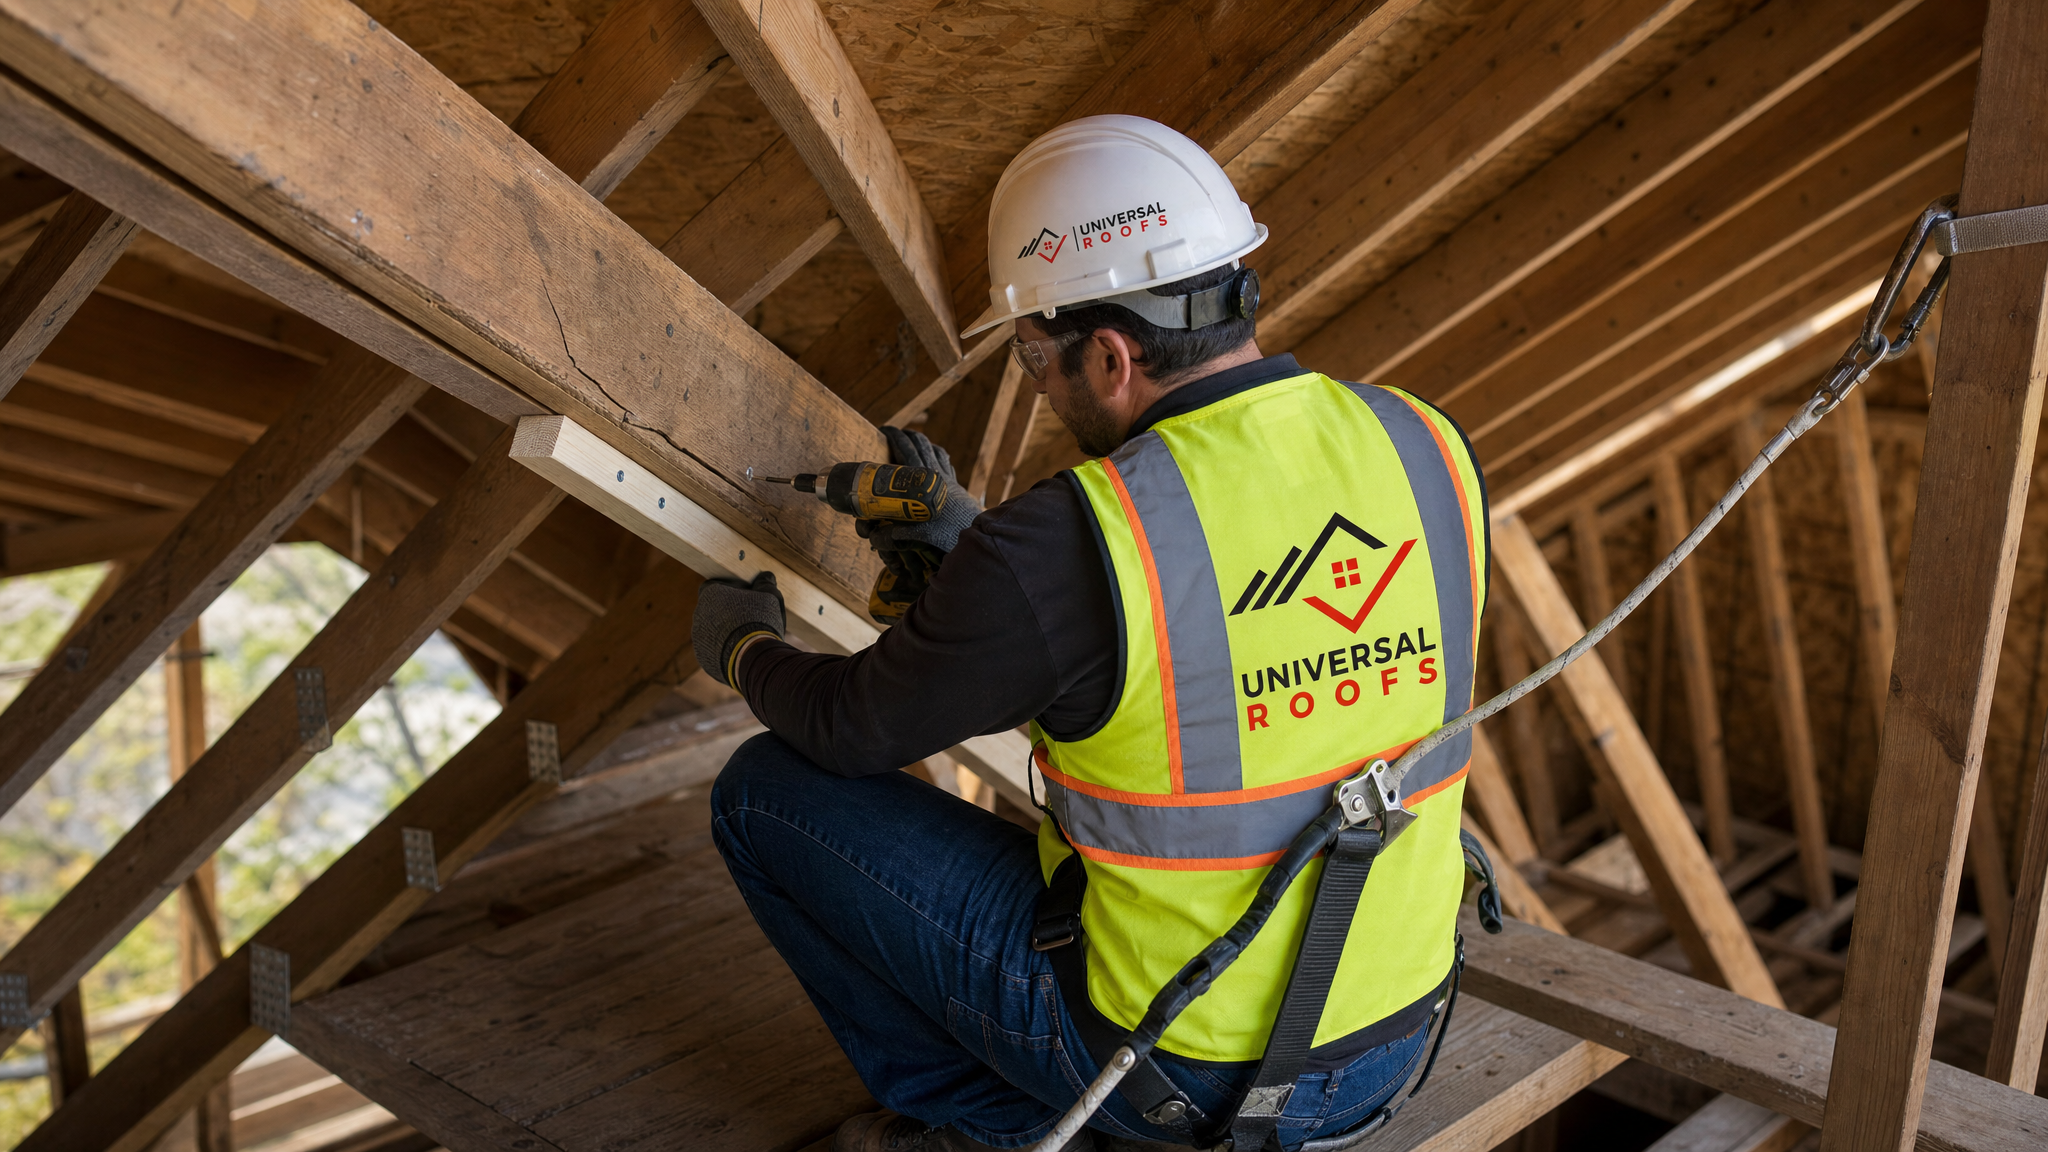
What a Proper Truss Repair Site Visit Involves
When our crews respond to a truss repair call, the process is deliberately methodical rather than rushed. We start in the attic with a flashlight and moisture meter, tracing every crack or gusset separation back to its source rather than treating the visible symptom in isolation. We check whether the damage is isolated to one truss or has spread along a run, since trusses share load with their neighbours and a problem at one location can put extra strain on the trusses beside it.
From there we document bearing points, check for any history of water staining, and look at attic insulation and ventilation, since a poorly ventilated attic is one of the most common hidden contributors to truss rot in Toronto homes built in the 1970s through 1990s. If the roof covering itself is older or showing wear, we will flag whether a targeted roof repair or a full roof replacement makes more financial sense than repeatedly patching both the roof and the structure underneath it.
For anything beyond a single minor sistering job, we bring in engineering input before cutting a single piece of lumber. That stamped repair specification protects the homeowner during a future home sale, since buyers’ inspectors increasingly ask for documentation on any past structural repair.
Truss Repair and Related Roof Systems
Truss problems rarely exist in a vacuum. A few connections worth understanding:
Flat roof sections. Homes and additions with a flat roofing section sometimes place unusual point loads on adjacent truss systems, particularly where a flat roof addition ties into a sloped truss roof without proper transitional framing.
Skylights. Cutting an opening for a skylight installation, or upgrading during a skylight replacement, requires proper header framing around the interrupted trusses. Skylight shafts cut without adequate framing are one of the more common causes of localized truss weakening we find during repair calls.
Attic ventilation and insulation. As mentioned above, a poorly ventilated attic traps moisture against truss members year-round, accelerating rot long before it becomes visible from below.
Addressing truss repair as part of a broader roof health check, rather than an isolated fix, is what keeps the same problem from resurfacing in a different spot two years later.
Seasonal Timing for Truss Repair in the GTA
Summer is genuinely the best window for truss repair in Toronto and the surrounding region. Dry, stable weather means the attic space is safe to work in for extended periods, temporary shoring can be installed without concern about rain intrusion, and if the repair requires opening the roof deck to access a truss from above, contractors can complete that work and re-seal the roof without racing an incoming storm. Waiting until late fall or winter narrows the working window considerably and can delay a repair for months if temperatures drop before scheduling.
If you have noticed sagging, cracking, or sticking doors this spring or summer, addressing it now — while access is easiest and before the fall storm season and winter snow loads test the structure again — is the more reliable path than waiting.
Maintenance Steps That Prevent Future Truss Damage
Once a truss repair is complete, a few ongoing habits protect the investment:
- Schedule an attic inspection every one to two years, checking specifically for new moisture staining near truss joints.
- Keep attic ventilation clear of insulation blocking soffit vents, which is a leading cause of moisture buildup against wood members.
- Address roof leaks immediately rather than monitoring them, since even a small drip concentrated on one truss joint over a winter can cause meaningful rot.
- Avoid DIY modifications inside the attic, including running new ductwork, wiring, or storage platforms that rest directly on truss chords without engineering guidance.
- After any major windstorm, do a visual check of the roofline from the street for any new sag or irregularity.
These habits, combined with periodic professional inspection, are what keep a repaired truss system performing for decades rather than needing a repeat visit.
How do I know if I need roof truss repair contractors for reliable fixes rather than a simple patch?
Can a cracked roof truss be repaired without replacing the whole roof?
Do I need an engineer for roof truss repair in Toronto?
What causes roof truss damage in the first place?
How much does it cost to hire roof truss repair contractors for reliable fixes on a typical GTA home?
Is summer a good time to schedule truss repair work?
Need Help With Top Roof Truss Repair?
If you are seeing a sagging ridge line, cracked ceiling drywall, or sticking doors upstairs, do not wait for the problem to grow. Universal Roofs has diagnosed and repaired roof truss damage across the GTA for two decades, working alongside structural engineers whenever a repair calls for it, so the fix is built to last, not just to pass a quick visual check.
Call us today at (416) 732-2421 or request a free inspection to get started.
Universal Roofs proudly serves Toronto, Mississauga, Brampton, Vaughan, Markham, Oakville and the GTA since 2005.